crashtest

2027 / Toyota

2027 Toyota Land Cruiser HEV

4/5

Overall rating (best variant)

Safety ratings

2027 TOYOTA LAND CRUISER SUV HEV 4WD

4/5Overall
4/5Frontal crash
5/5Side crash
5/5Side pole
3/5Rollover
Frontal, driver: 4★Frontal, passenger: 4★Side, driver: 5★Side, rear passenger: 5★Rollover risk: 24.6%
  • Lane departure warningNo
  • Forward collision warningNo
  • Electronic stability controlStandard

Crash test videos & photos

Crash test #1NHTSA test 15349

Full test report (PDF) ↗

Crash-test footage is converted for smooth playback the first time someone requests it — usually under a minute.

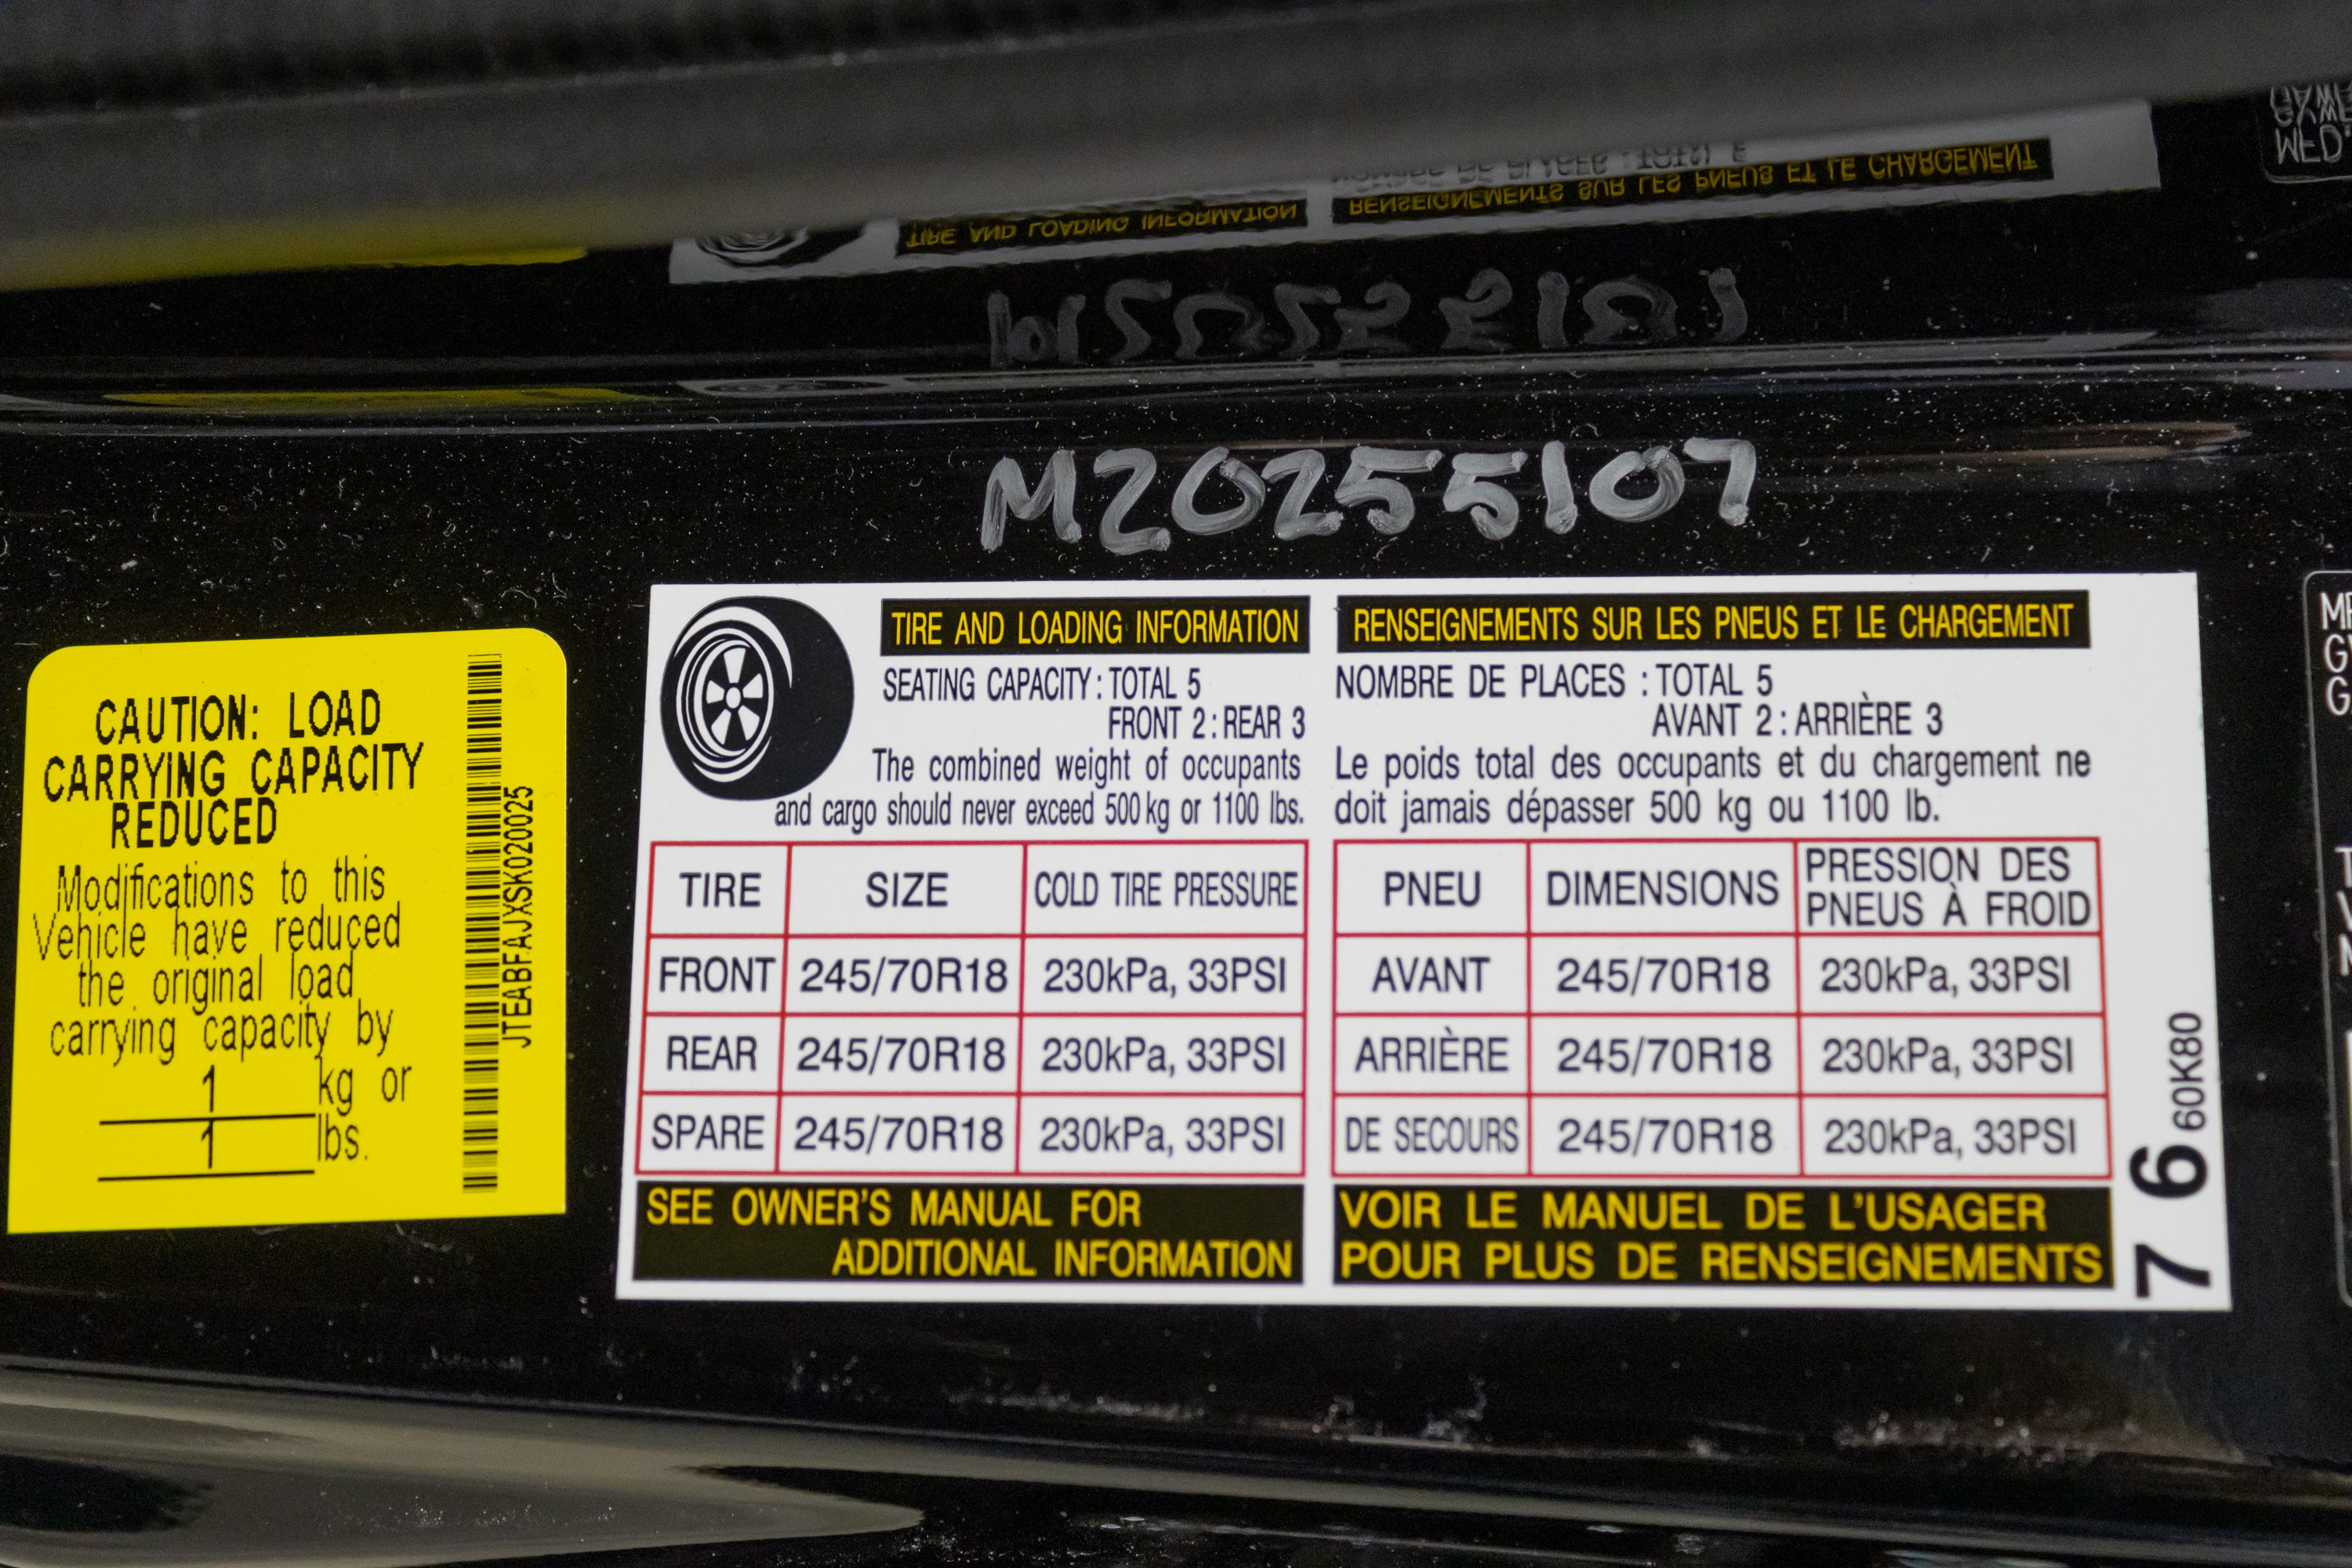
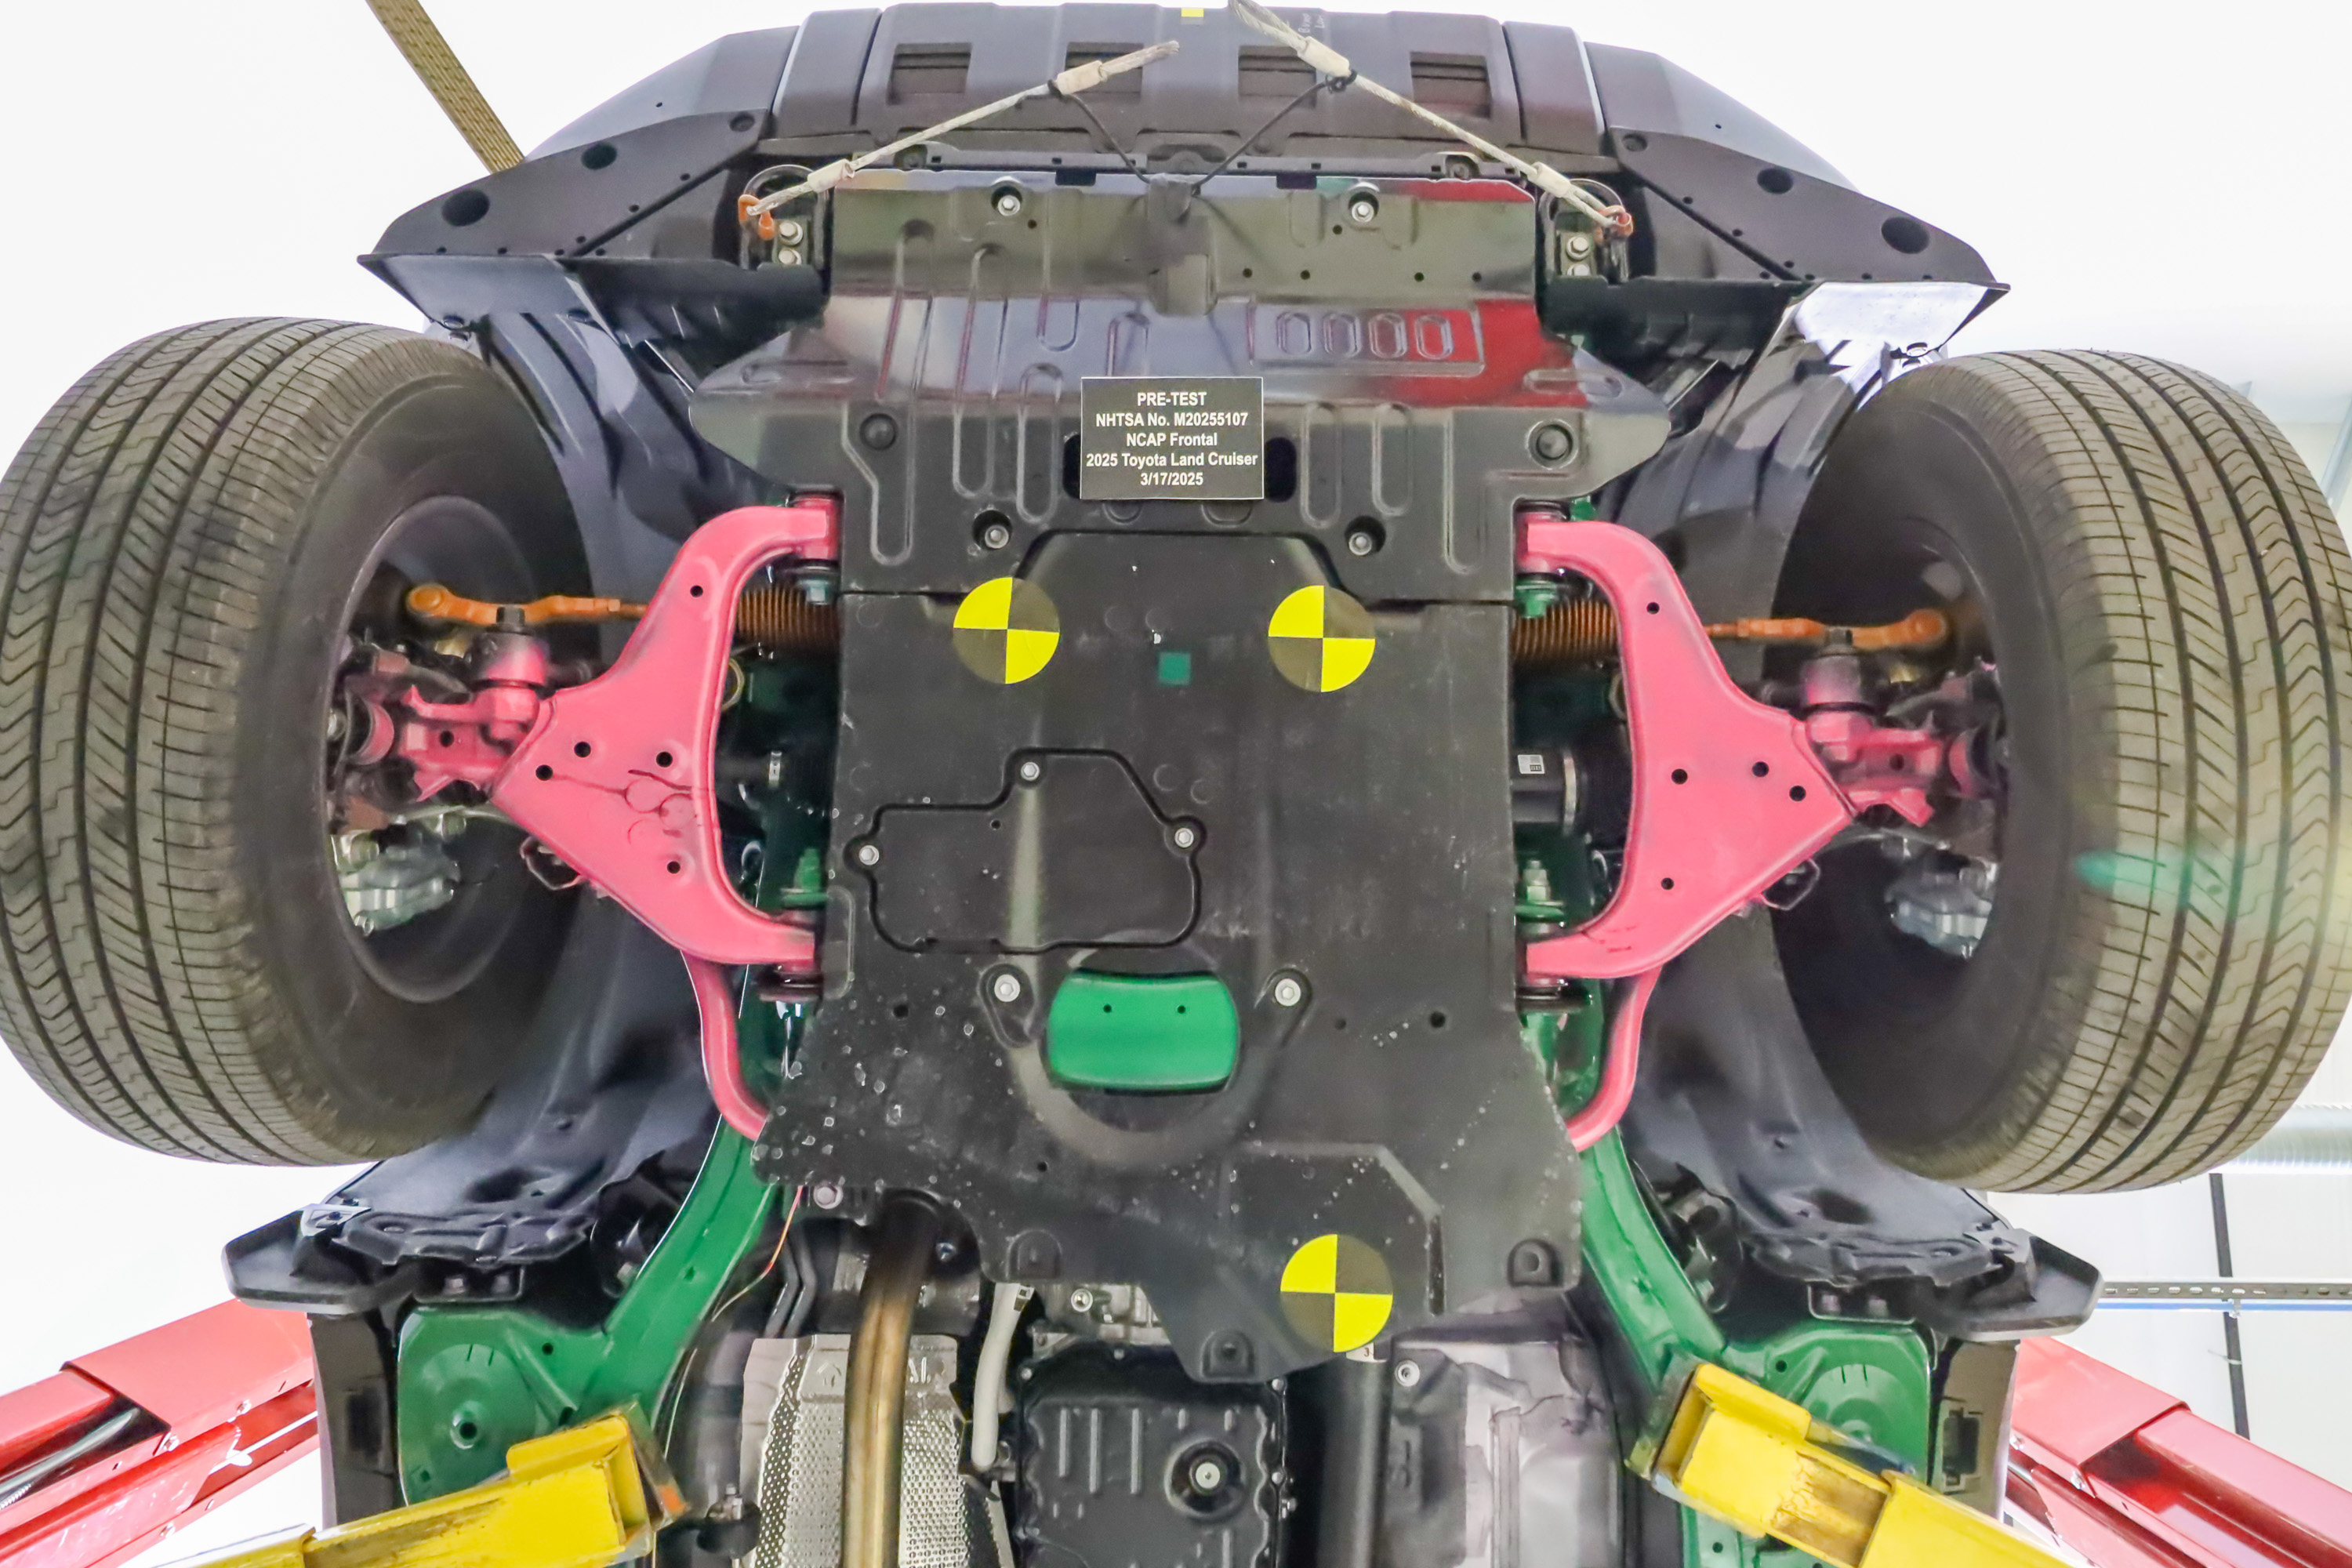
No. 001 Load Cell Location.jpgNo. 002 Pre-Test Load Cell Wall.jpgNo. 003 Post-Test Load Cell Wall.jpgNo. 004 Manufacturer's Label.jpgNo. 005 Tire Placard.jpgNo. 006 Test Vehicle Frontal As Delivered.jpgNo. 007 Left Rear 3-4 View, as Received.jpgNo. 008 Pre-Test Front View of Test Vehicle.jpgNo. 009 Post-Test Front View of Test Vehicle.jpgNo. 010 Pre-Test Left View of Test Vehicle.jpgNo. 011 Post-Test Left View of Test Vehicle.jpgNo. 012 Pre-Test Right View of Test Vehicle.jpgNo. 013 Post-Test Right View of Test Vehicle.jpgNo. 014 Pre-Test Right Front 3-4 View.jpgNo. 015 Post-Test Right Front 3-4 View.jpgNo. 016 Pre-Test Left Rear 3-4 View.jpgNo. 017 Post-Test Left Rear 3-4 View.jpgNo. 018 Pre-Test Windshield View.jpgNo. 019 Post-Test Windshield View.jpgNo. 020 Pre-Test Engine Compartment View.jpgNo. 021 Post-Test Engine Compartment View.jpgNo. 022 Pre-Test Charging Port.jpgNo. 023 Post-Test Charging Port.jpgNo. 024 Pre-Test Front Underbody View.jpgNo. 025 Post-Test Front Underbody View.jpgNo. 070 Post-Test Passenger's Side Floorpan.jpg

Crash test #2NHTSA test 15350

Full test report (PDF) ↗

Crash-test footage is converted for smooth playback the first time someone requests it — usually under a minute.

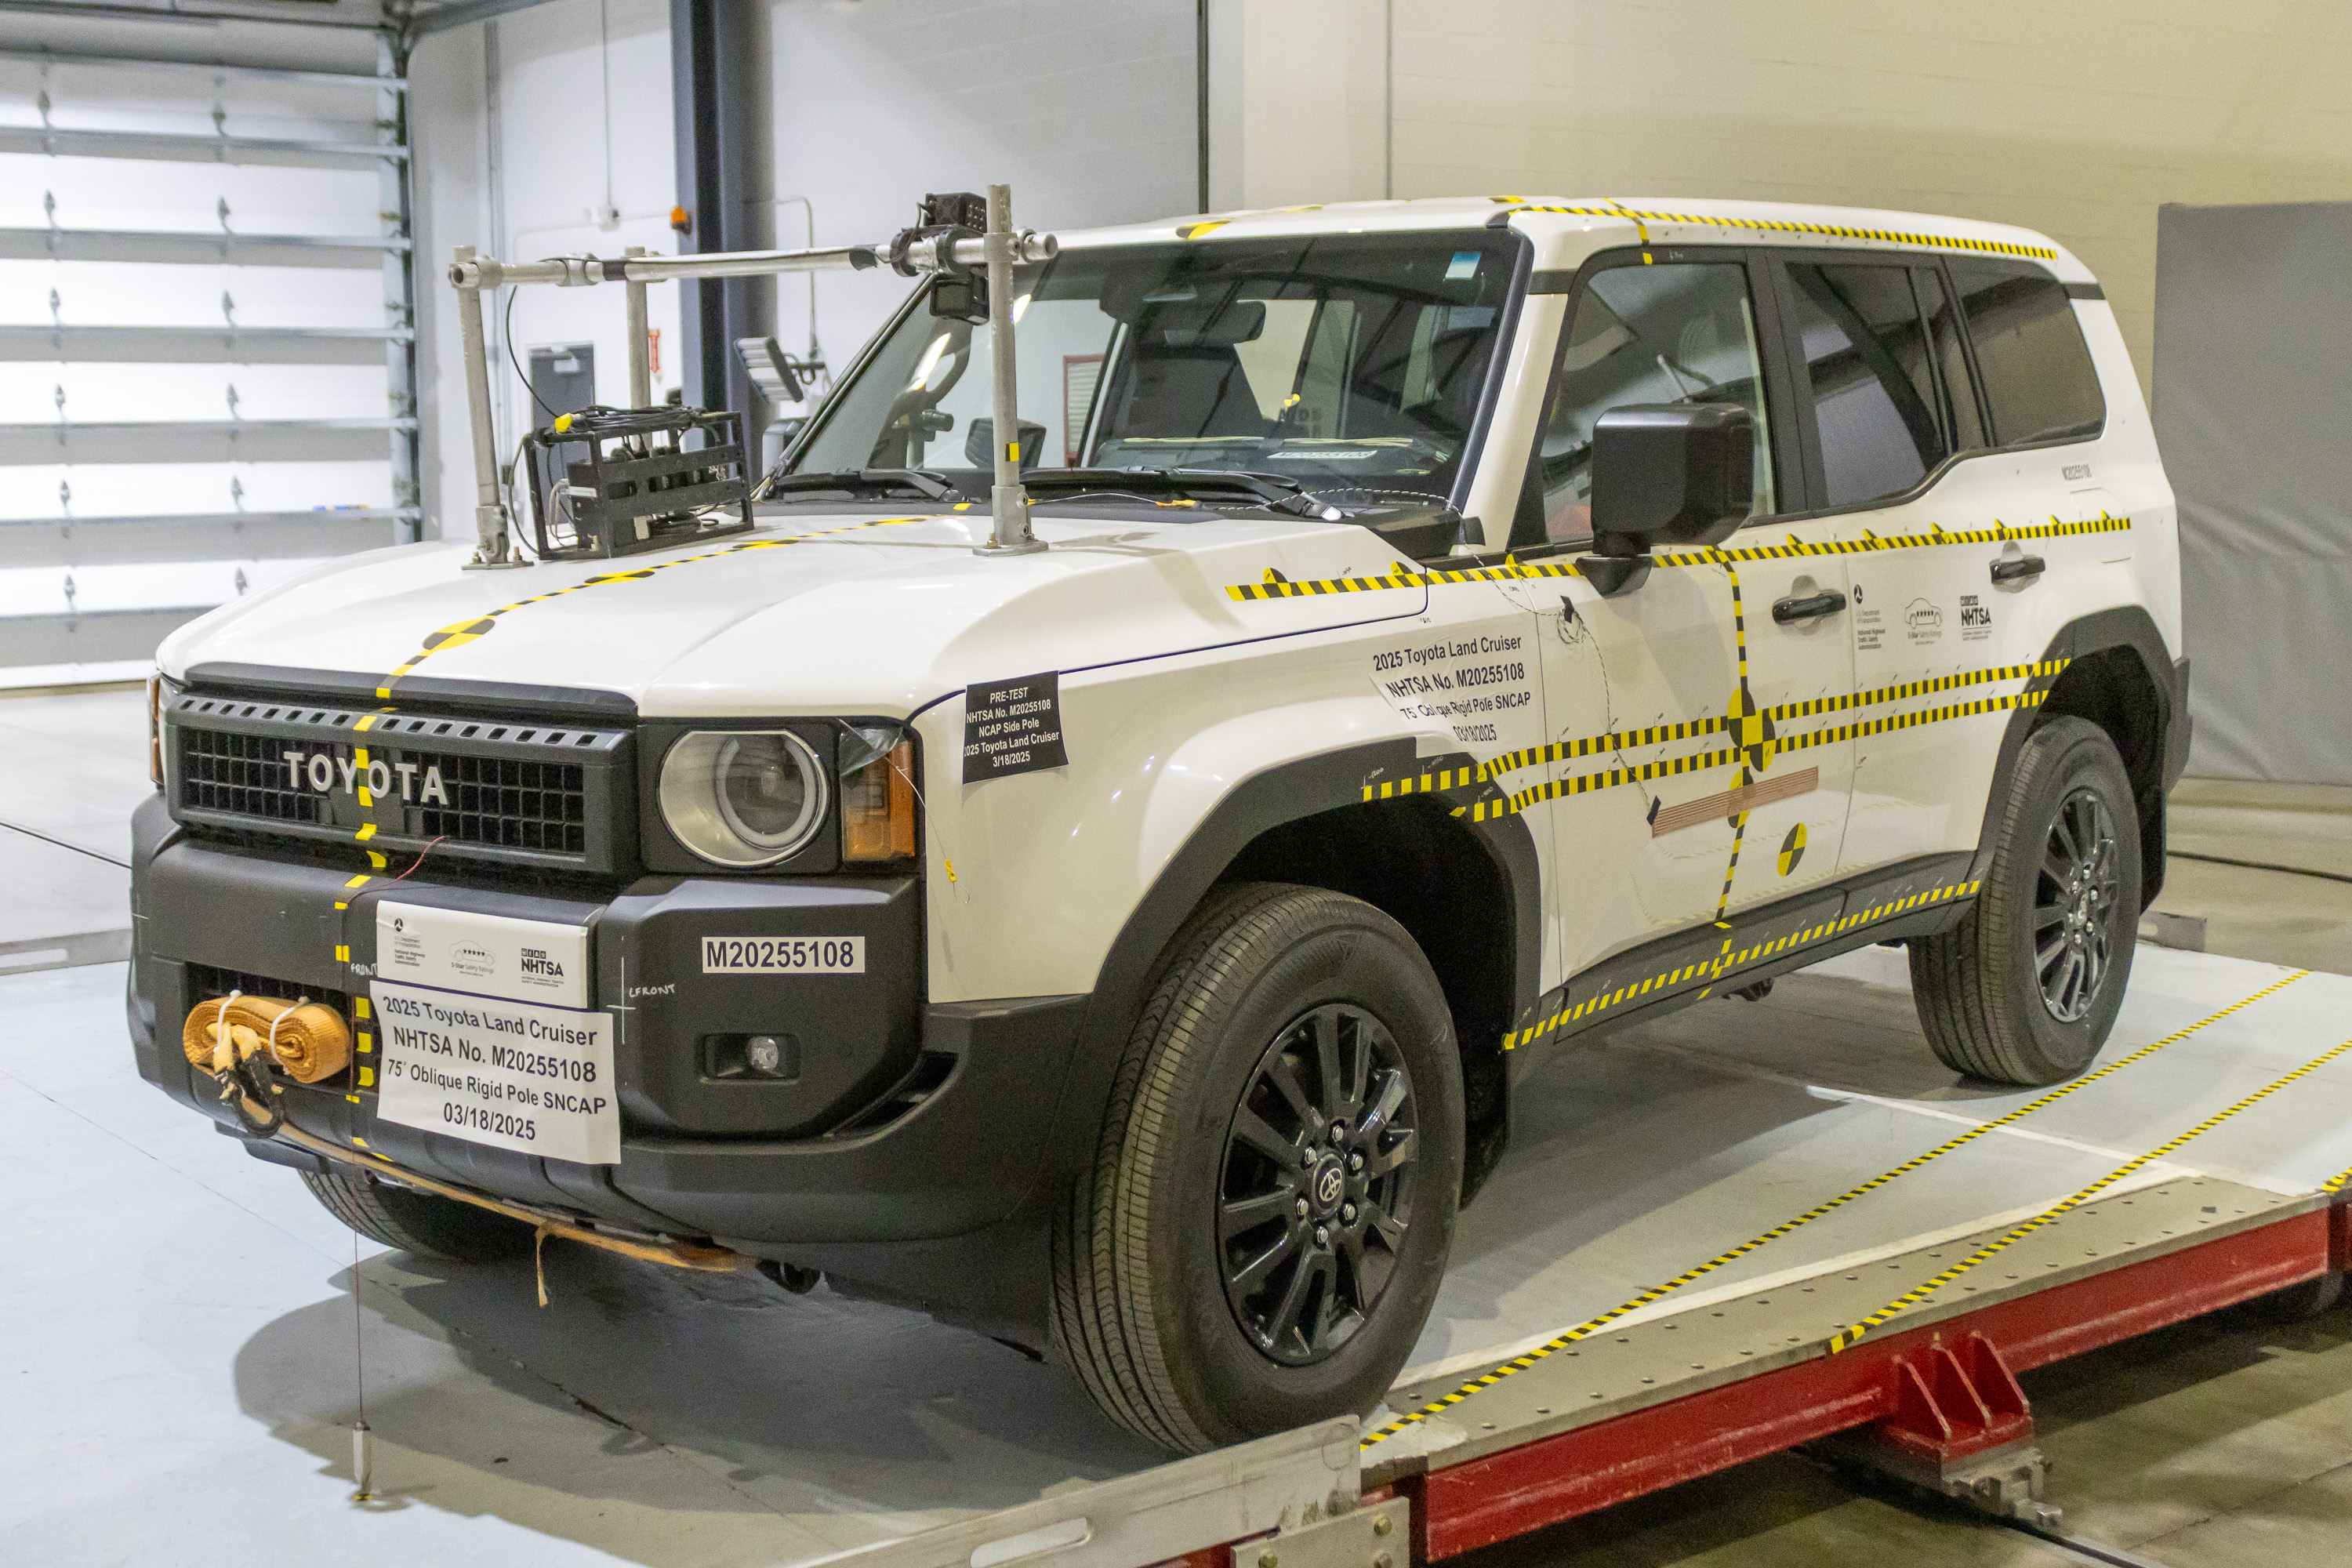
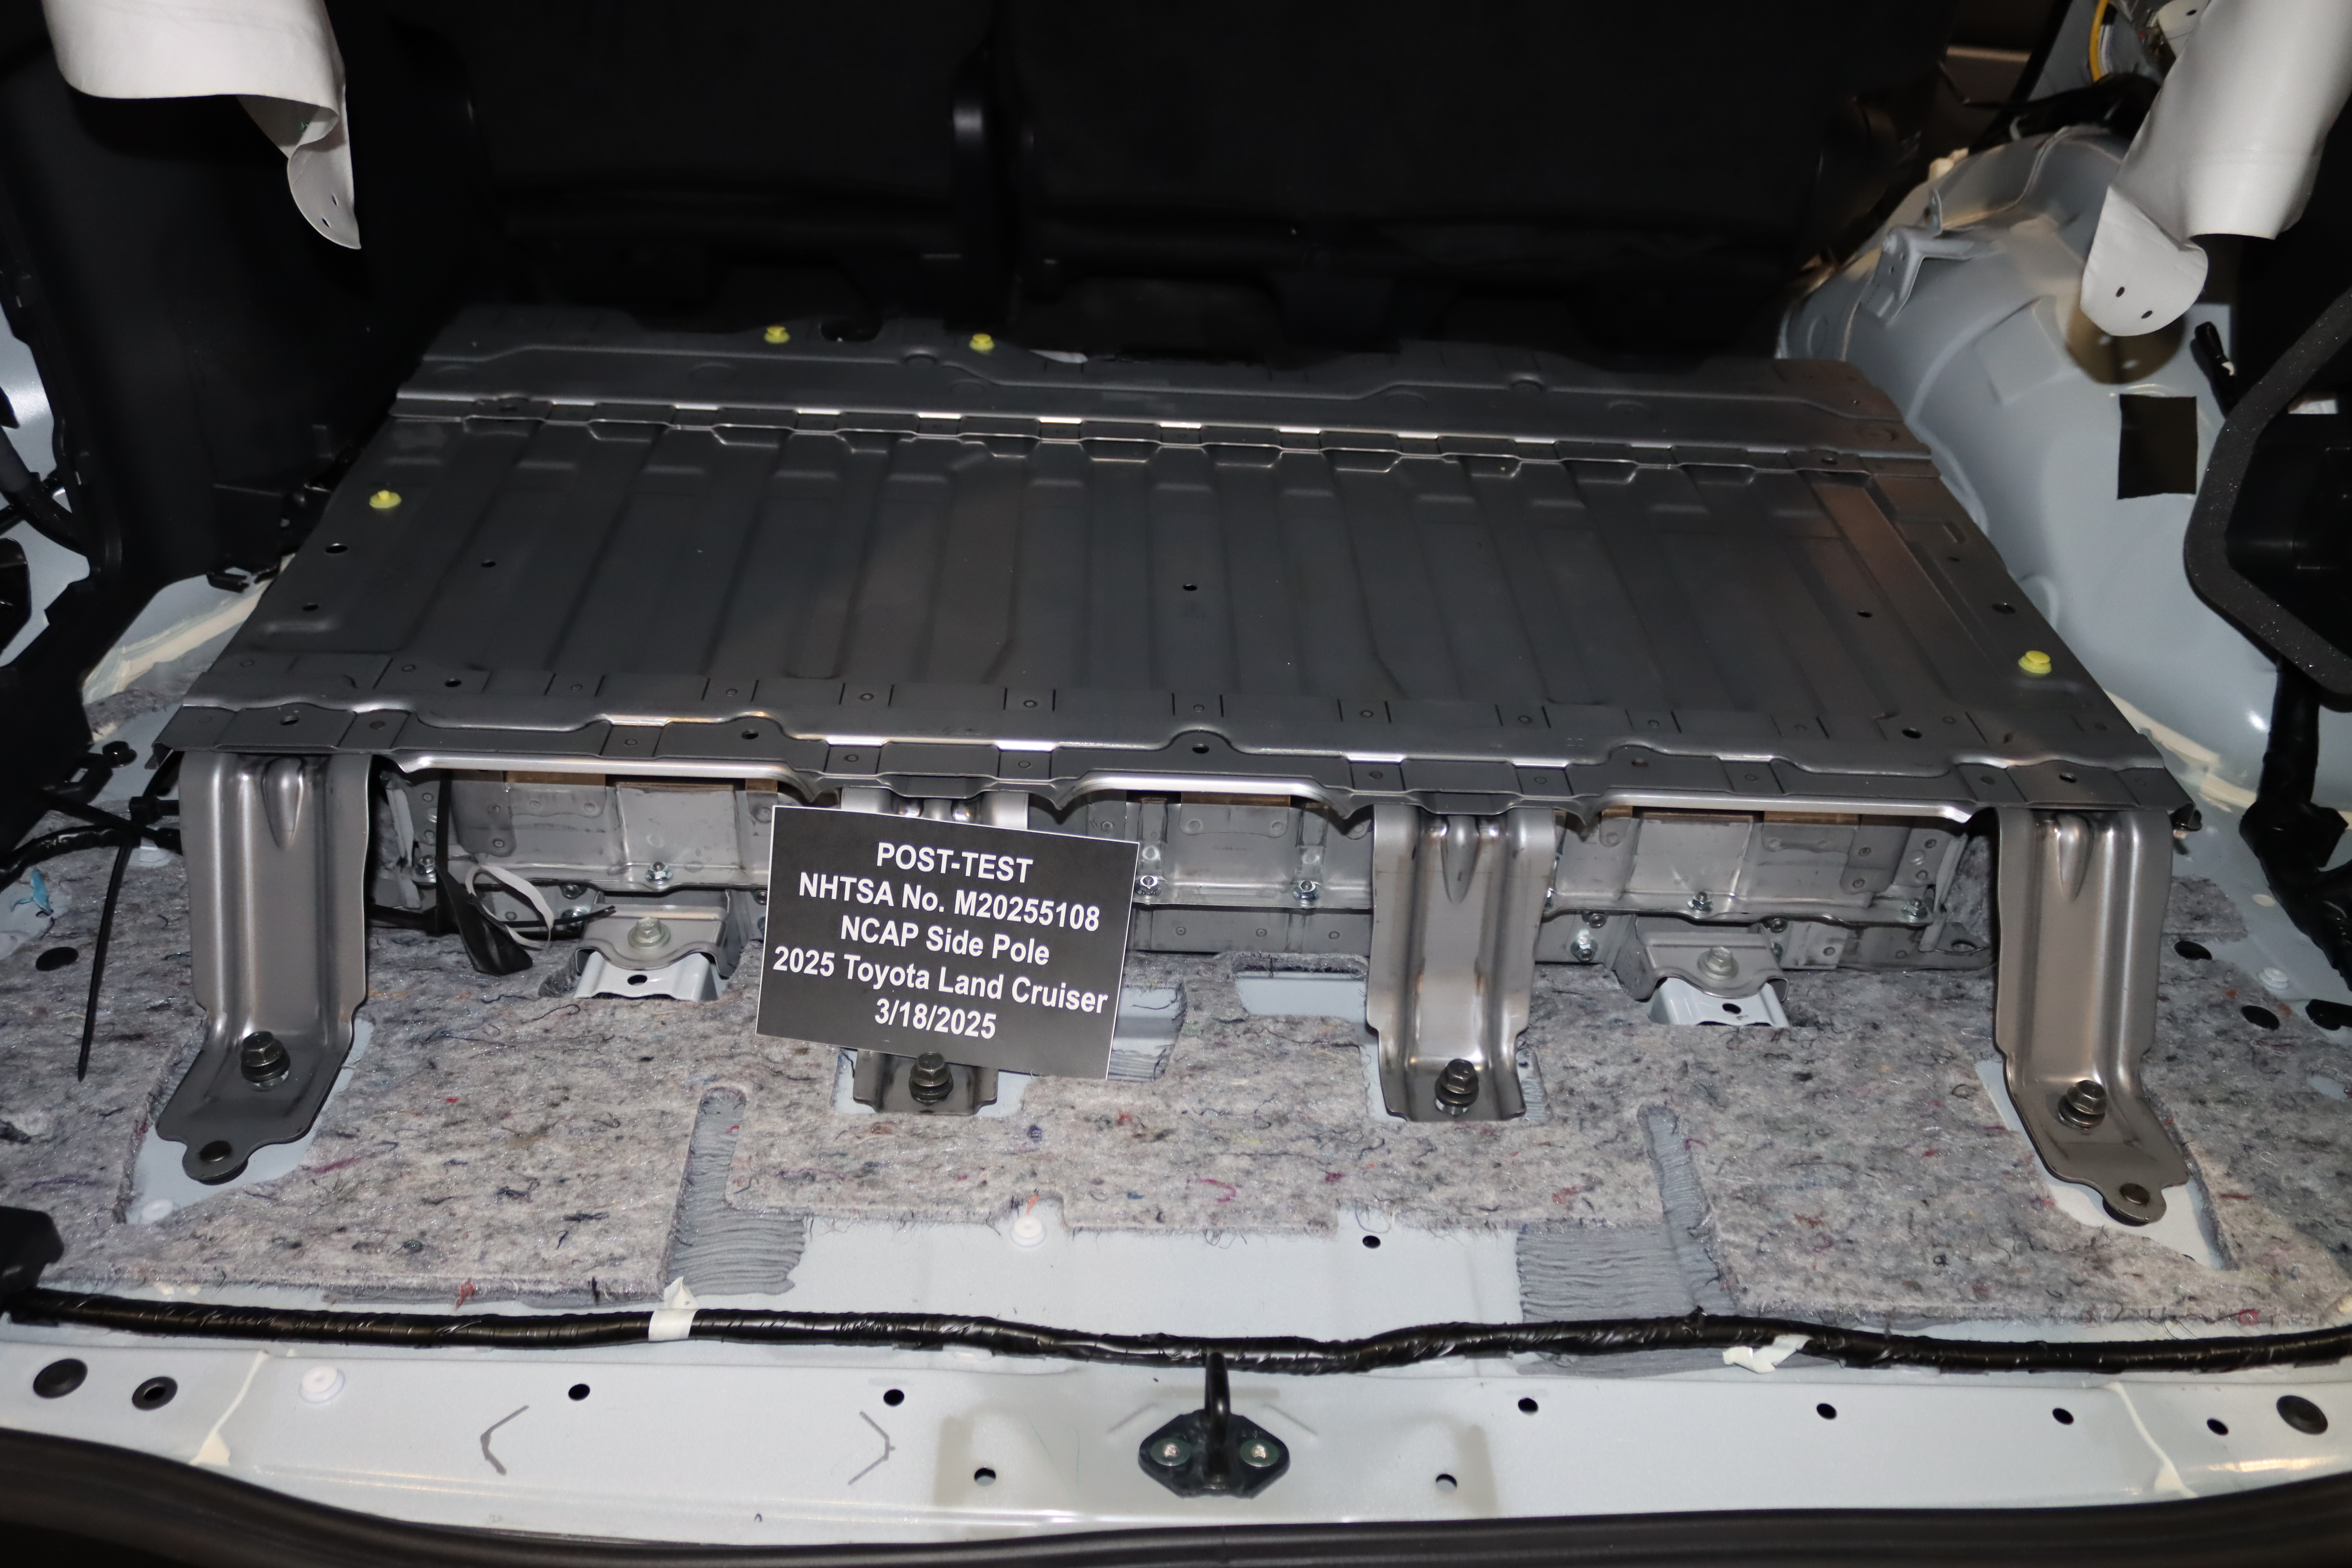
No. 001 - As Delivered Right Front 3-4 View of Test Vehicle.jpgNo. 002 - As Delivered Left Rear 3-4 View of Test Vehicle.jpgNo. 003 - Pre-Test Frontal View of Test Vehicle.jpgNo. 004 - Post-Test Frontal View of Test Vehicle.jpgNo. 005 - Pre-Test Left Front 3-4 View of Test Vehicle.jpgNo. 006 - Post-Test Left Front 3-4 View of Test Vehicle.jpgNo. 007 - Pre-Test Left Side View of Test Vehicle.jpgNo. 008 - Post-Test Left Side View of Test Vehicle.jpgNo. 009 - Pre-Test Left Rear 3-4 View of Test Vehicle.jpgNo. 010 - Post-Test Left Rear 3-4 View of Test Vehicle.jpgNo. 011 - Pre-Test Rear View of Test Vehicle.jpgNo. 012 - Post-Test Rear View of Test Vehicle.jpgNo. 013 - Pre-Test Right Side View of Test Vehicle.jpgNo. 014 - Post-Test Right Side View of Test Vehicle.jpgNo. 015 - Pre-Test Overhead View of Test Area.jpgNo. 016 - Post-Test Overhead View of Test Area.jpgNo. 017 - Pre-Test Left Side View of Pole Positioned Against Side of Vehicle.jpgNo. 018 - Pre-Test Right Side View of Pole Positioned Against Side of Vehicle.jpgNo. 019 - Pre-Test Close-Up View of Impact Point Target.jpgNo. 020 - Post-Test Close-Up View of Impact Point Target Showing Impact Location.jpgNo. 021 - Pre-Test Front Close-Up View of Dummy Head and Chest.jpgNo. 022 - Post-Test Front Close-Up View of Dummy.jpgNo. 023 - Pre-Test Left Side View of Dummy Showing Belt and Chalking.jpgNo. 024 - Pre-Test Left Side View of Dummy Shoulder and Door Top View.jpgNo. 030 - Pre-Test Left Side View of Dummy's Neck Showing Position of Adjustable Neck Bracket.jpgNo. 055 - Pre-Test Charging Port.jpgNo. 305-11 Post-Impact Rear View of Propulsion Battery (if any part of it is visible).JPGNo. 305-13 Post-Impact View of Battery Box(s) or Container(s) Which Holds Individual Battery Modules.jpgNo. 305-25 Post-Impact View of Installed Test Interface Port.jpgNo. 305-32 Pre-Impact View of the Vehicle Passenger Compartment Adjacent to Propulsion Battery.jpgNo. 305-36 Post-Impact View of Battery Module Movement or Retention Loss (if applicable).jpg

Crash test #3NHTSA test 15351

Full test report (PDF) ↗

Crash-test footage is converted for smooth playback the first time someone requests it — usually under a minute.

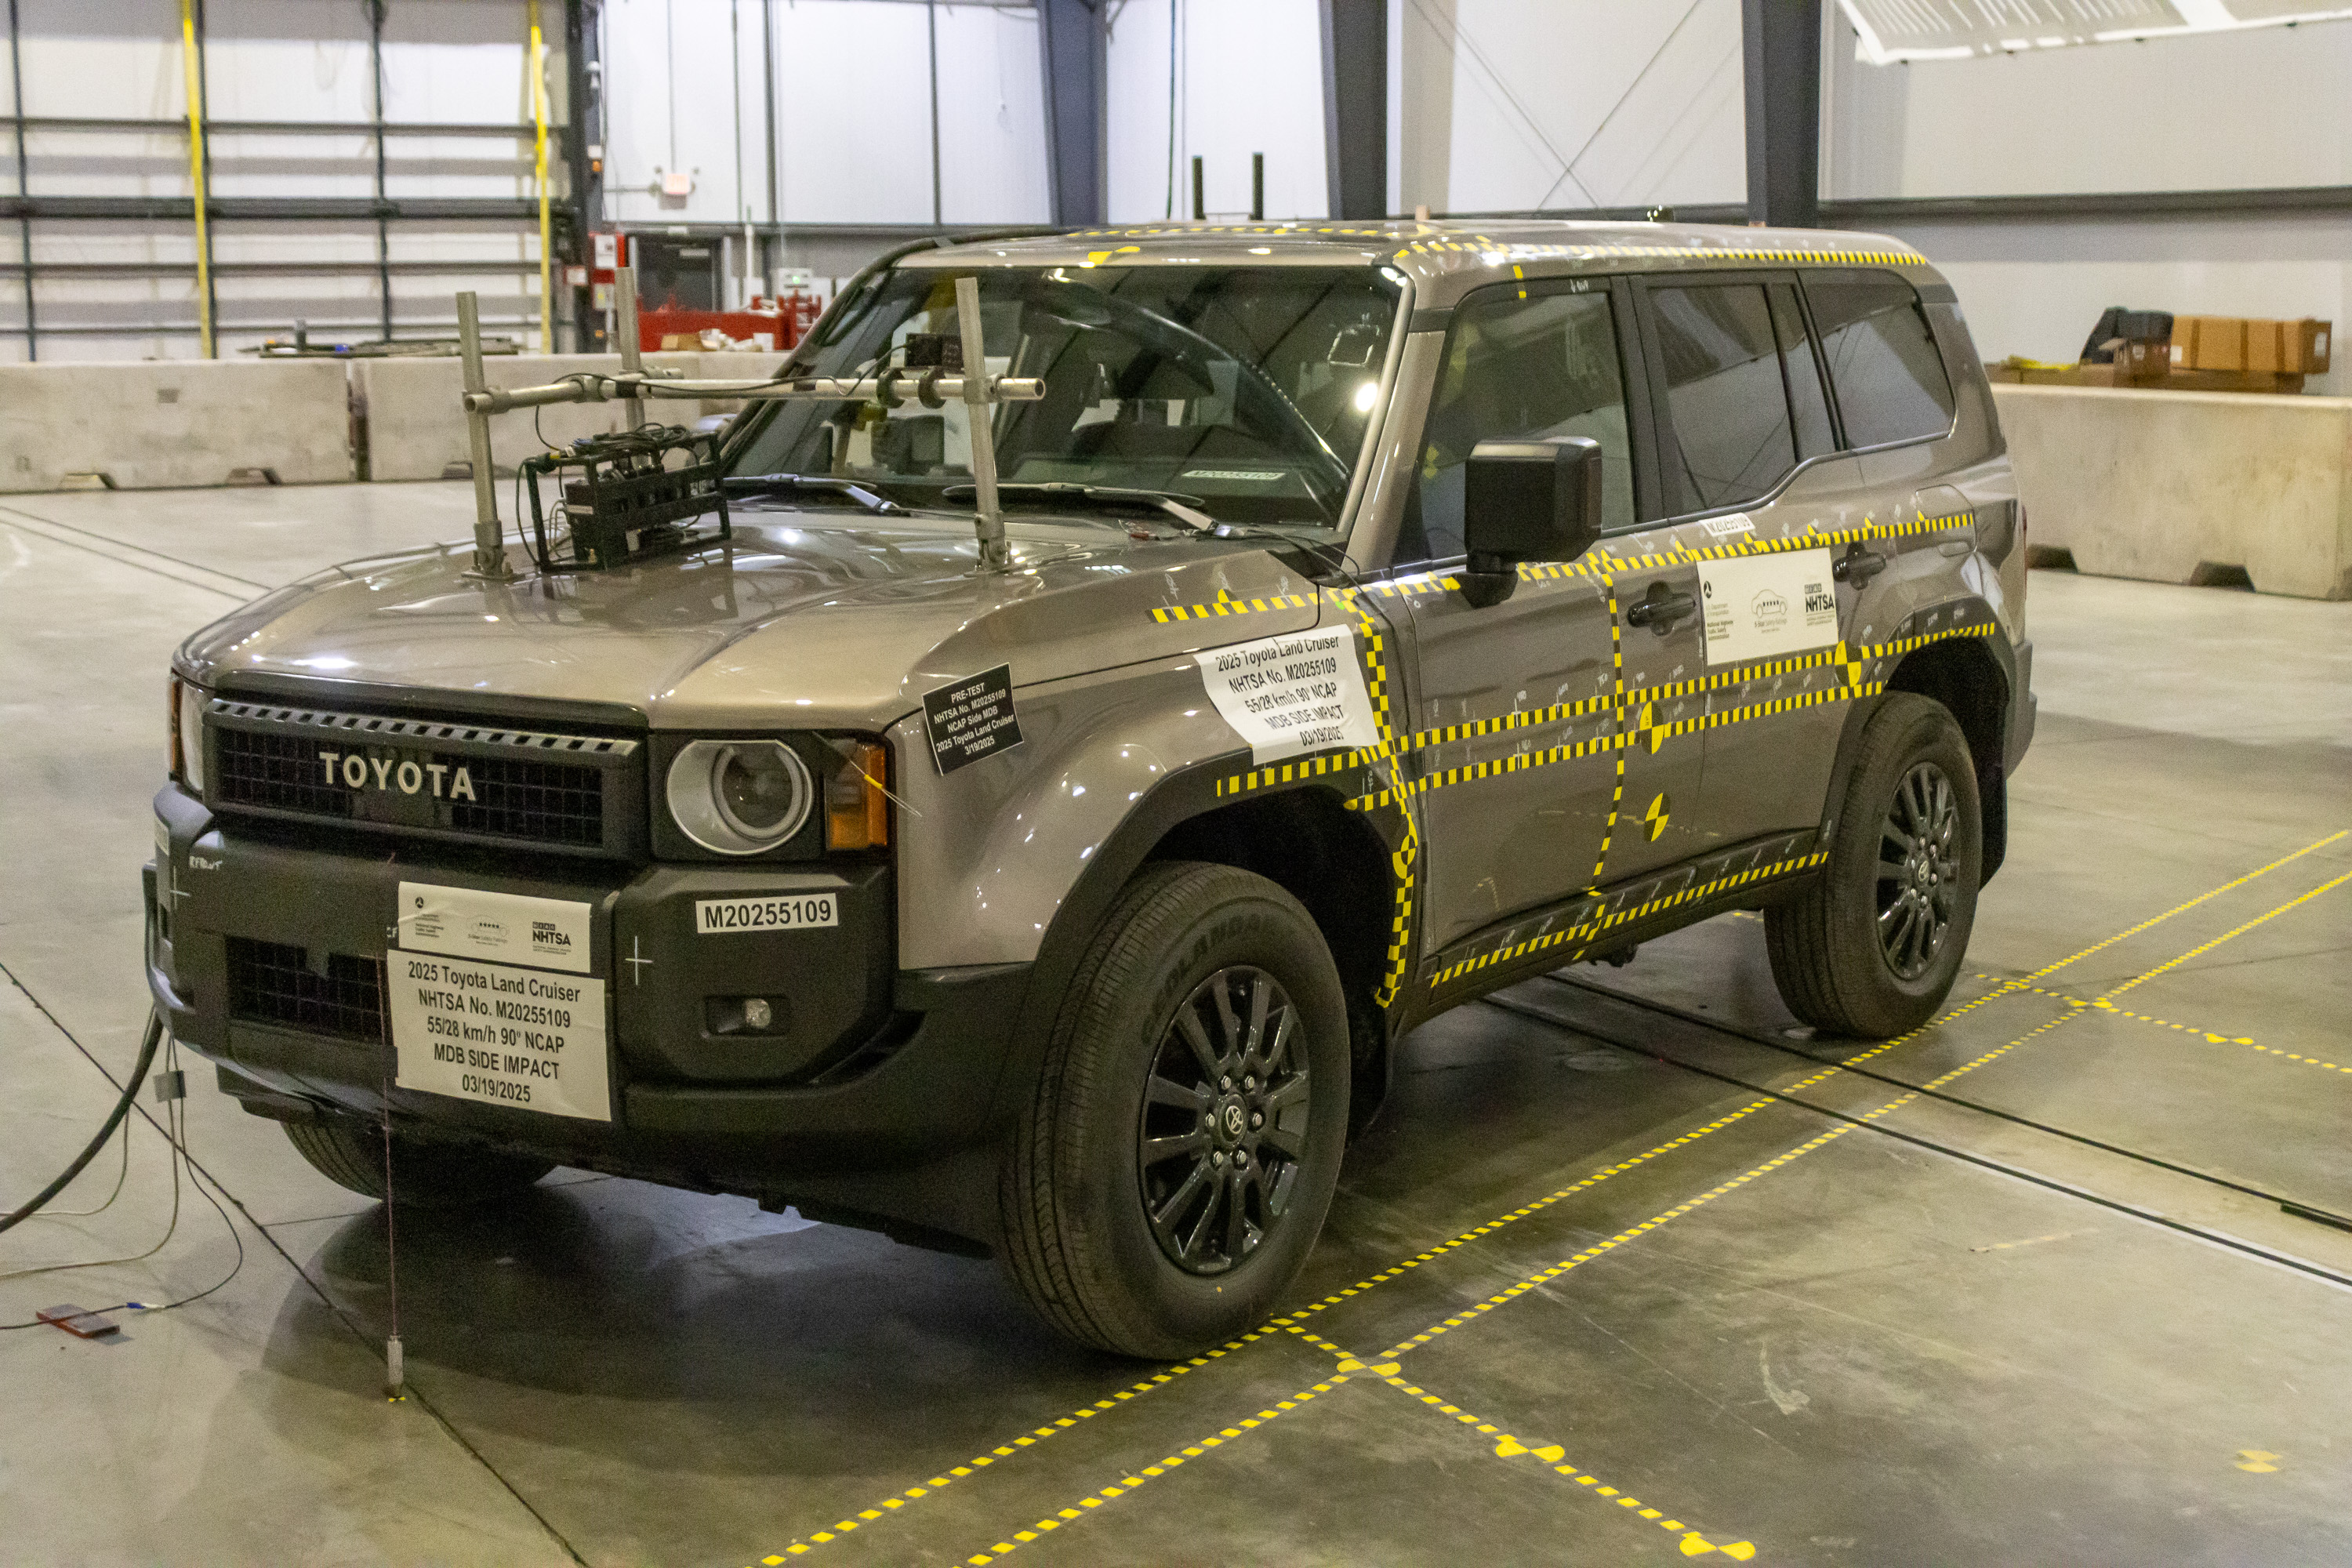
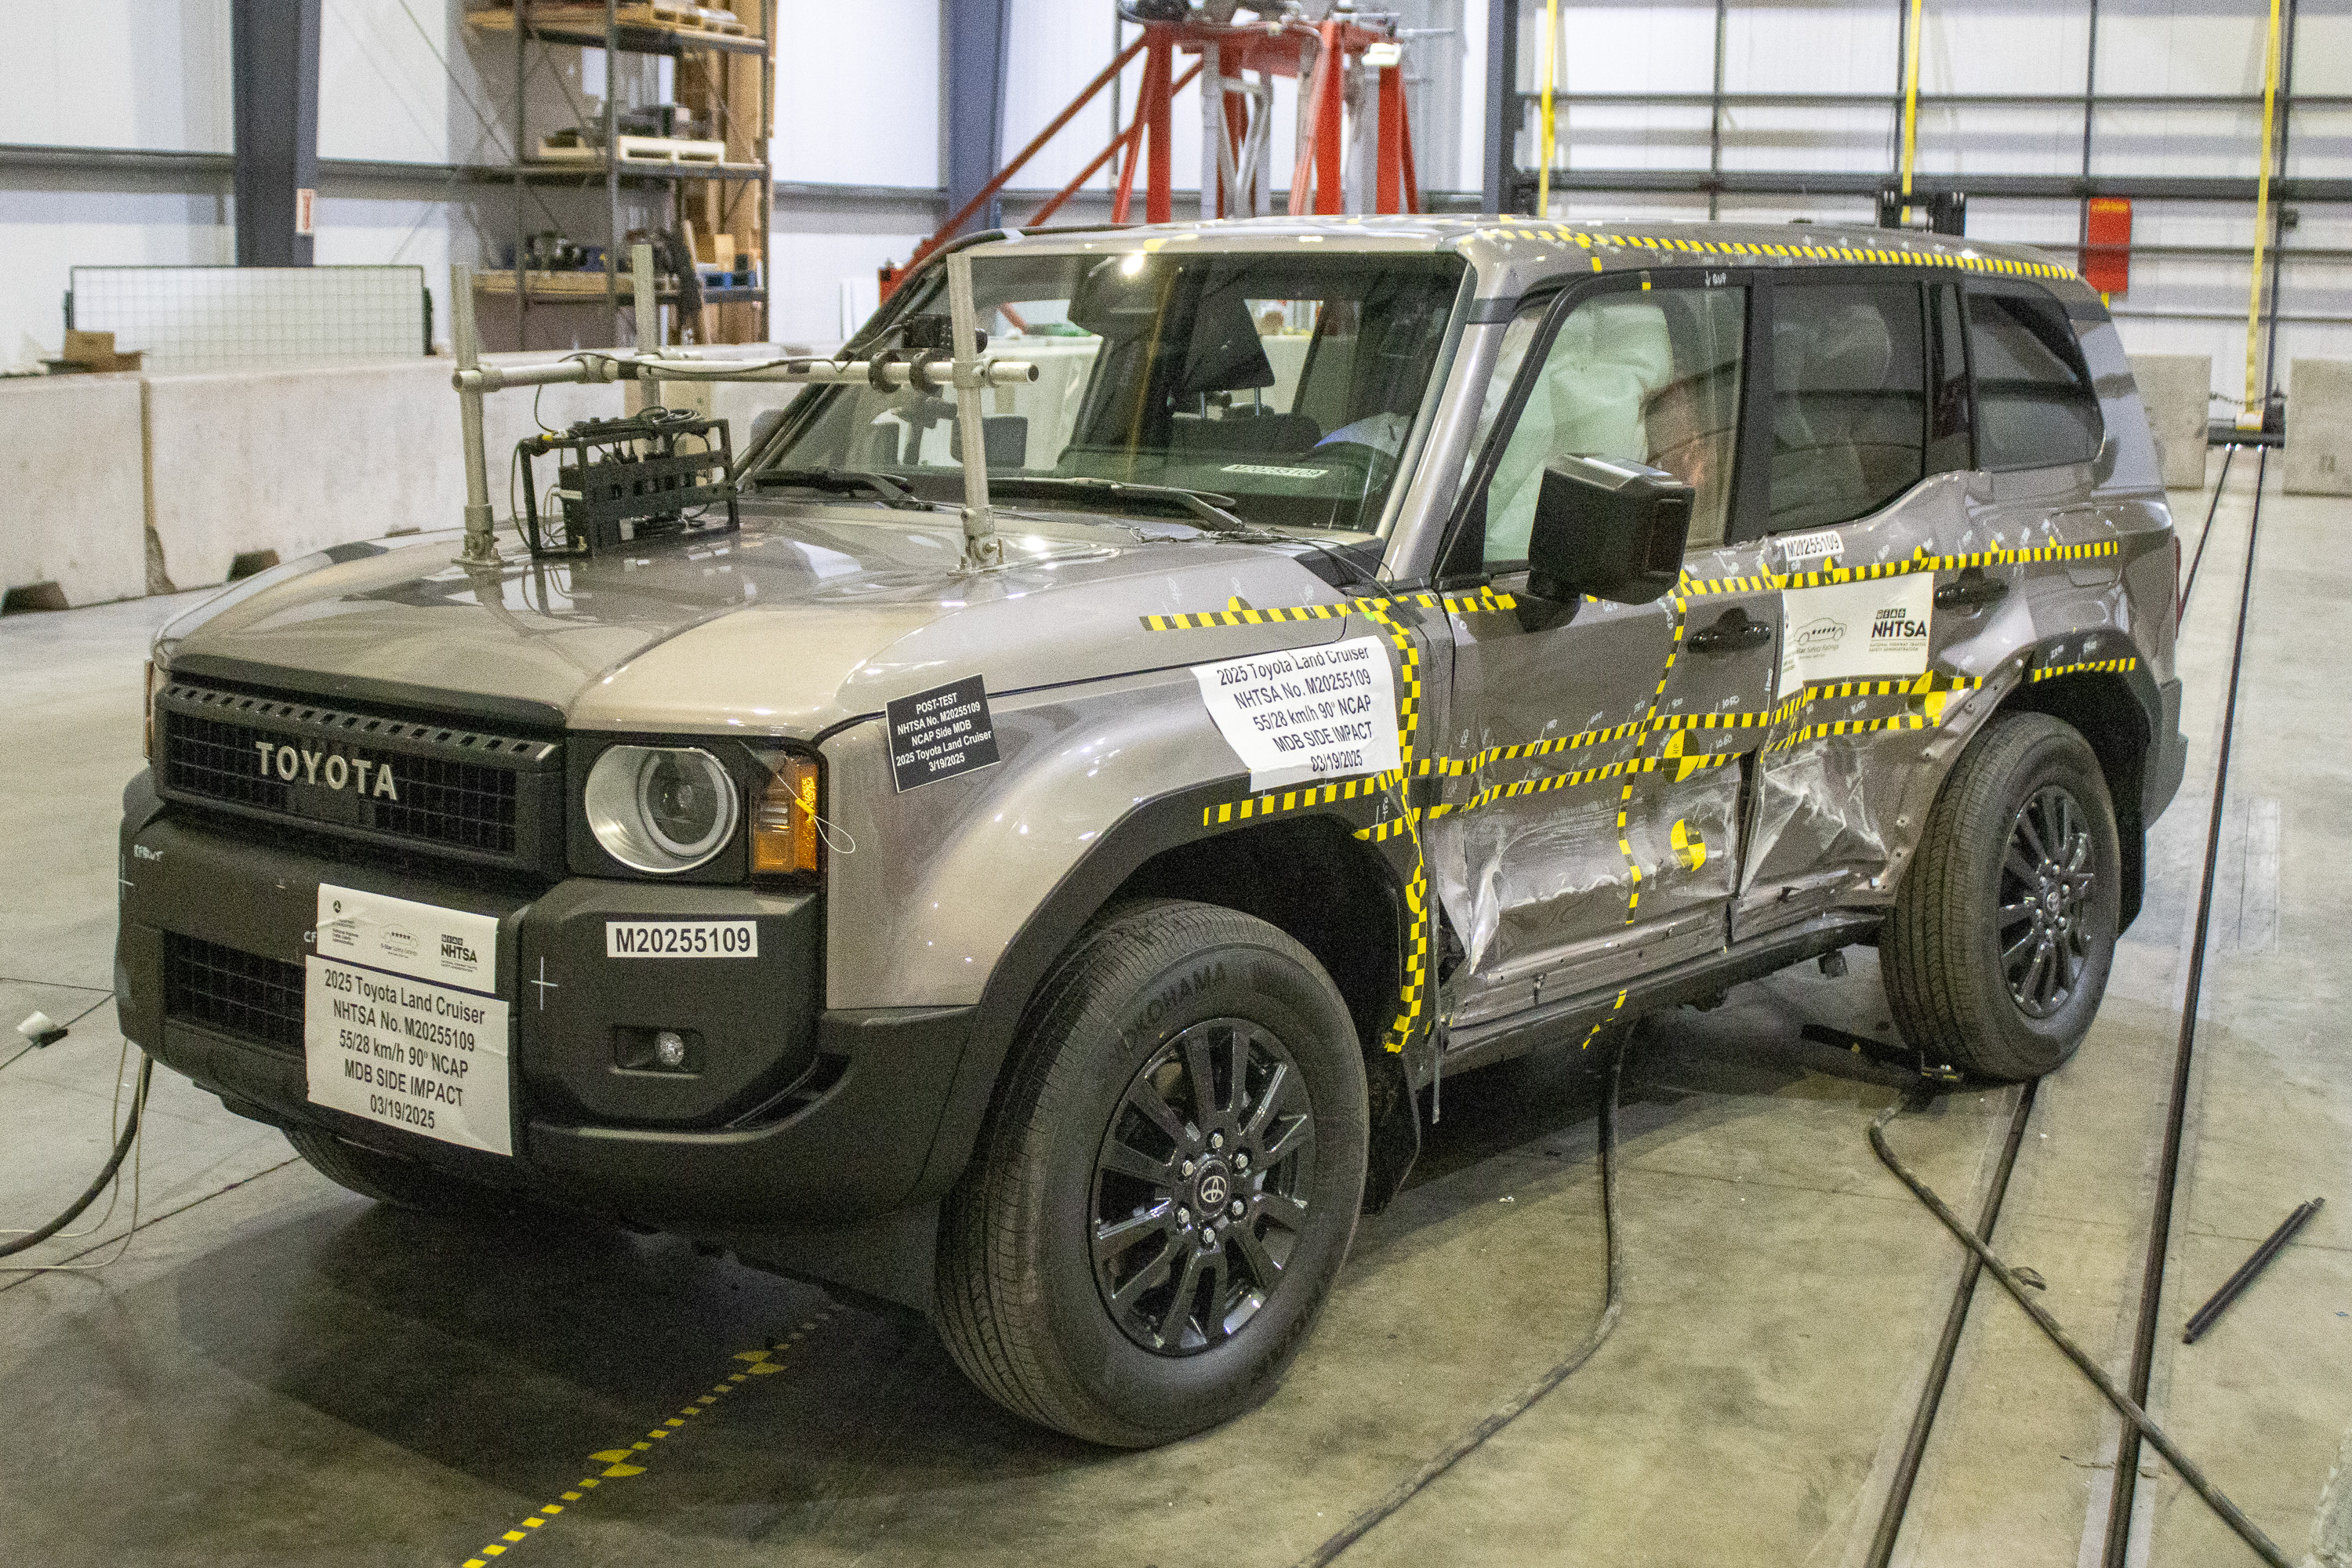
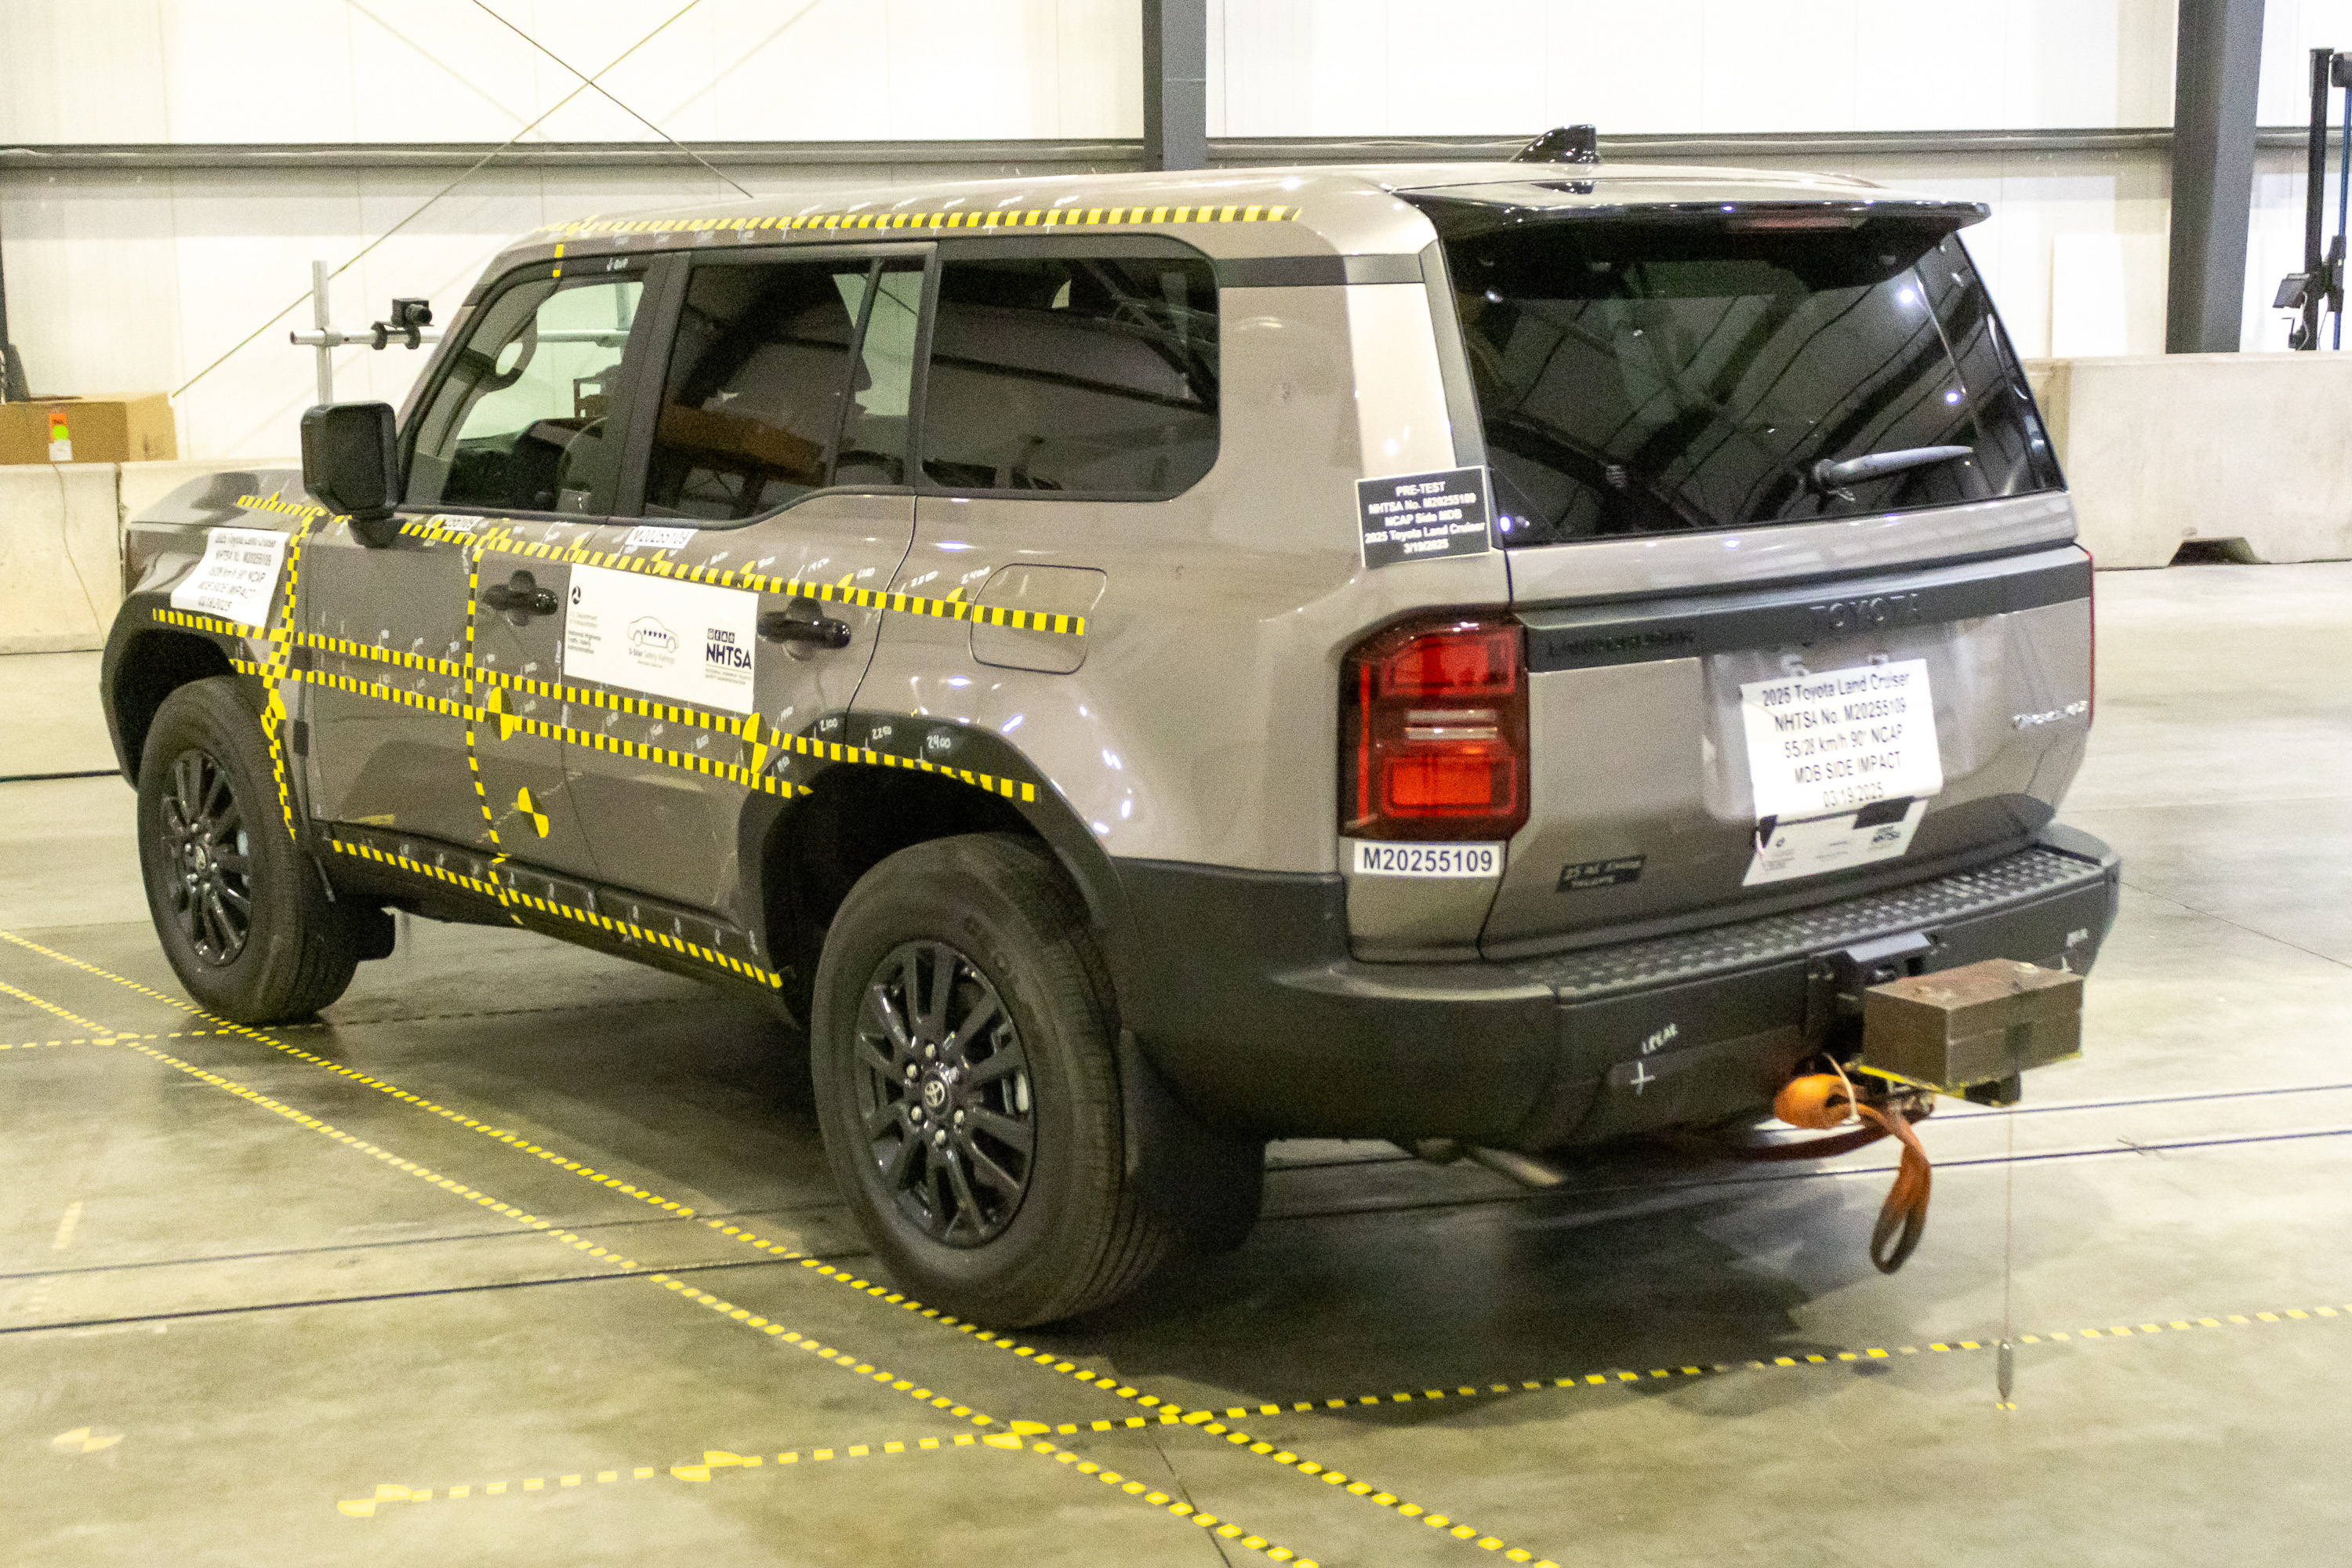
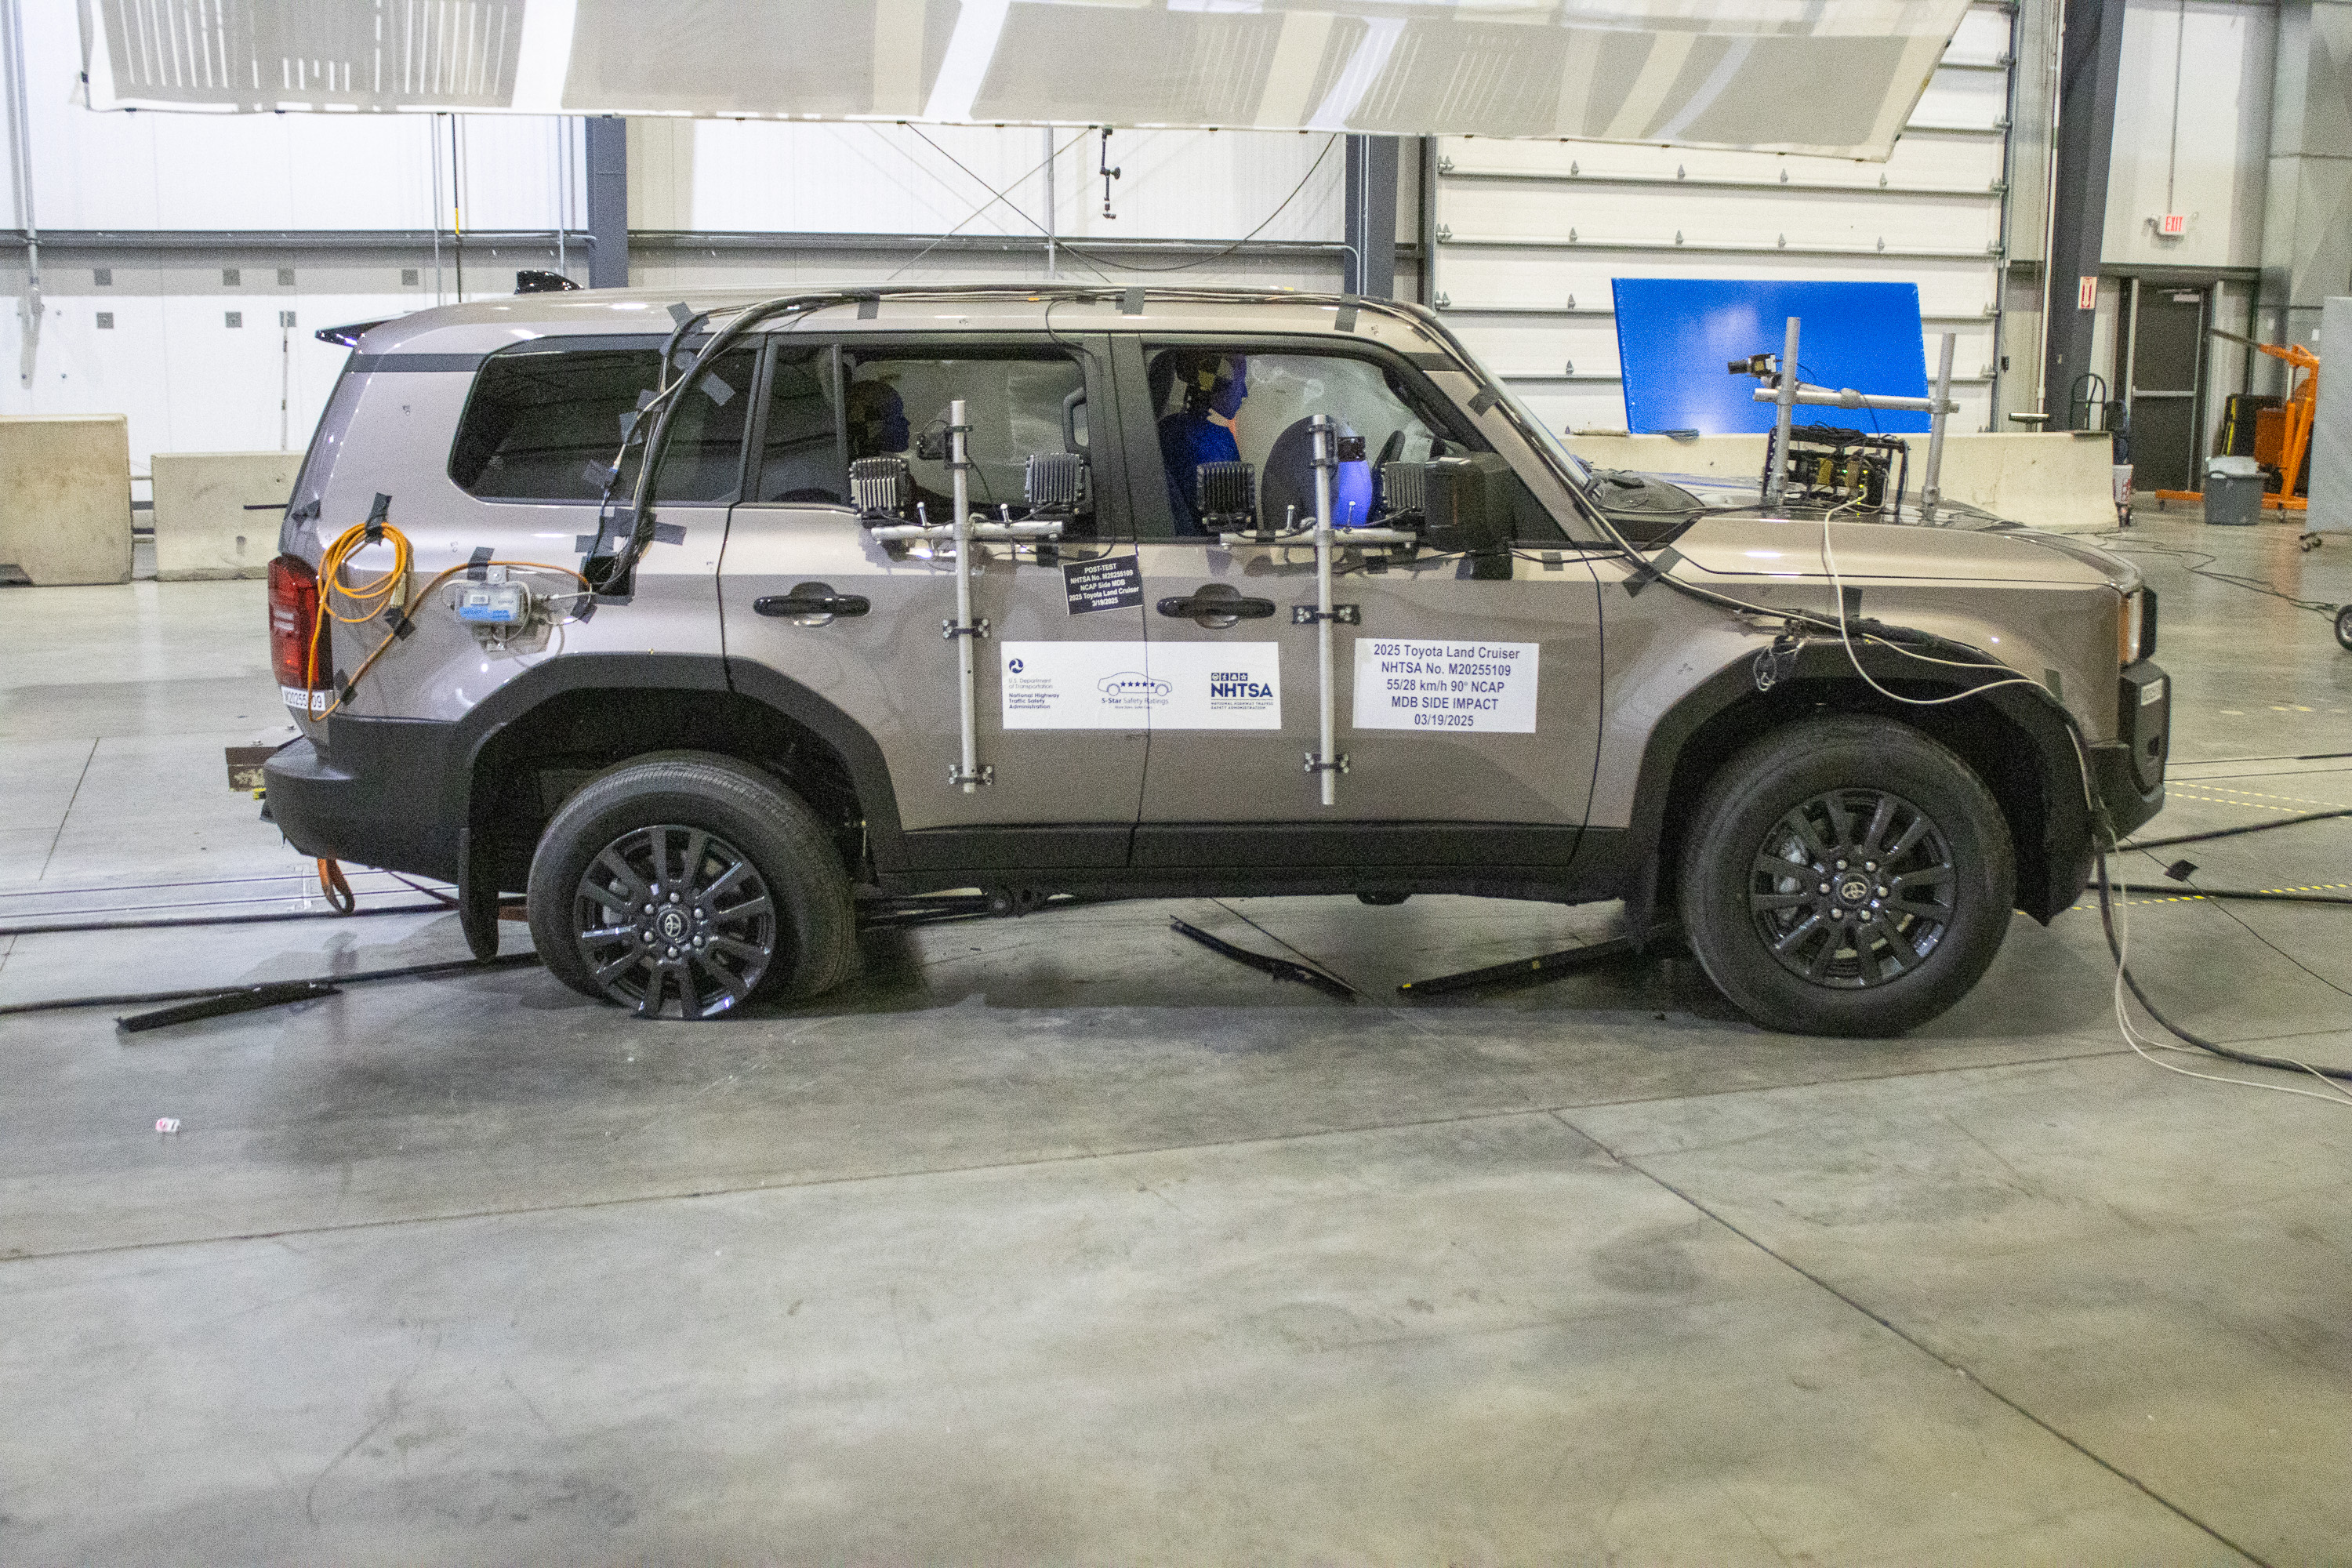
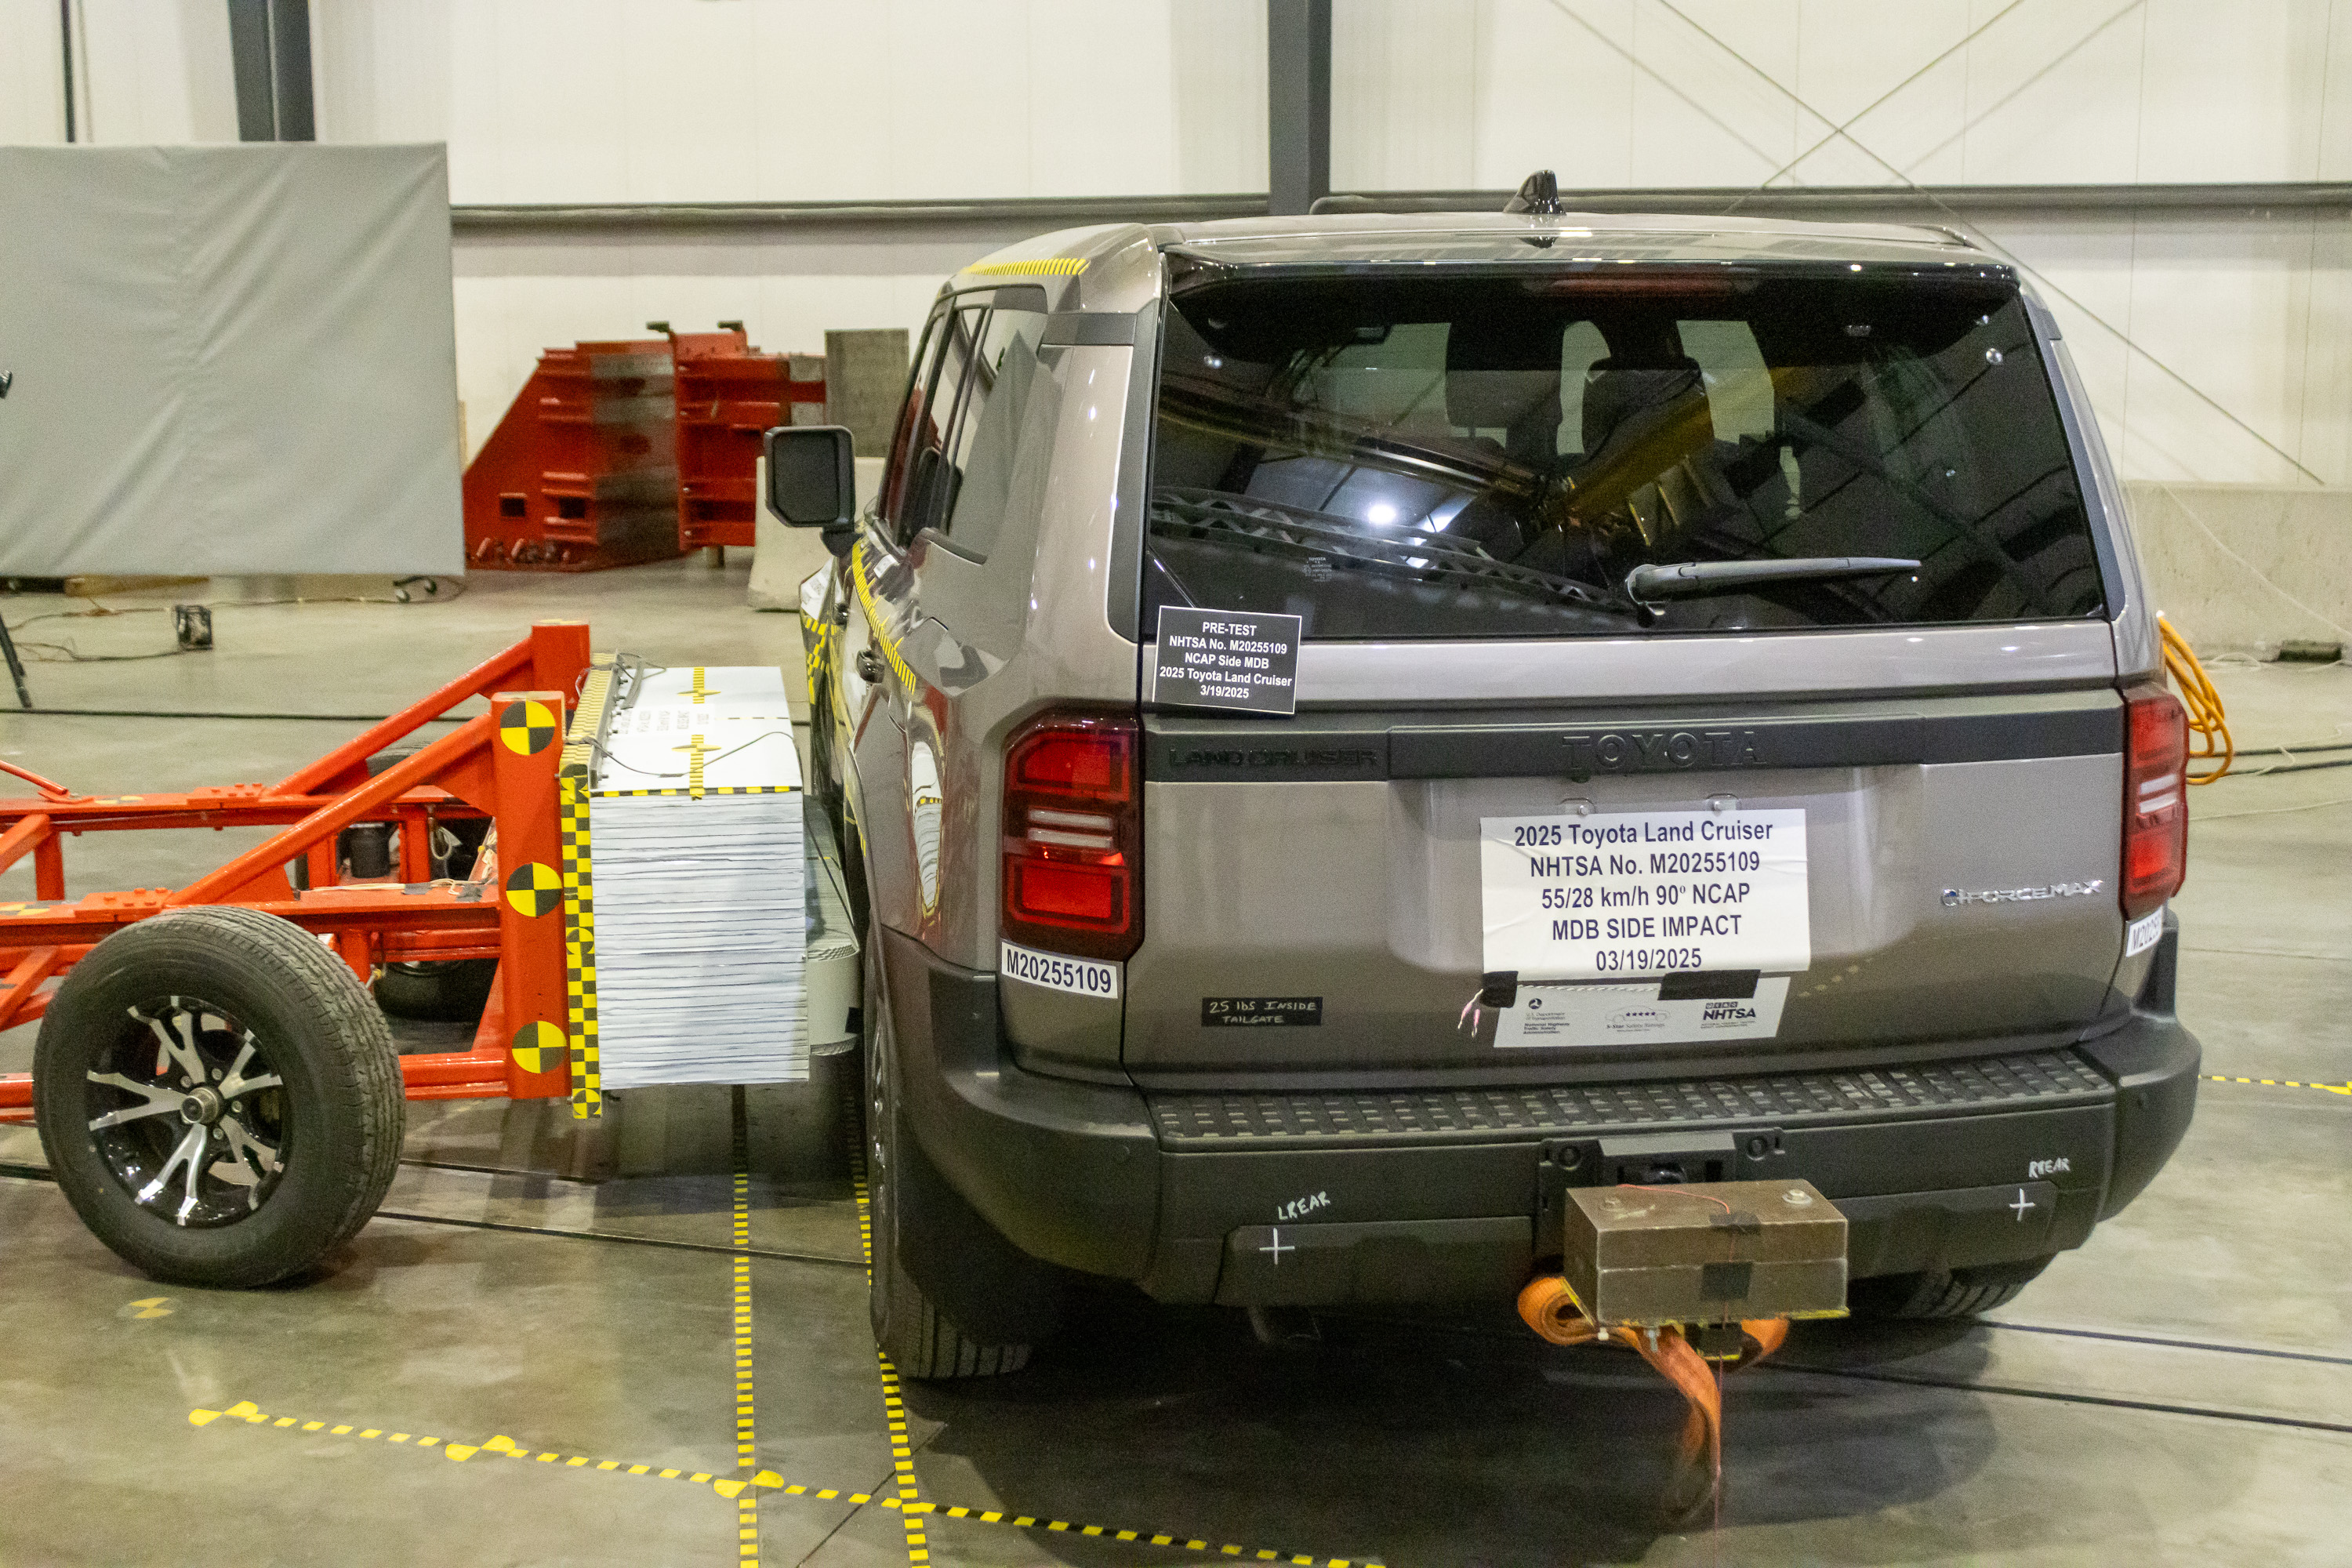
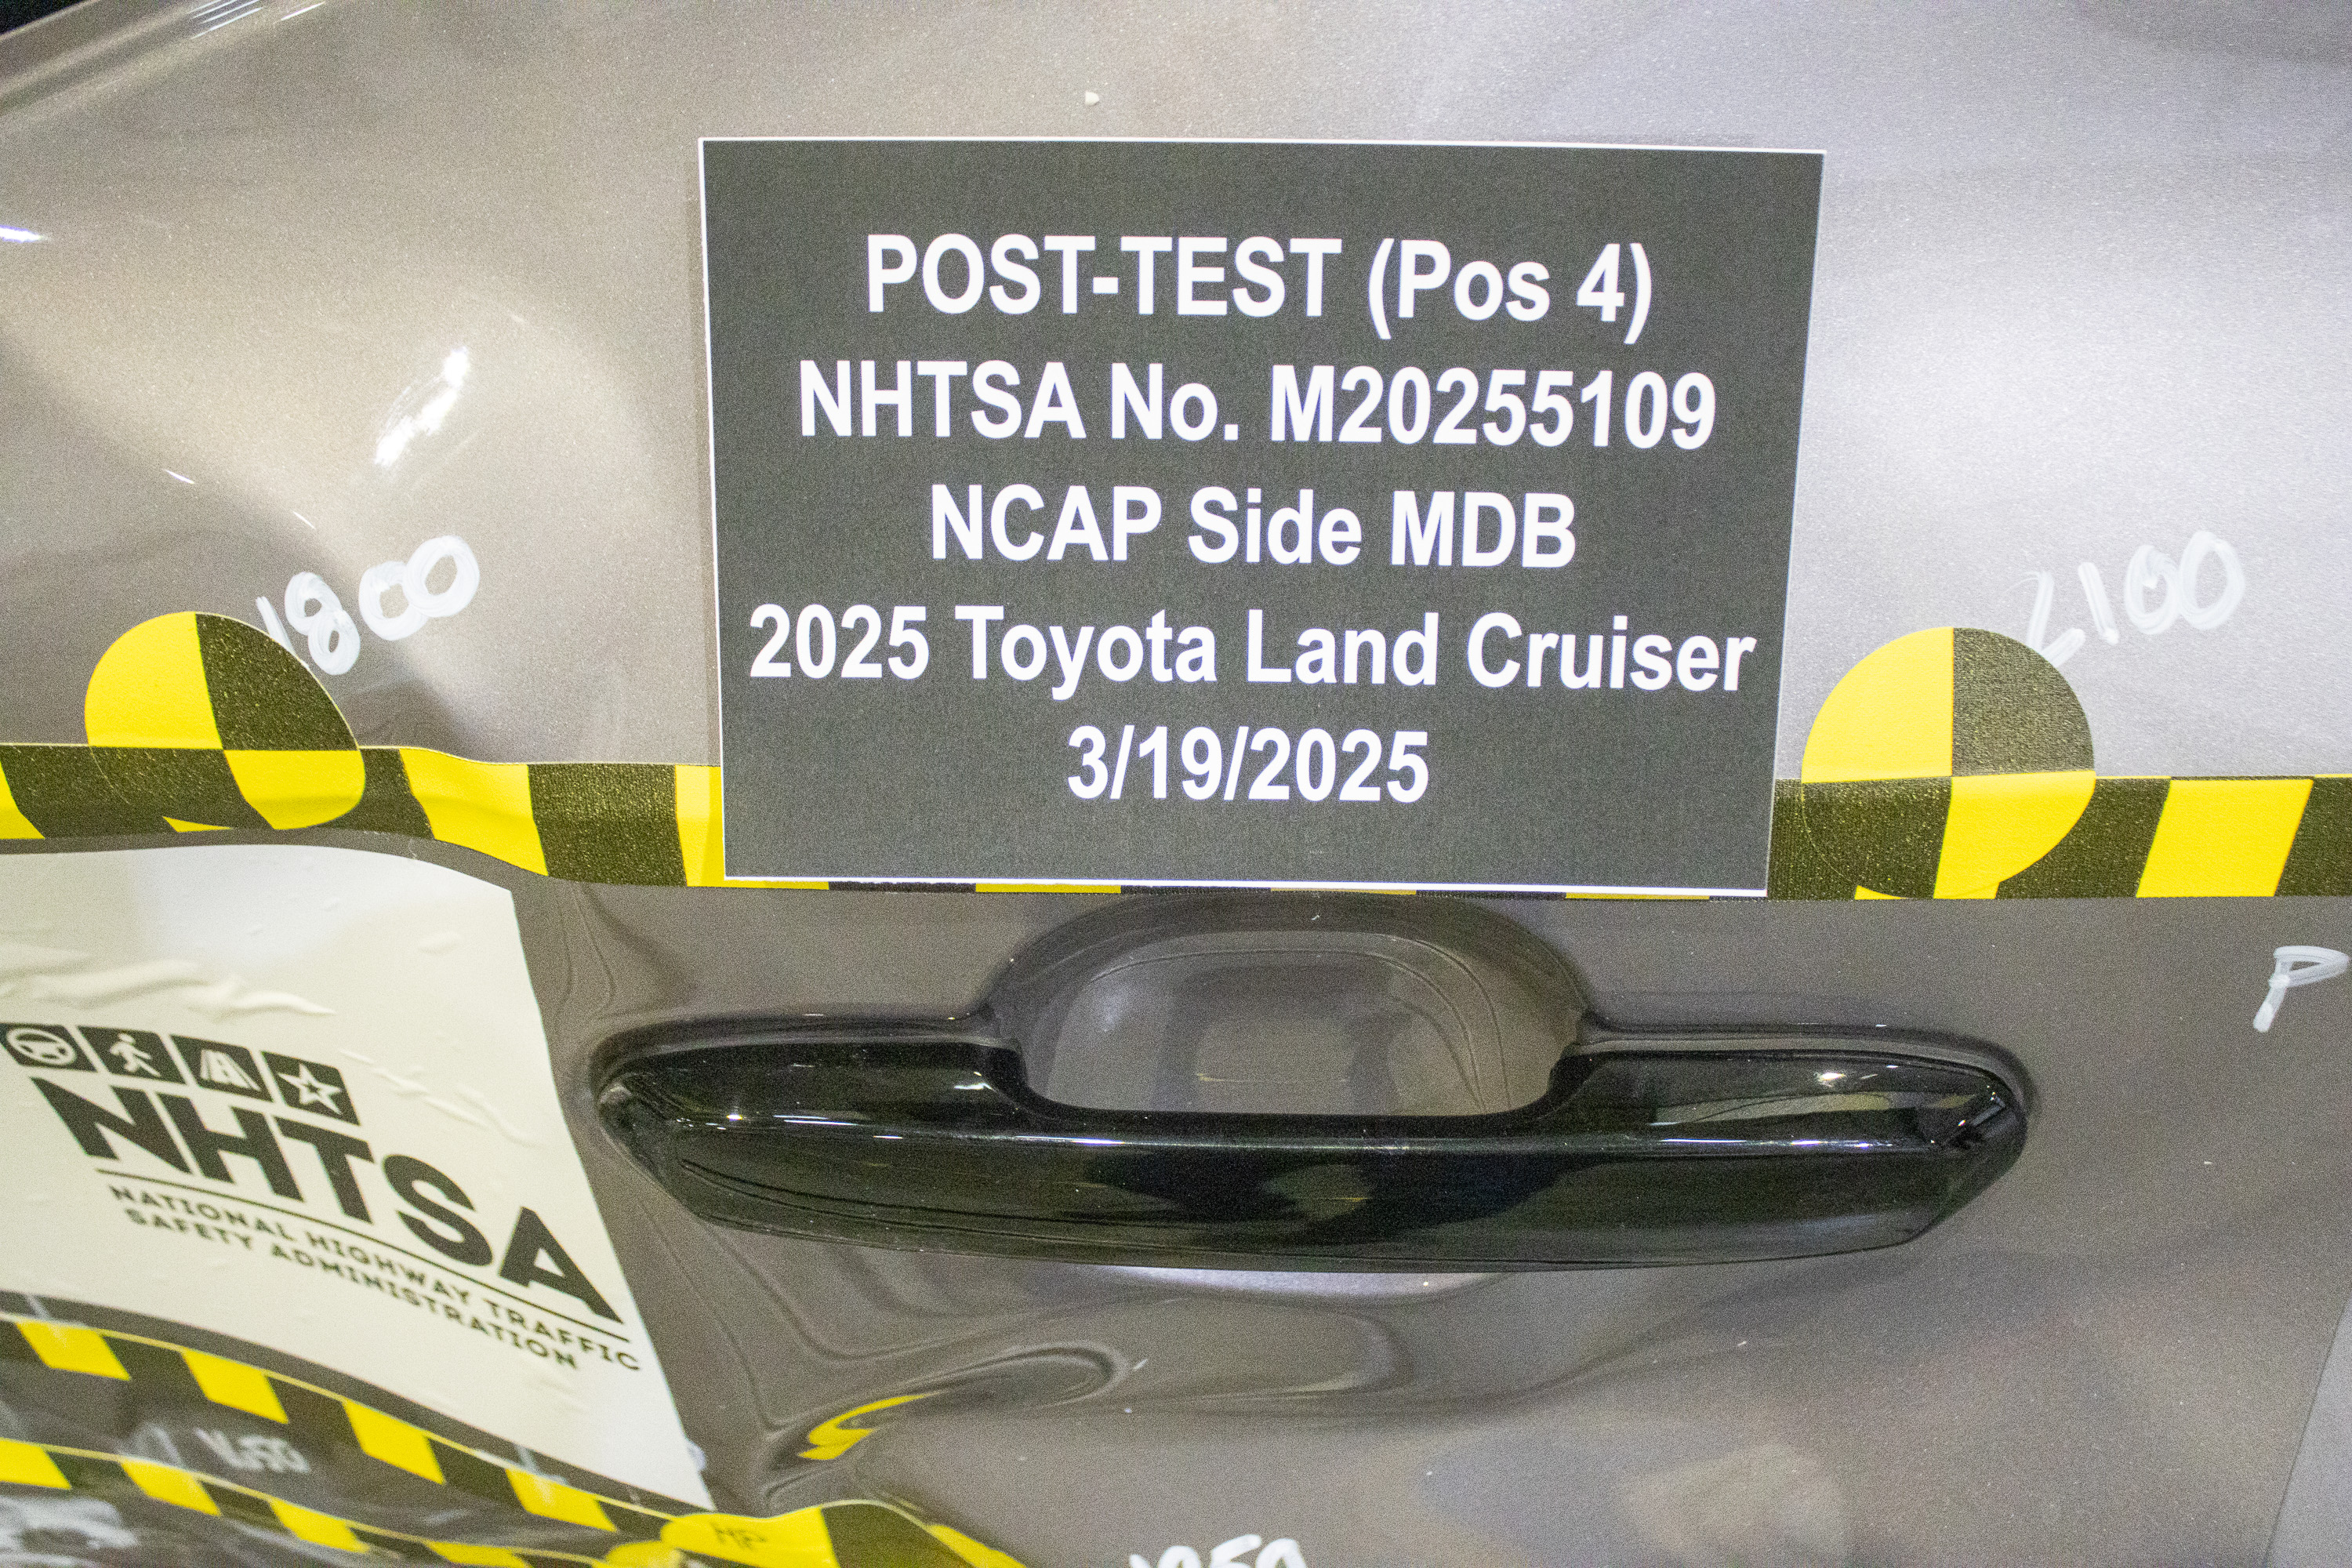
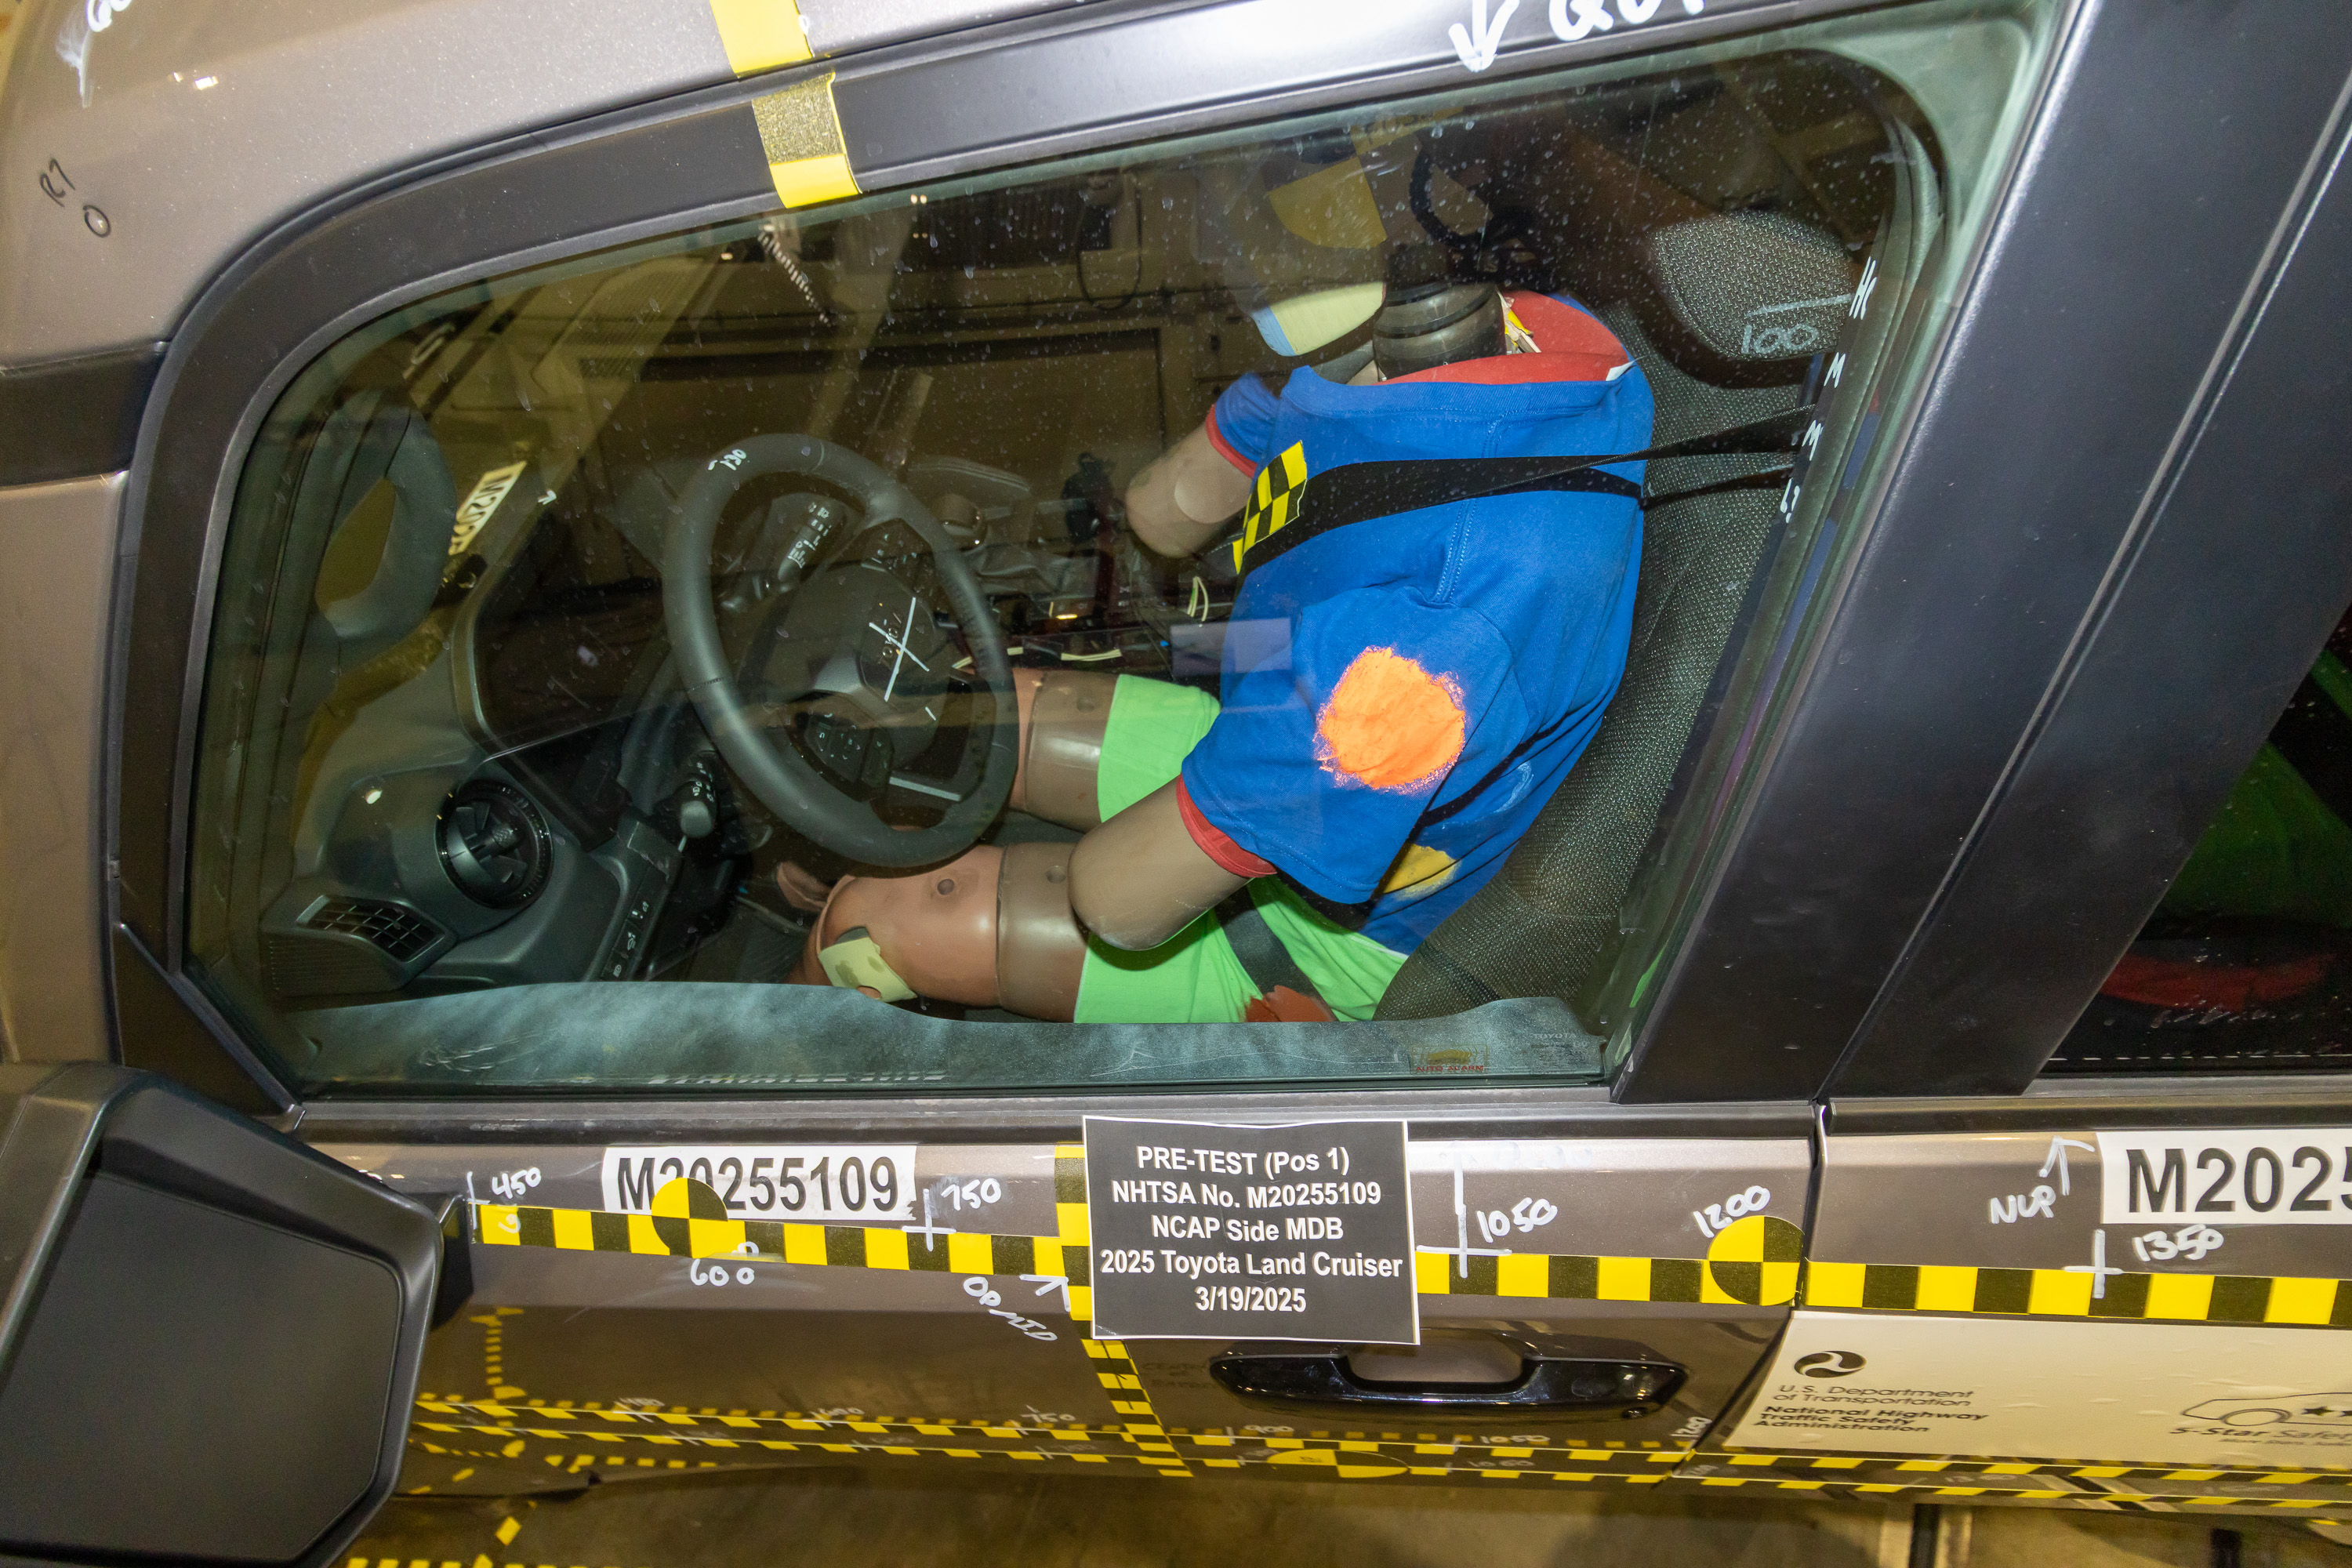
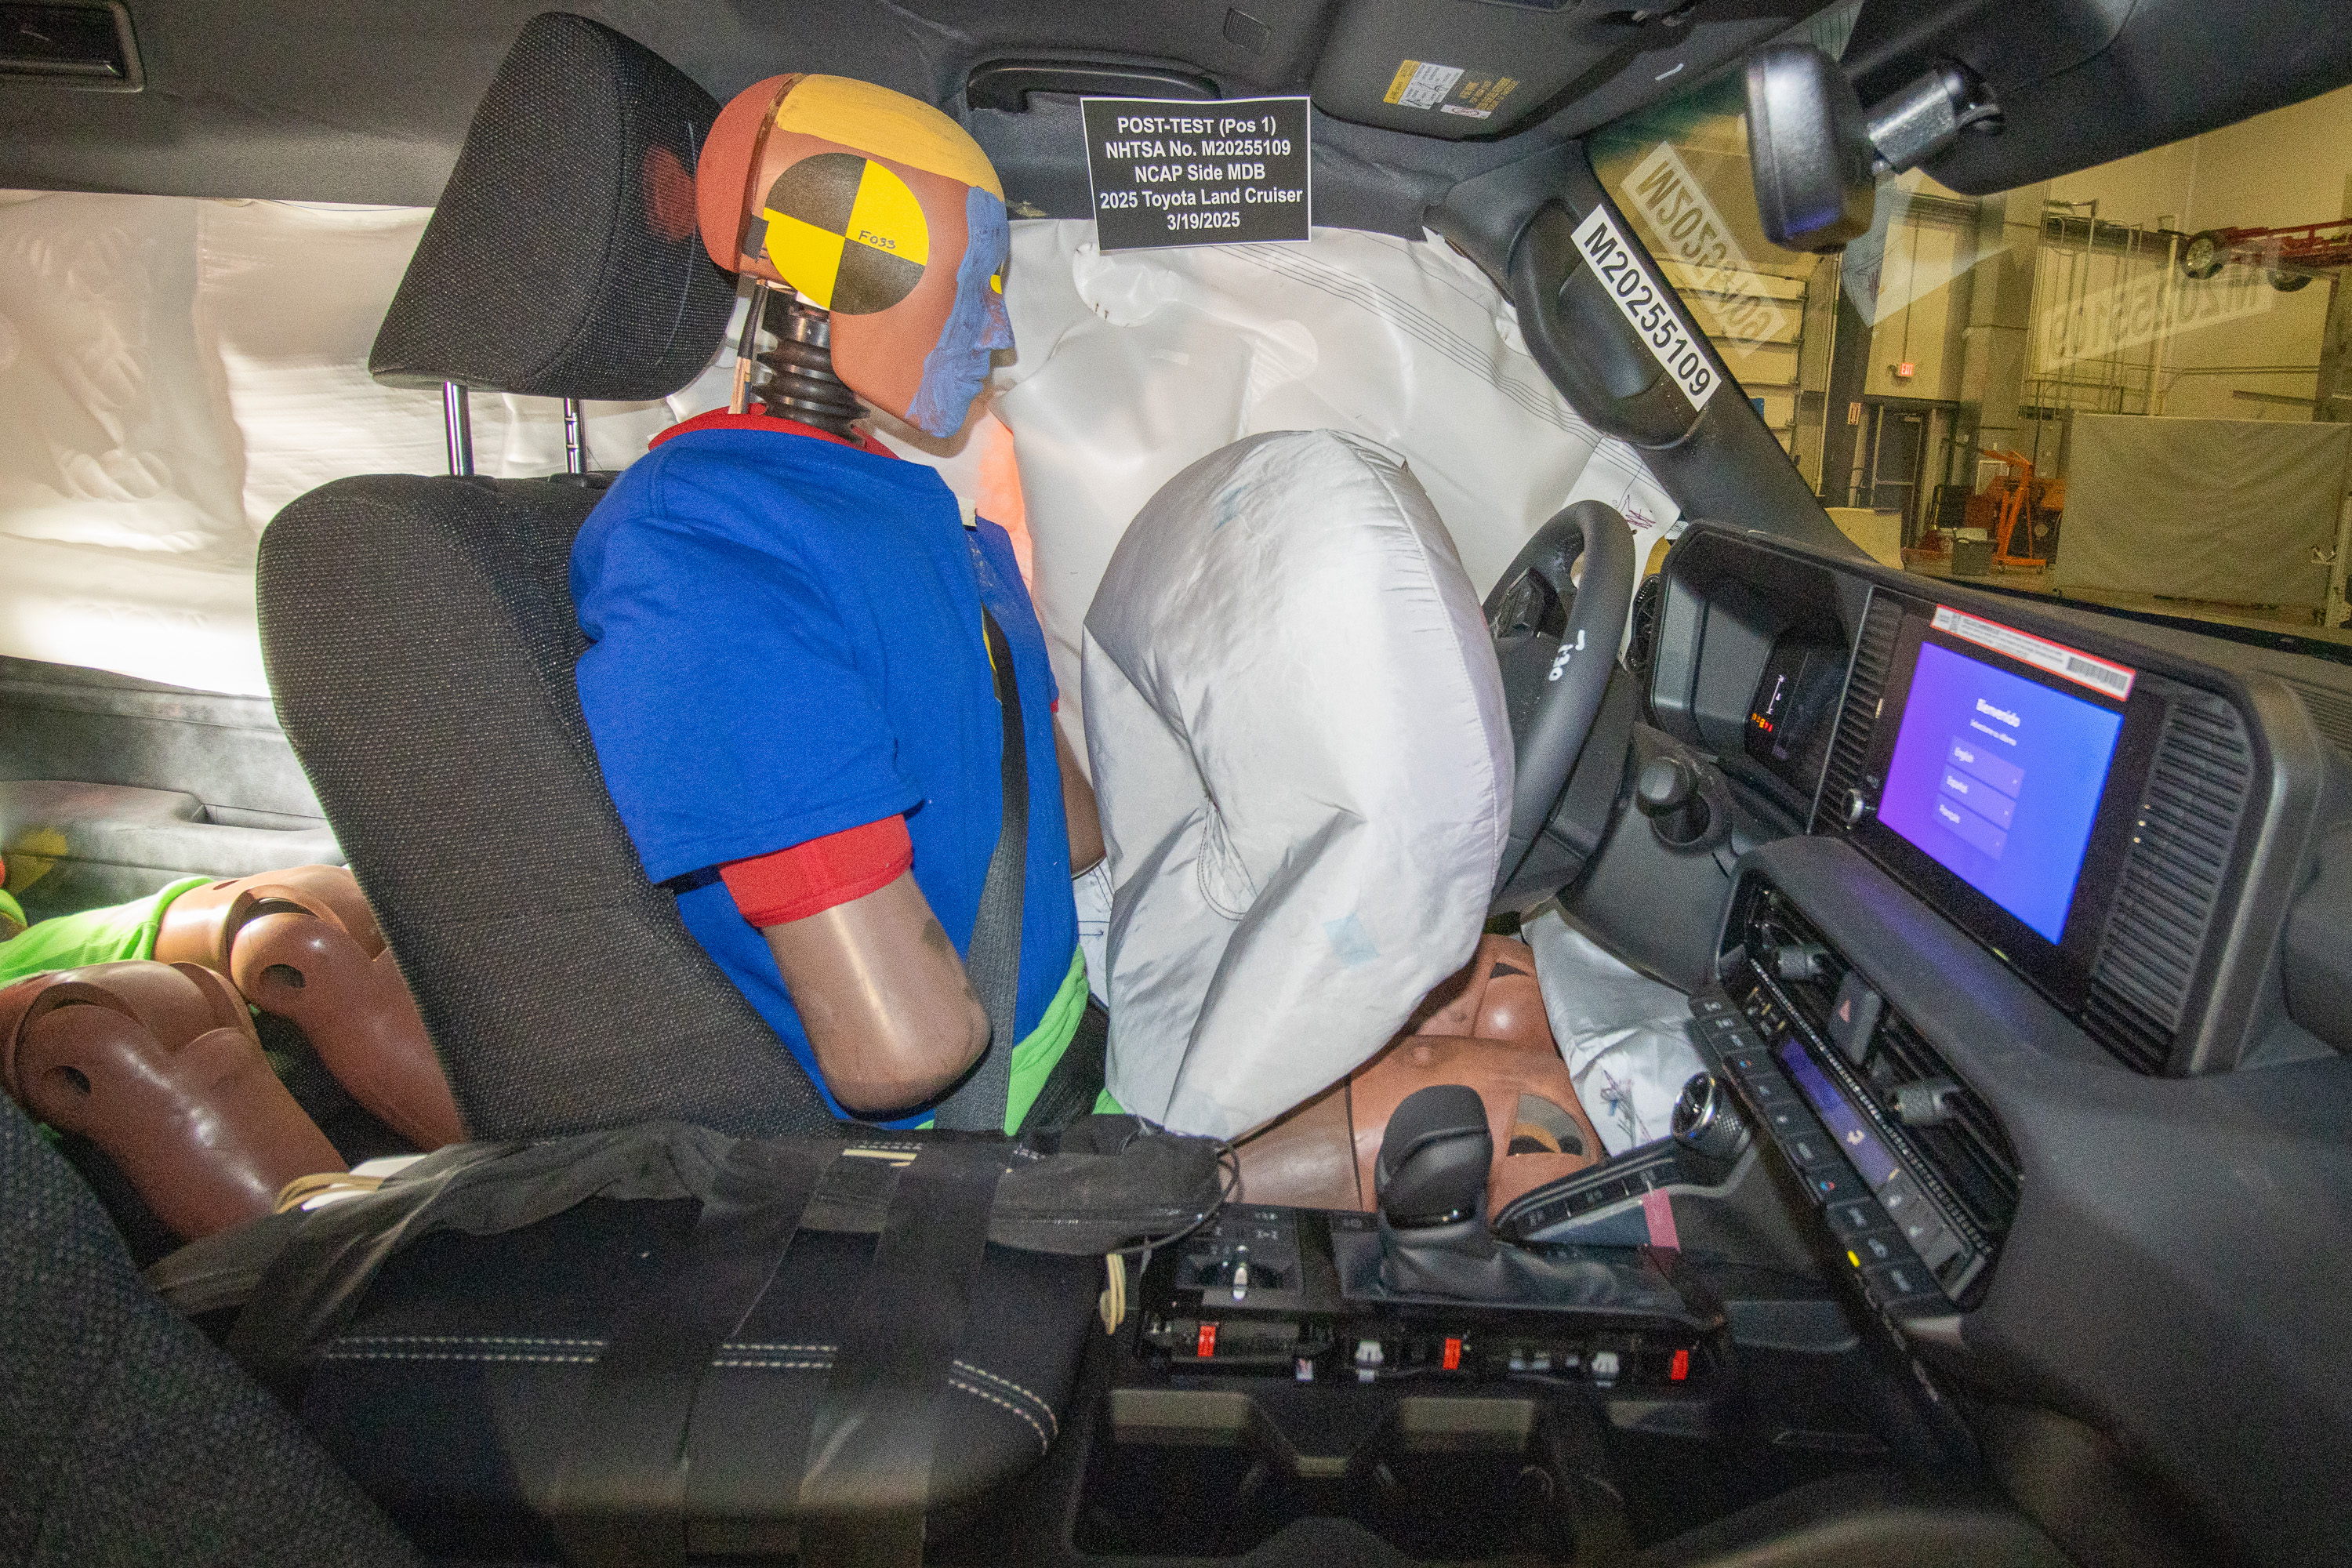
No. 001 - As-Delivered Right Front 3-4 View of Test Vehicle.jpgNo. 002 - As-Delivered Left Rear 3-4 View of Test Vehicle.jpgNo. 003 - Pre-Test Frontal View of Test Vehicle.jpgNo. 004 - Post-Test Frontal View of Test Vehicle.jpgNo. 005 - Pre-Test Left Front 3-4 View of Test Vehicle.jpgNo. 006 - Post-Test Left Front 3-4 View of Test Vehicle.jpgNo. 007 - Pre-Test Left Side View of Test Vehicle.jpgNo. 008 - Post-Test Left Side View of Test Vehicle.jpgNo. 009 - Pre-Test Left Rear 3-4 View of Test Vehicle.jpgNo. 010 - Post-Test Left Rear 3-4 View of Test Vehicle.jpgNo. 011 - Pre-Test Rear View of Test Vehicle.jpgNo. 012 - Post-Test Rear Side View of Test Vehicle.jpgNo. 013 - Pre-Test Right Side View of Test Vehicle.jpgNo. 014 - Post-Test Right Side View of Test Vehicle.jpgNo. 015 - Pre-Test Overhead View of Test Area.jpgNo. 016 - Post-Test Overhead View of Test Area.jpgNo. 017 - Pre-Test Left Side View of MDB Positioned Against Side of Test Vehicle.jpgNo. 018 - Pre-Test Right Side View of MDB Positioned Against Side of Test Vehicle.jpgNo. 019 - Pre-Test Close-Up View of Impact Point Target.jpgNo. 020 - Post-Test Close-up View of Impact Point Target.jpgNo. 021 - Pre-Test Left Front Door Latch Close-Up.jpgNo. 022 - Post-Test Left Front Door Latch Close-Up.jpgNo. 023 - Pre-Test Left Rear Door Latch Close-Up.jpgNo. 024 - Post-Test Left Rear Door Latch Close-Up.jpgNo. 026 - Post-Test Front Close-up View of Driver Dummy.jpgNo. 029 - Post-Test Left Side View of Driver Dummy Shoulder and Door Top View.jpgNo. 037 - View of Disengaged Parking Brake.jpgNo. 041 - Pre-Test Close-Up View of Driver Seat Back or Head Restraint.jpgNo. 042 - Pre-Test Driver Dummy and Door Clearance View.jpgNo. 045 - Post-Test Right Side View of Driver Dummy and Front Seat of Occupant Compartment.jpgNo. 052 - Post-Test Driver Dummy Close-Up Pelvis Contact View.jpgNo. 067 - Pre-test Close-Up Left Side View of Rear Passenger Seat Back.jpgNo. 085 - Post-Test Front View of MDB Impactor Face.jpgNo. 104 - Left Rear Passenger Head Restraint Use and Adjustment Information from Vehicle Owner's Manual.jpgNo. 305-12 Pre-Impact View of Battery Box(s) or Container(s) Which Holds Individual Battery Modules.jpgNo. 305-30 FMVSS No. 305 Static Rollover at 270^ highlighting propulsion battery location.jpgNo. 305-37 Post-Impact View of Propulsion Battery Electrolyte Spillage Location prior to static roll (if applicable).jpg

Recalls

No recalls on record for this vehicle.

Owner complaints

No owner complaints on record for this vehicle.