crashtest

2026 / Toyota

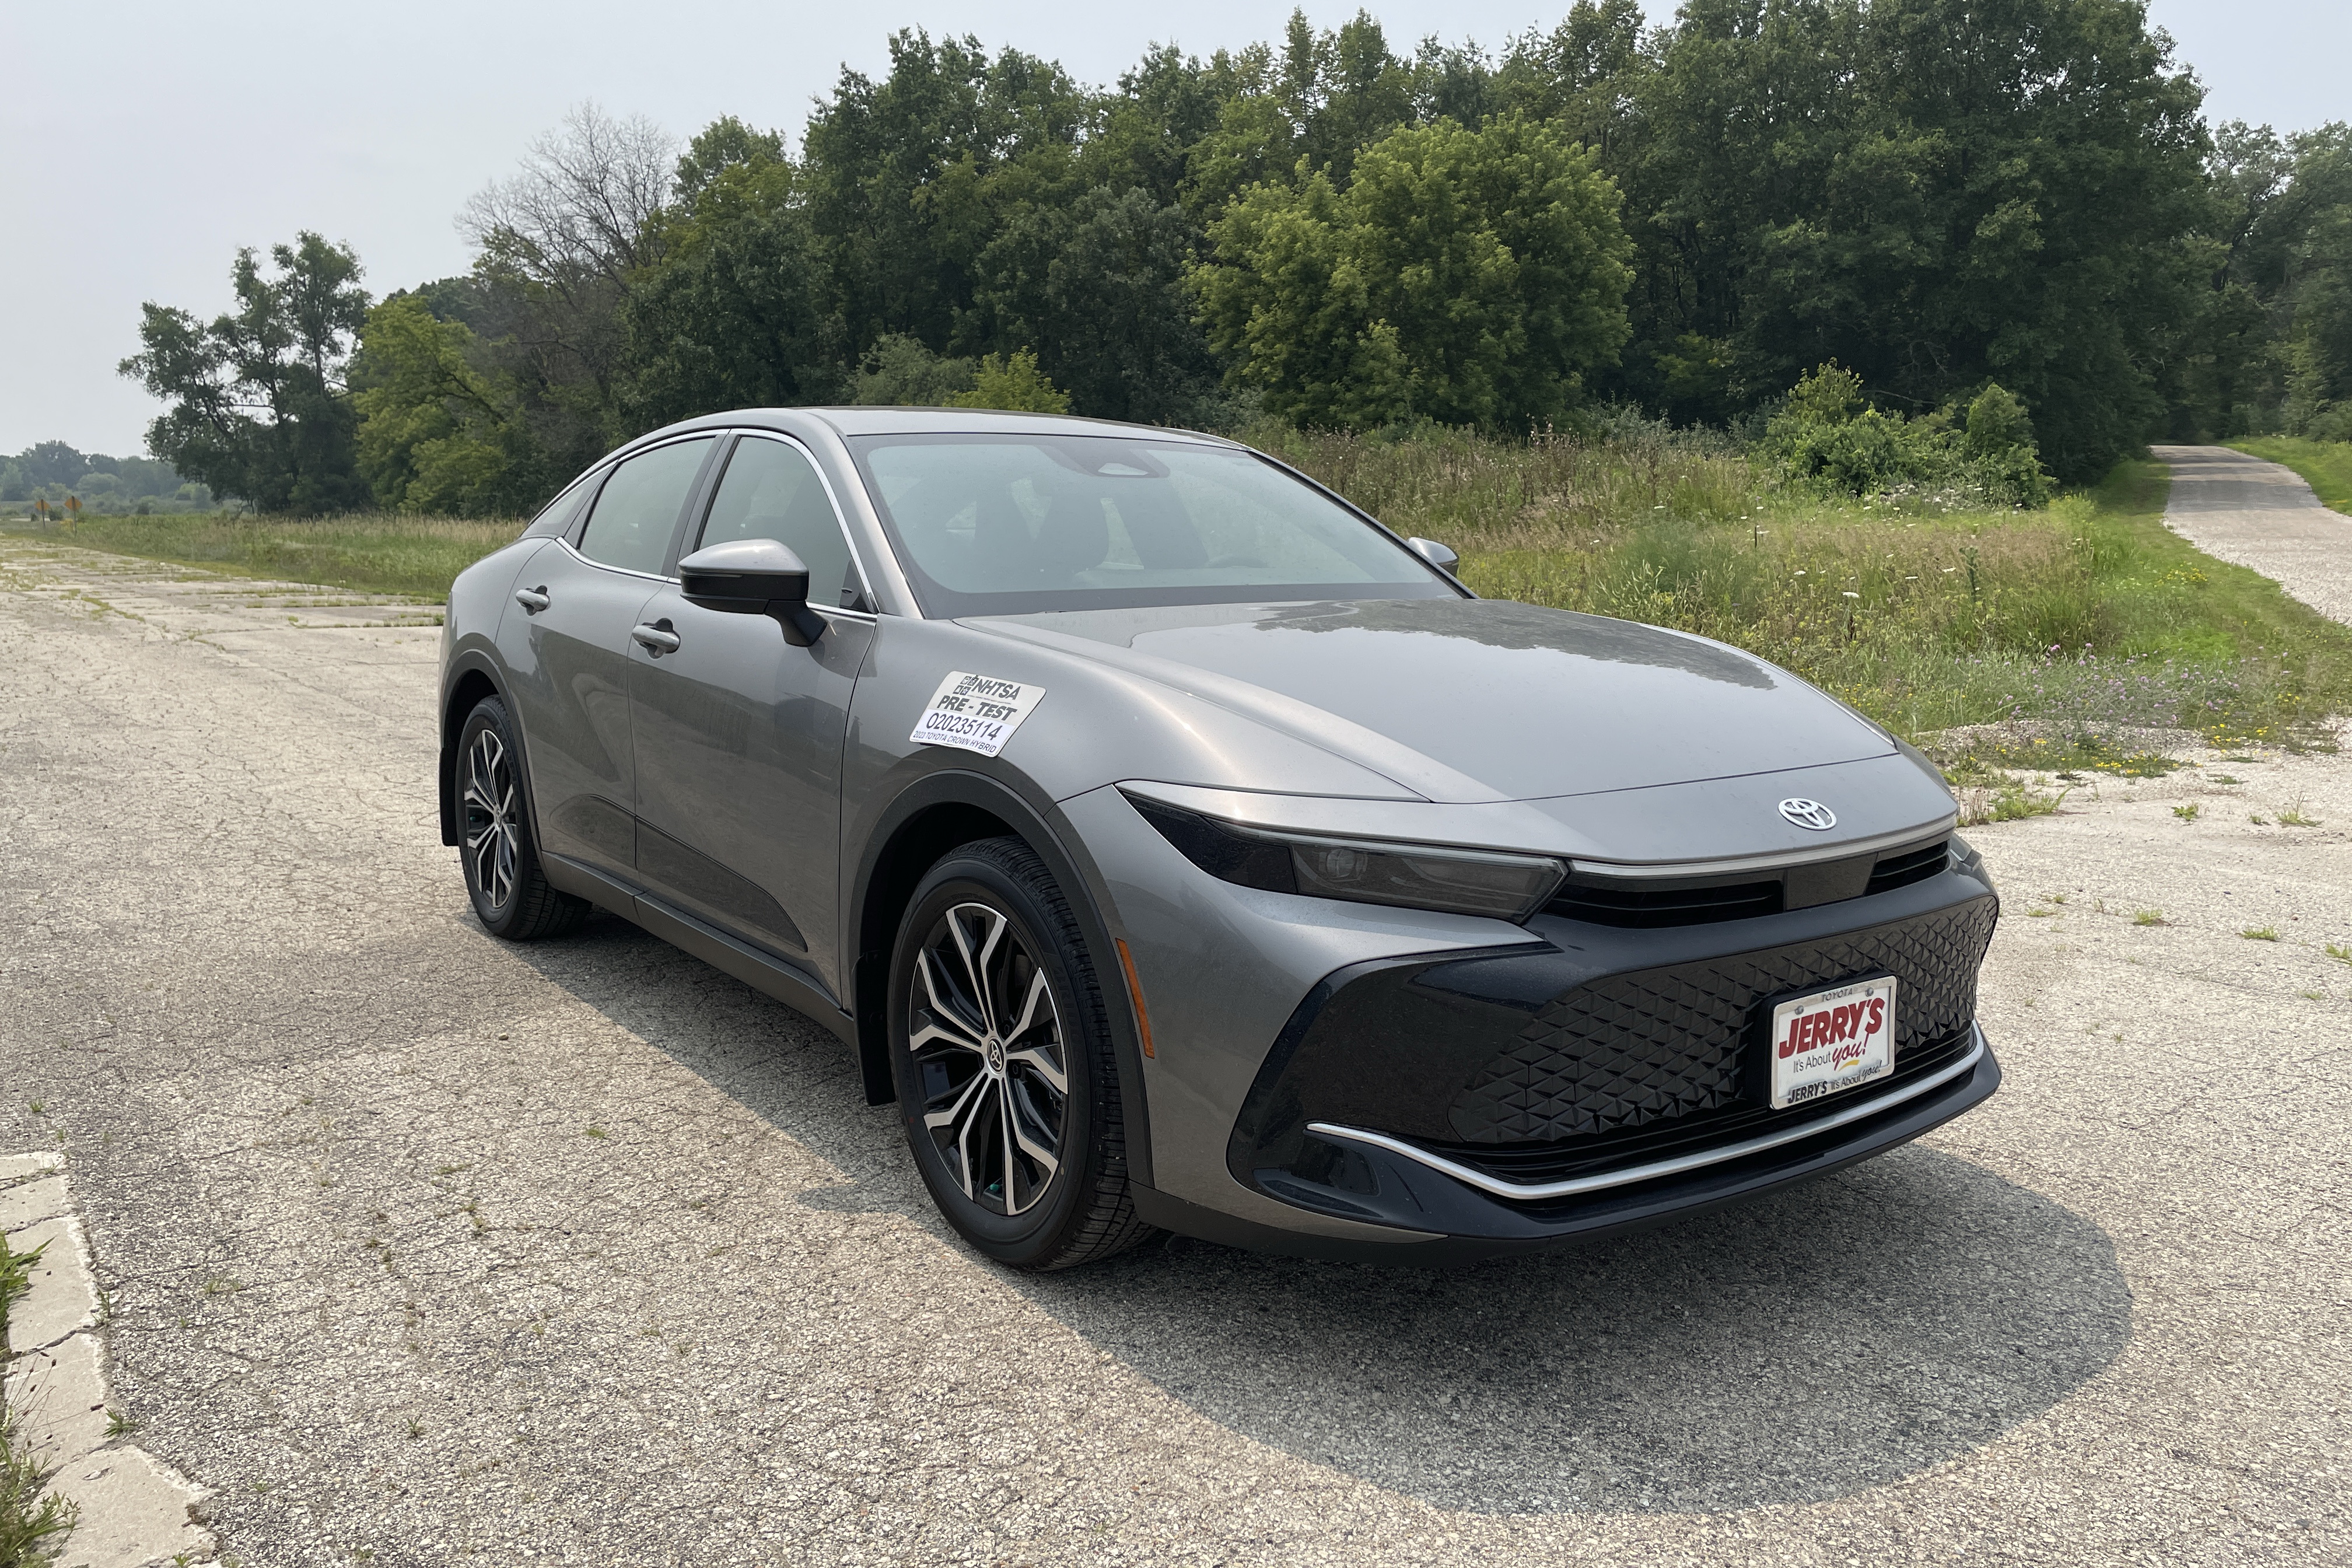
2026 Toyota Crown Hybrid

5/5

Overall rating (best variant)

Safety ratings

2026 Toyota CROWN HYBRID 4 DR AWD

5/5Overall
5/5Frontal crash
5/5Side crash
5/5Side pole
4/5Rollover
Frontal, driver: 4★Frontal, passenger: 5★Side, driver: 5★Side, rear passenger: 5★Rollover risk: 11.3%
  • Lane departure warningNo
  • Forward collision warningNo
  • Electronic stability controlStandard

Crash test videos & photos

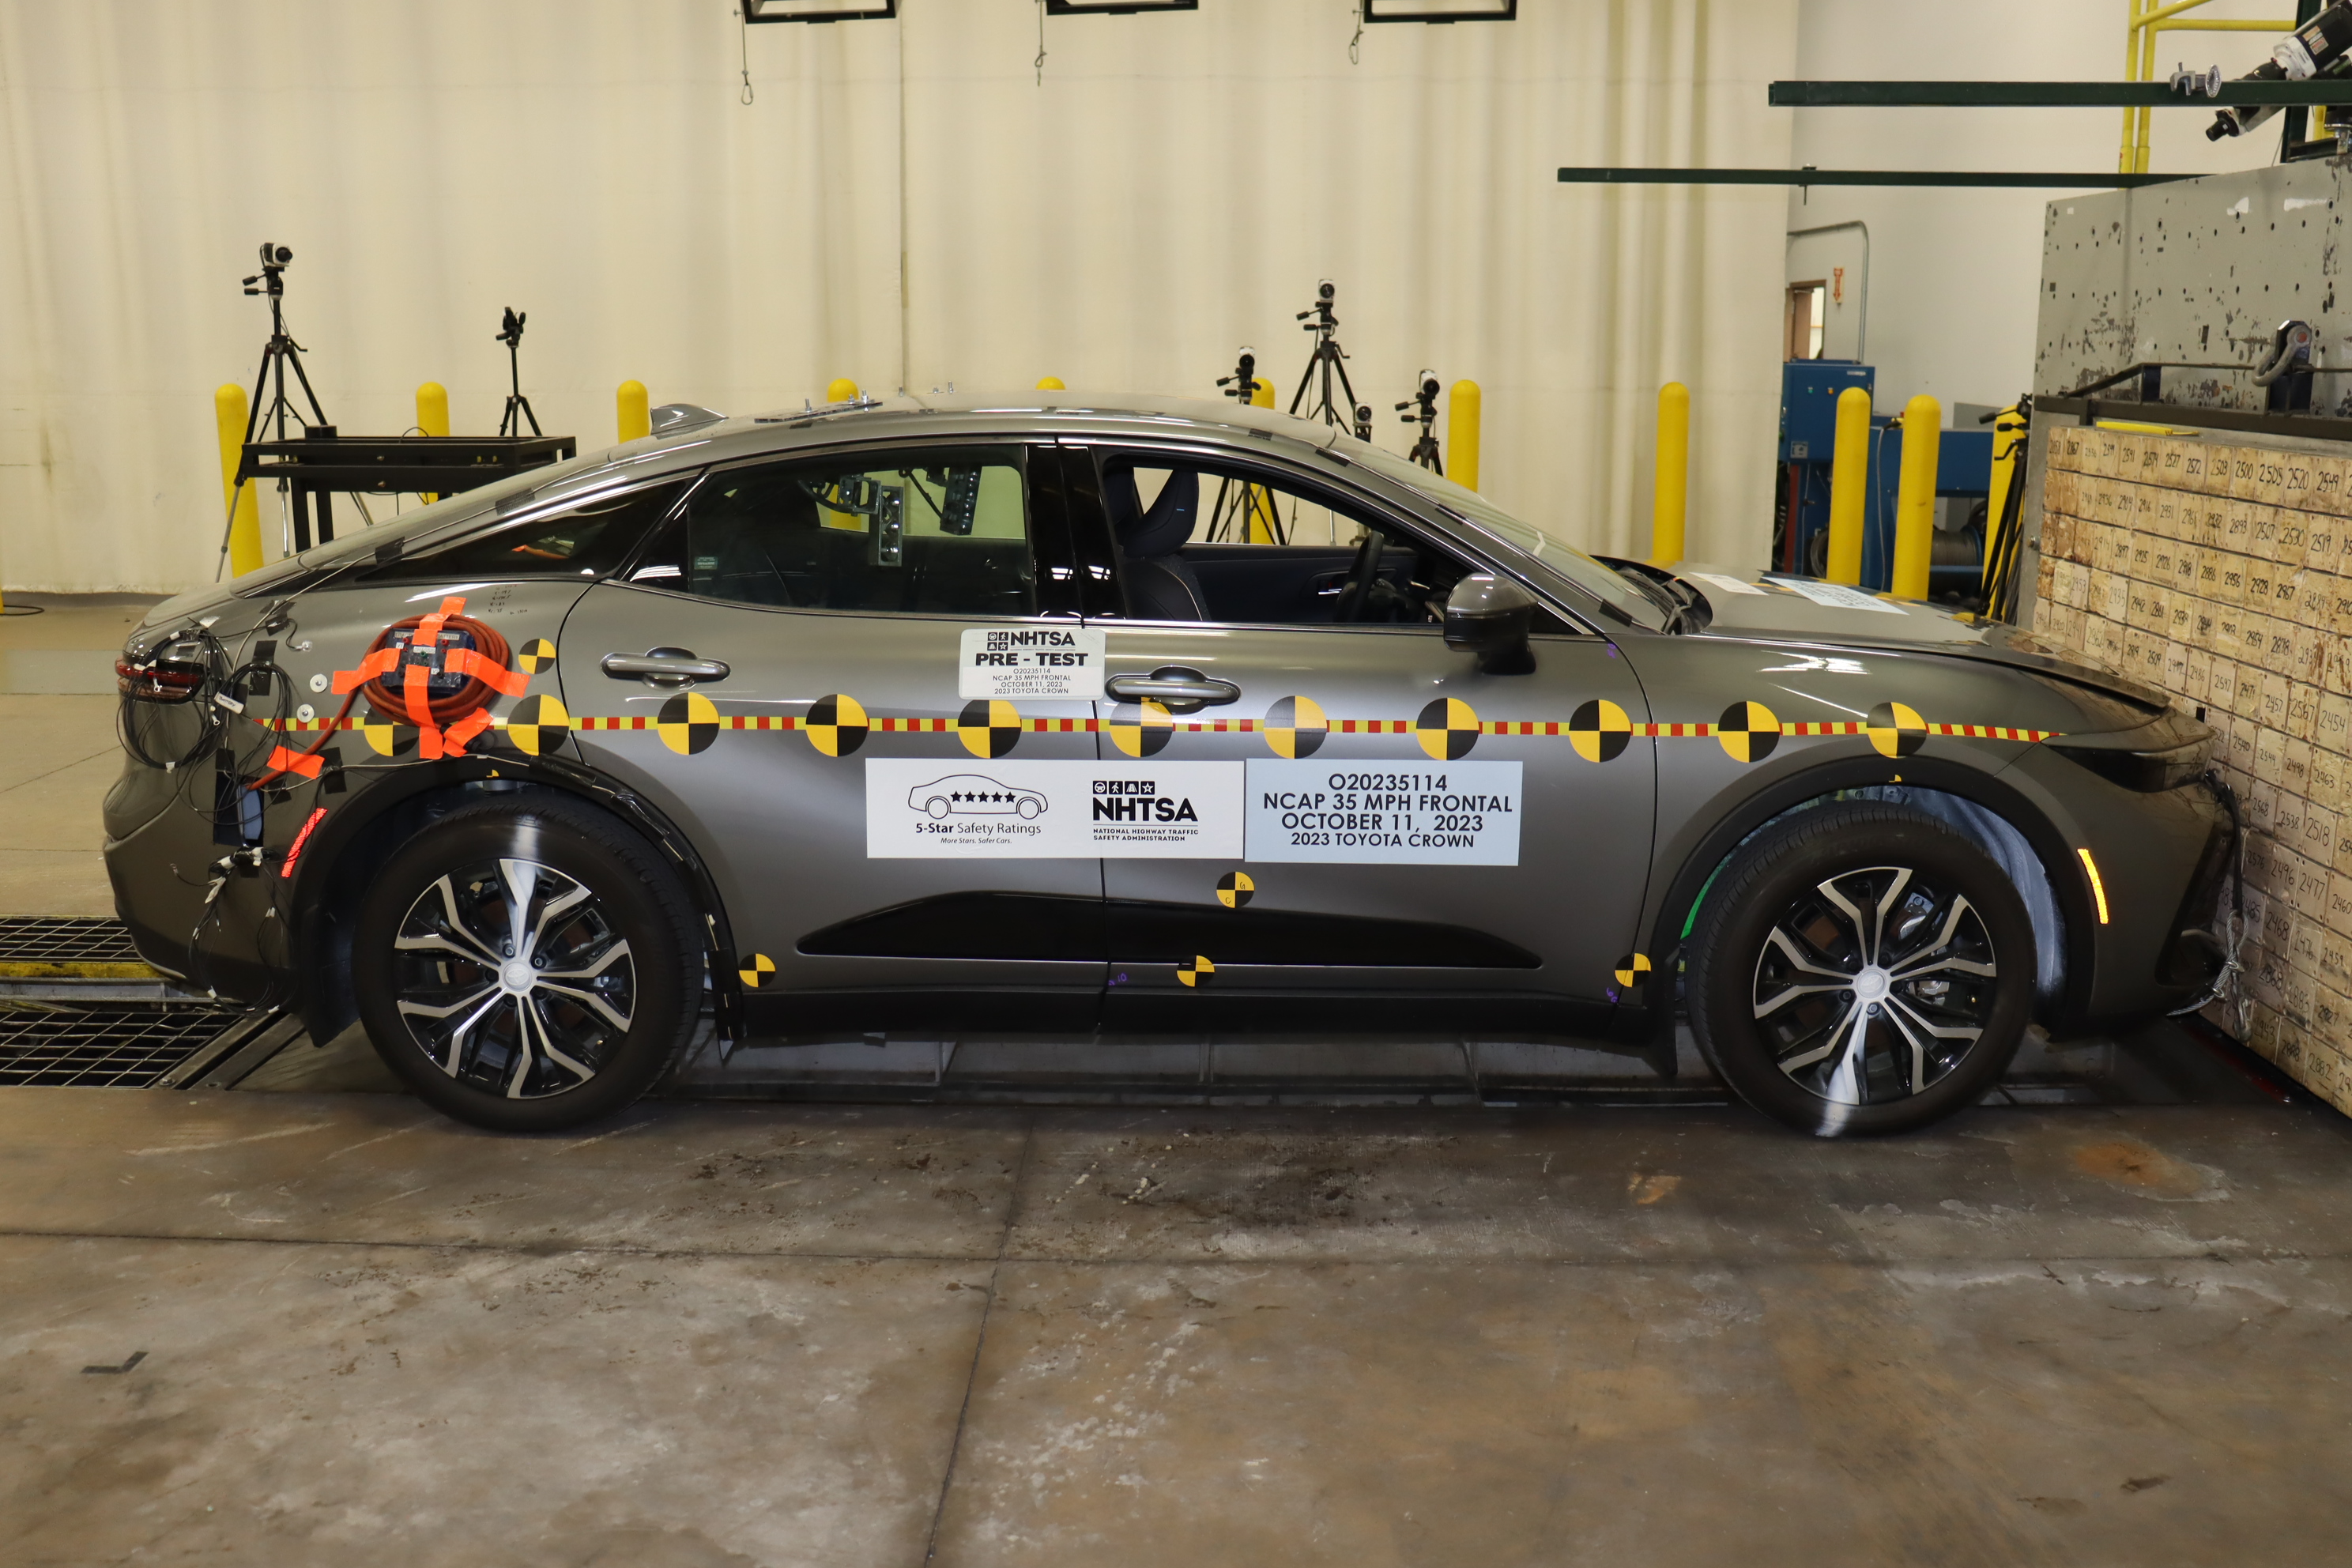
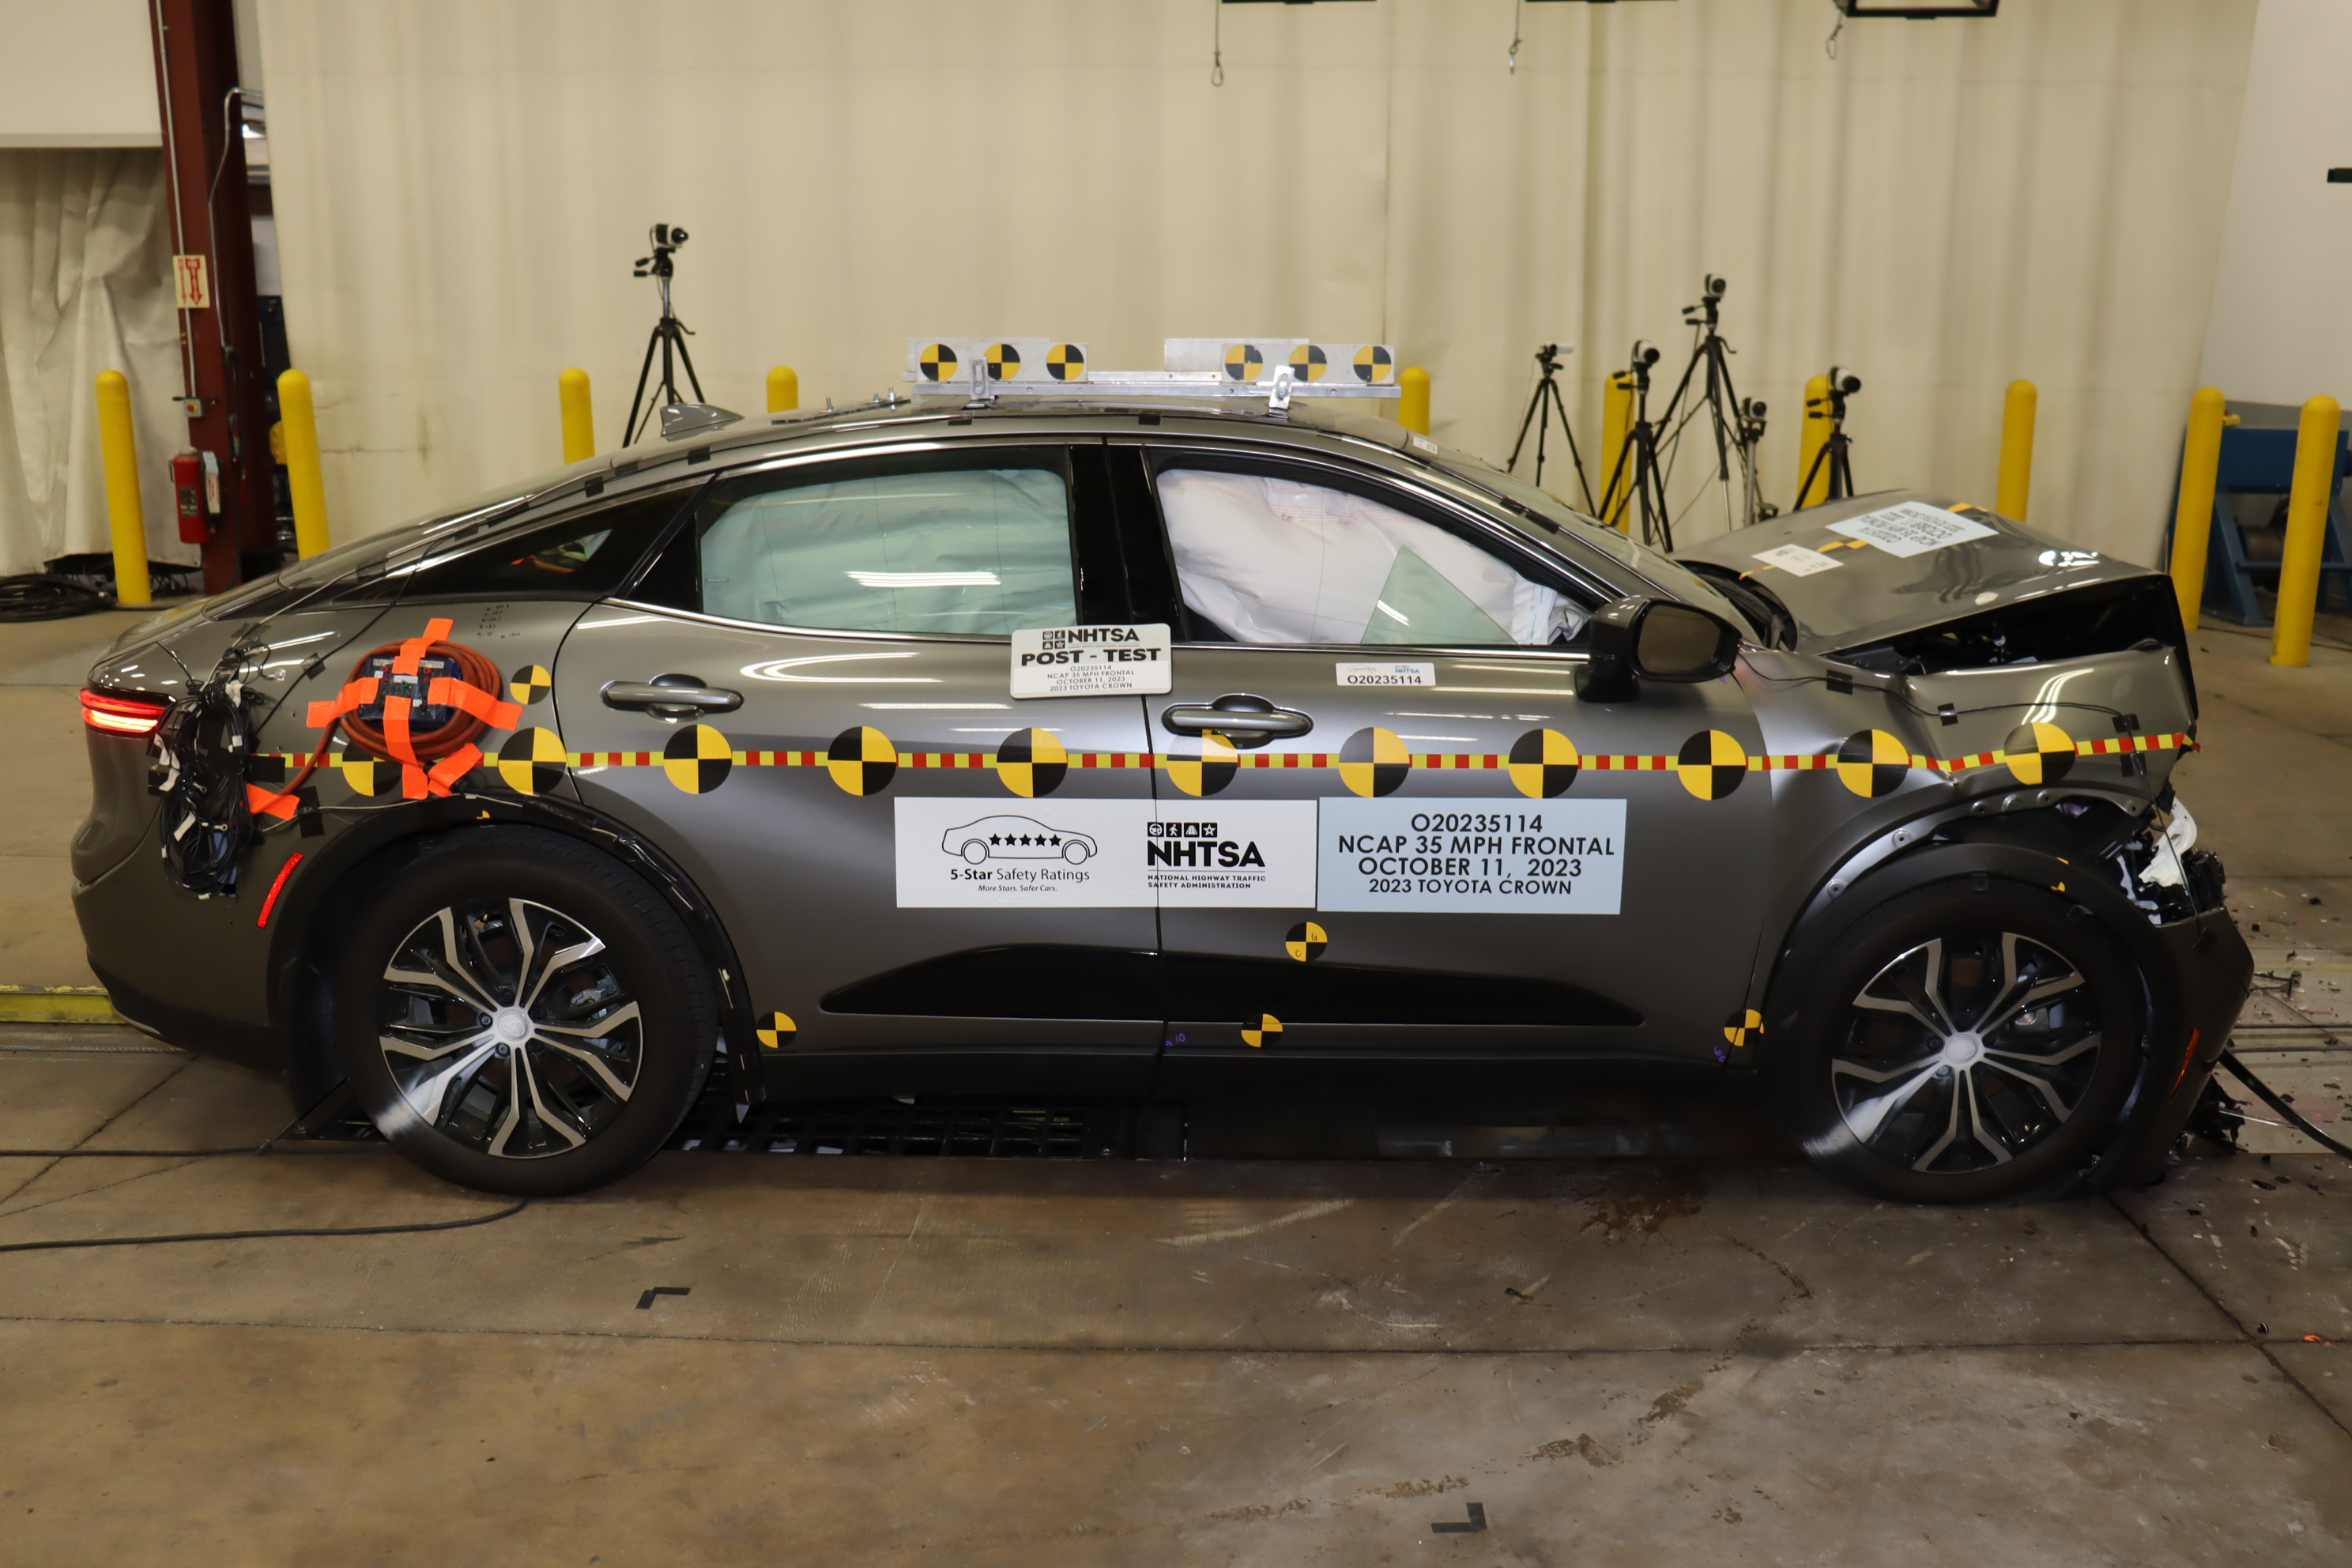
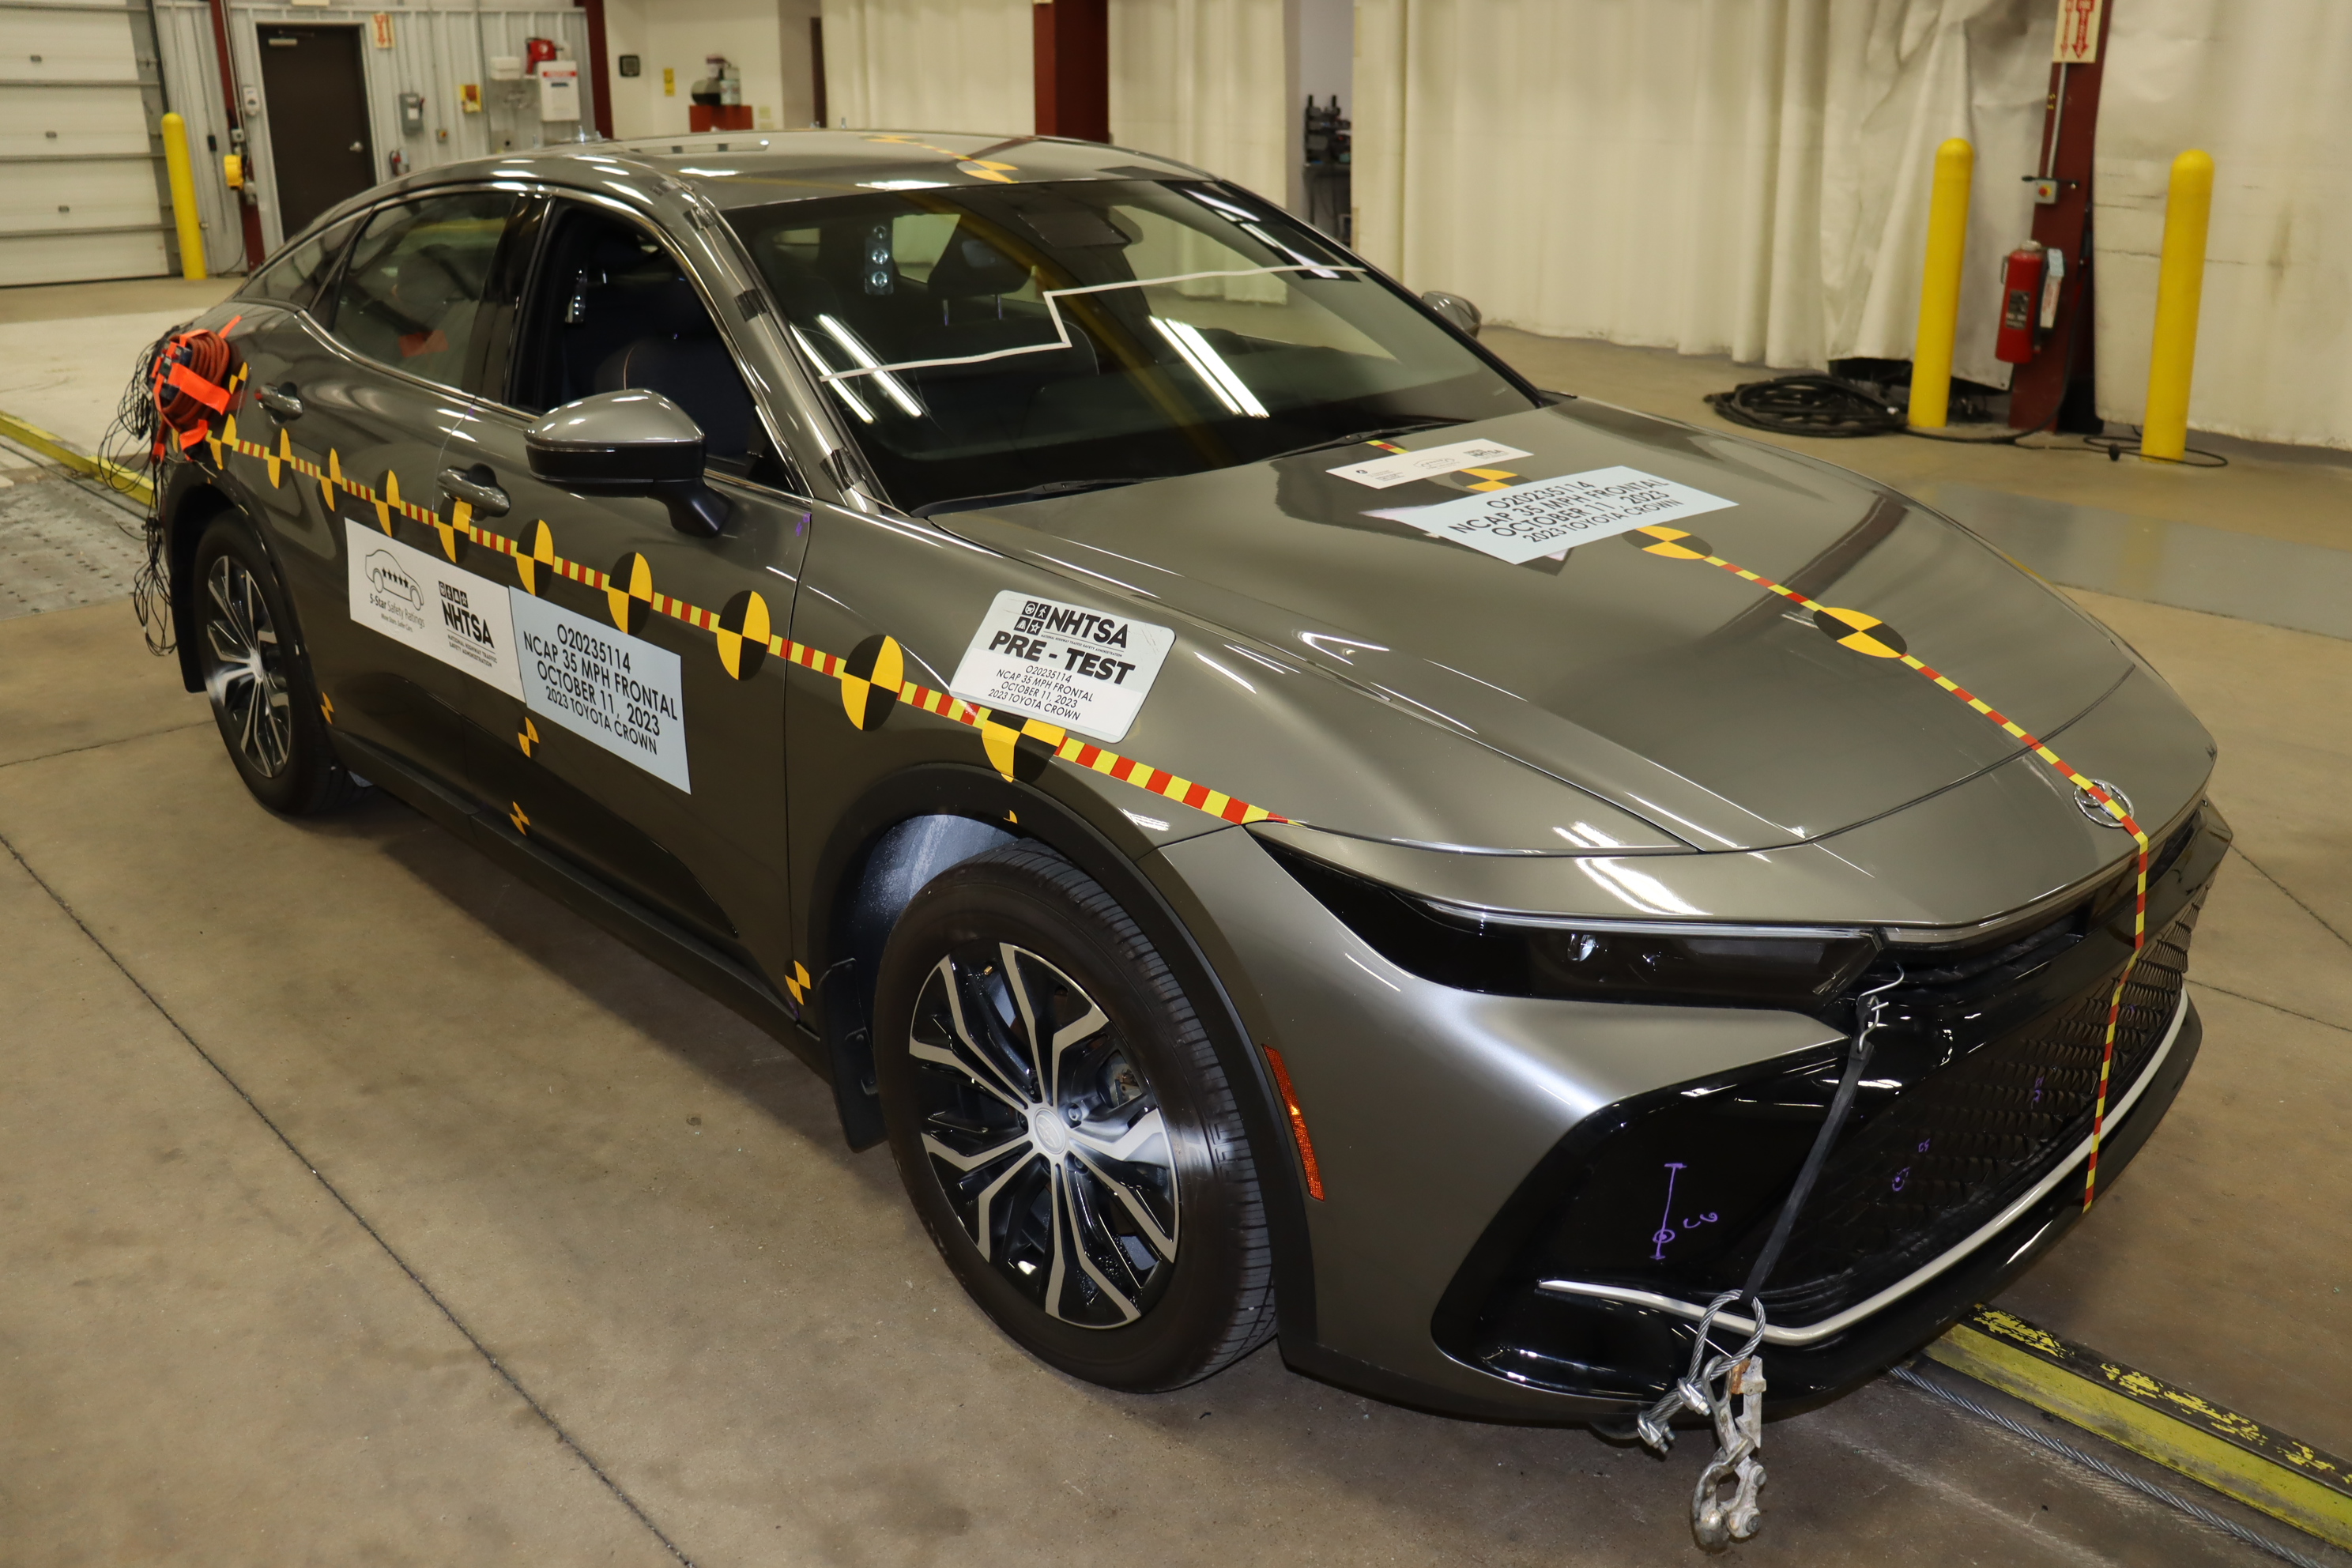
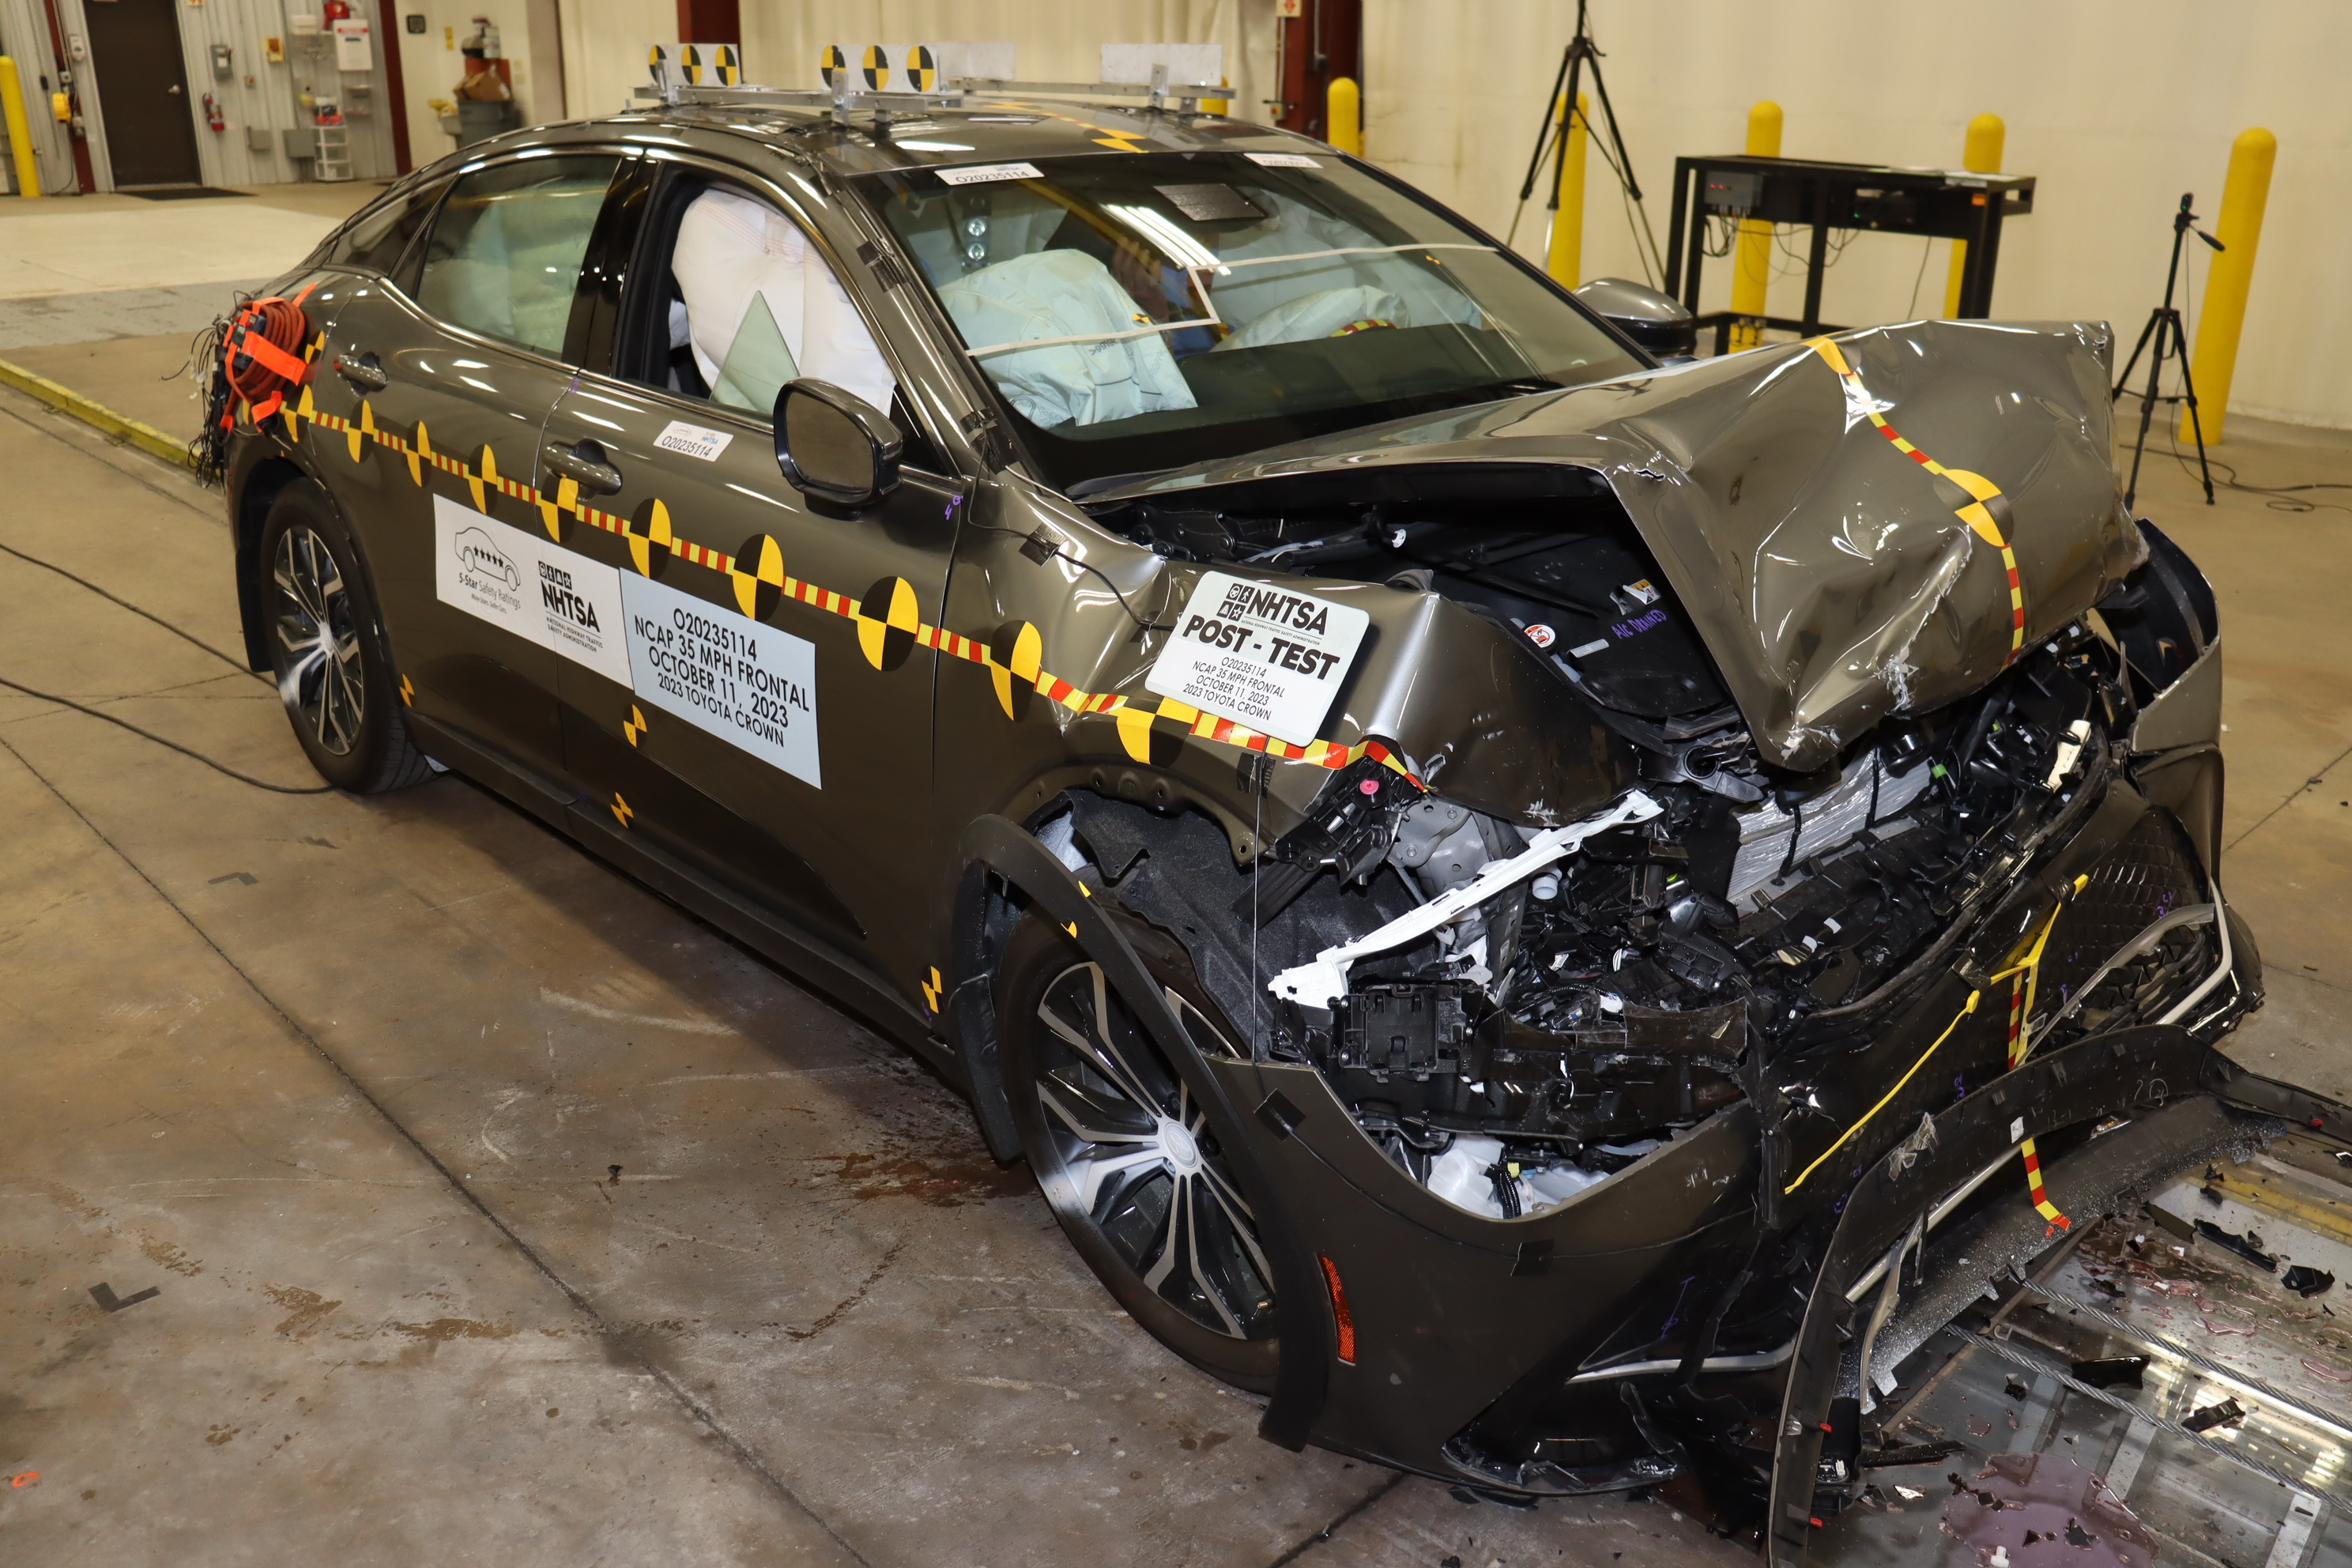
Crash test #1NHTSA test 15022

Full test report (PDF) ↗

Crash-test footage is converted for smooth playback the first time someone requests it — usually under a minute.

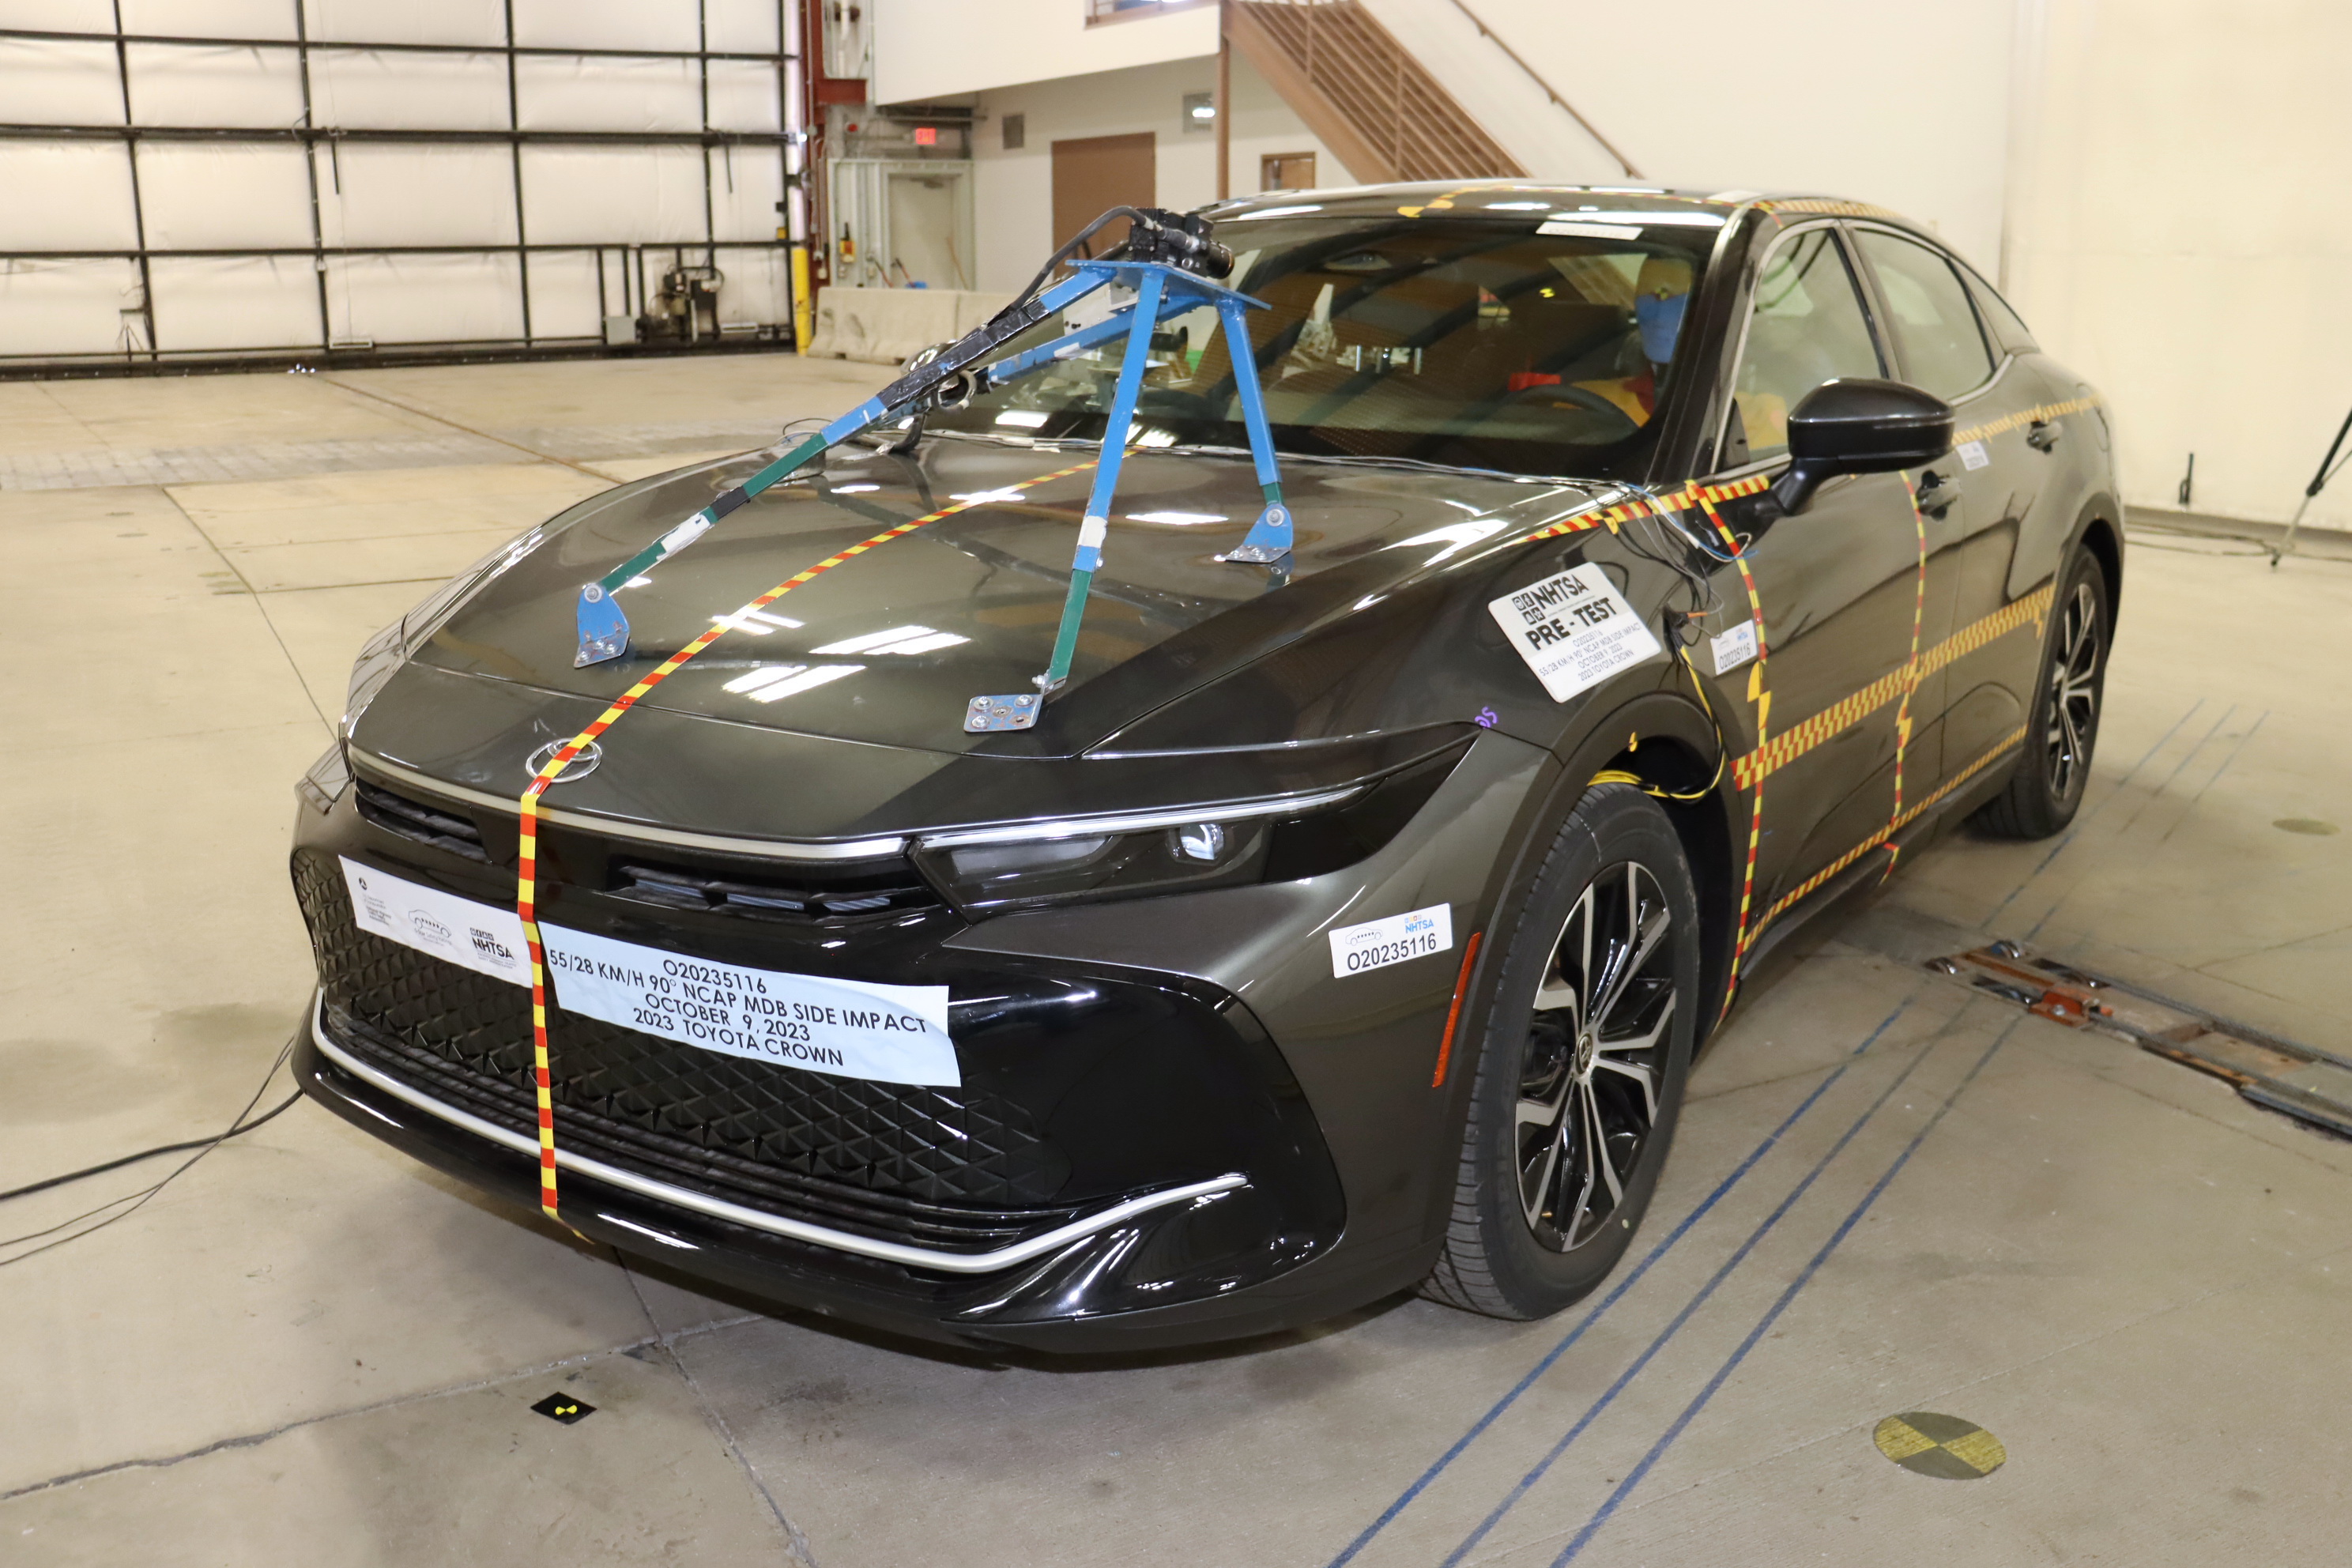
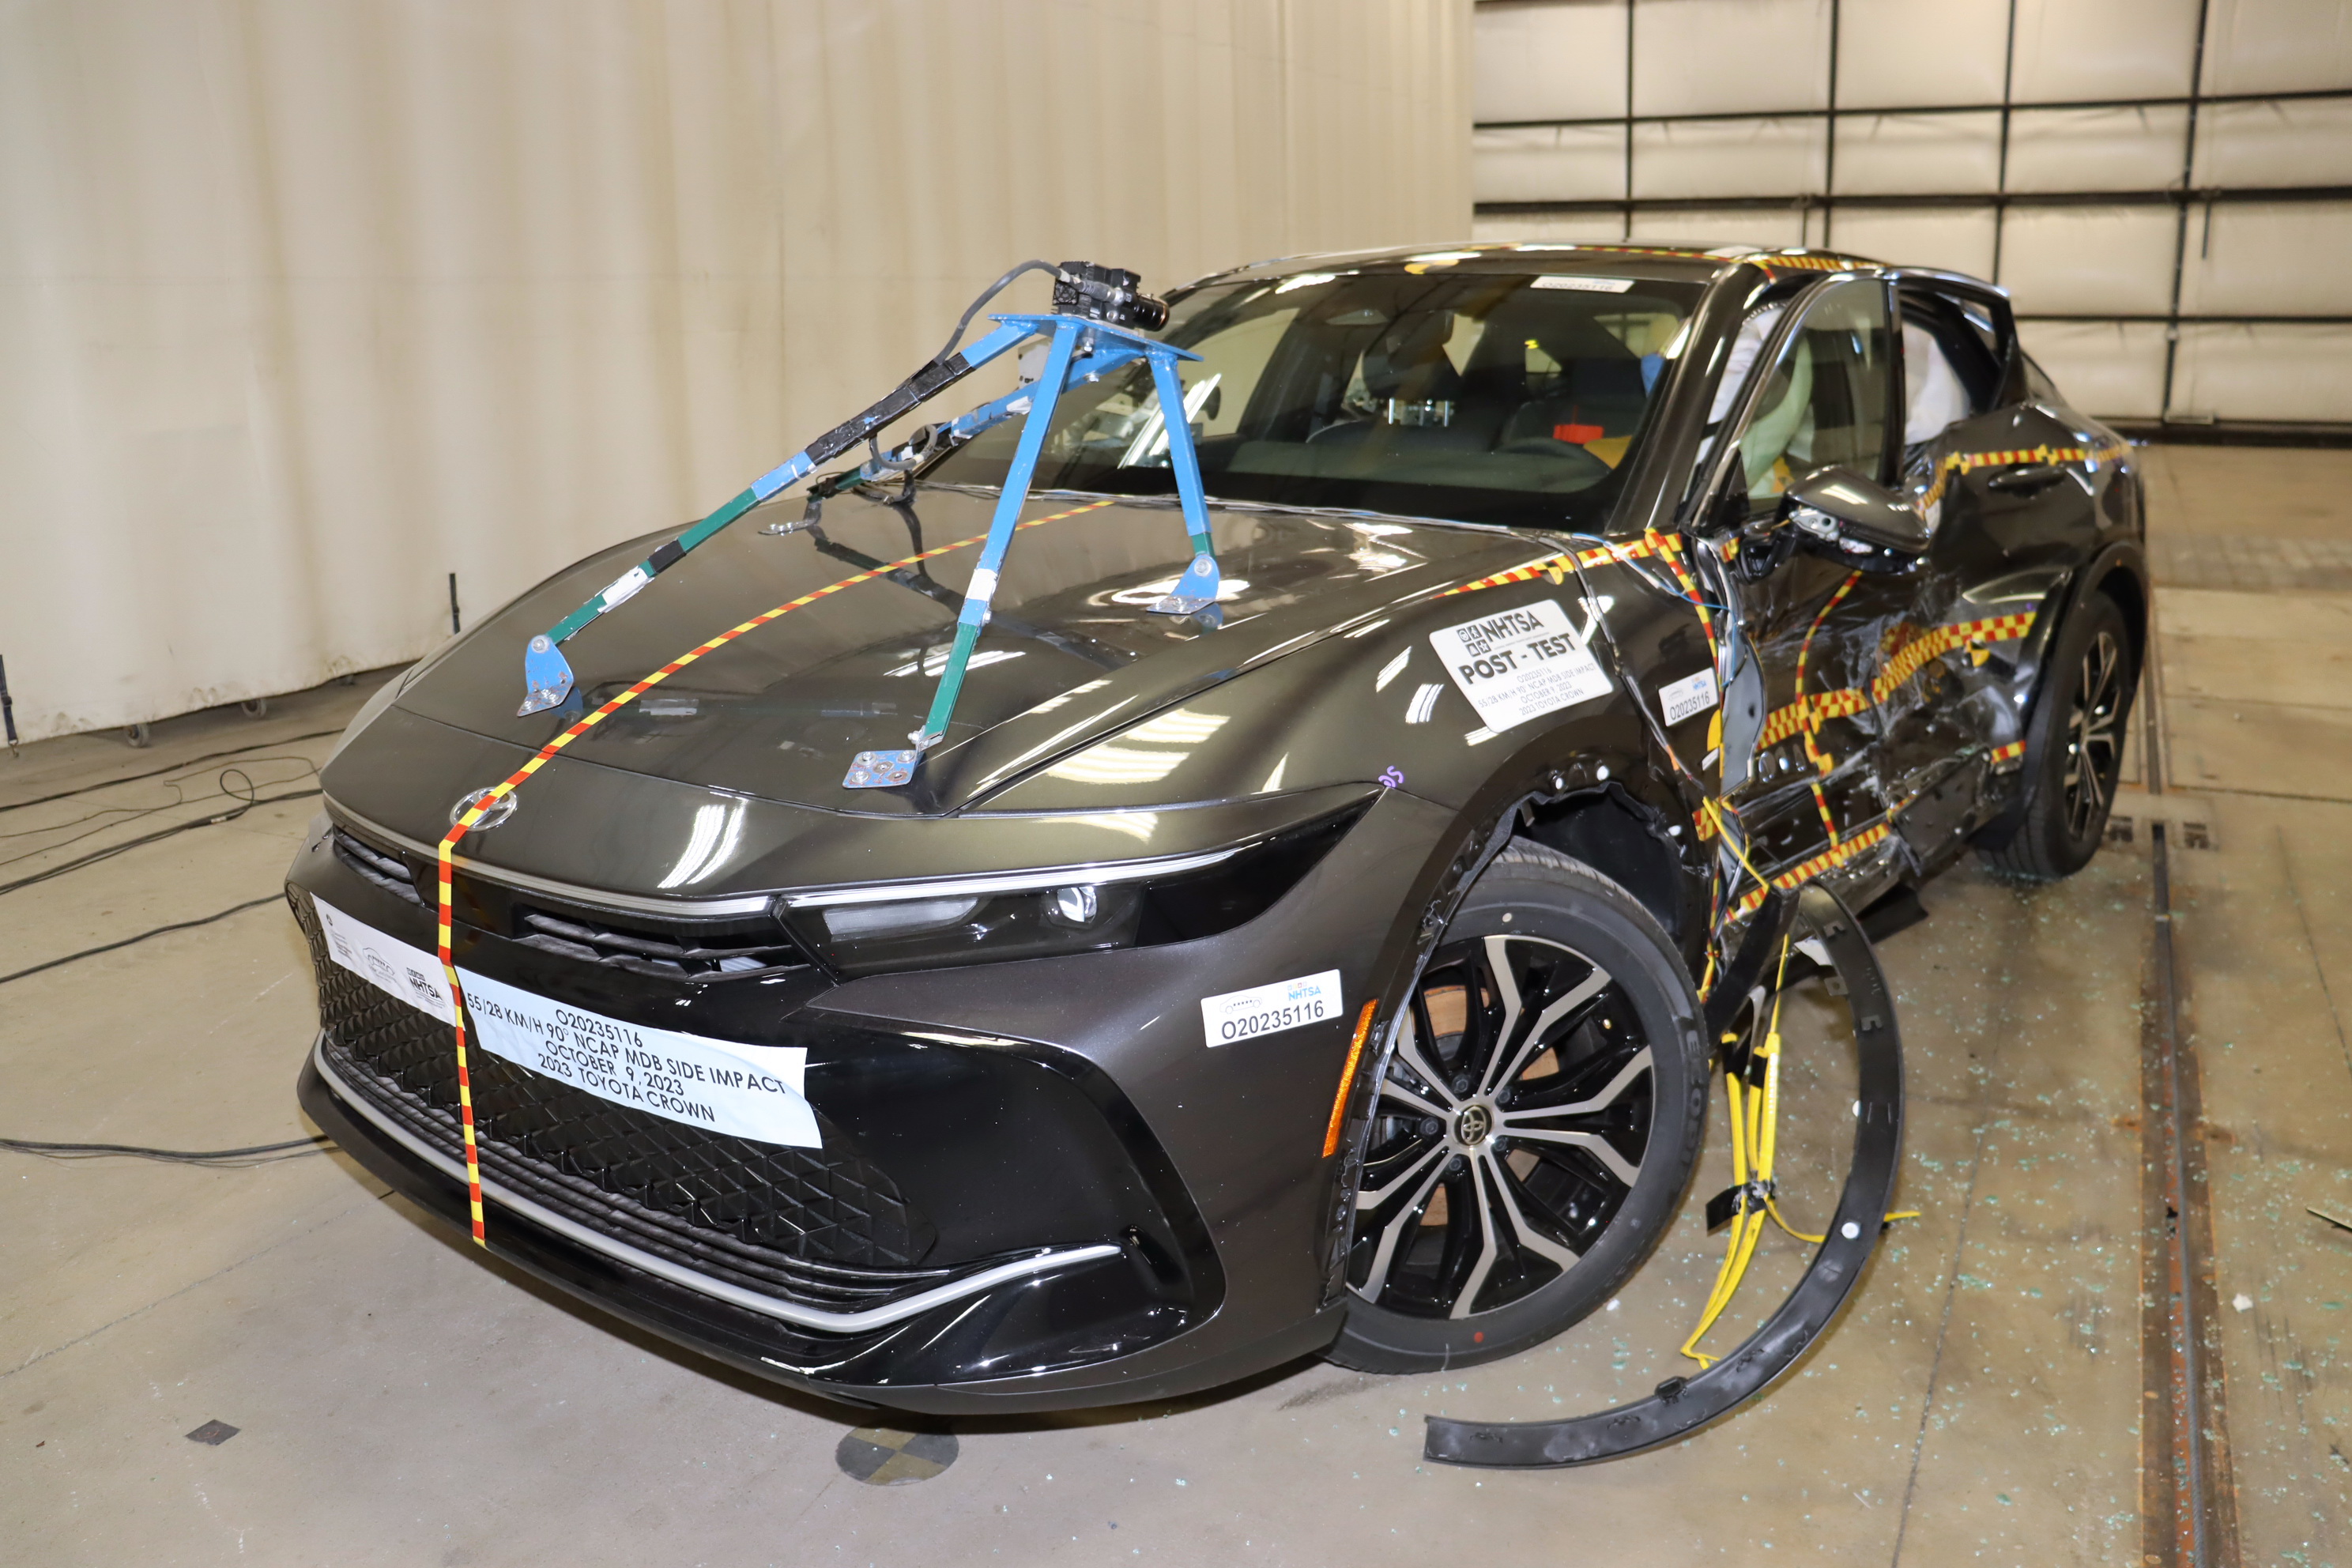
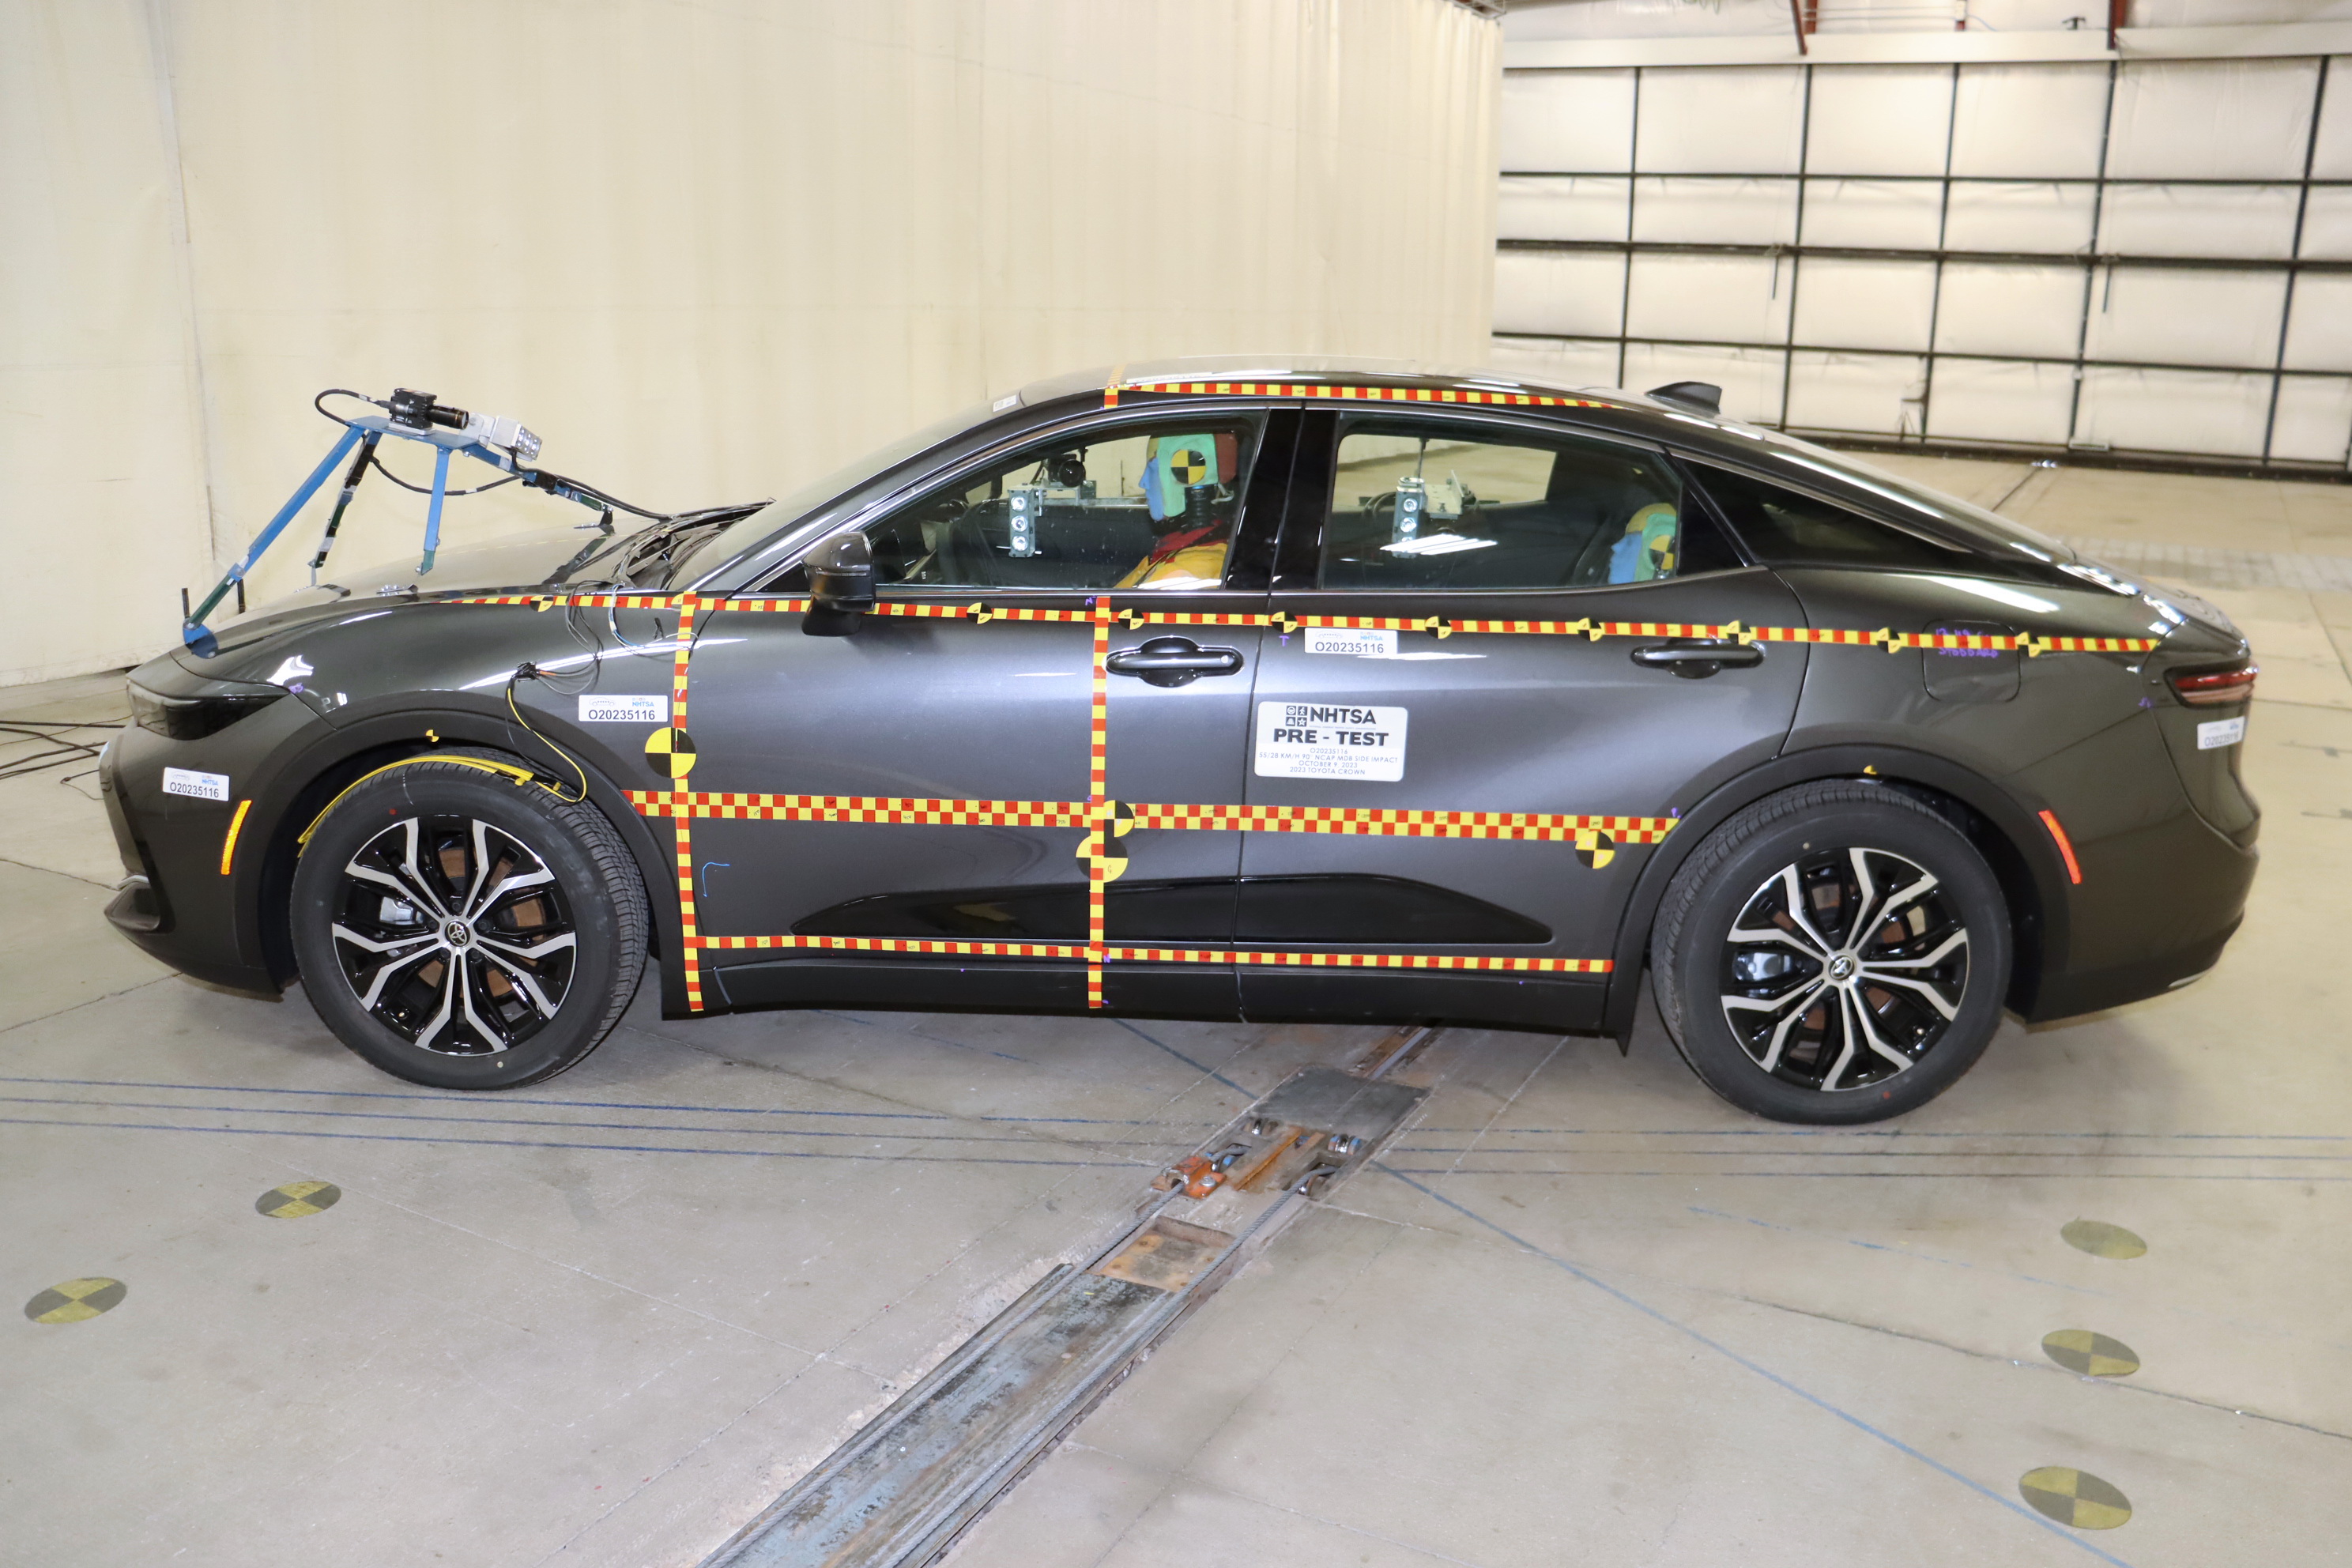
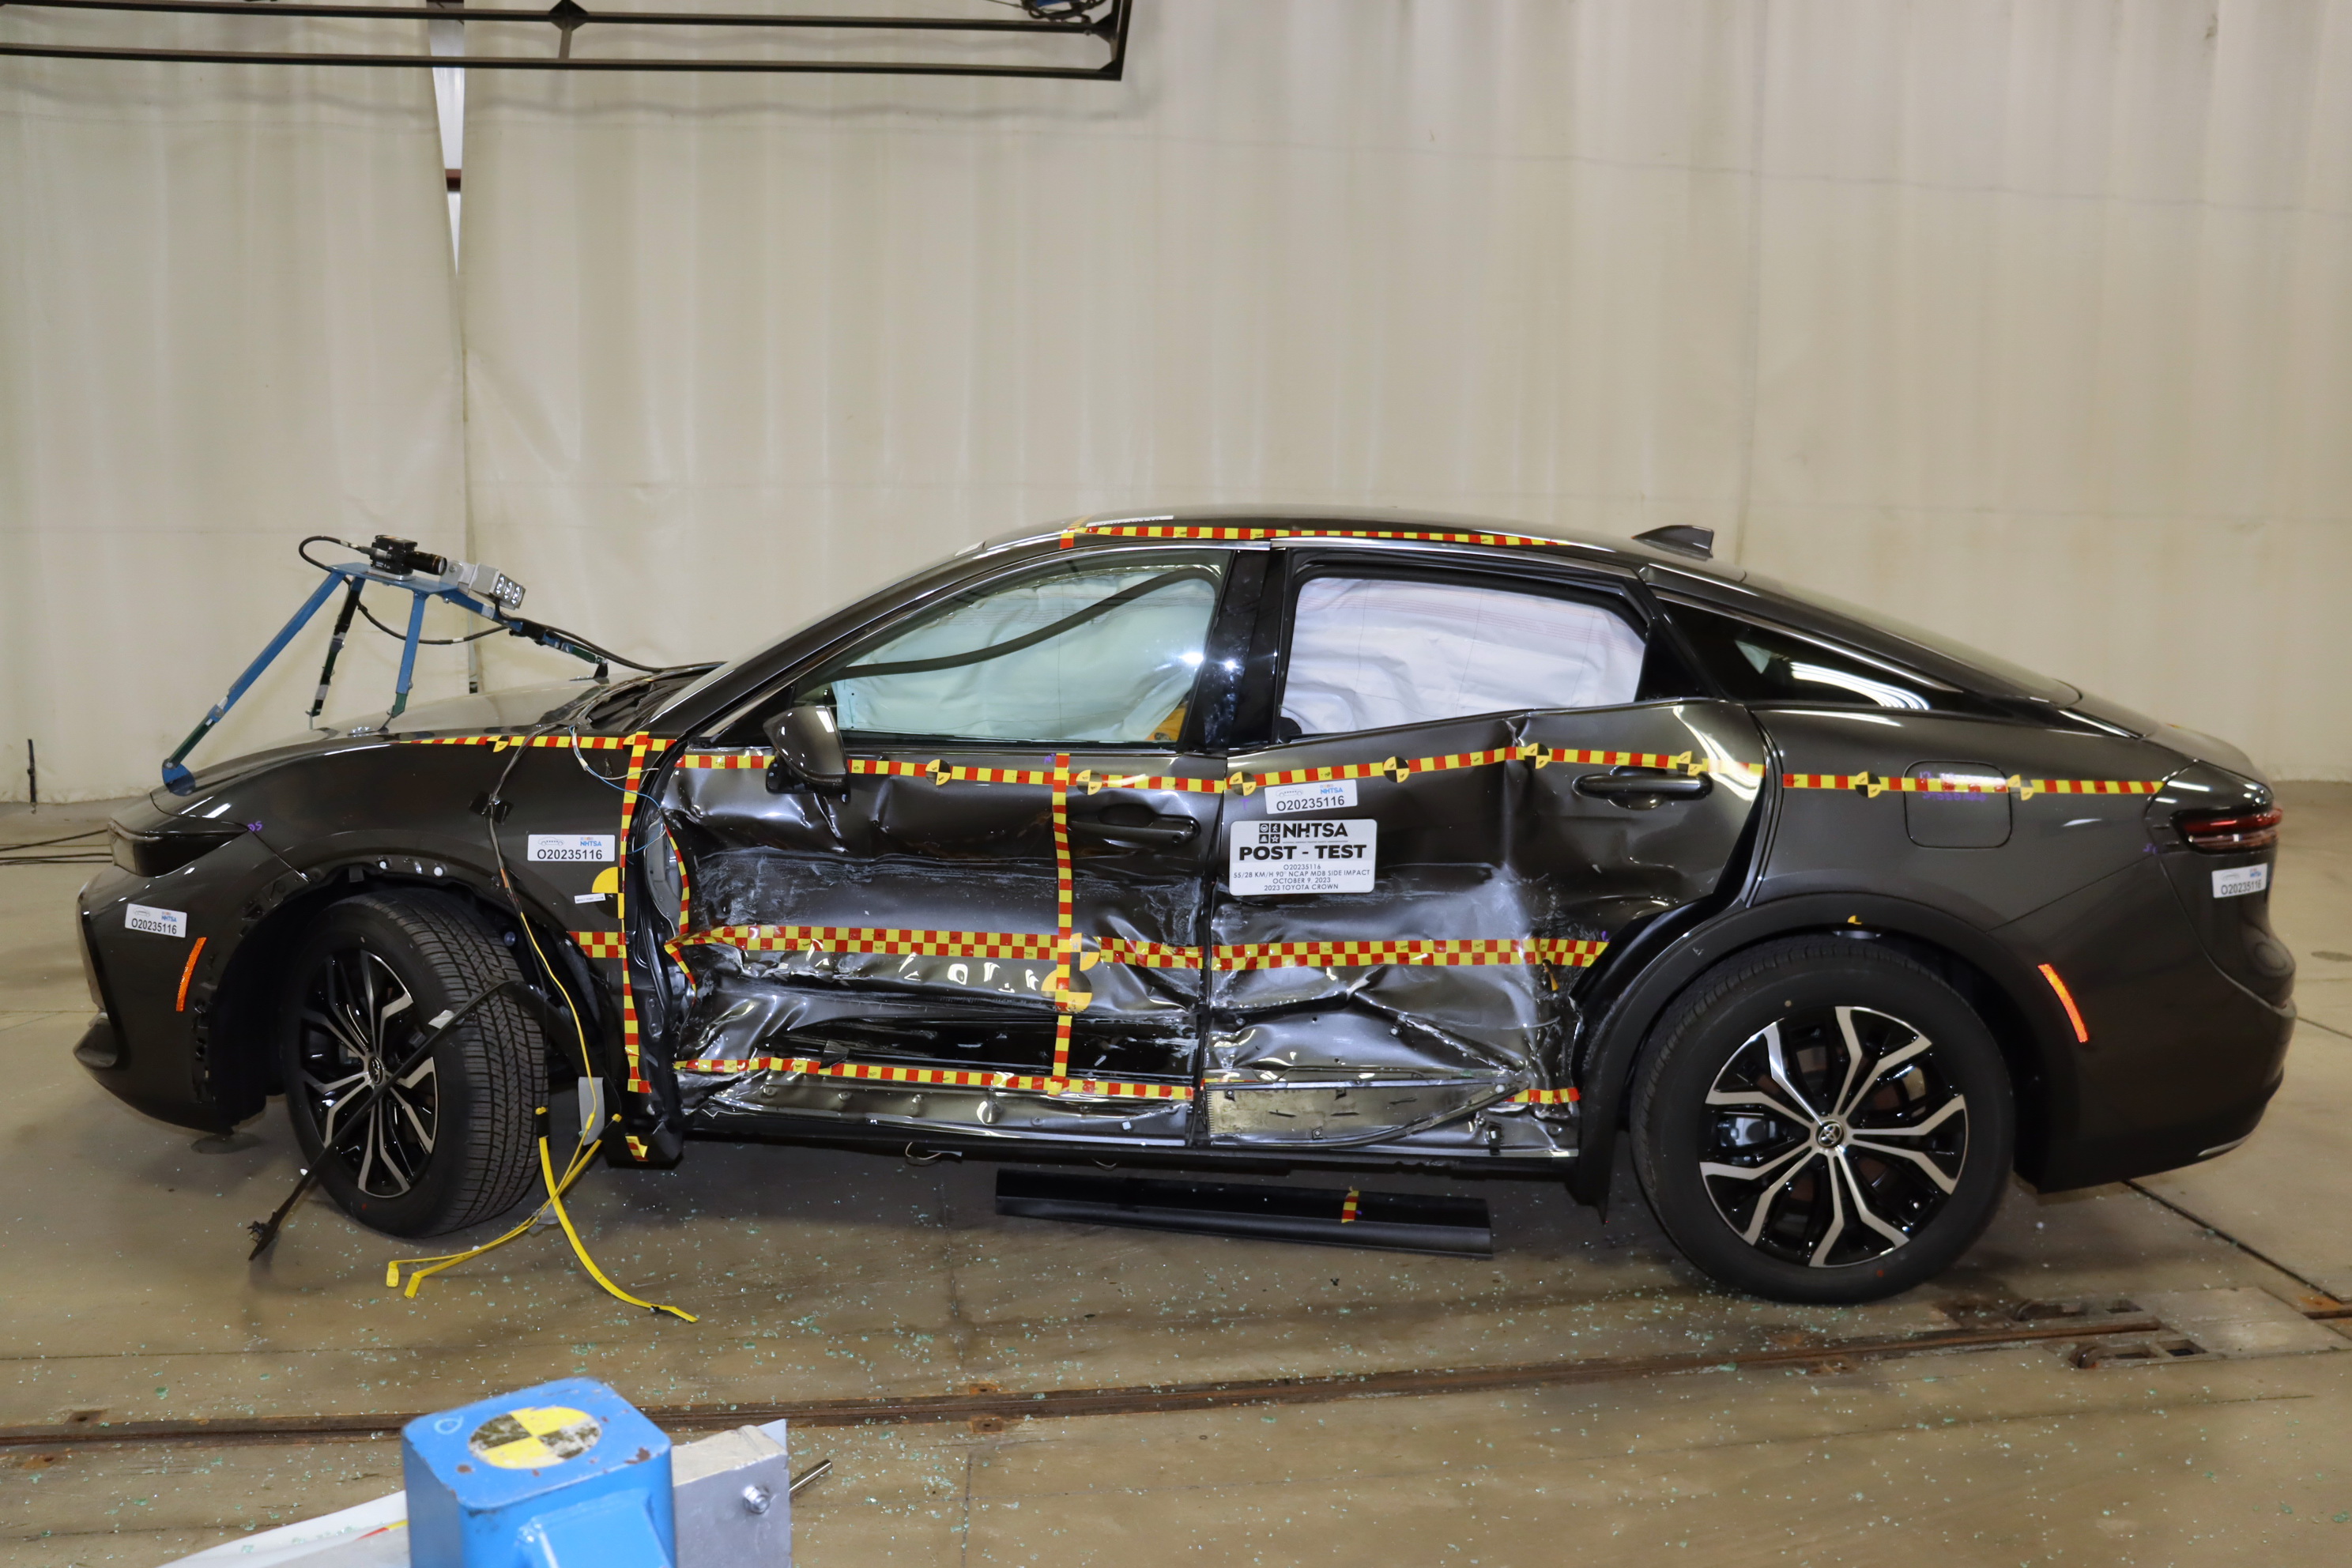
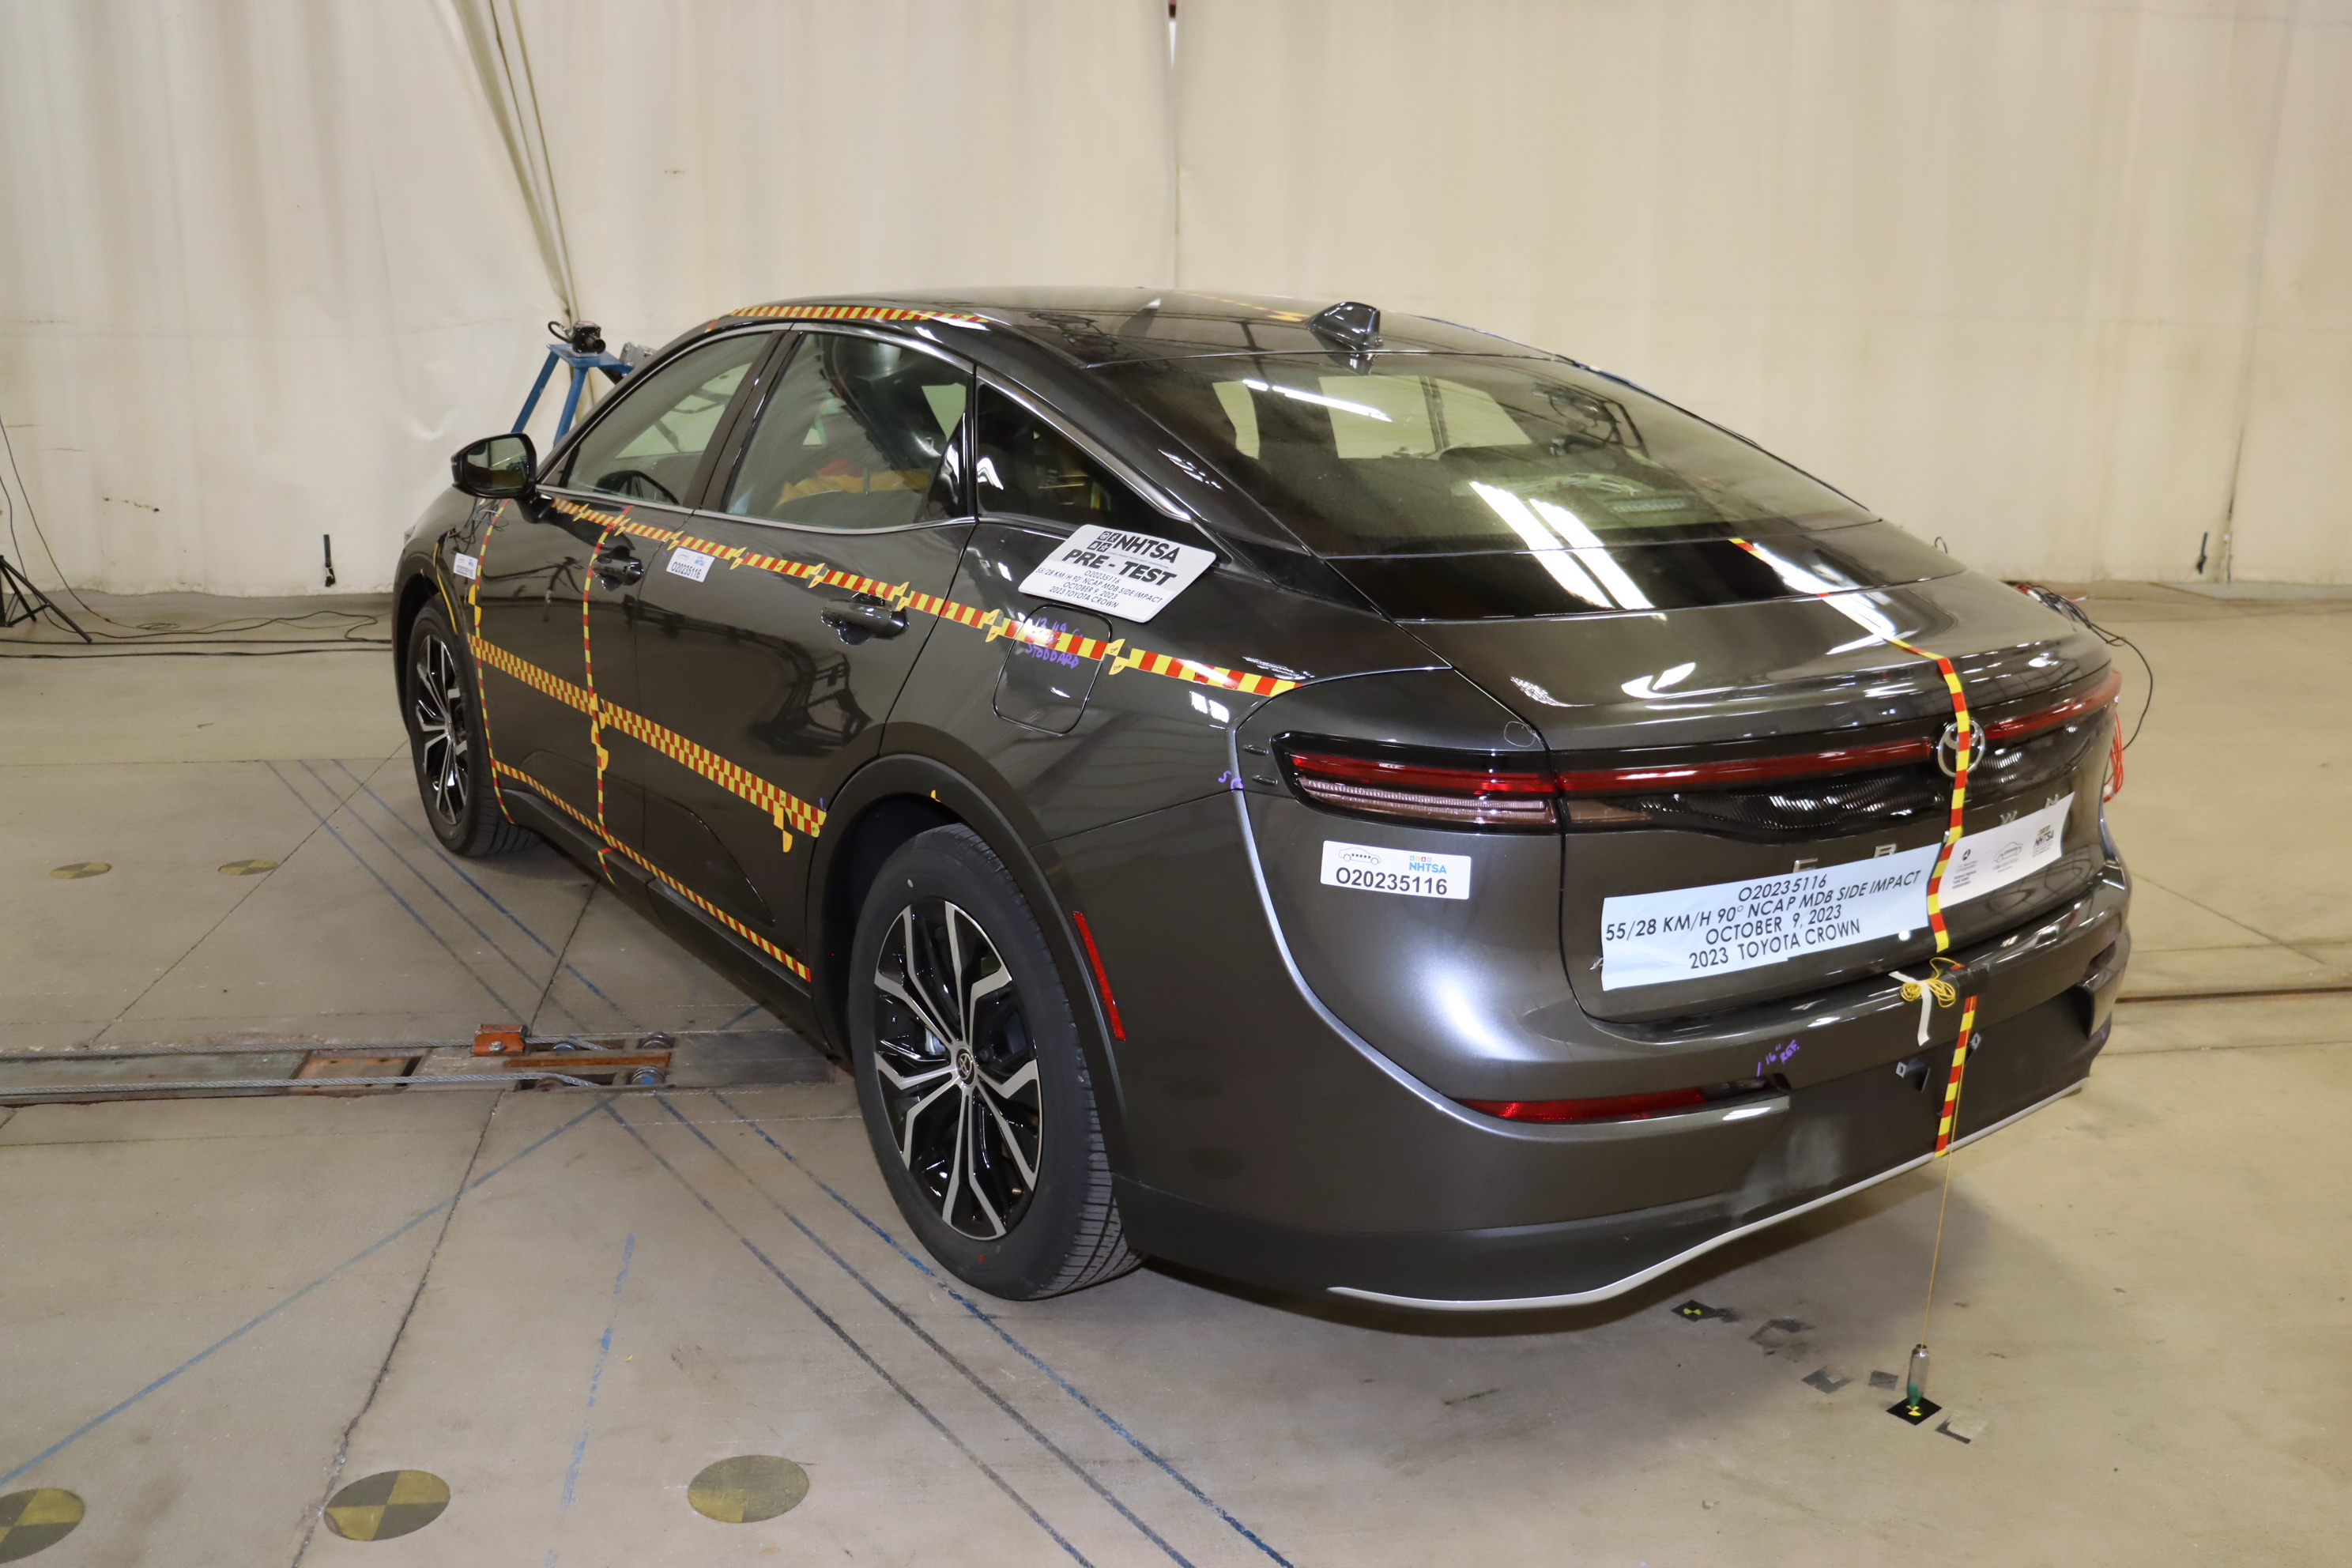
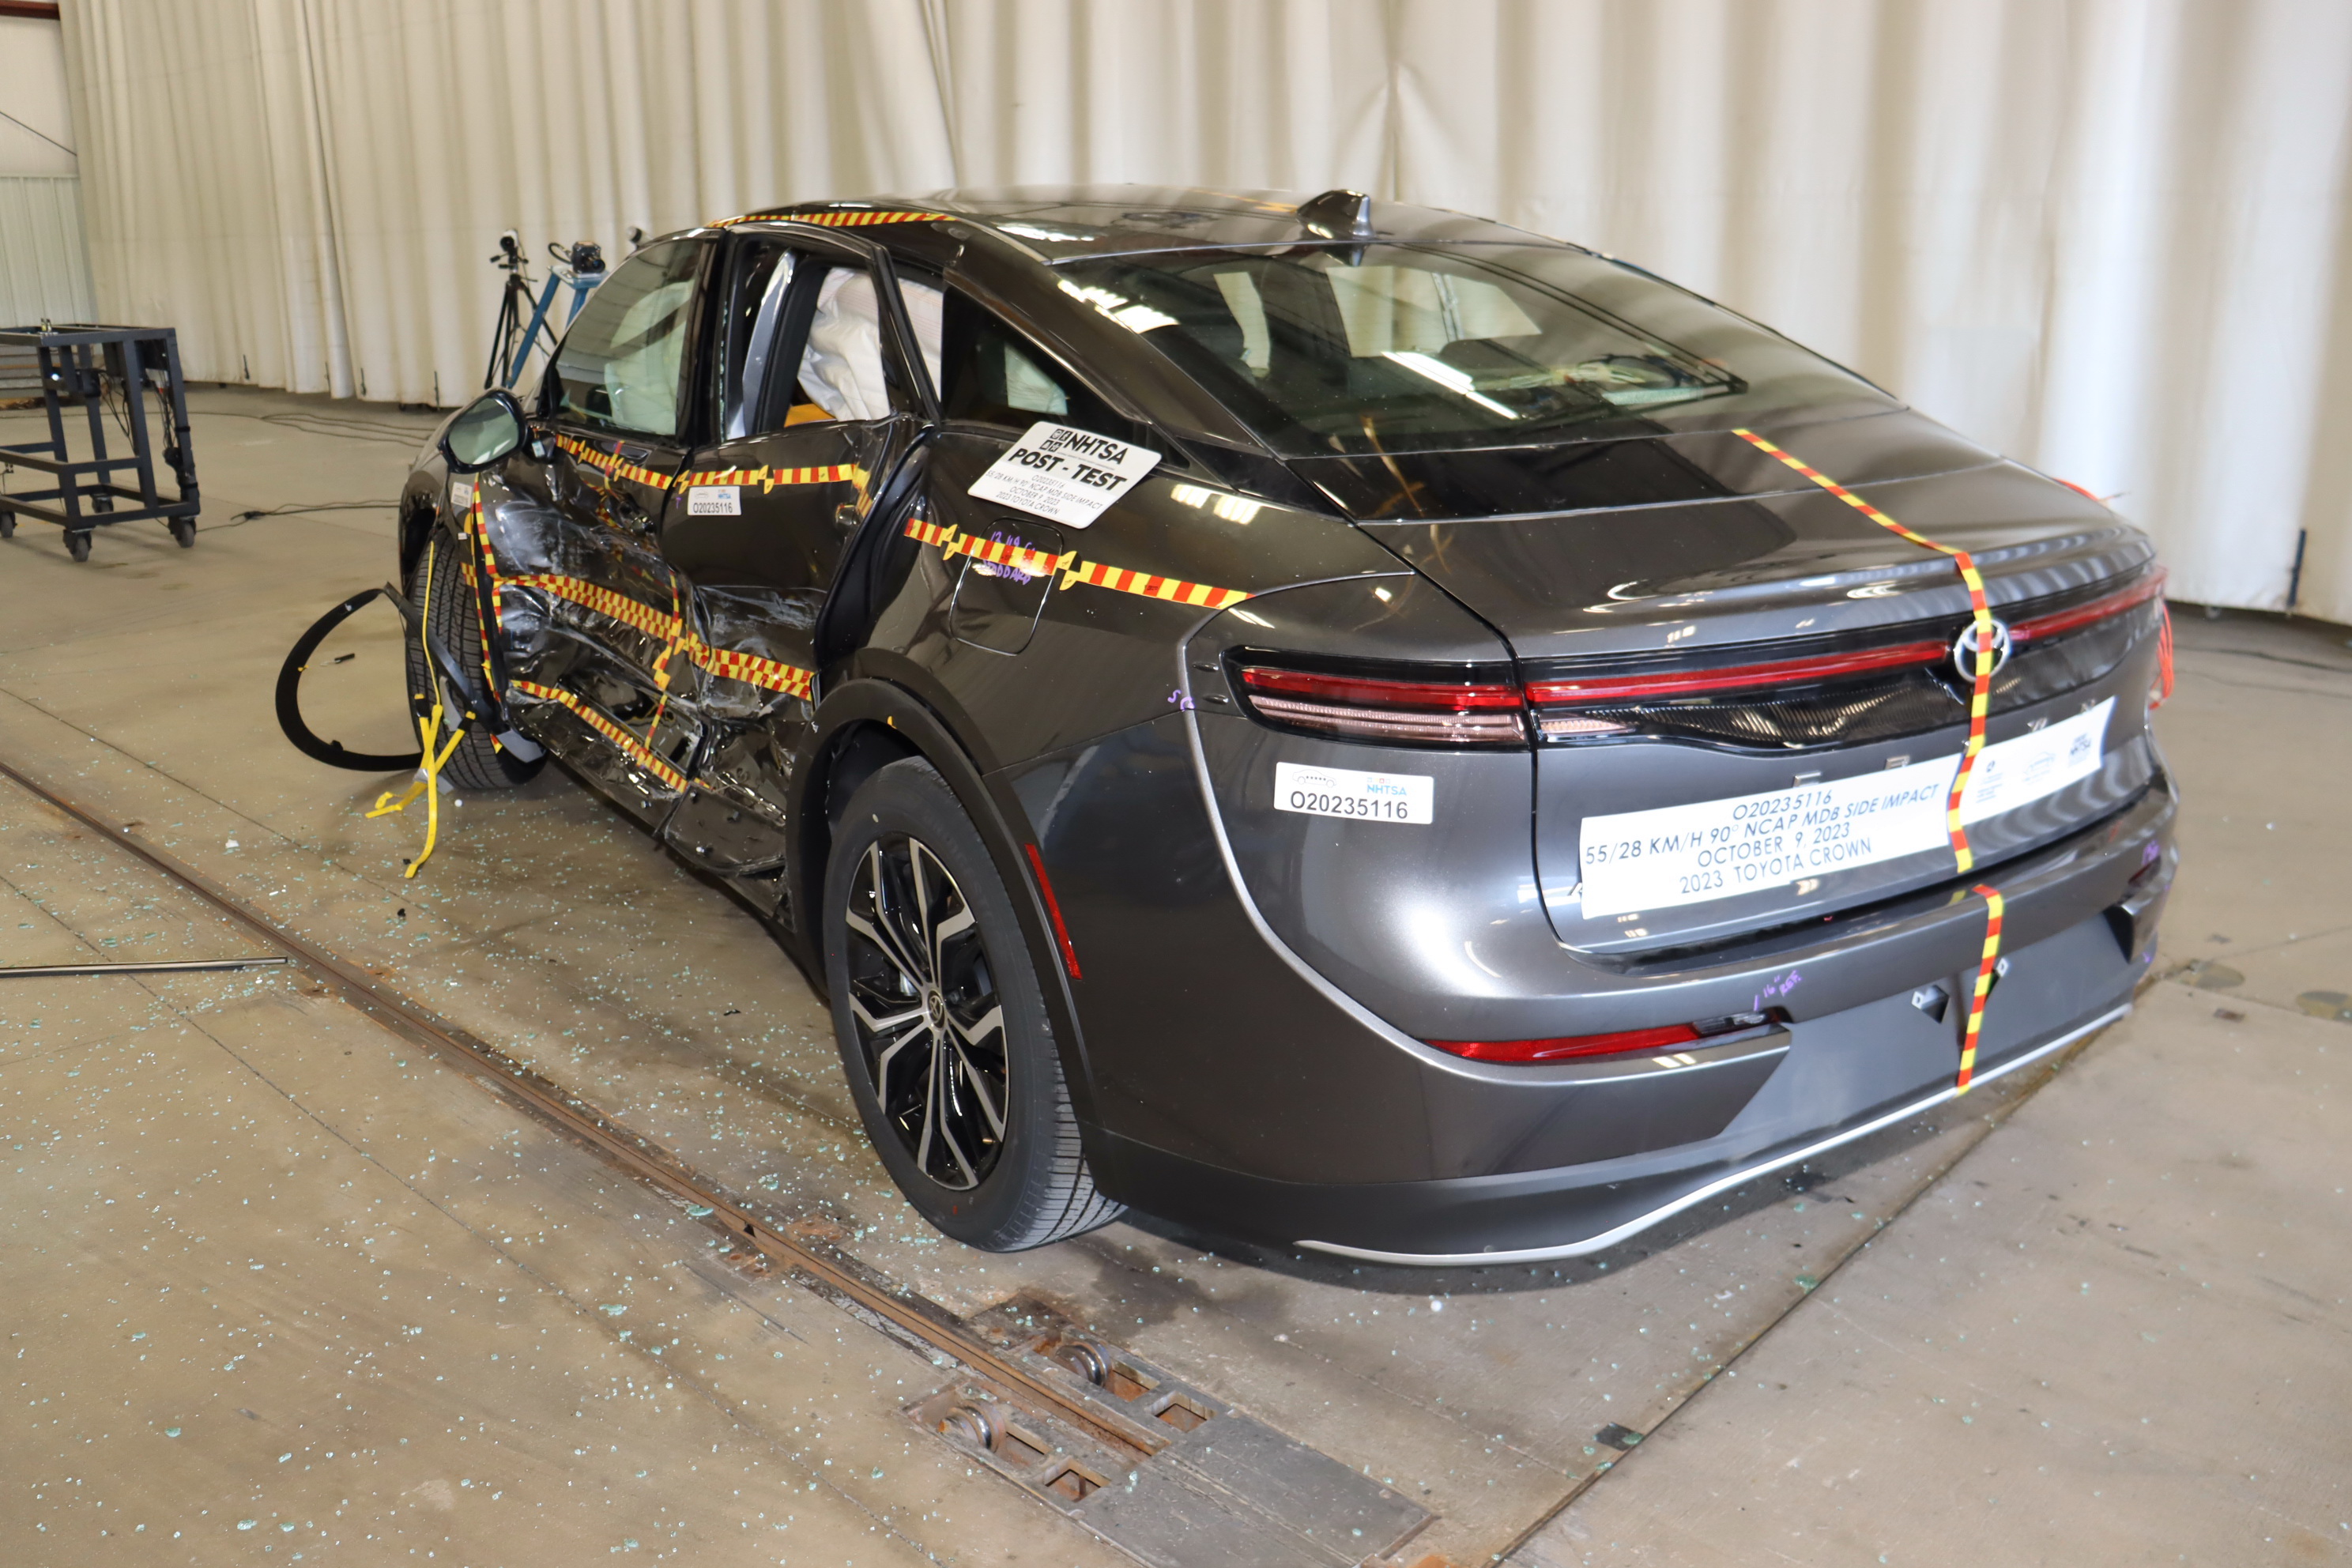
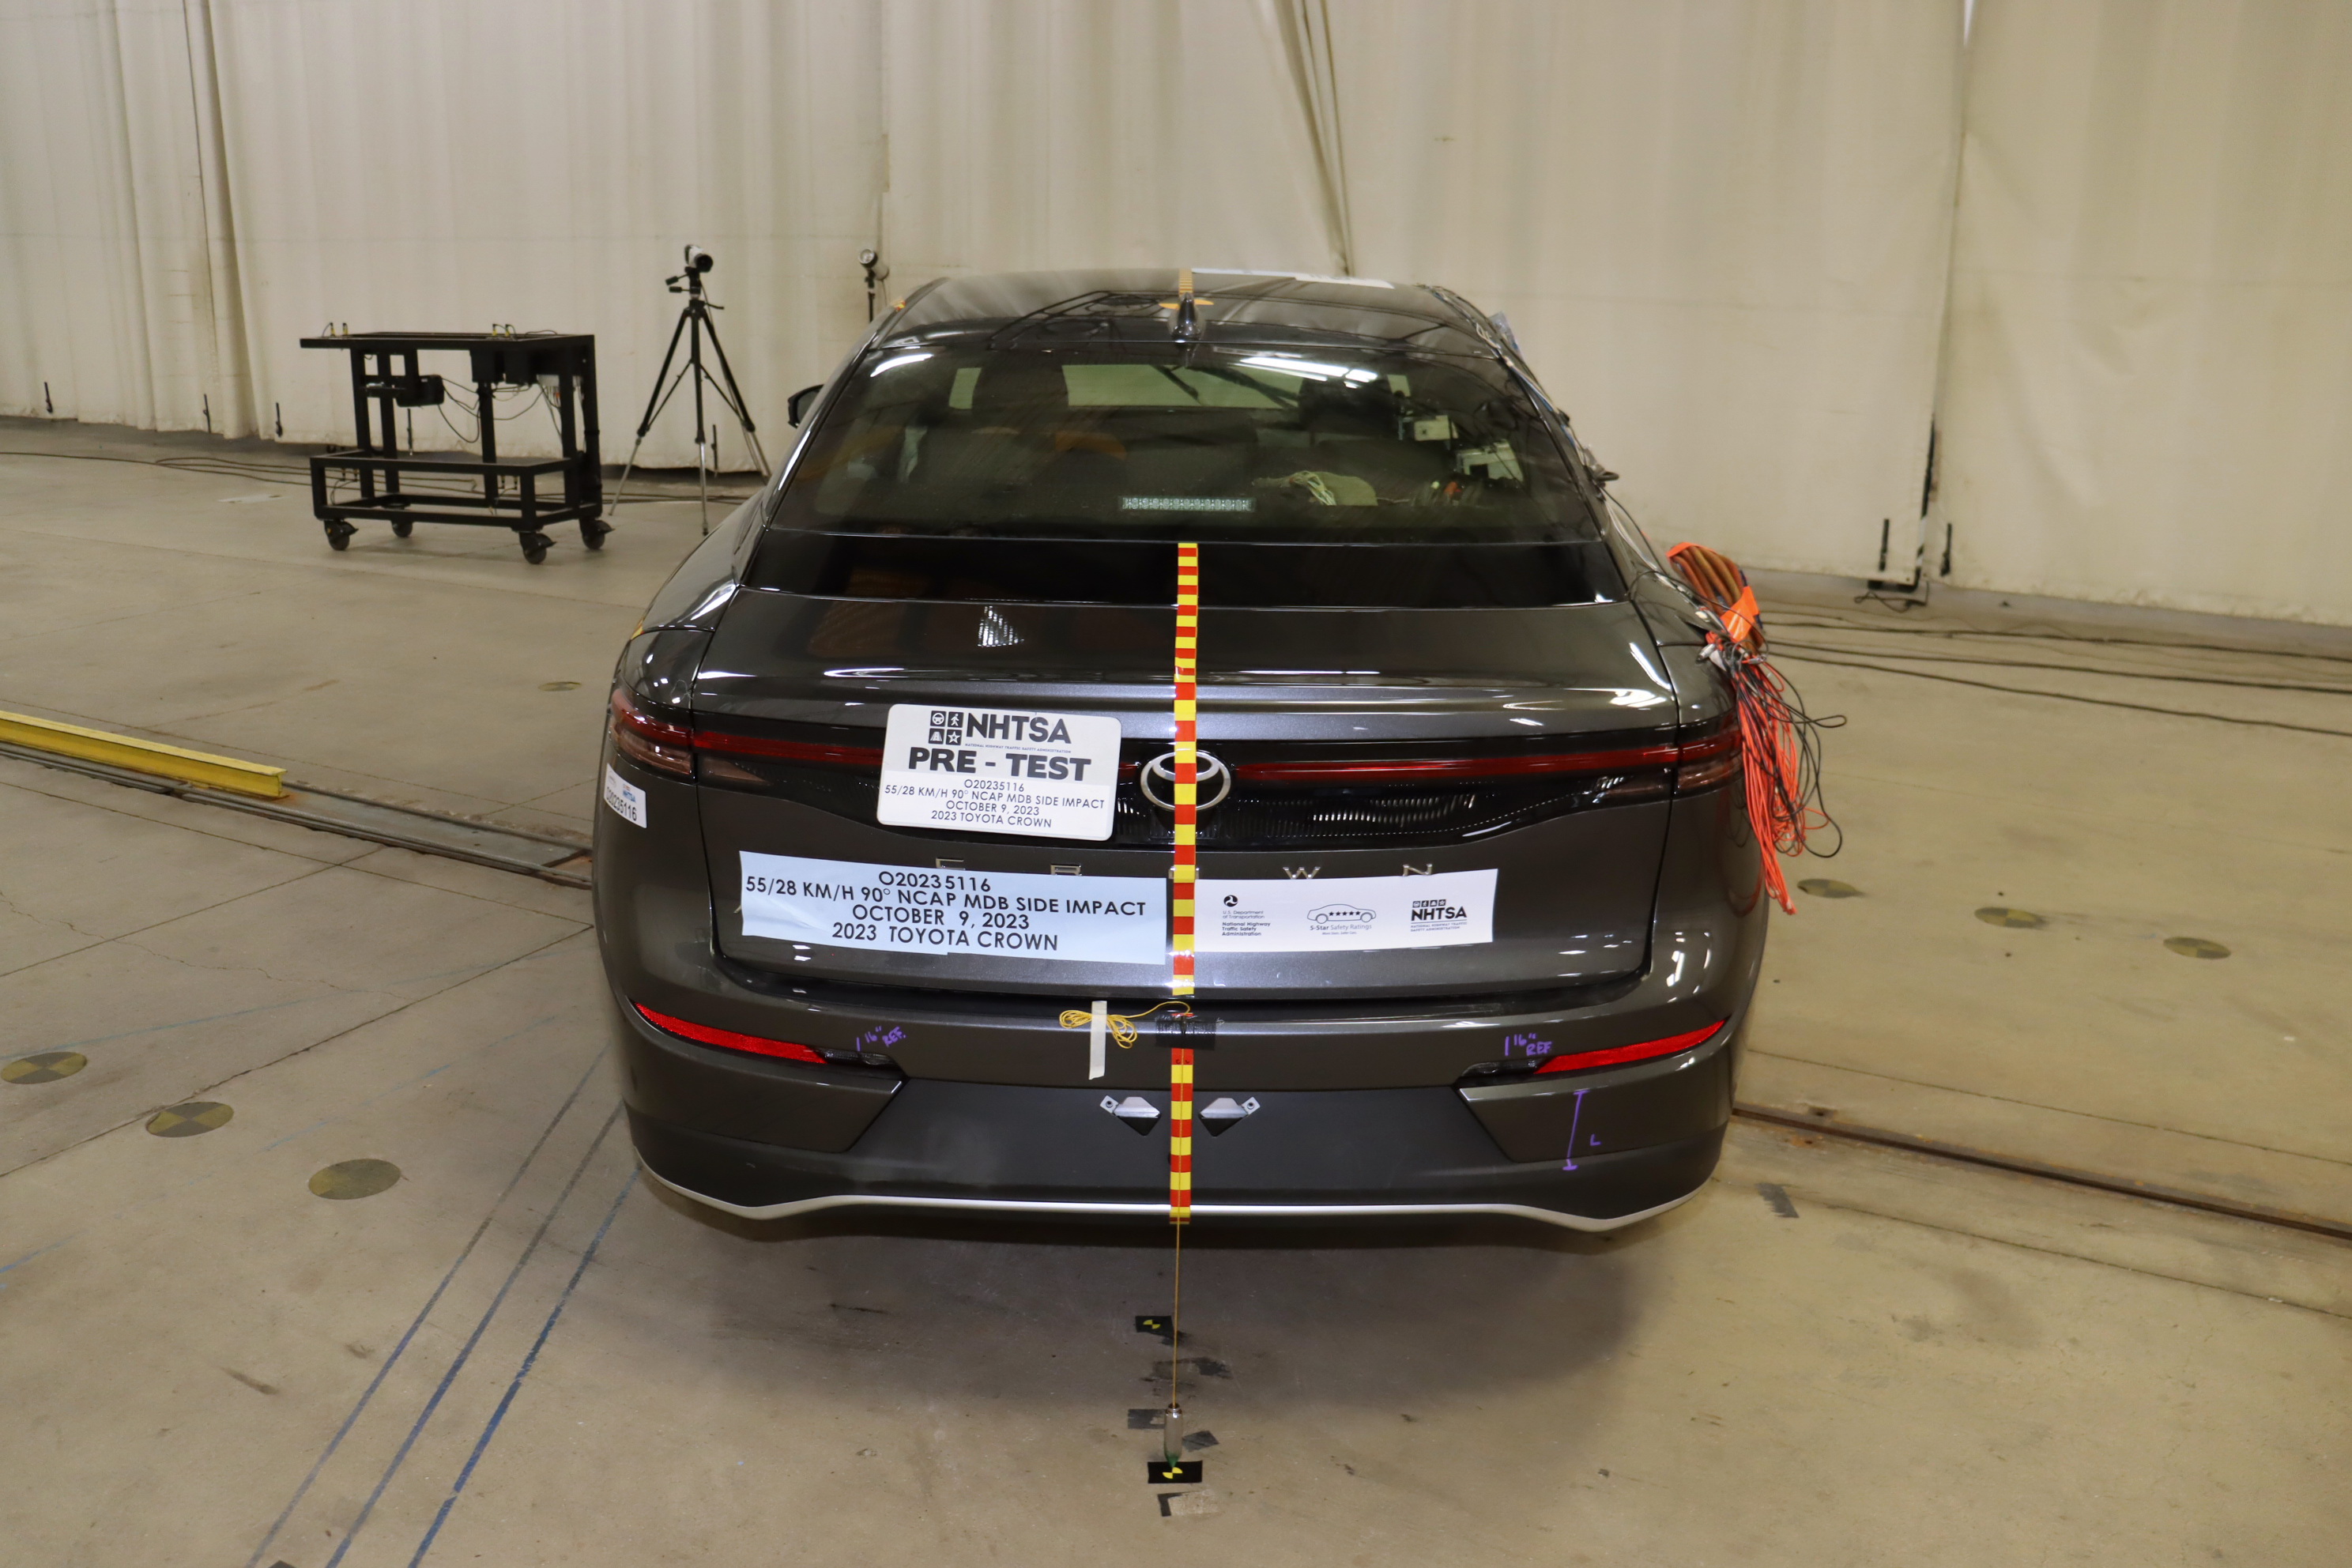
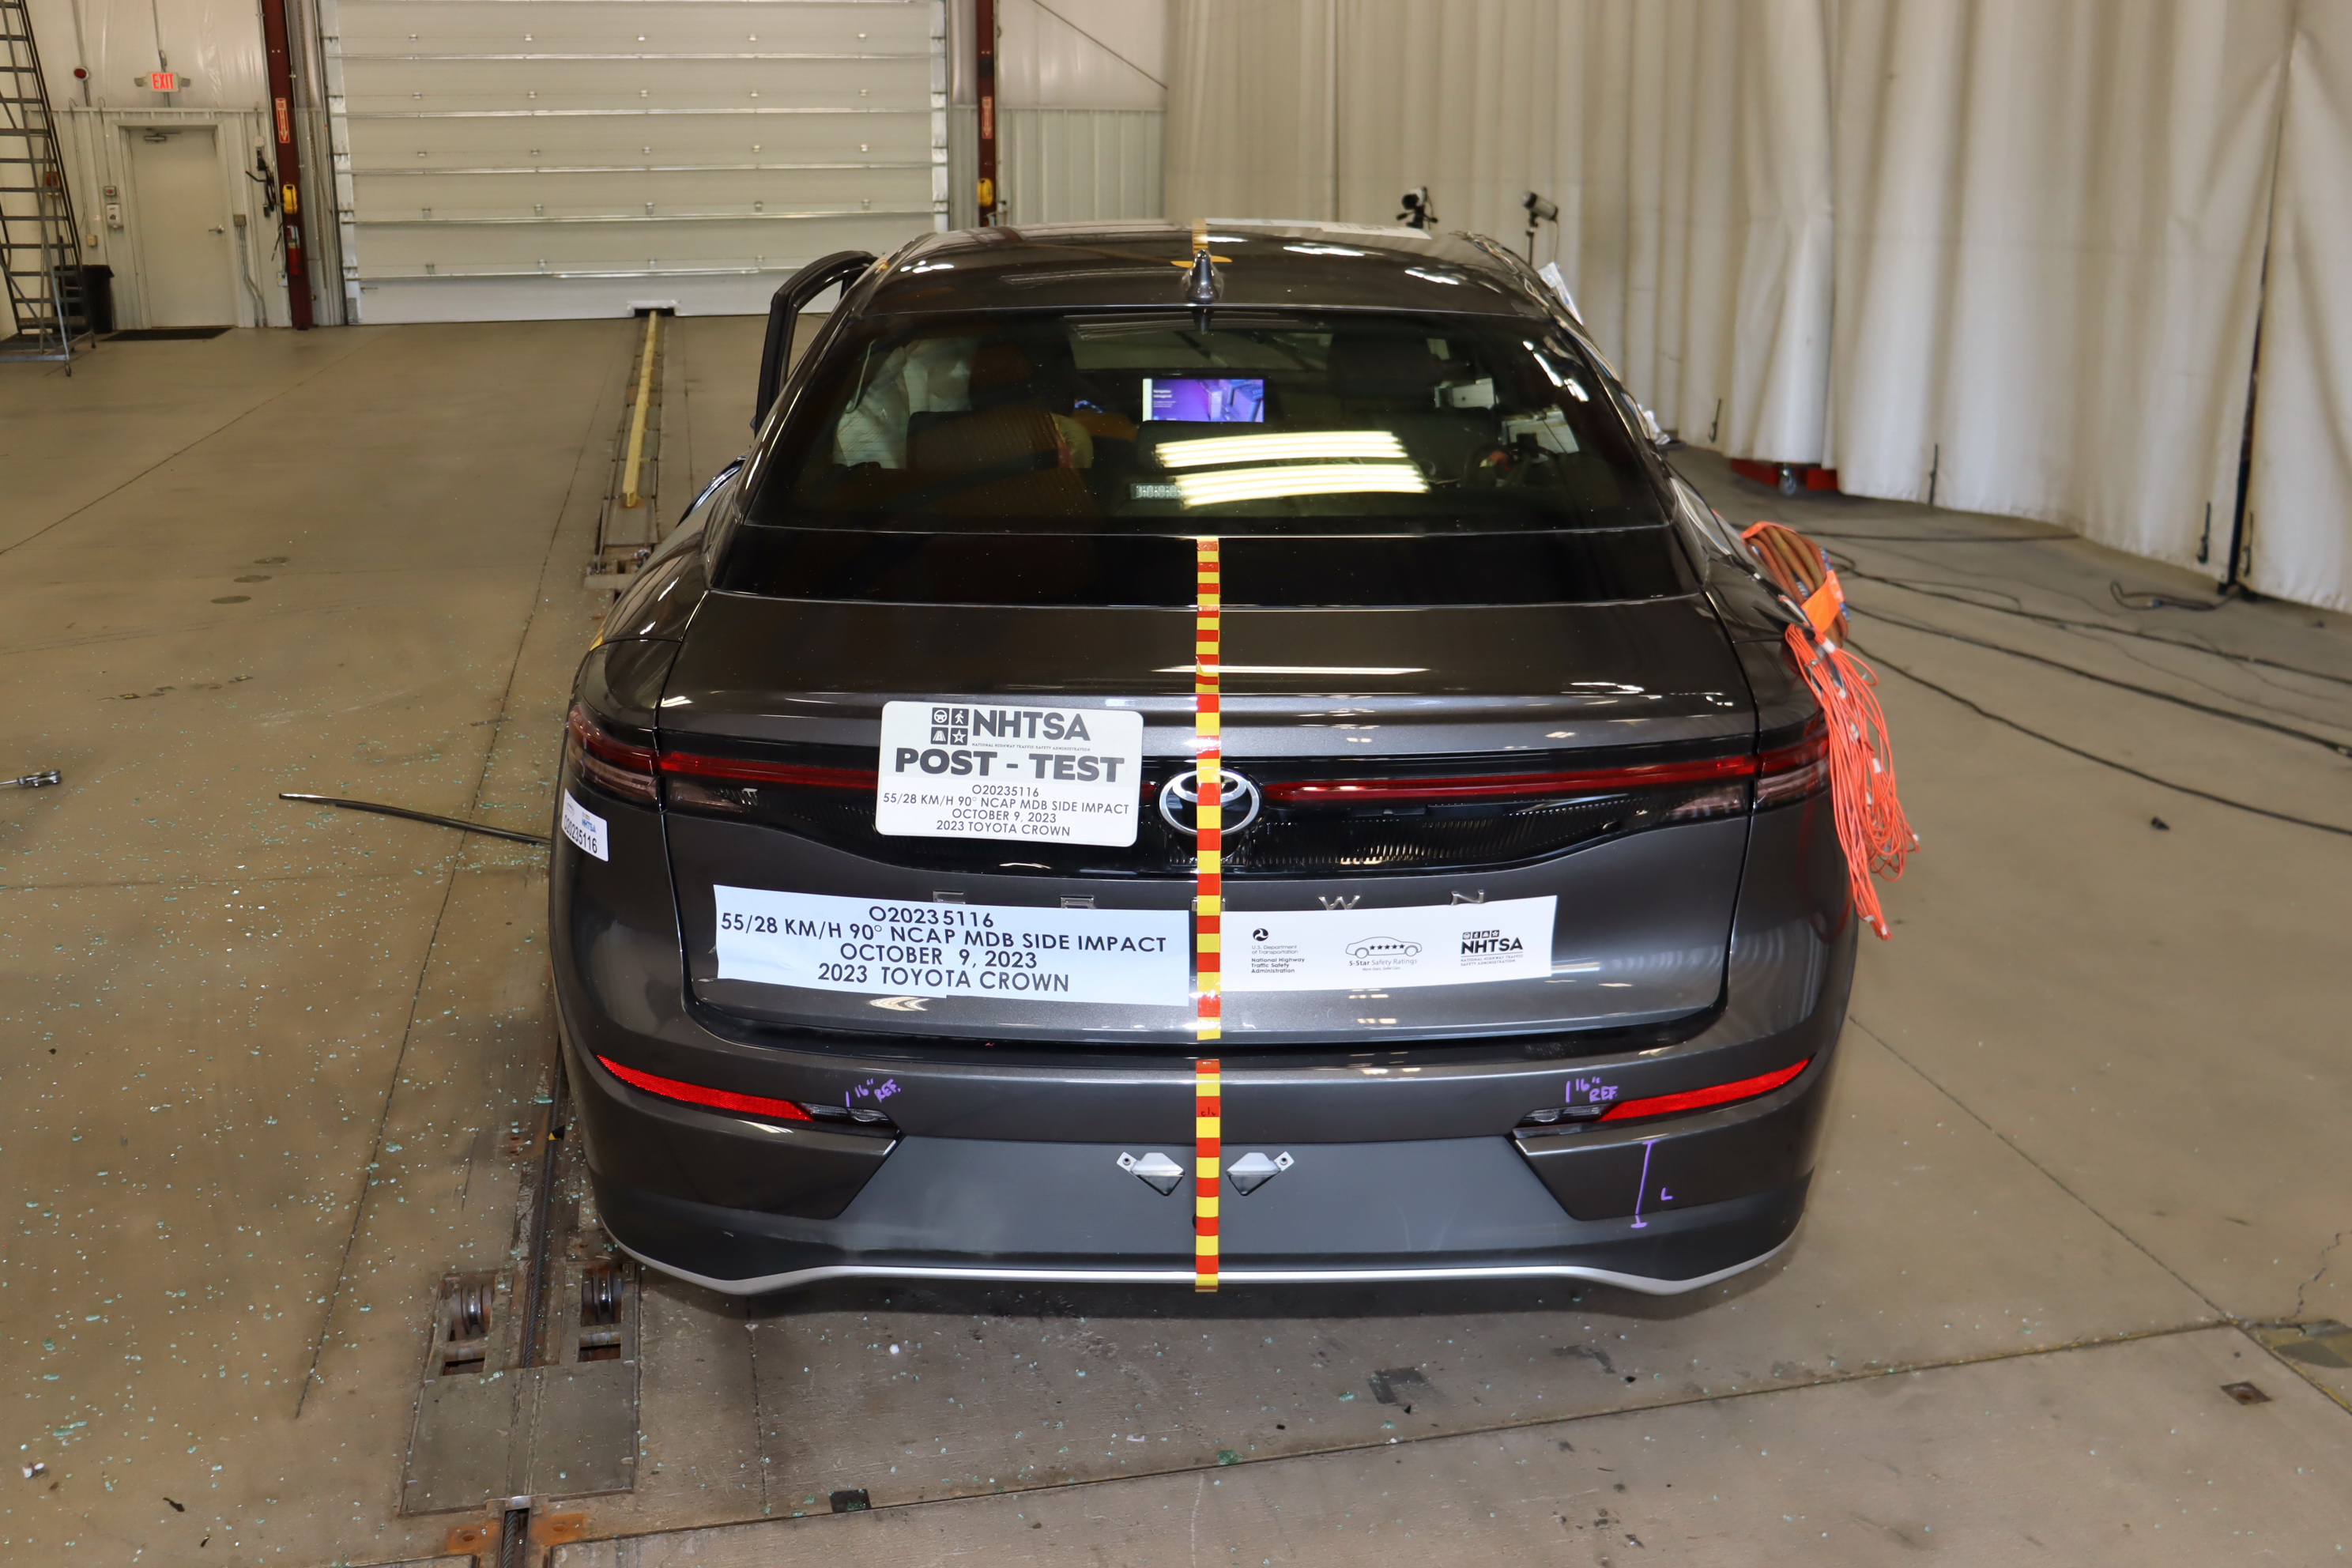
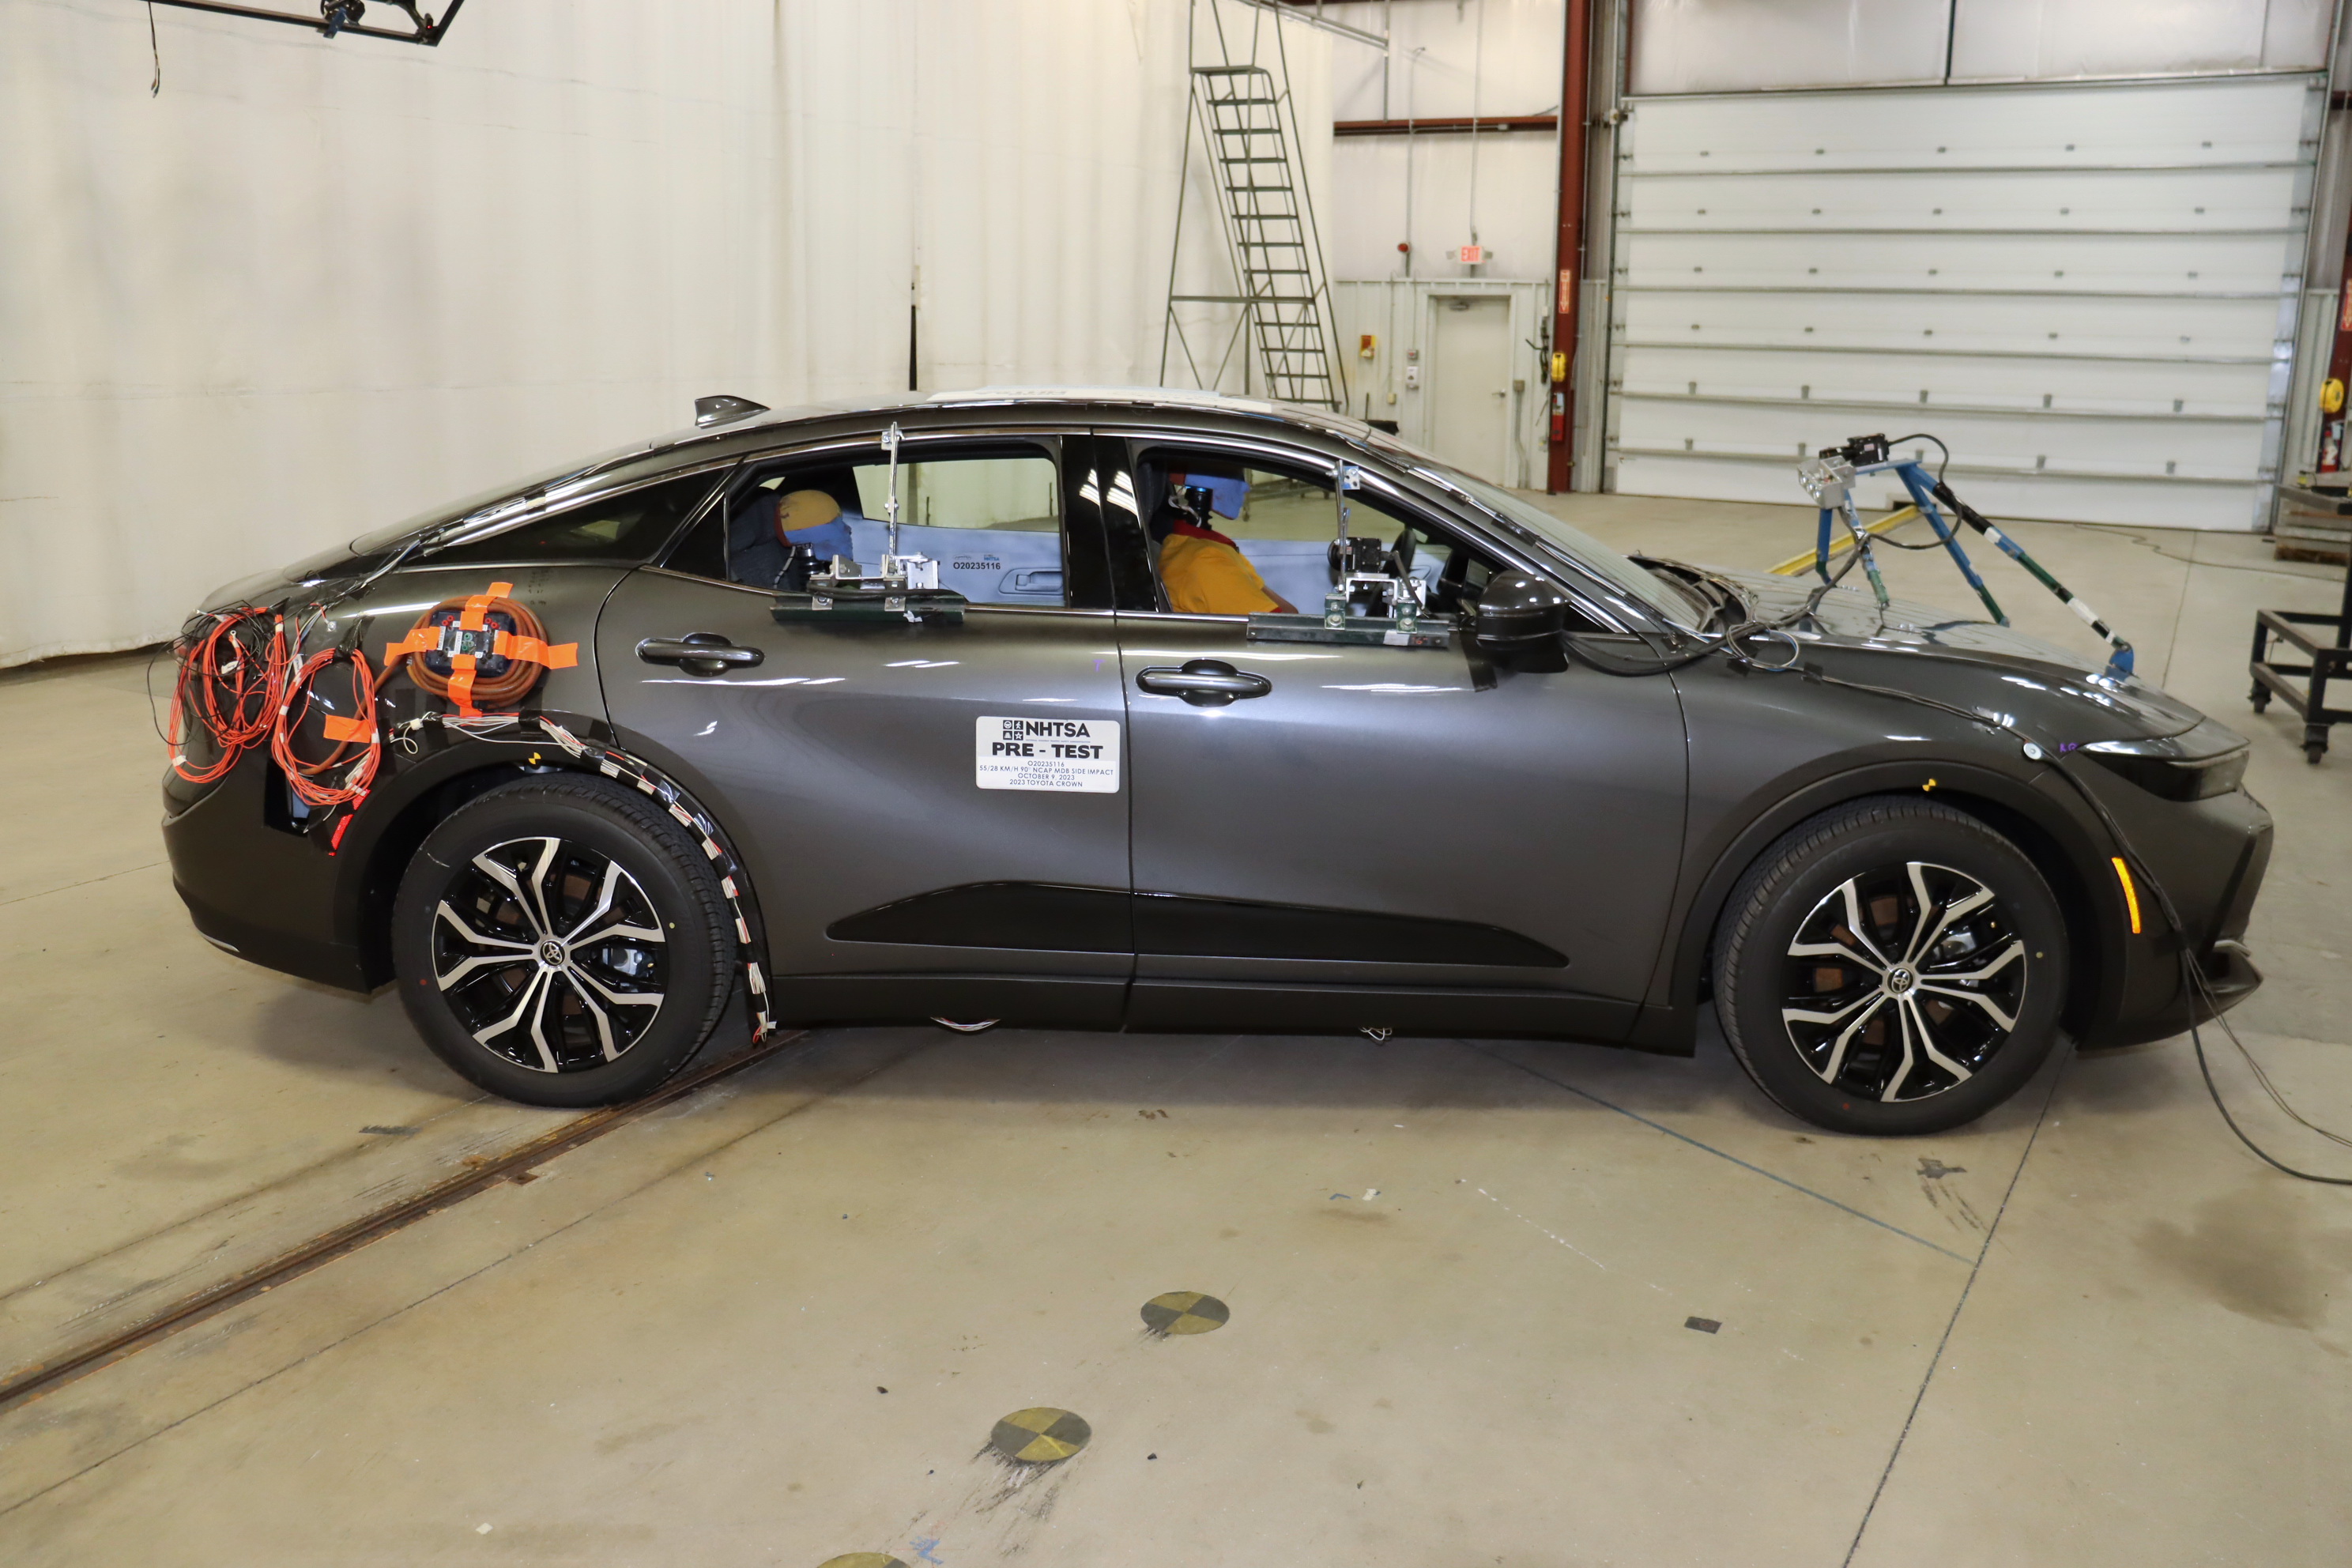
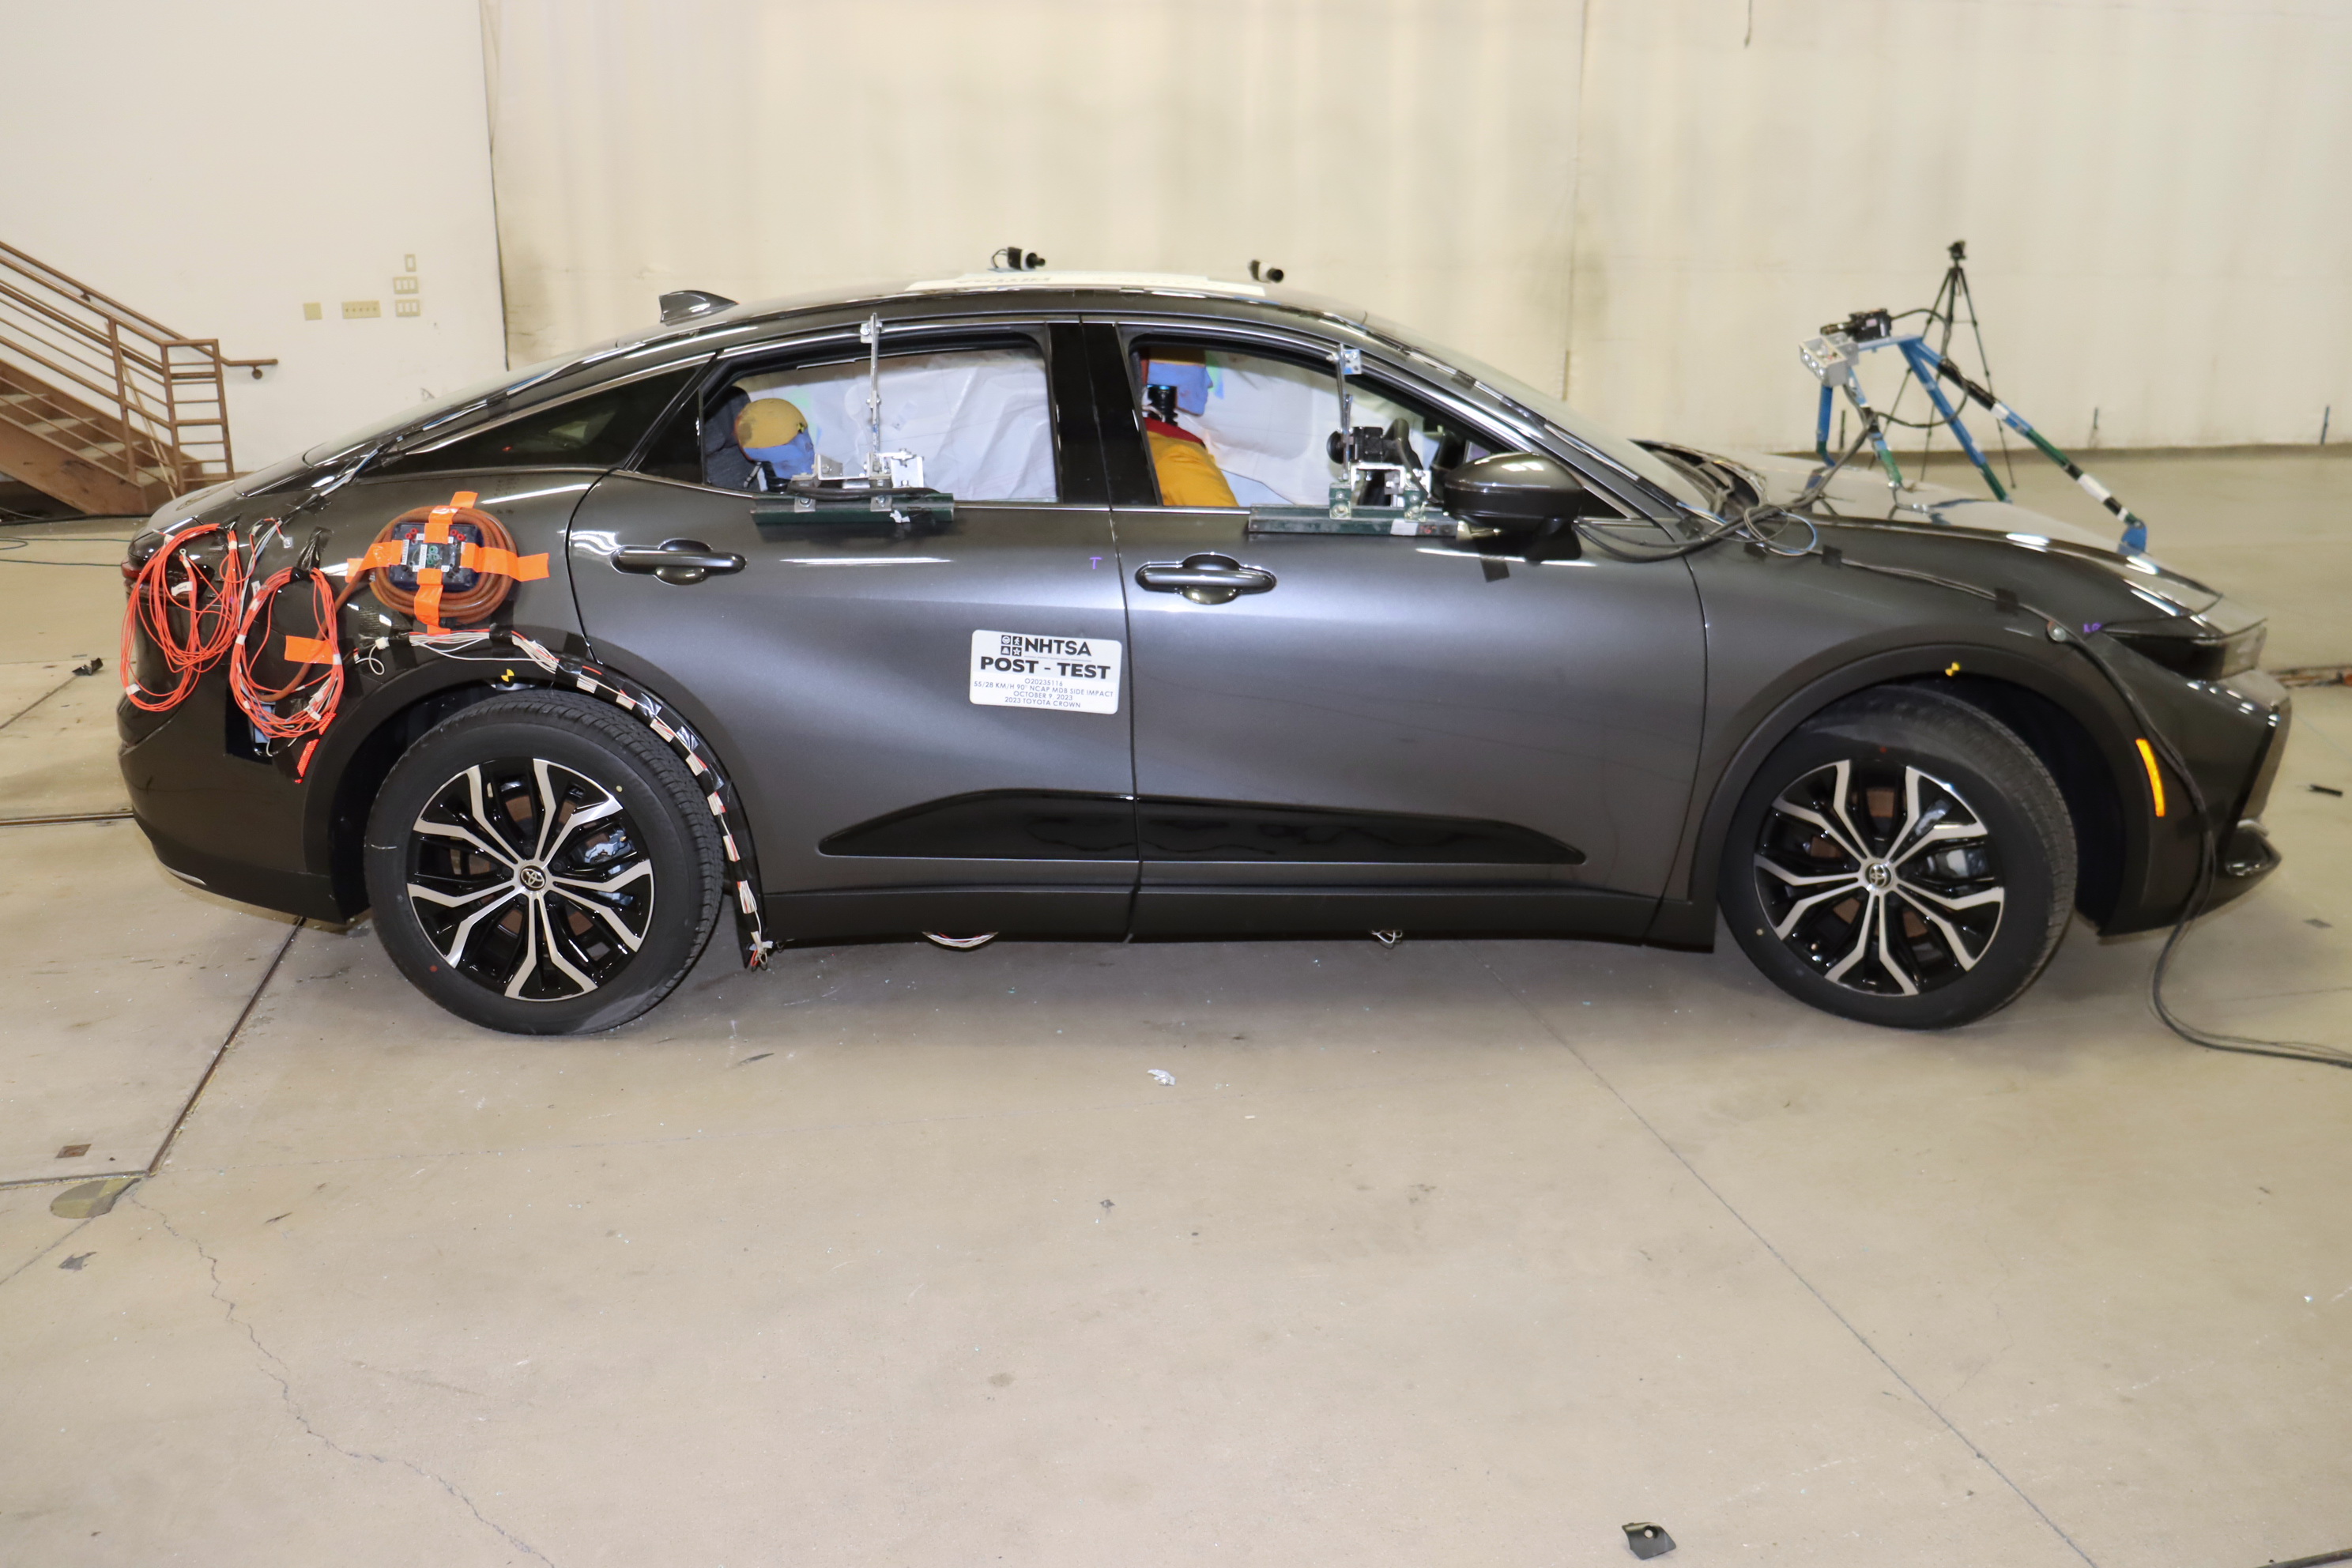
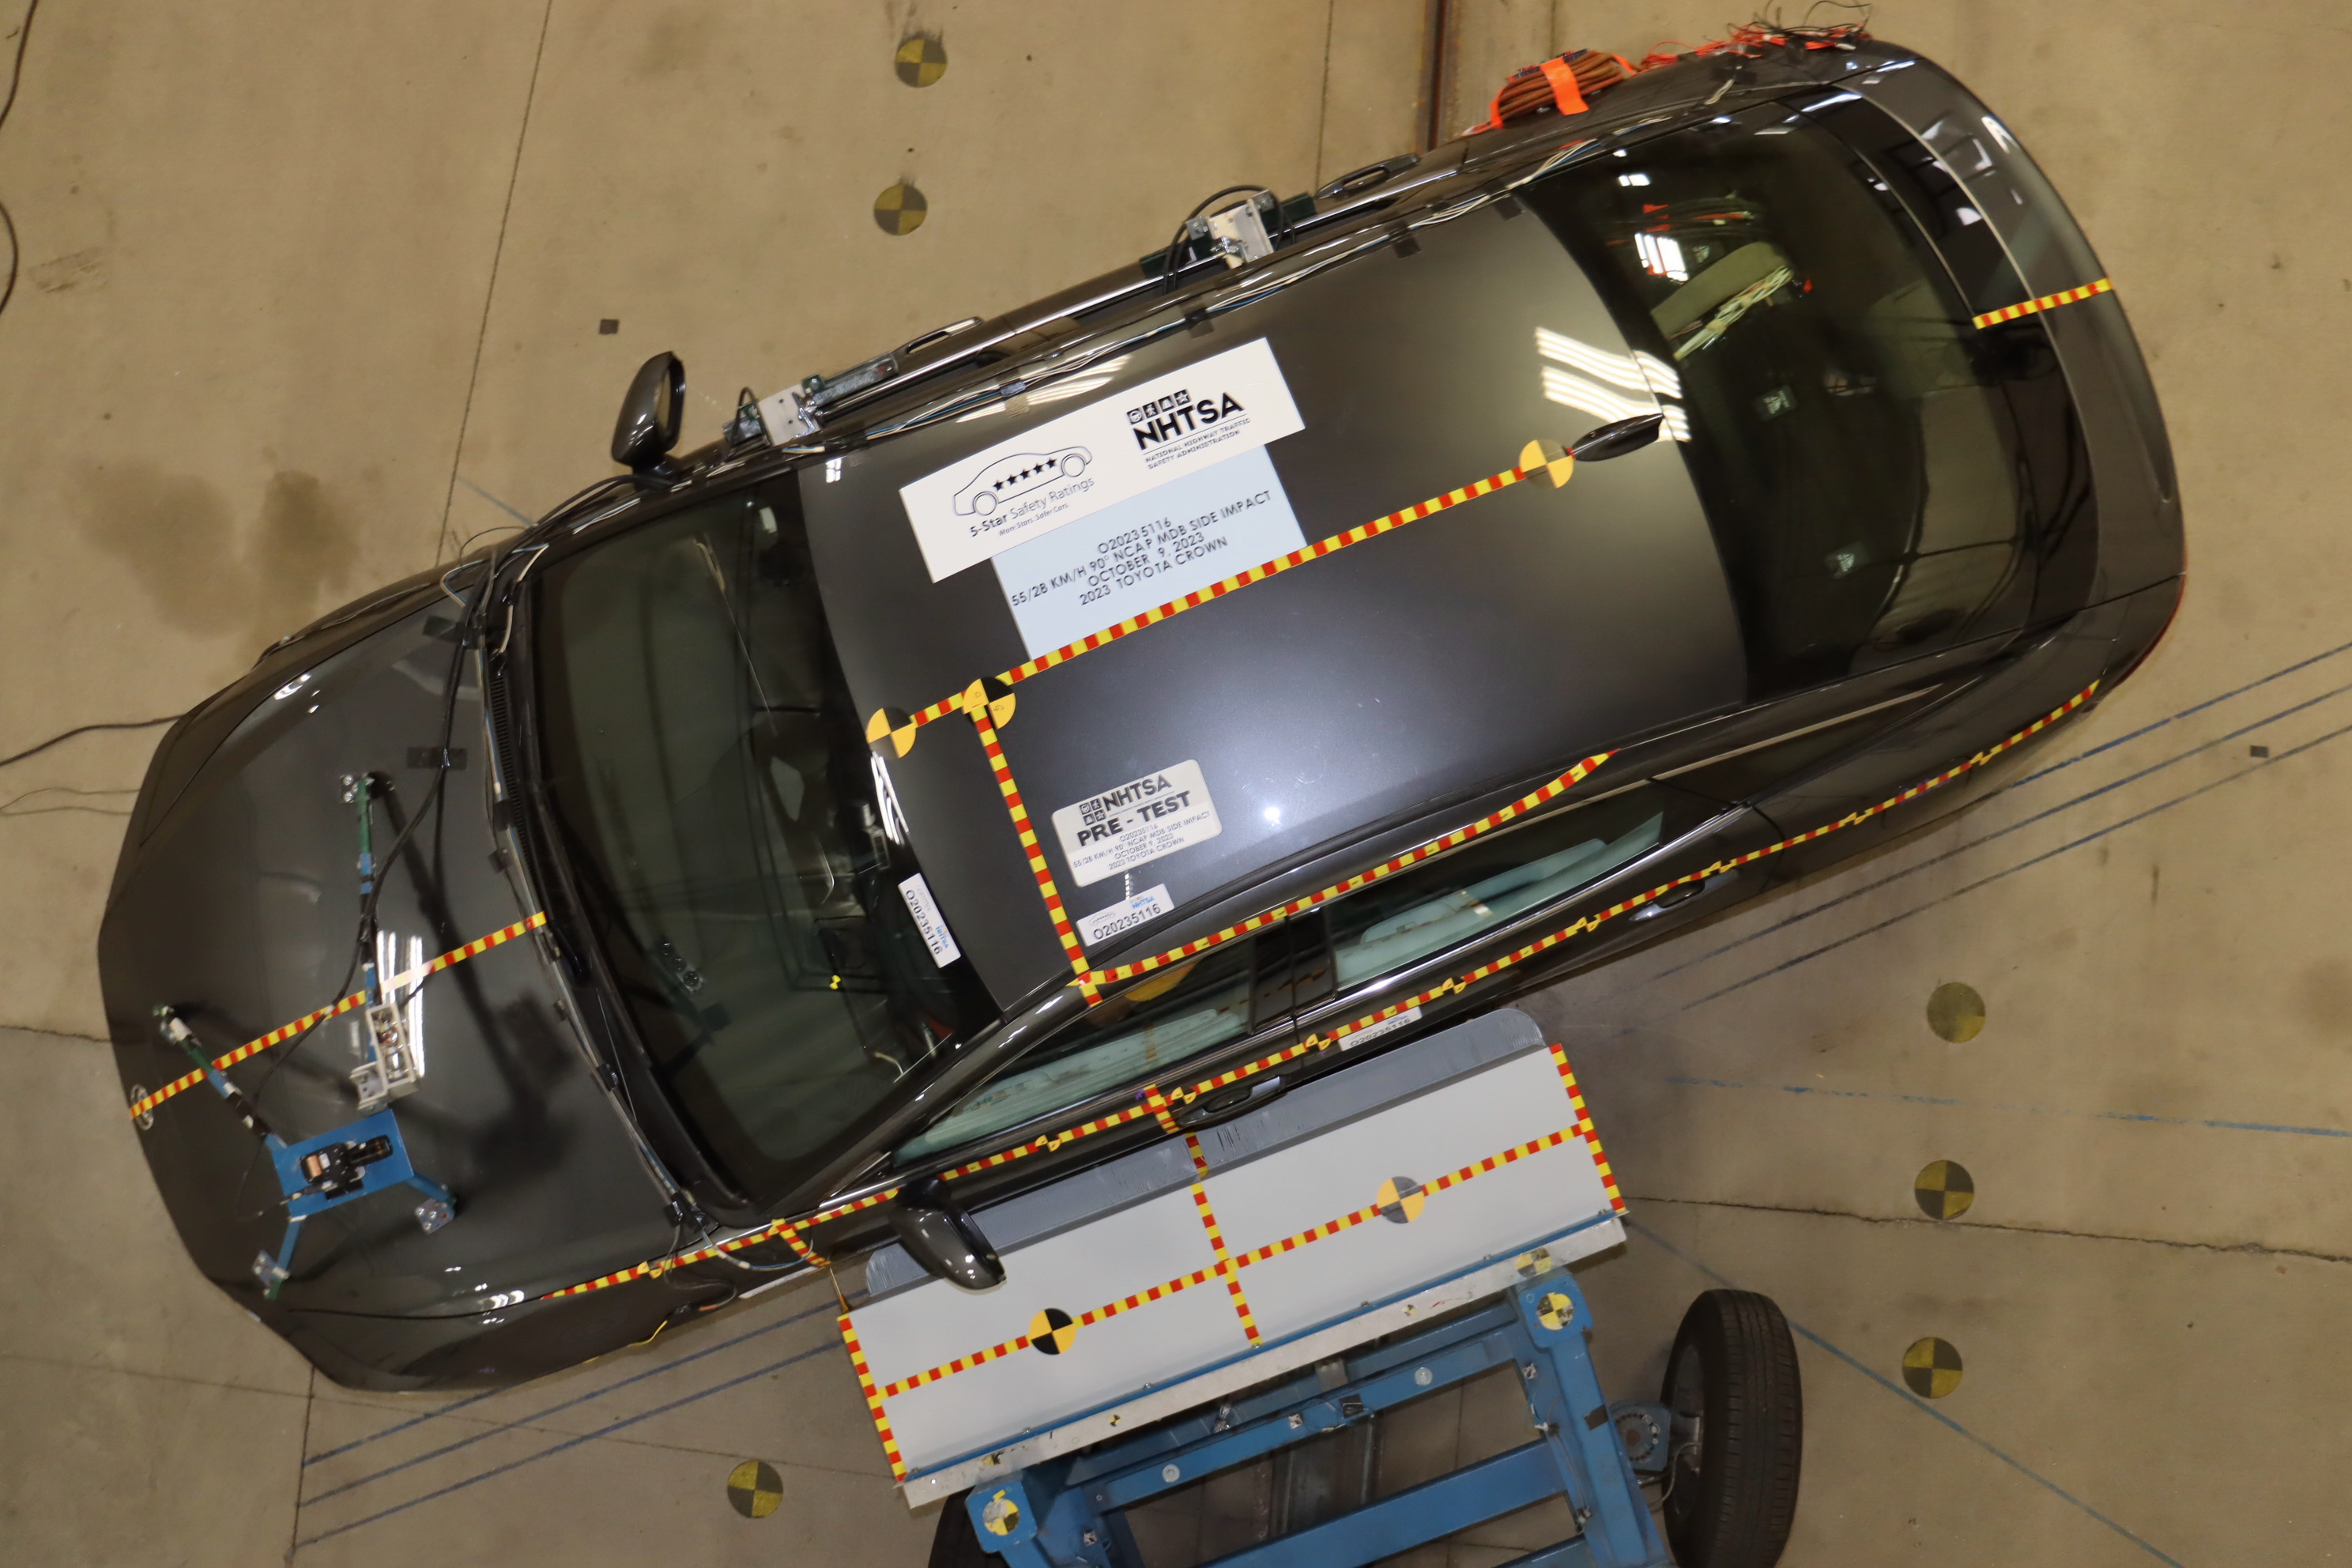
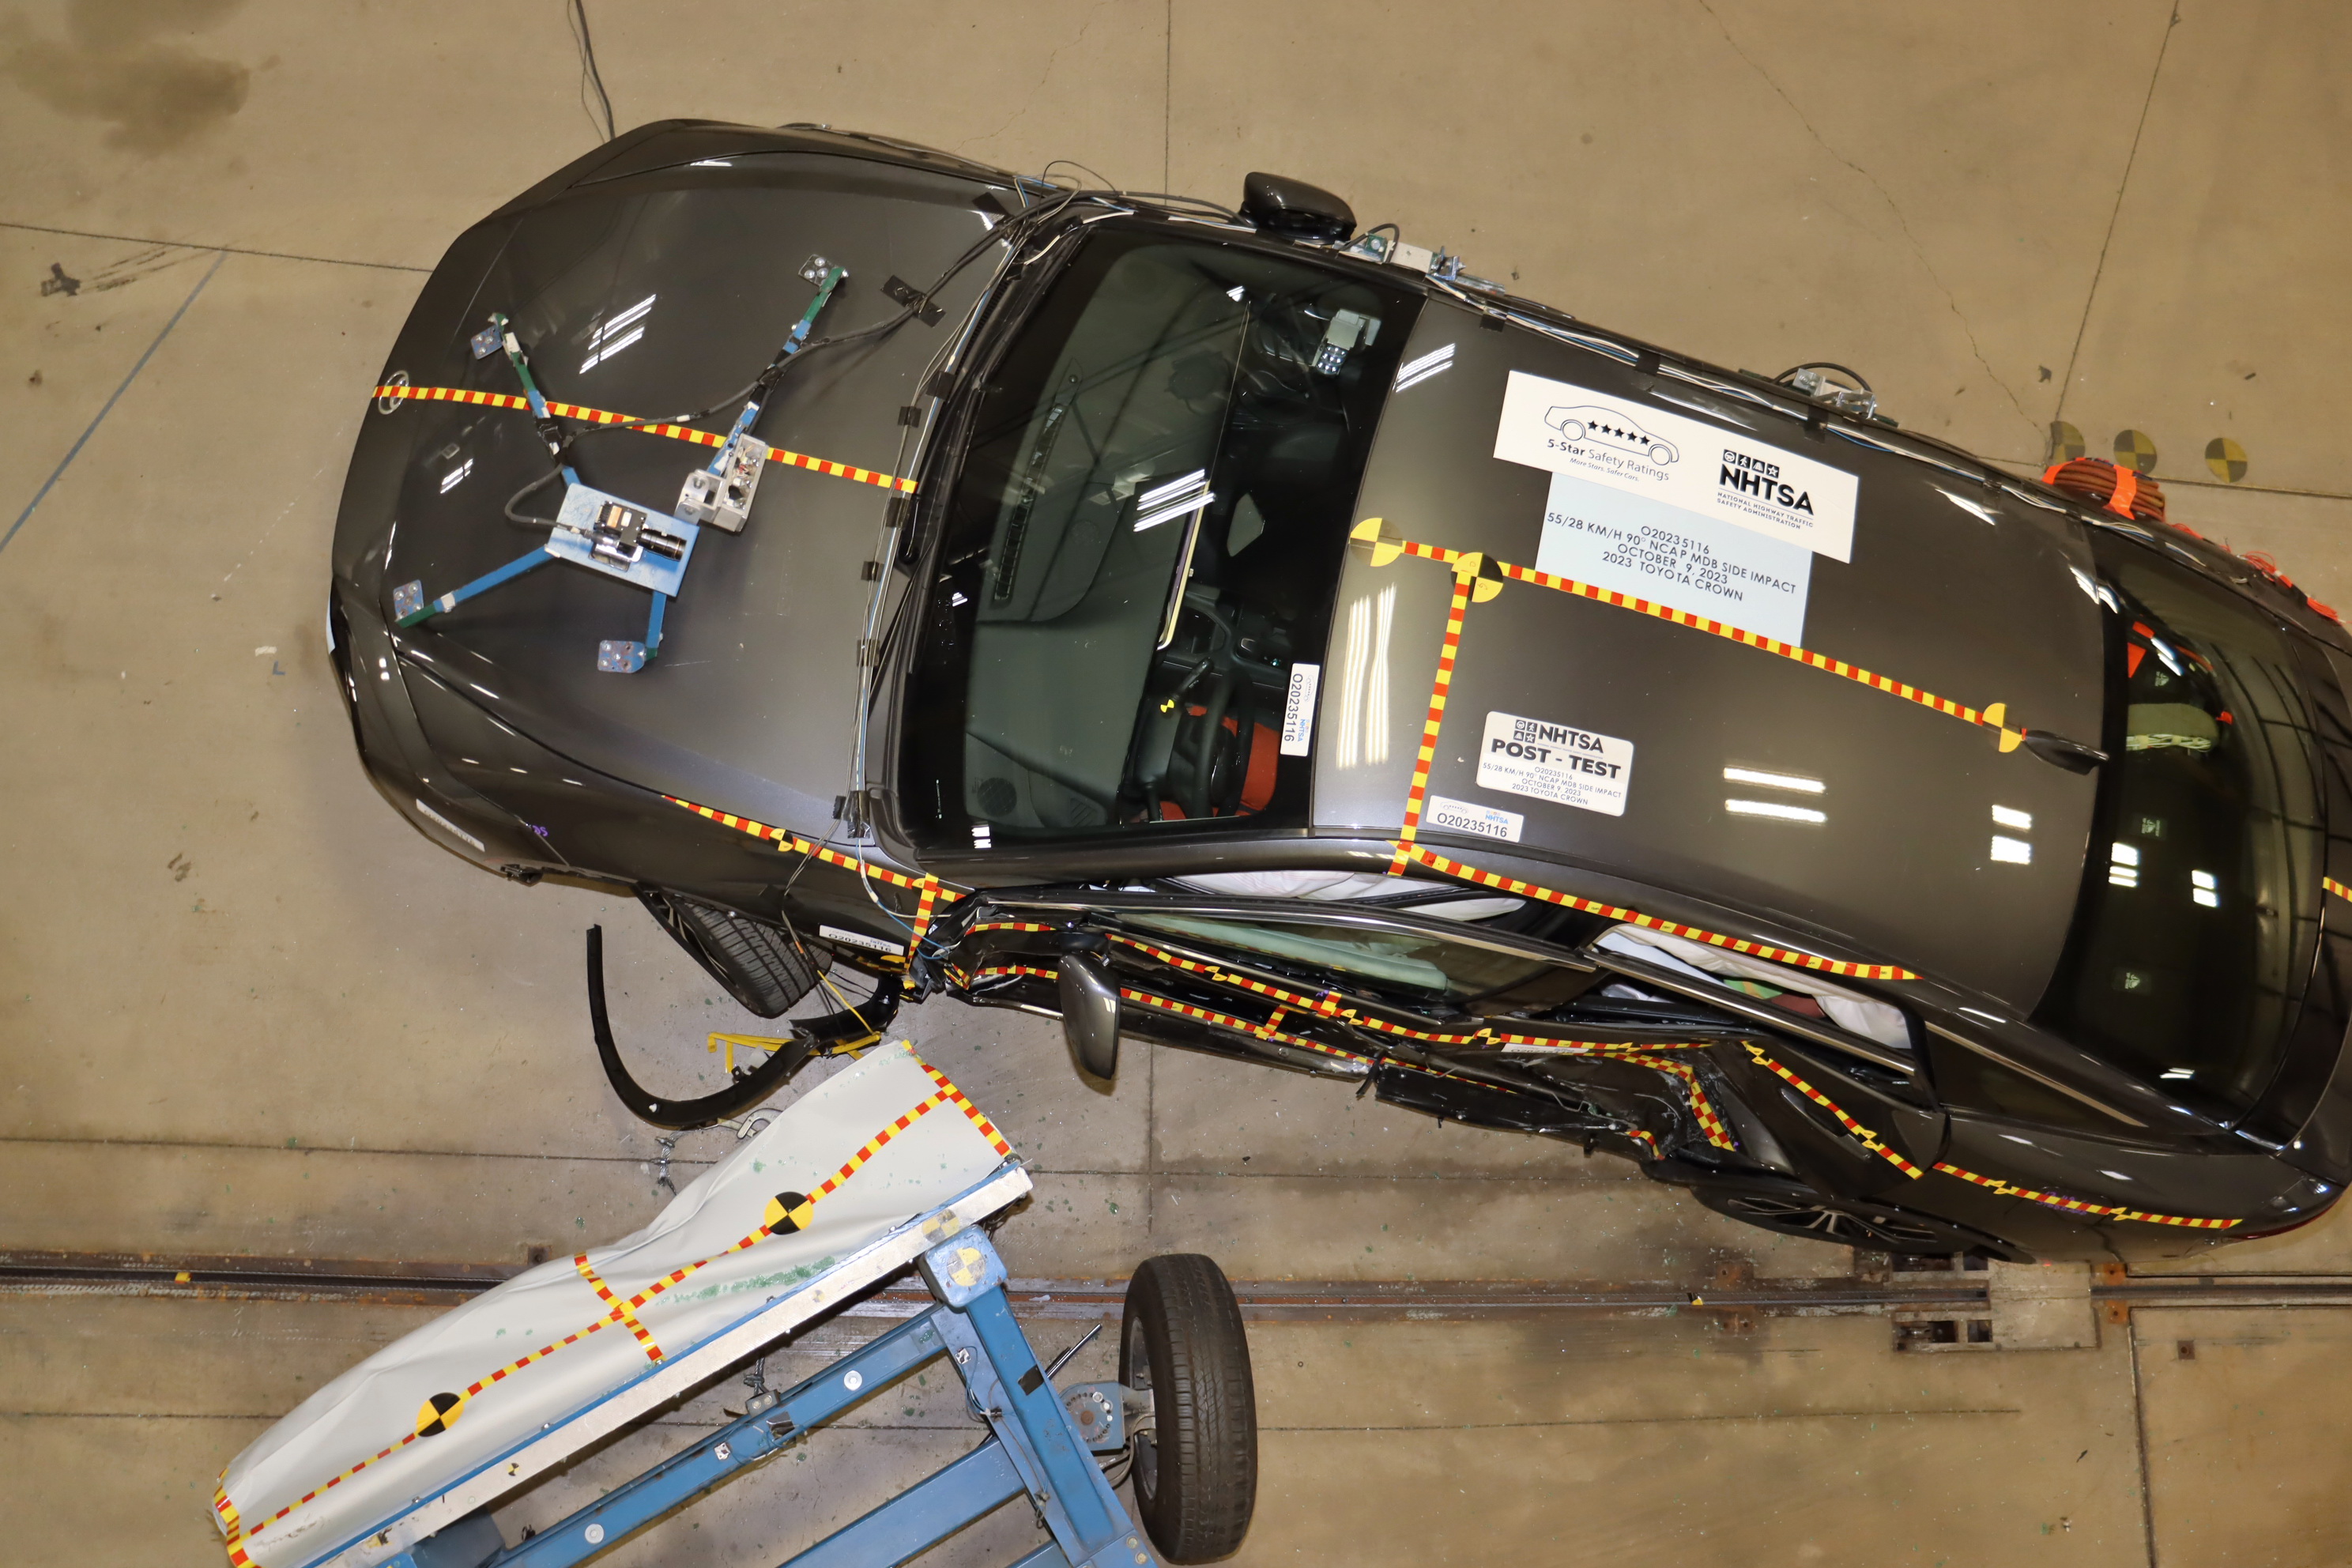
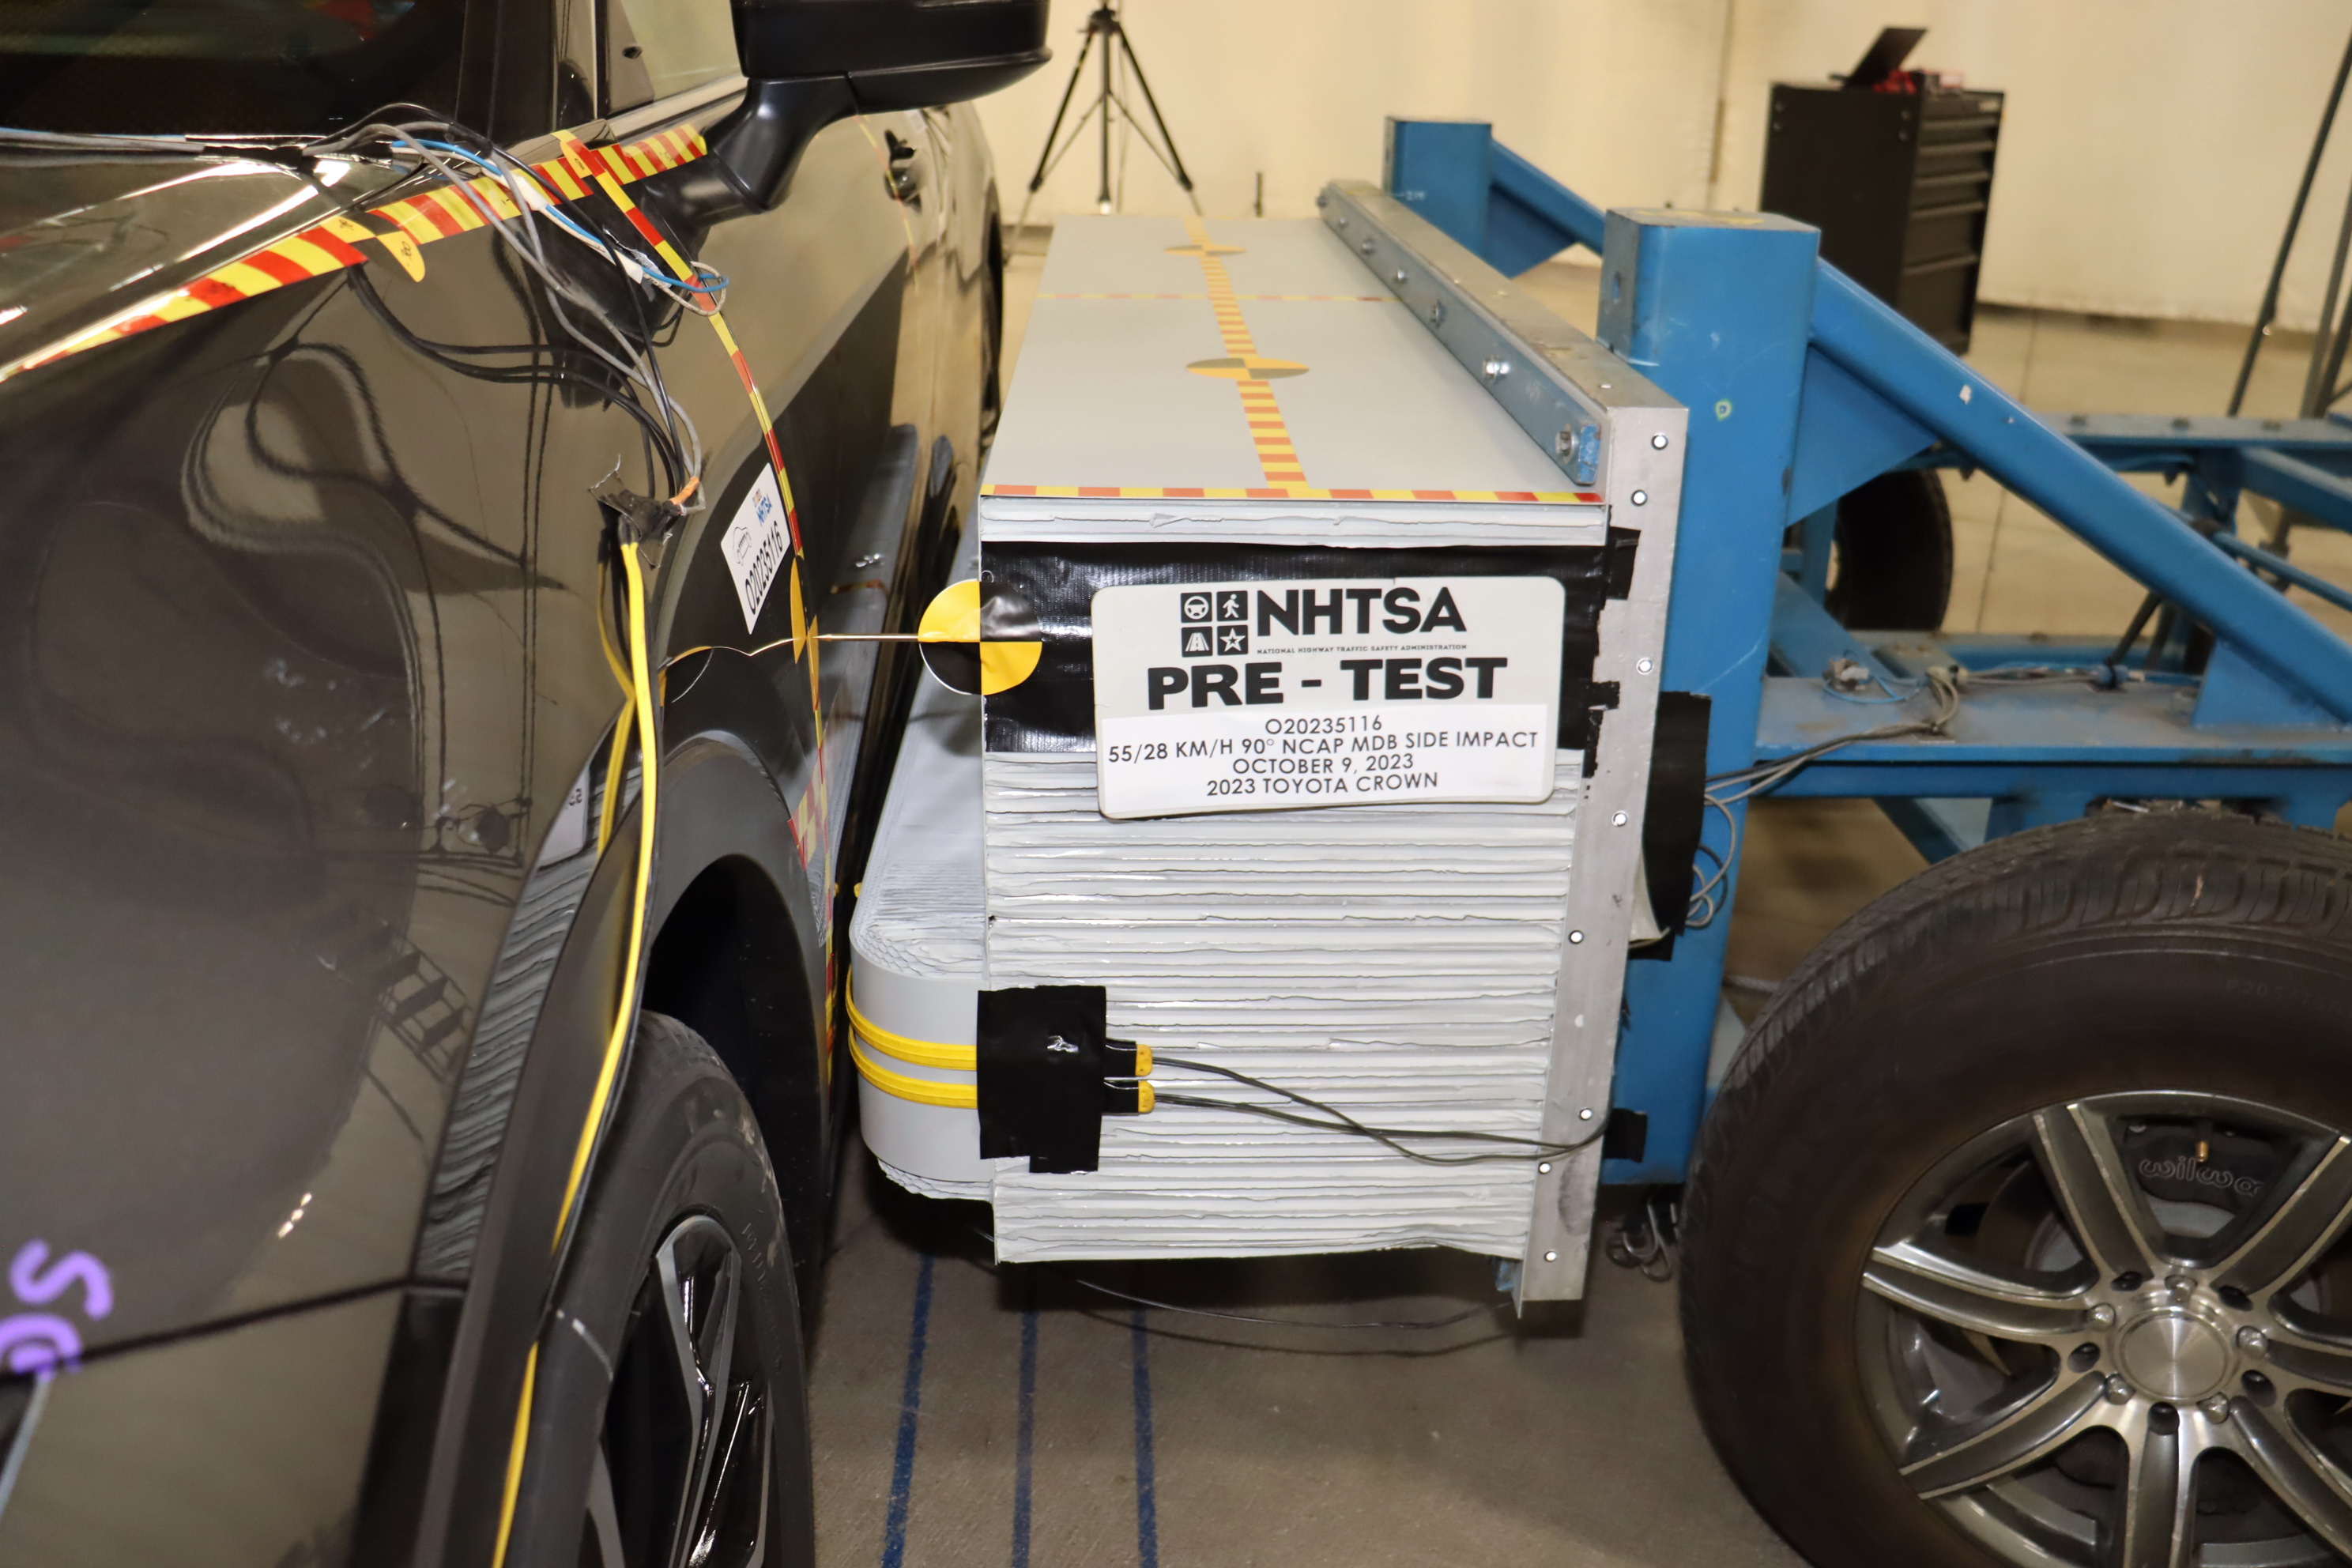
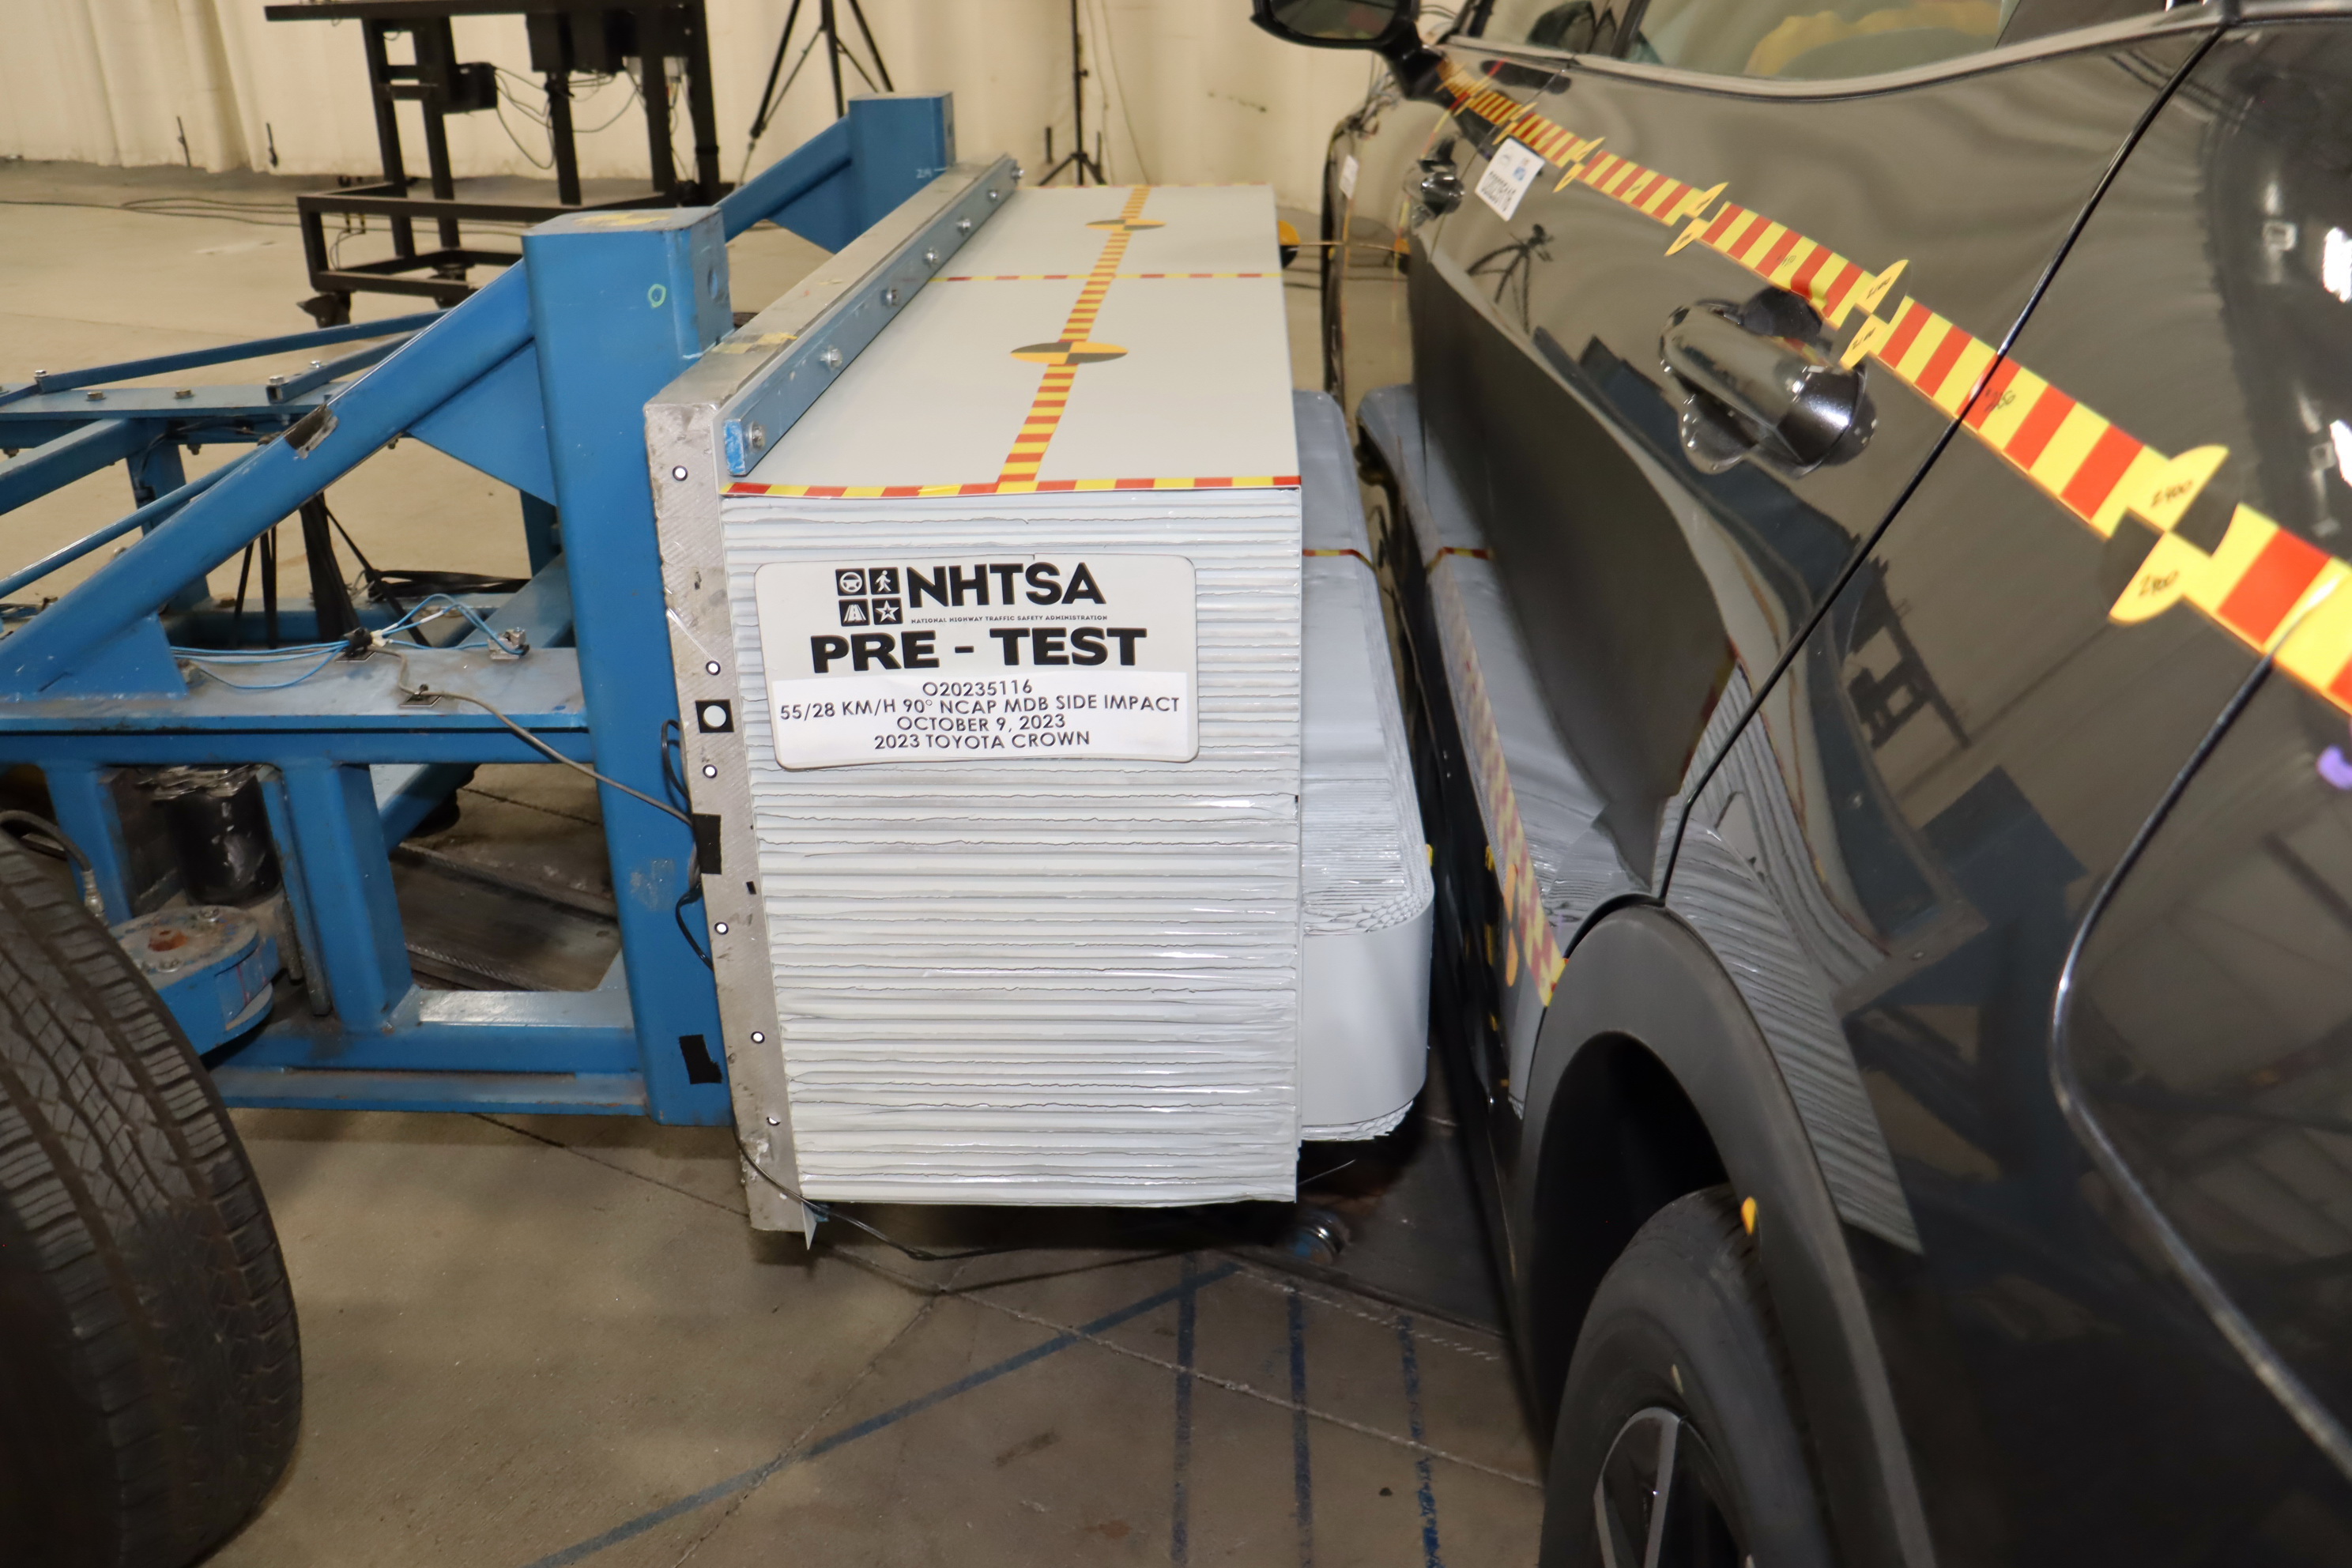
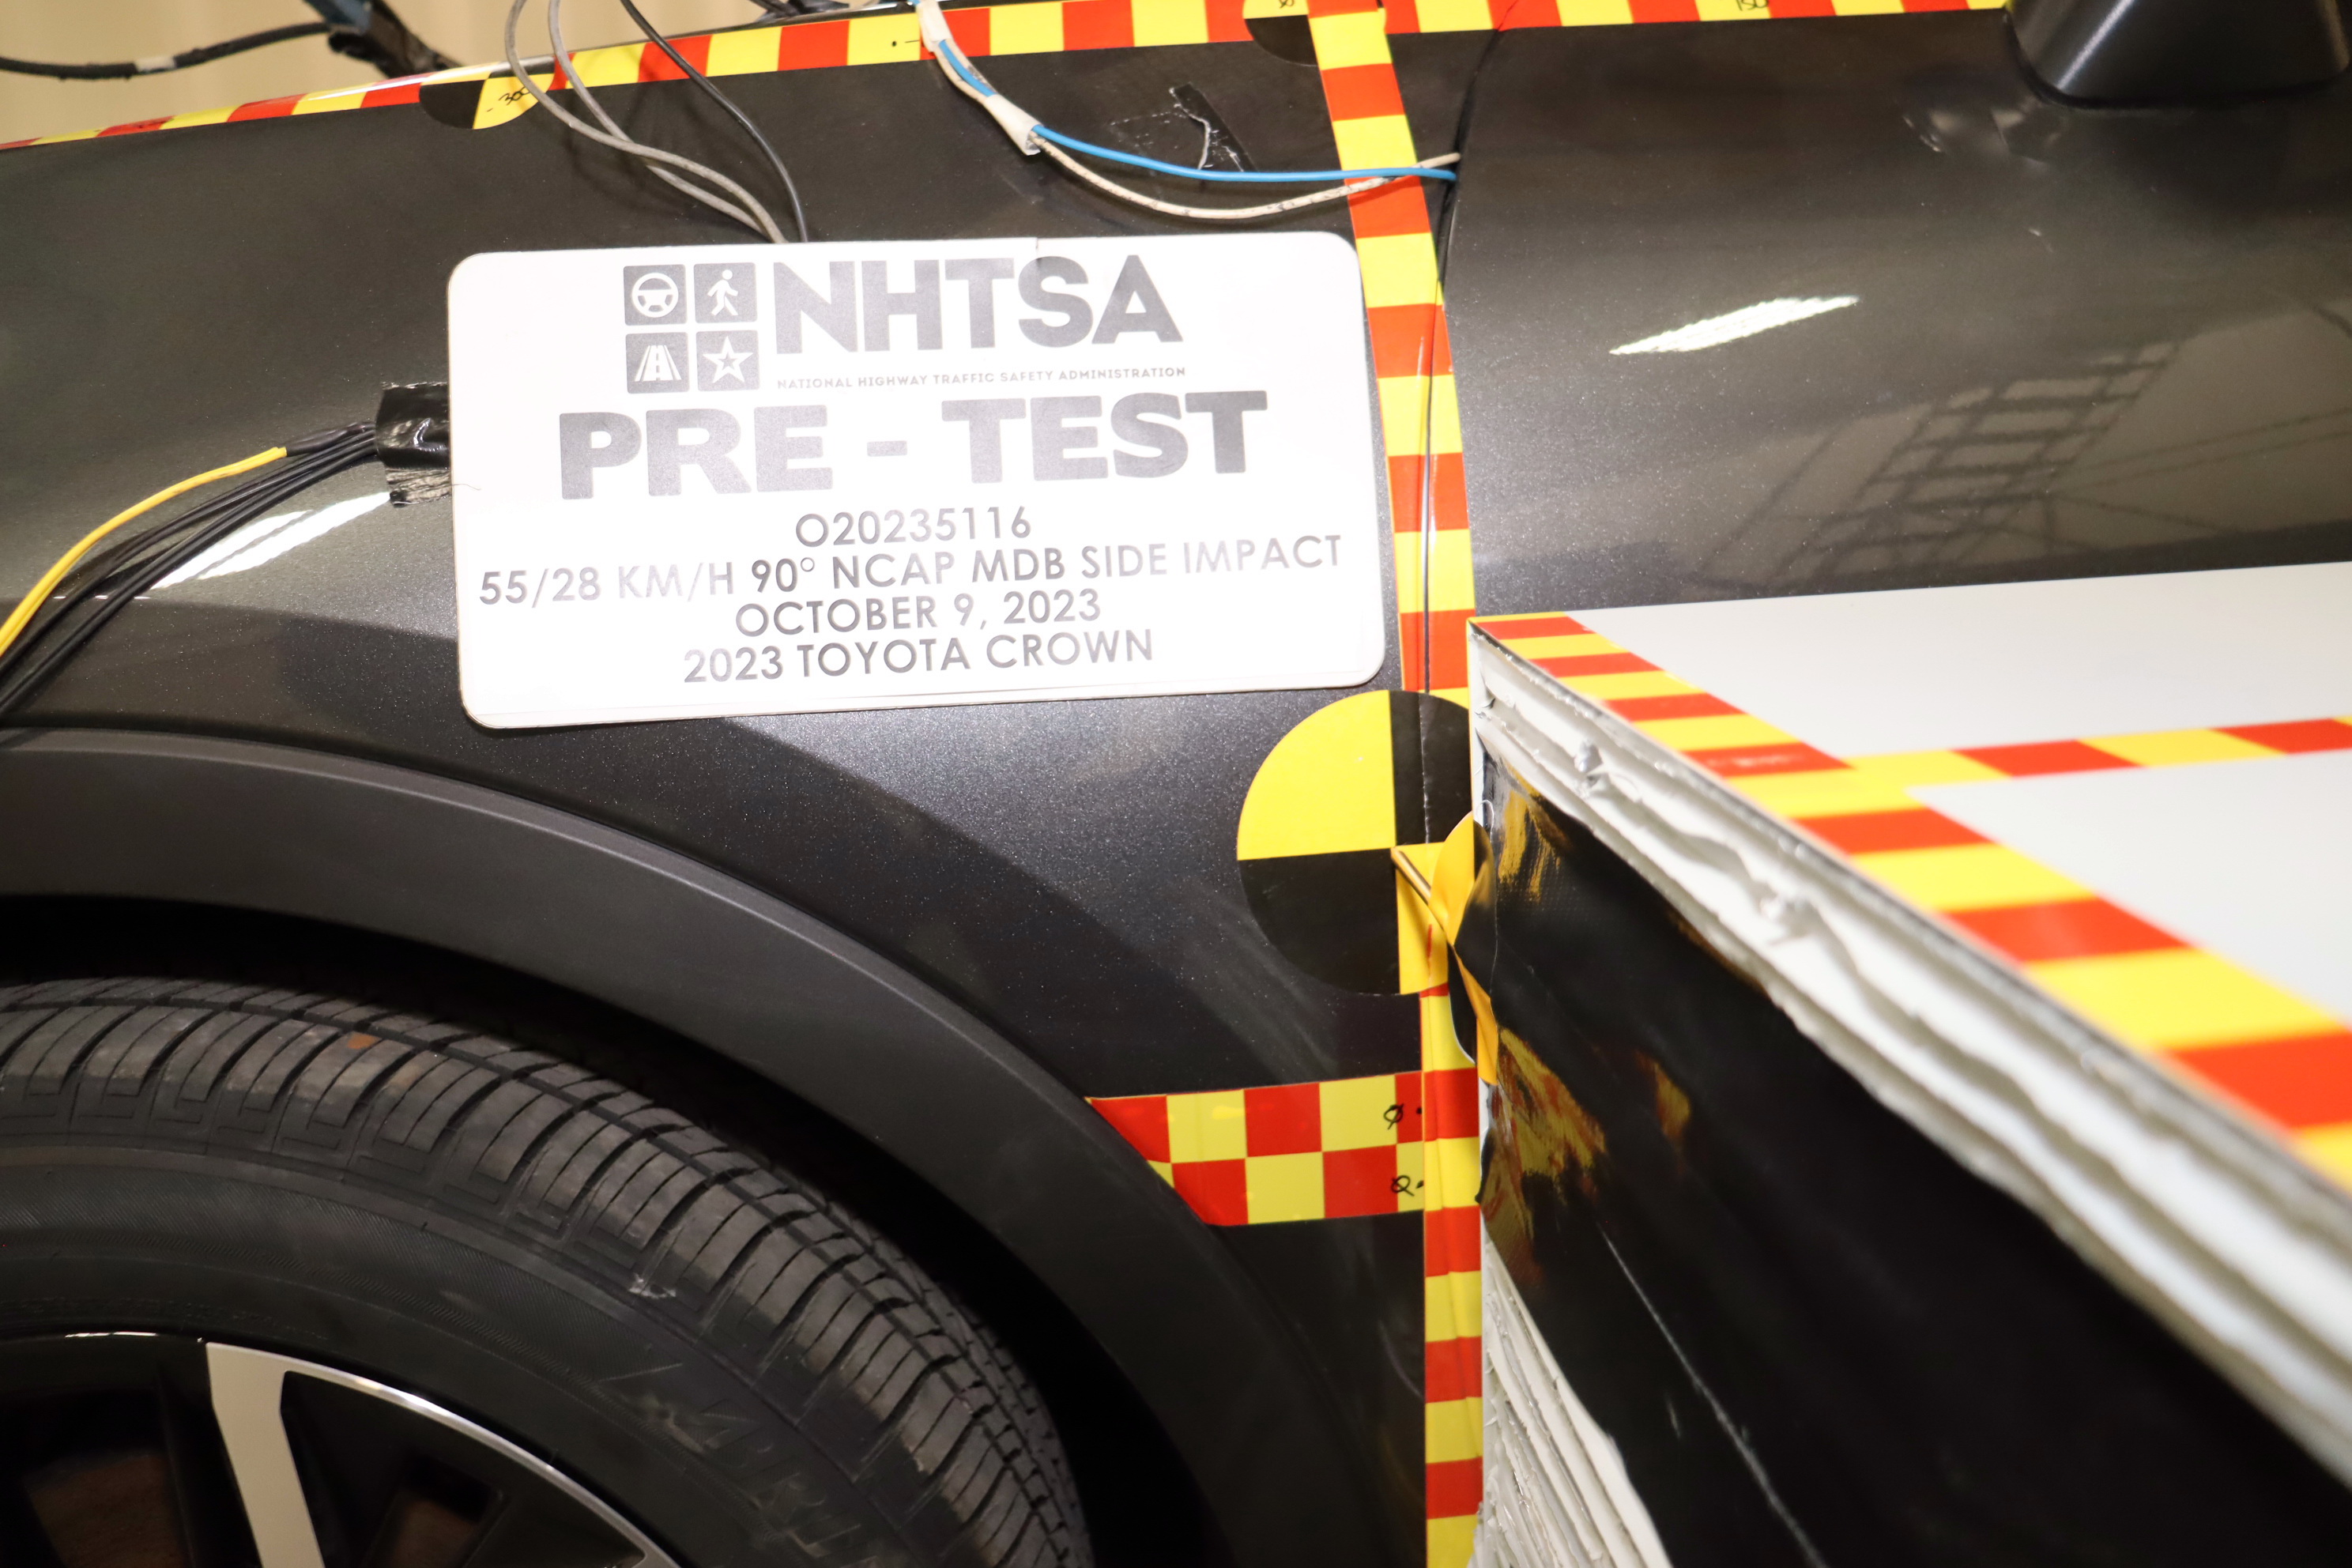
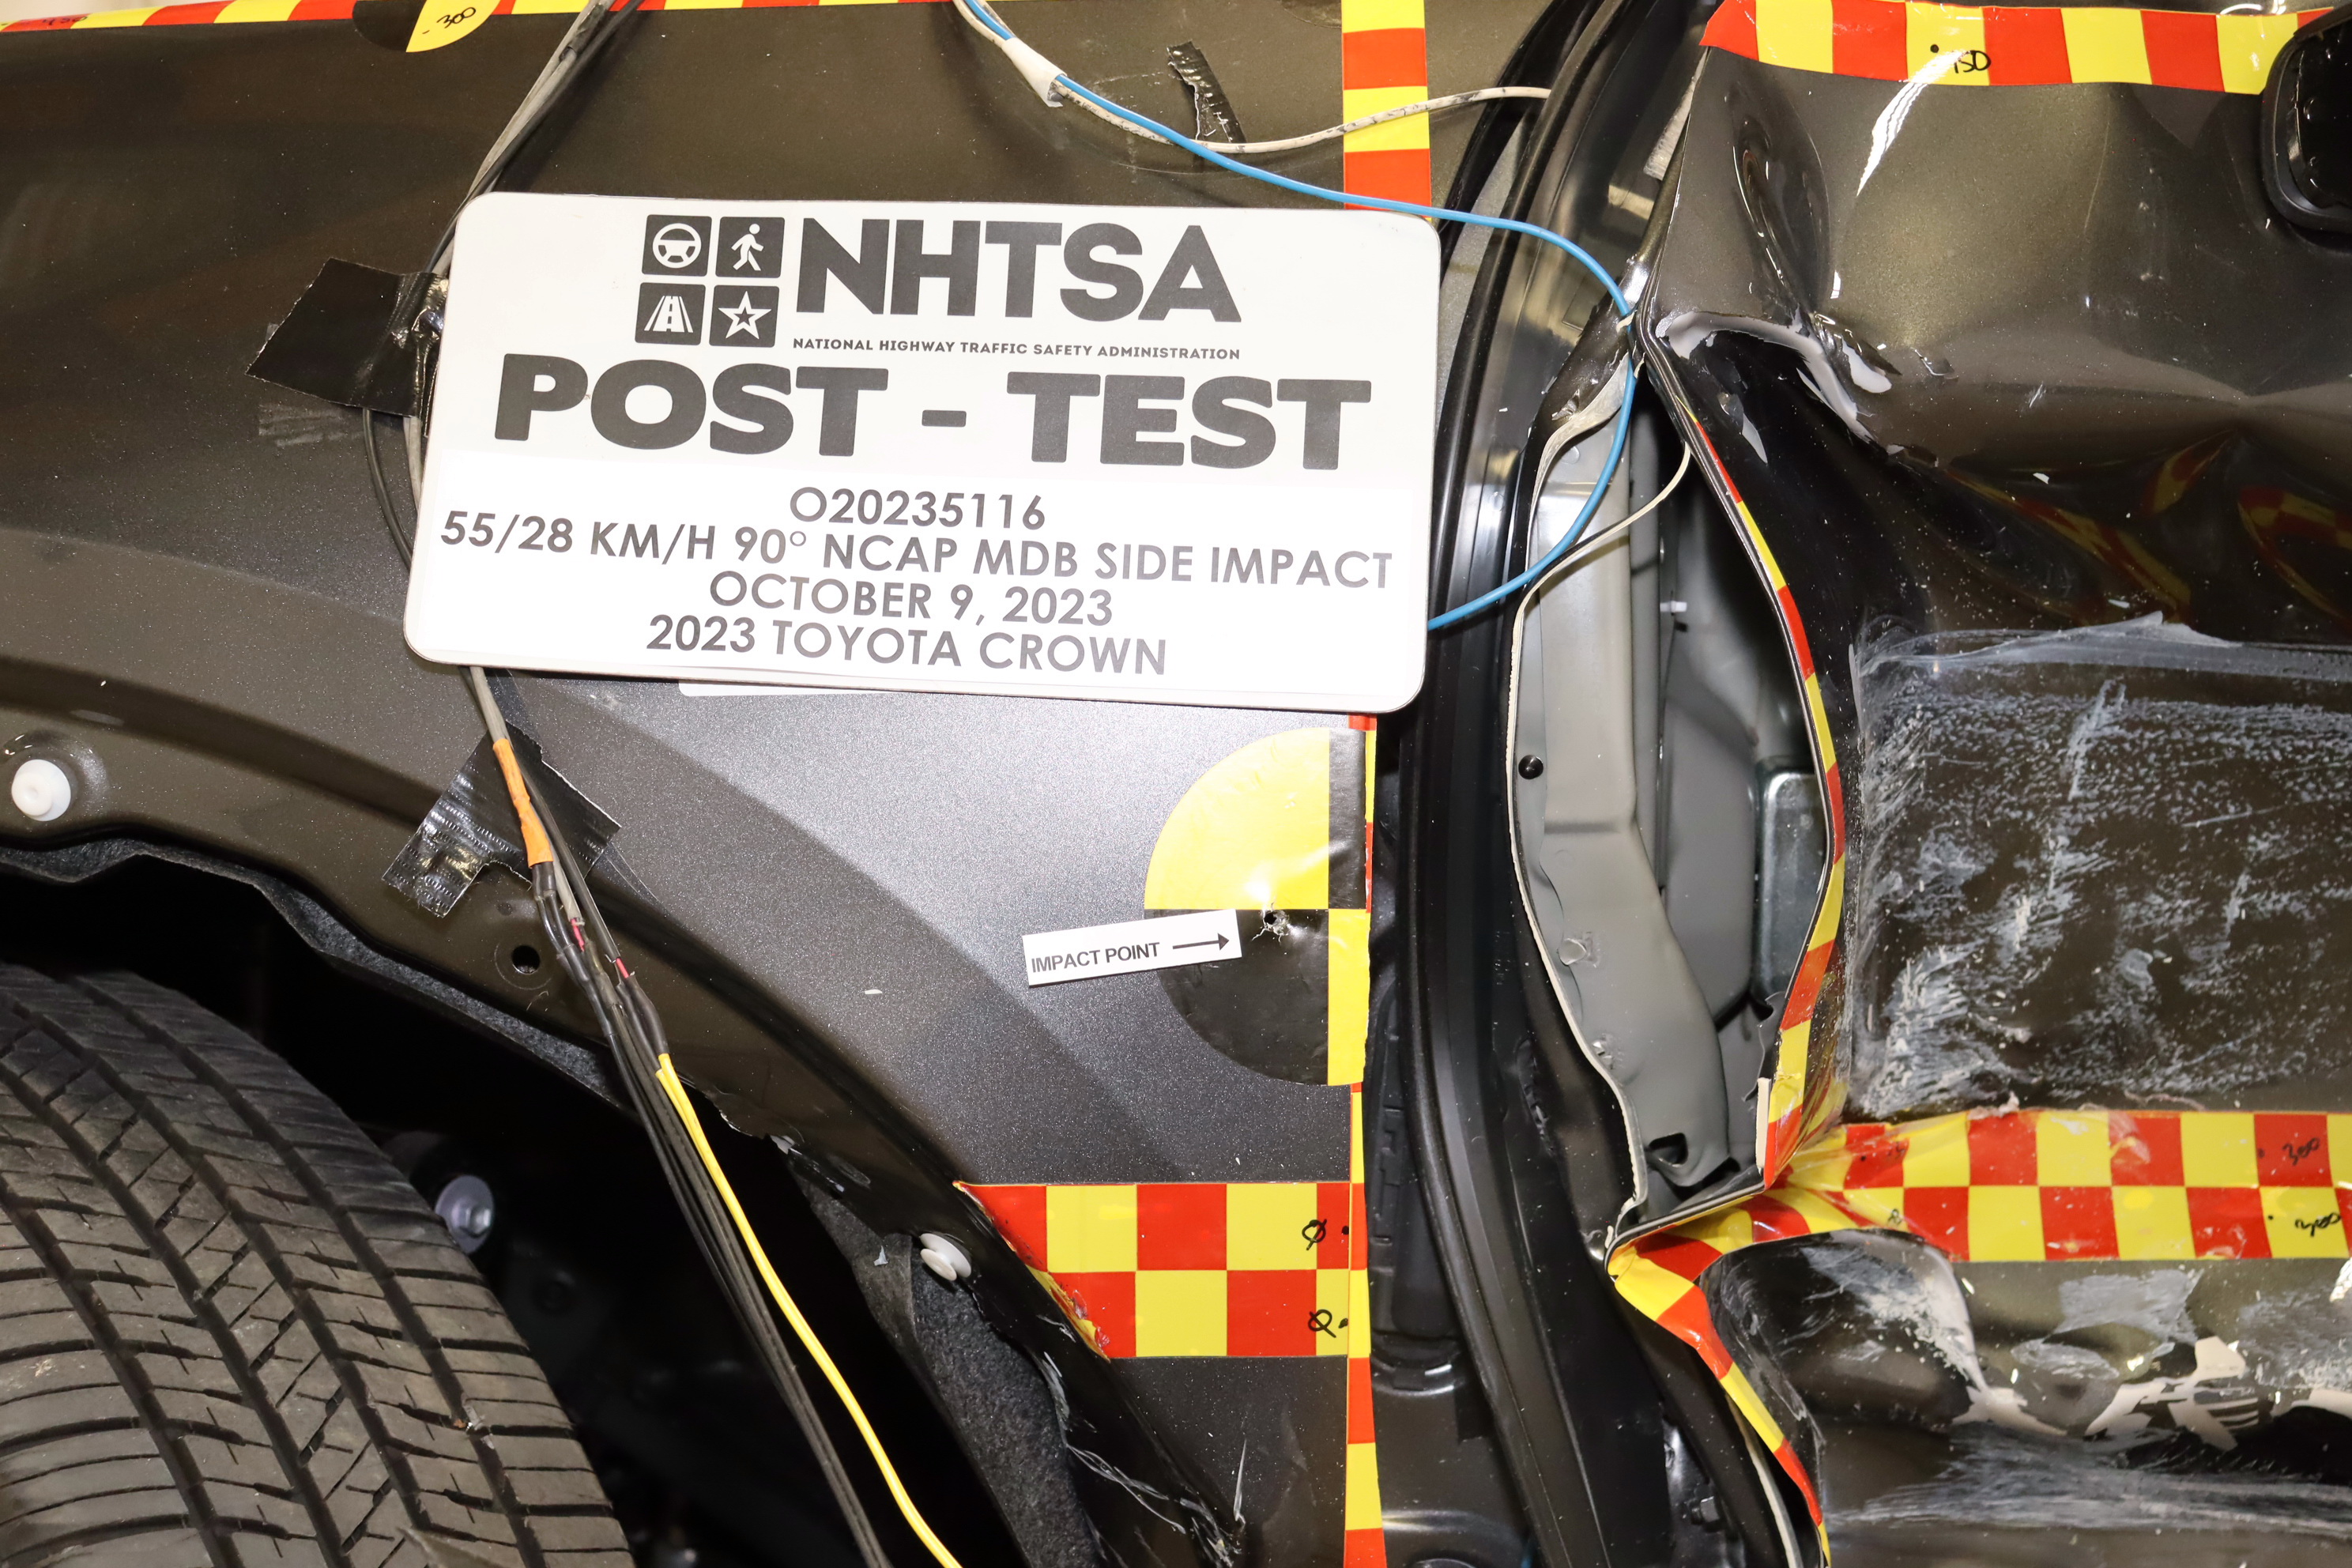
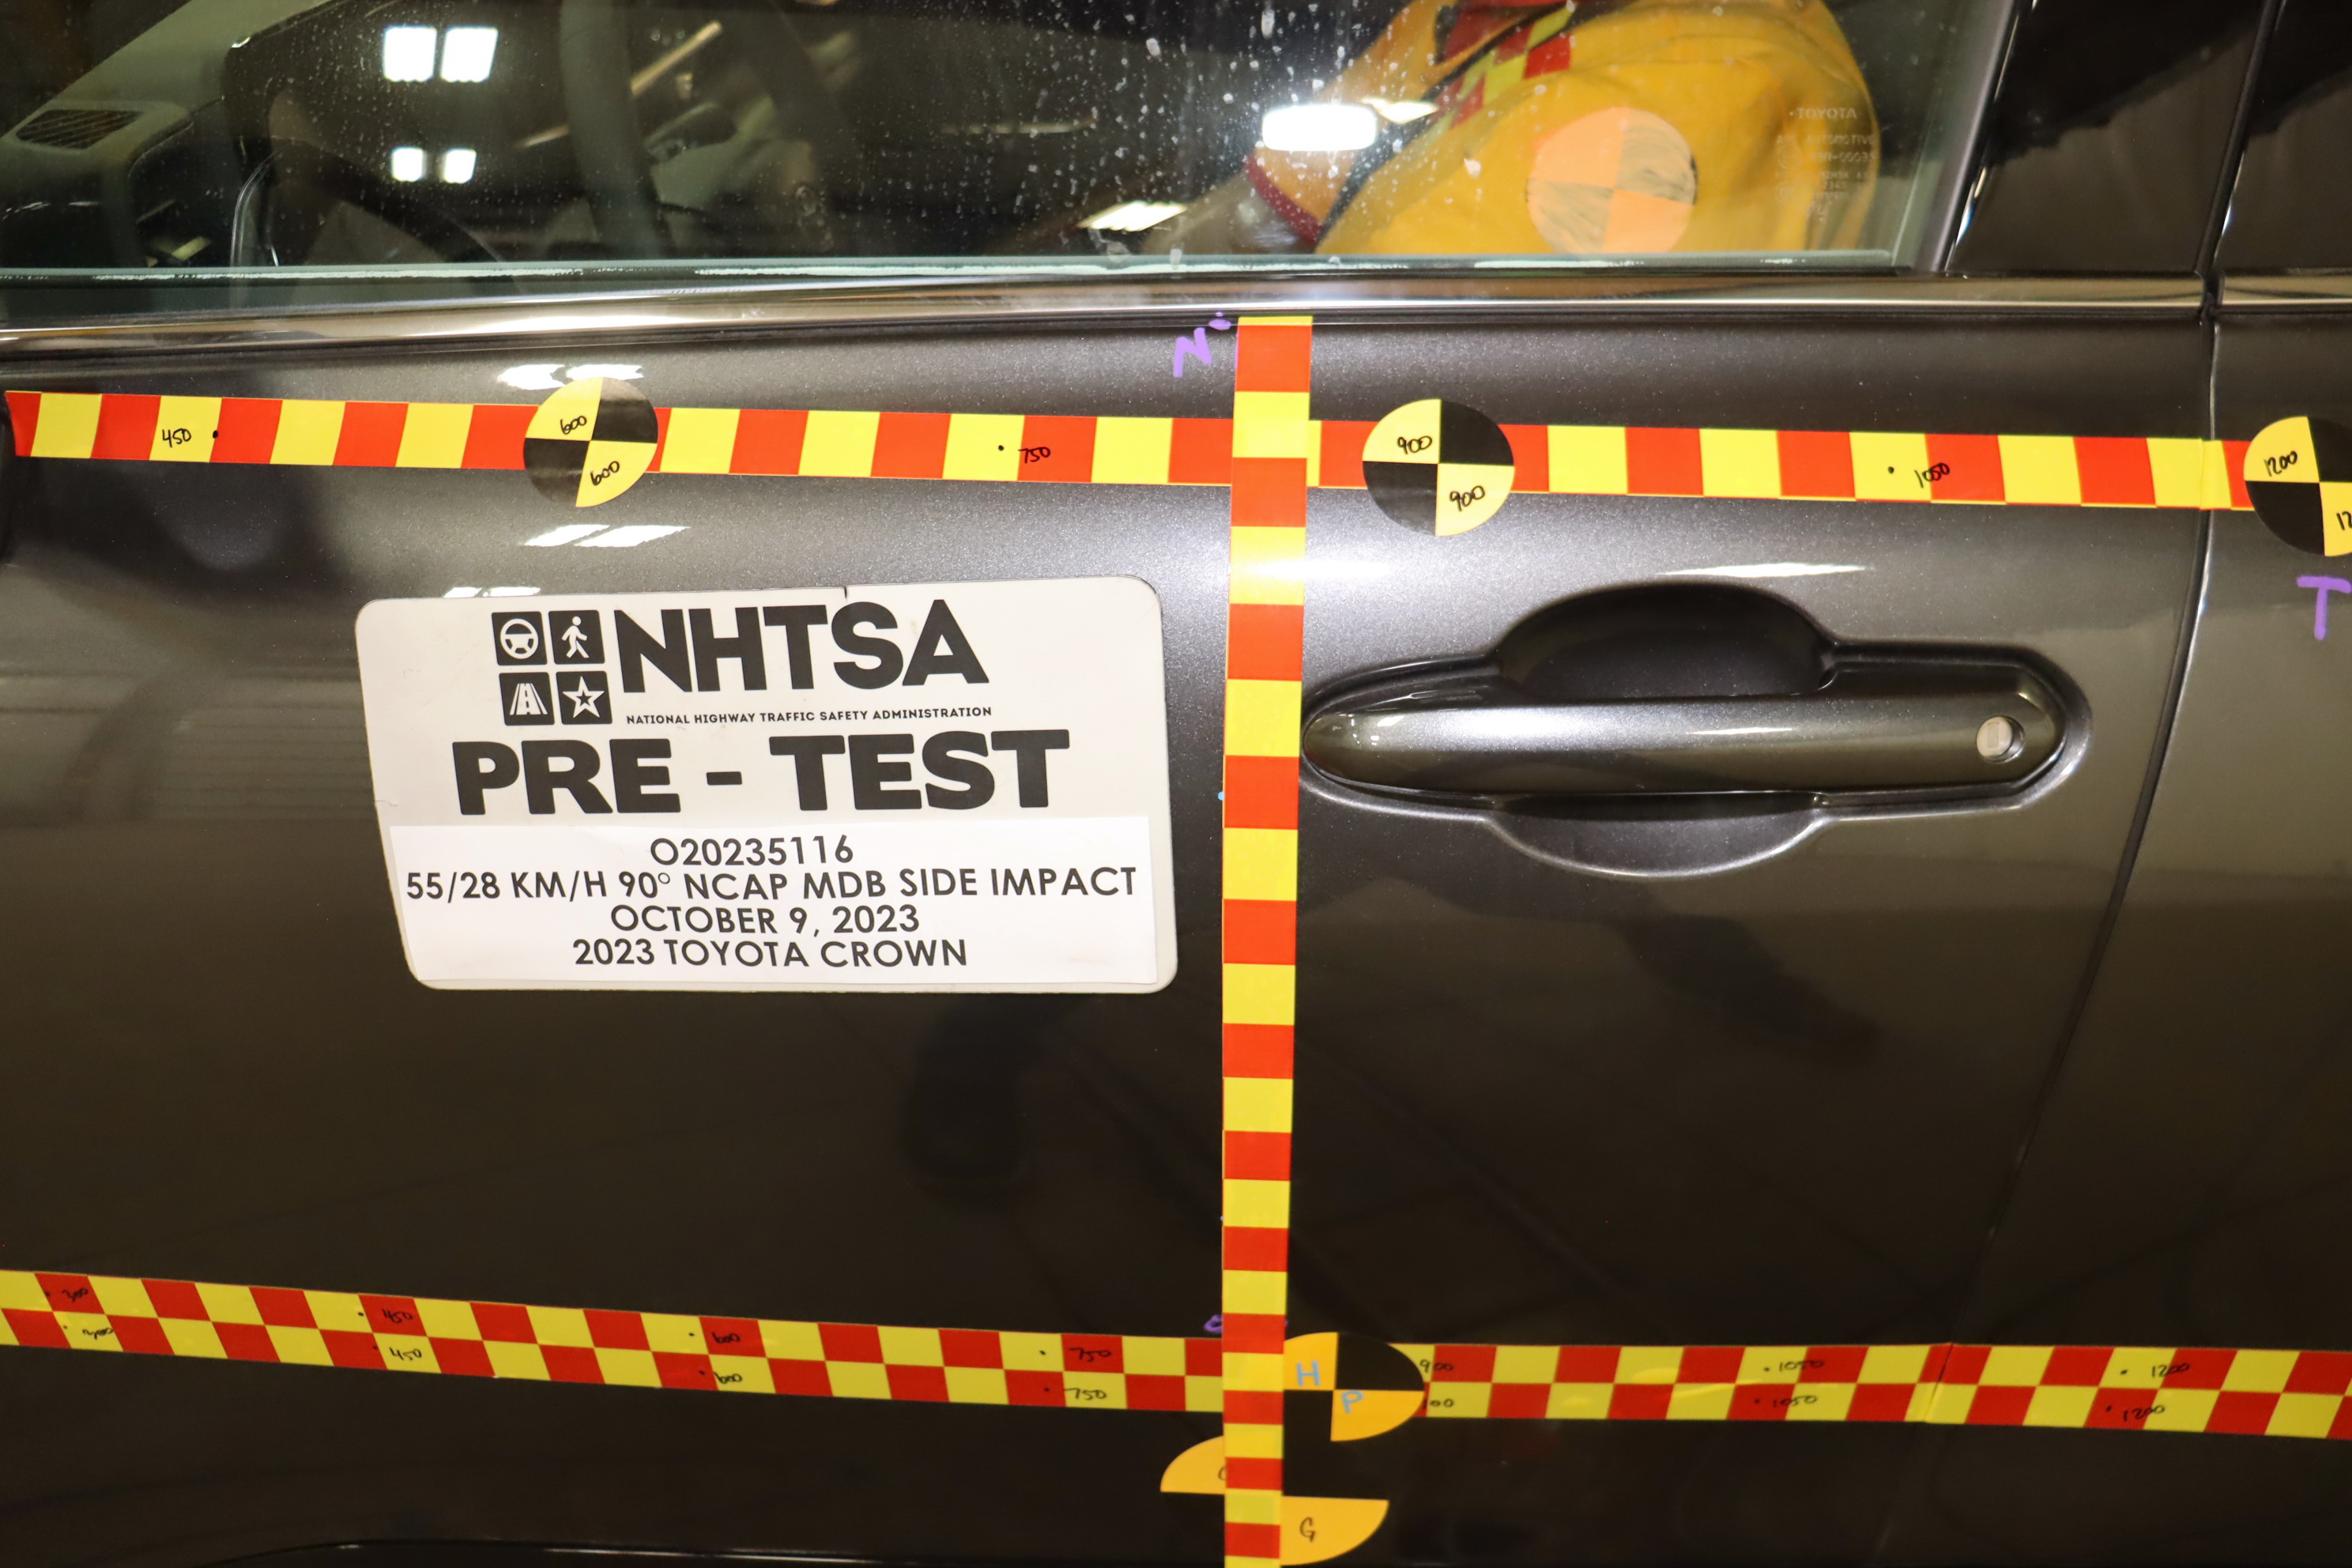
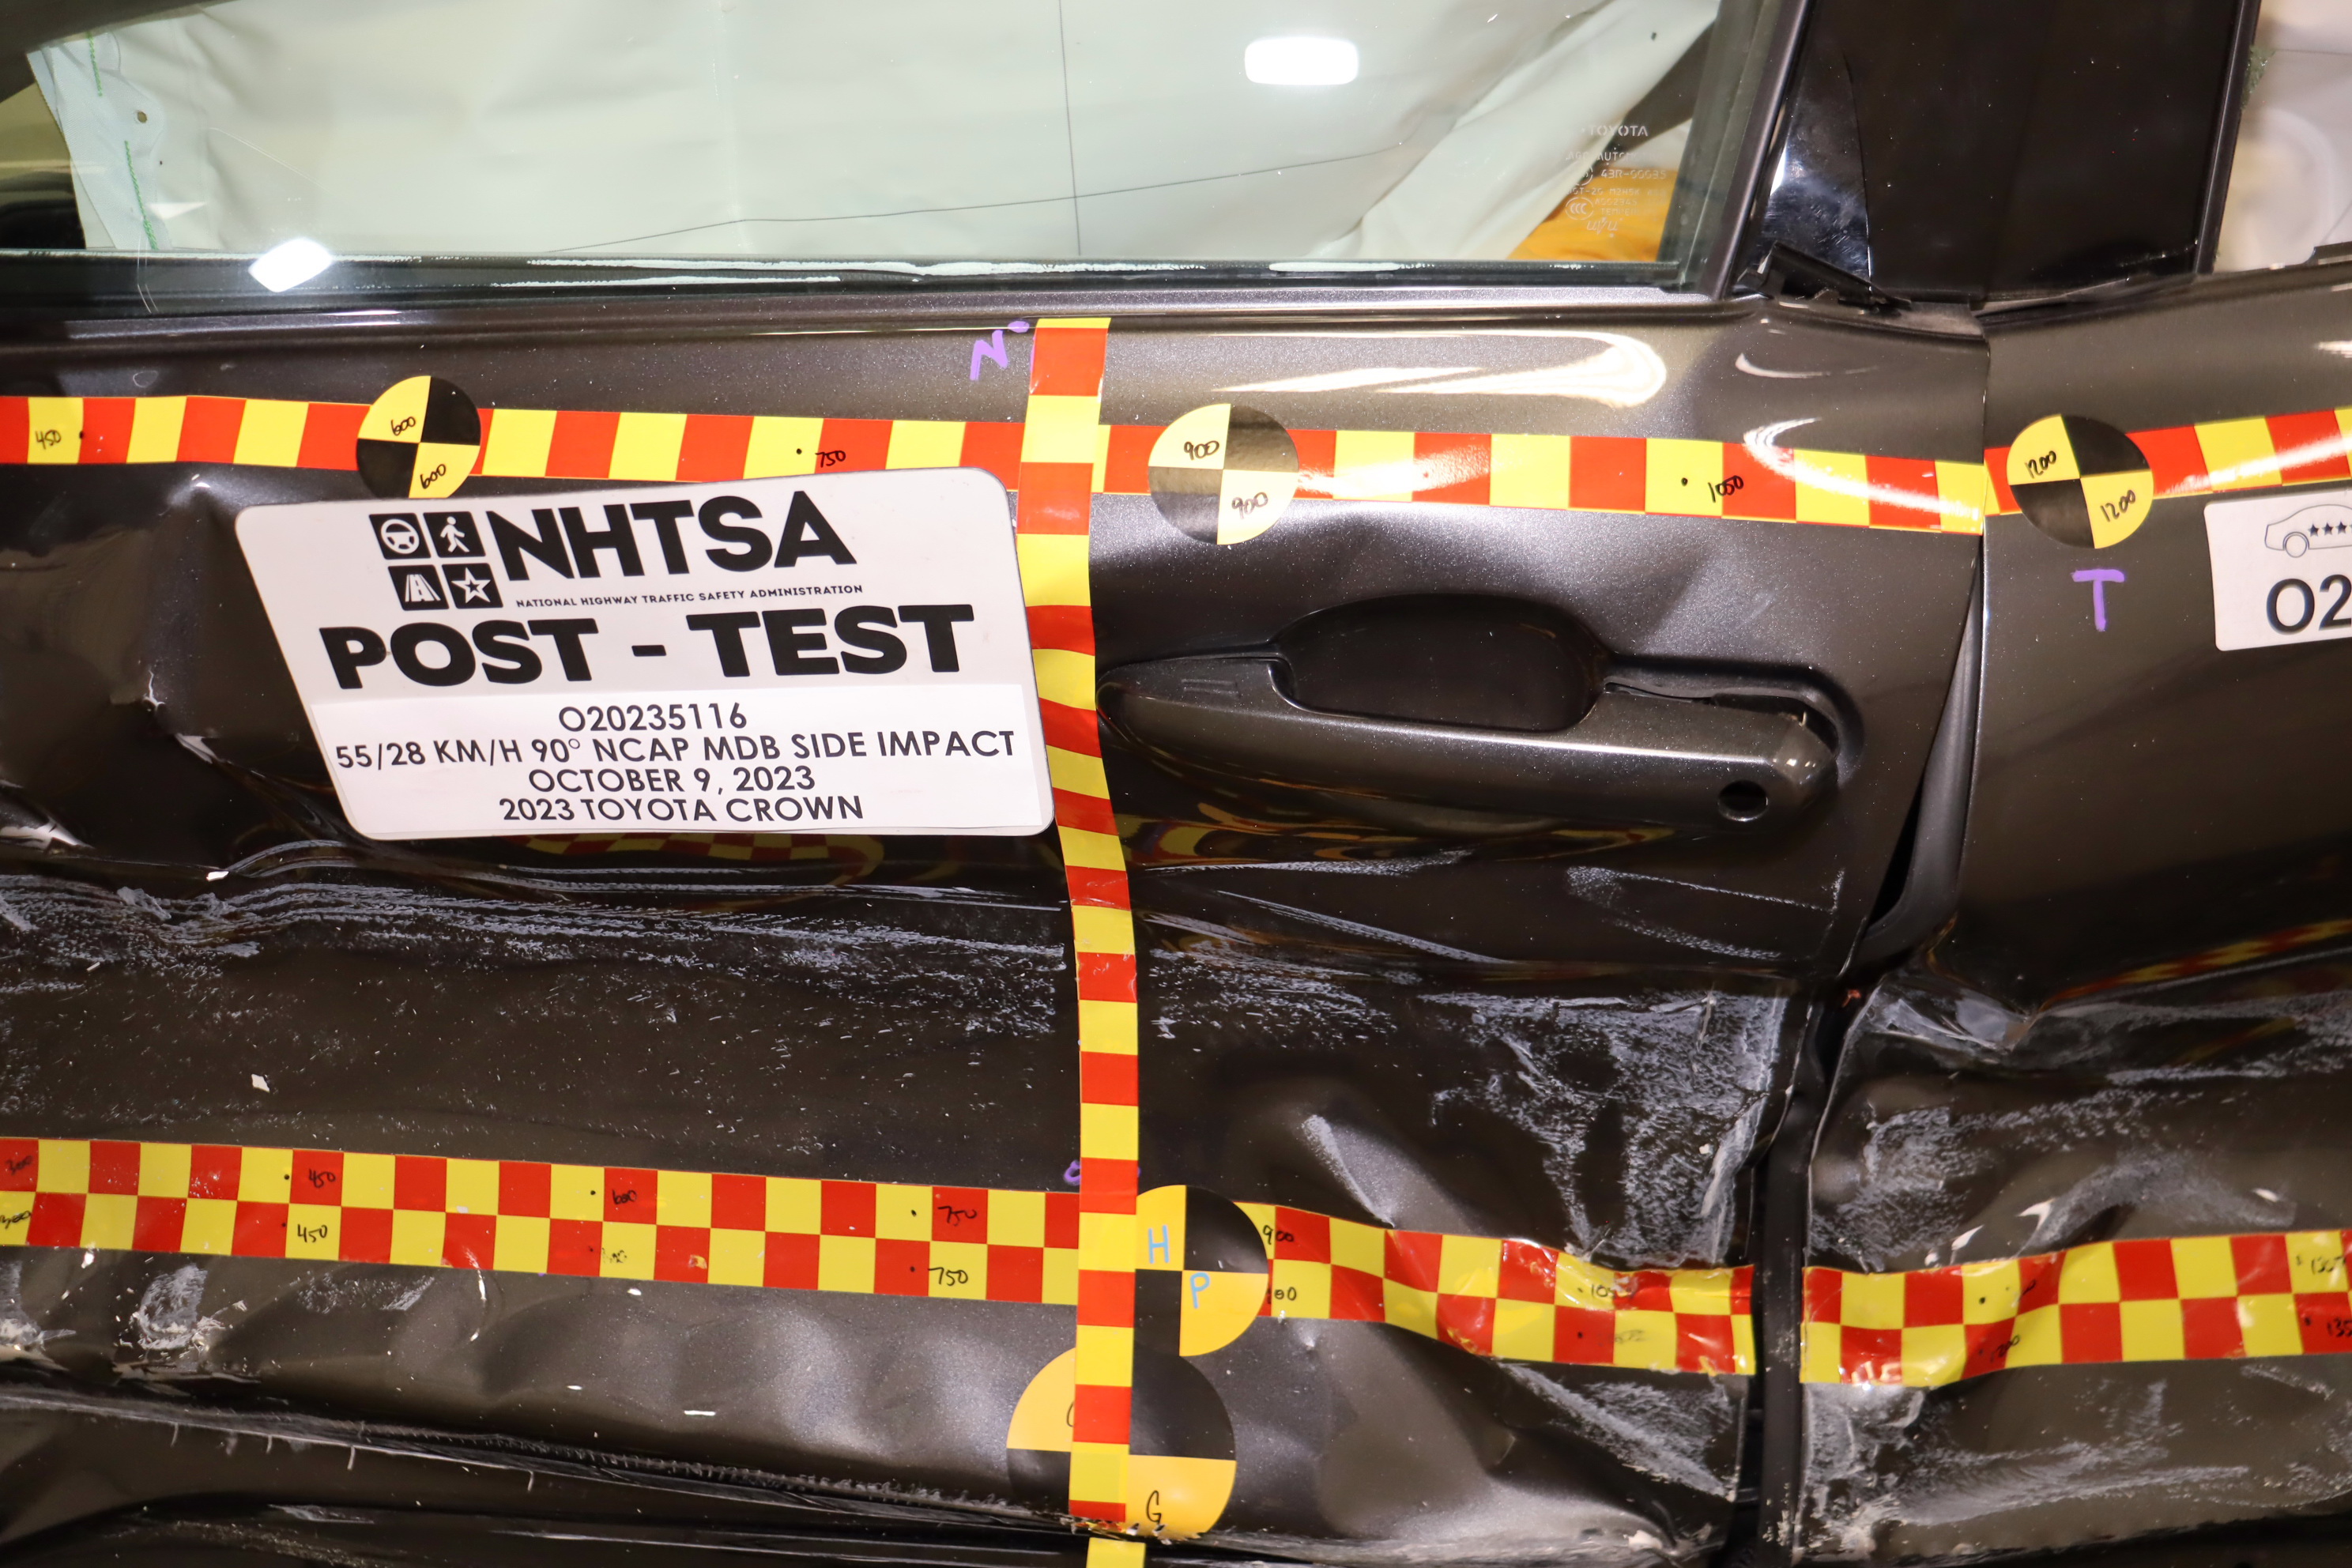
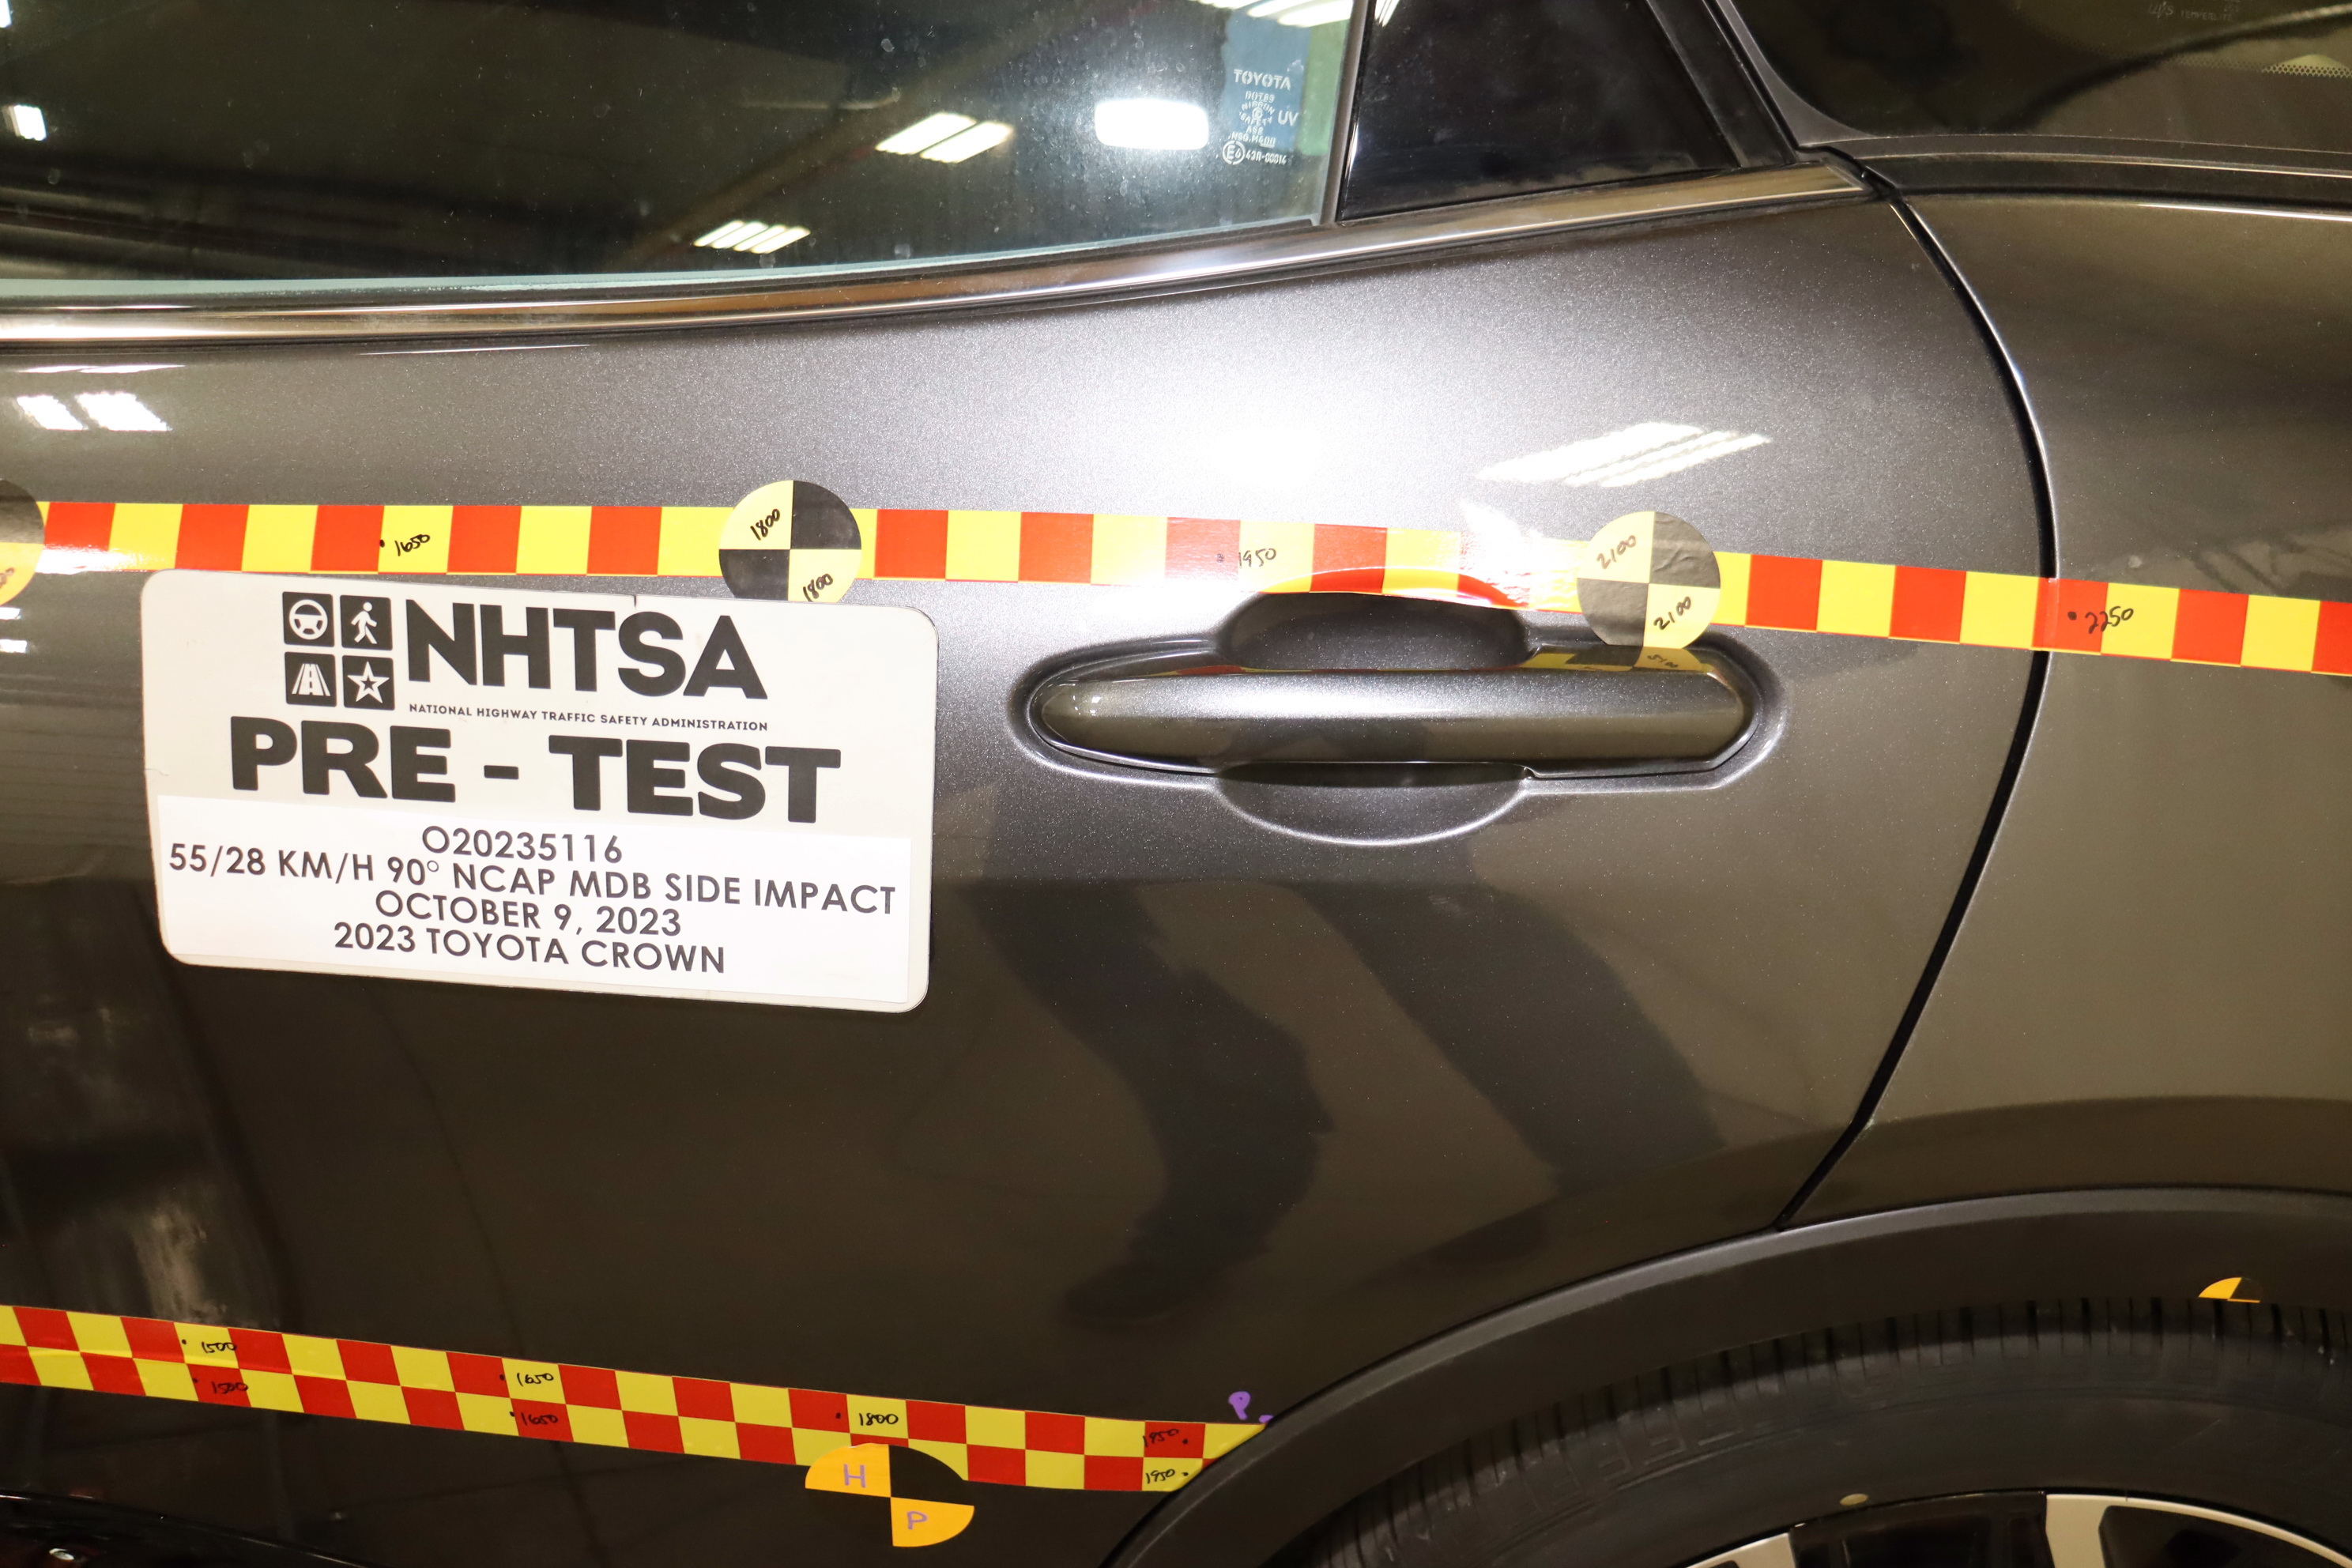
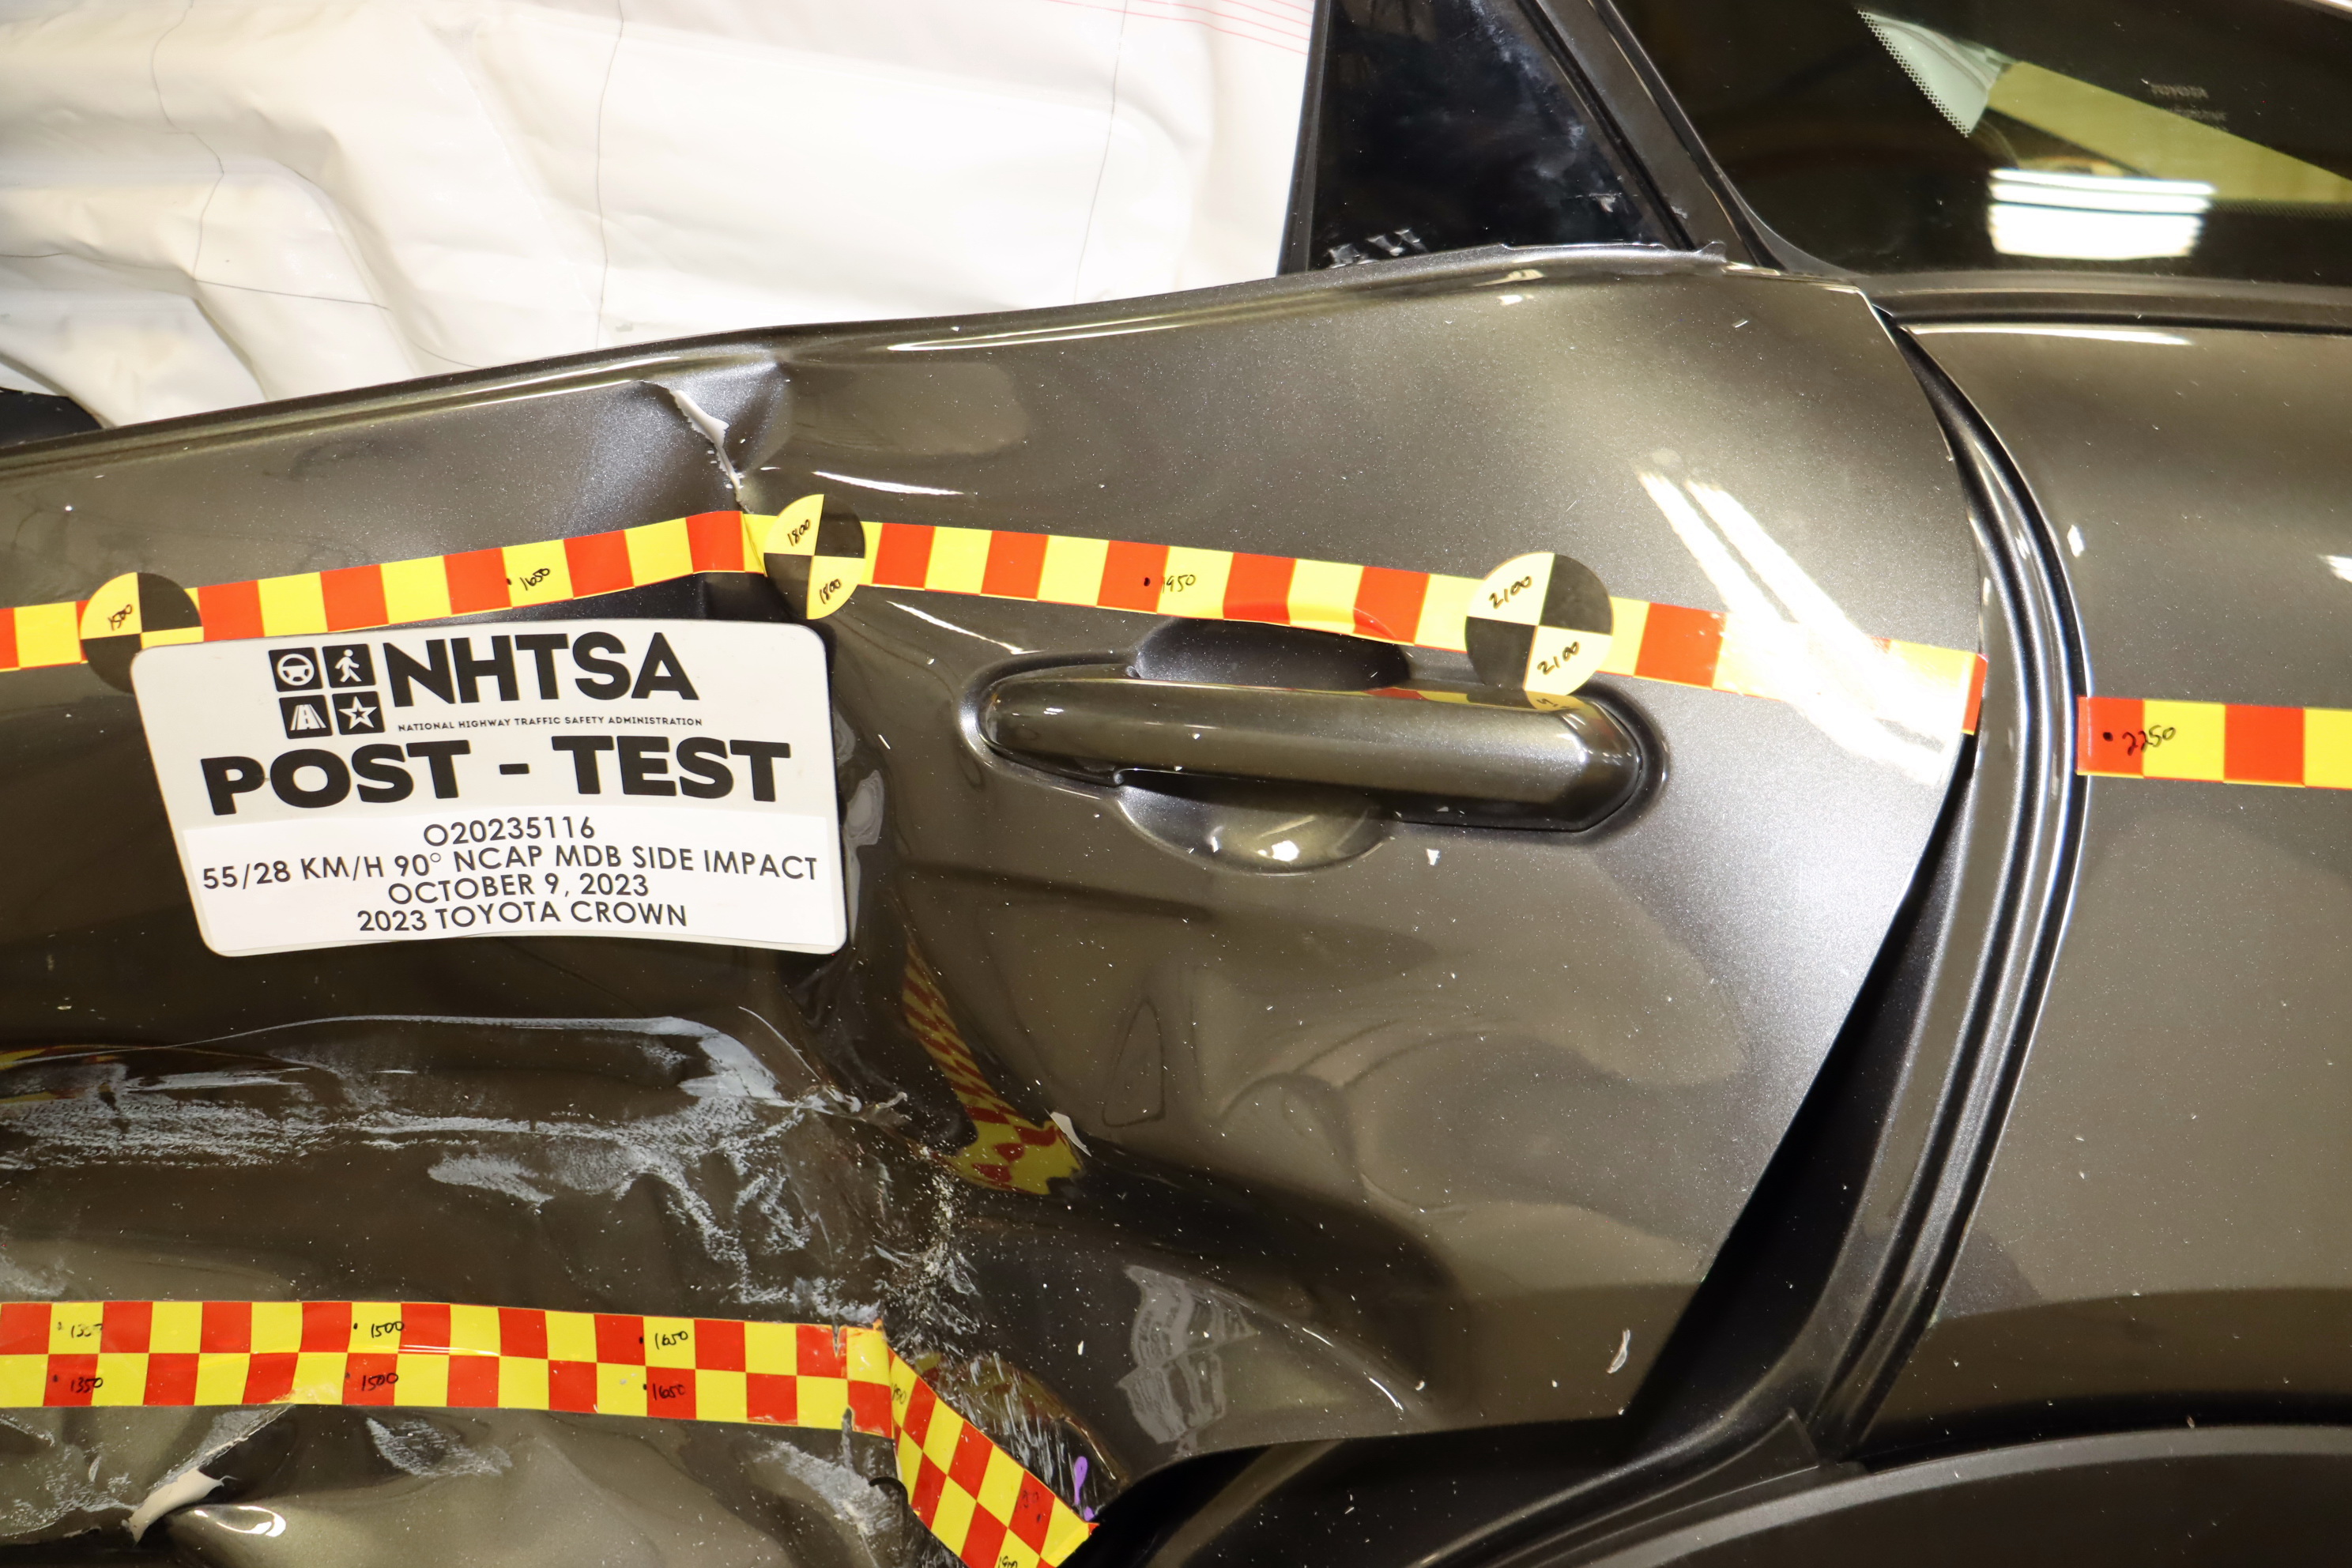
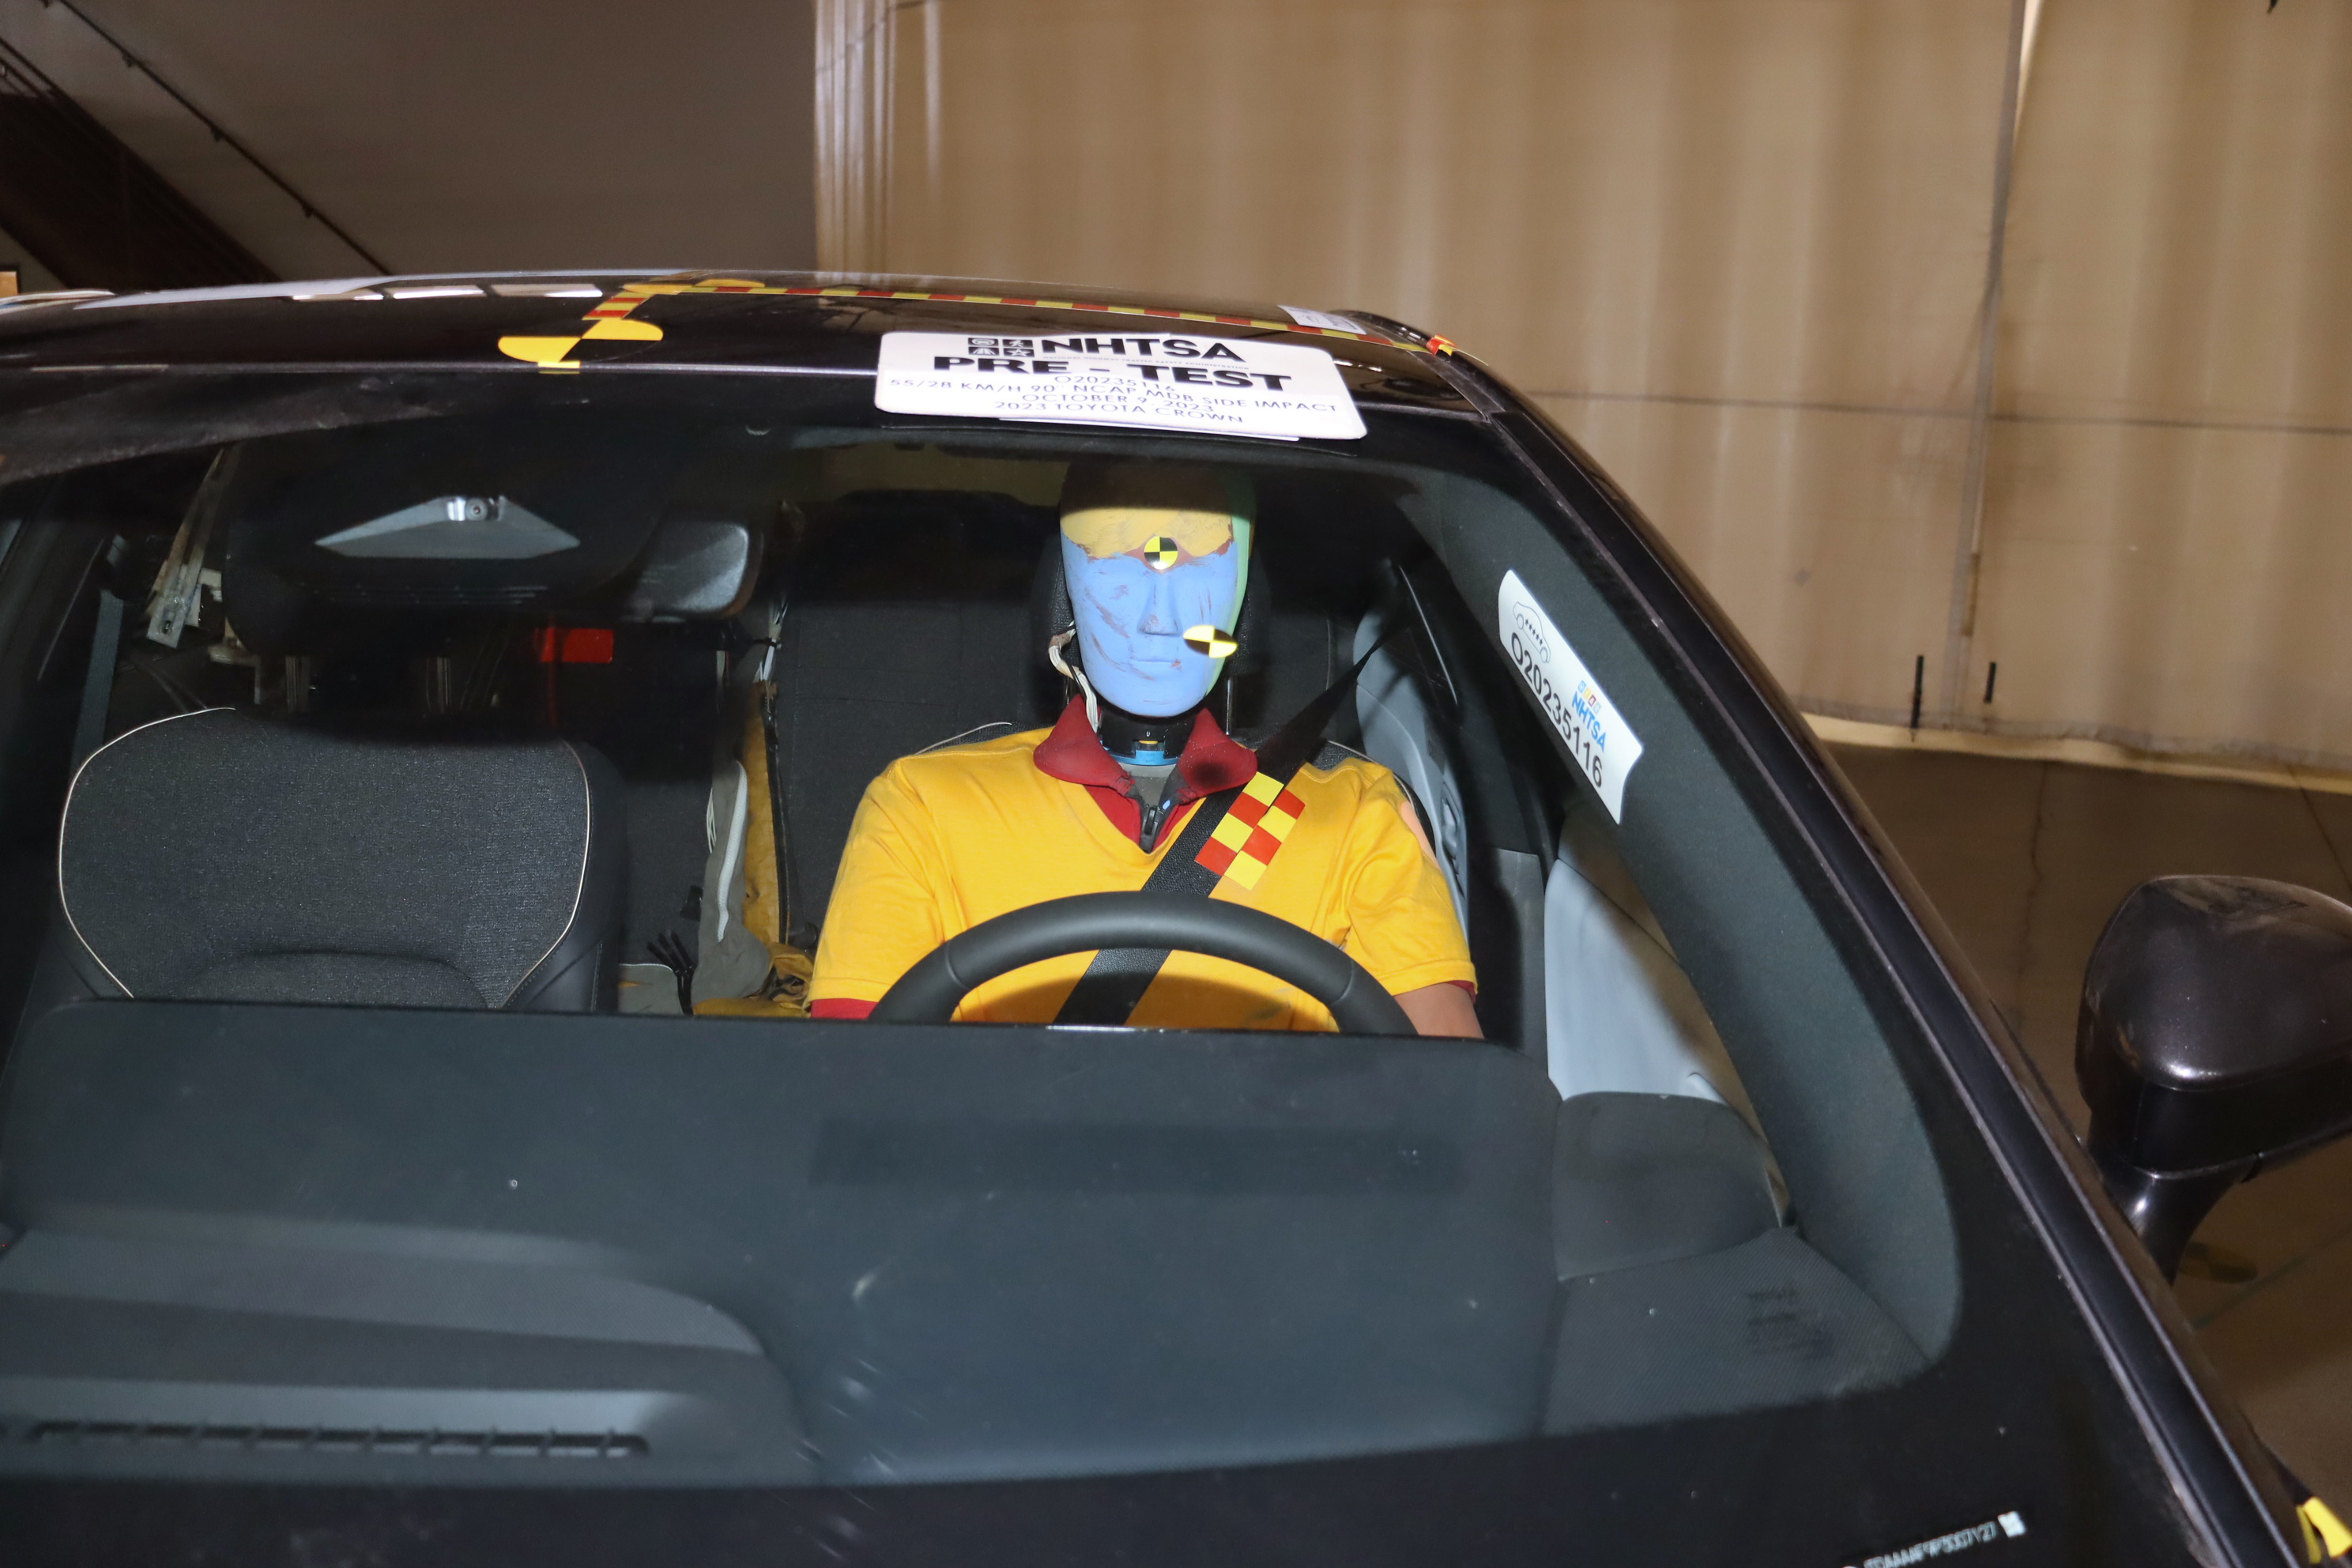
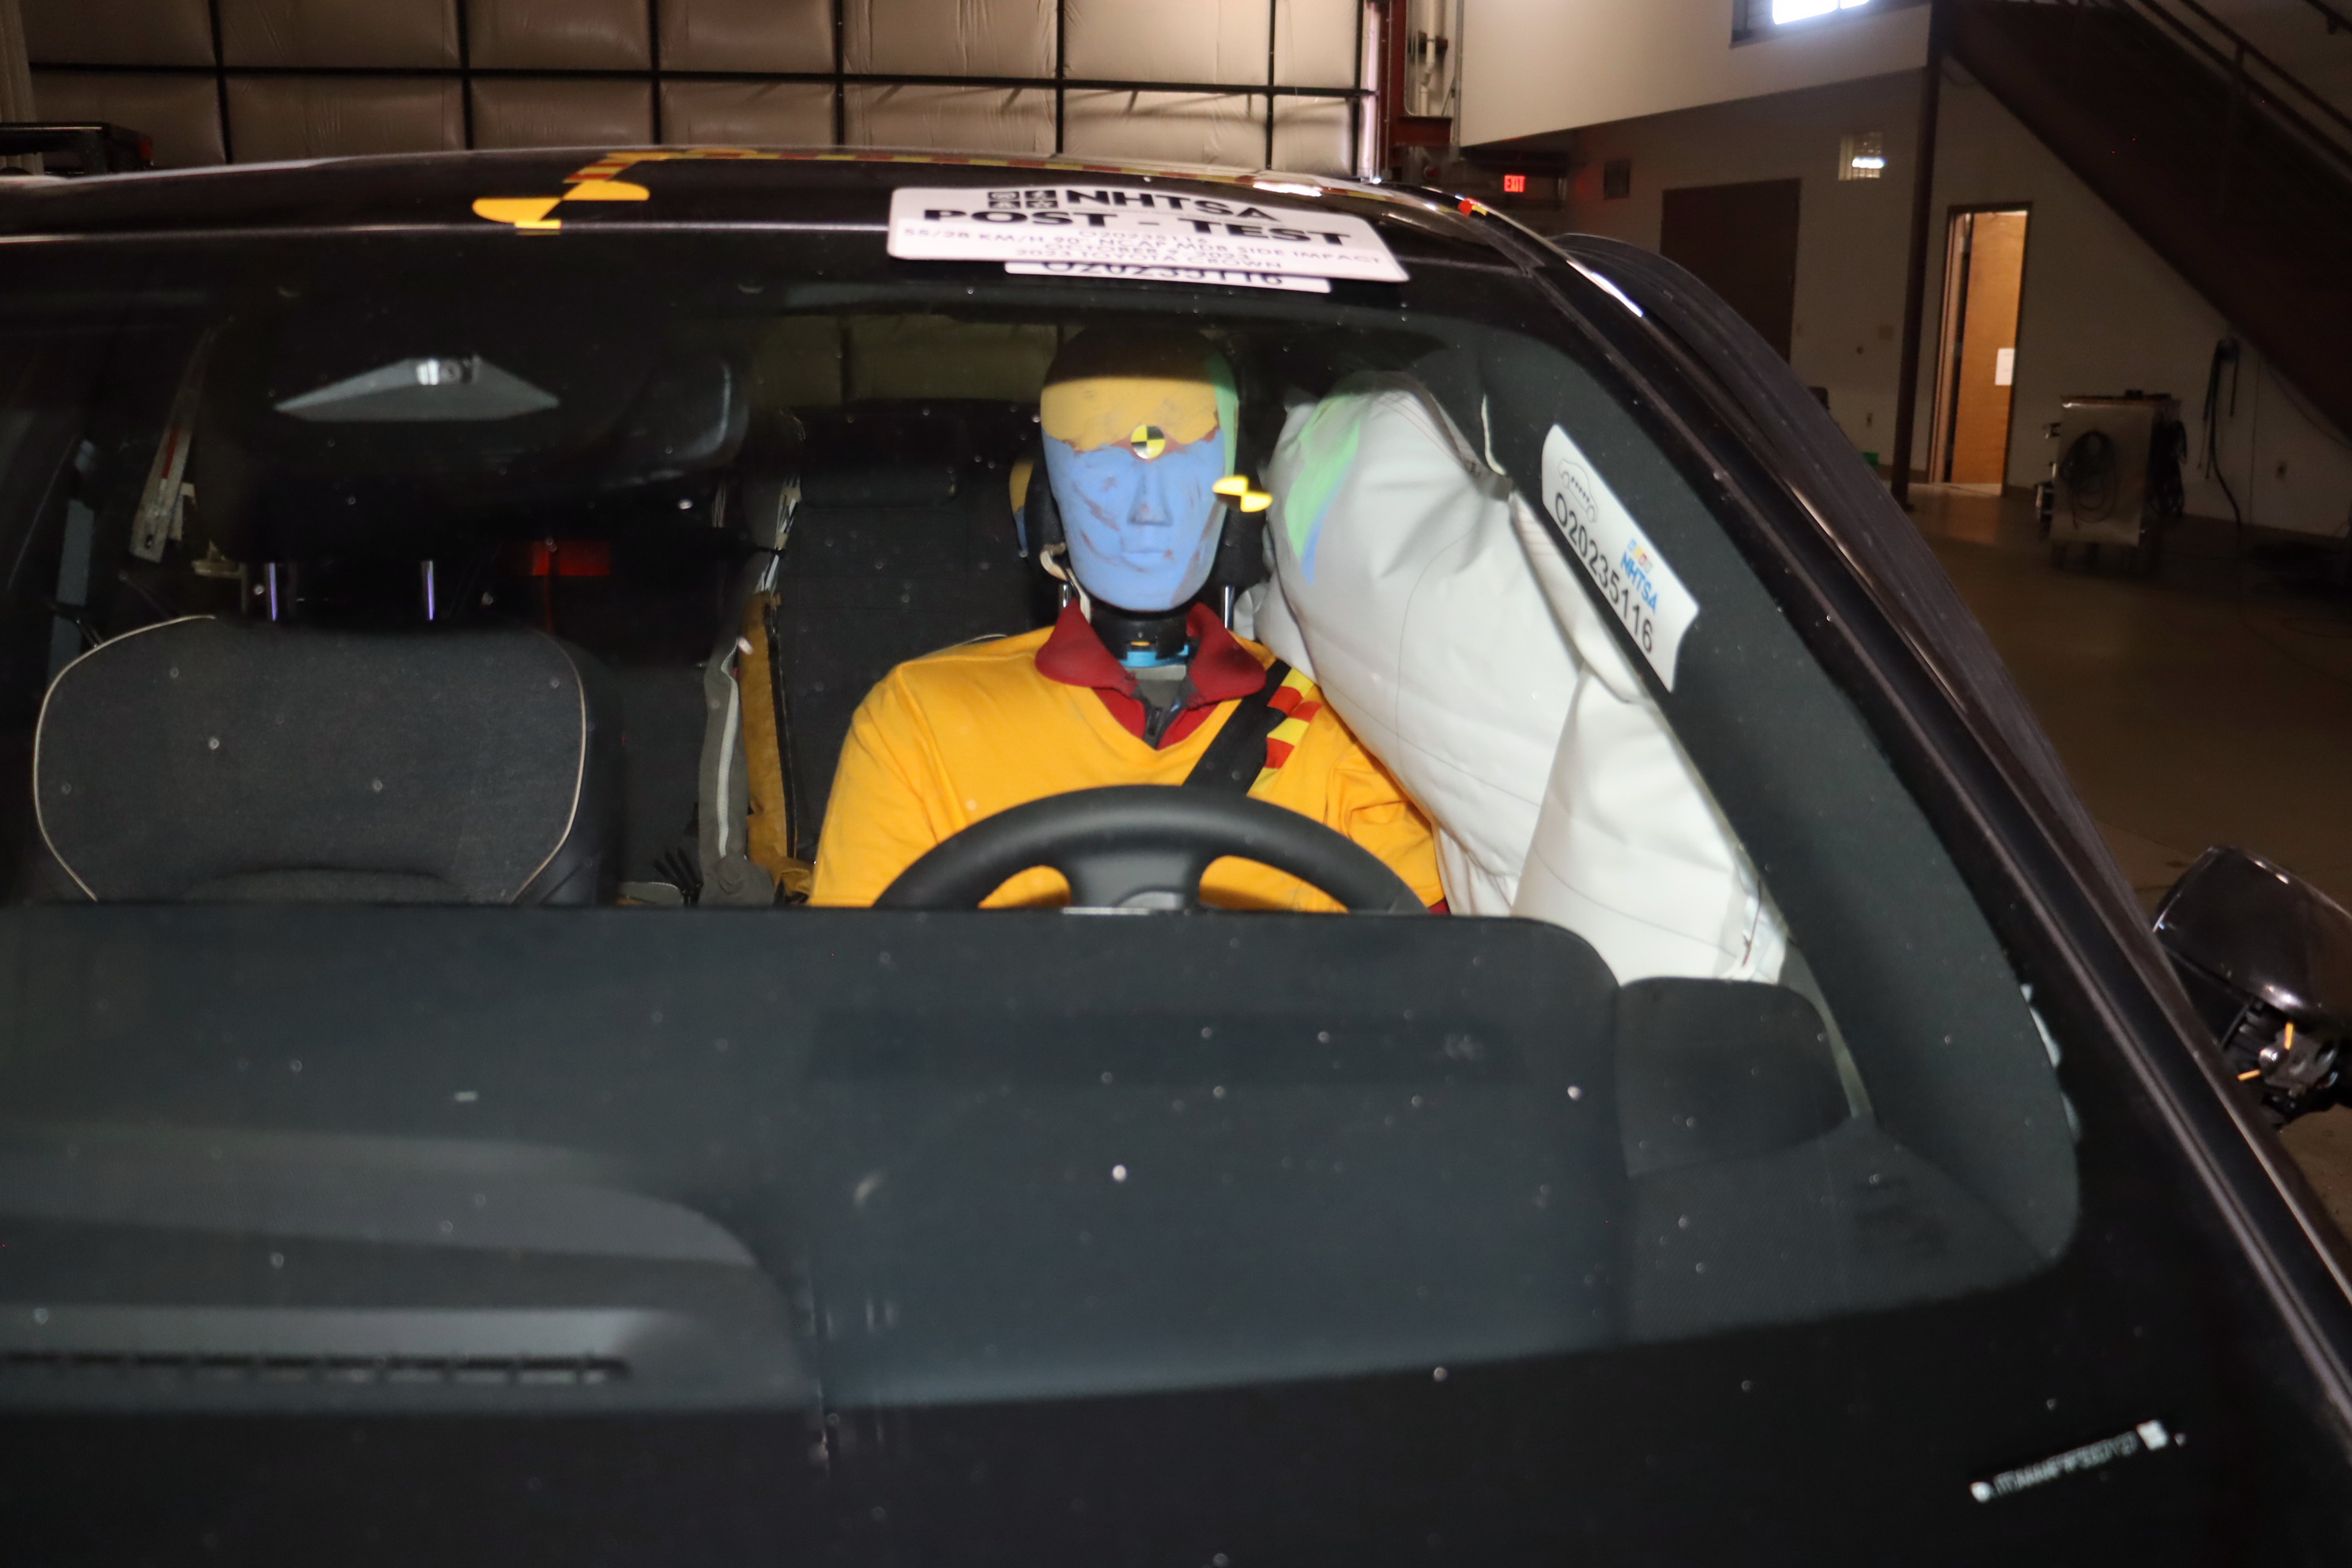
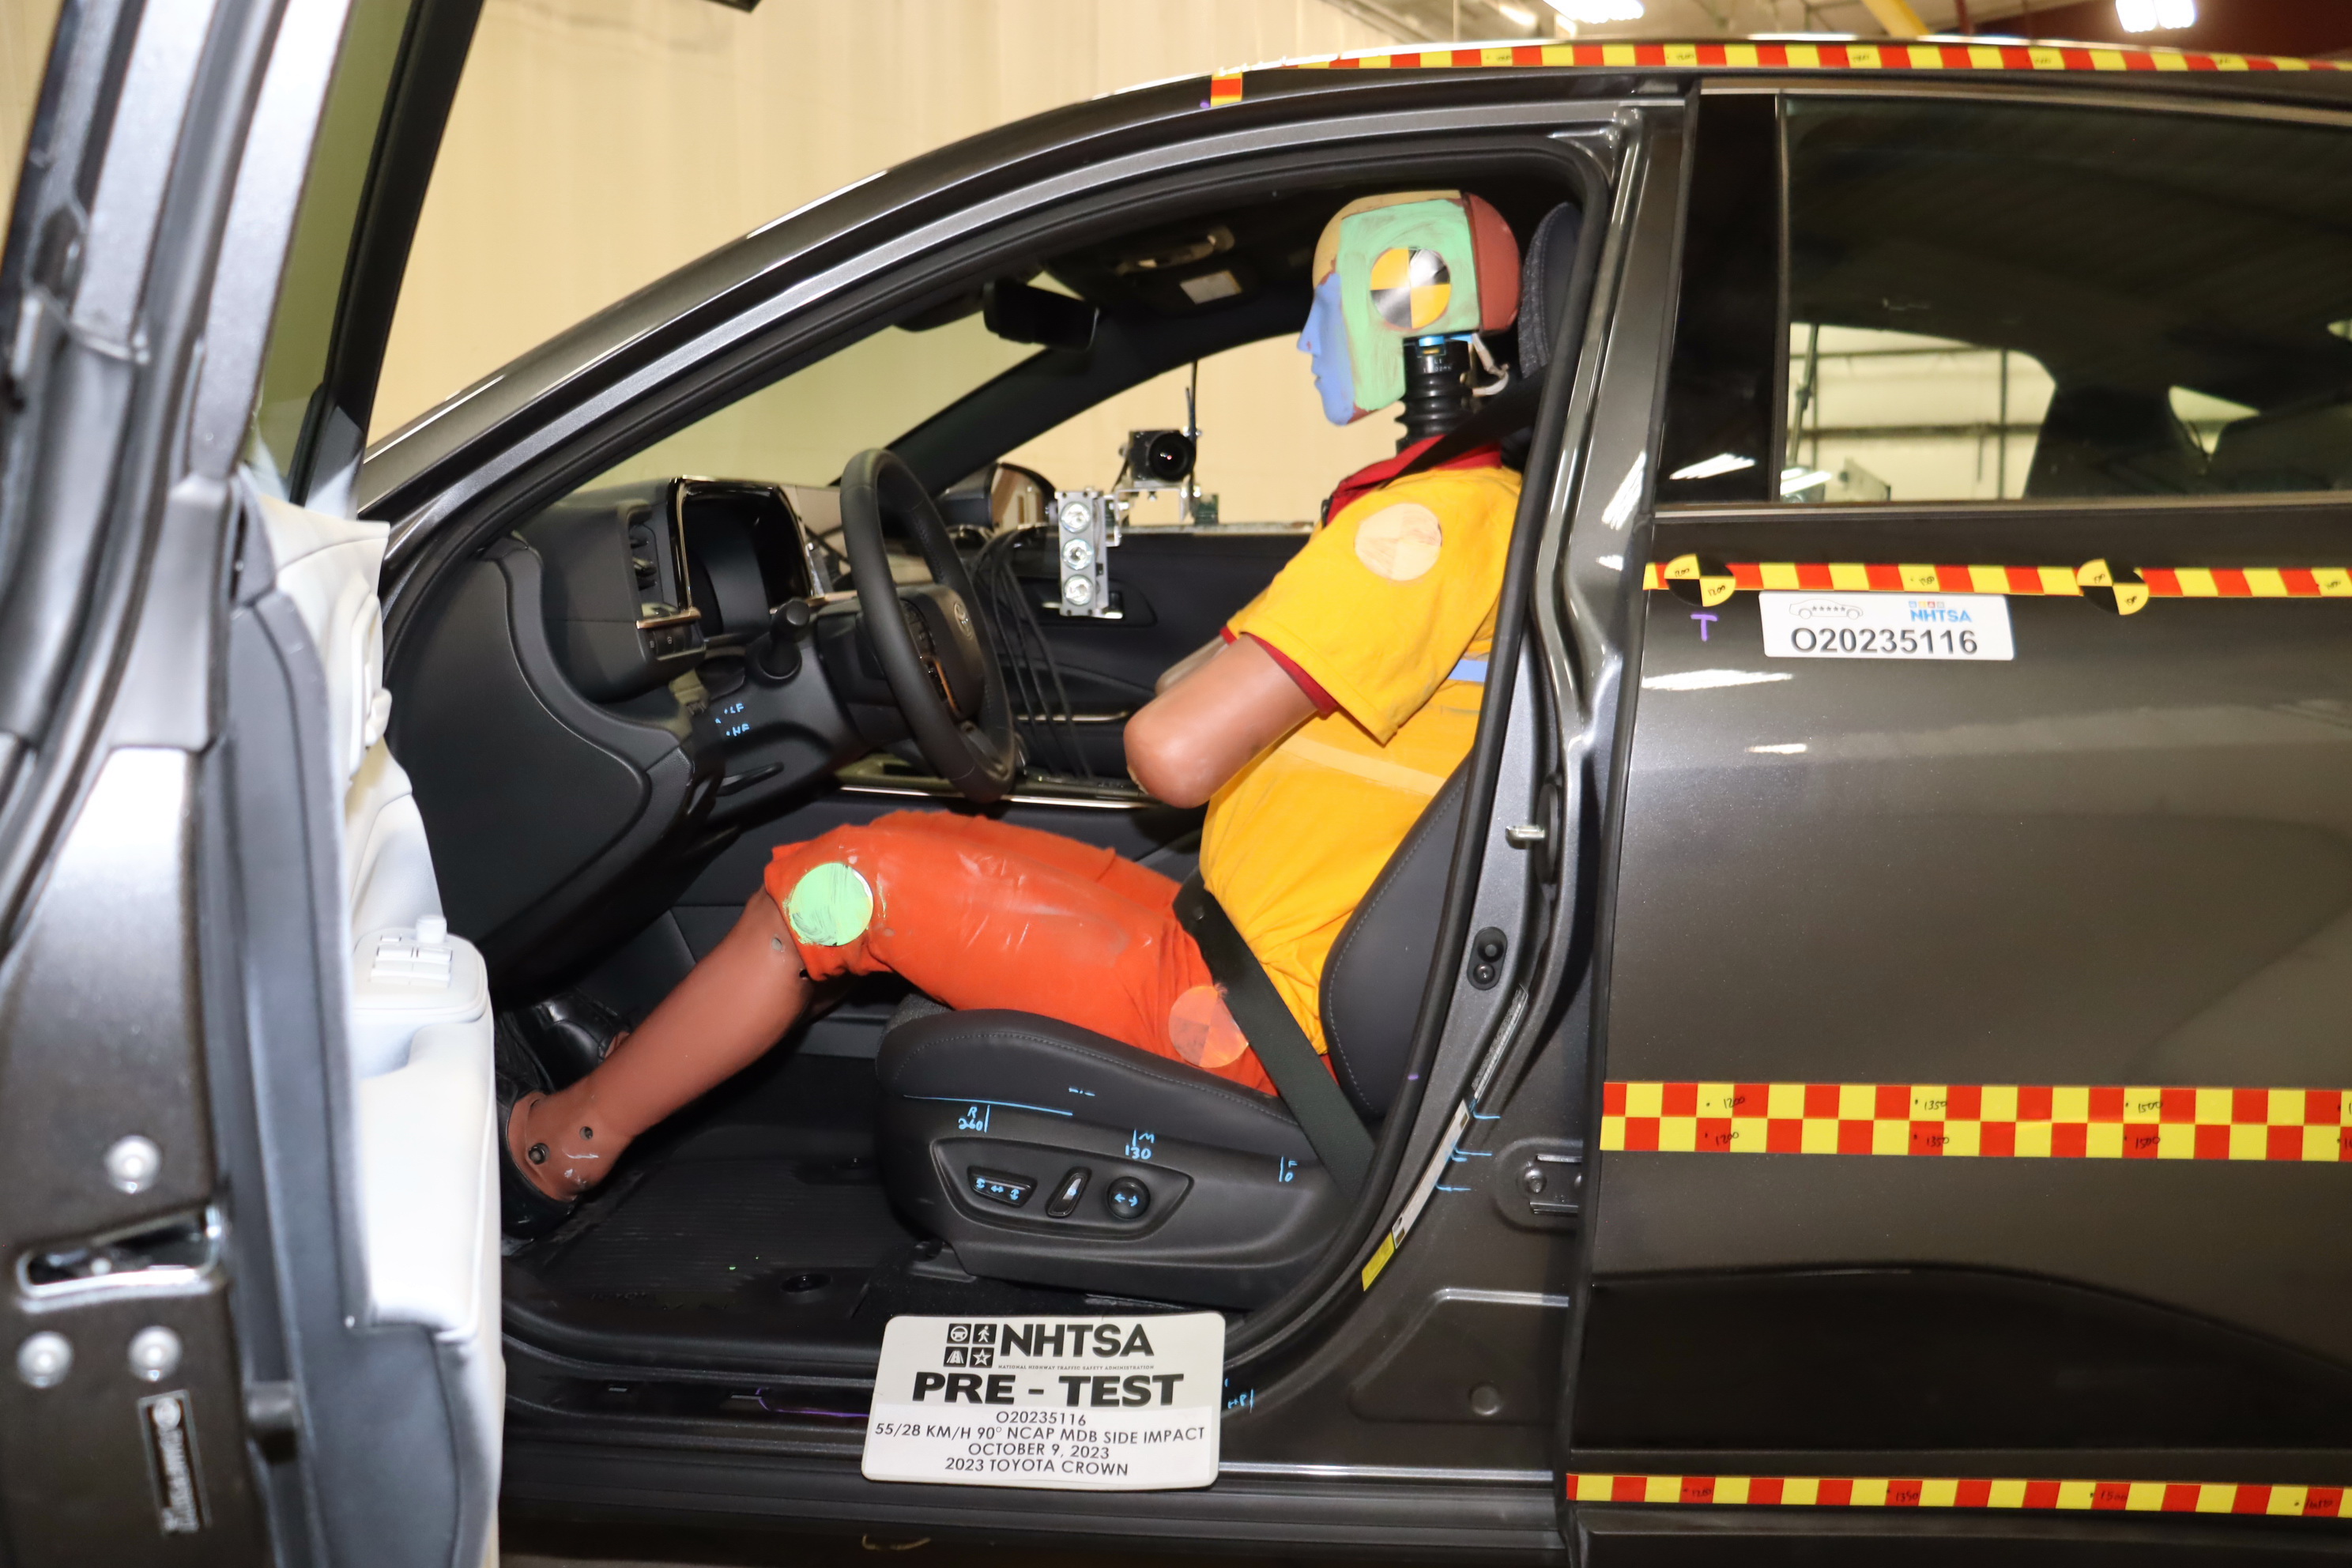
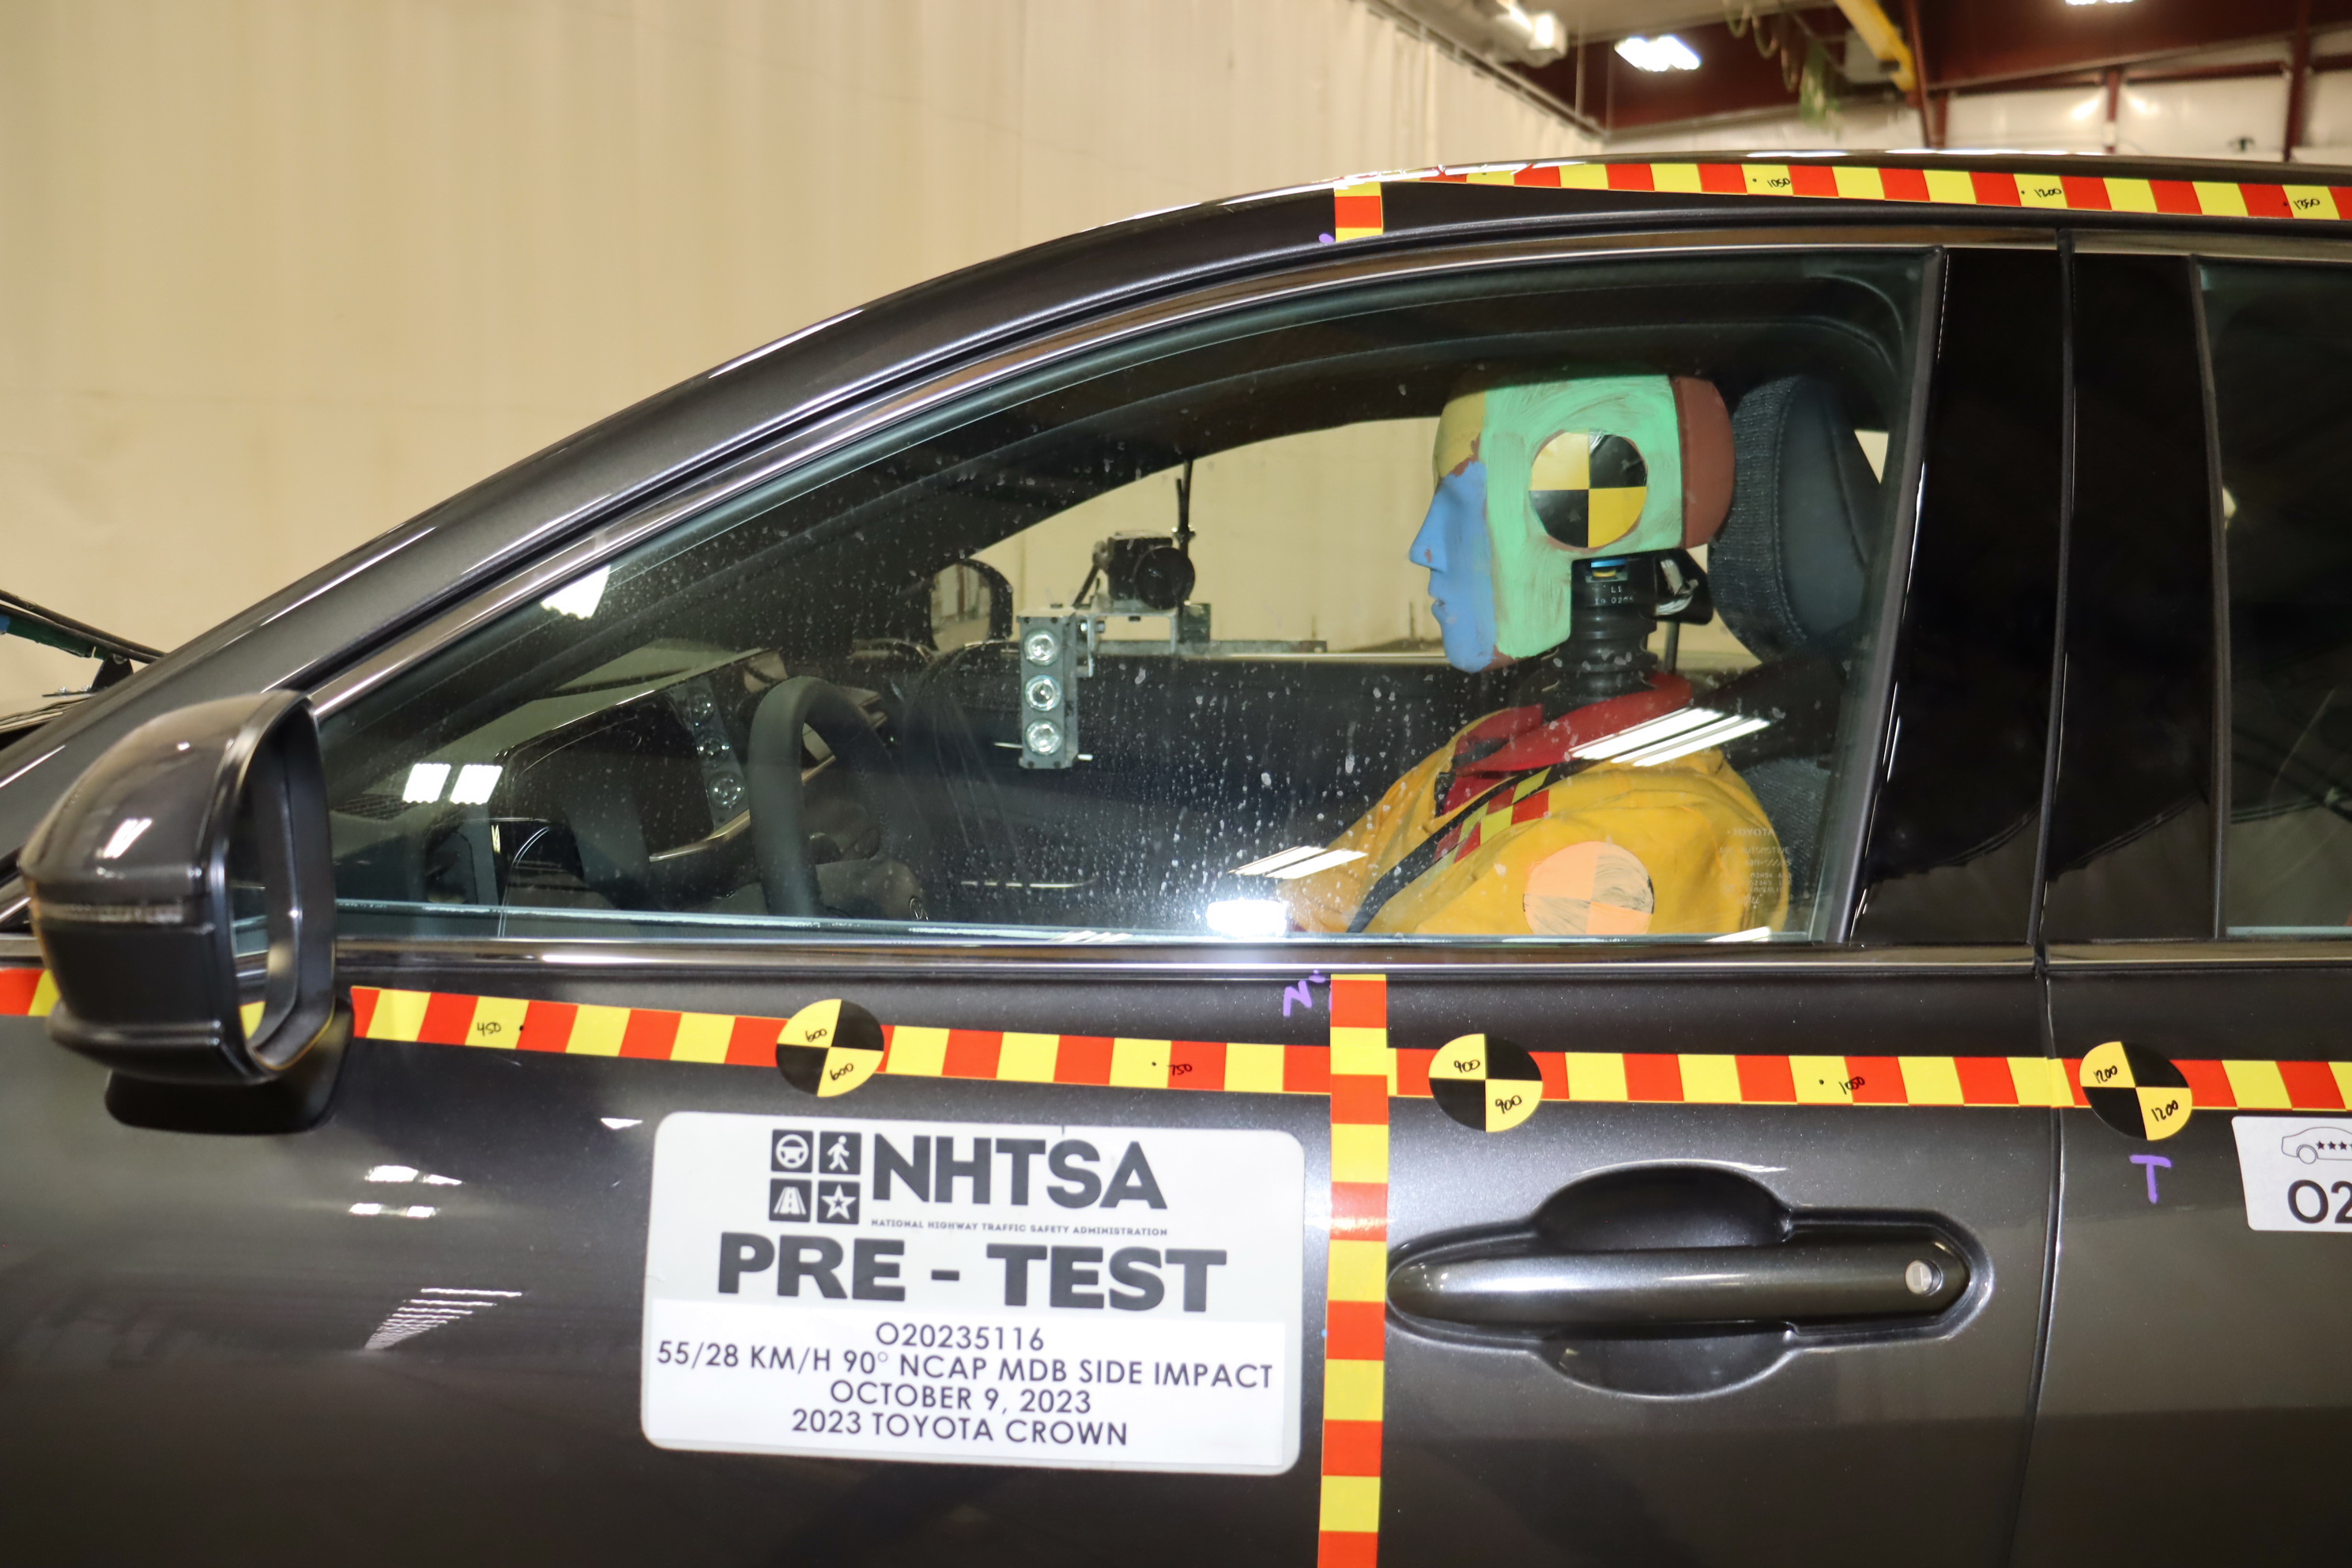
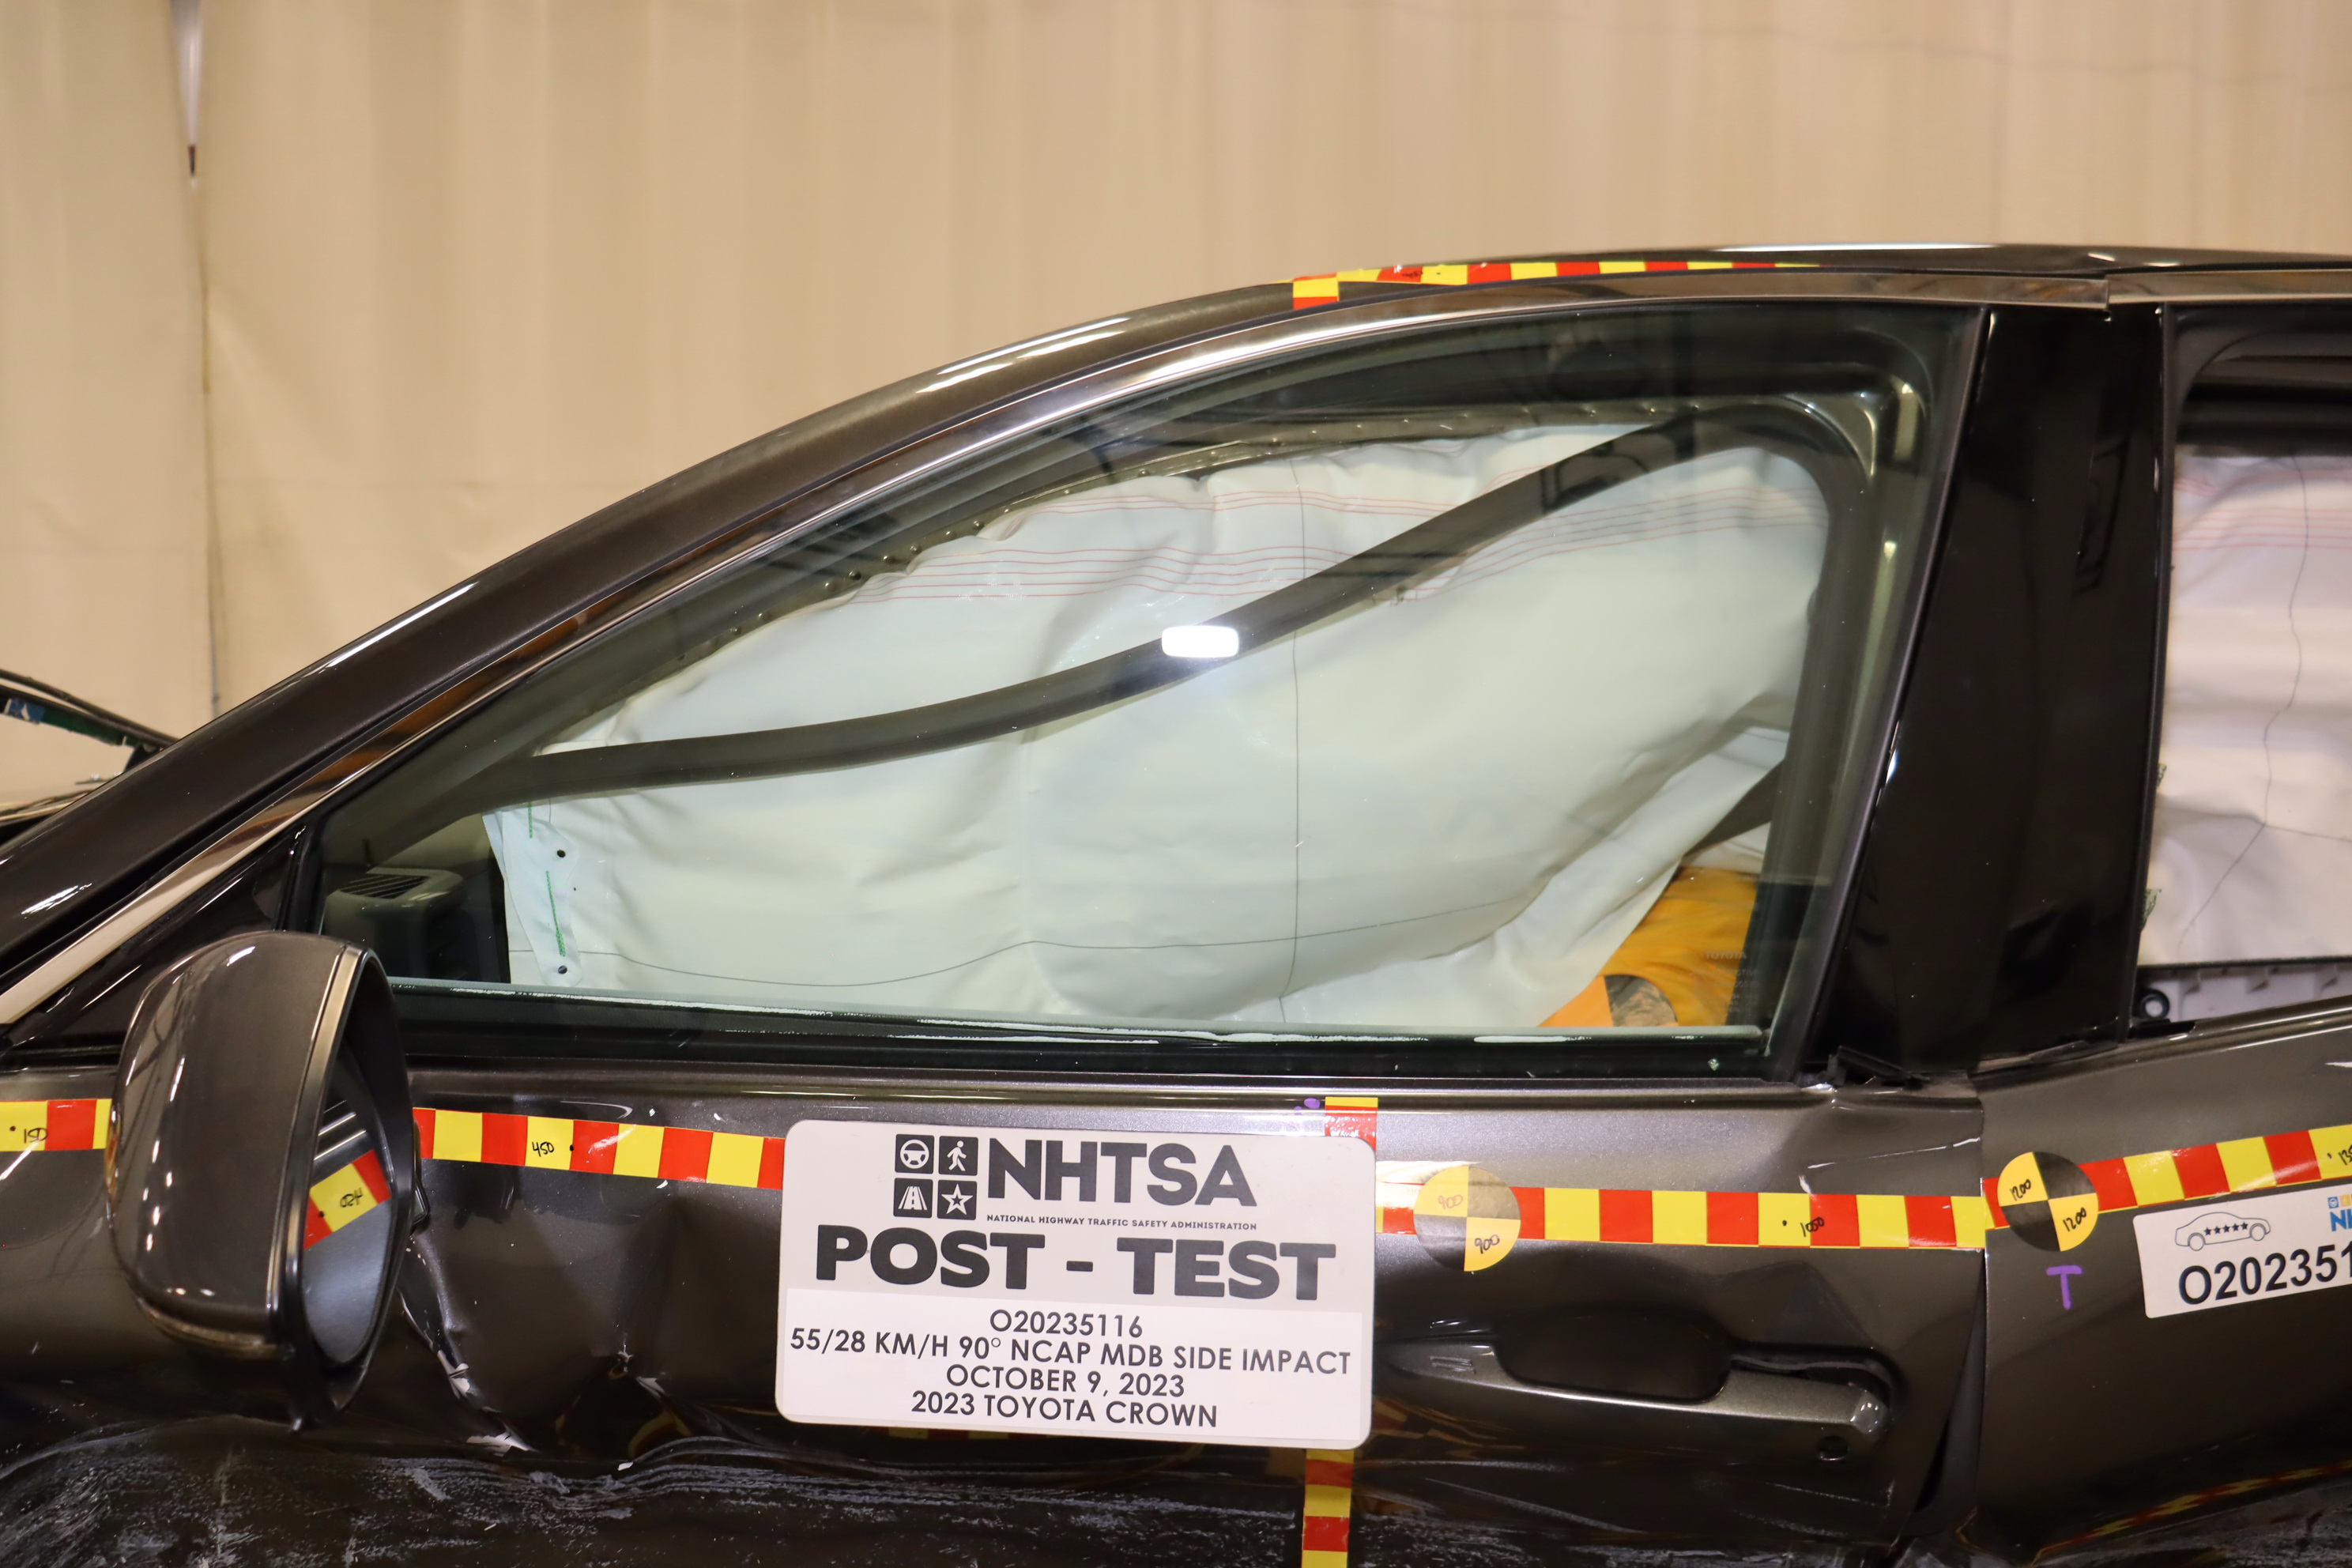
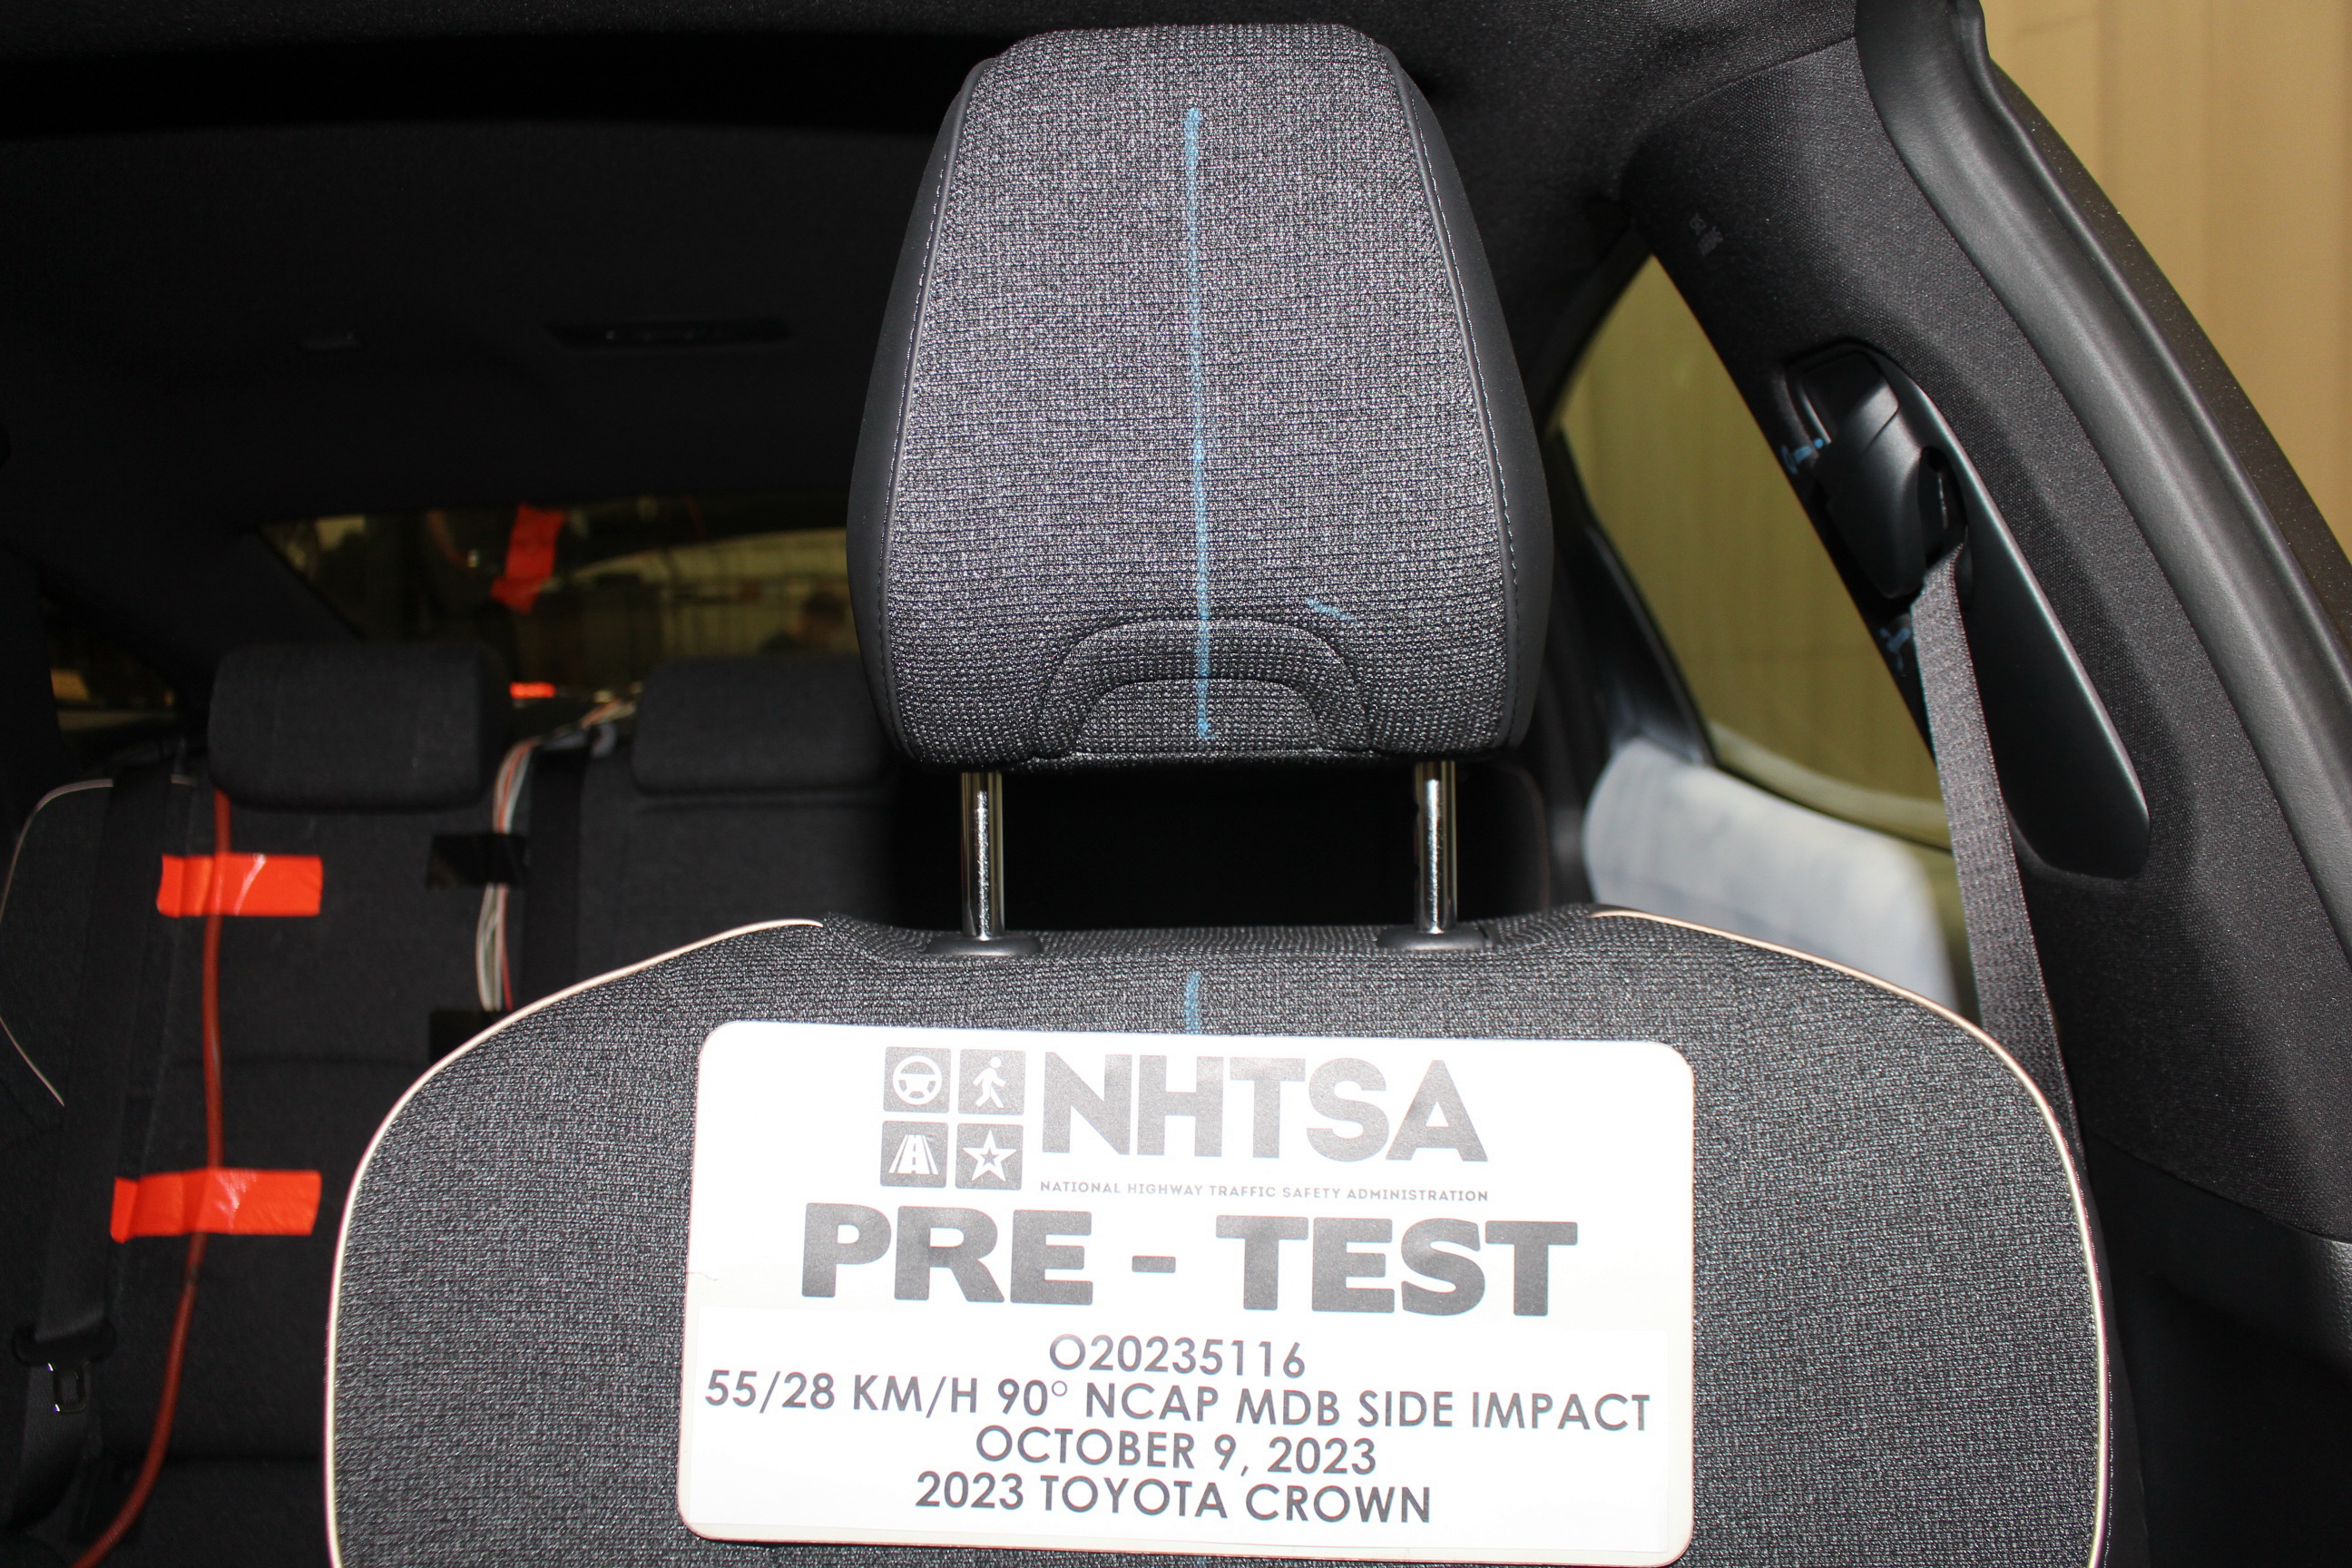
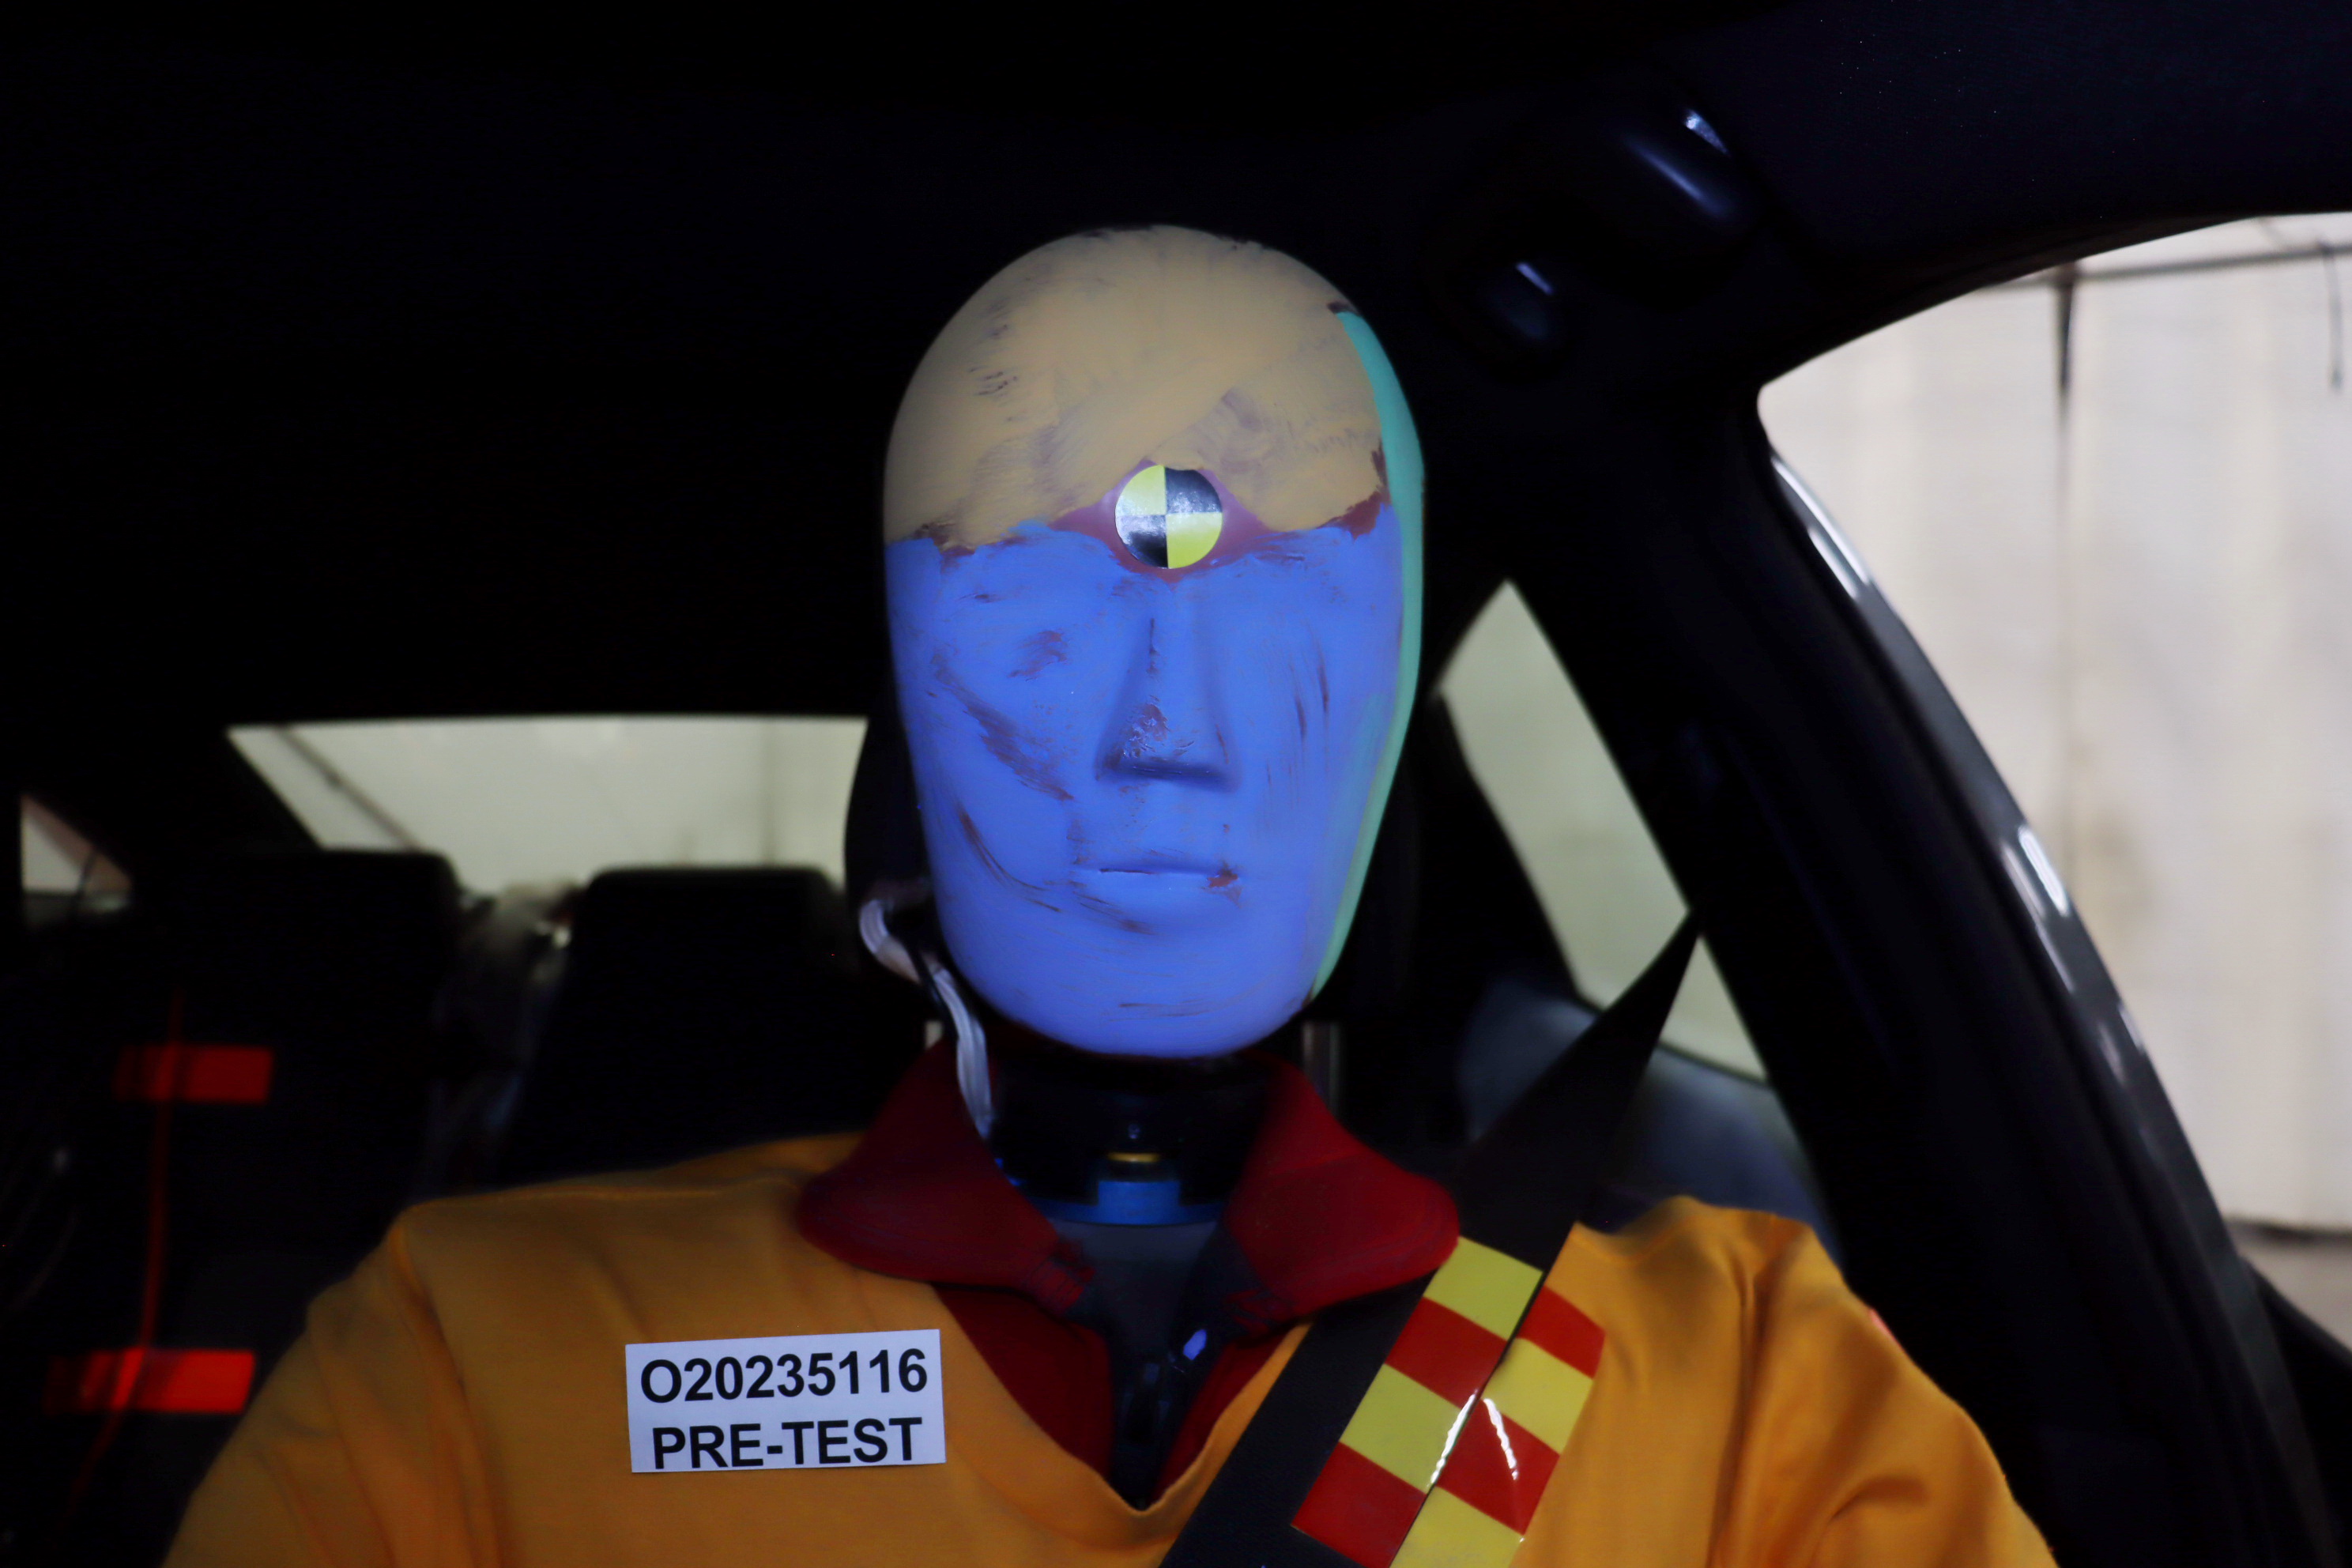
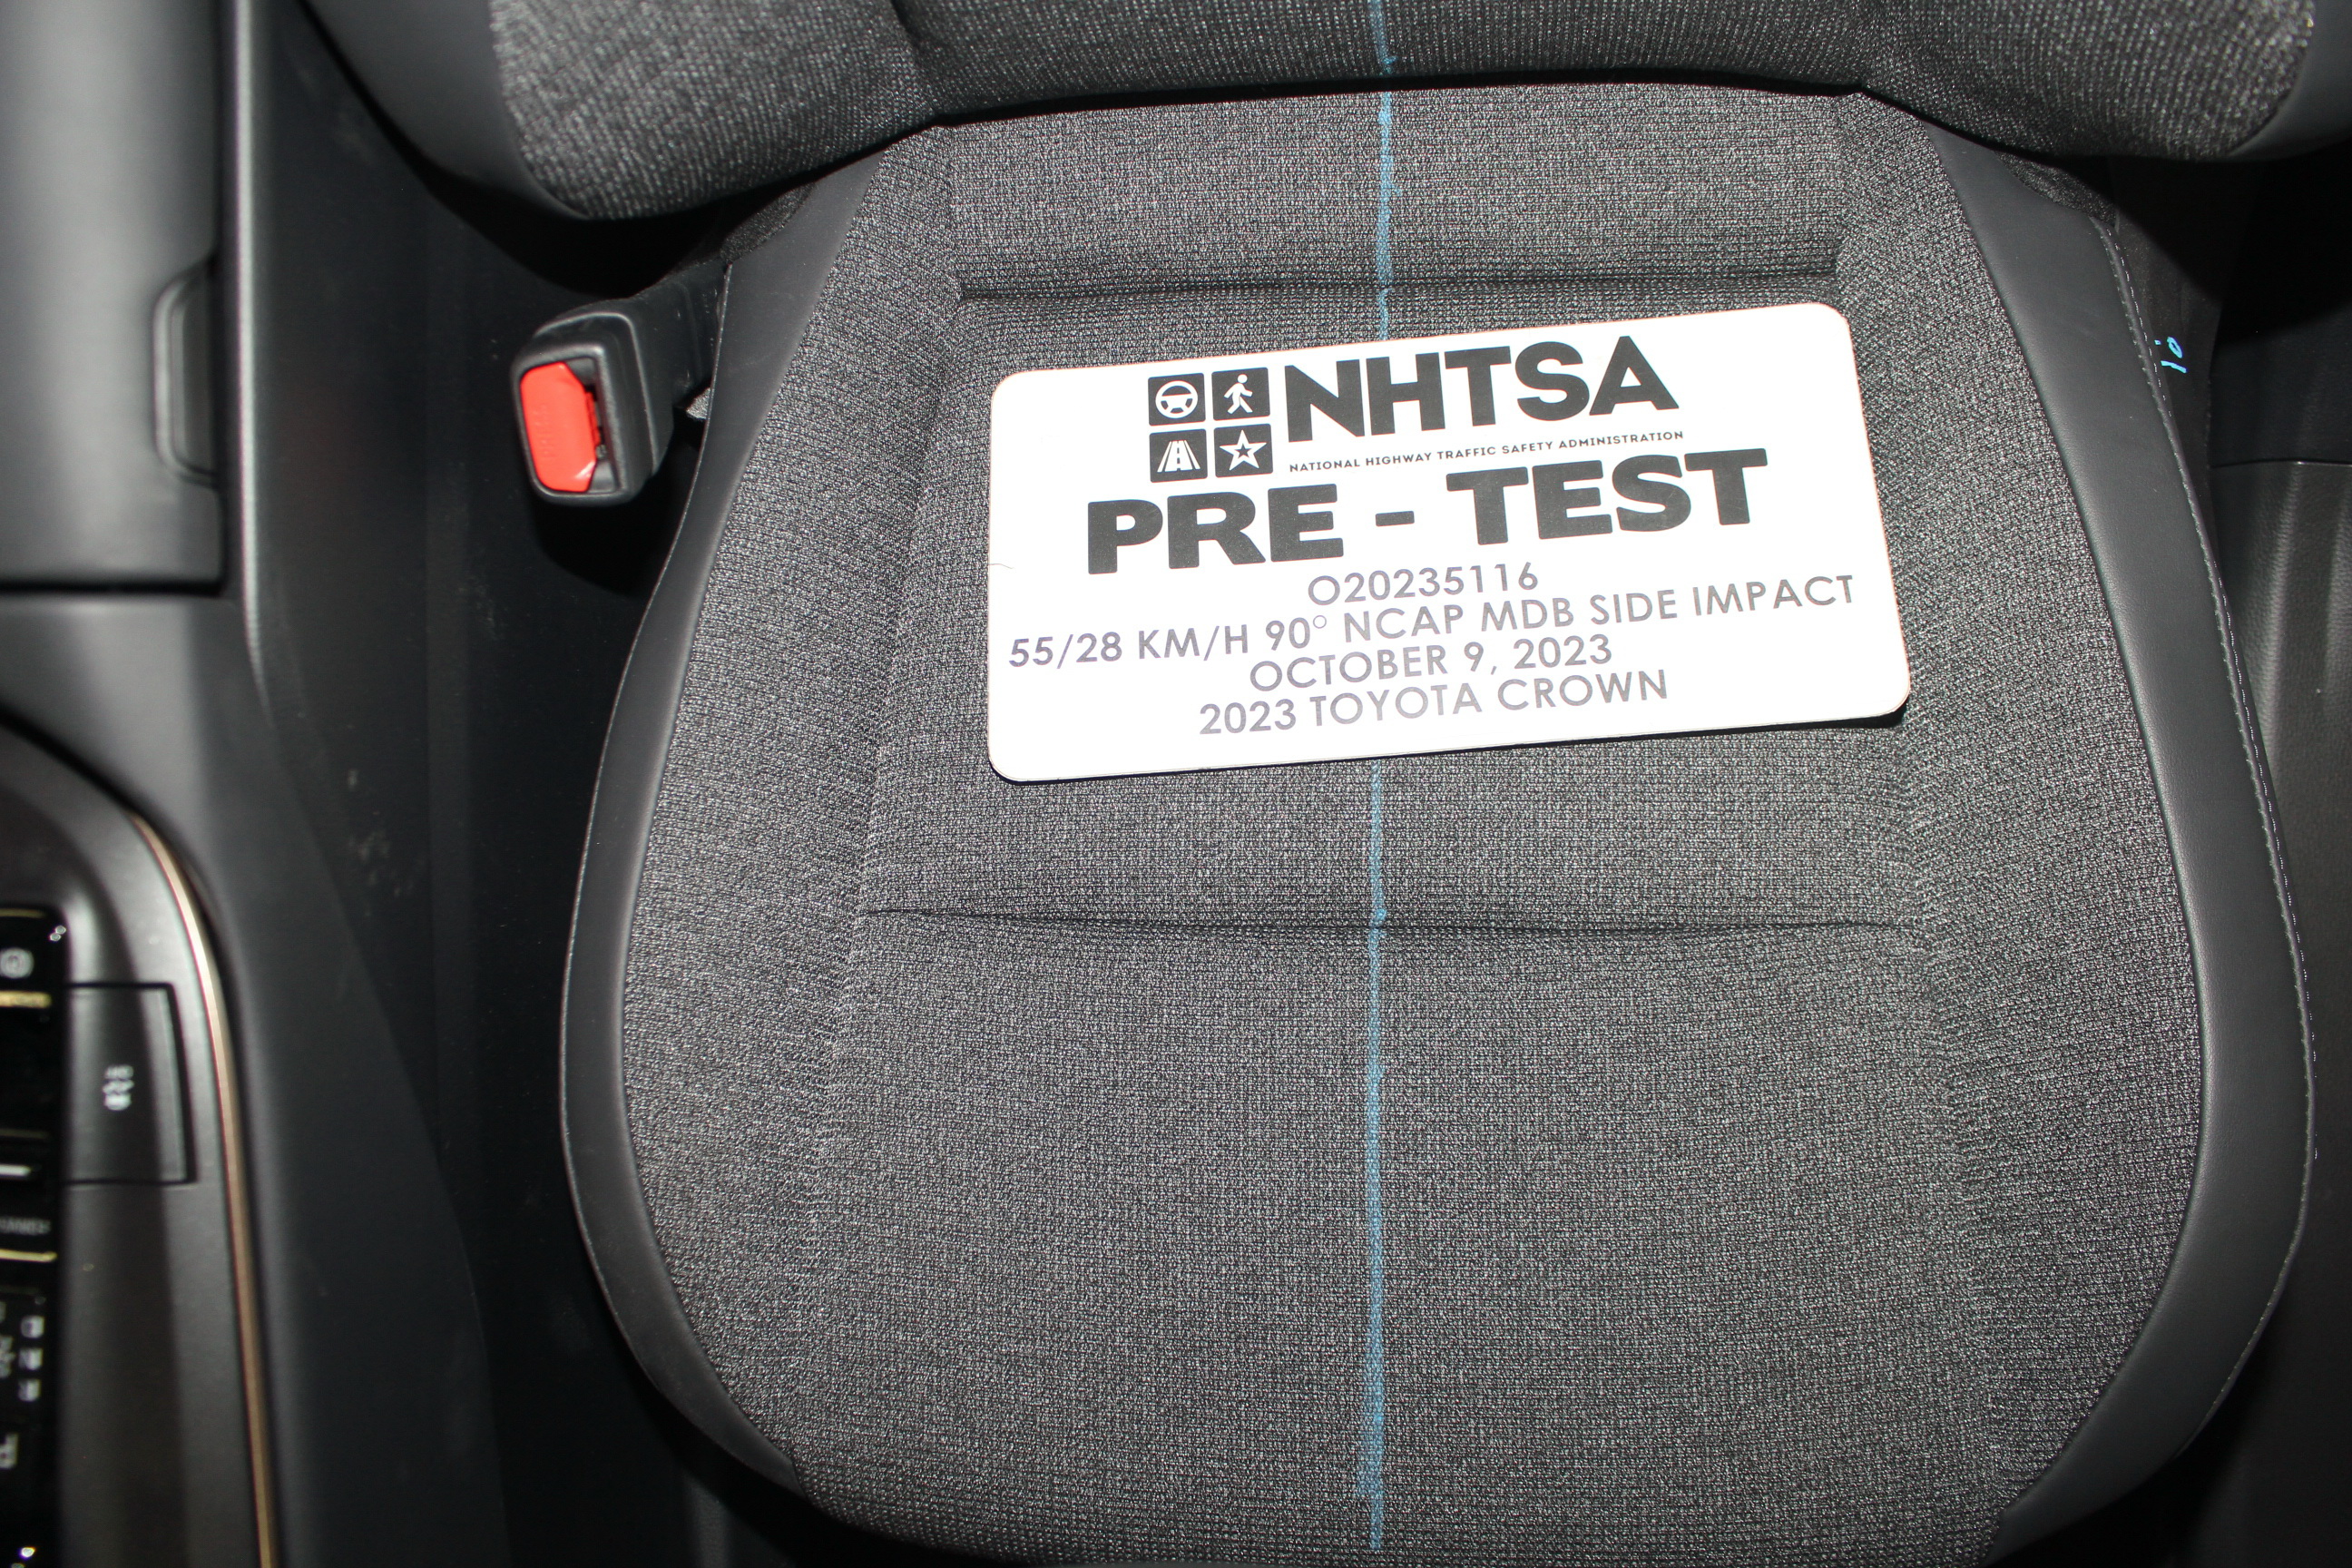
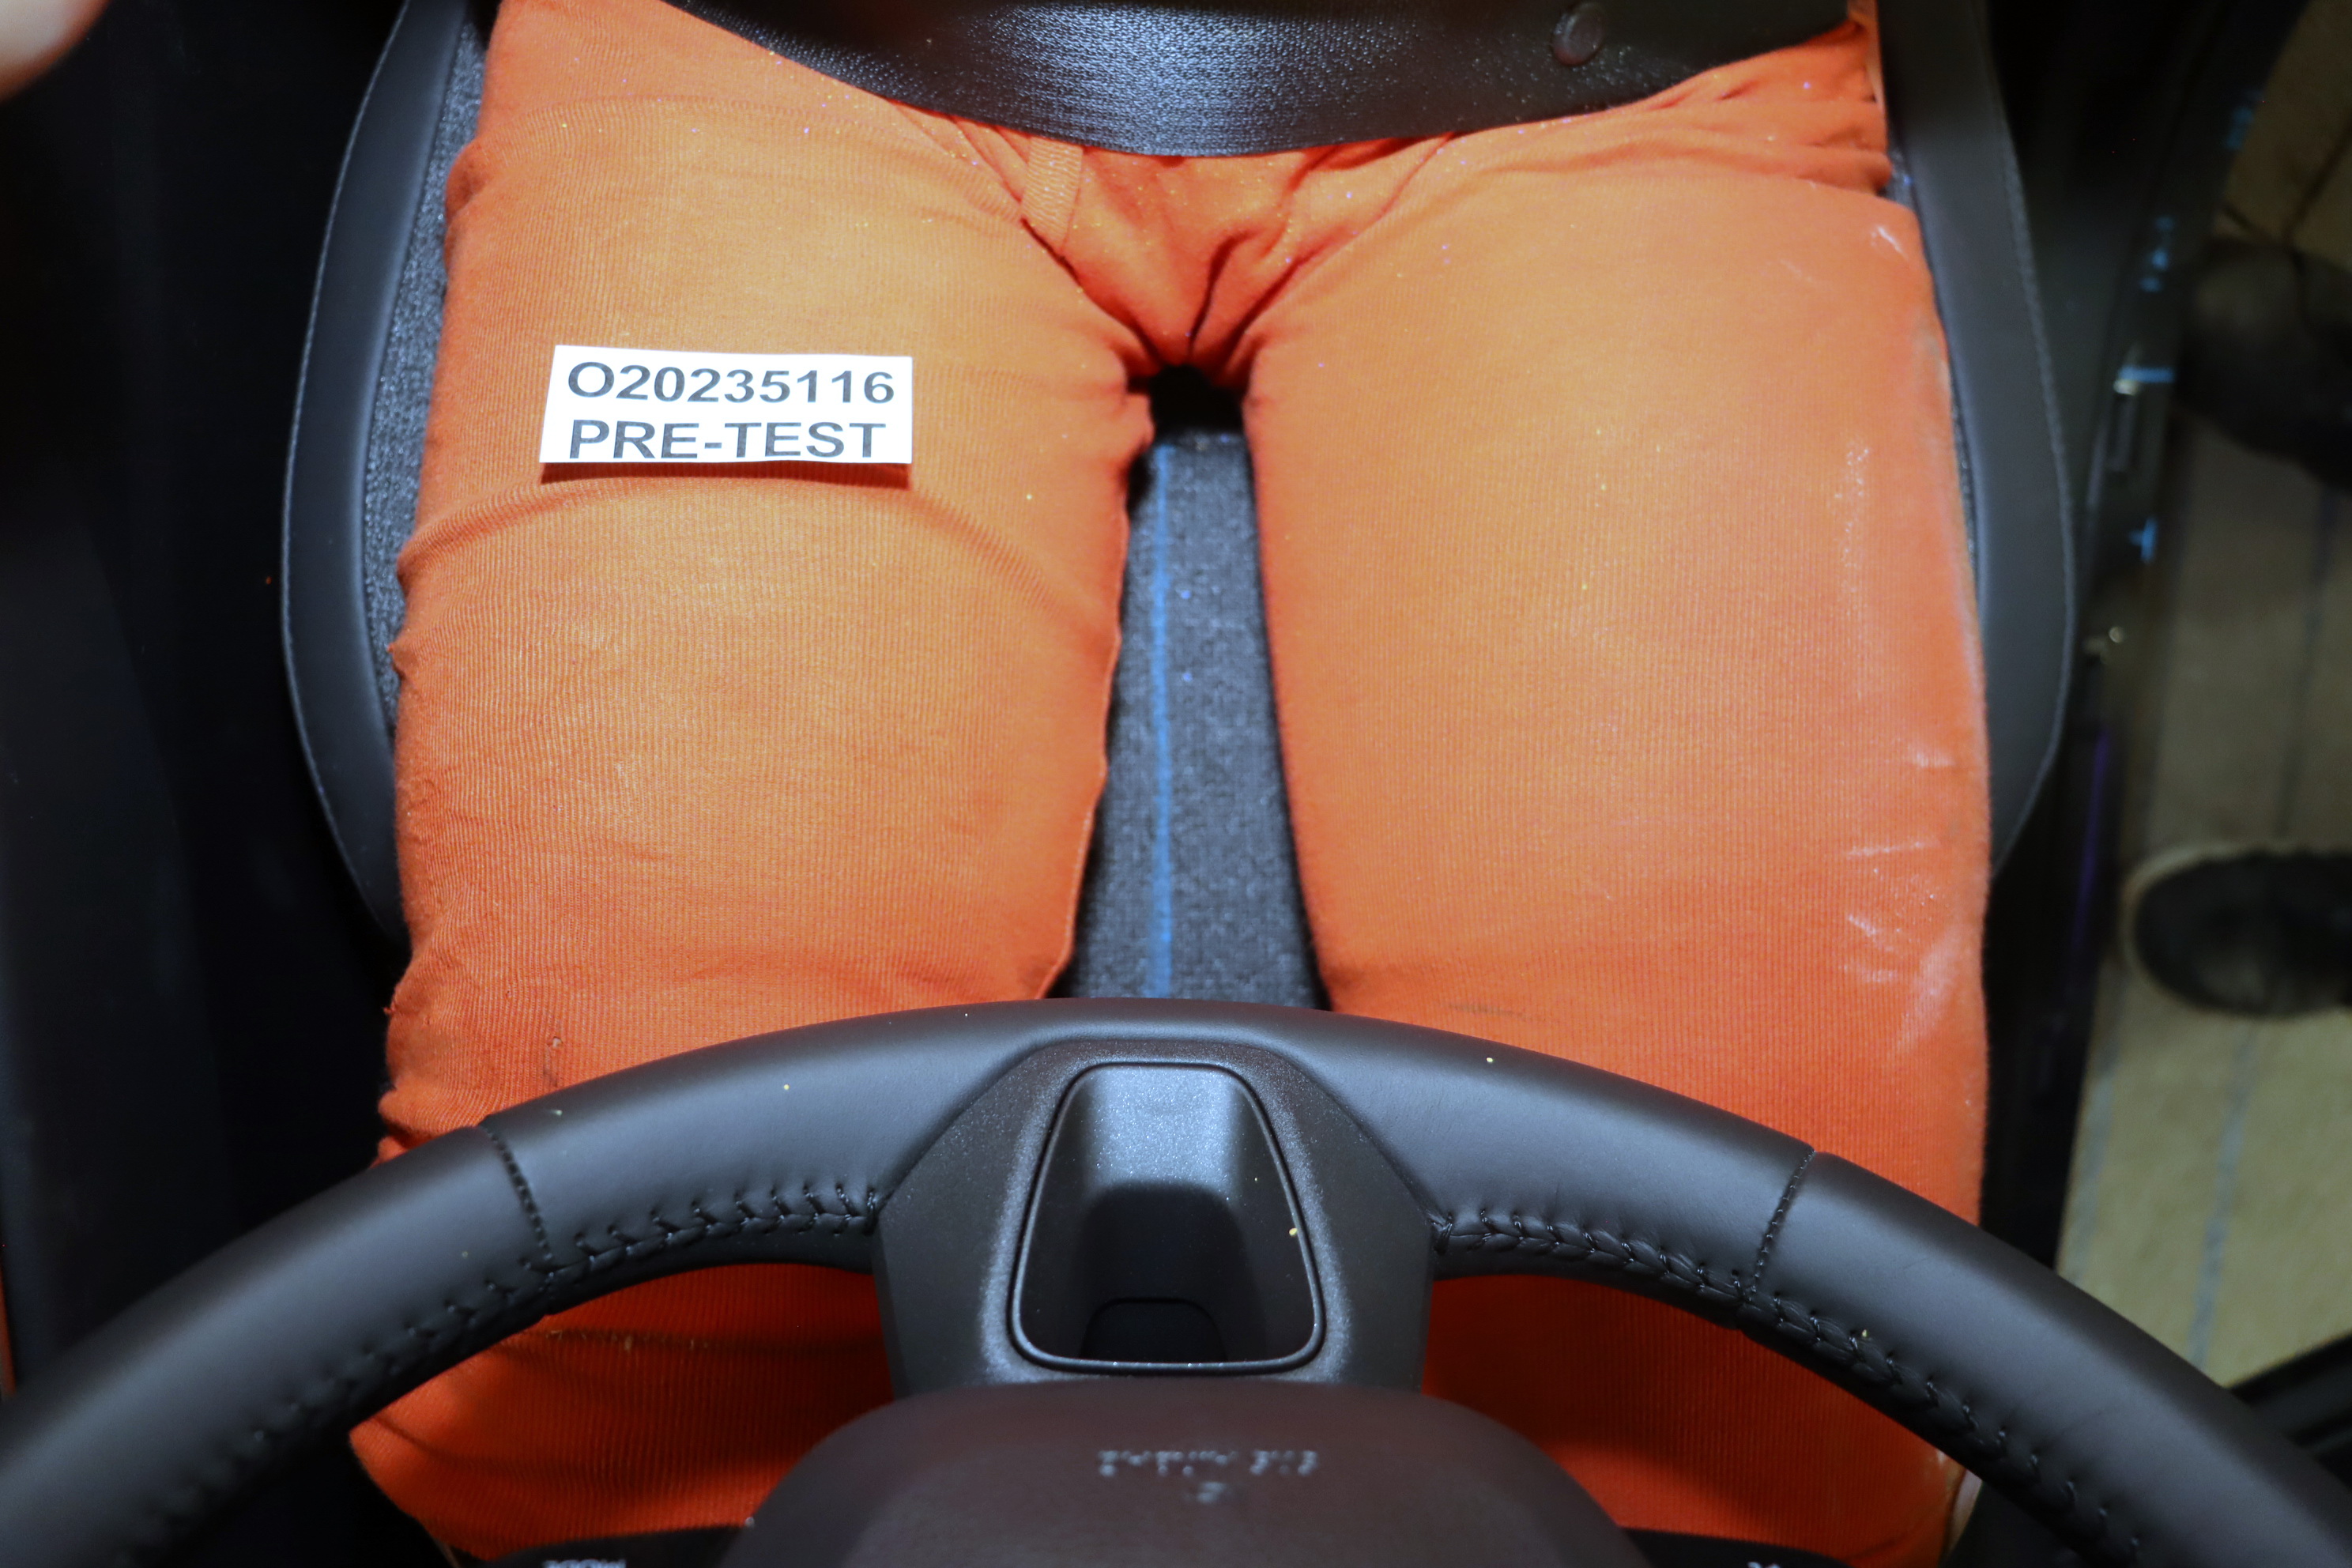
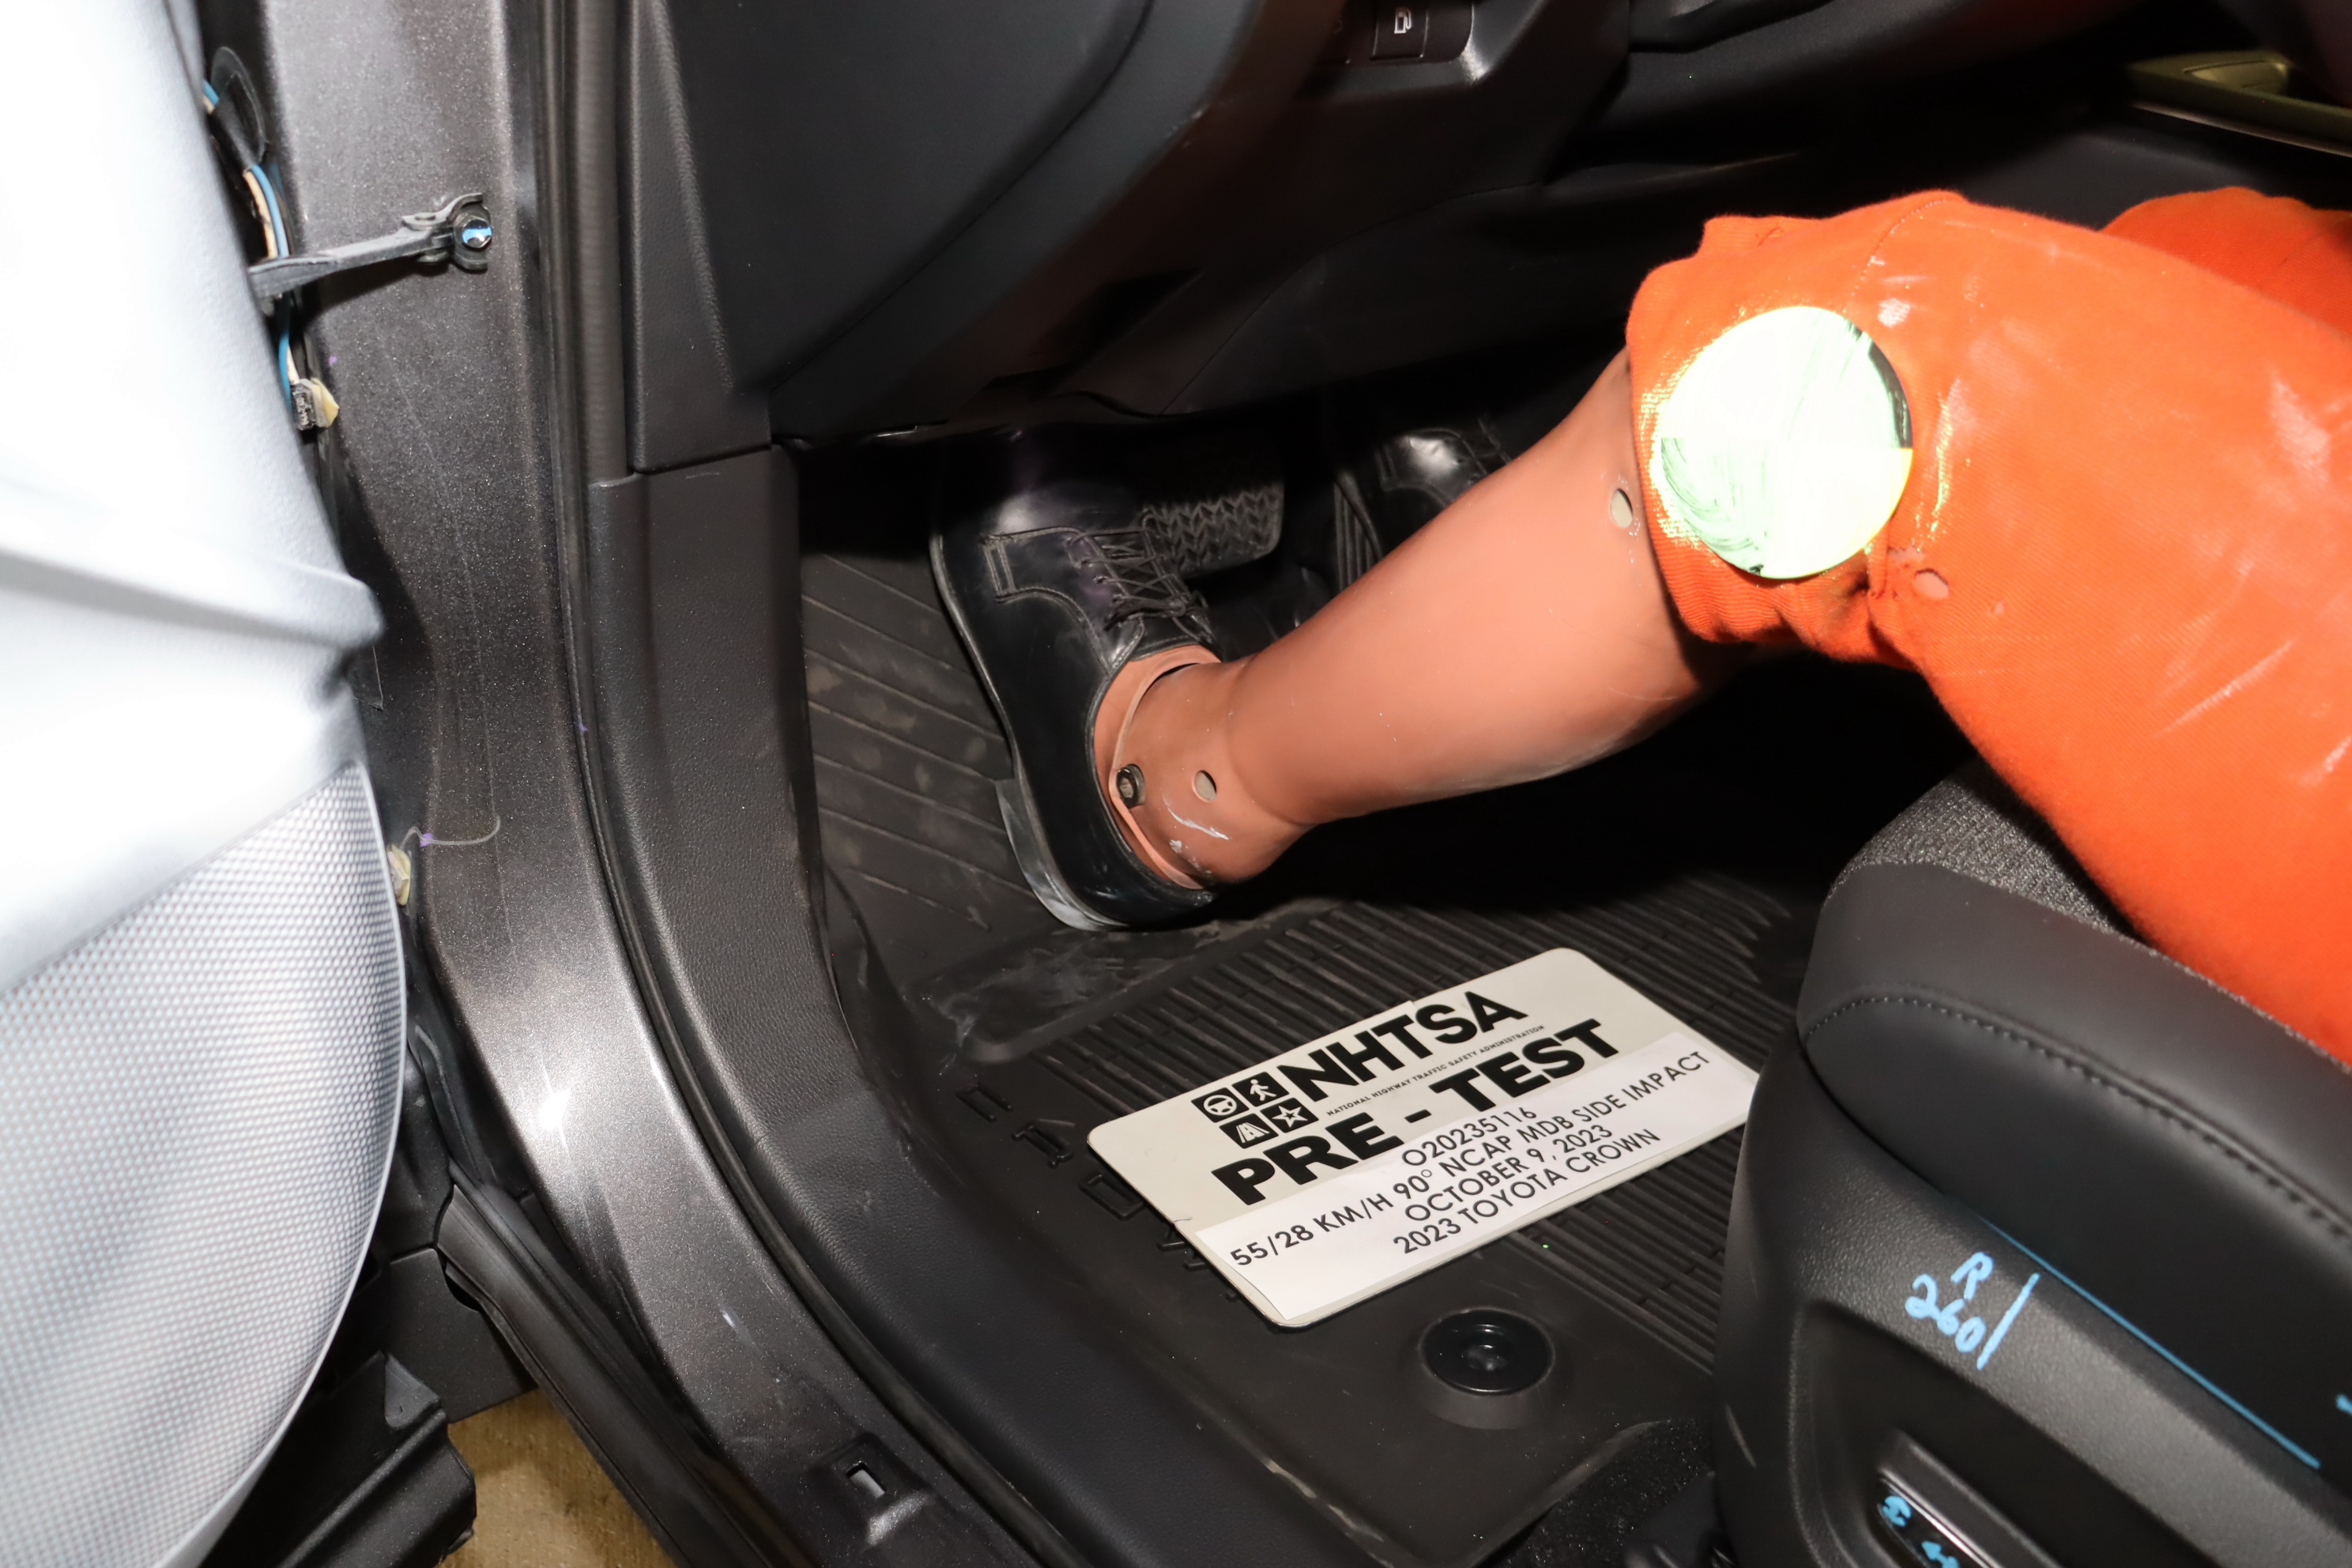
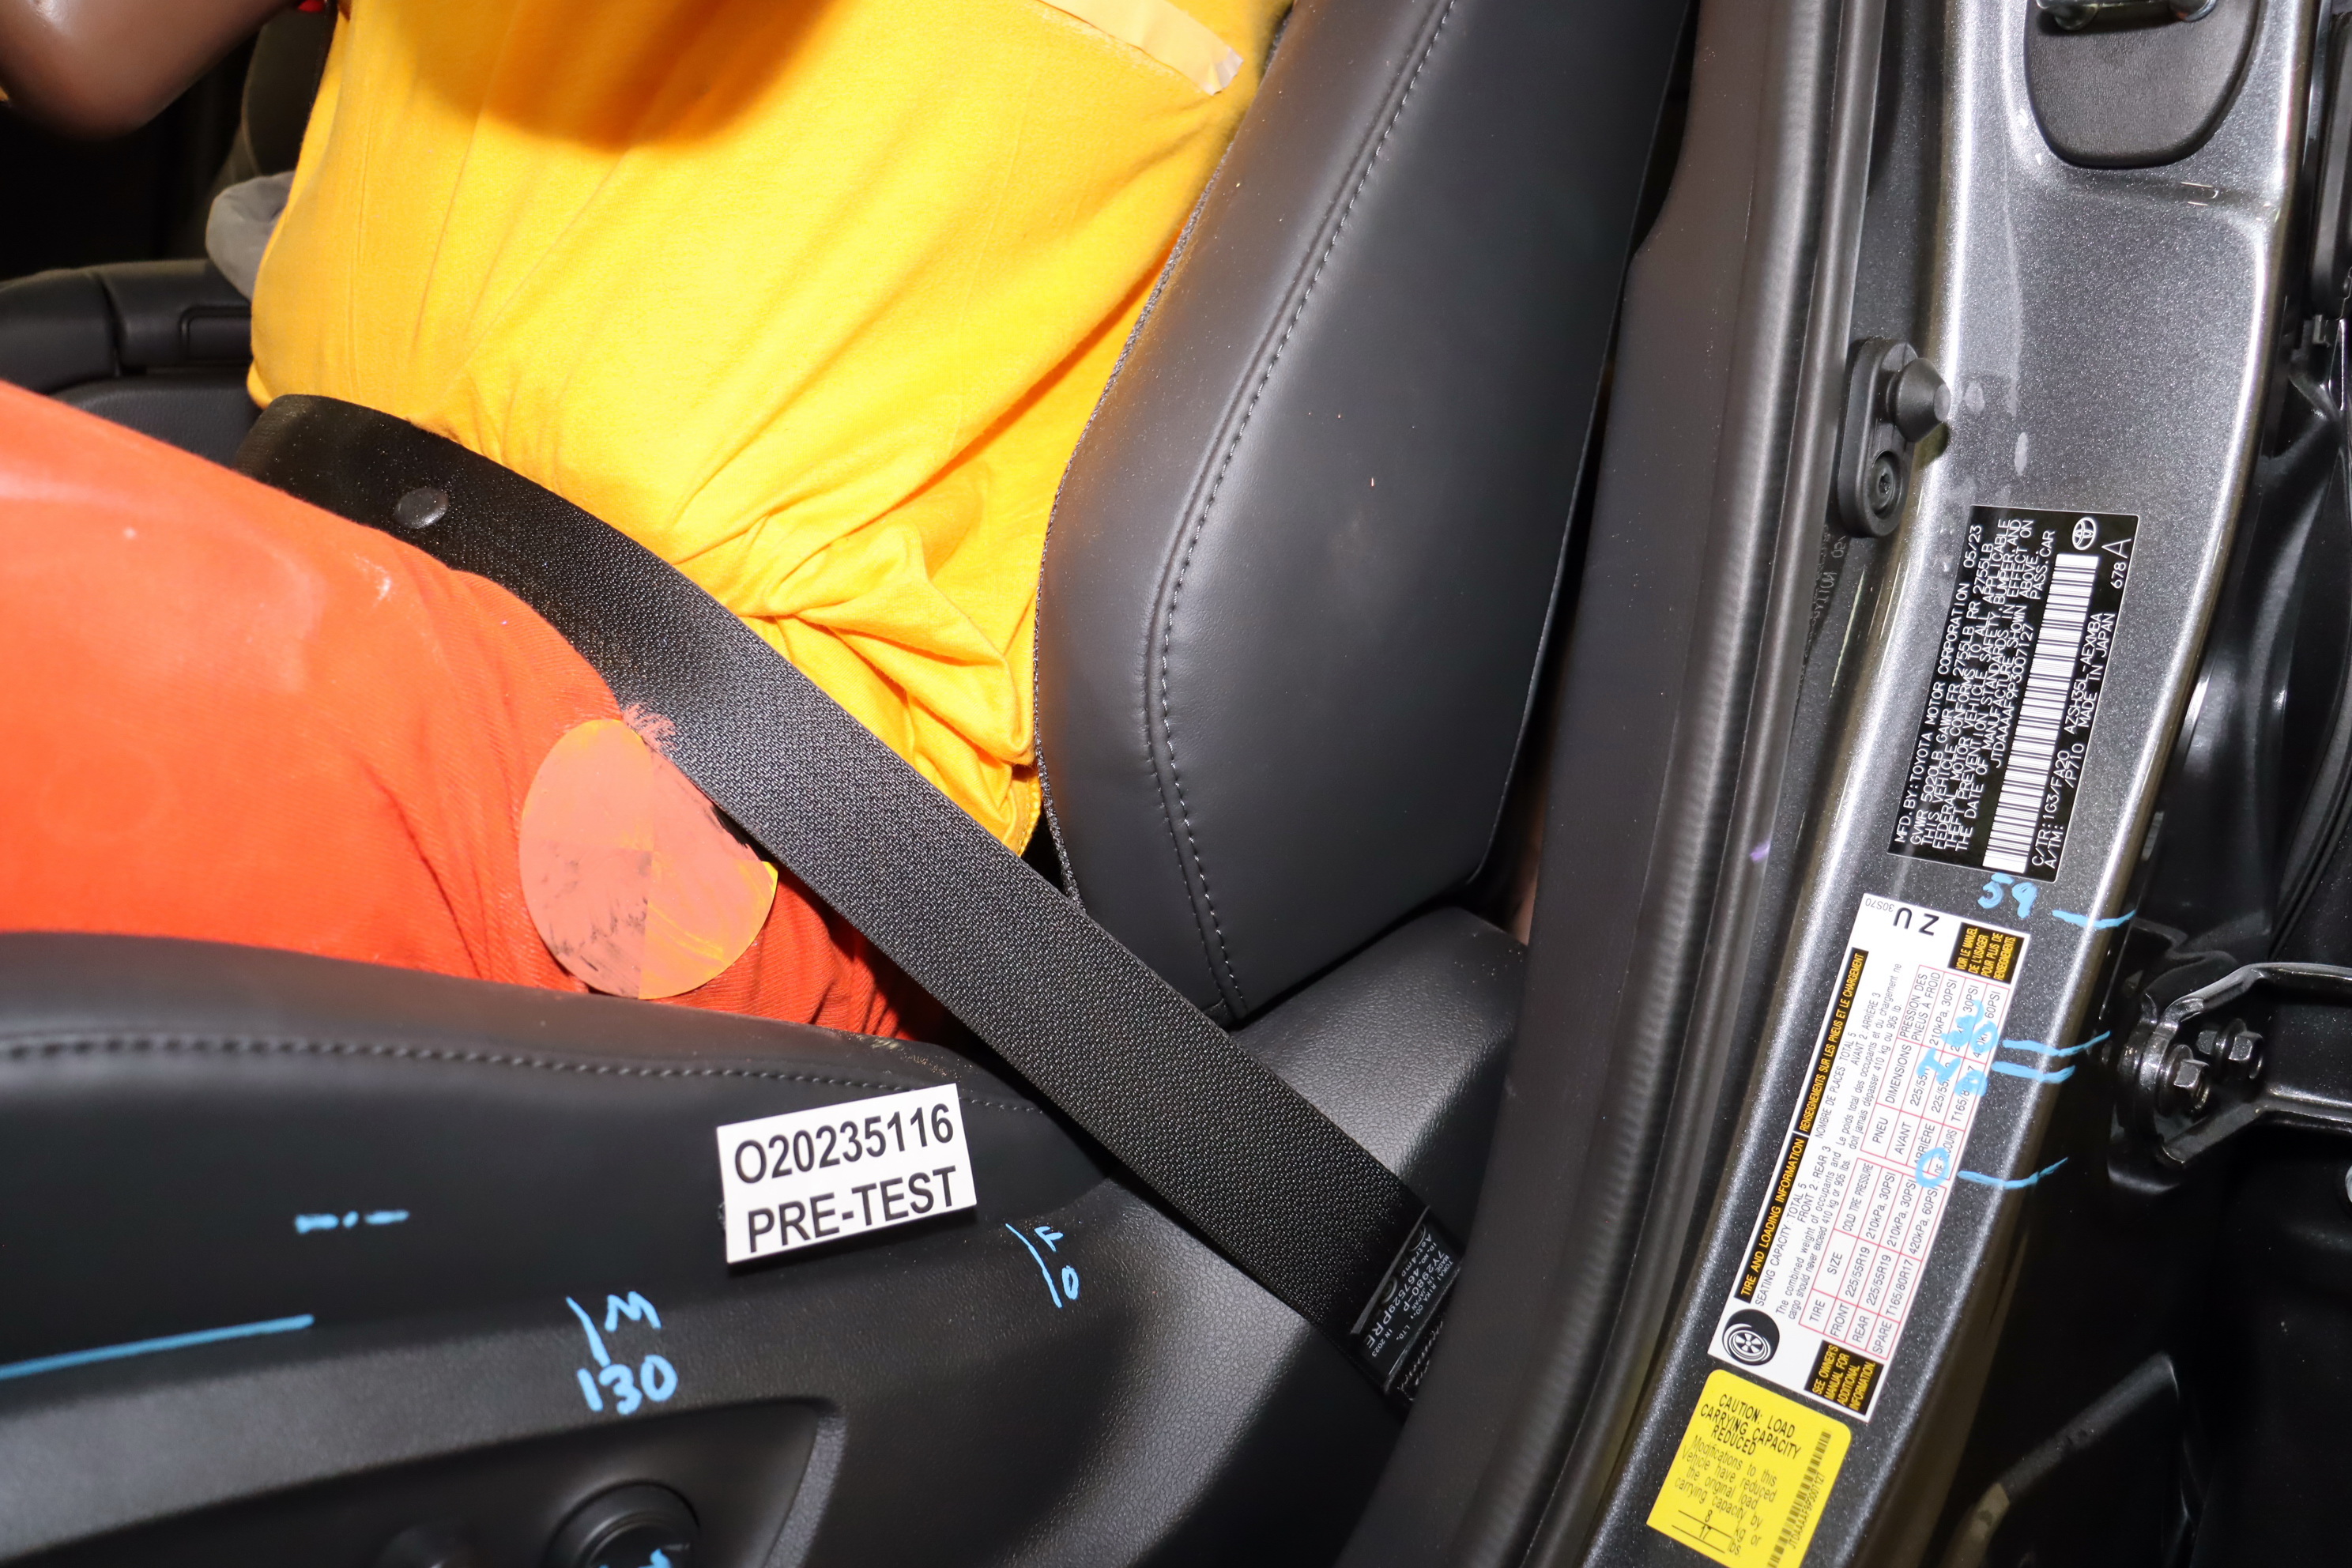
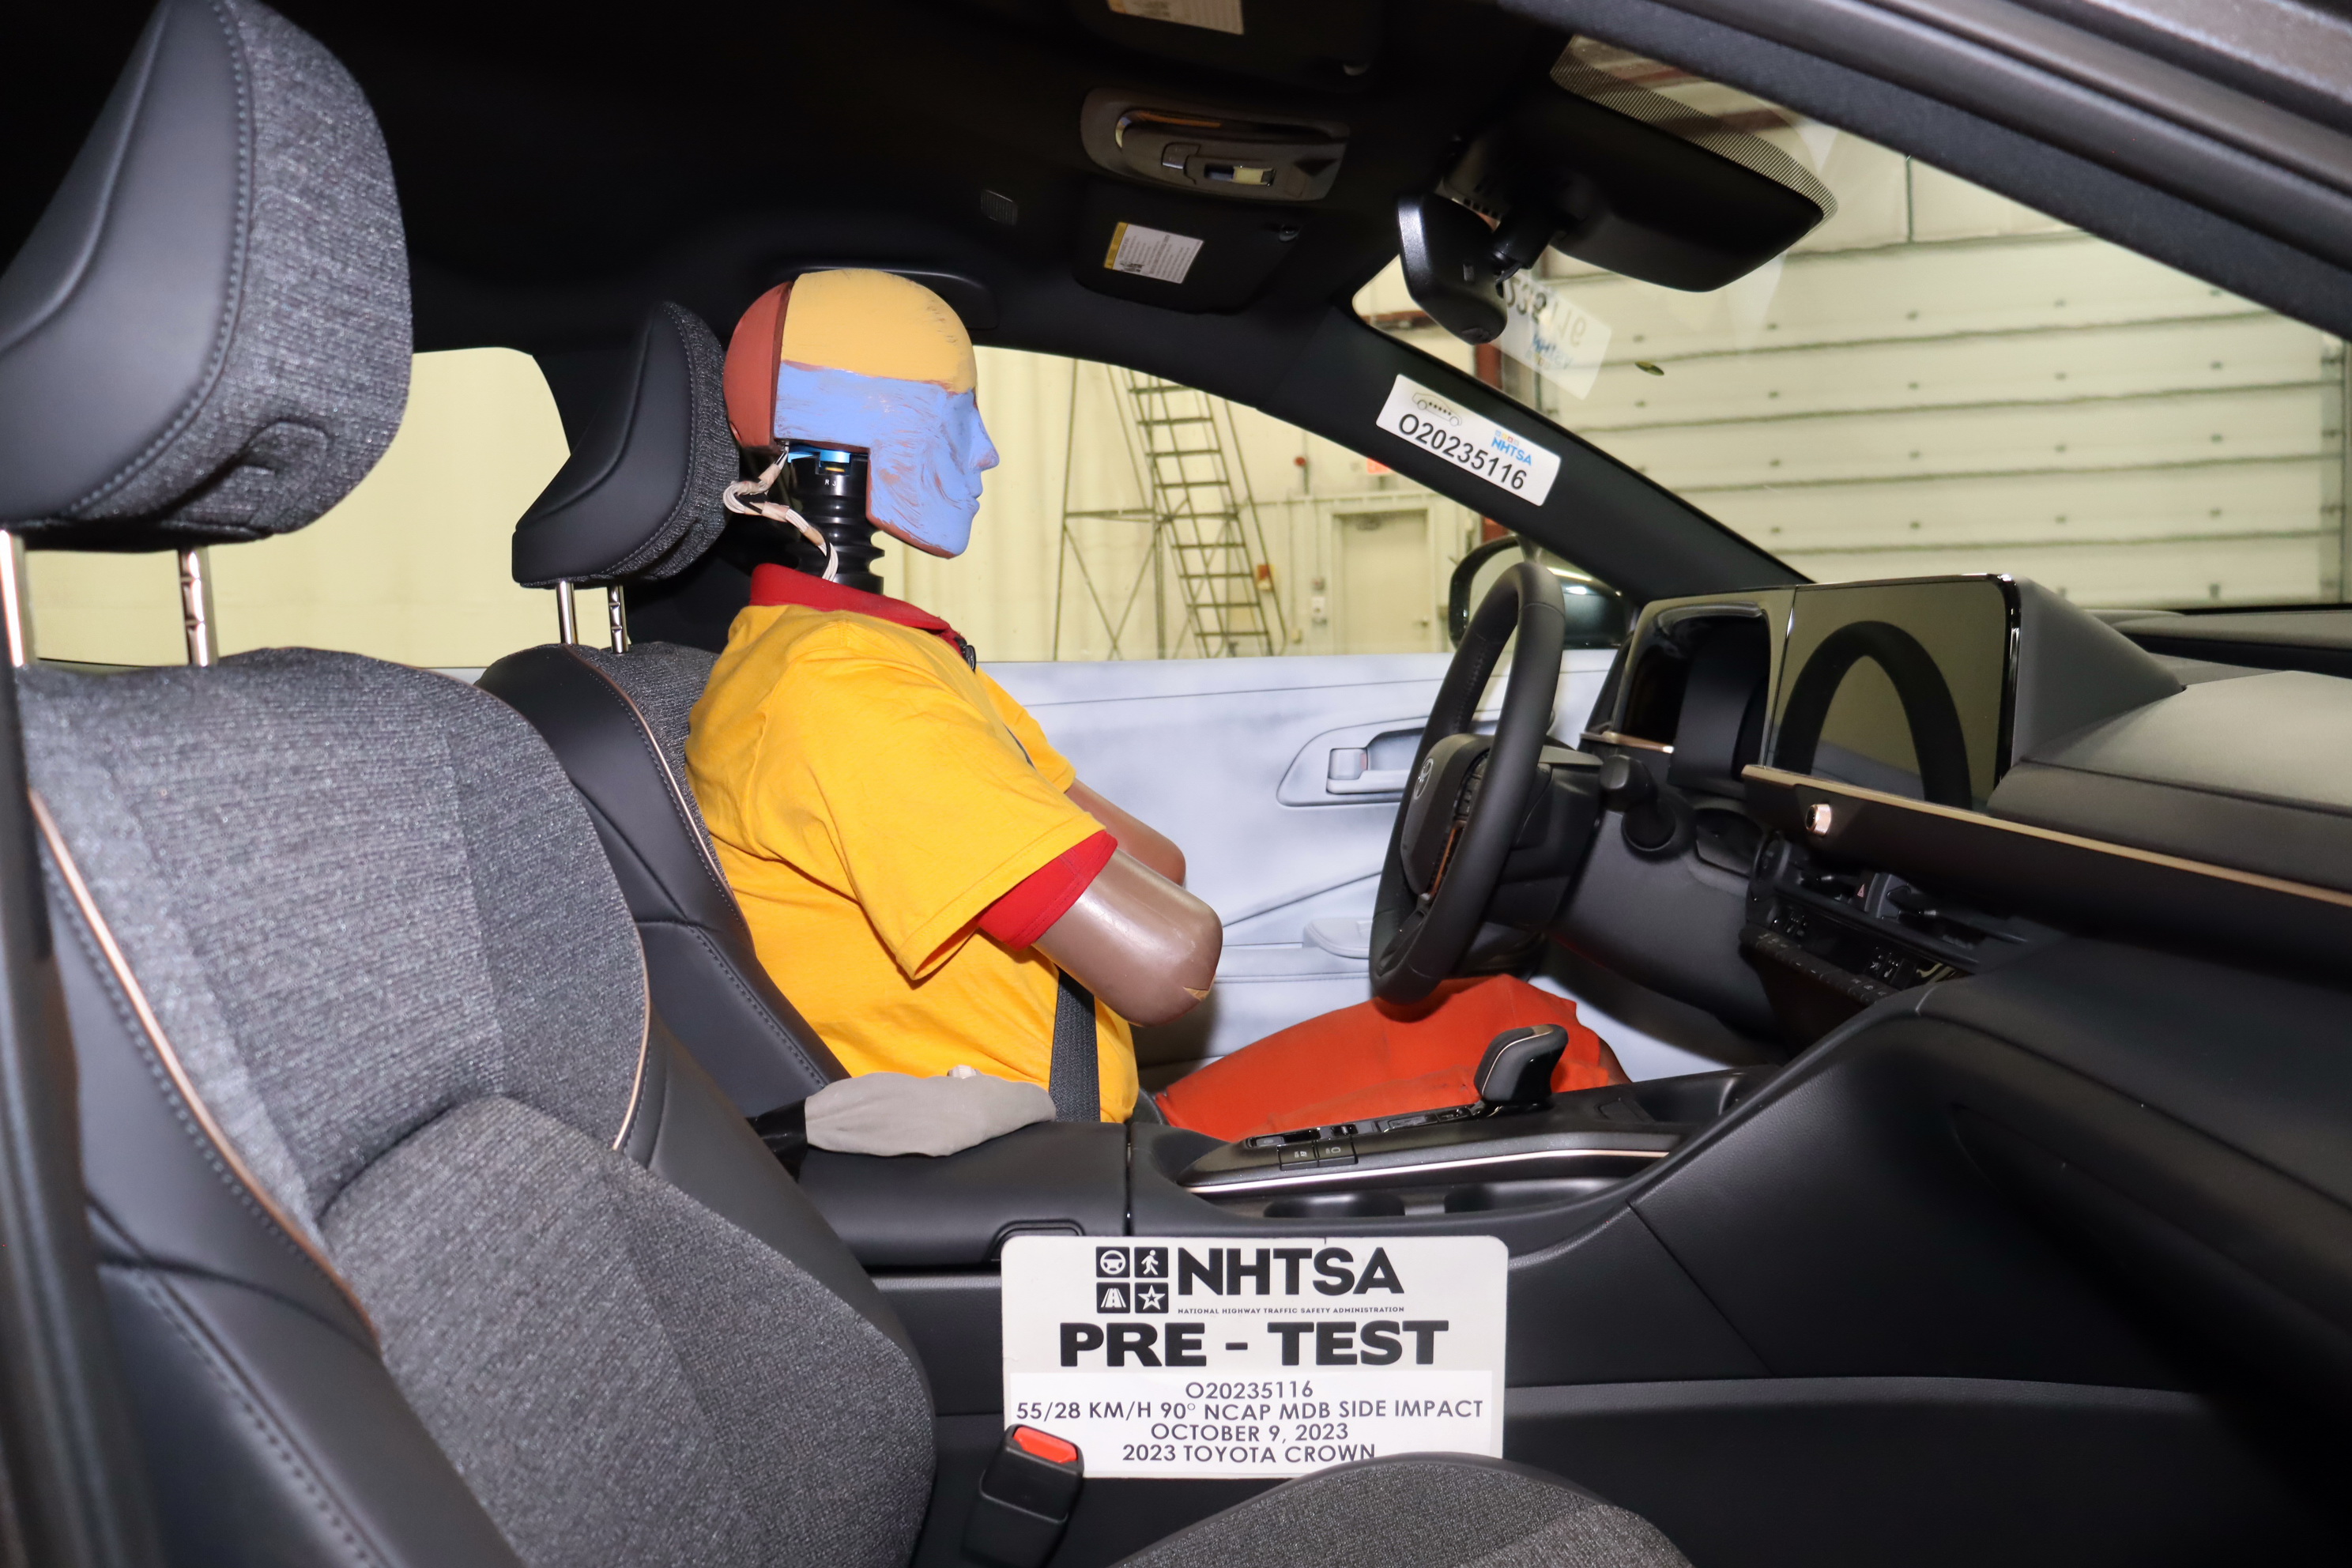
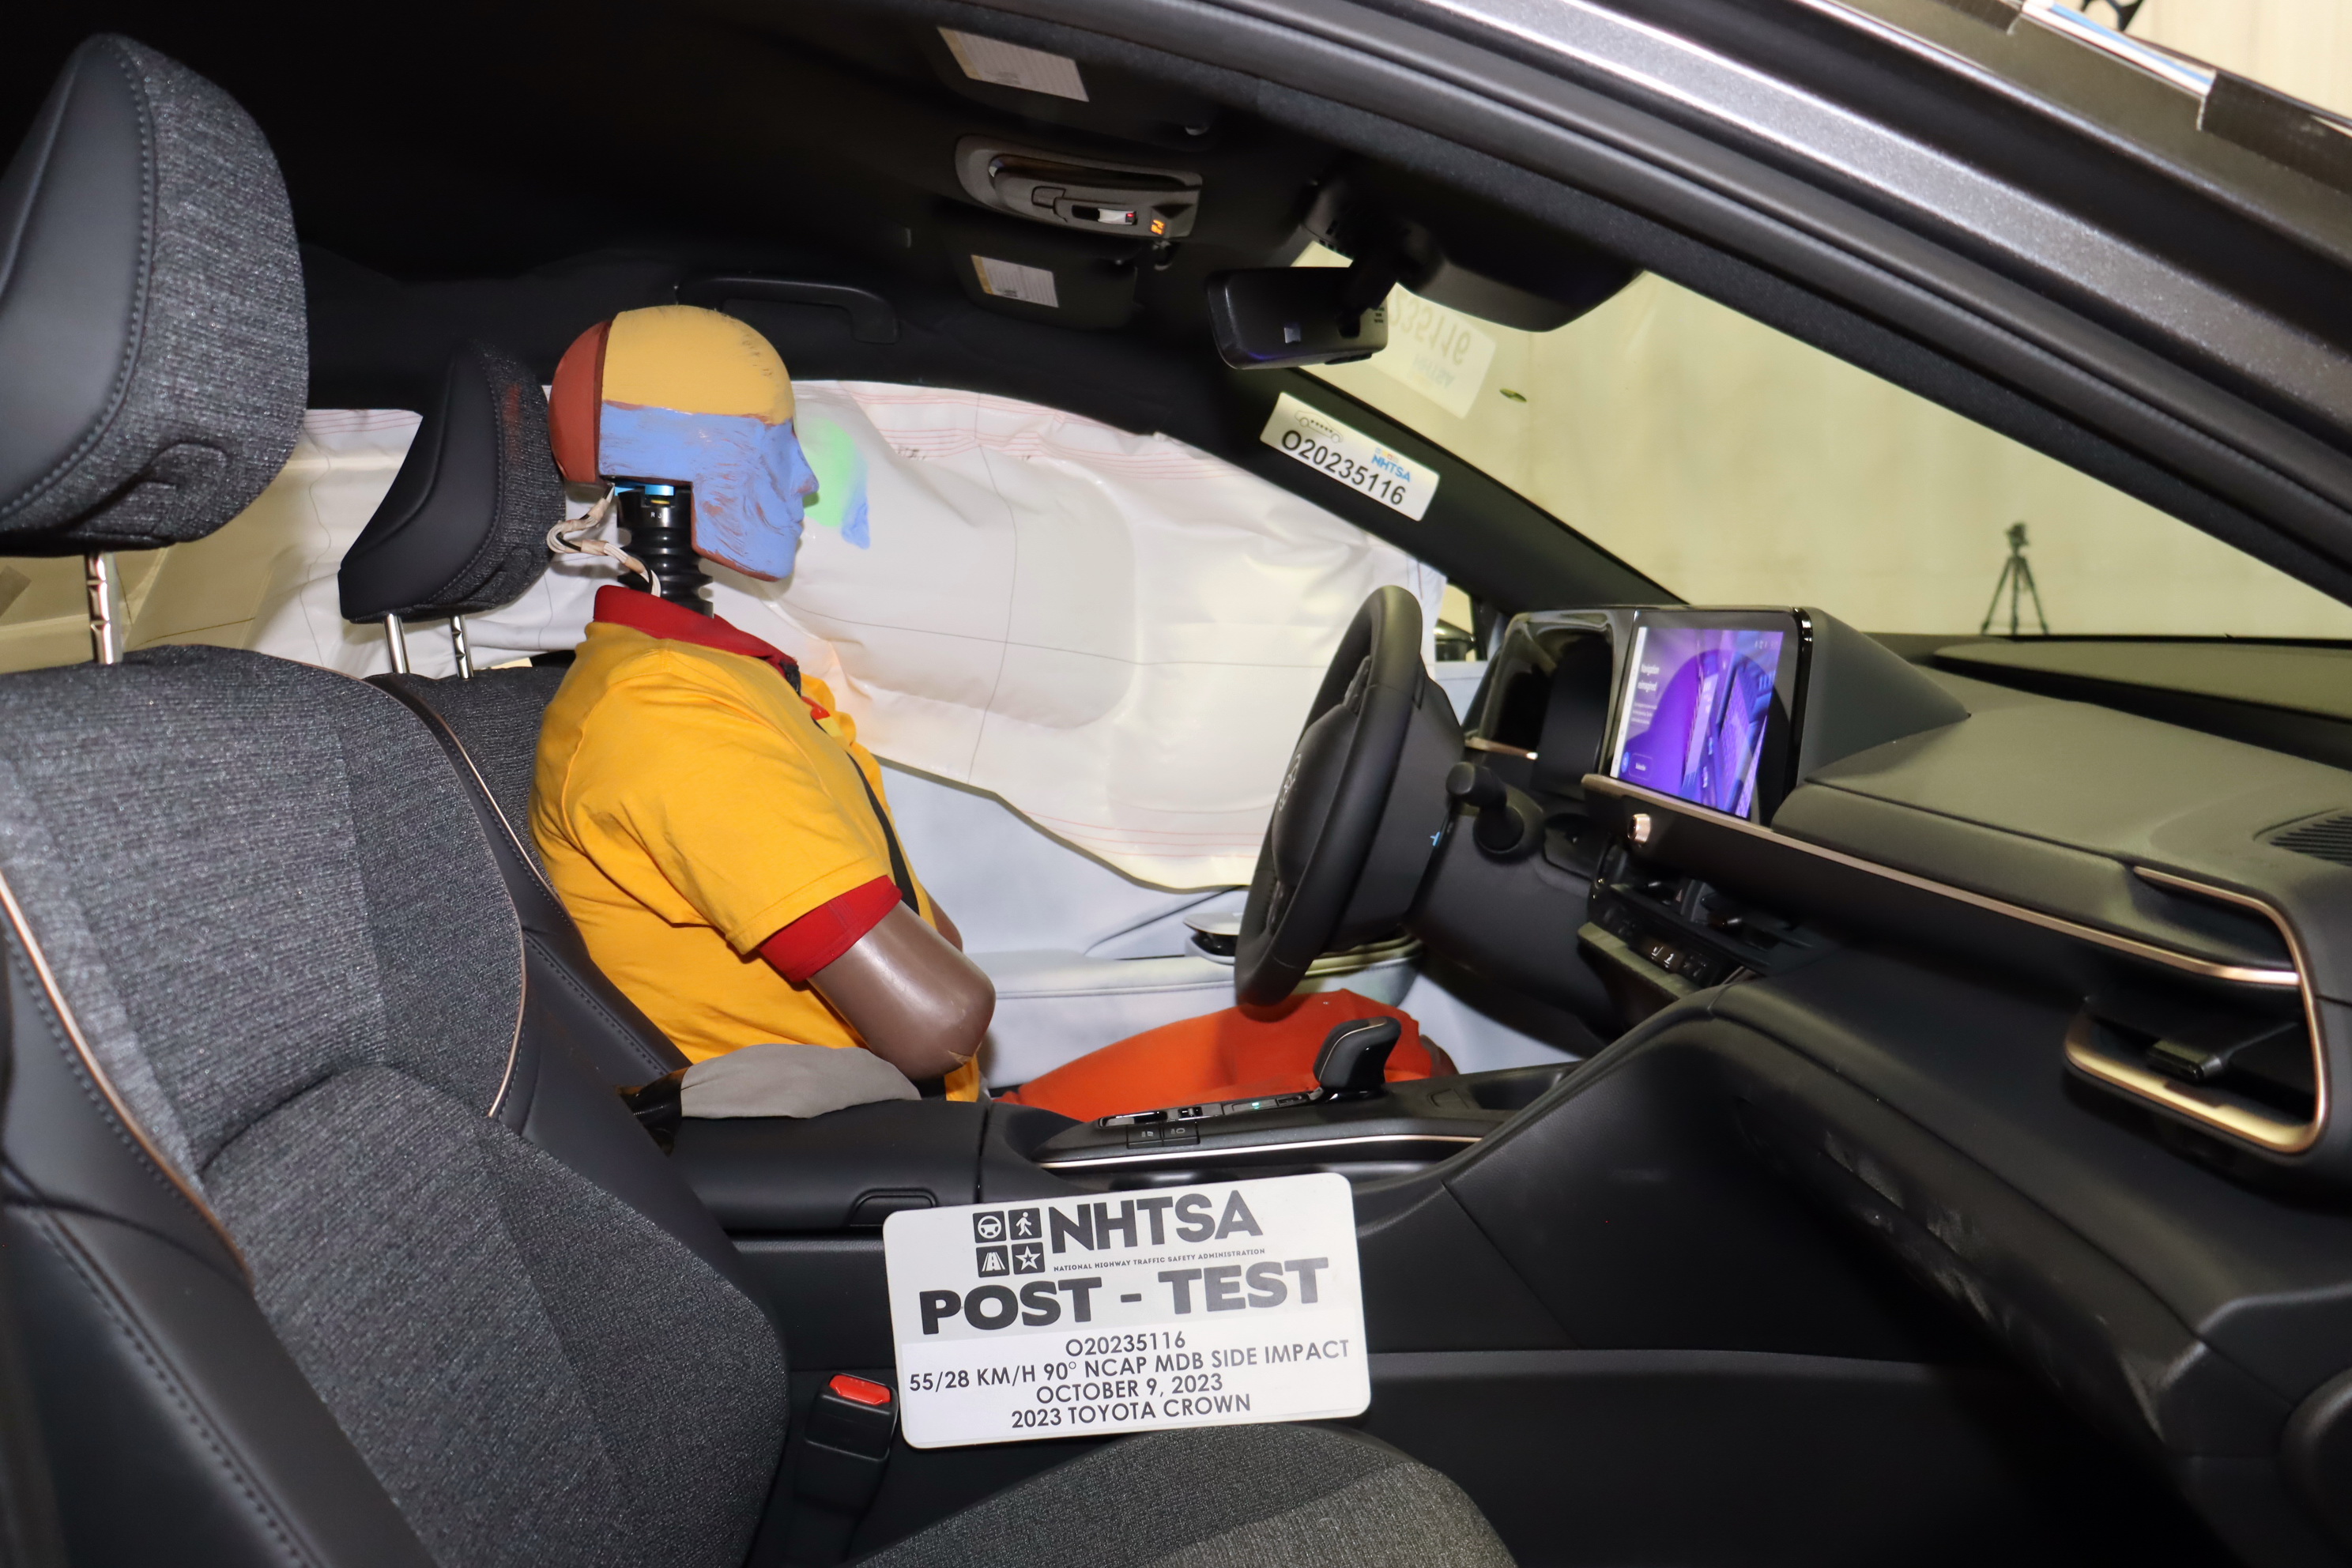
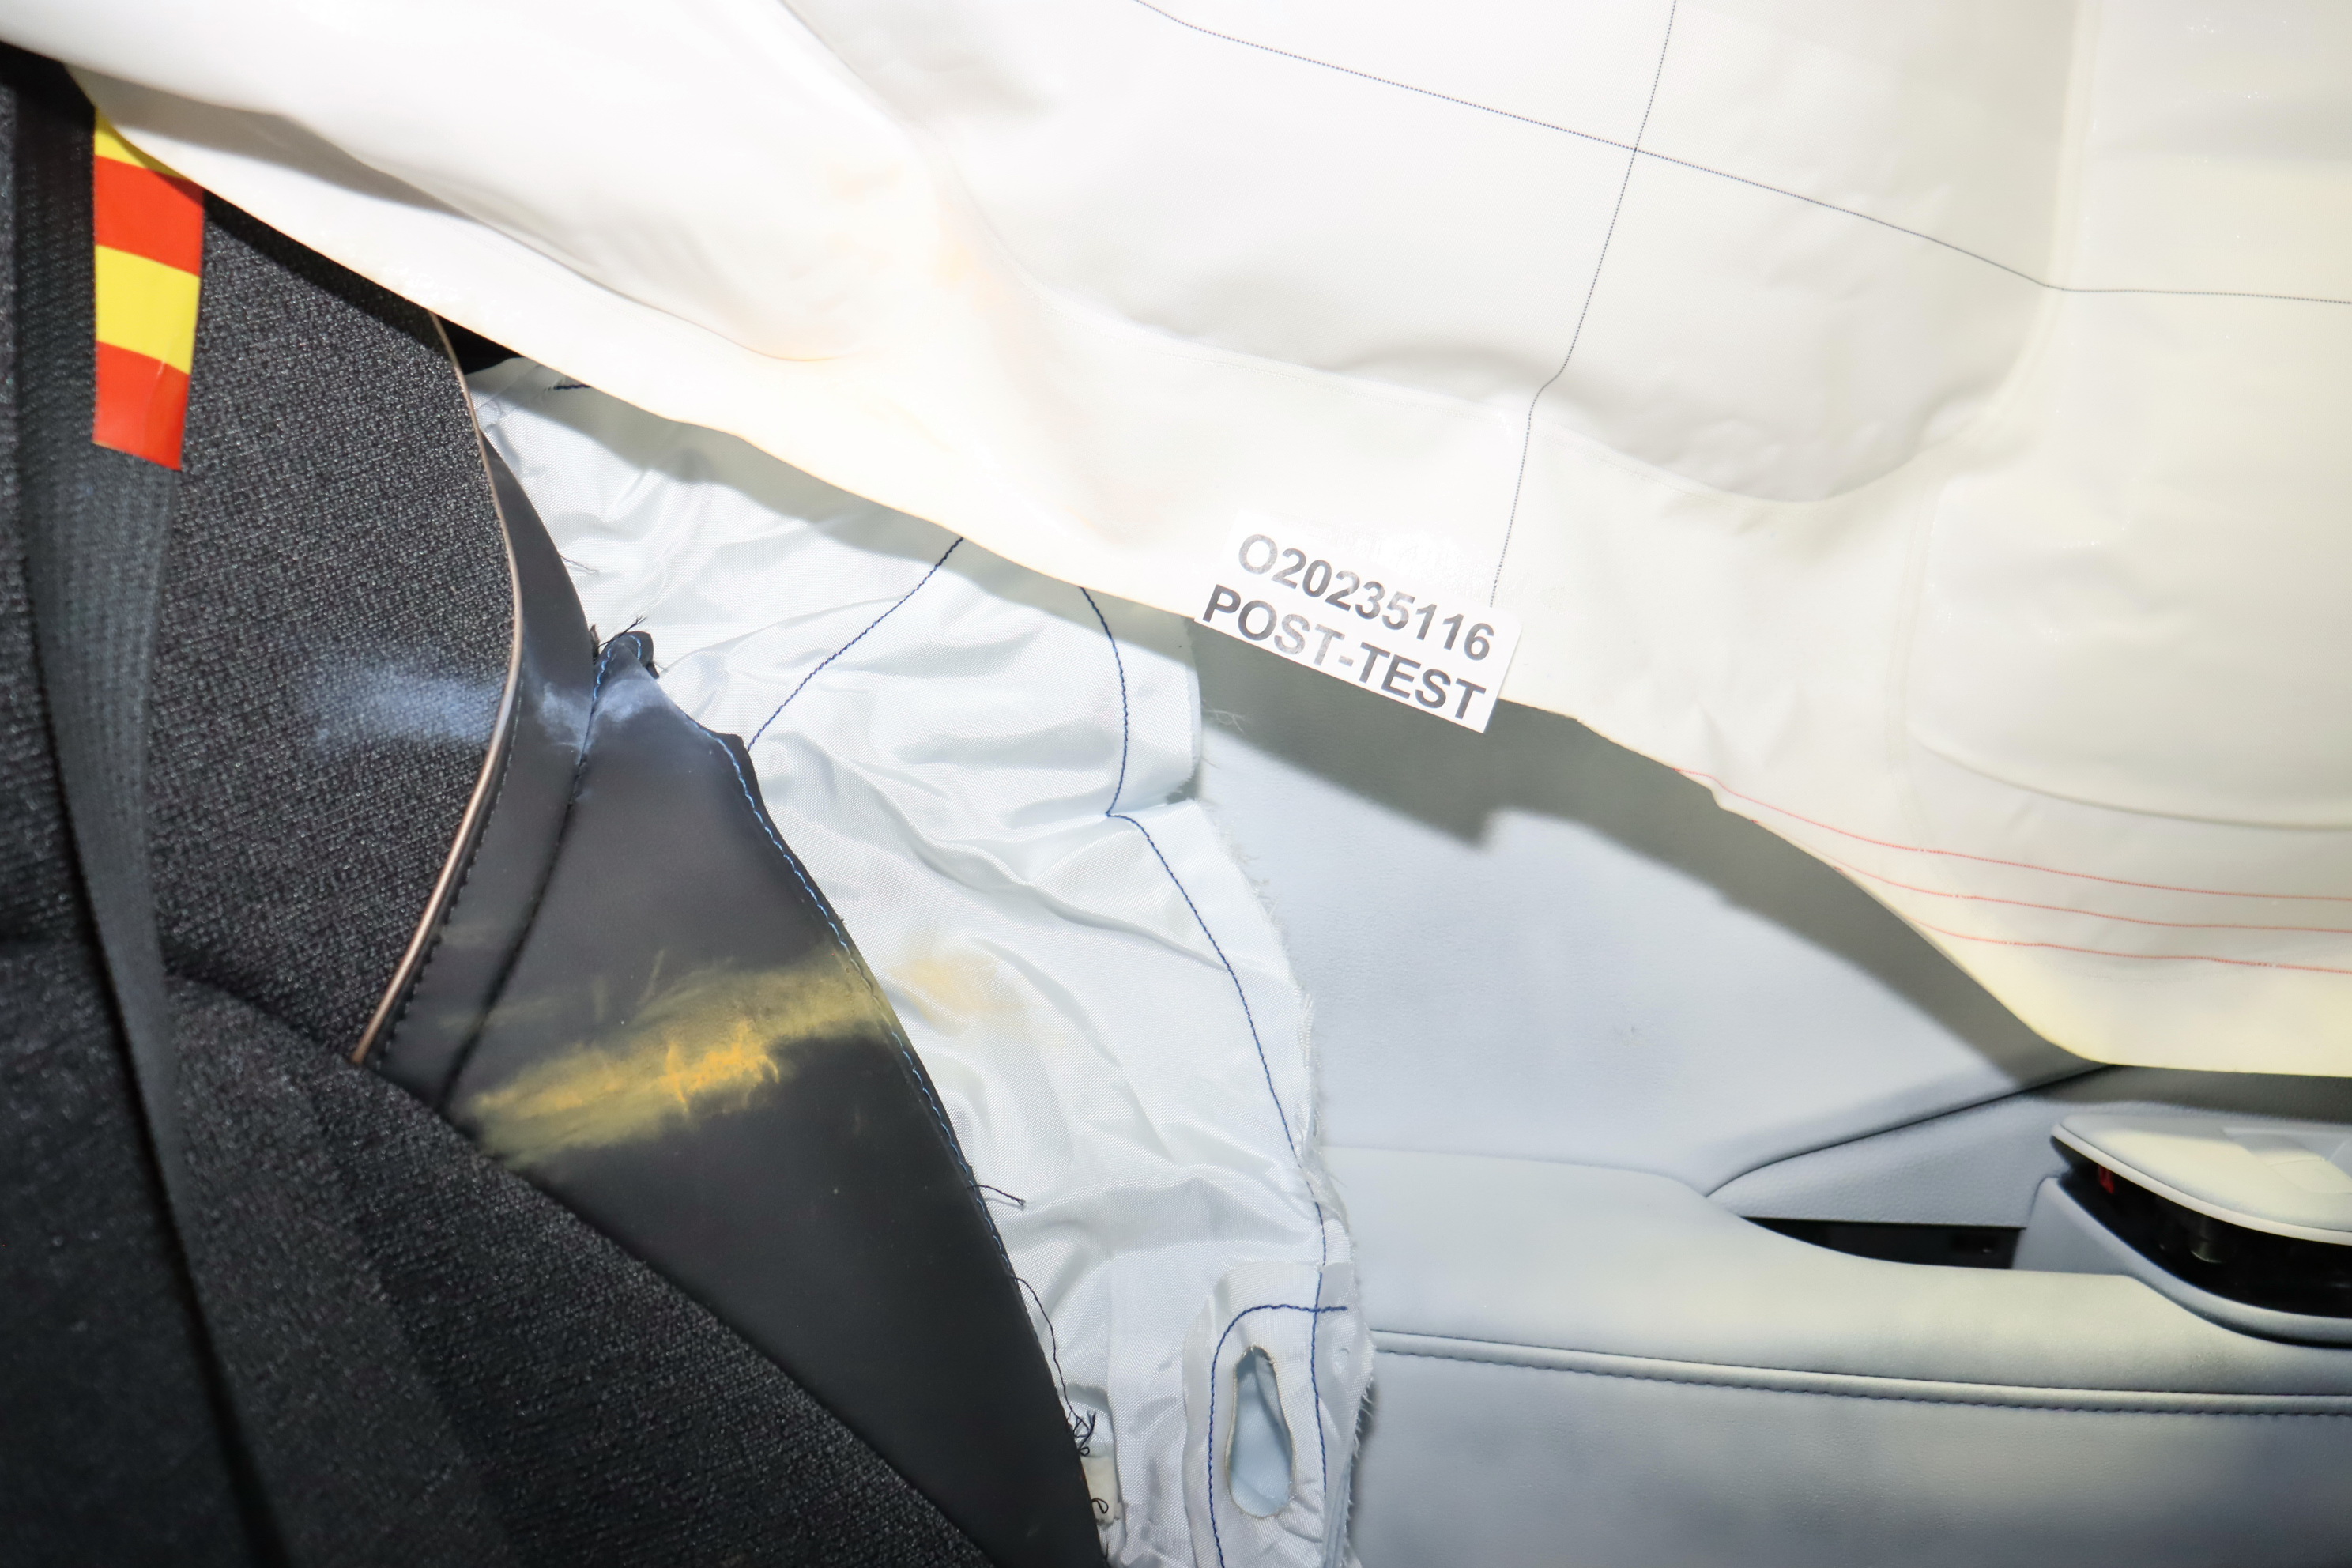
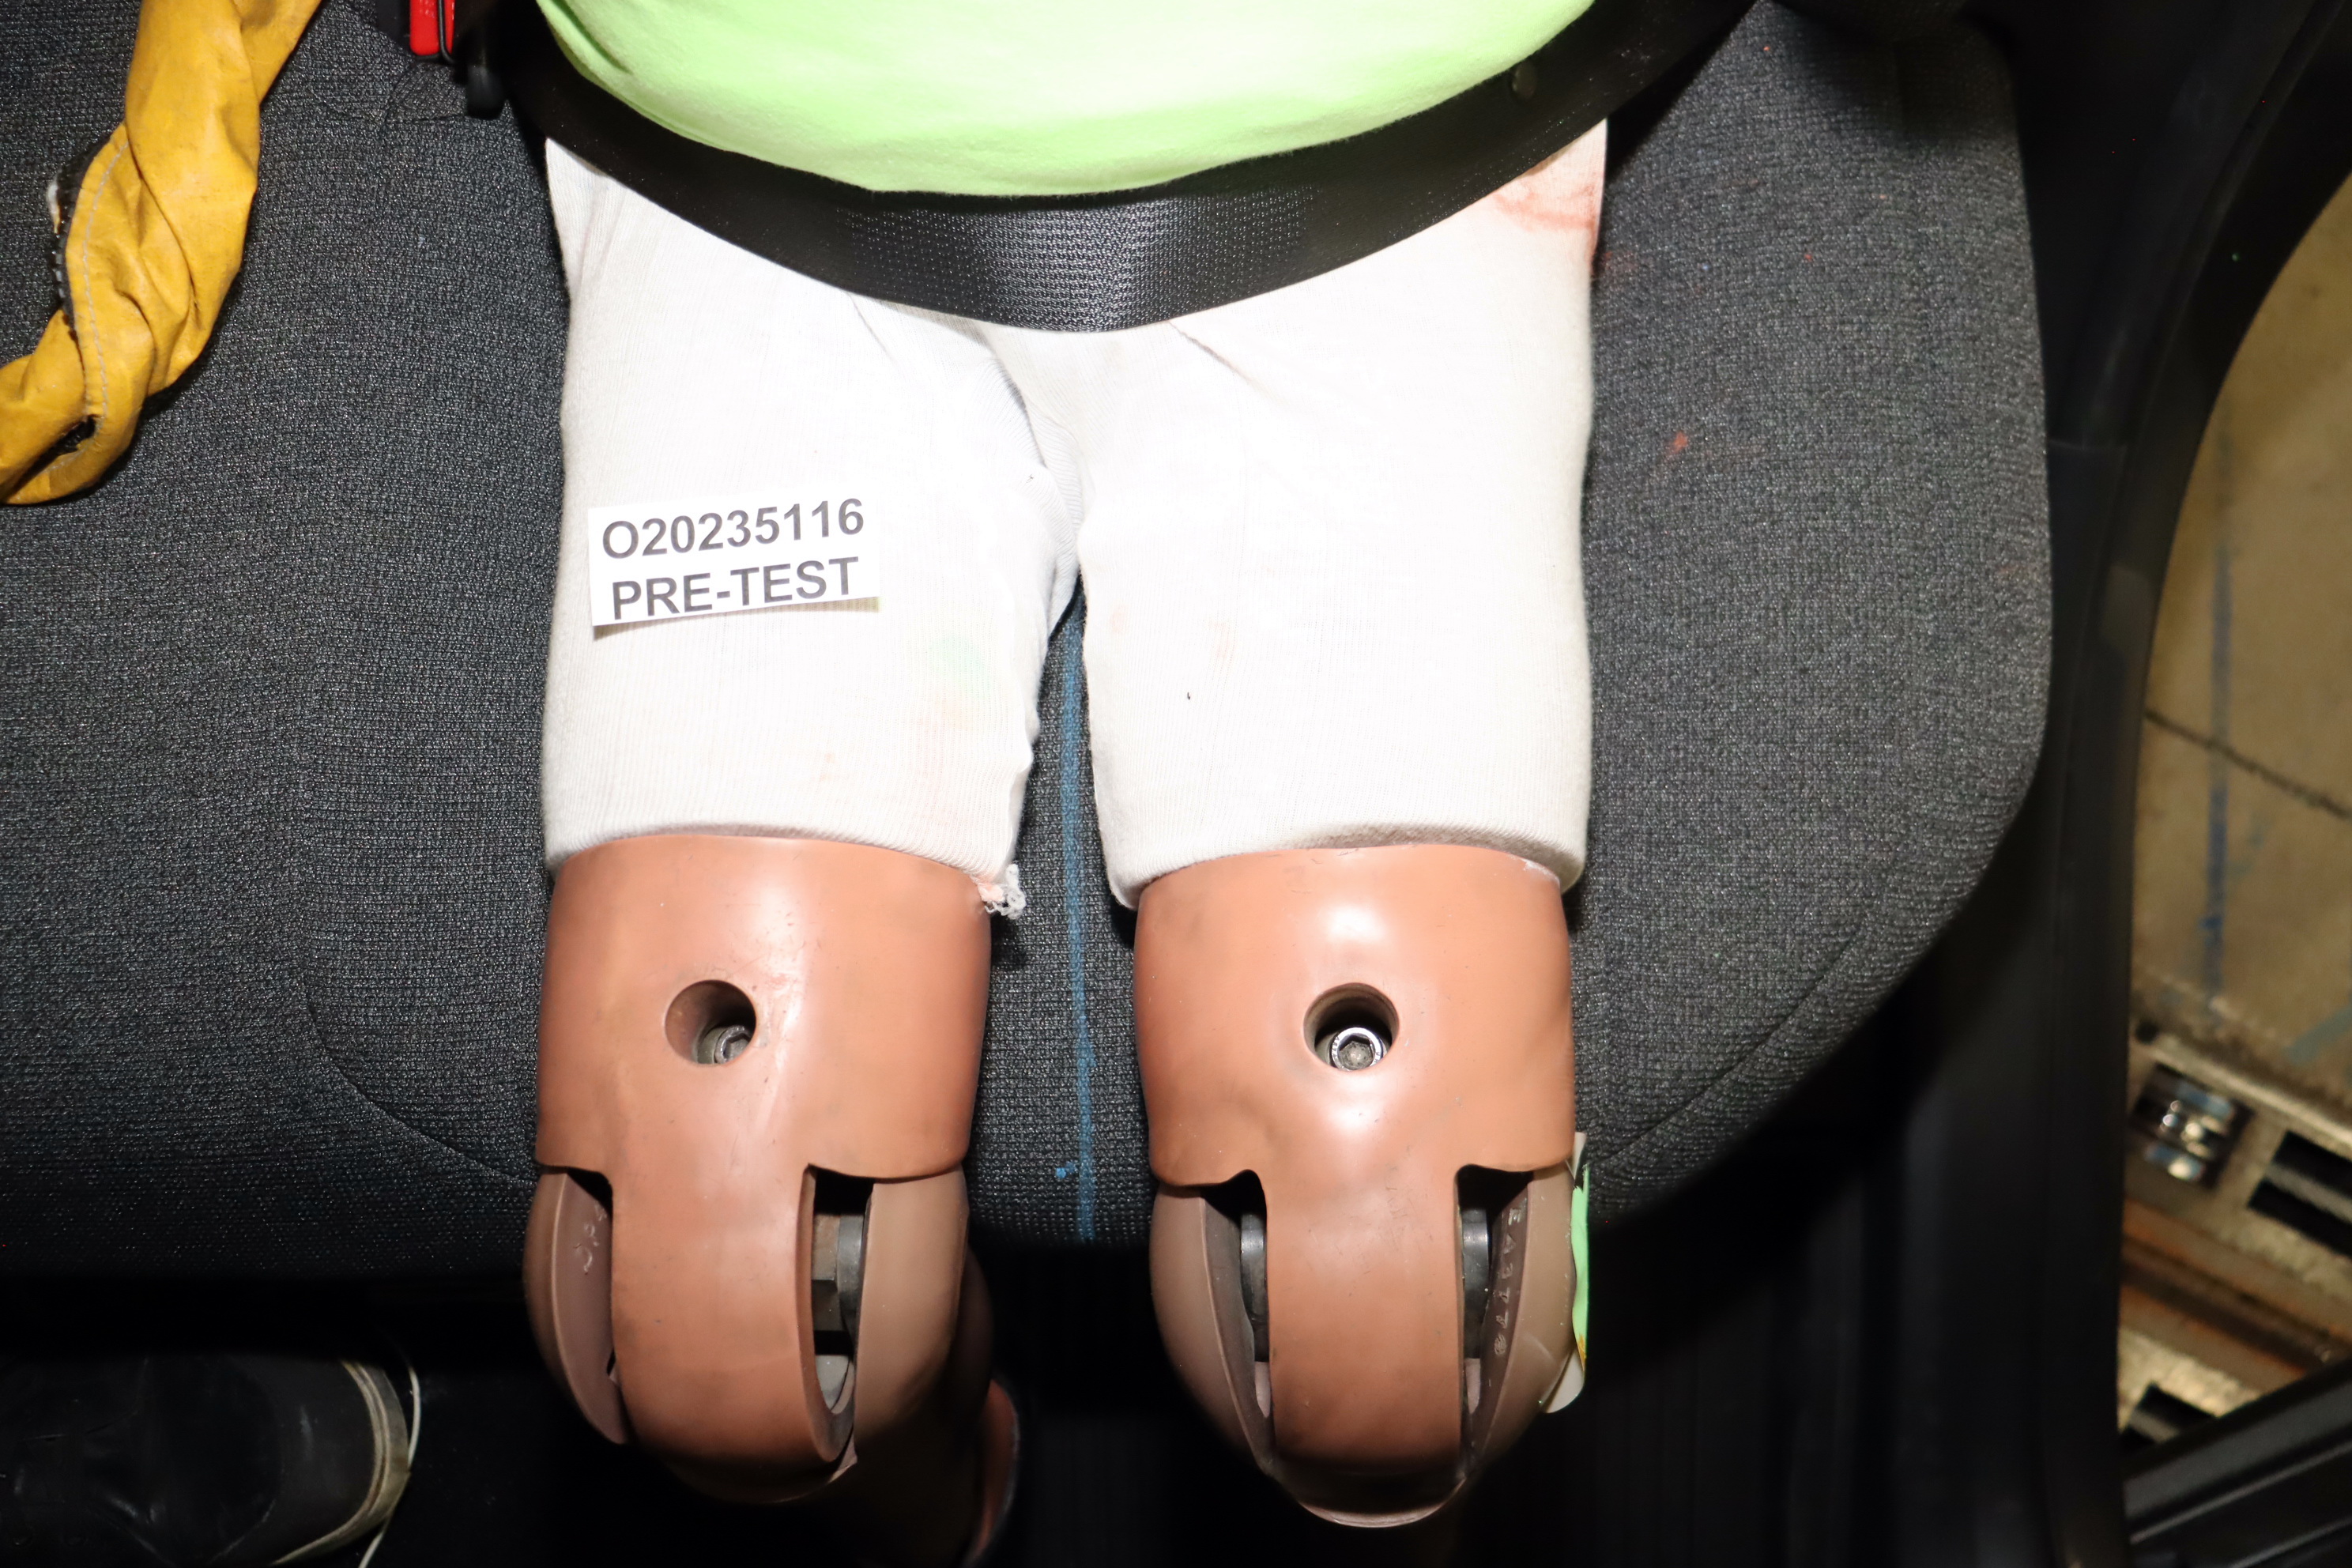
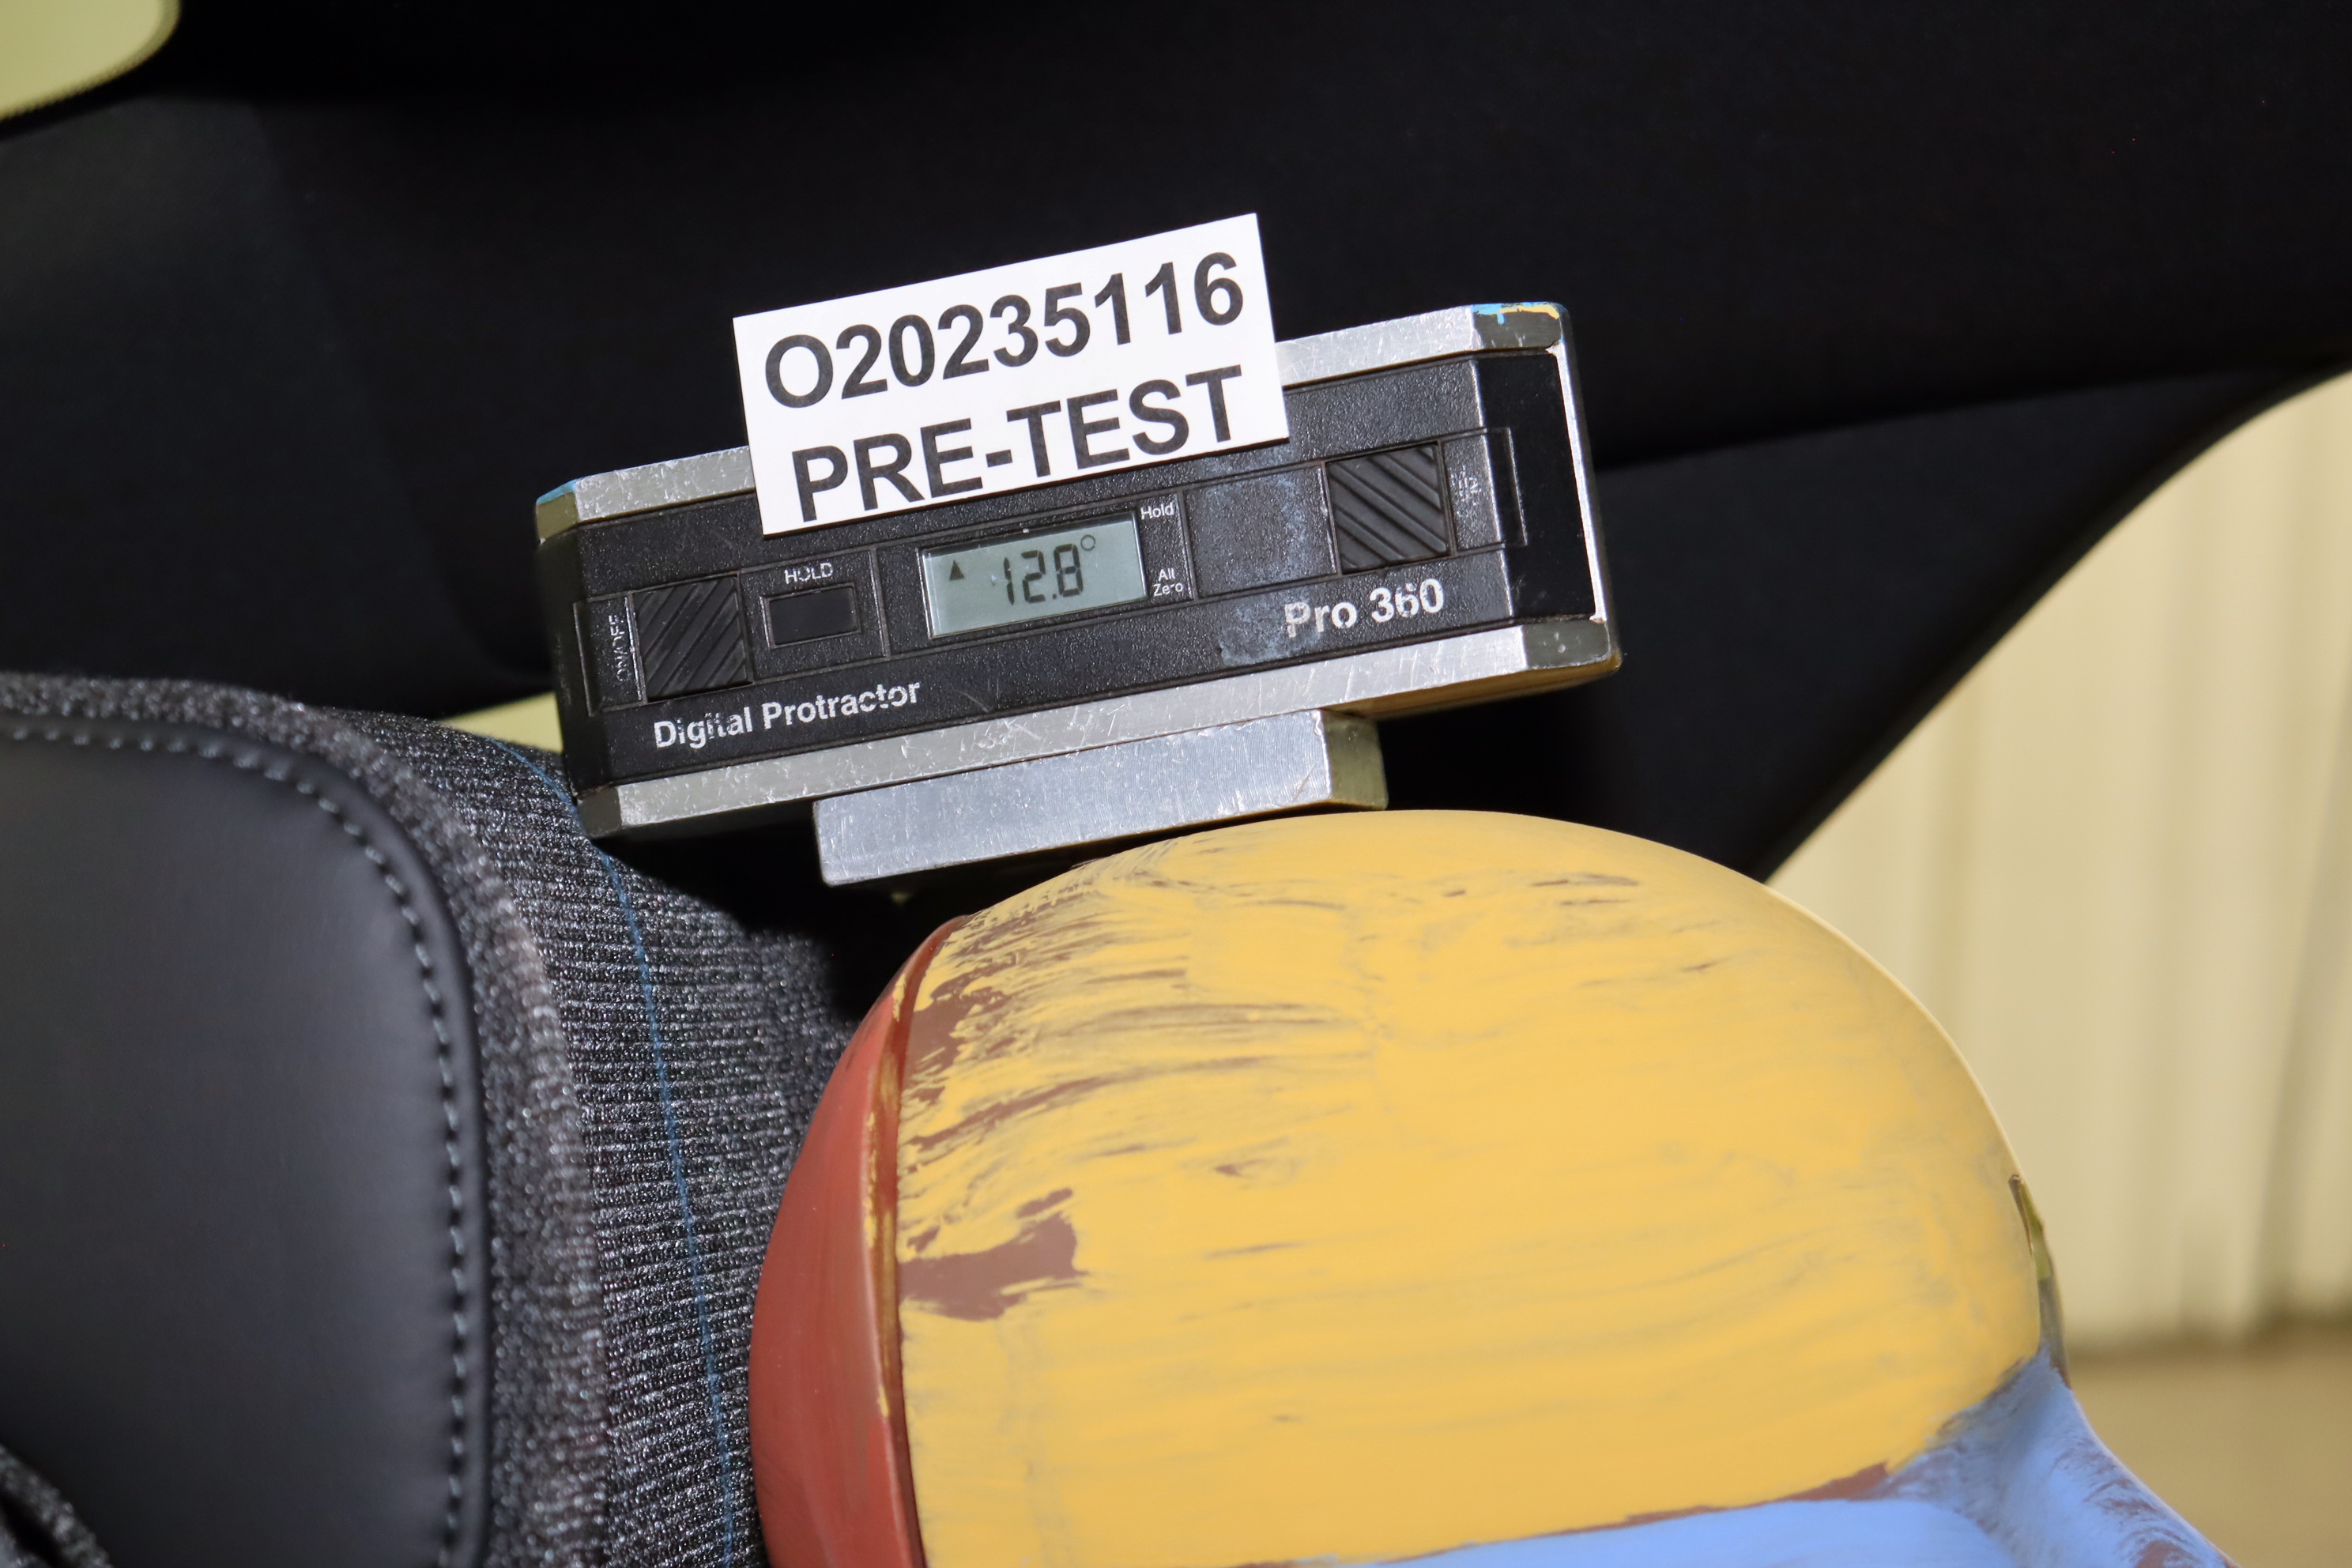
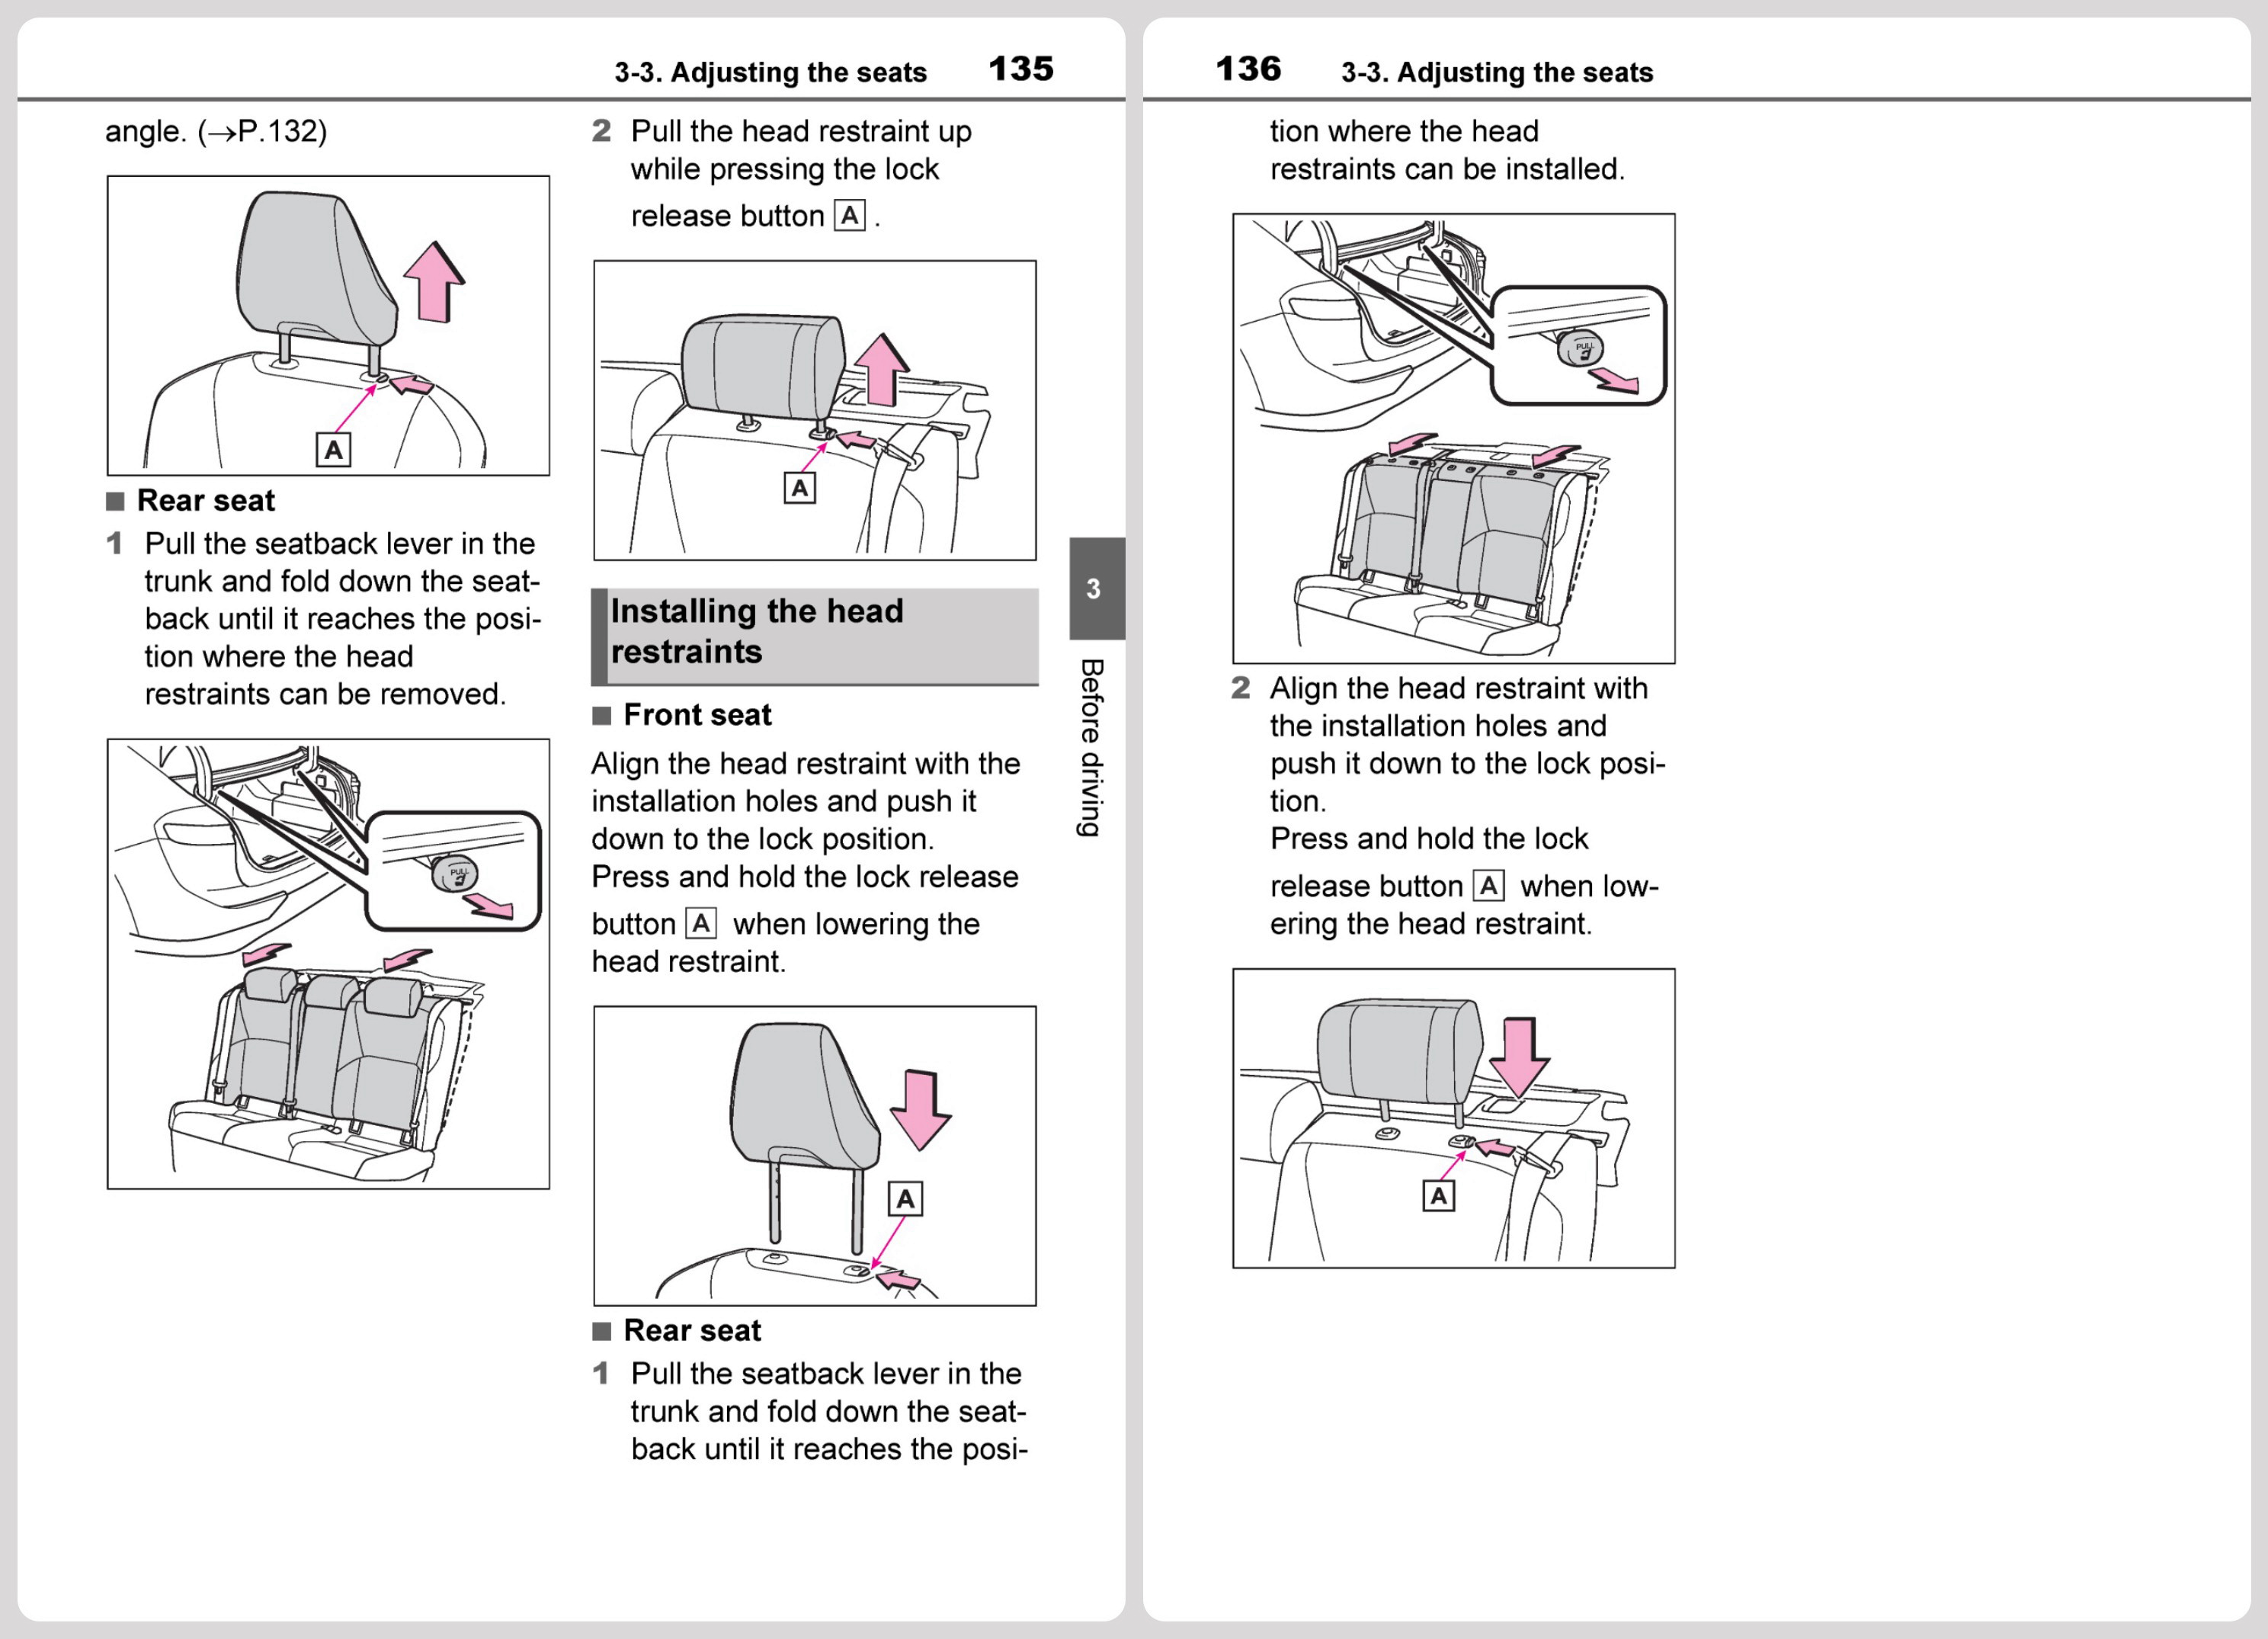
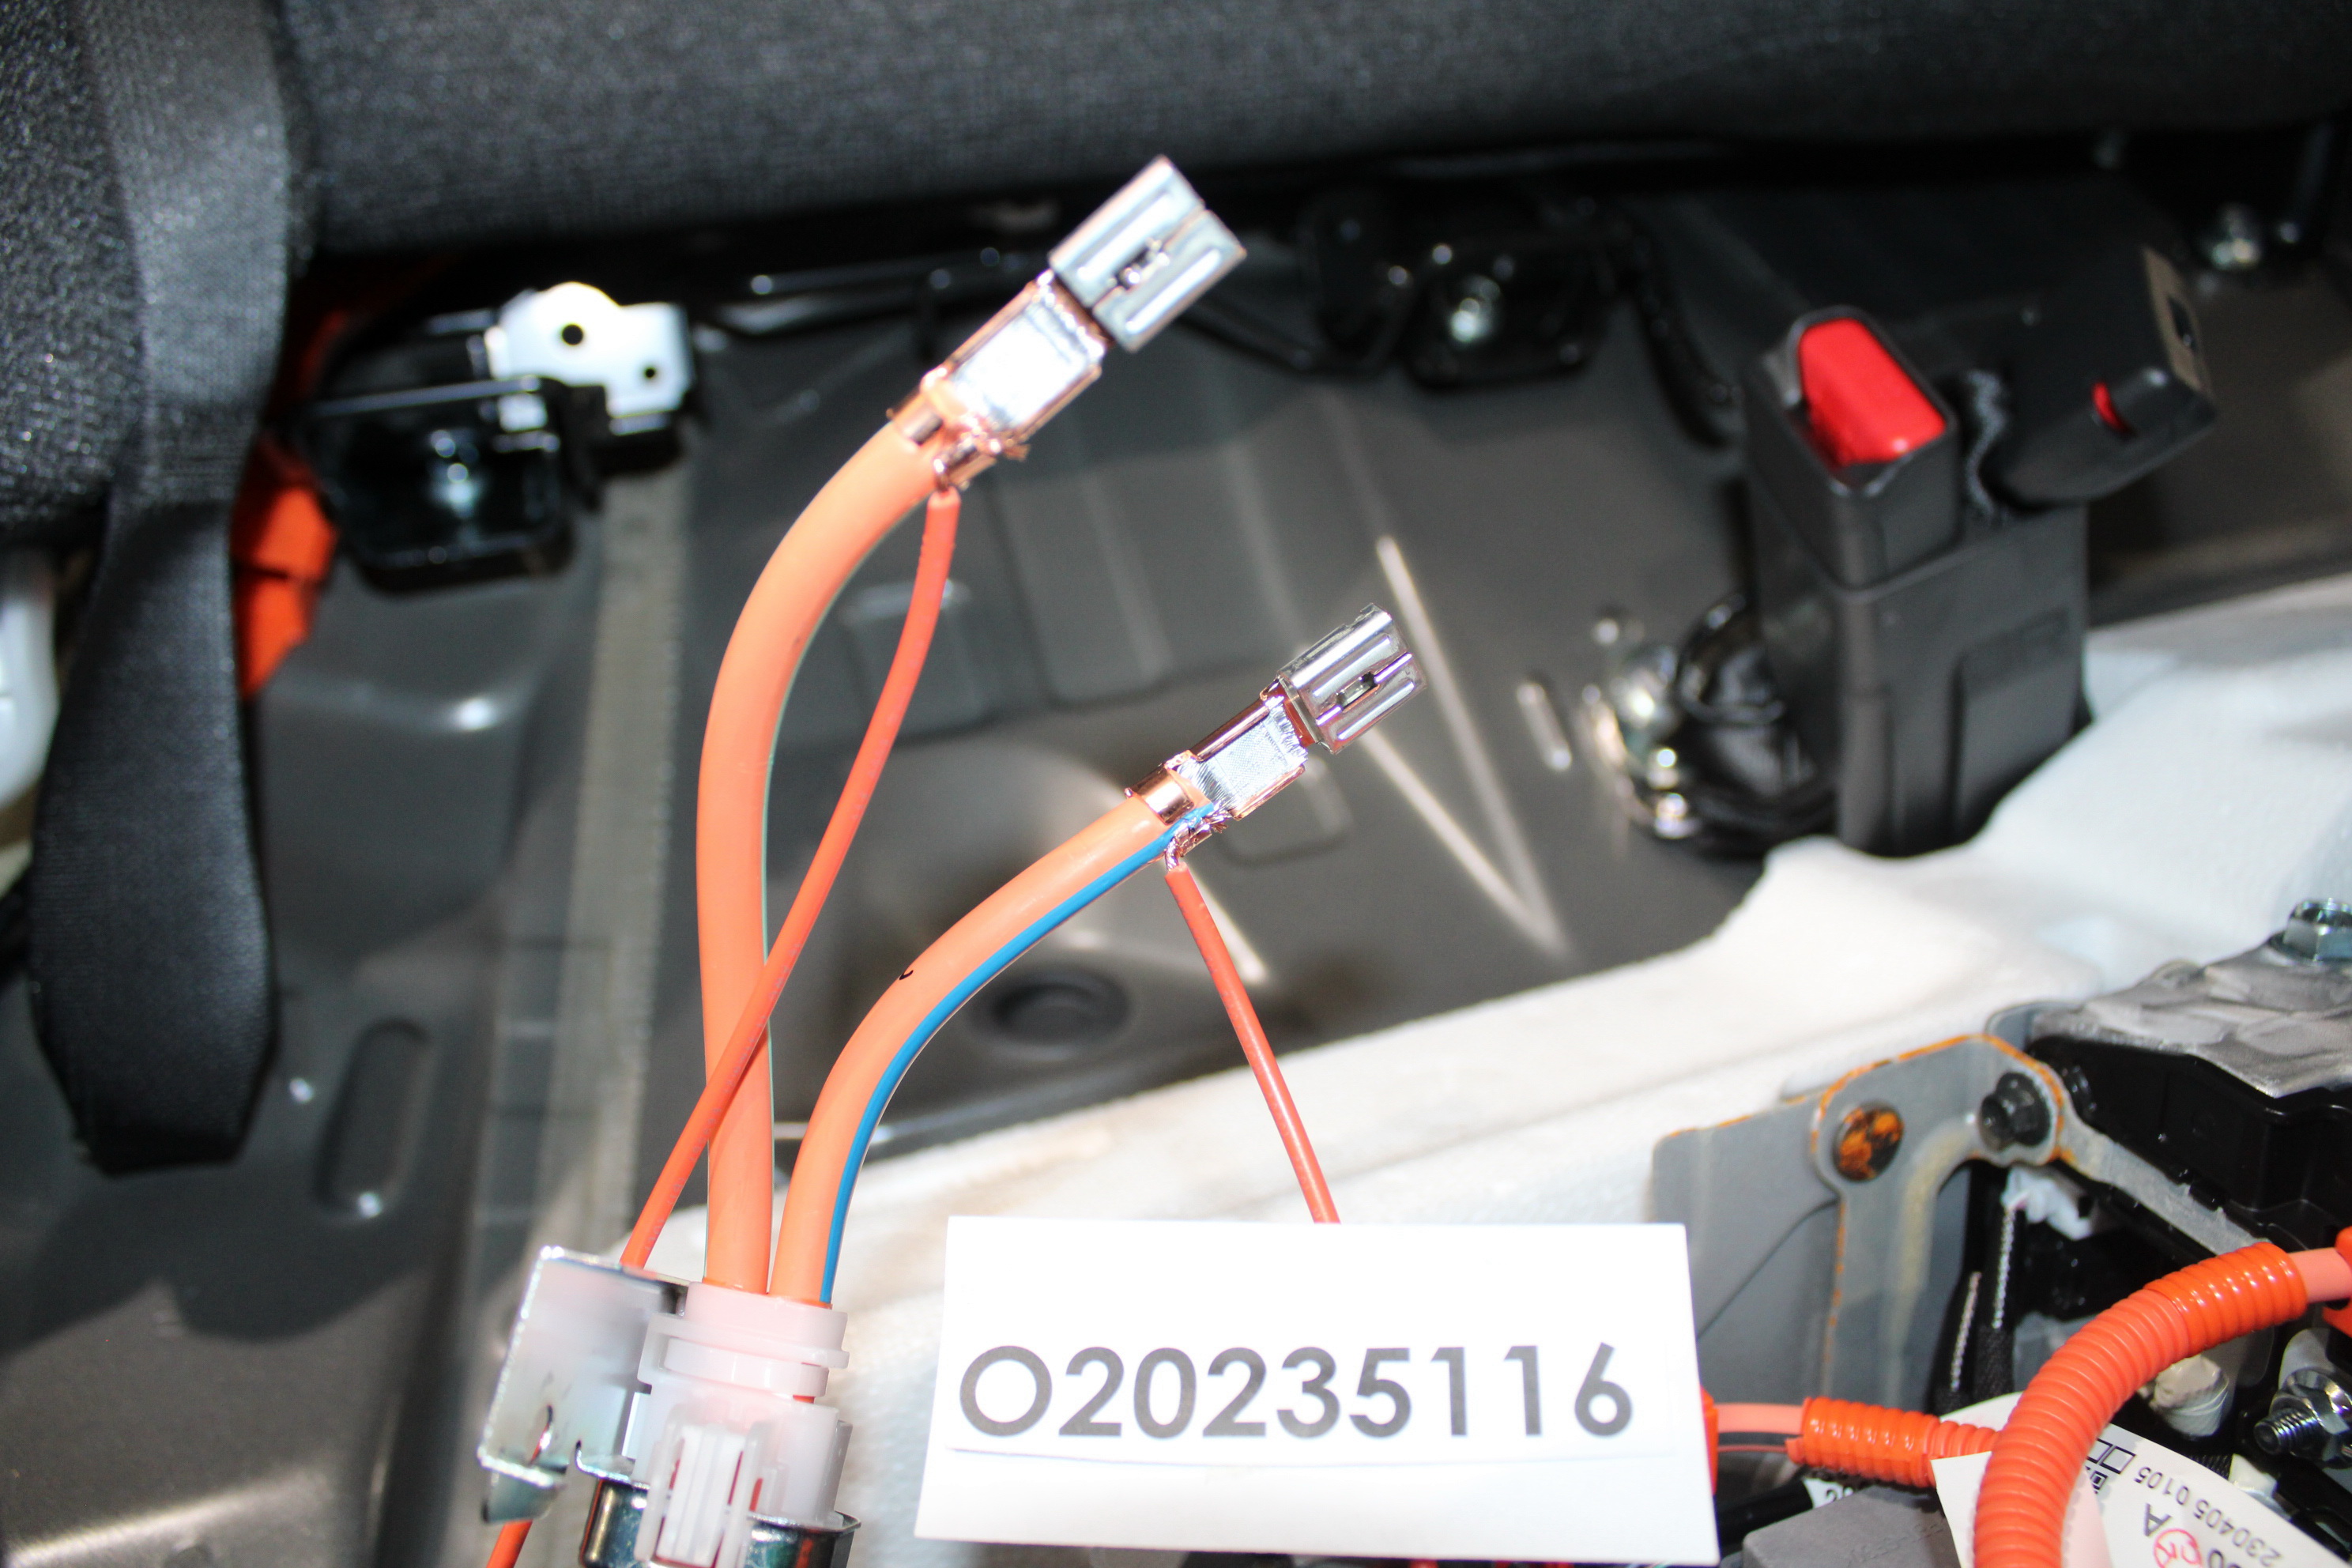
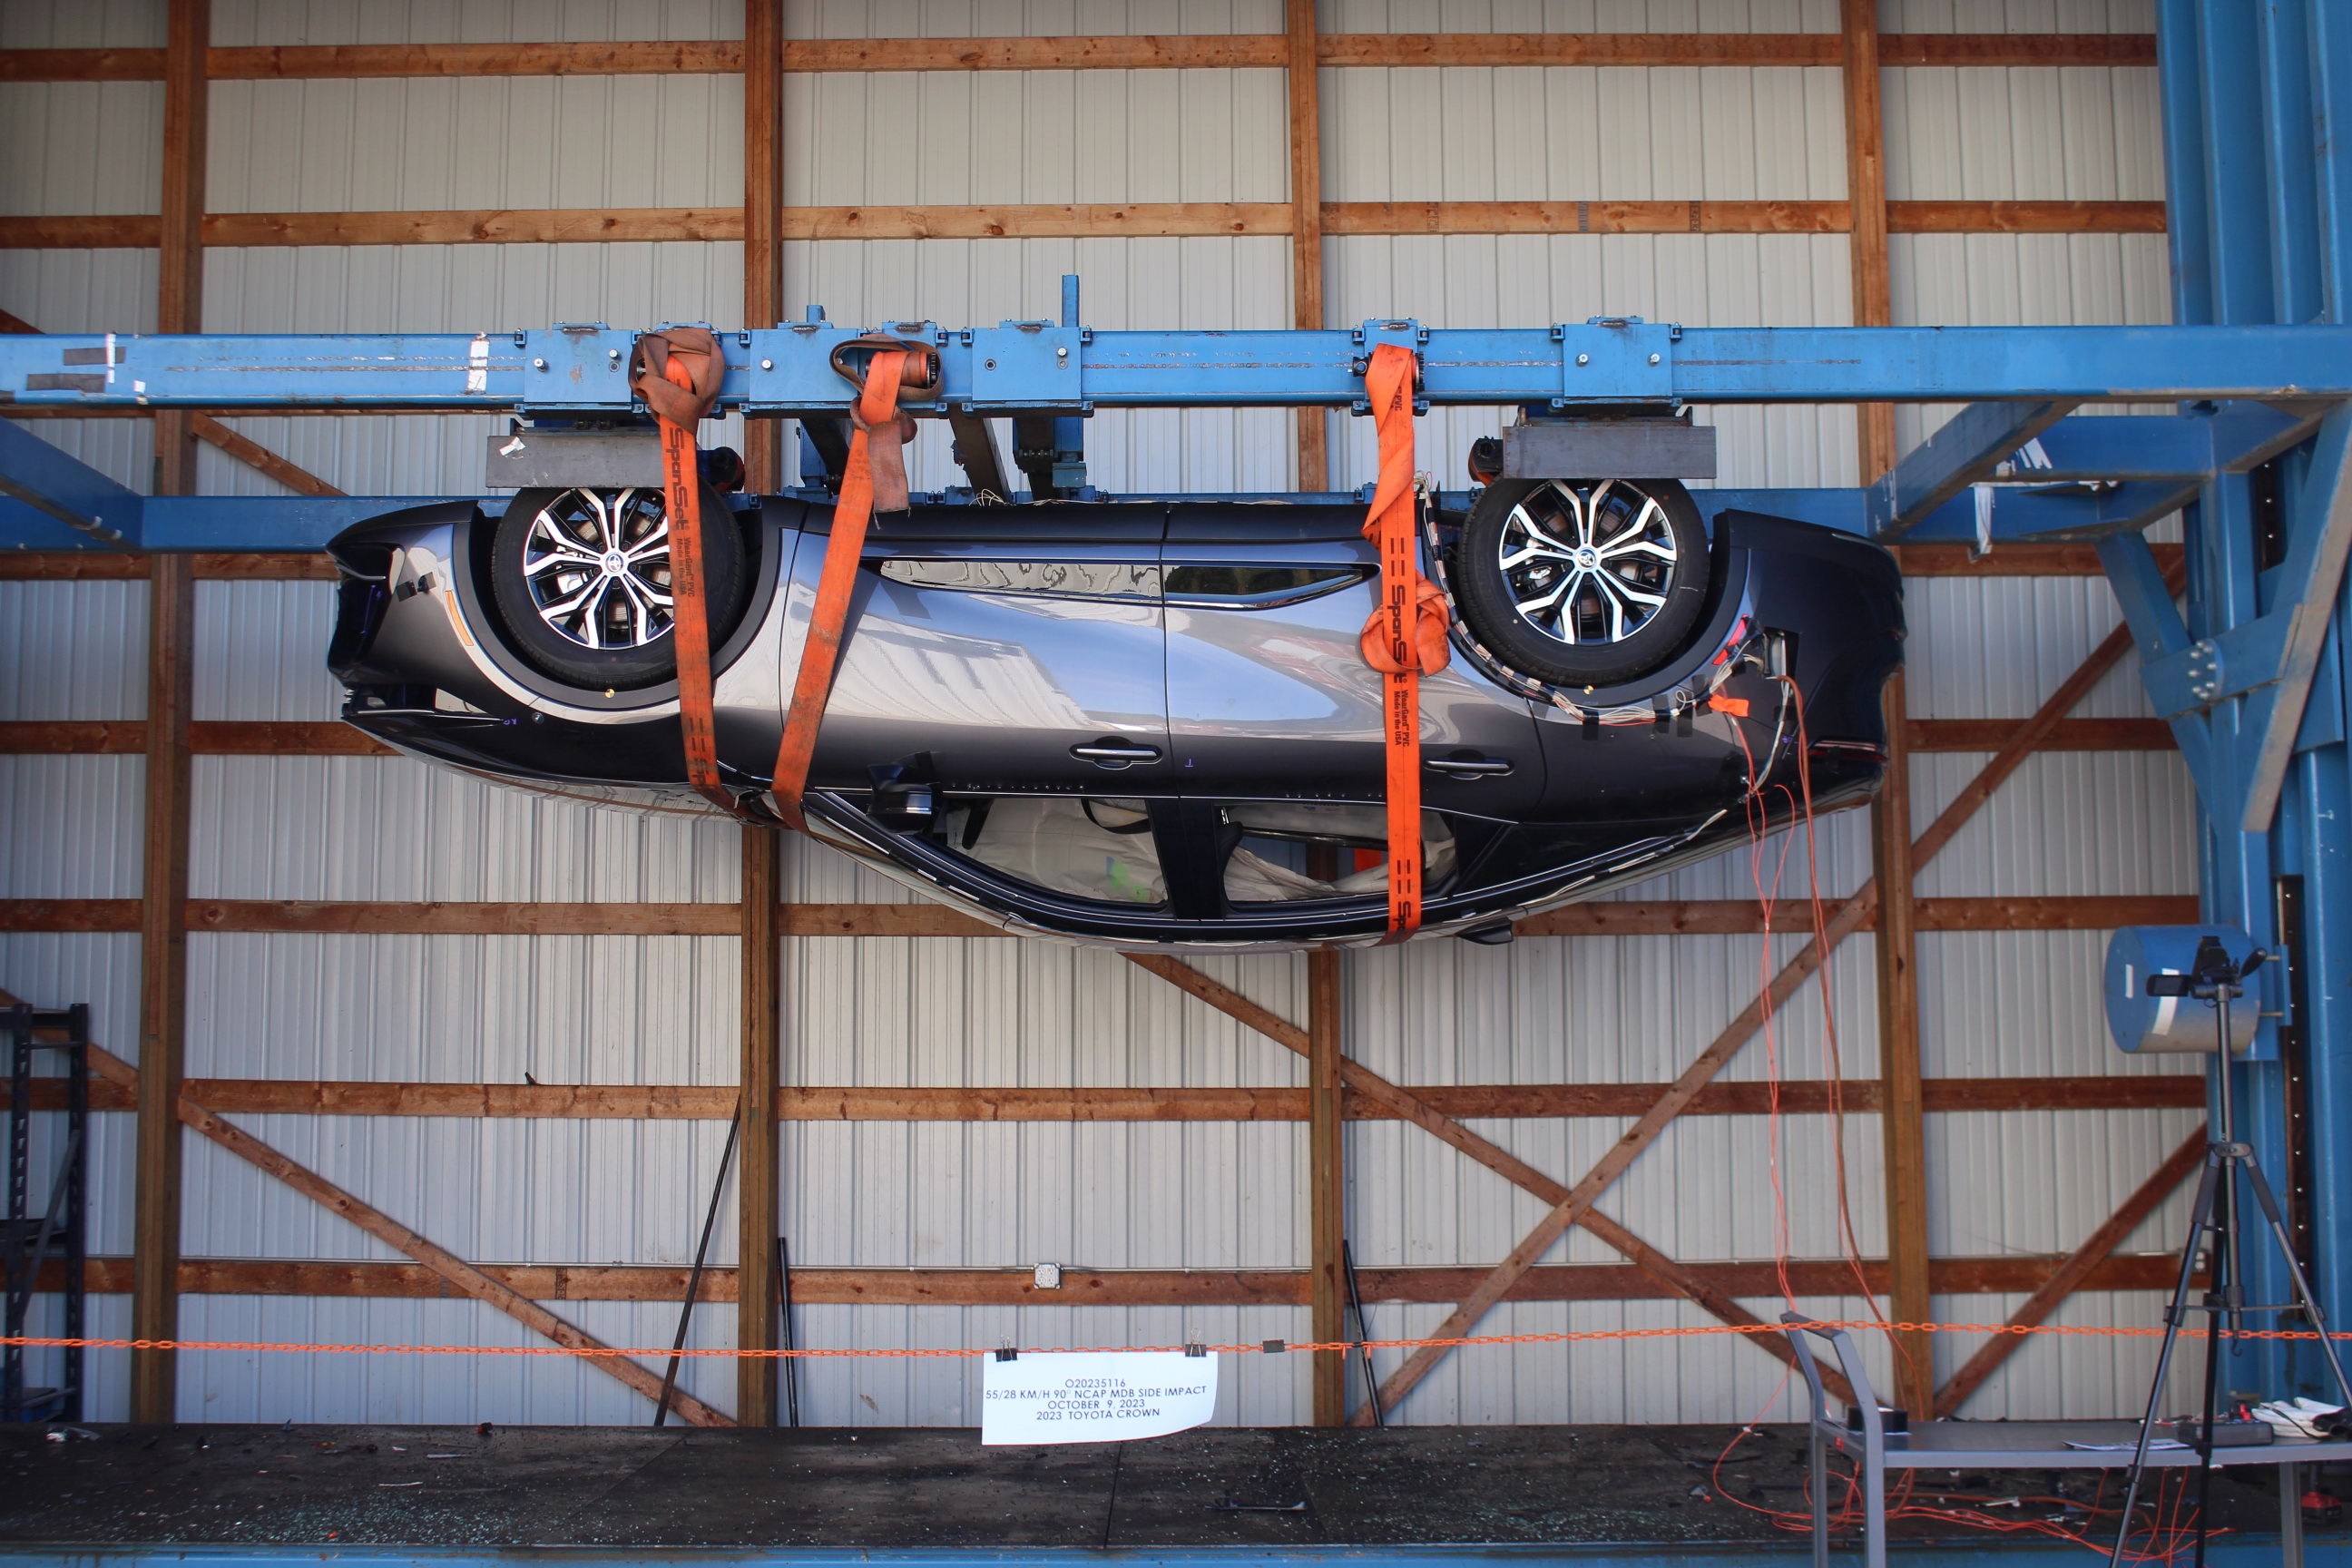
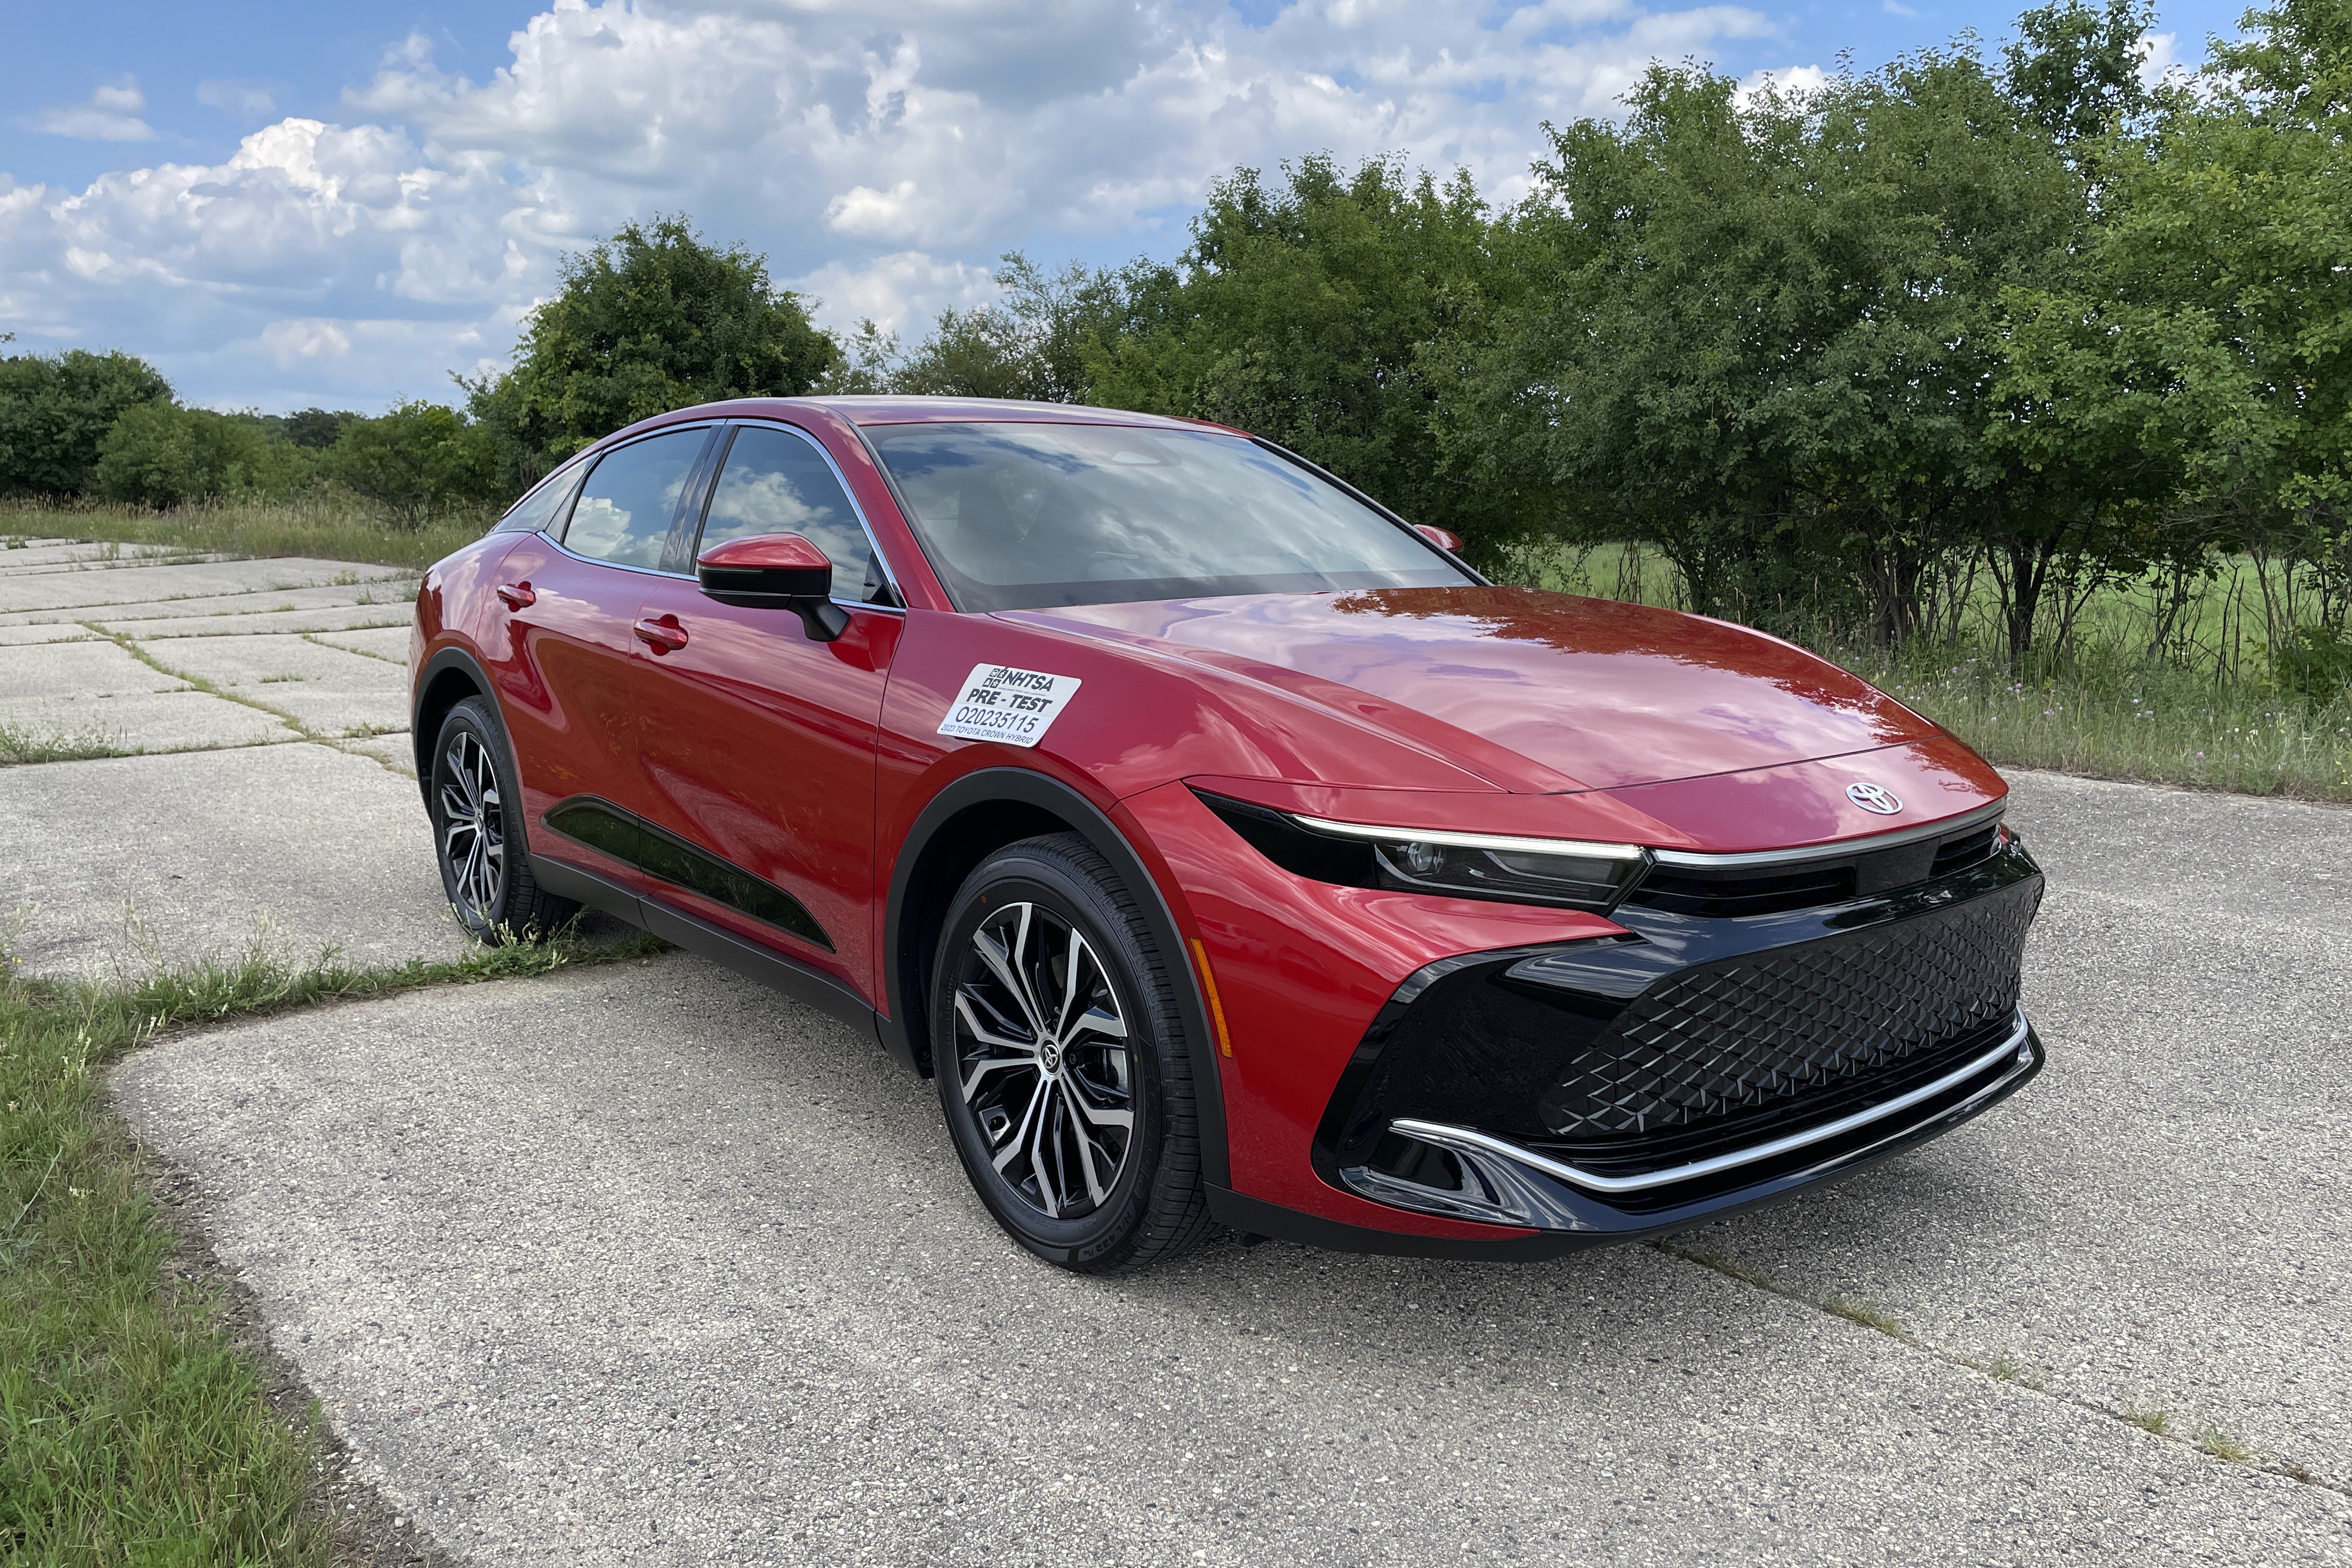
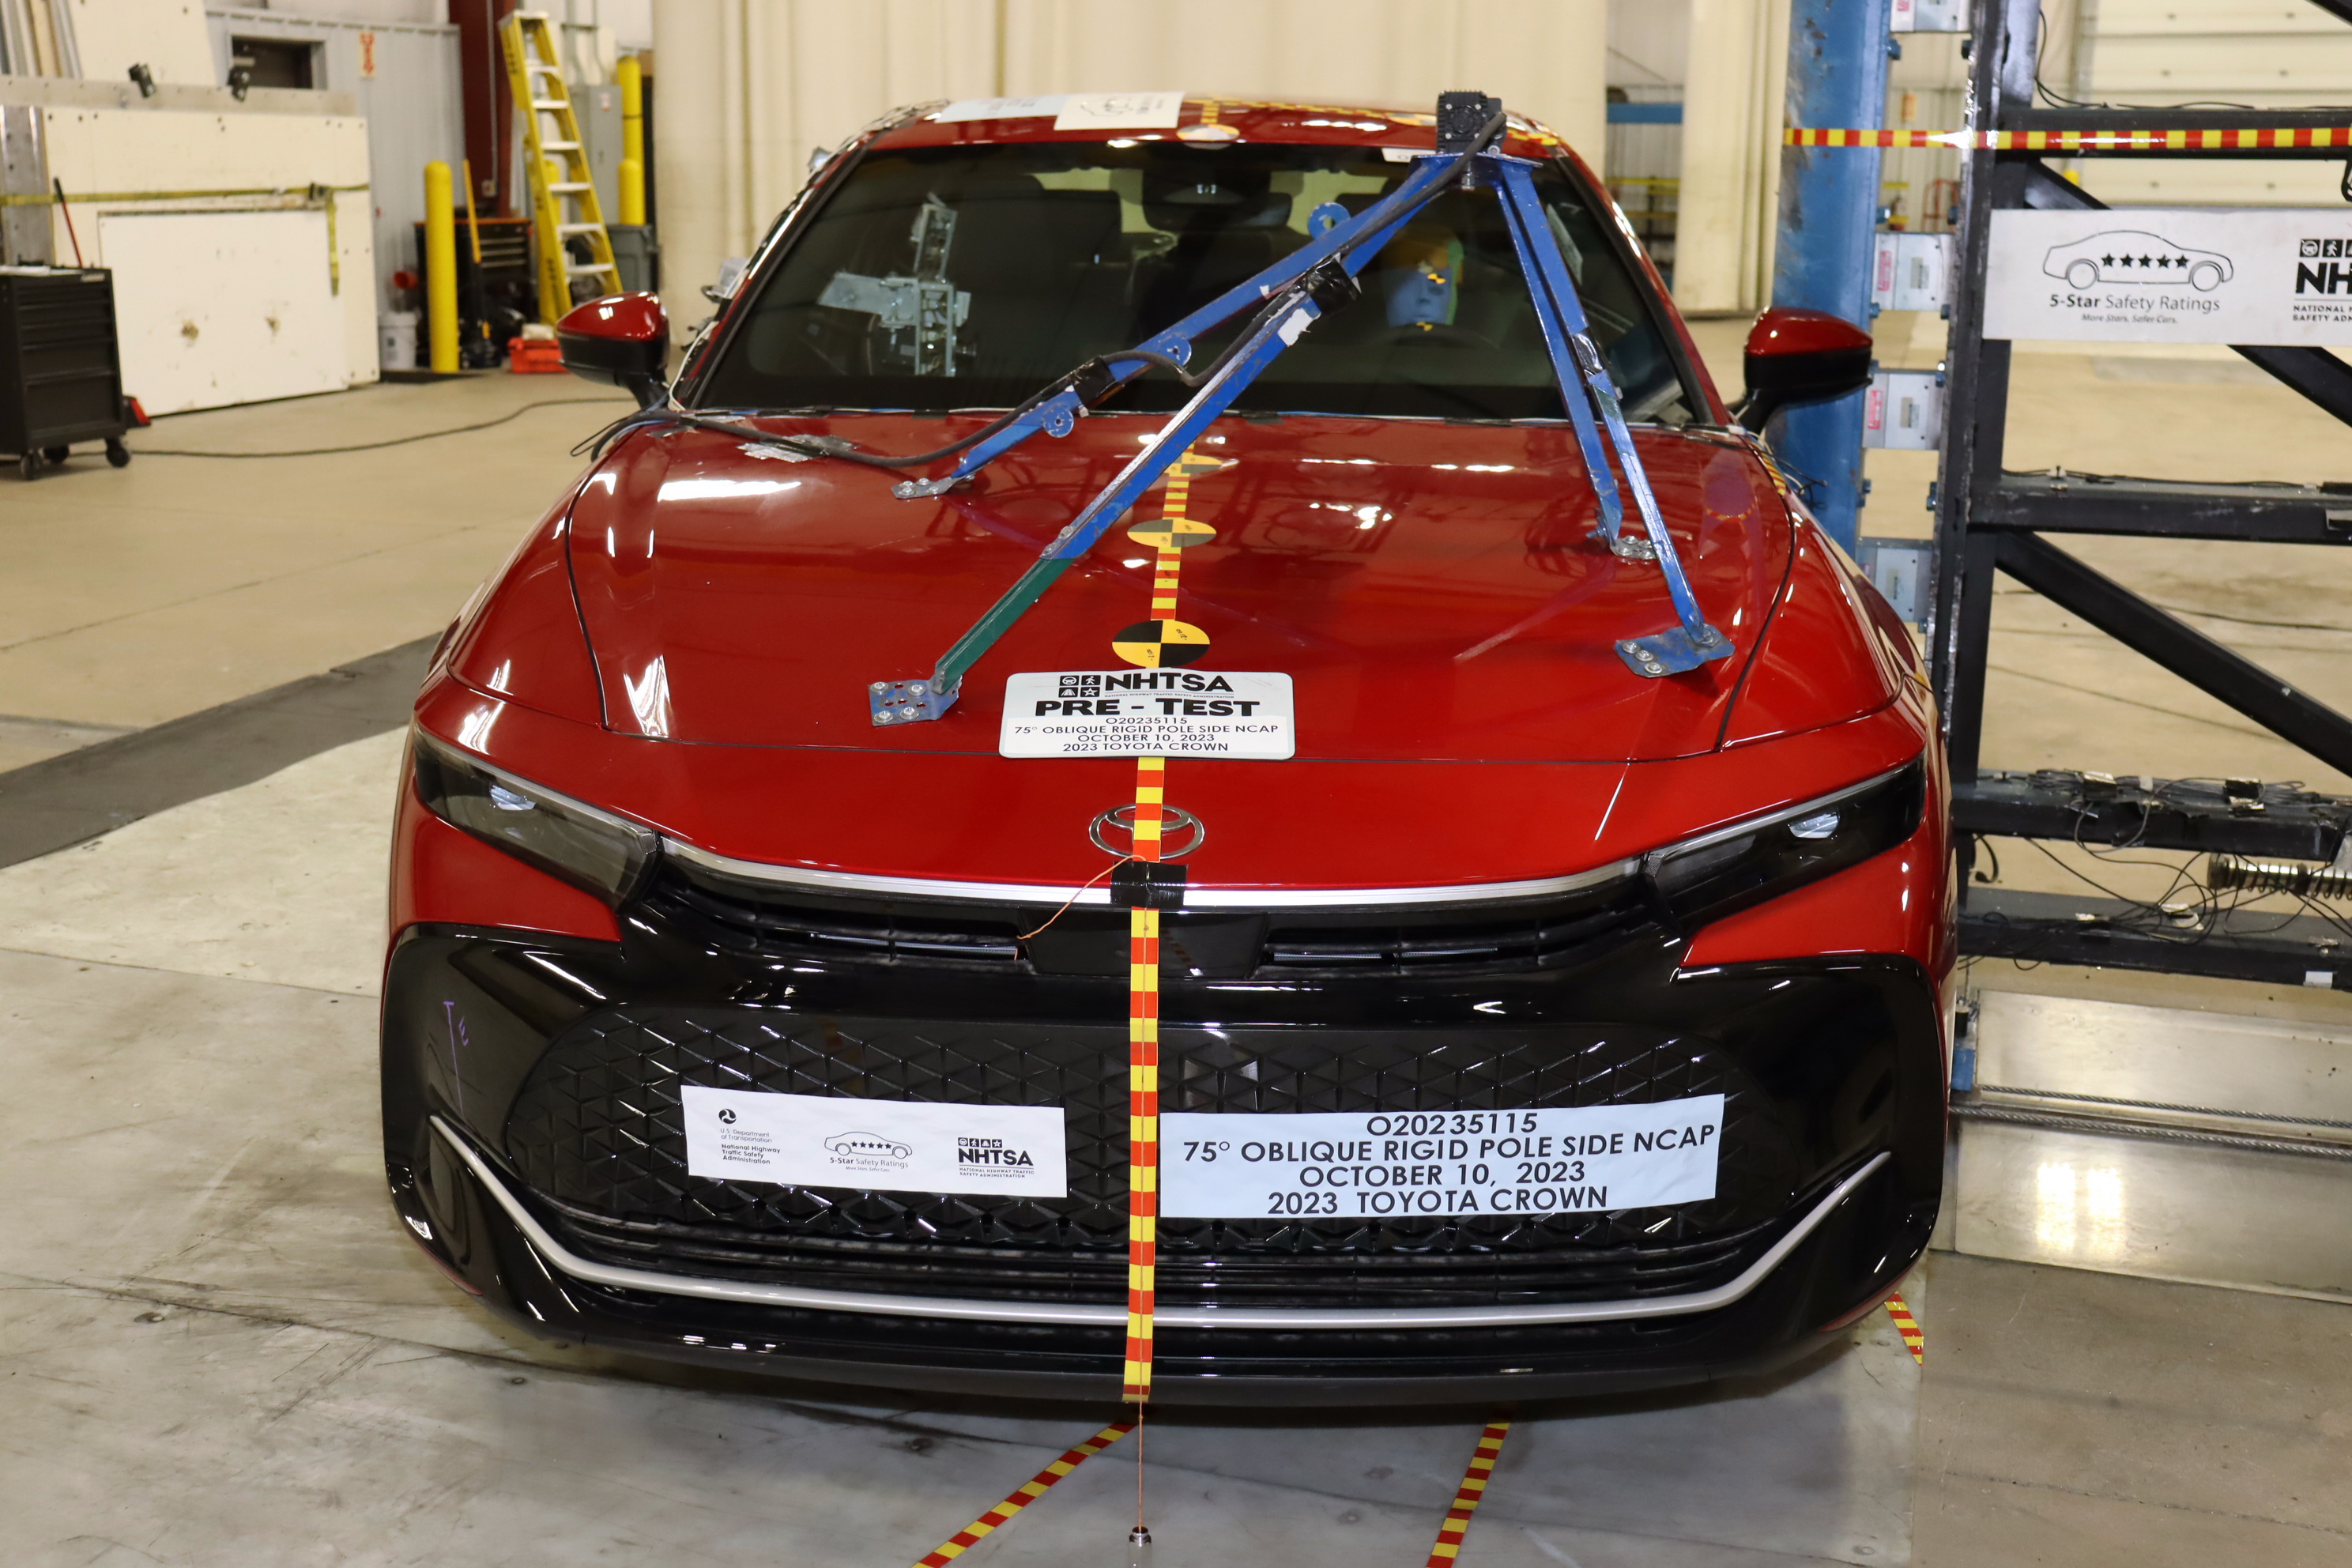
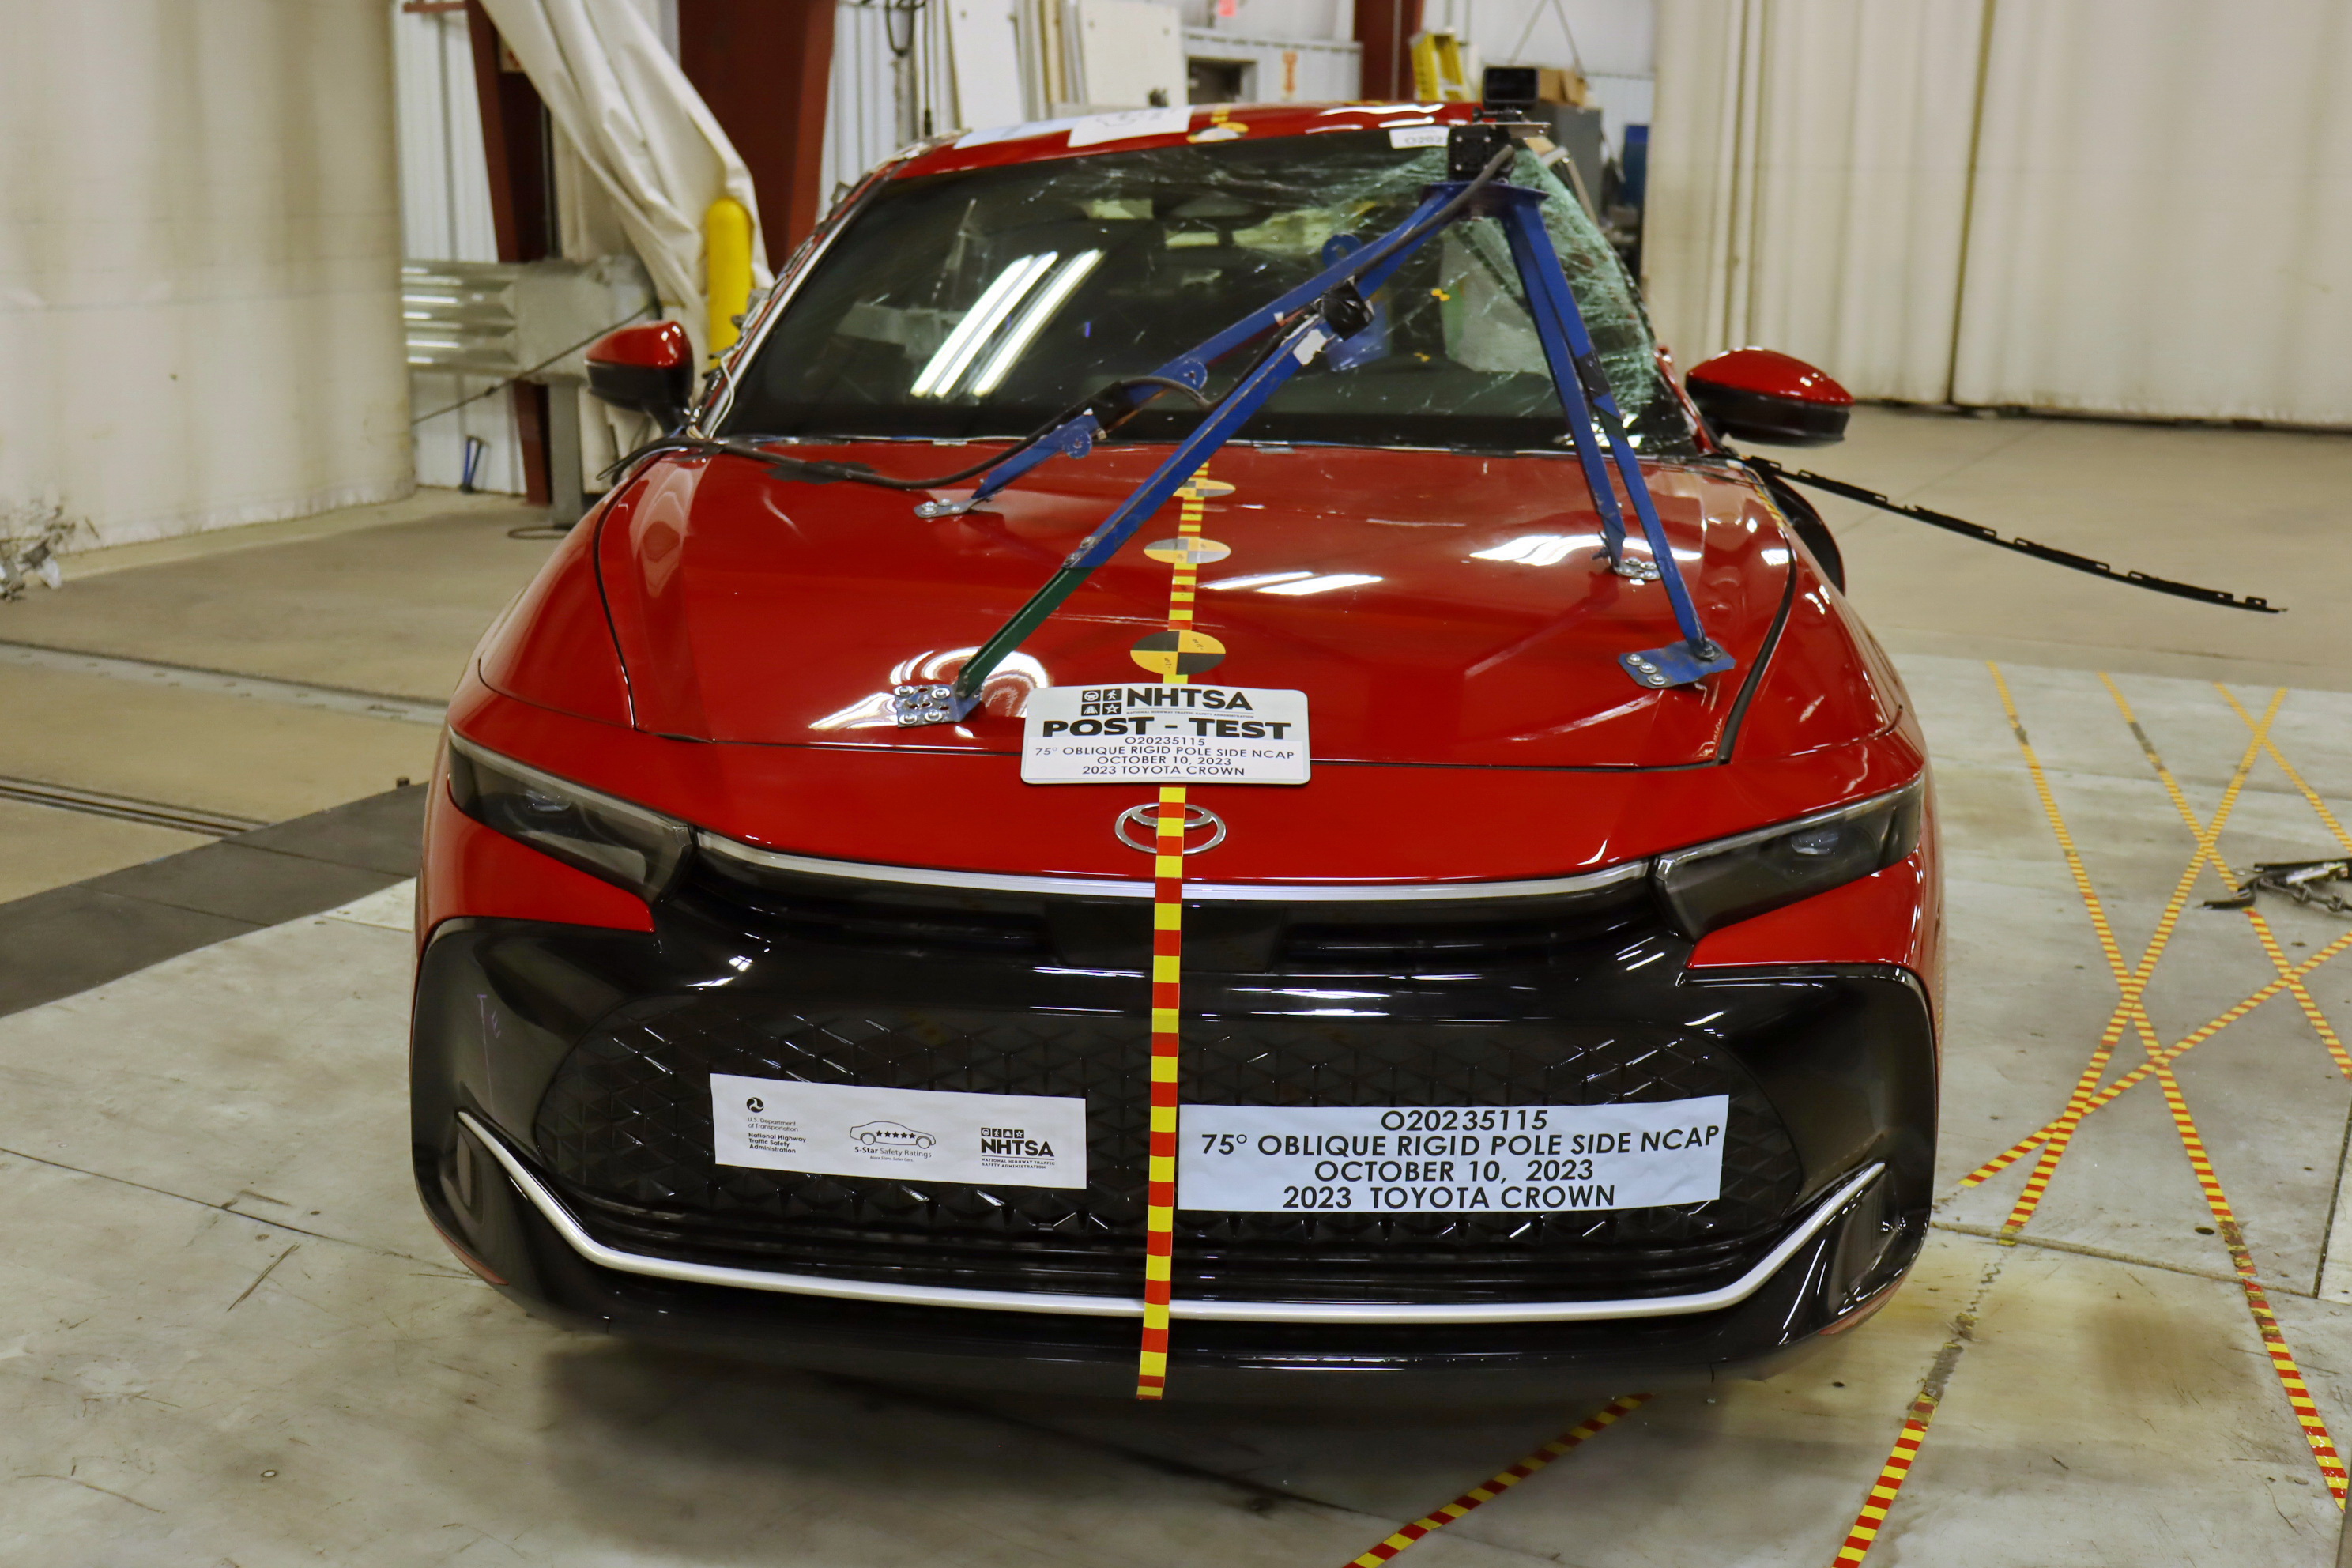
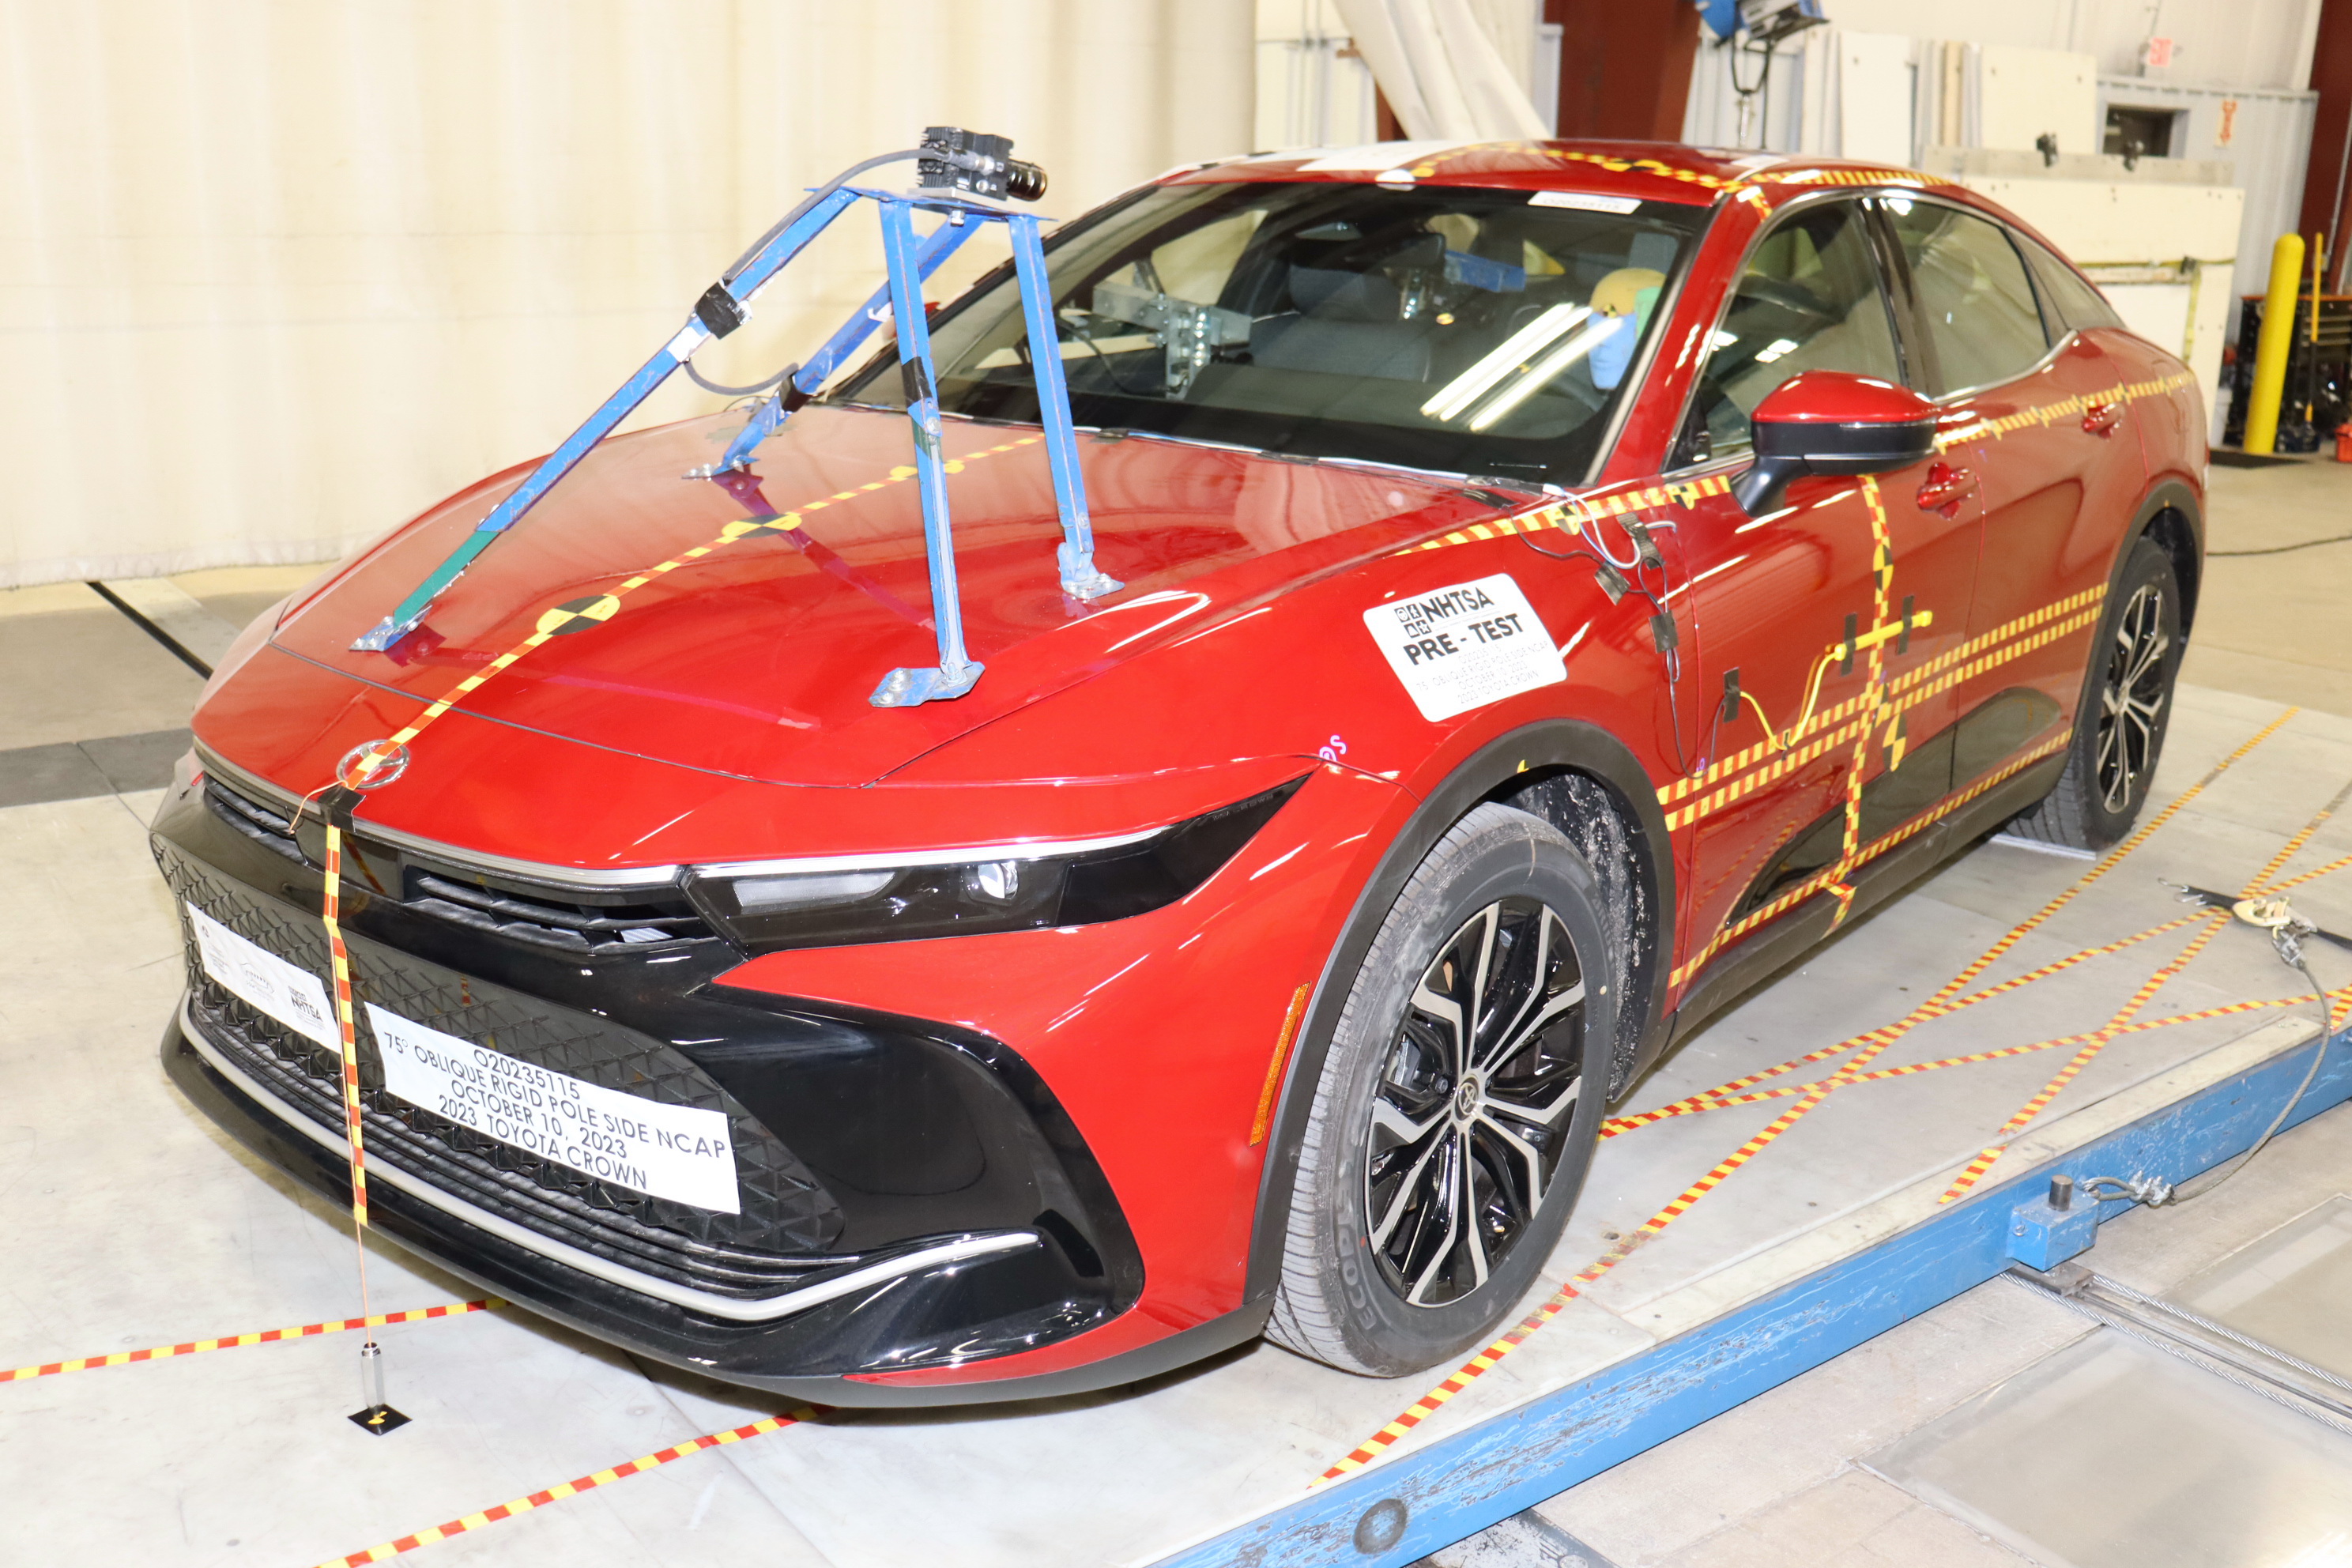
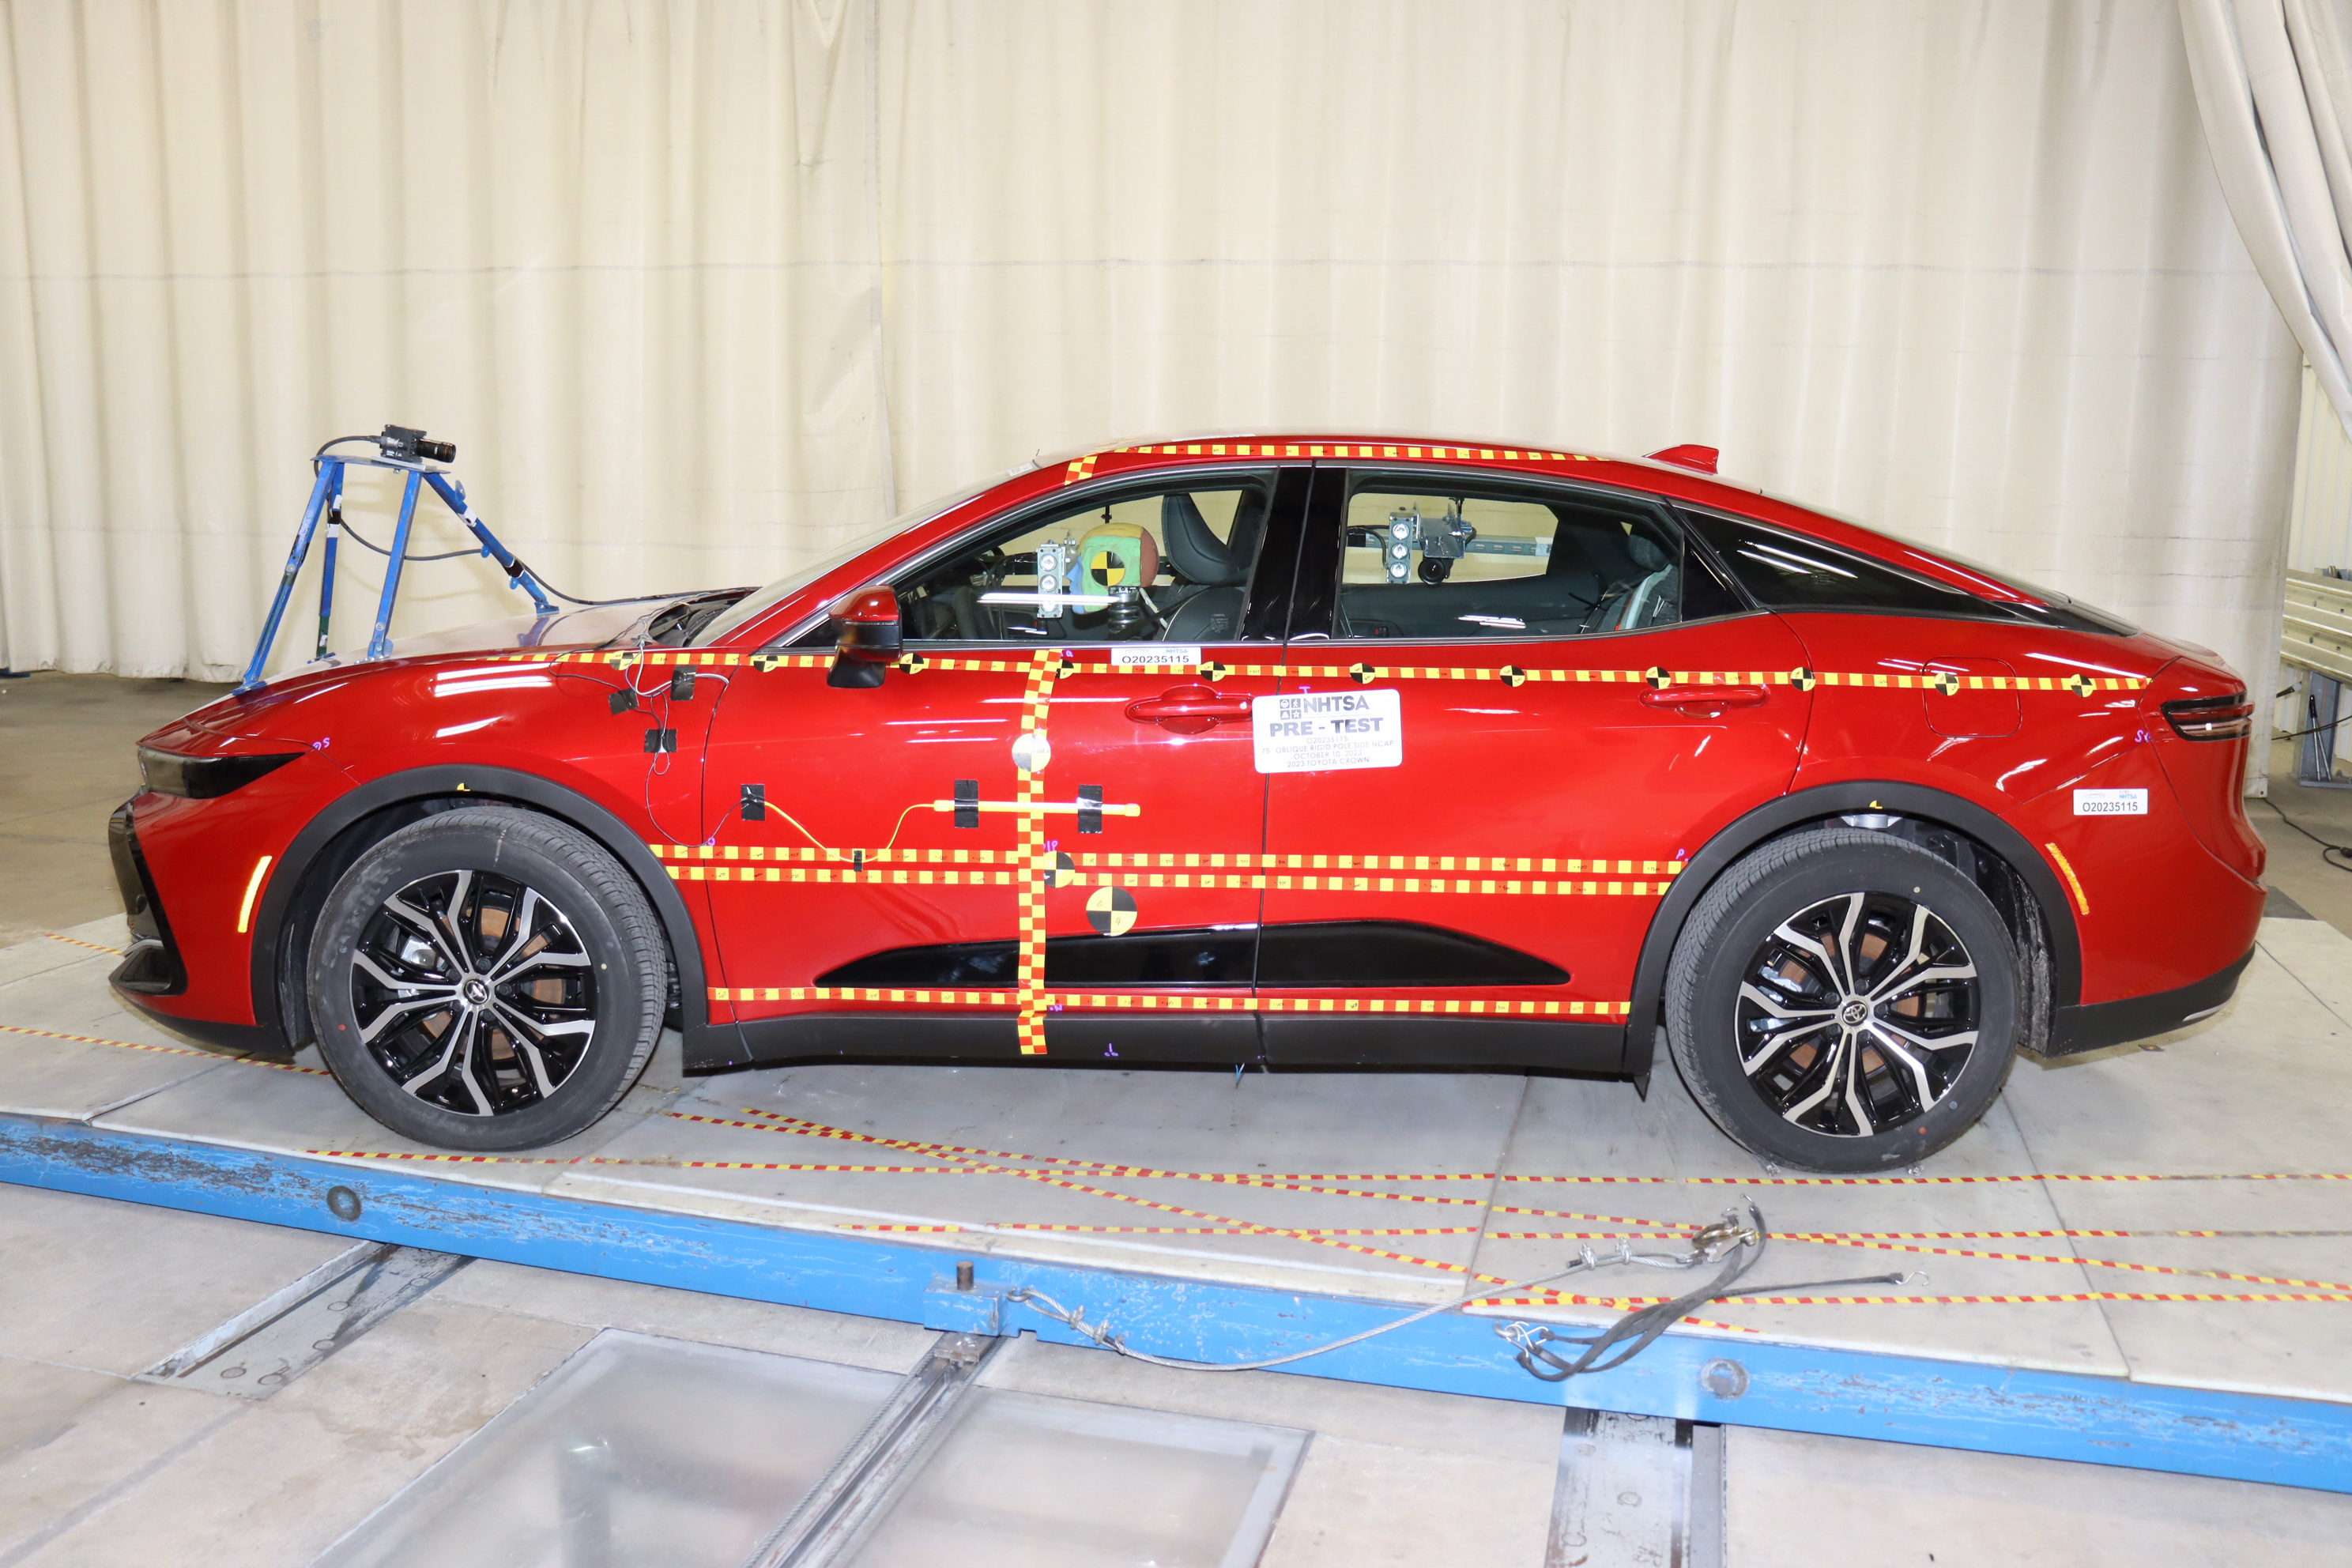
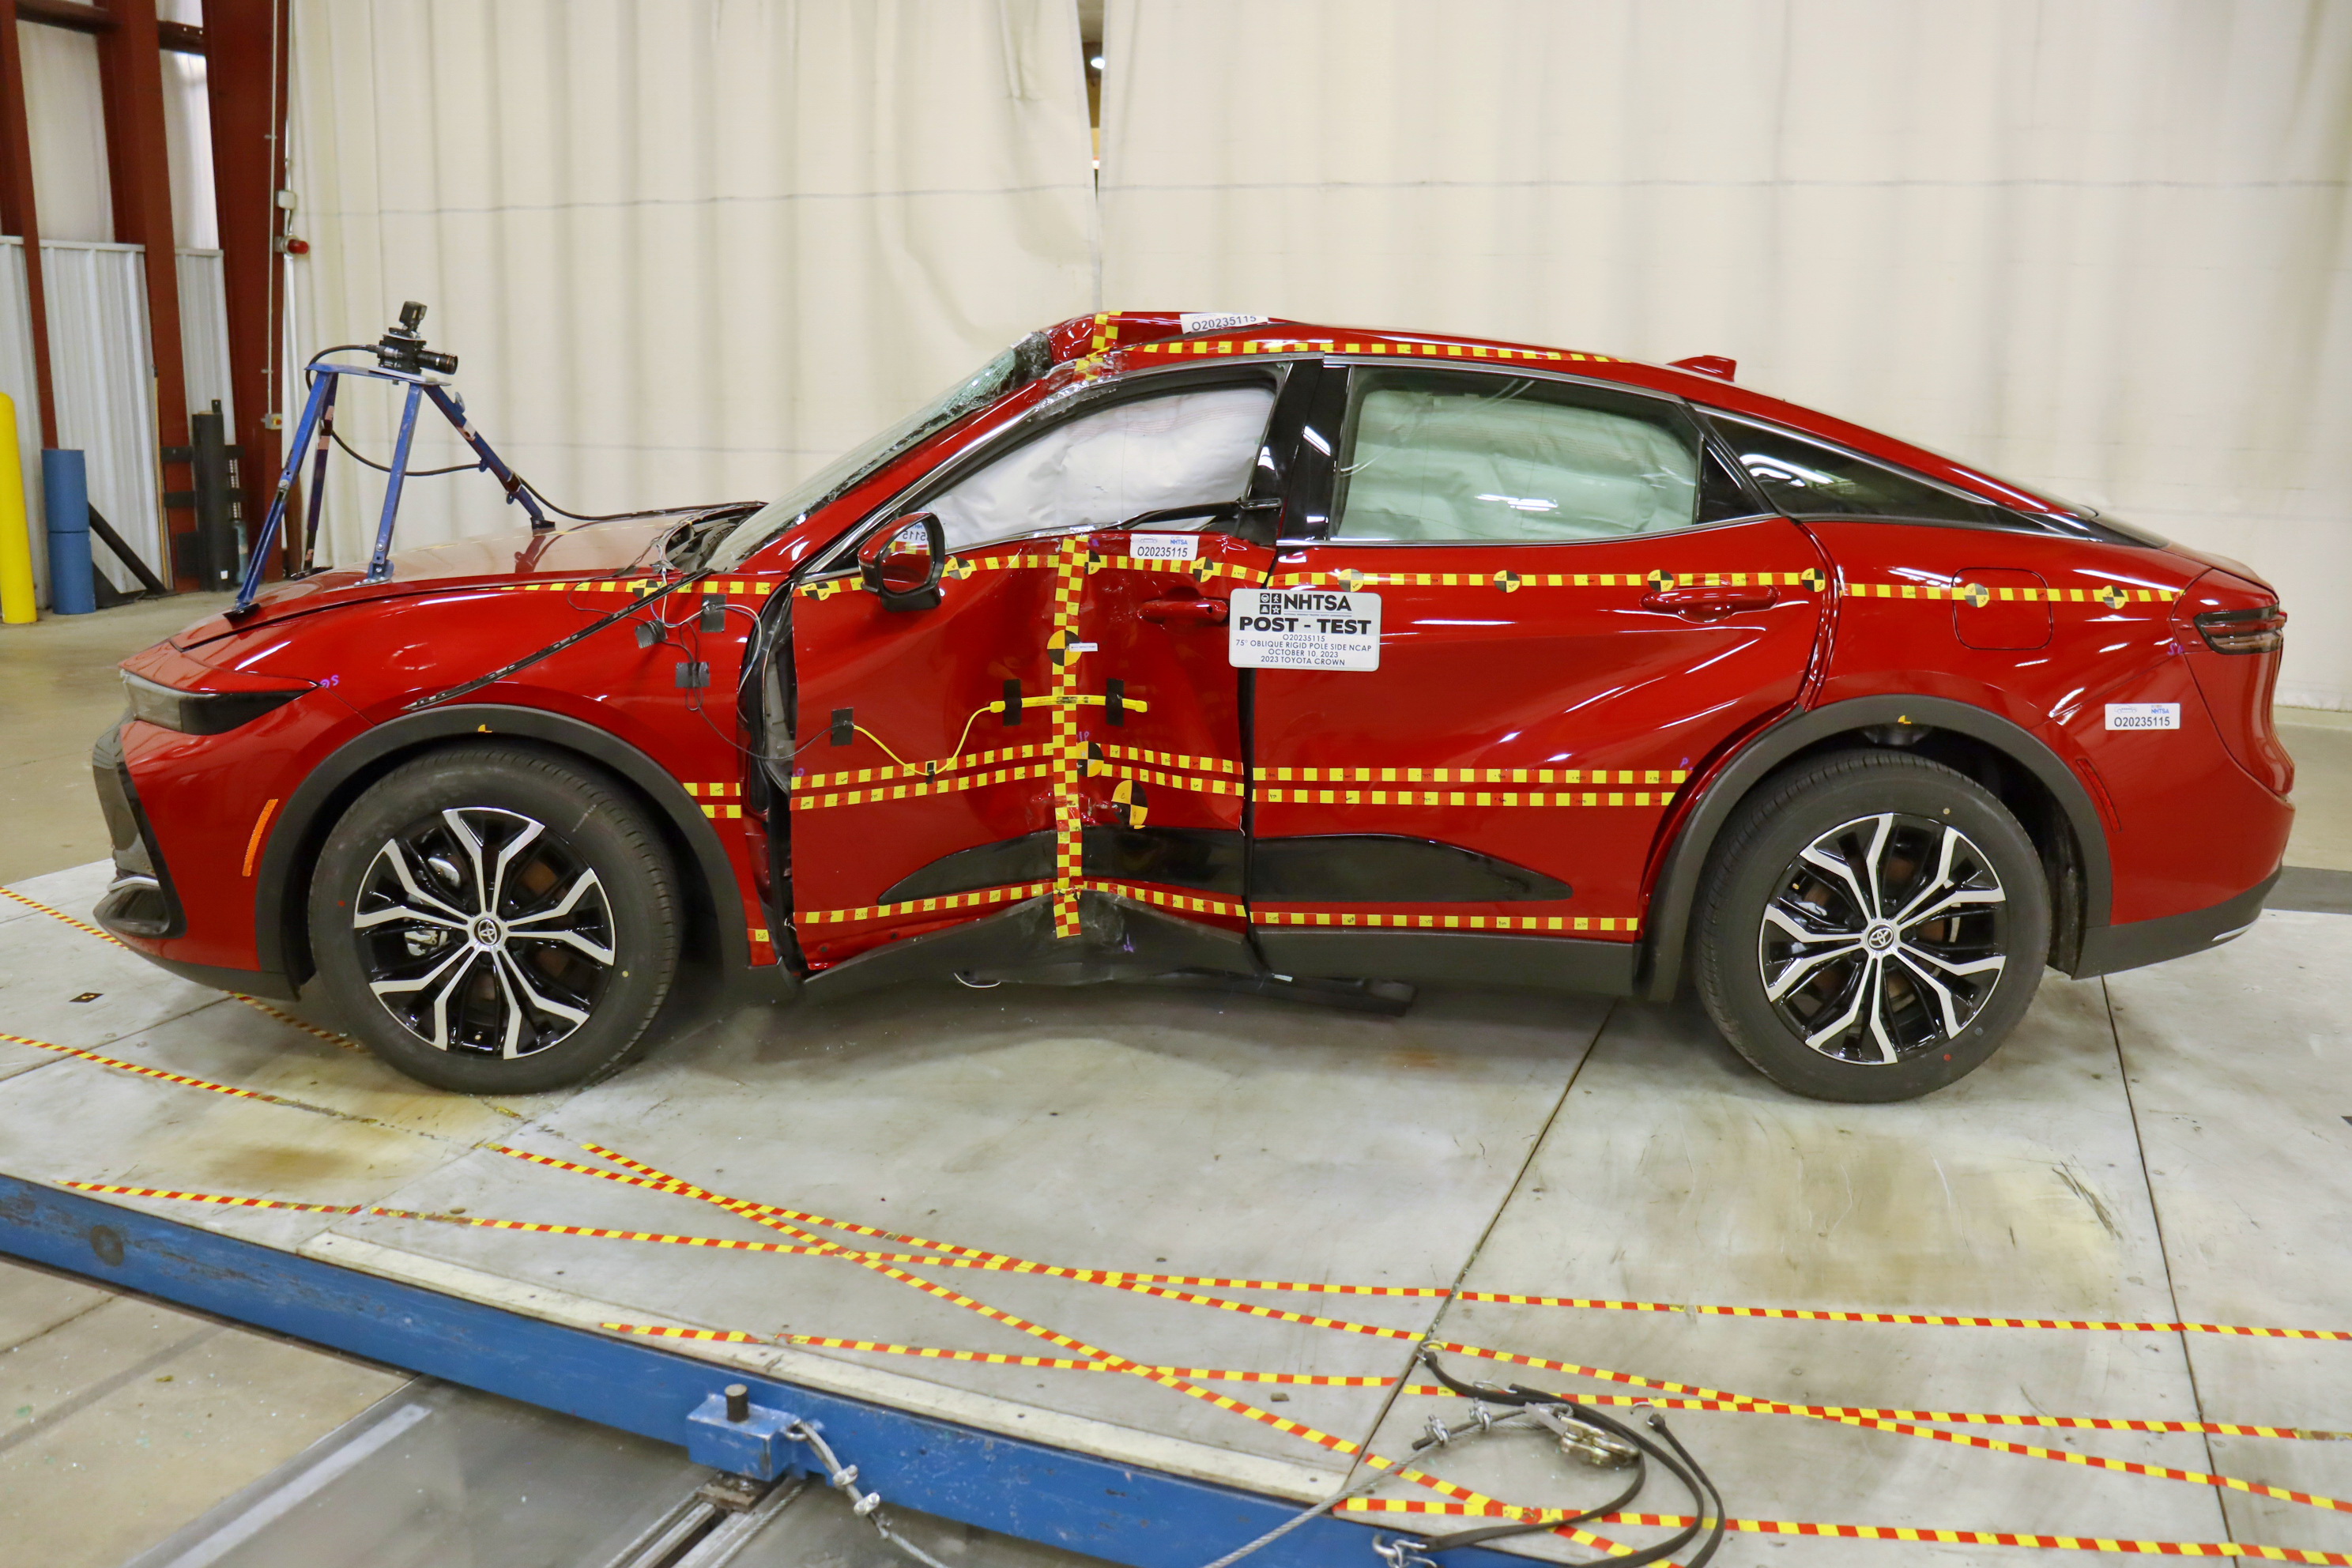
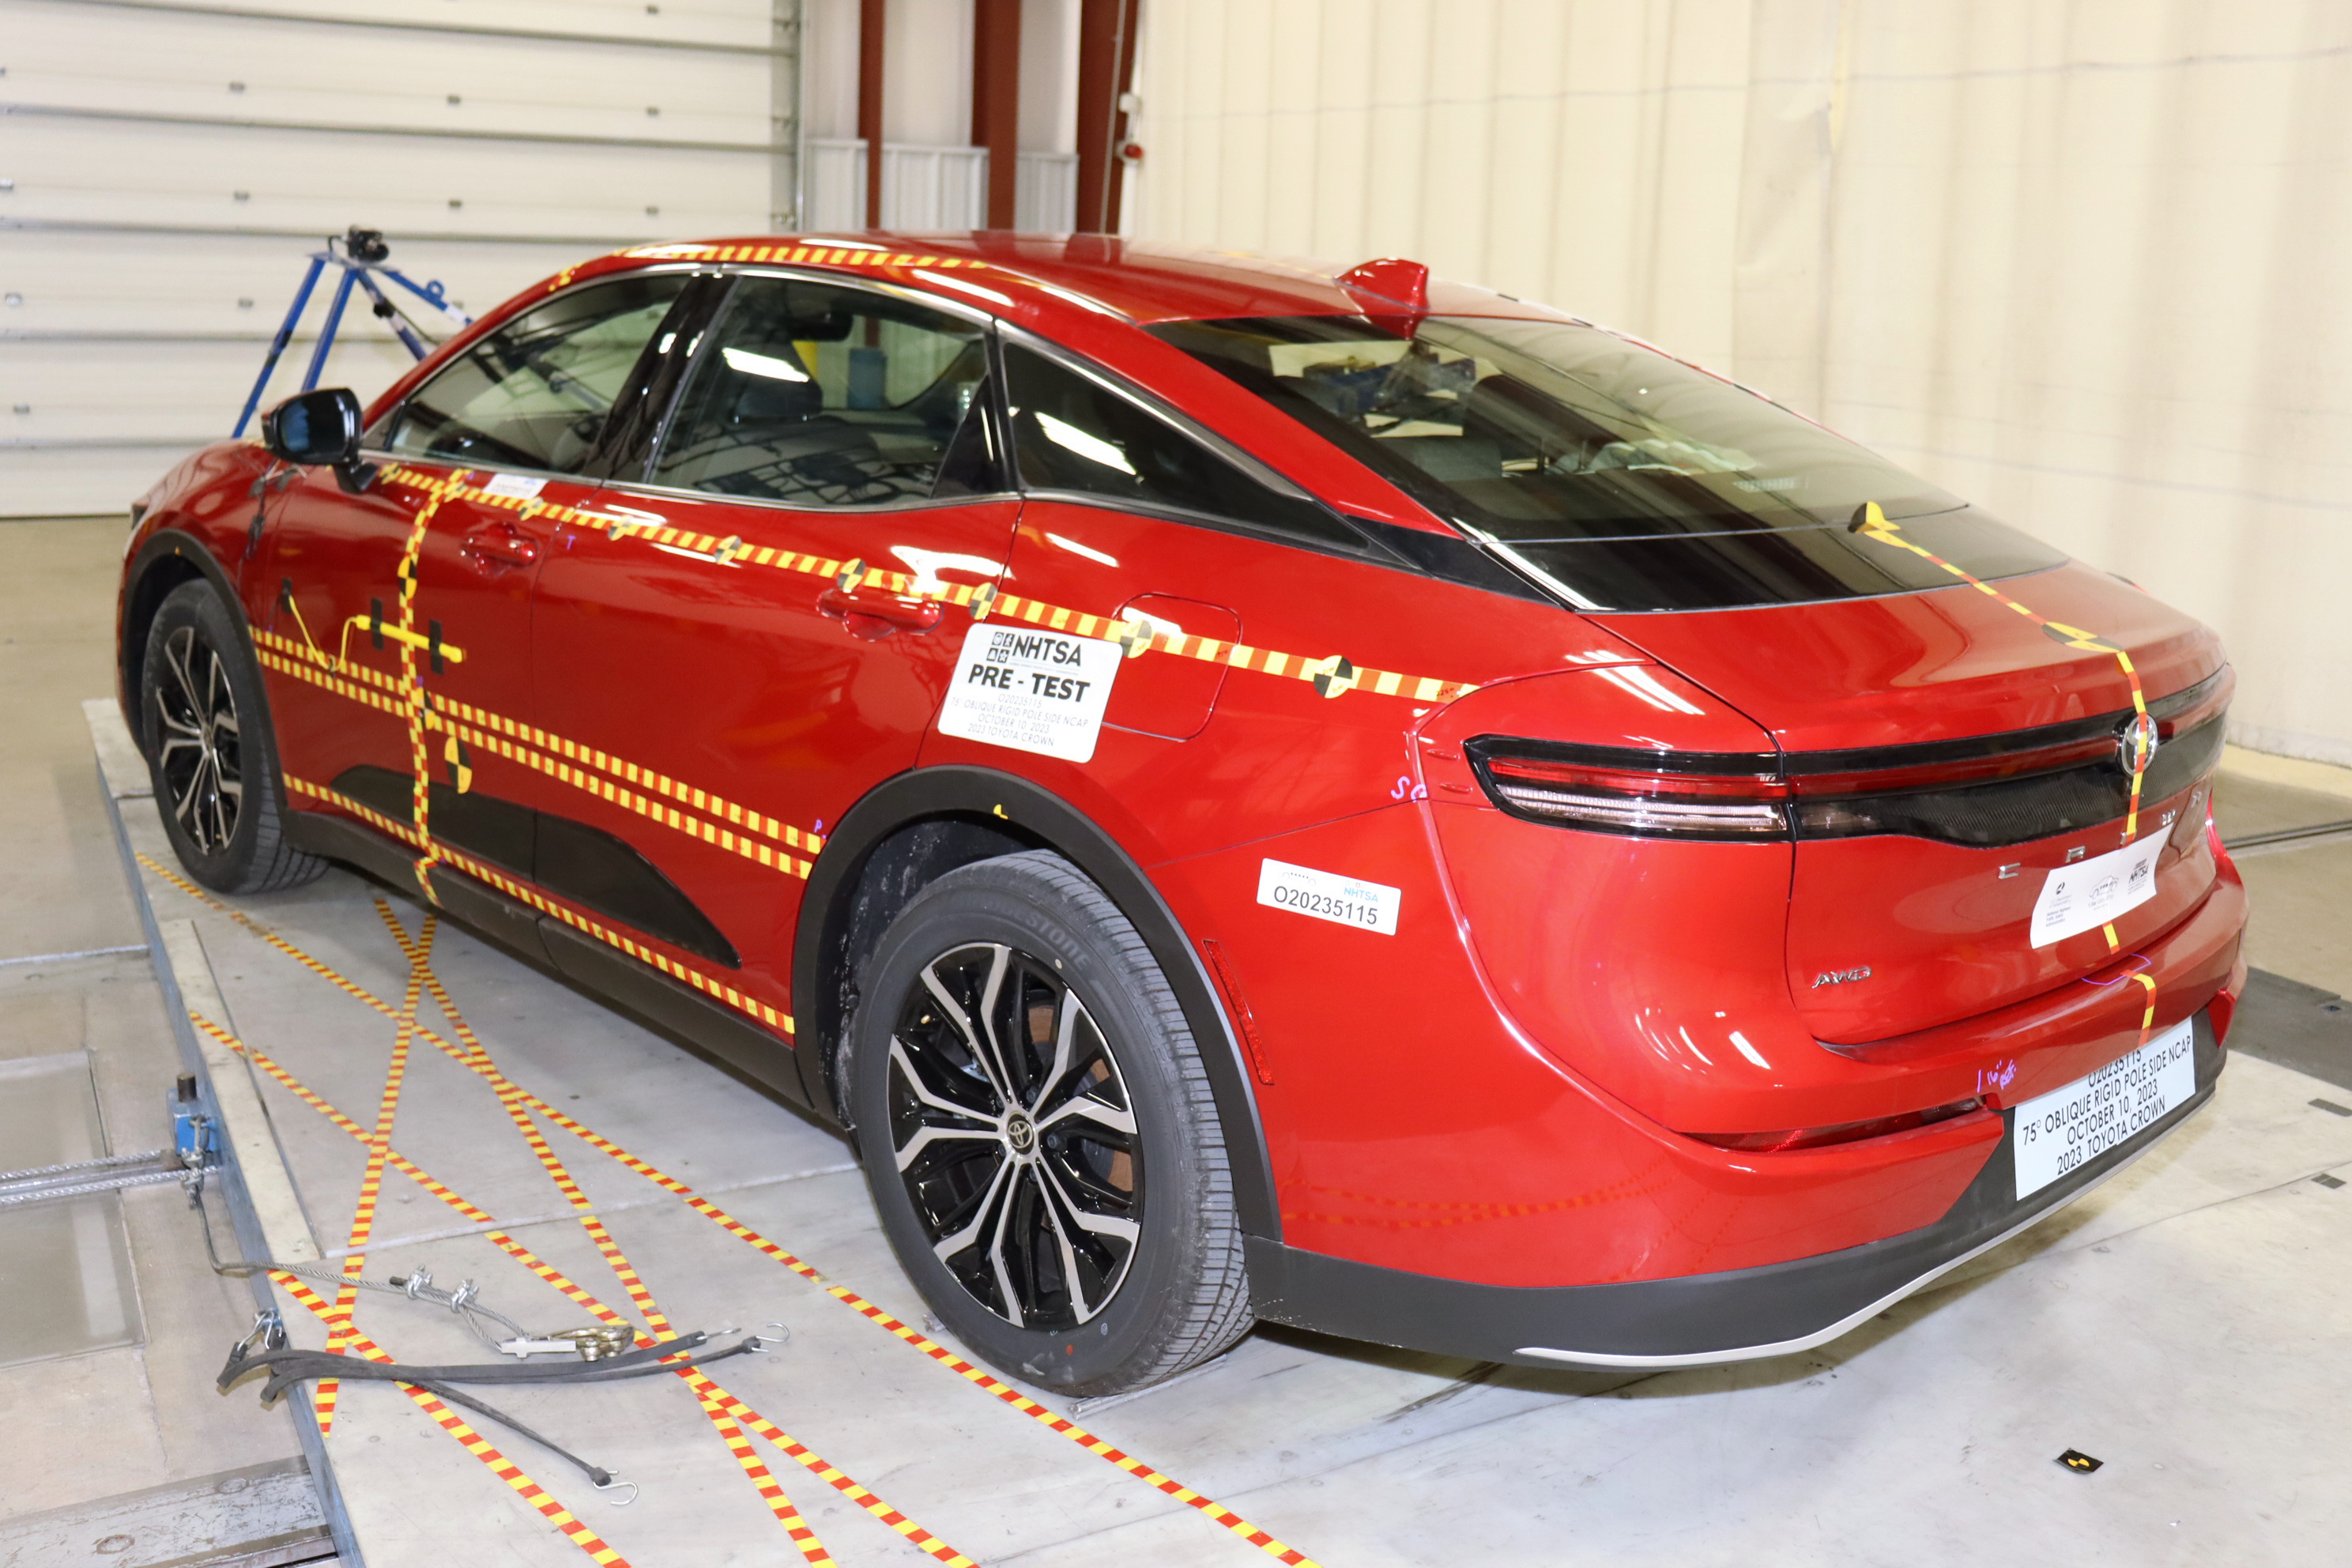
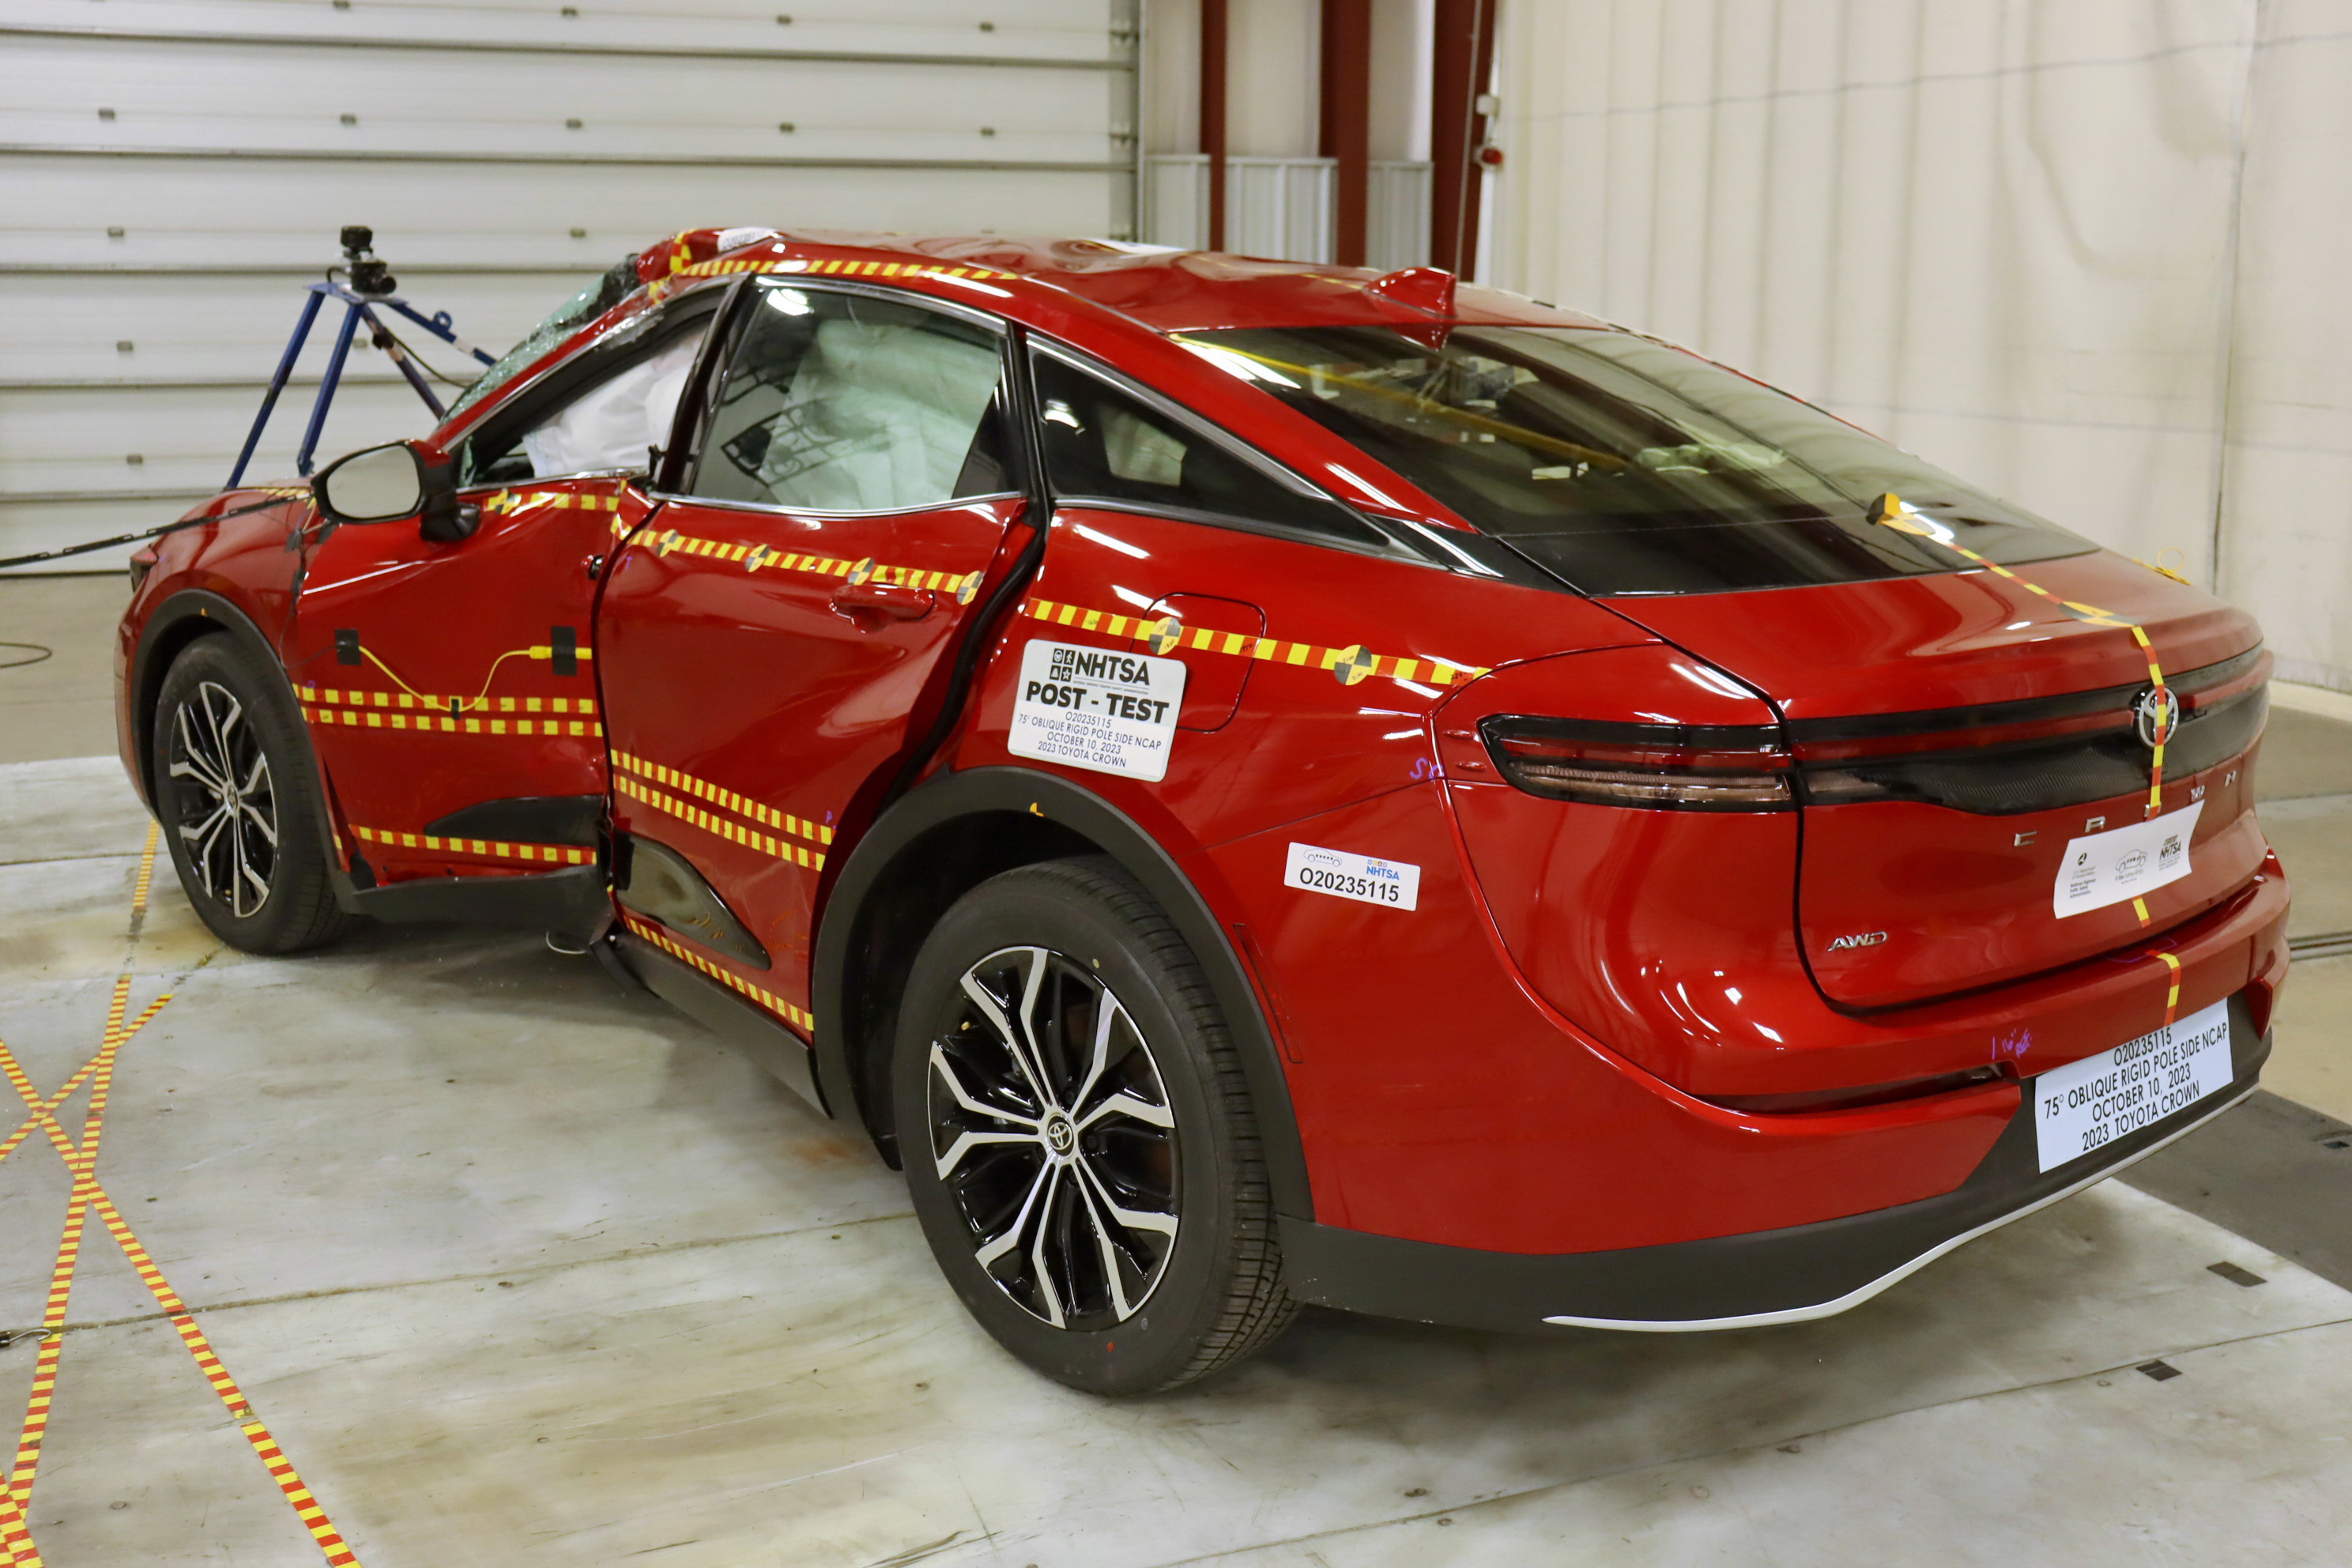
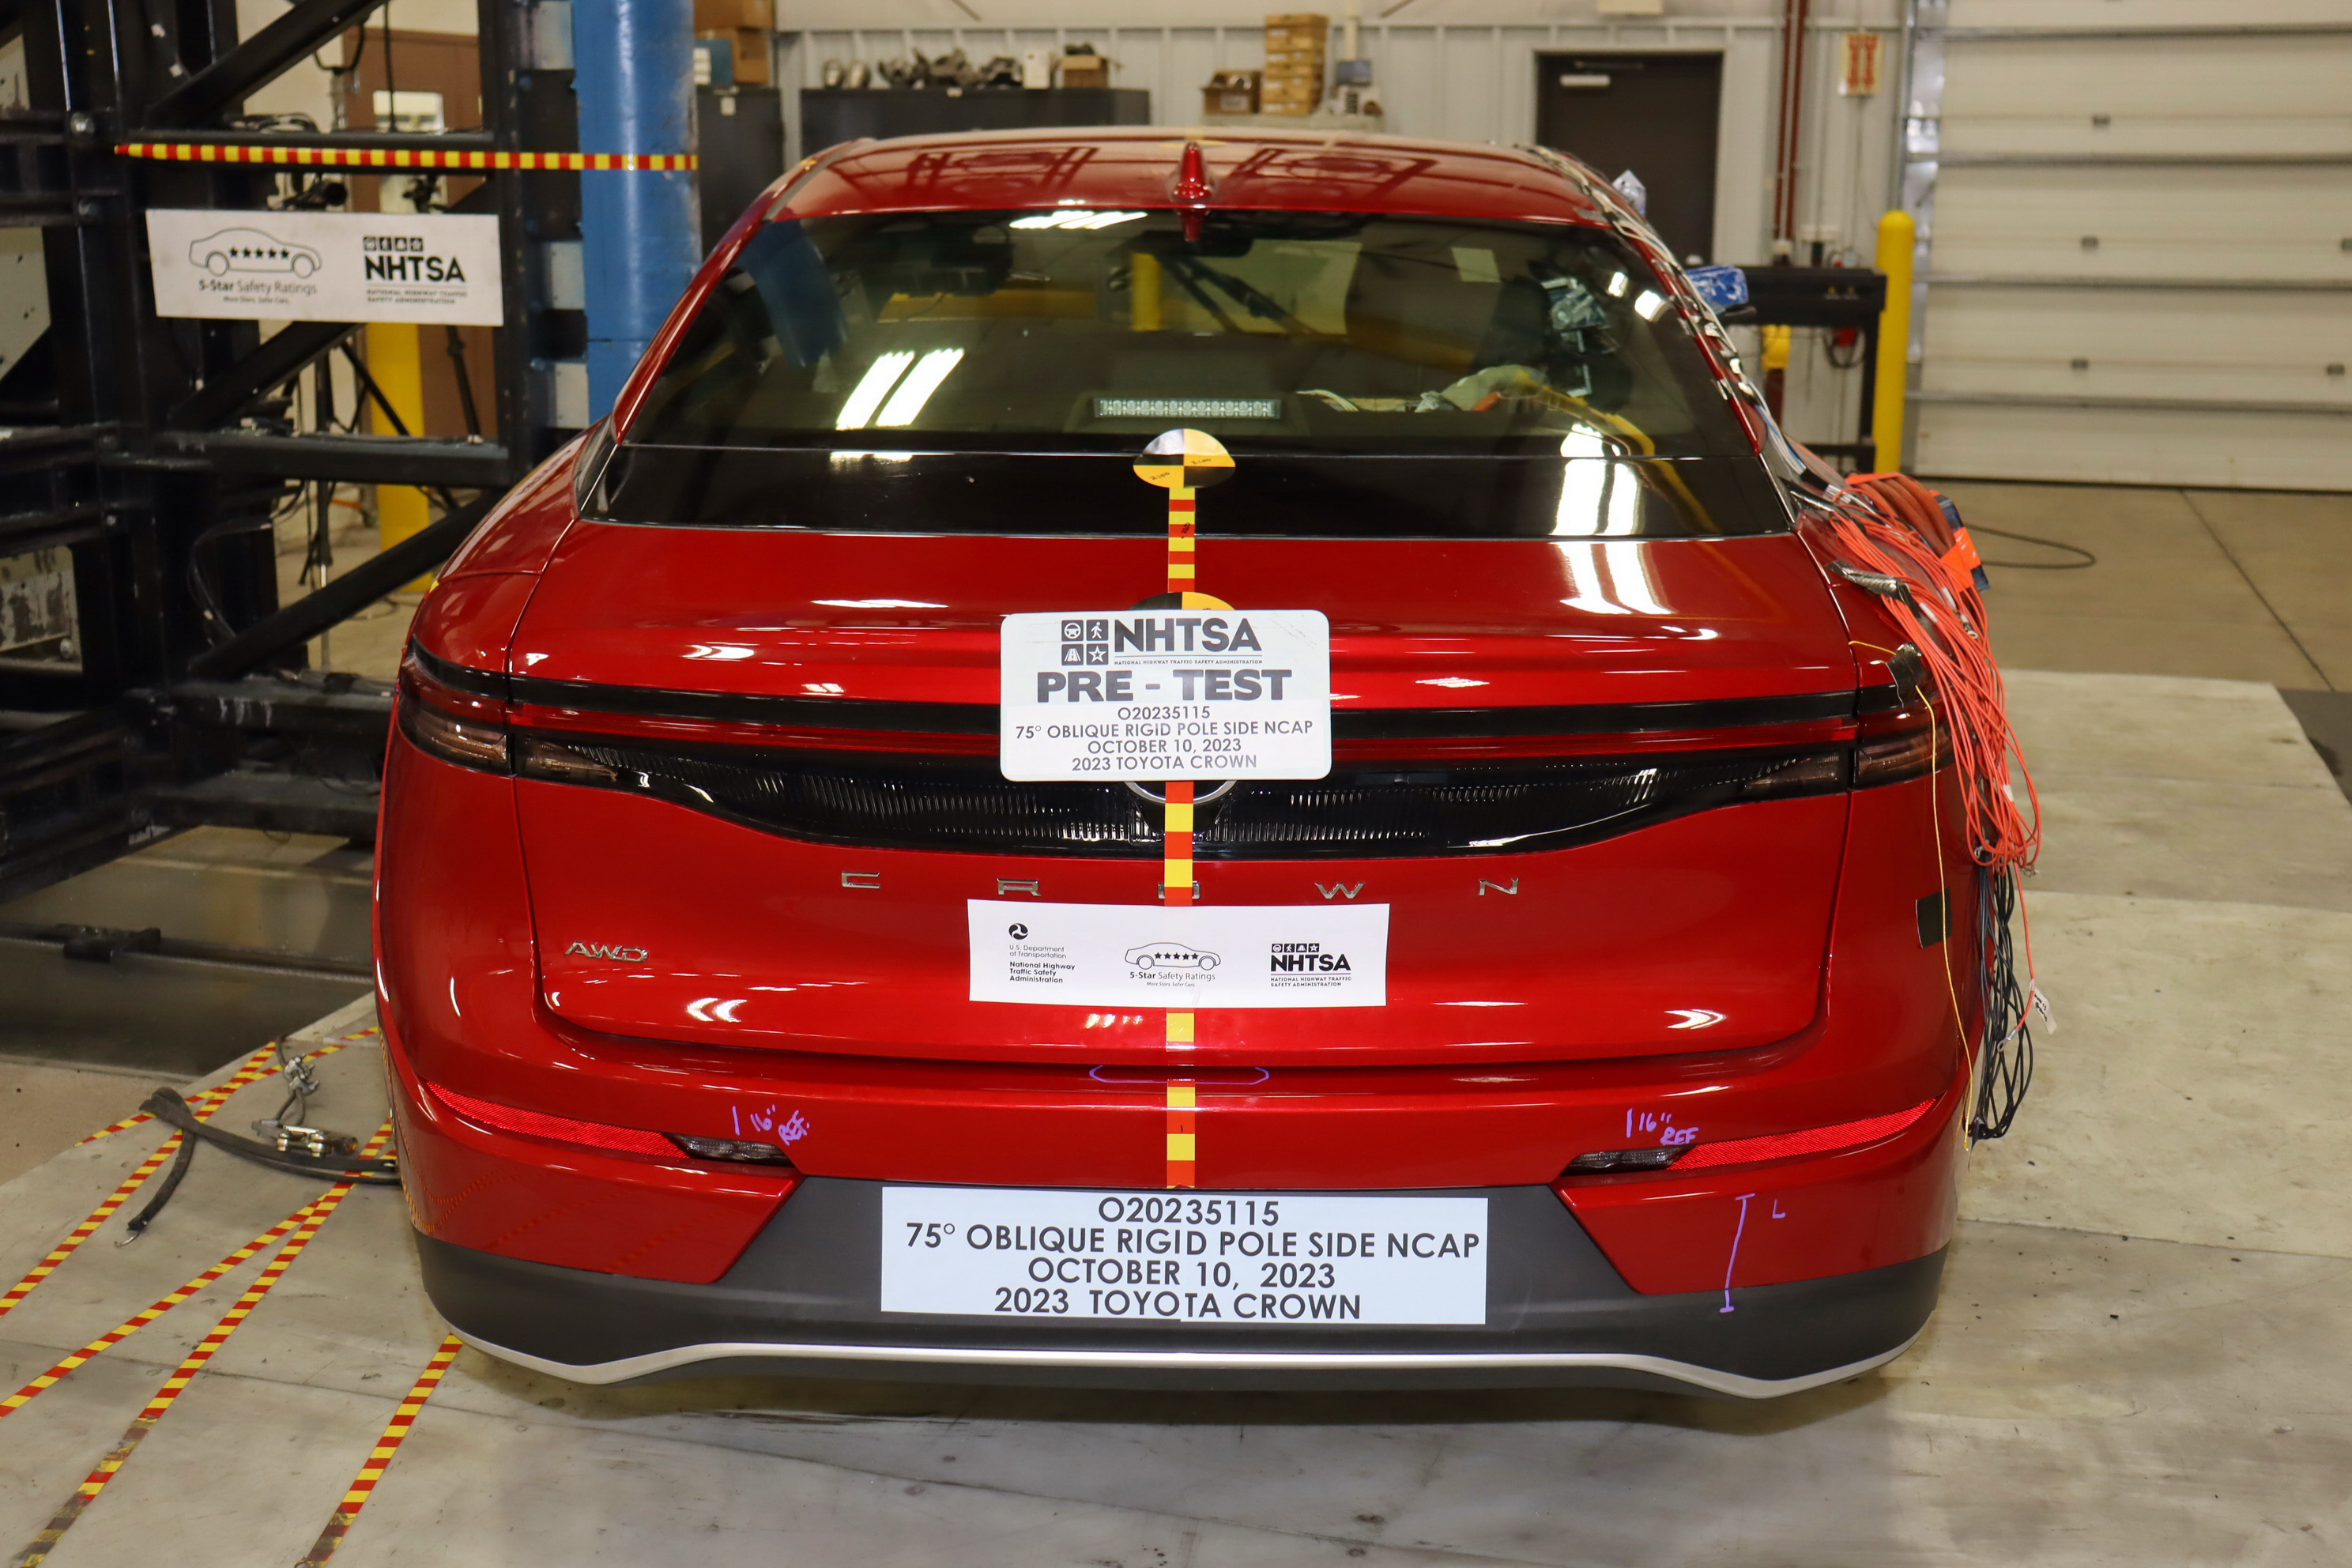
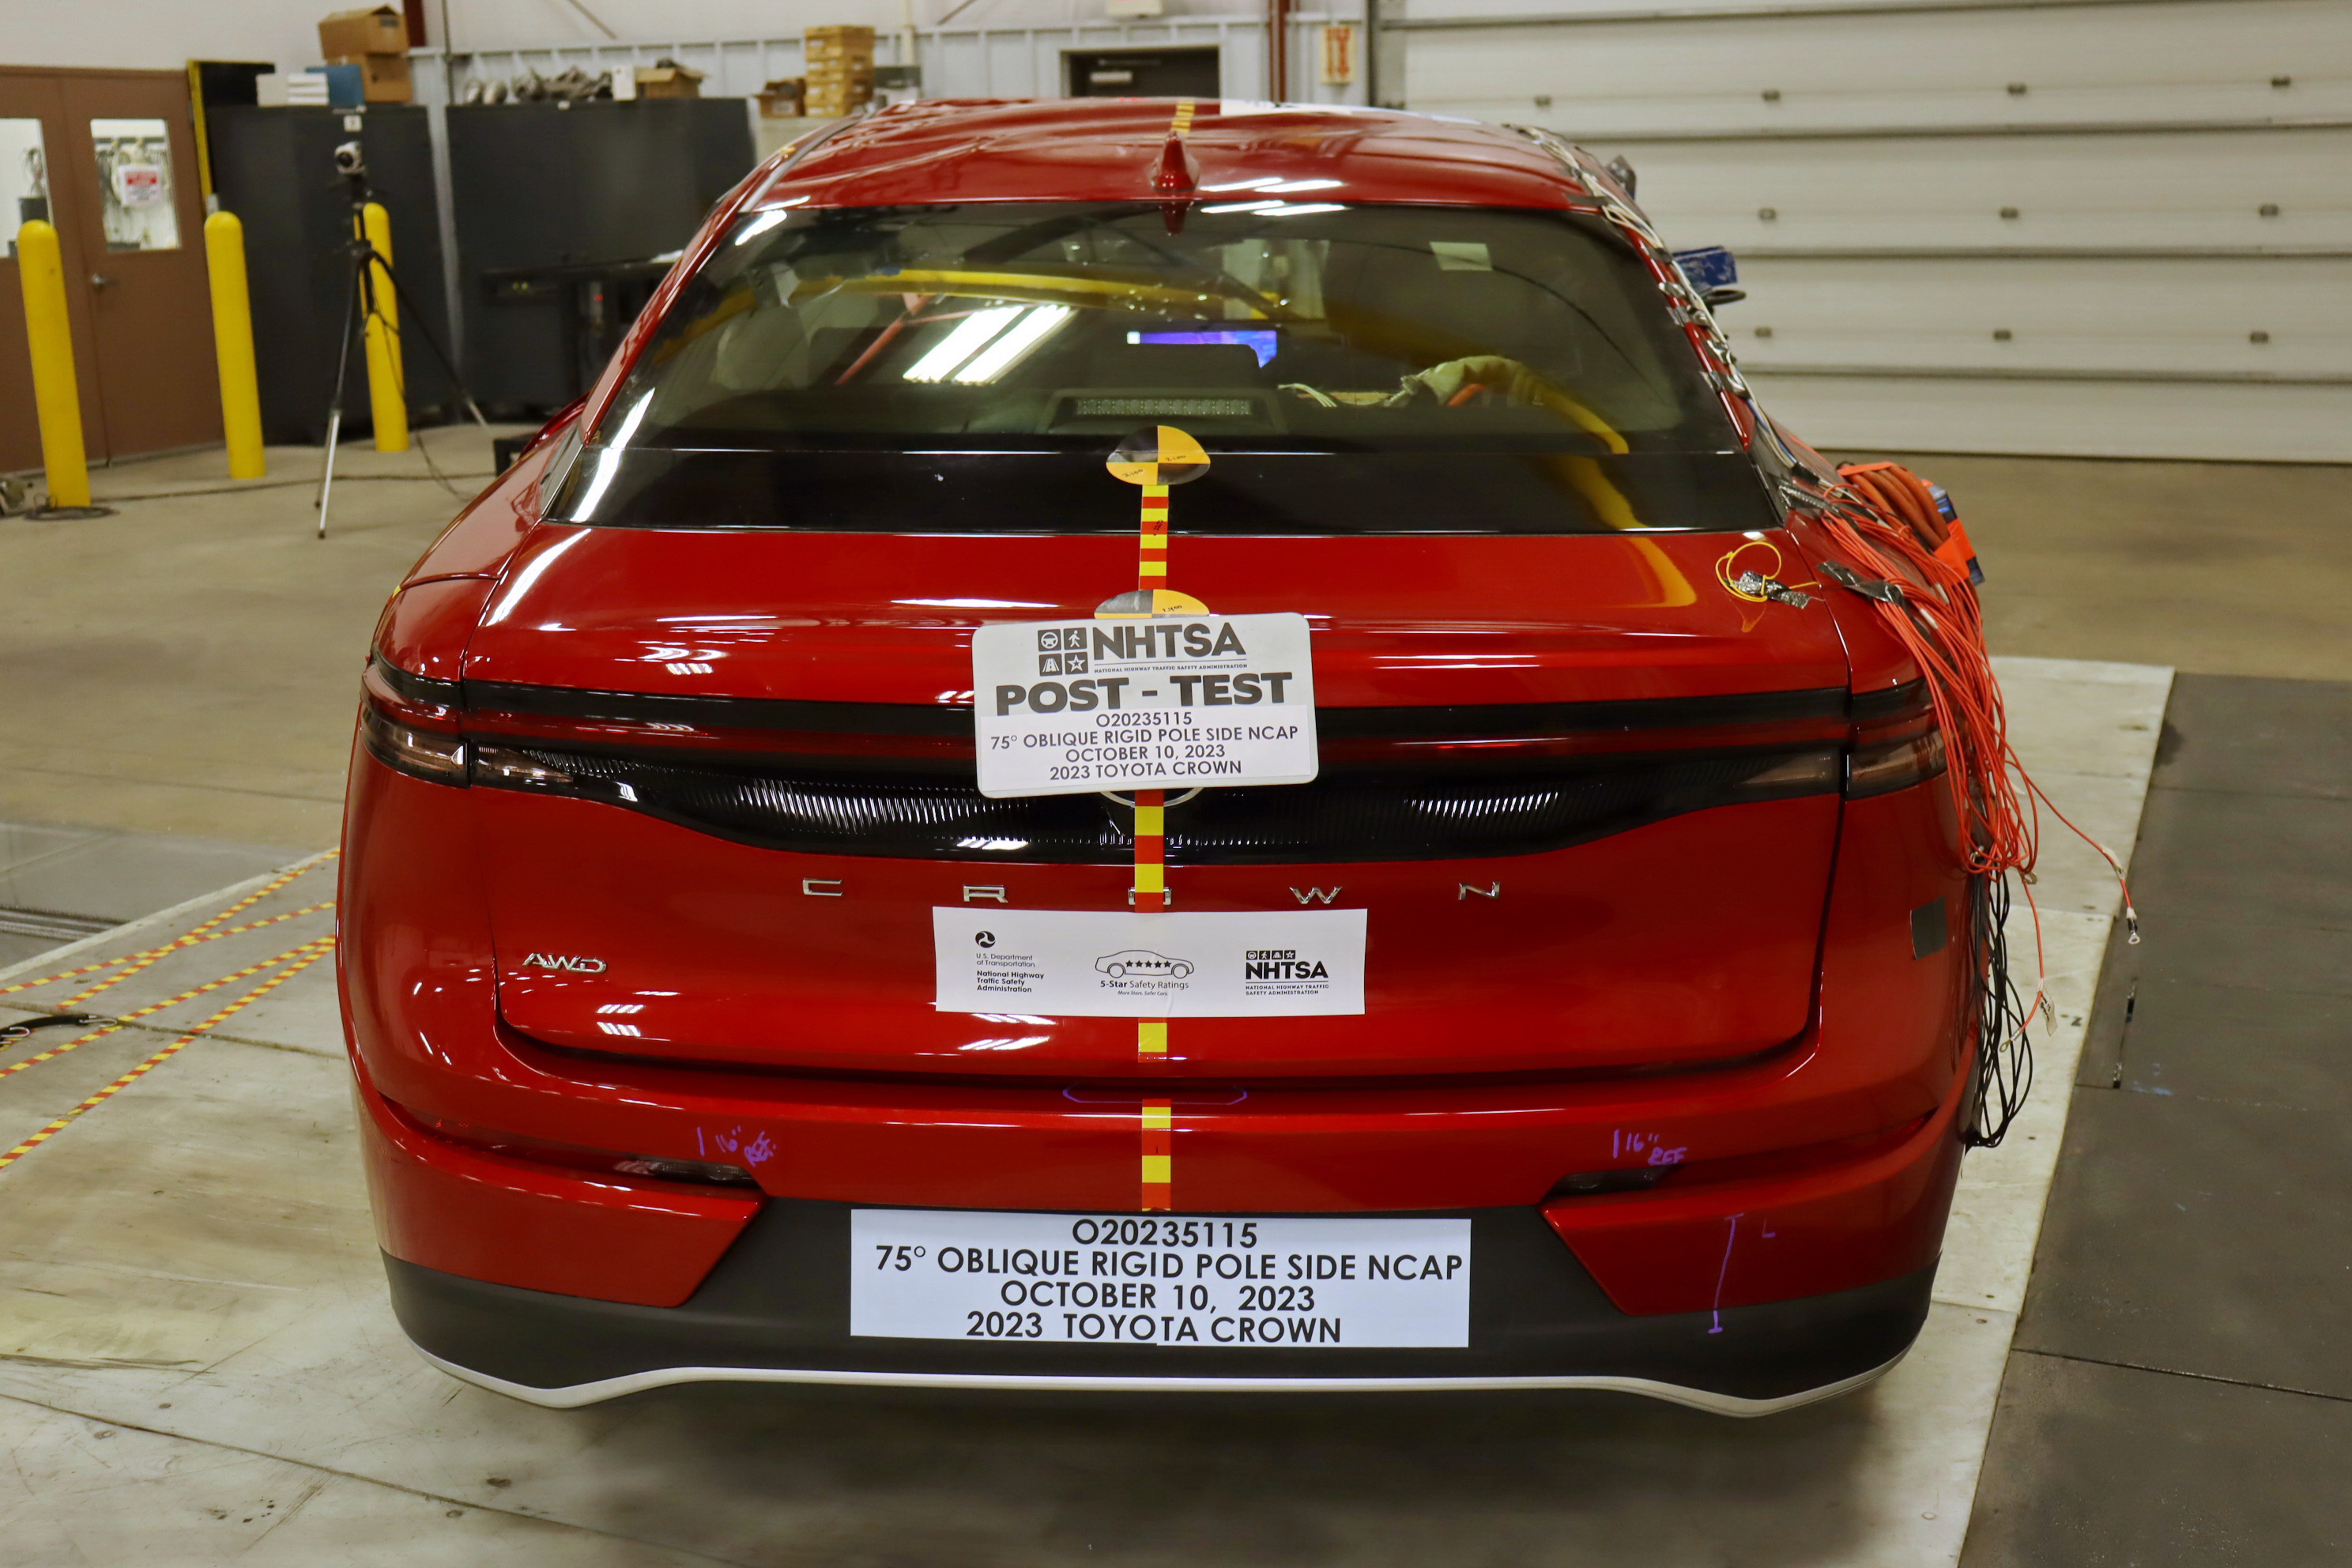
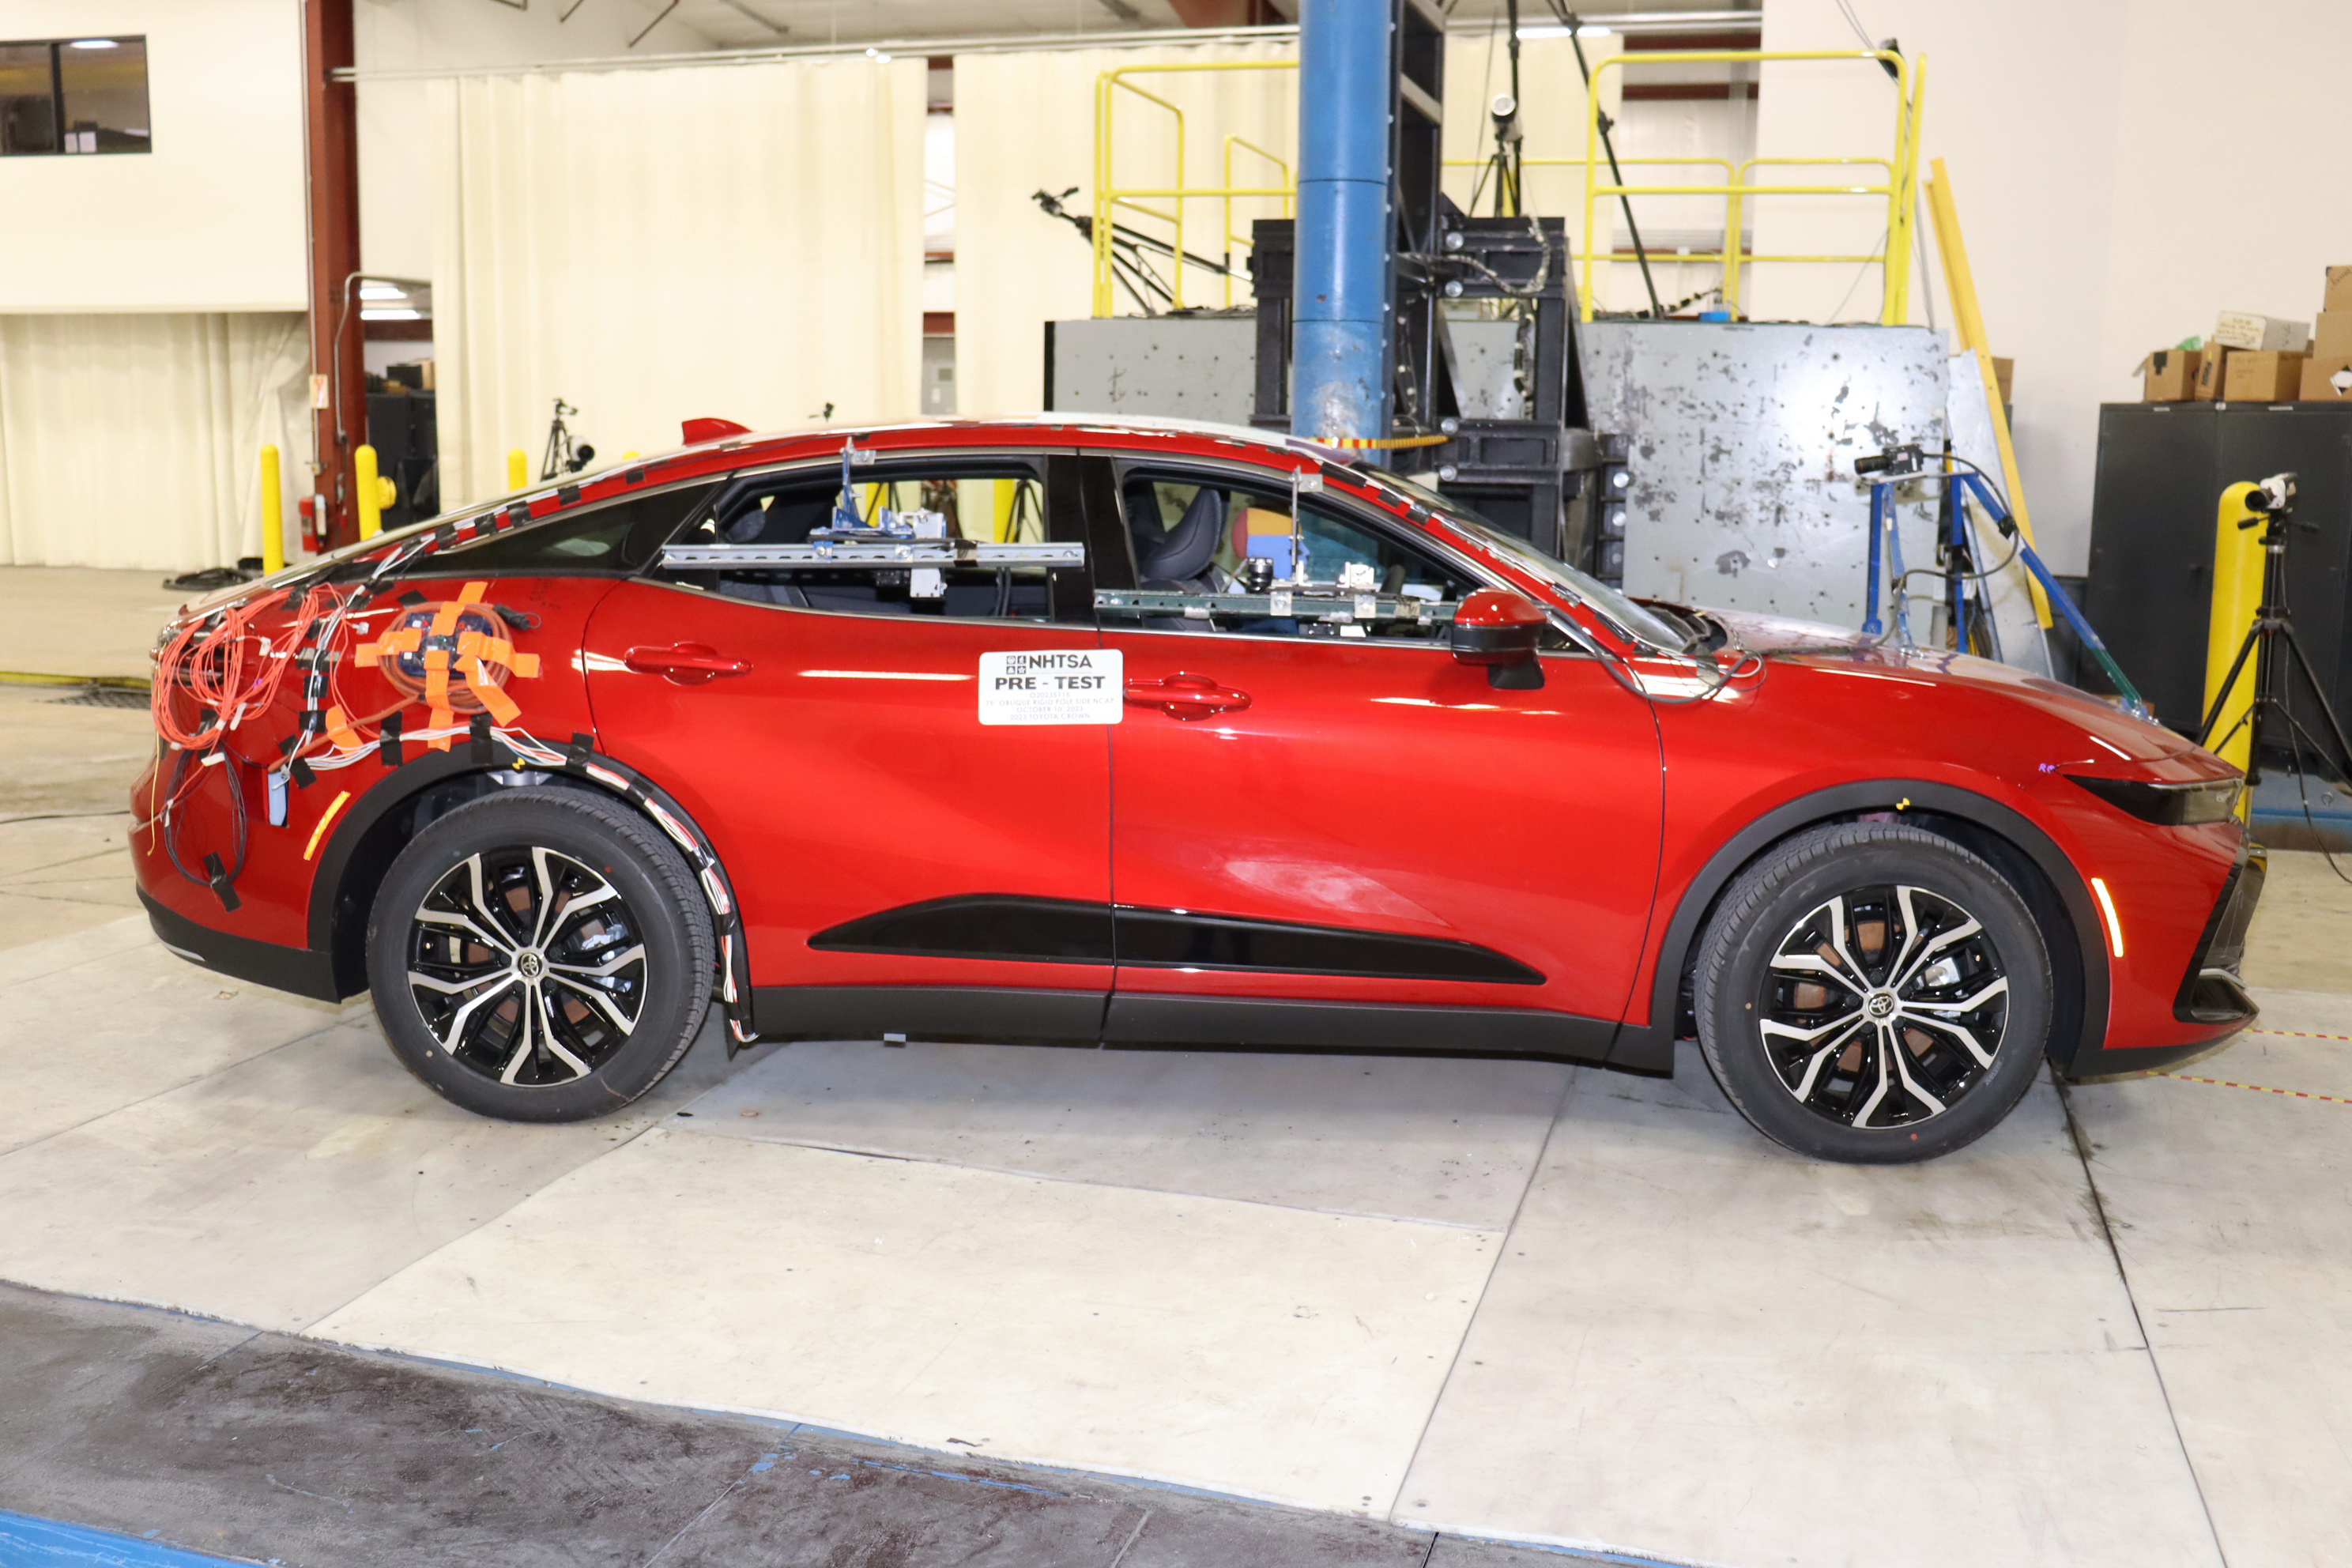
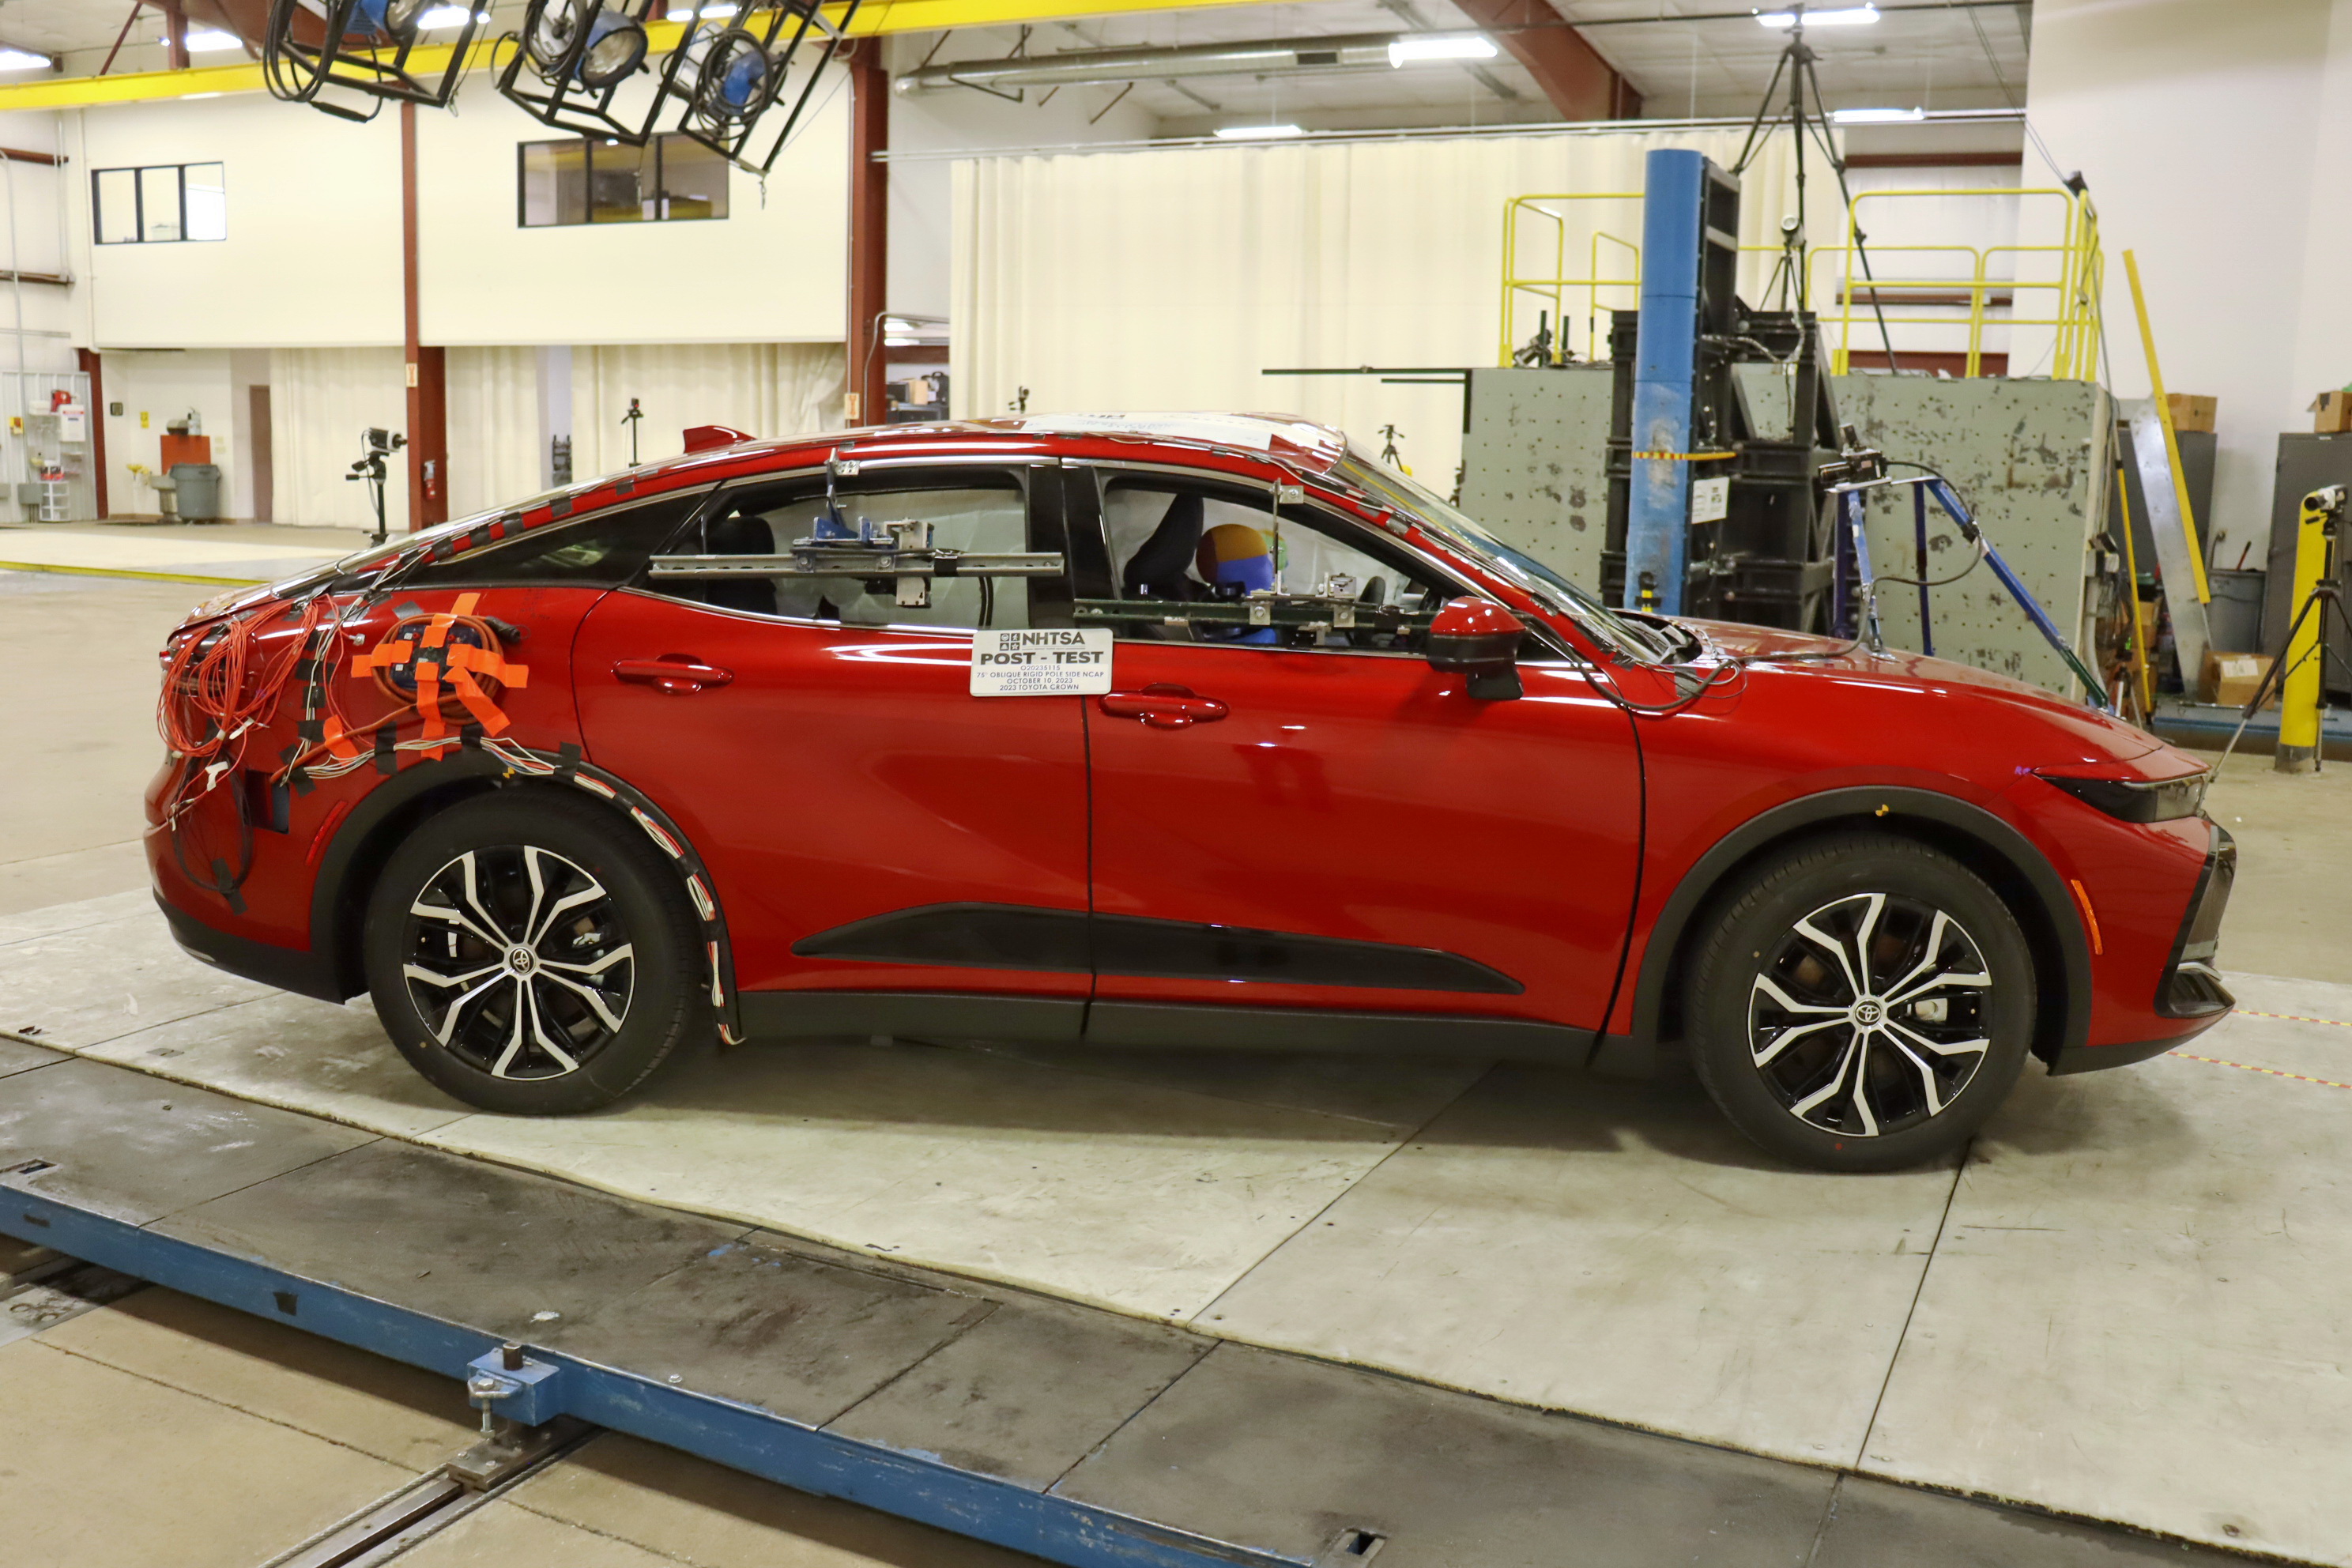
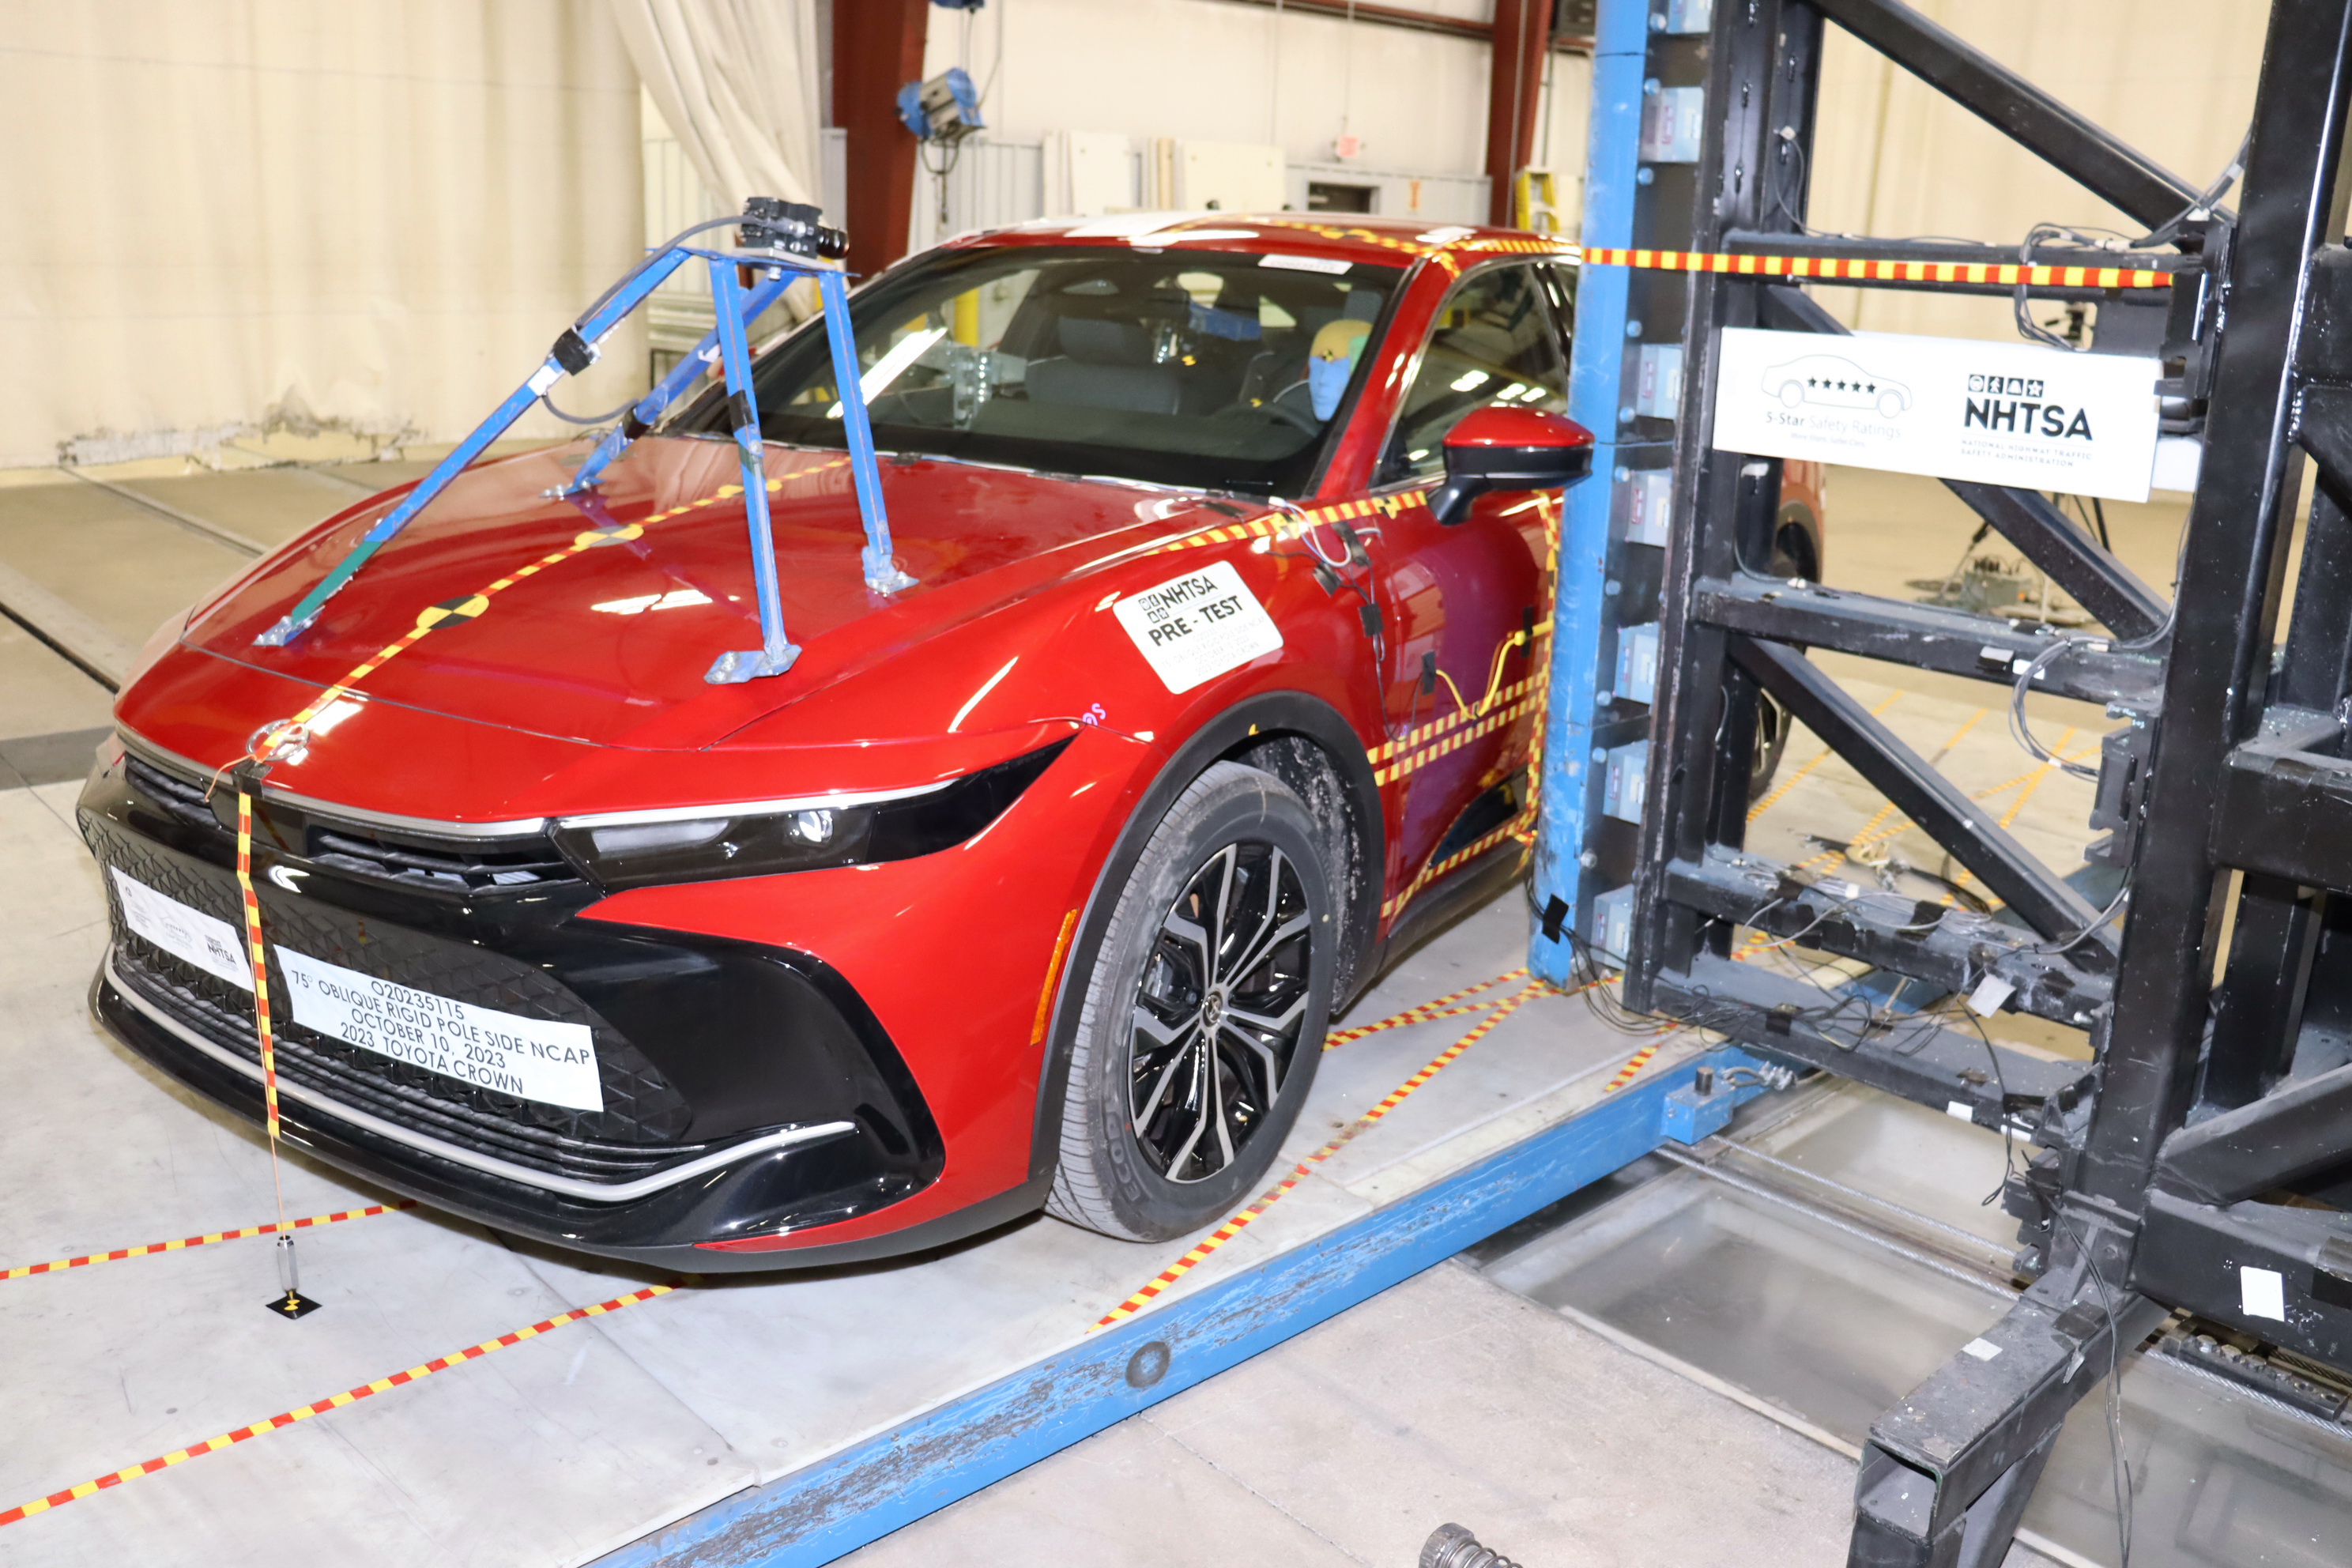
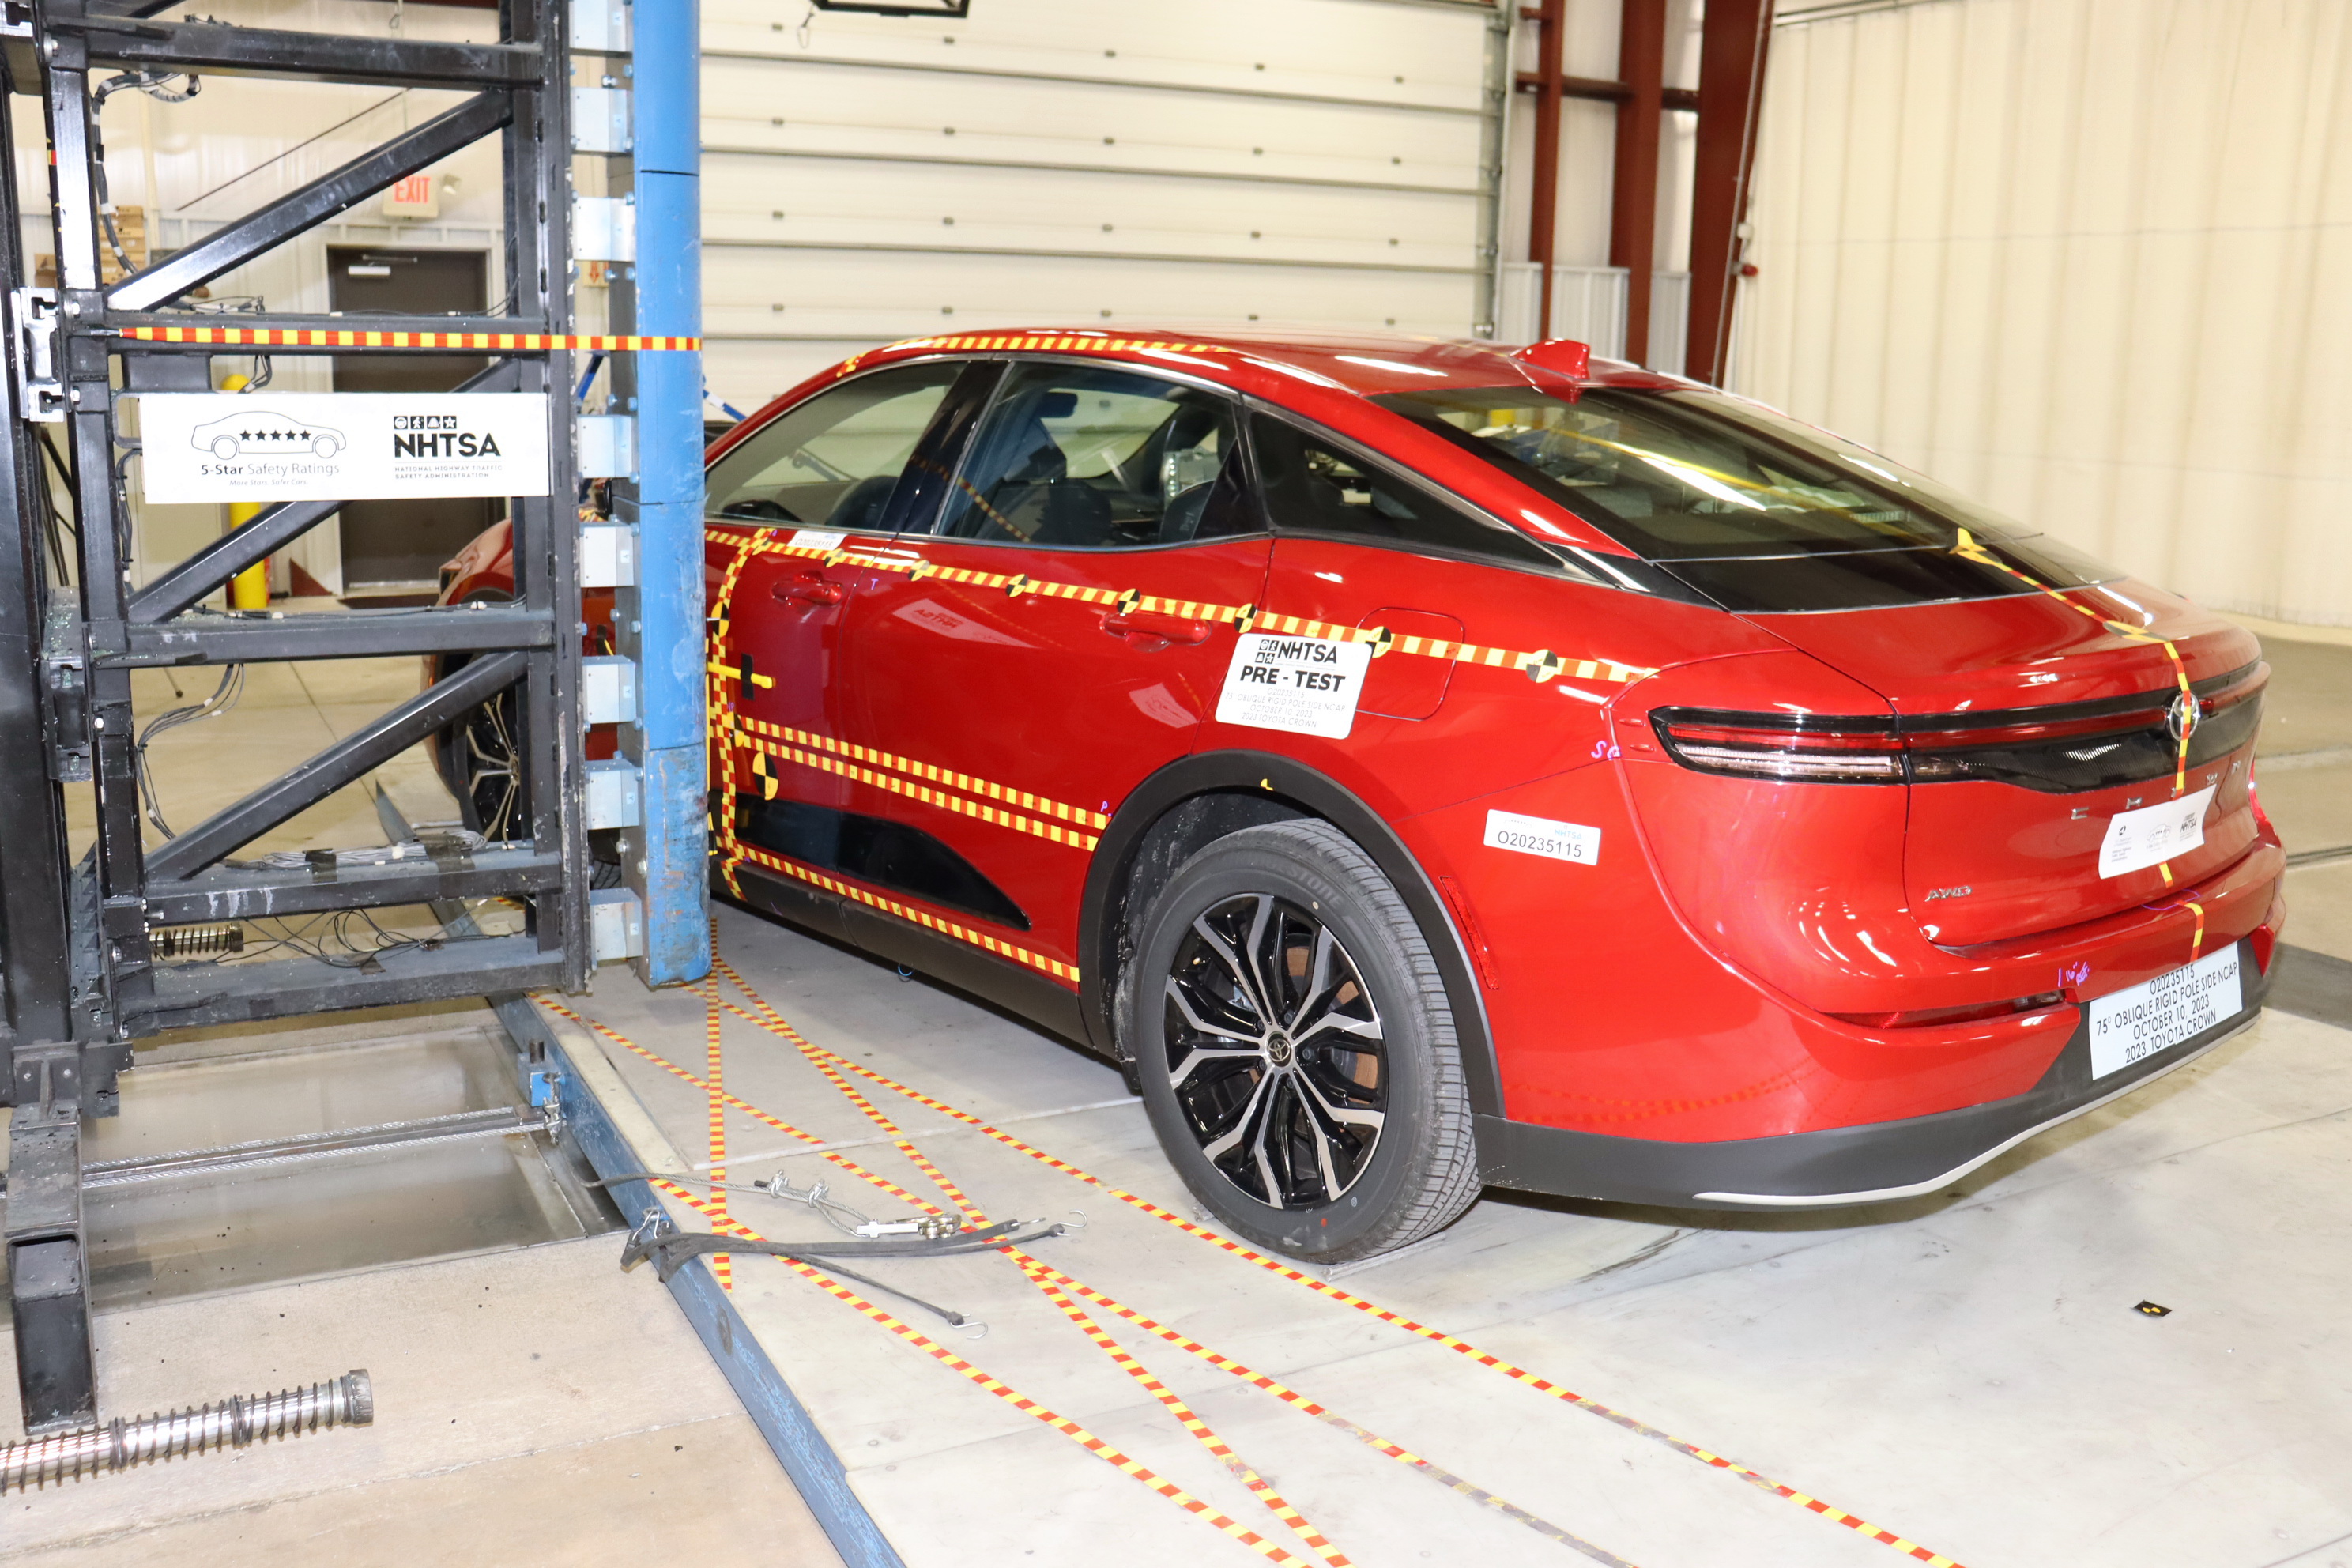
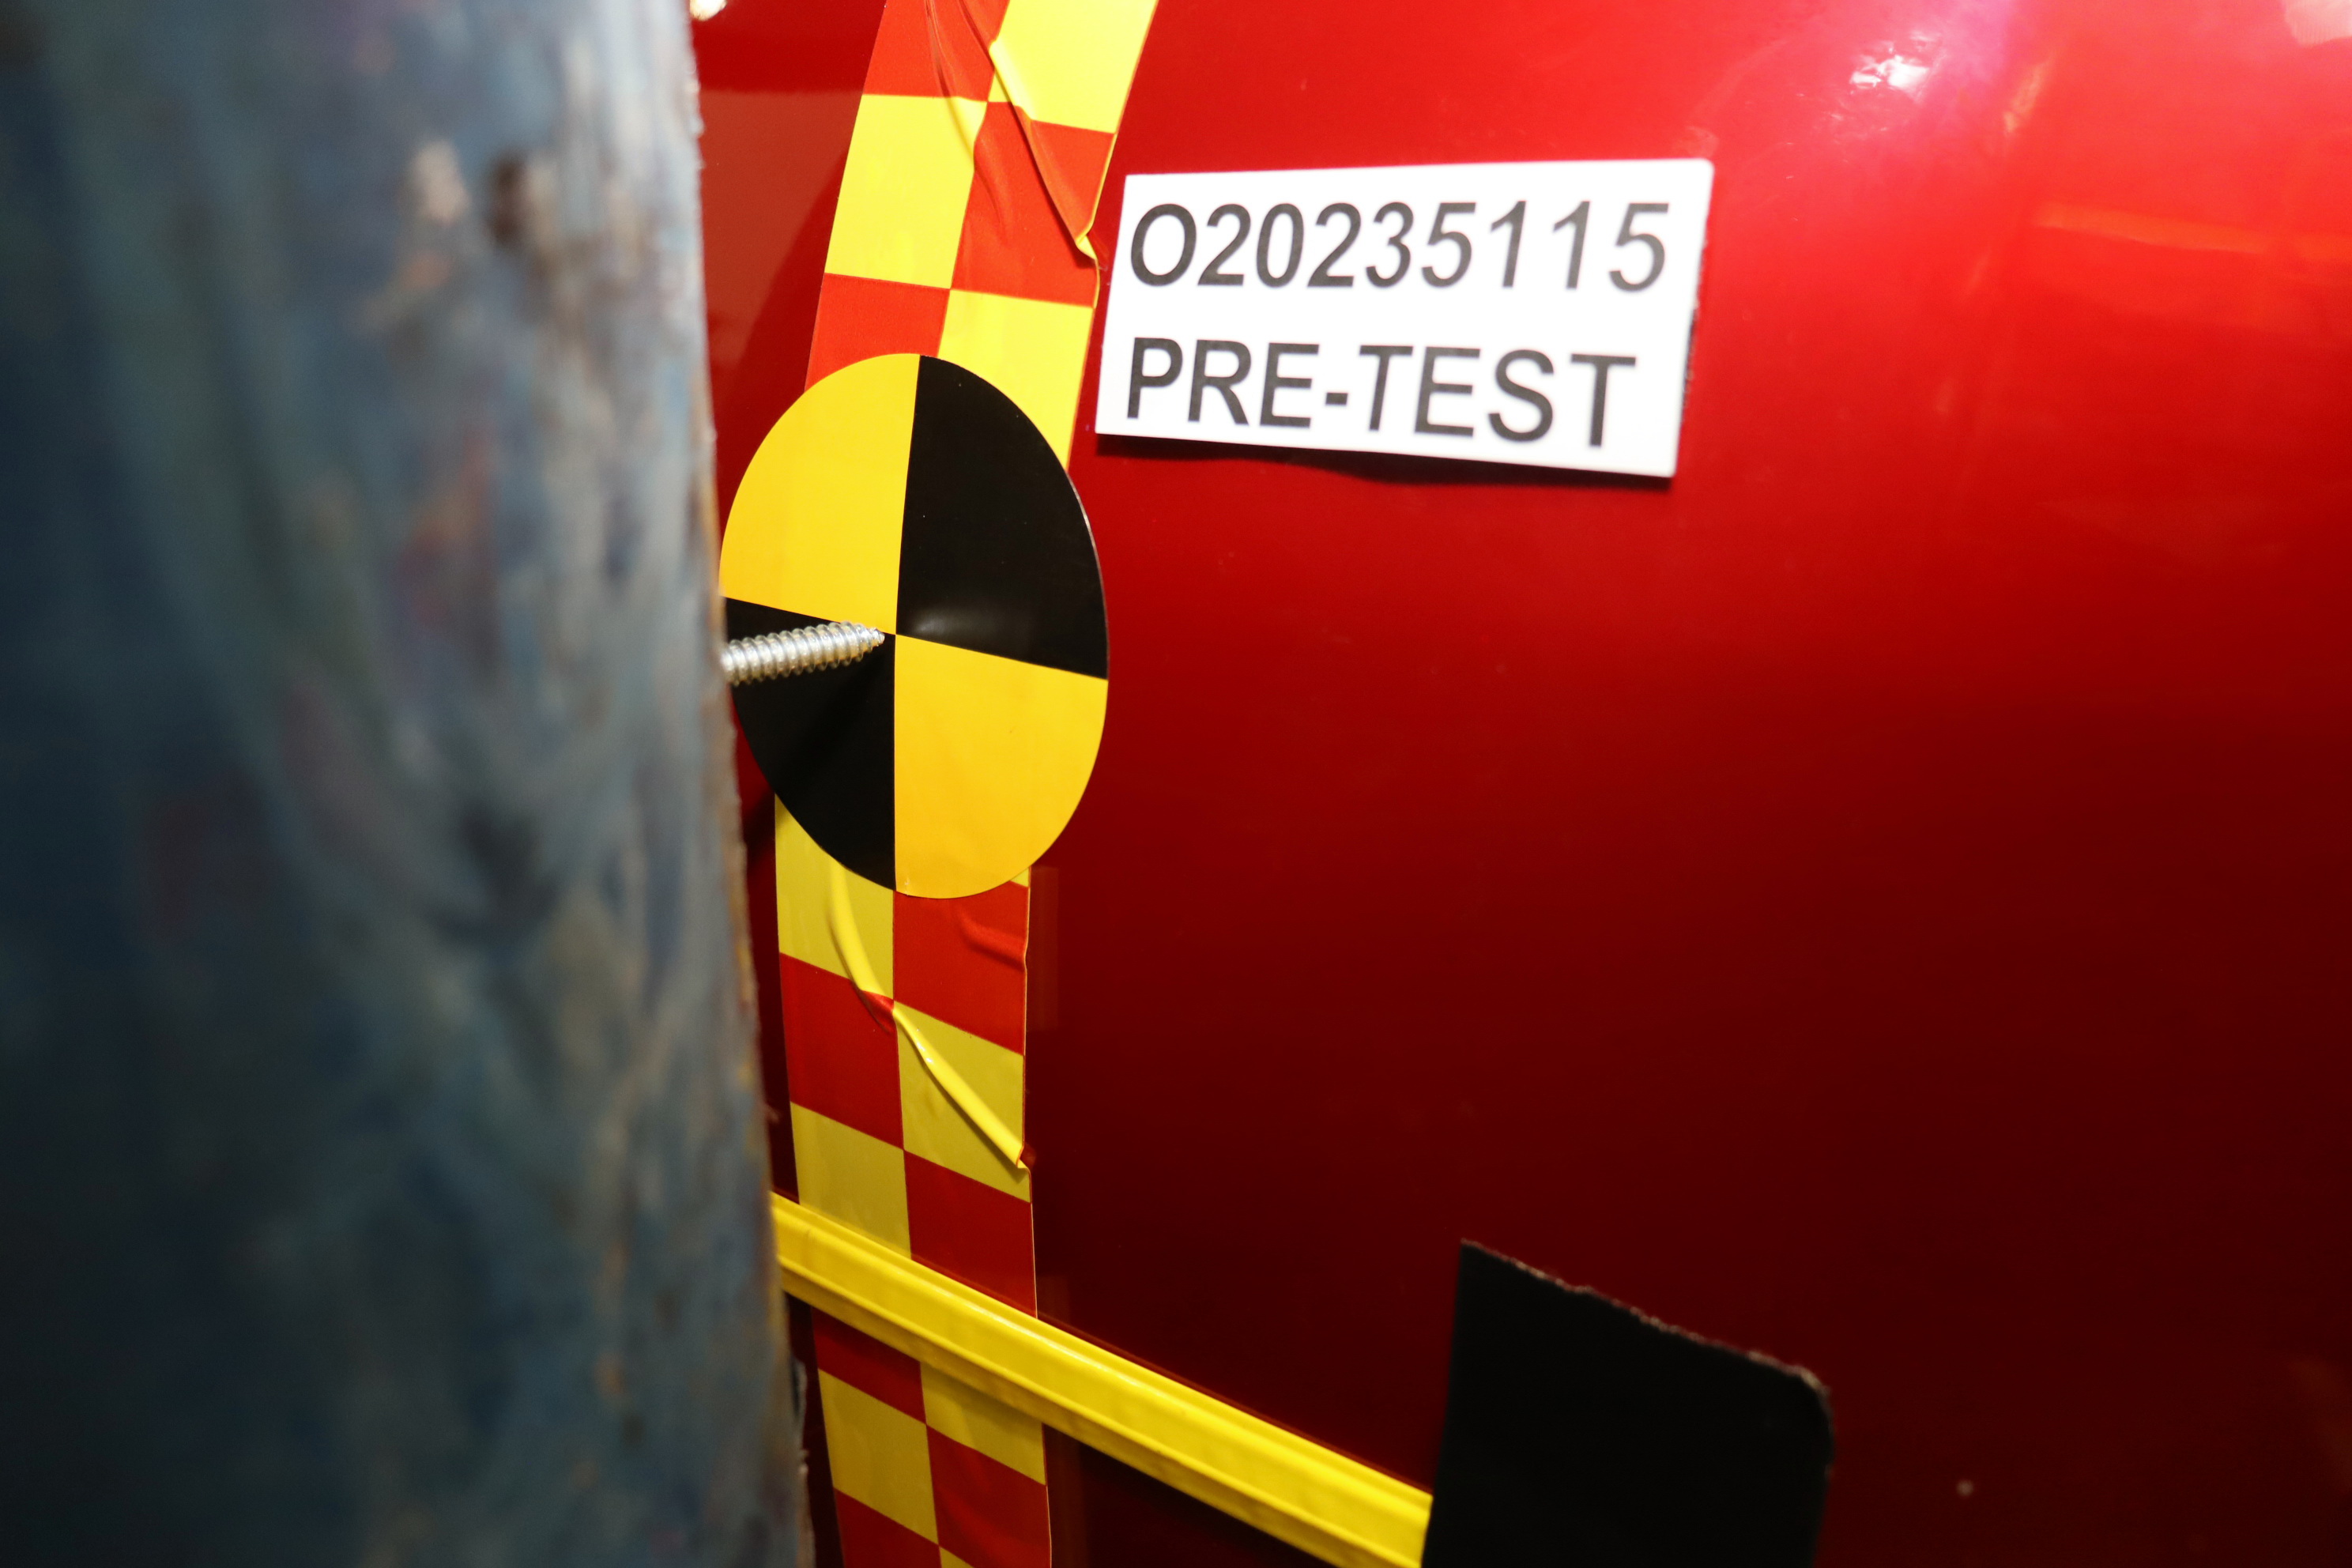
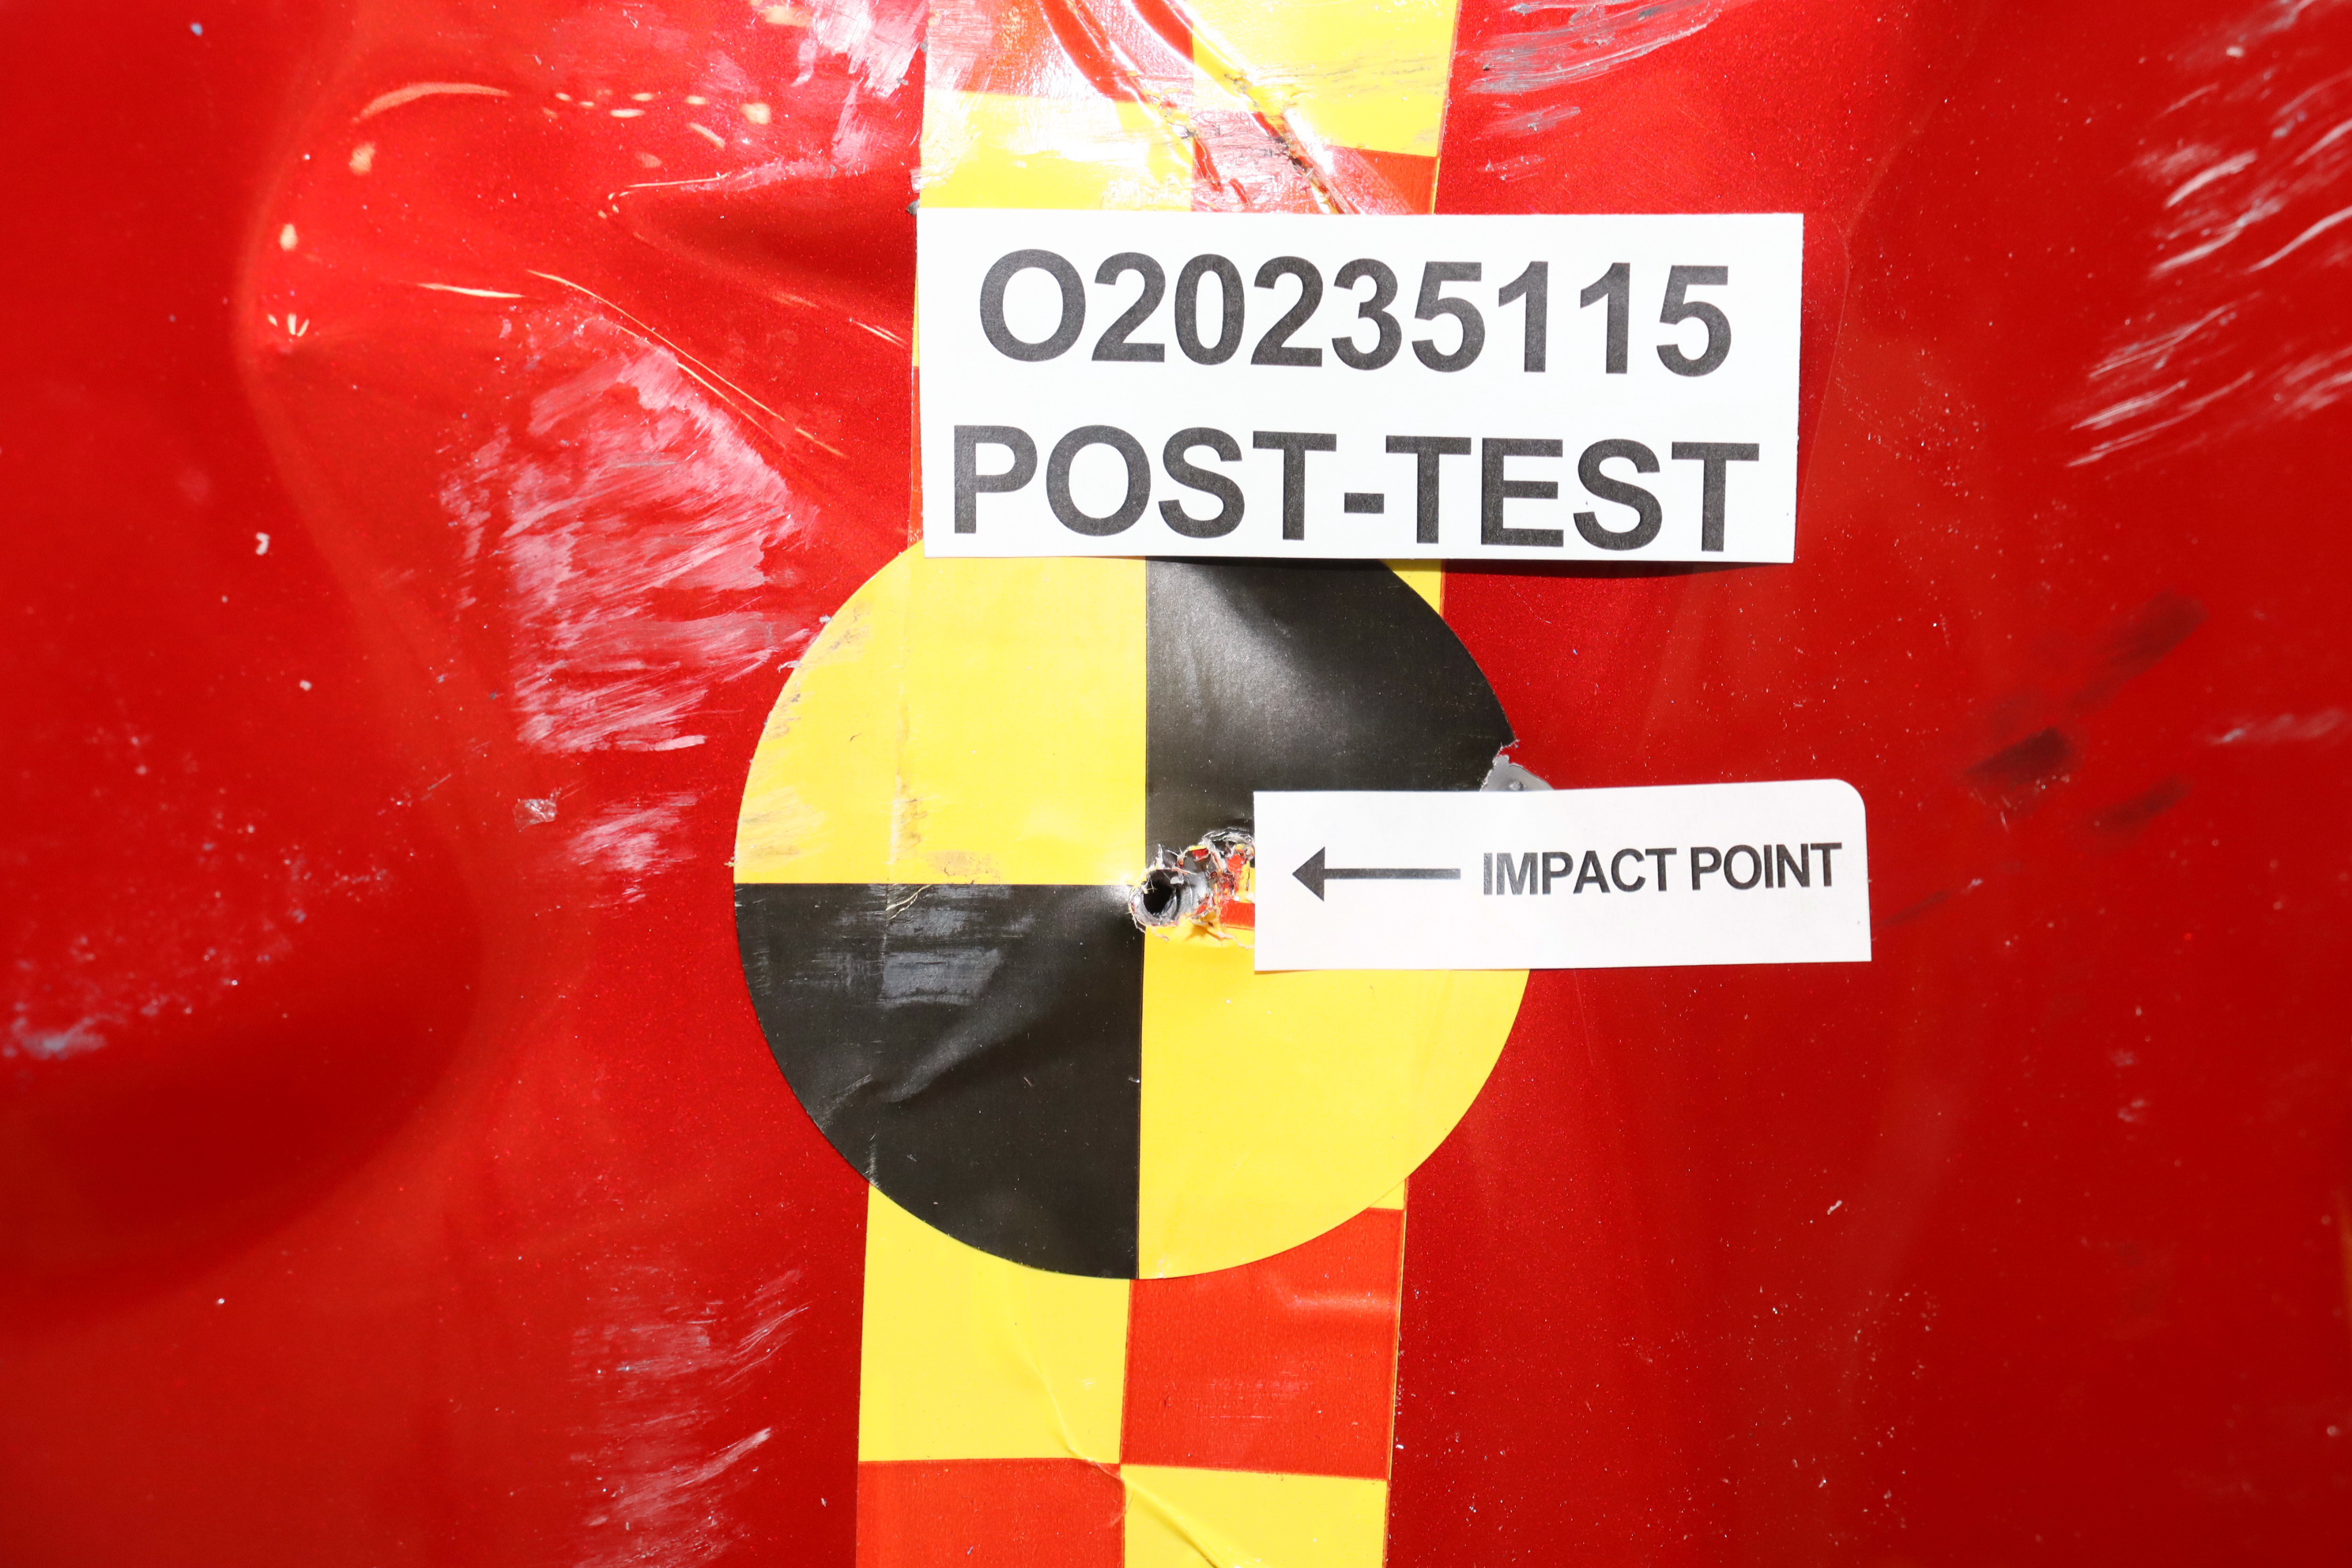
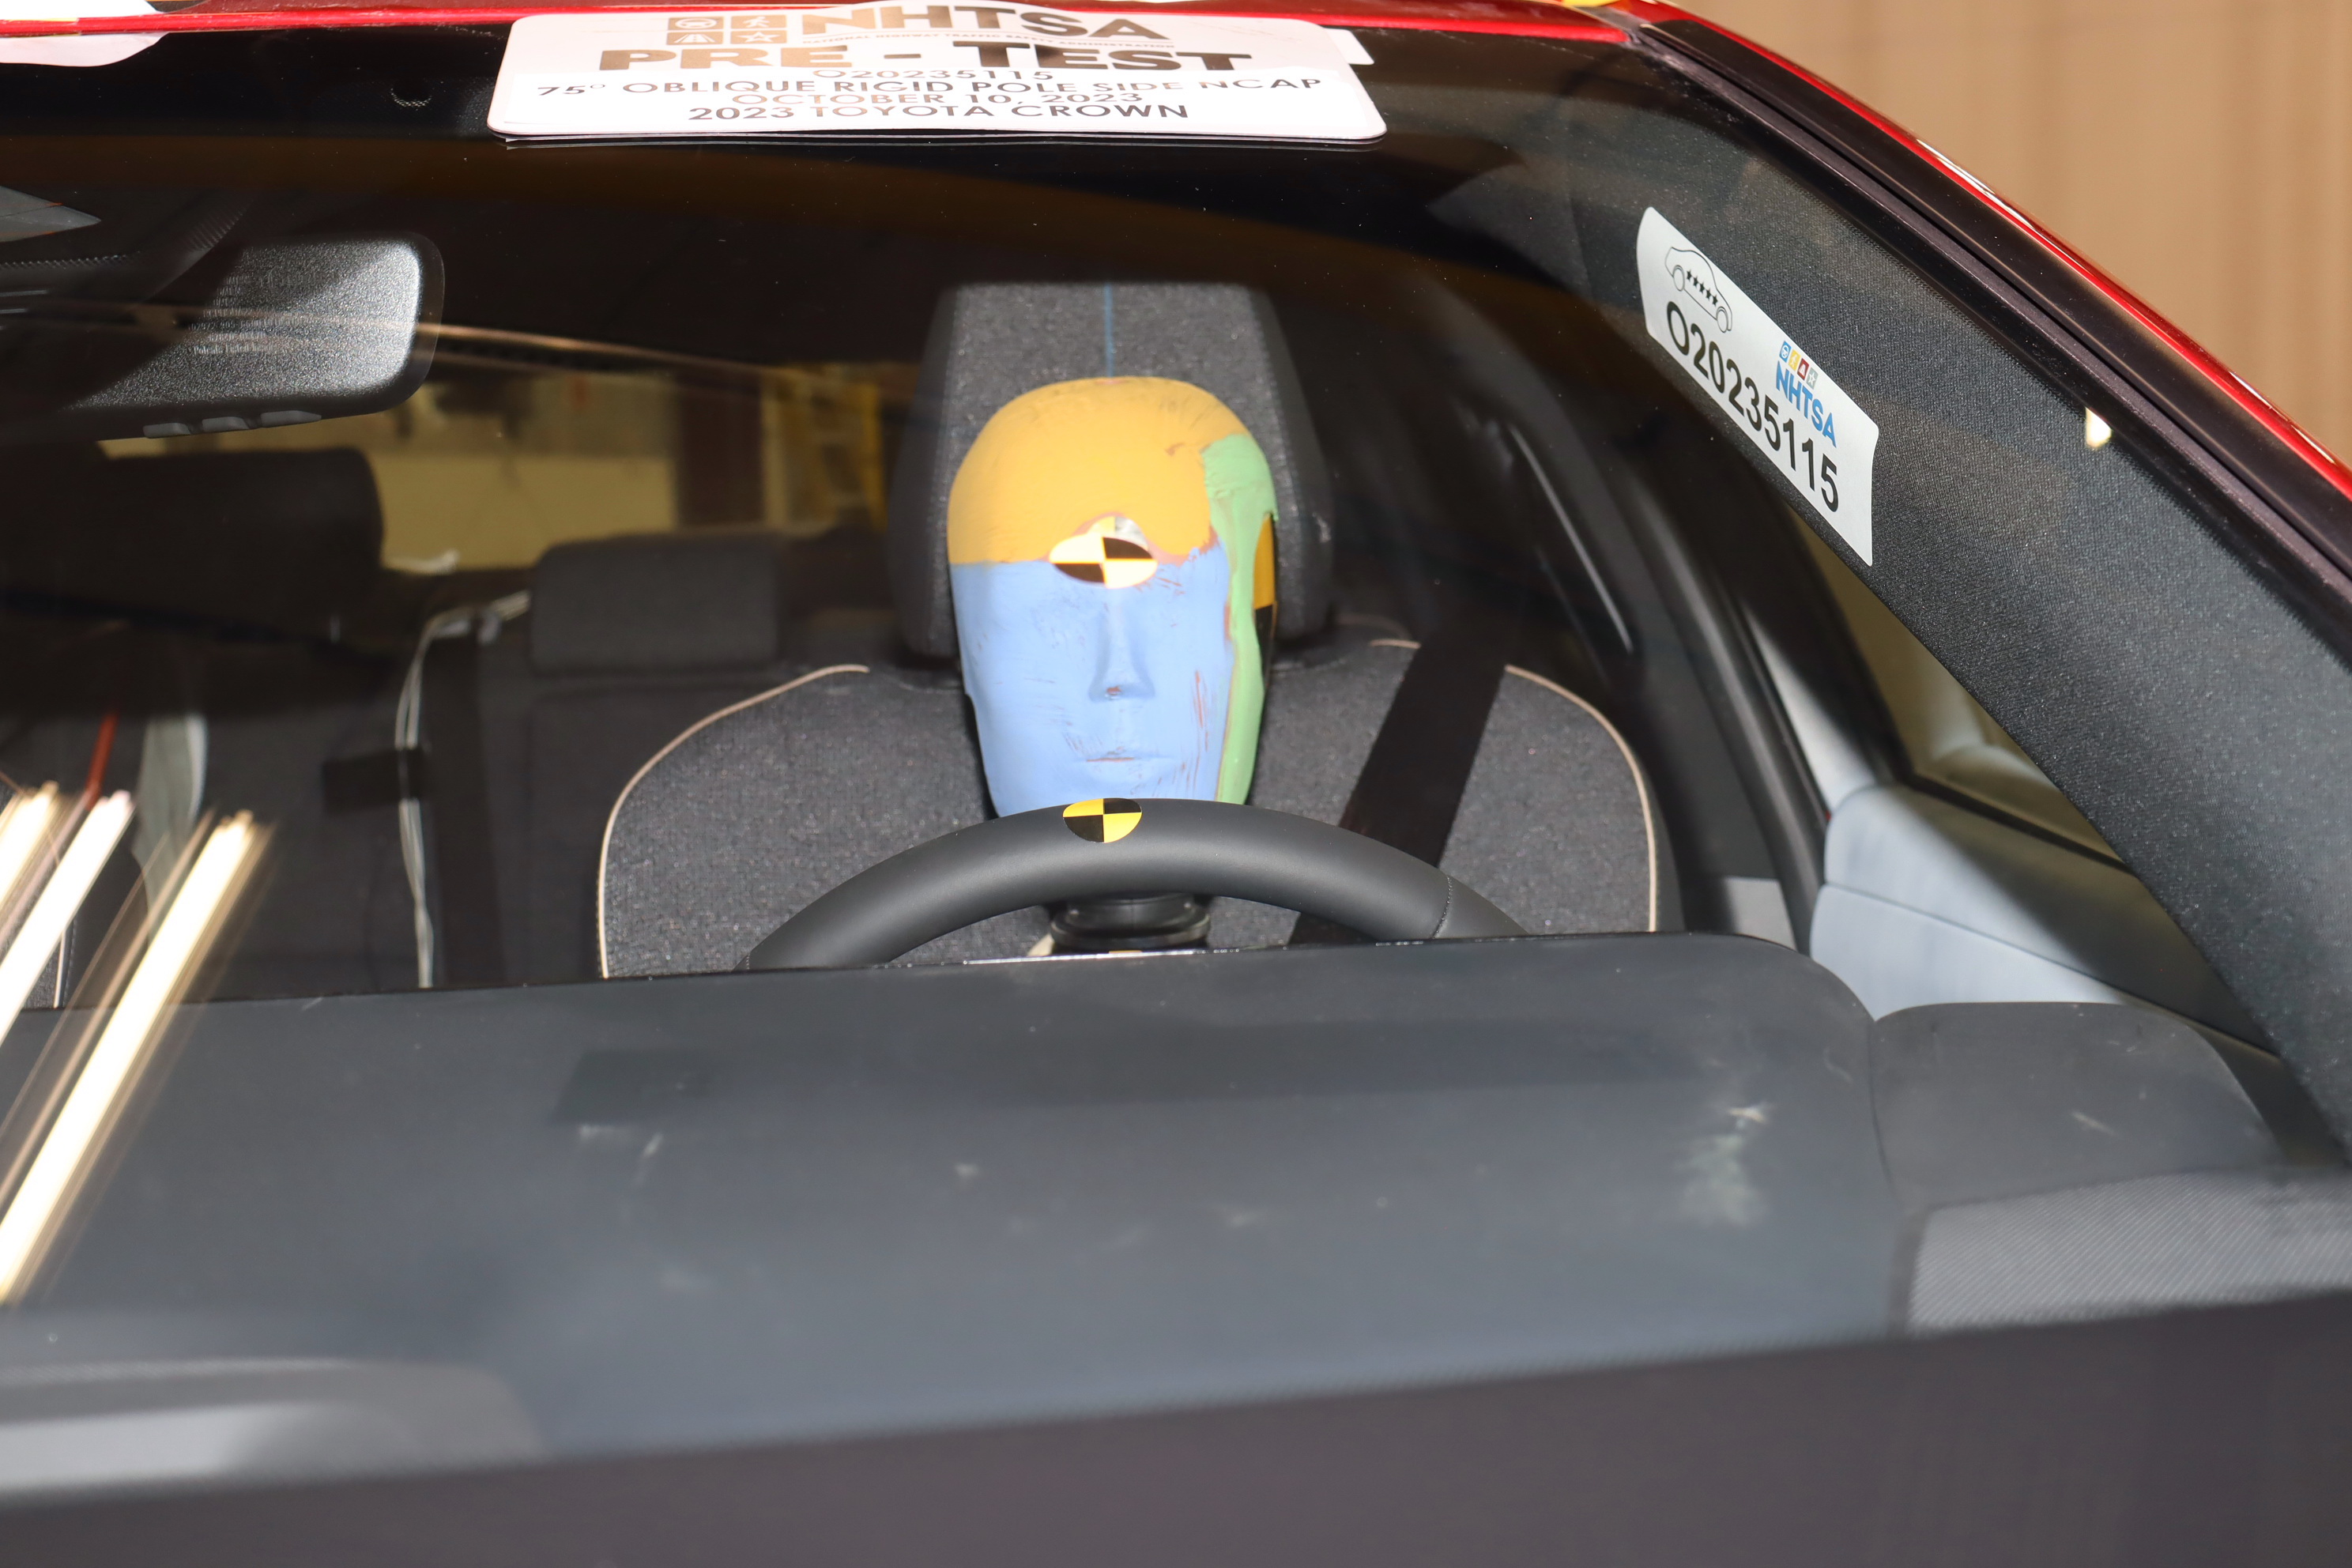
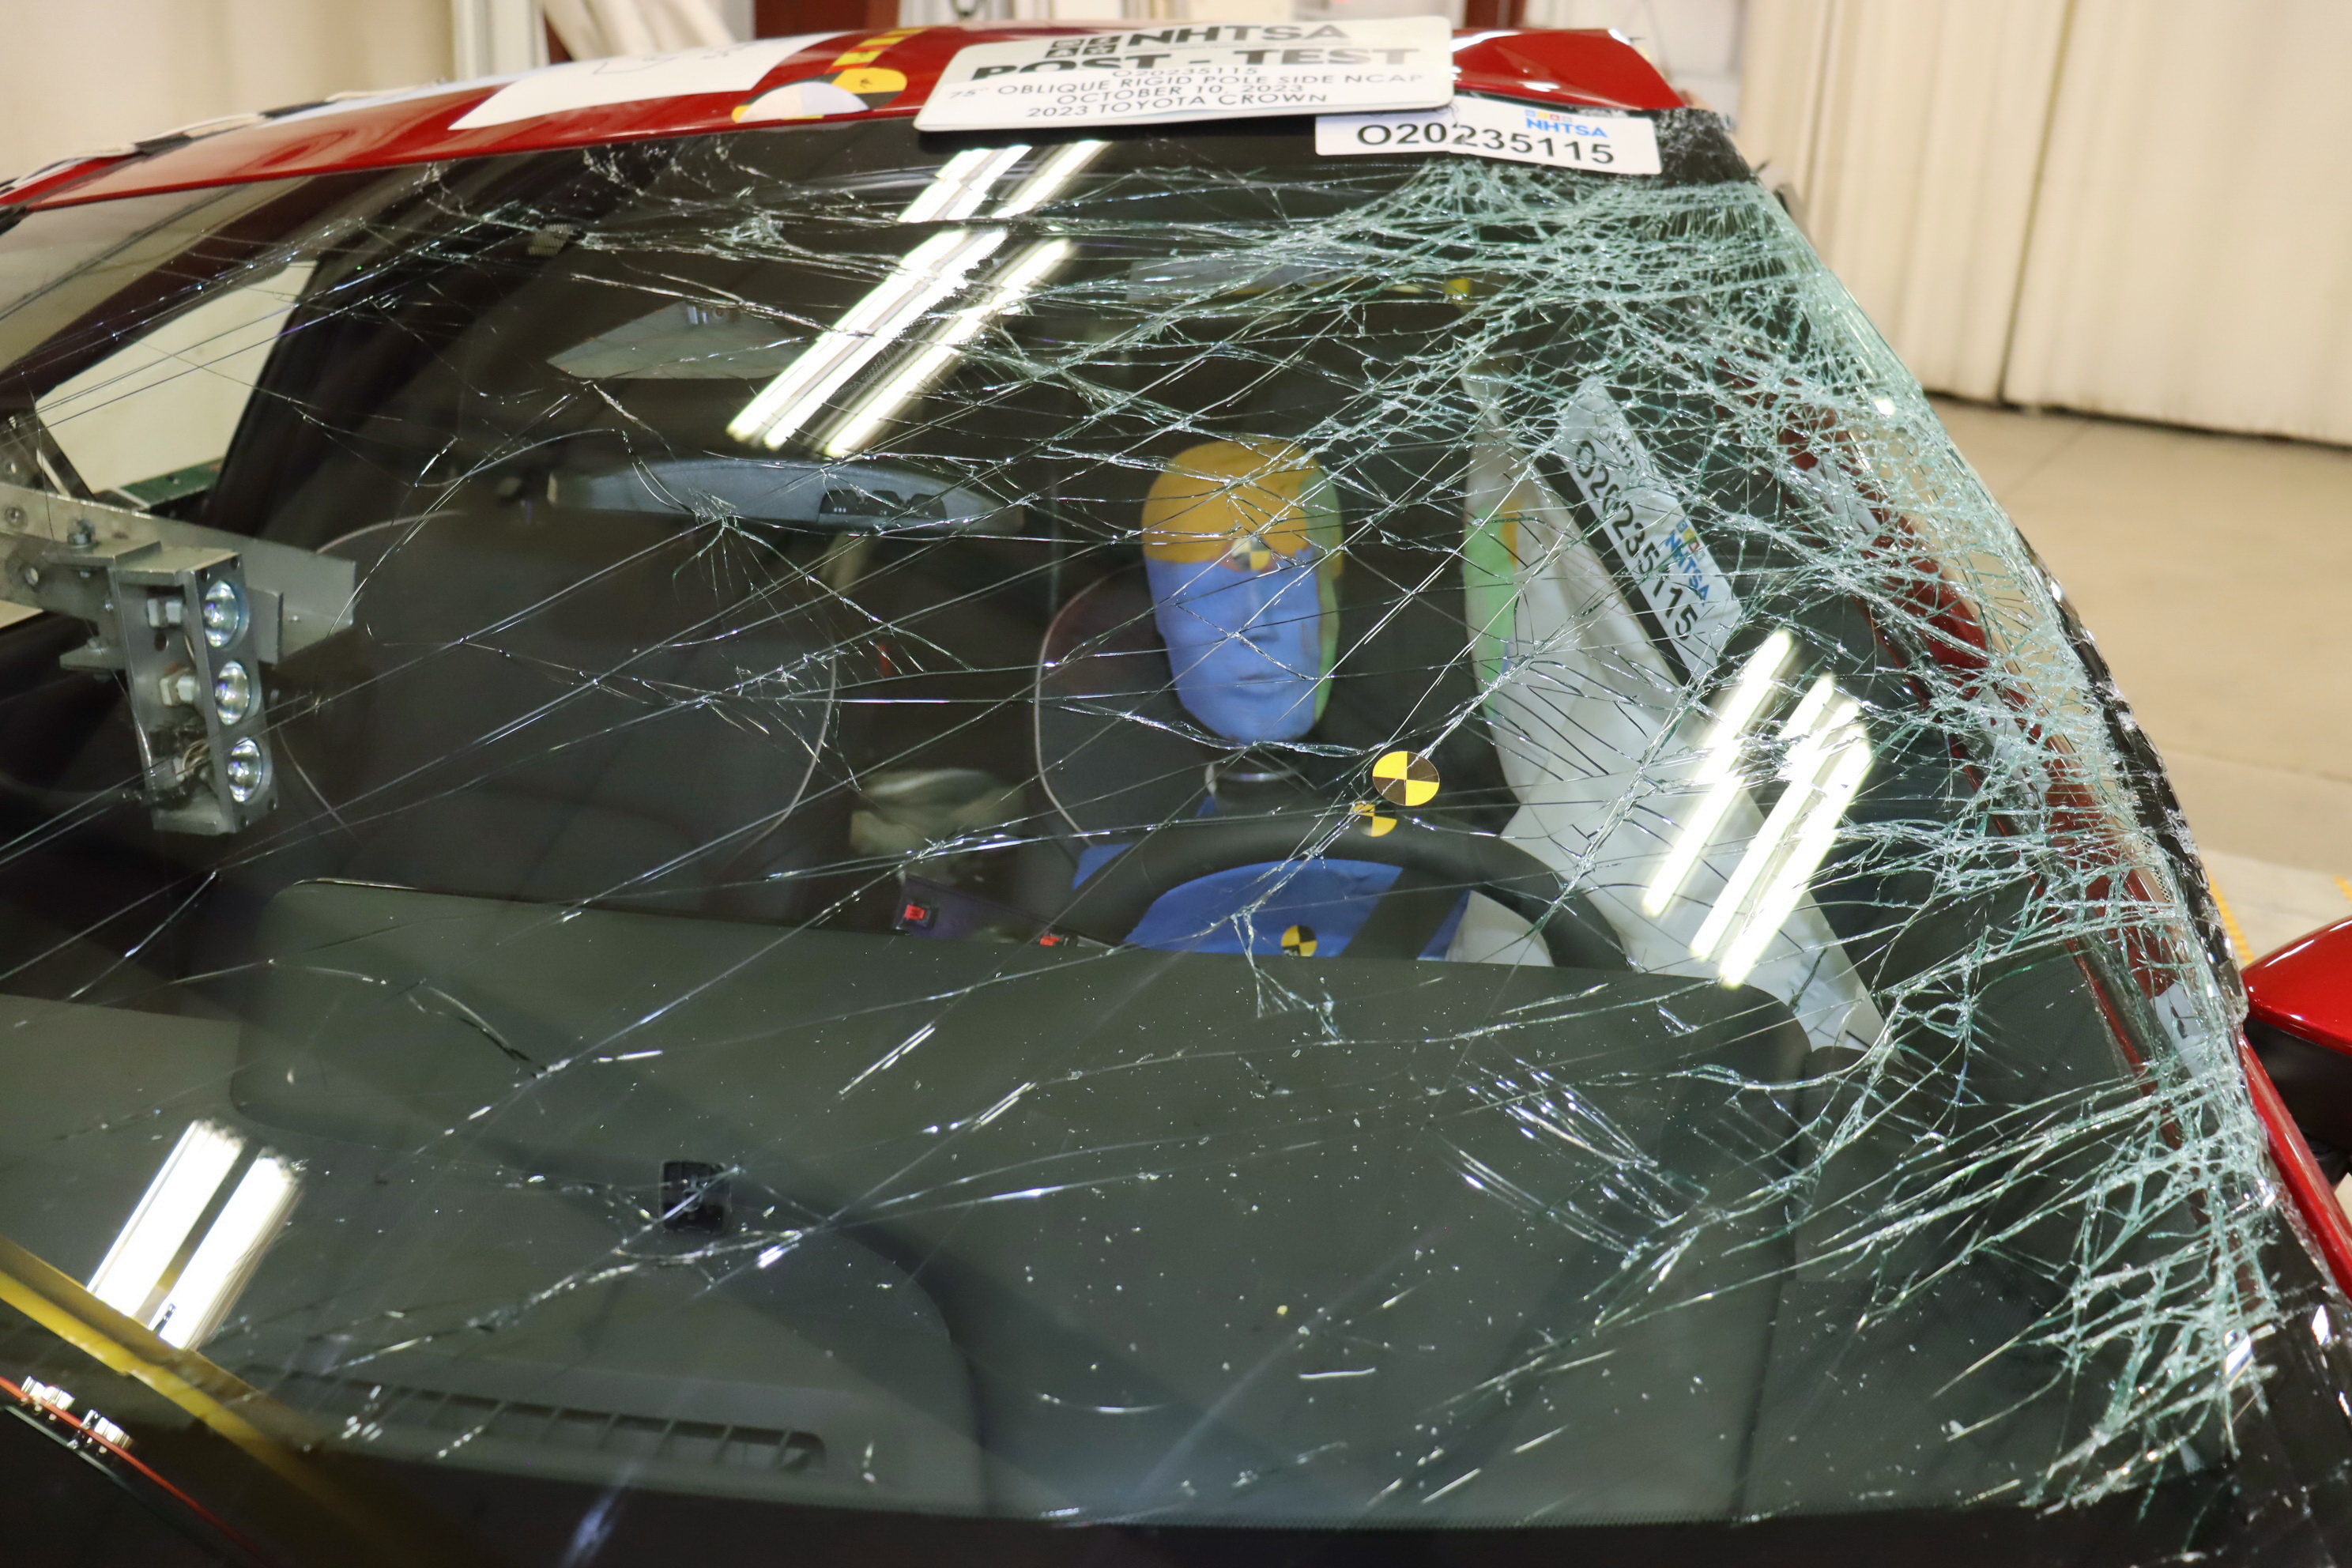
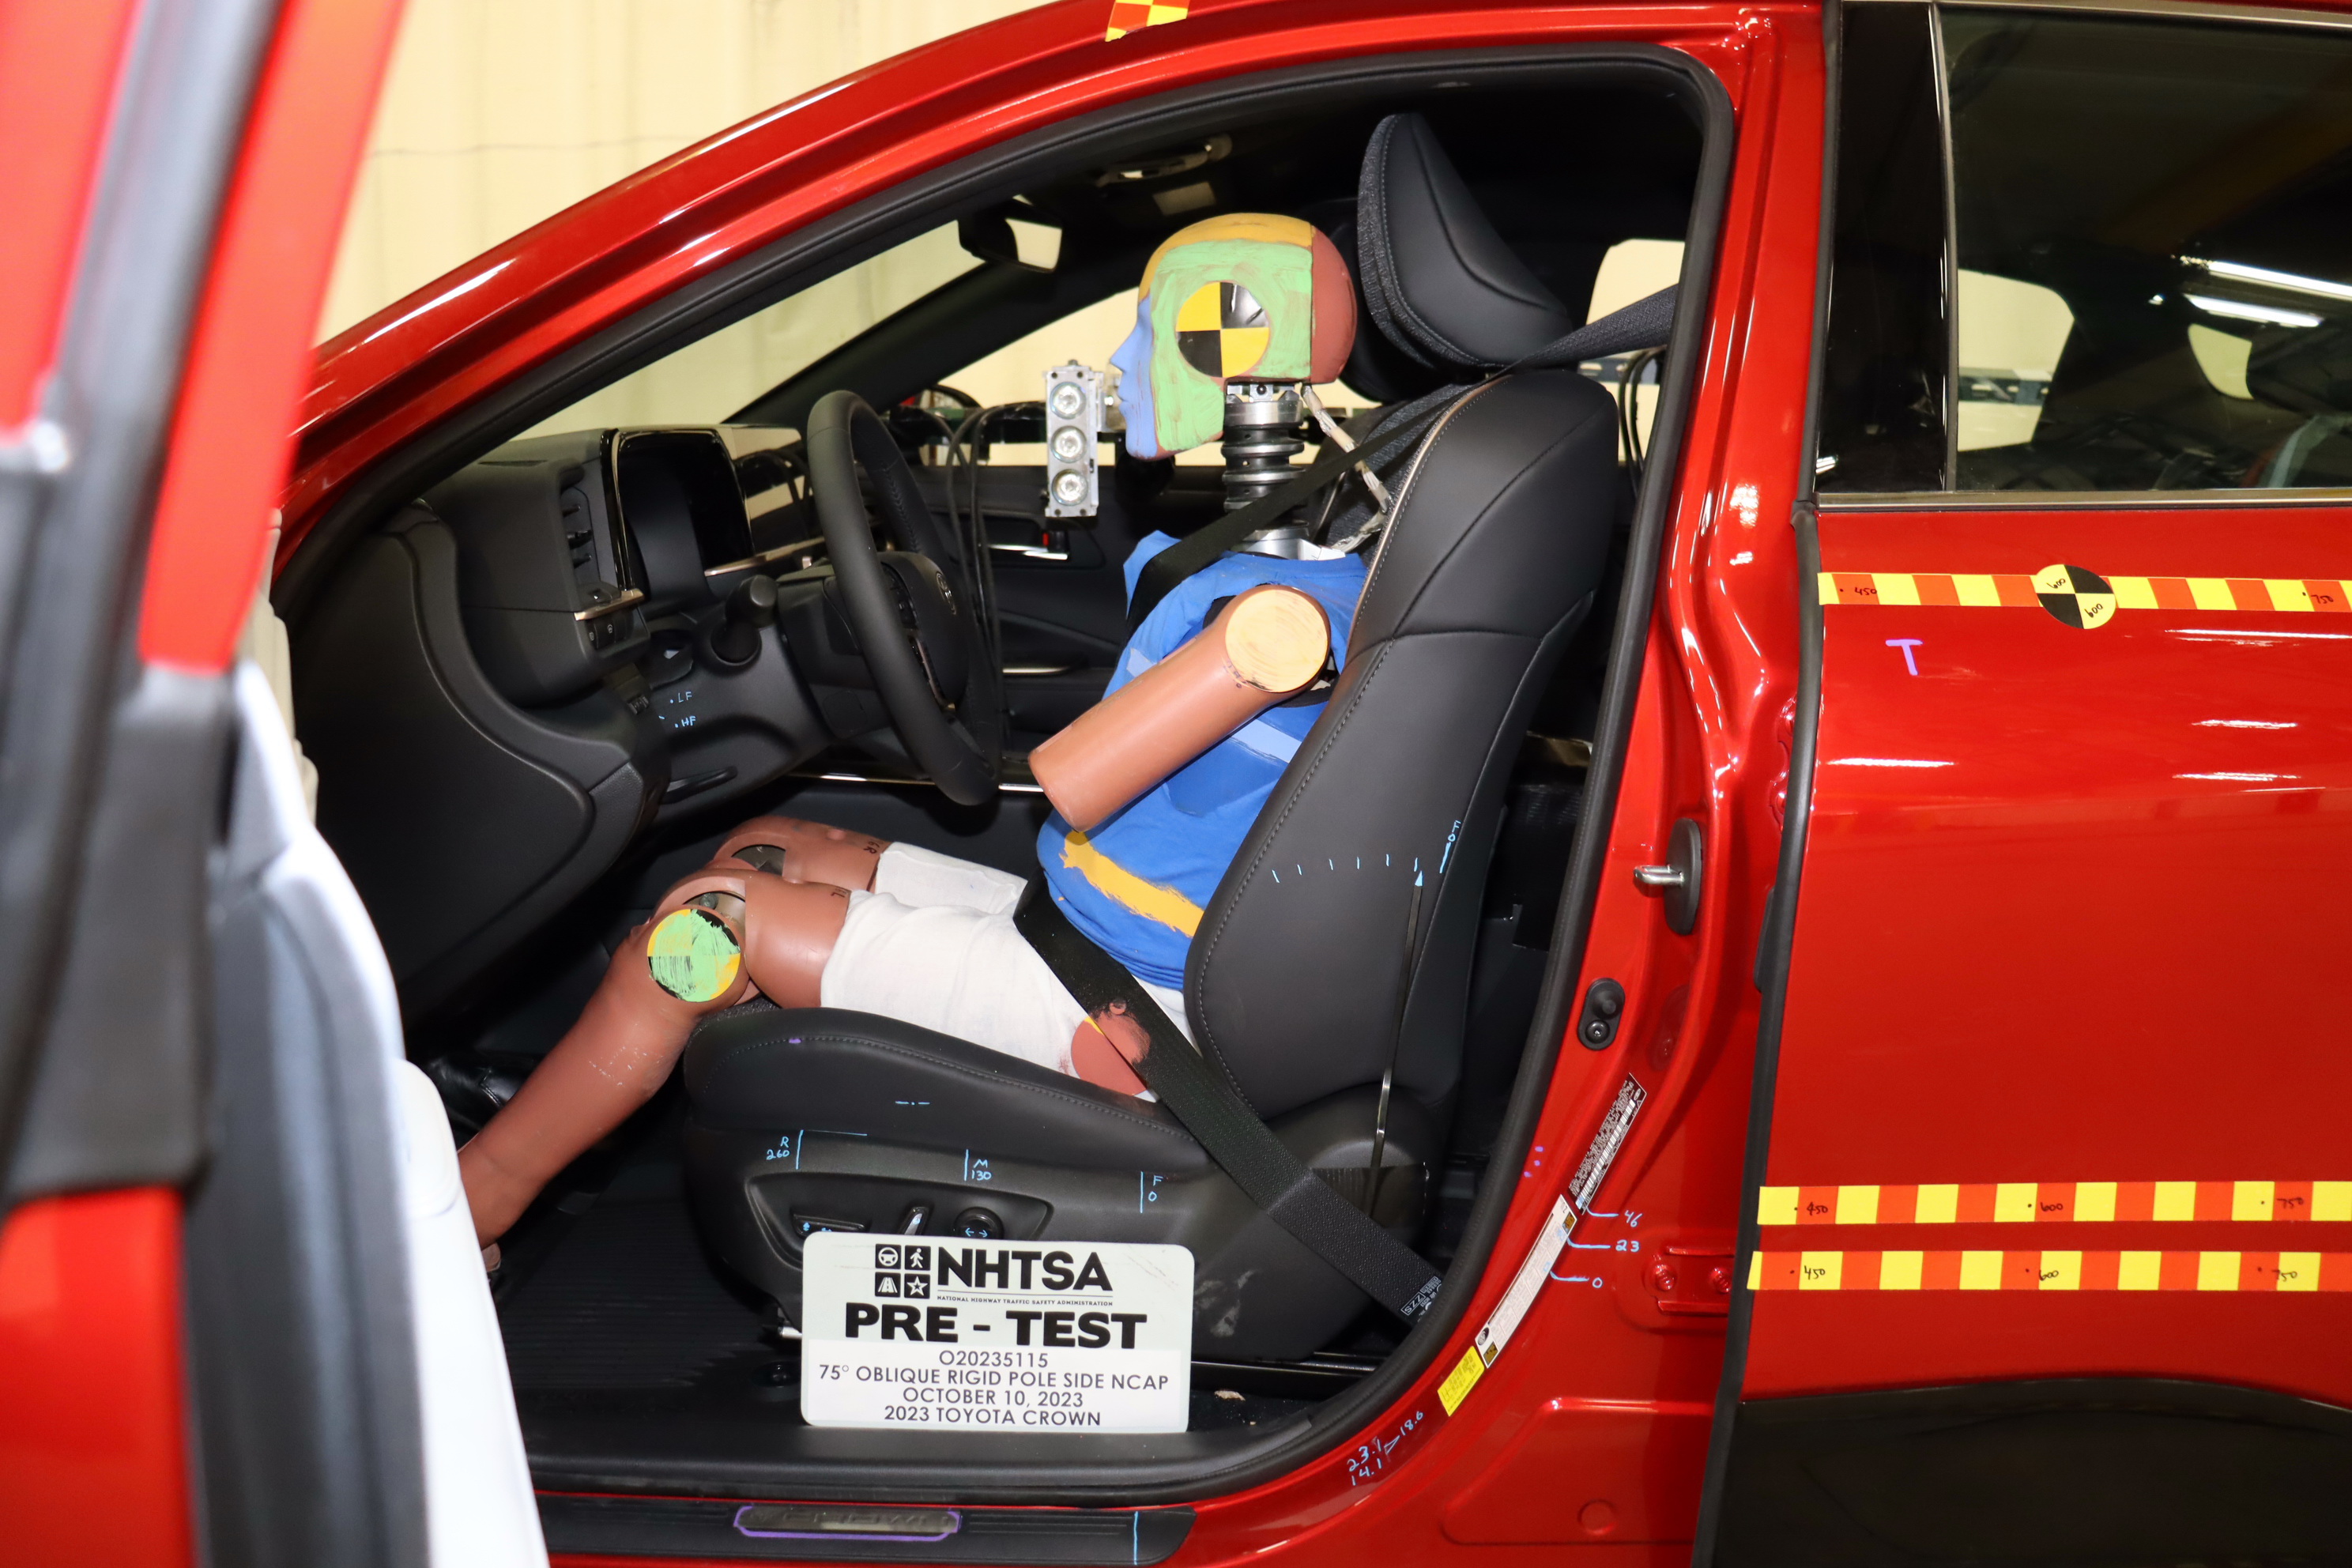
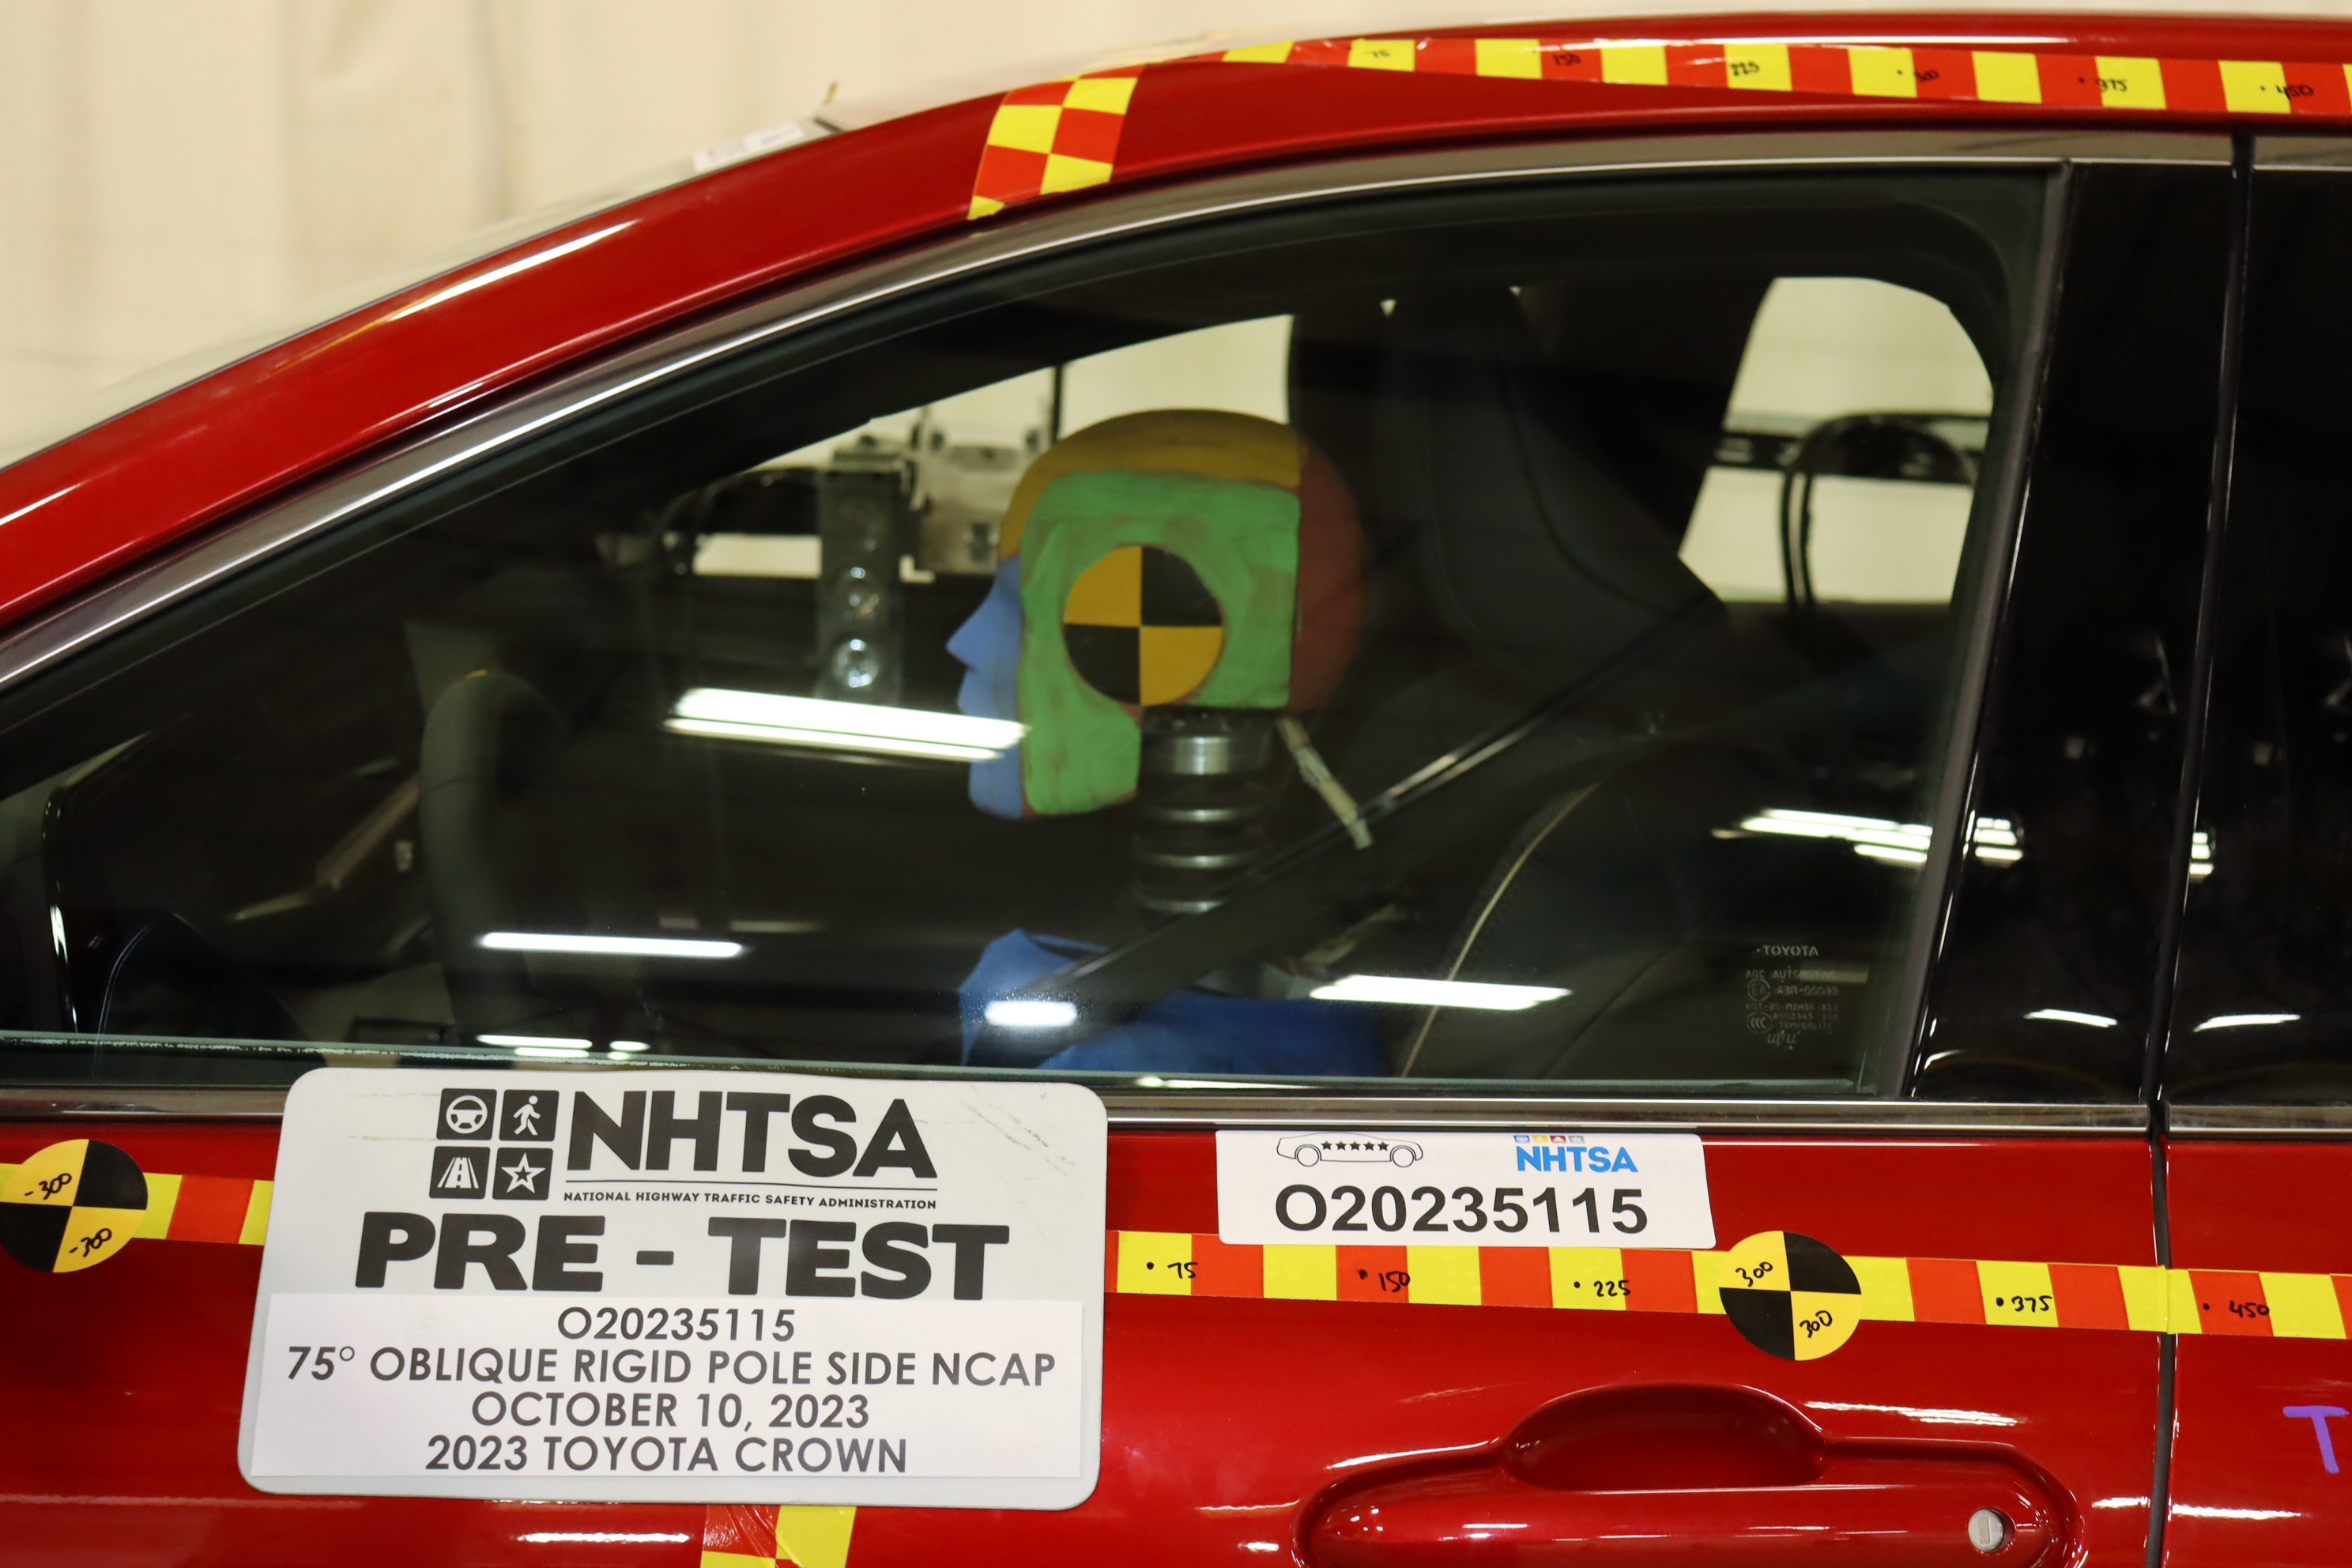
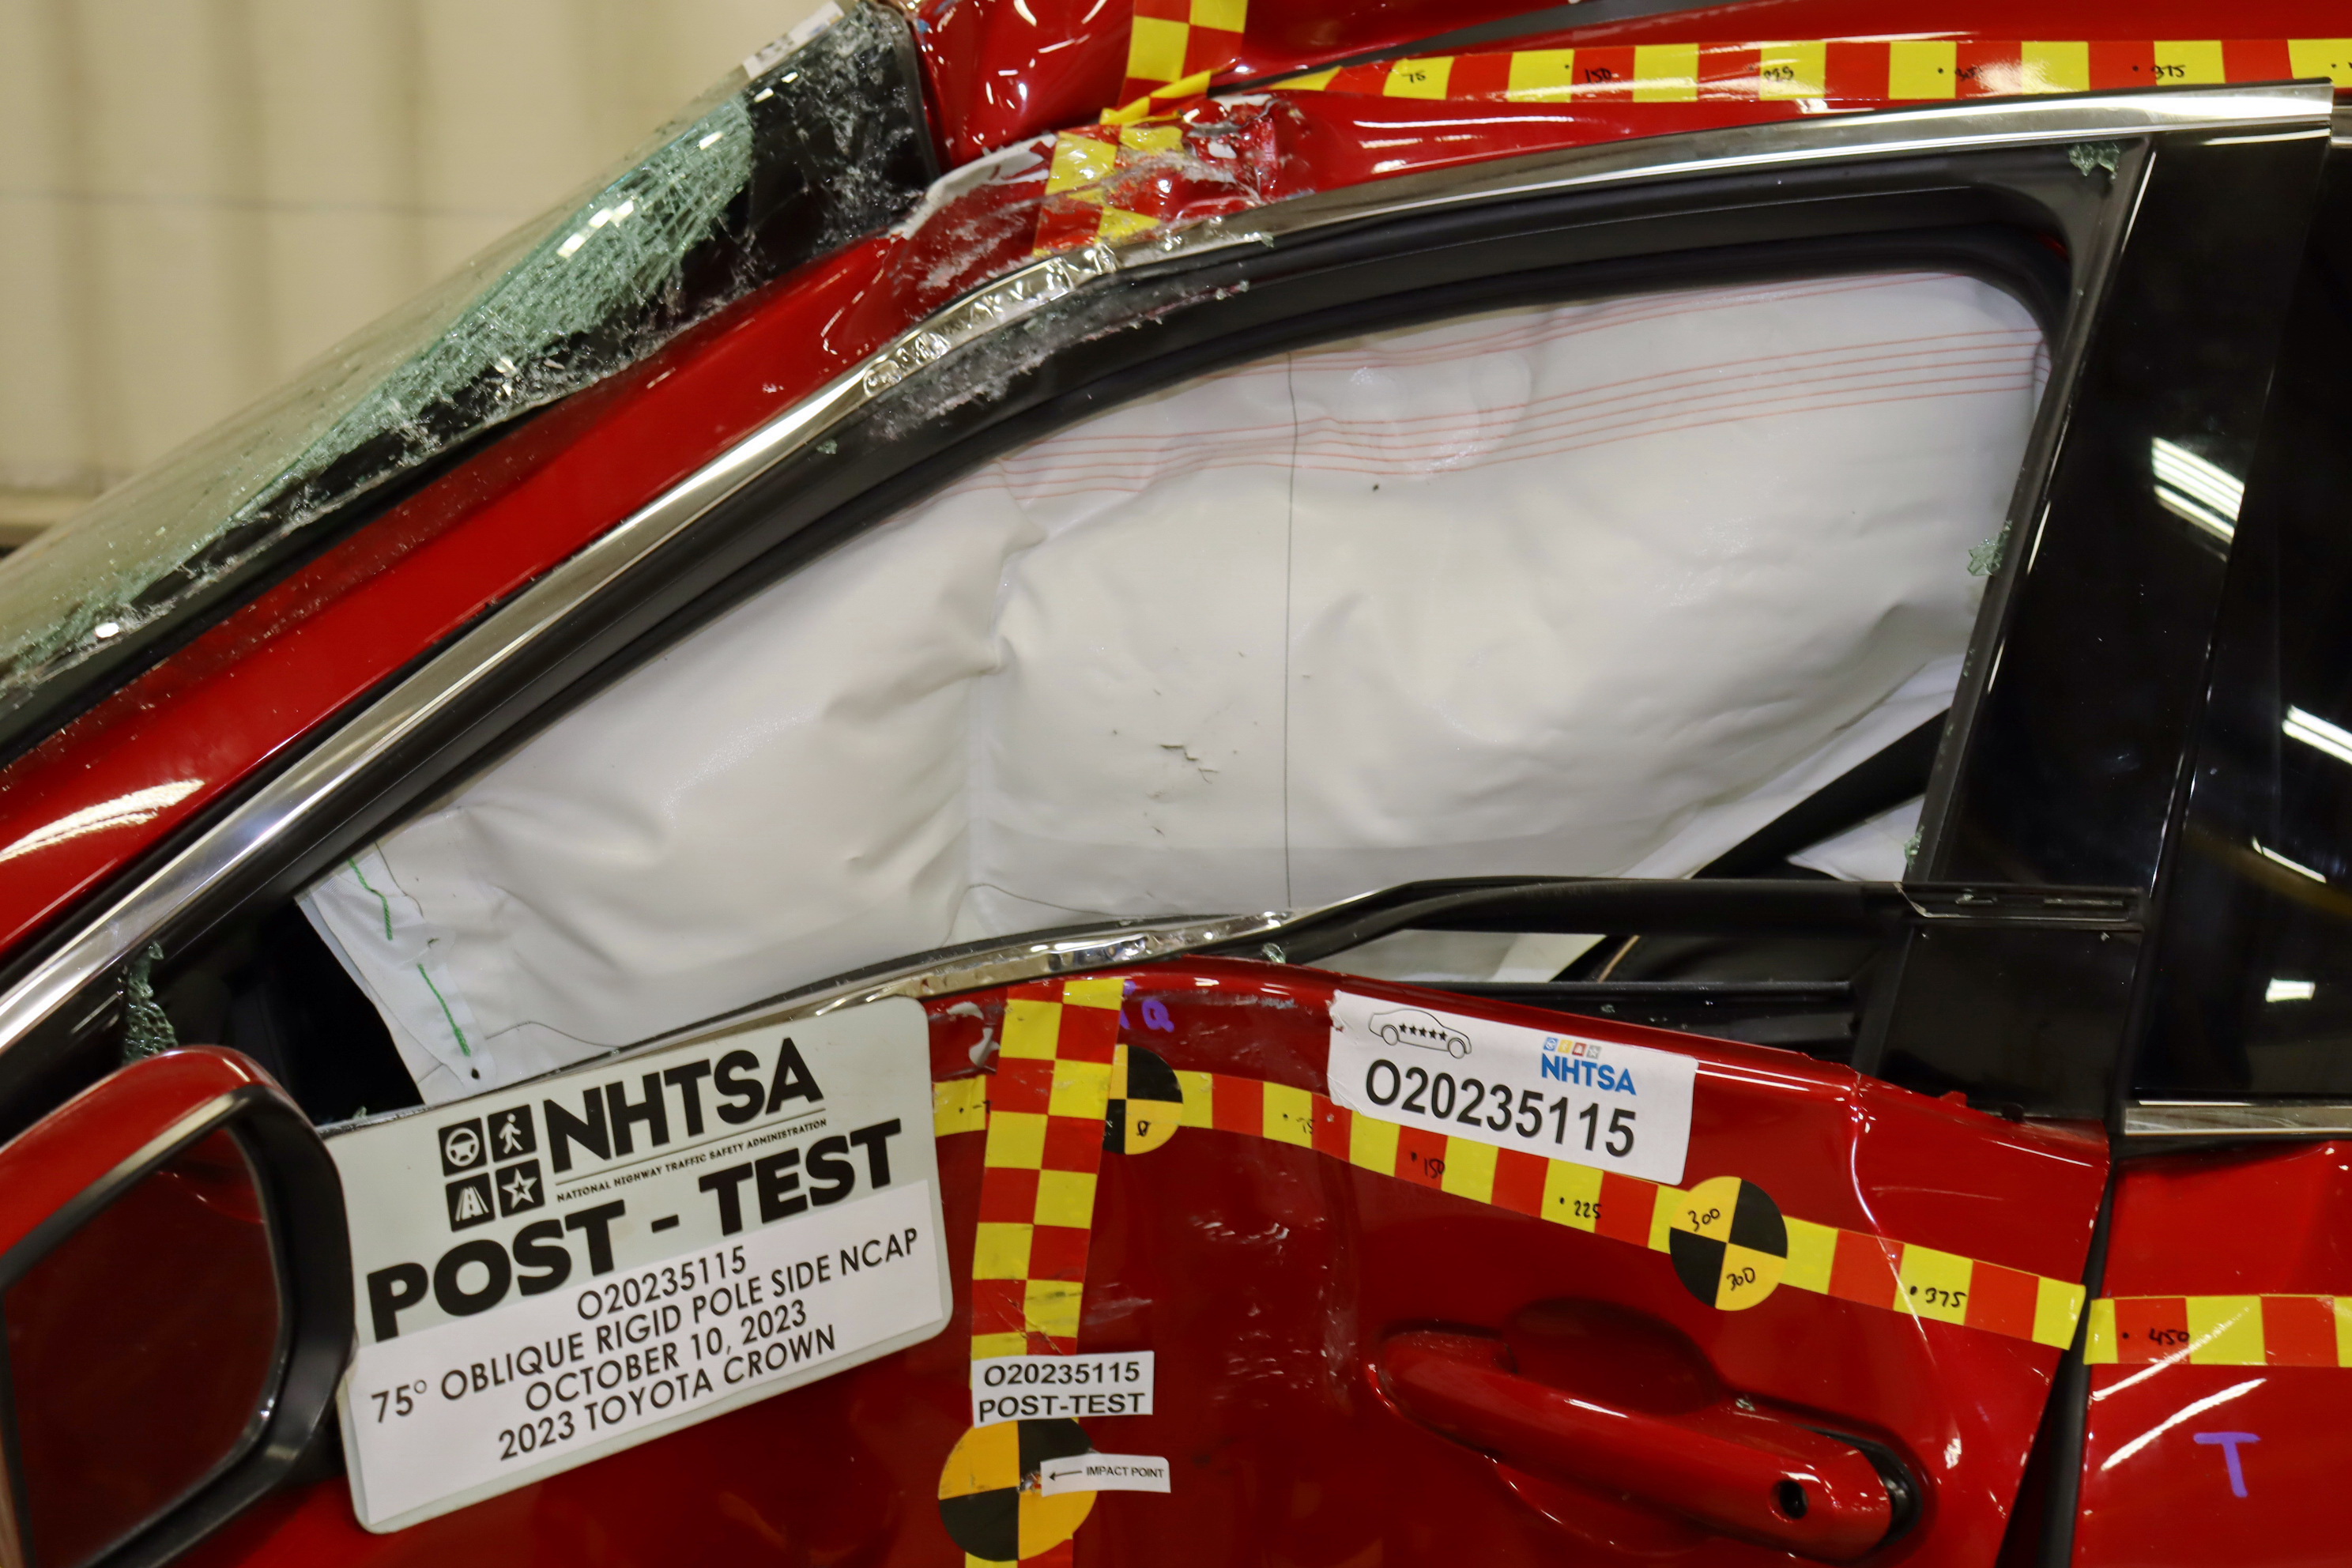
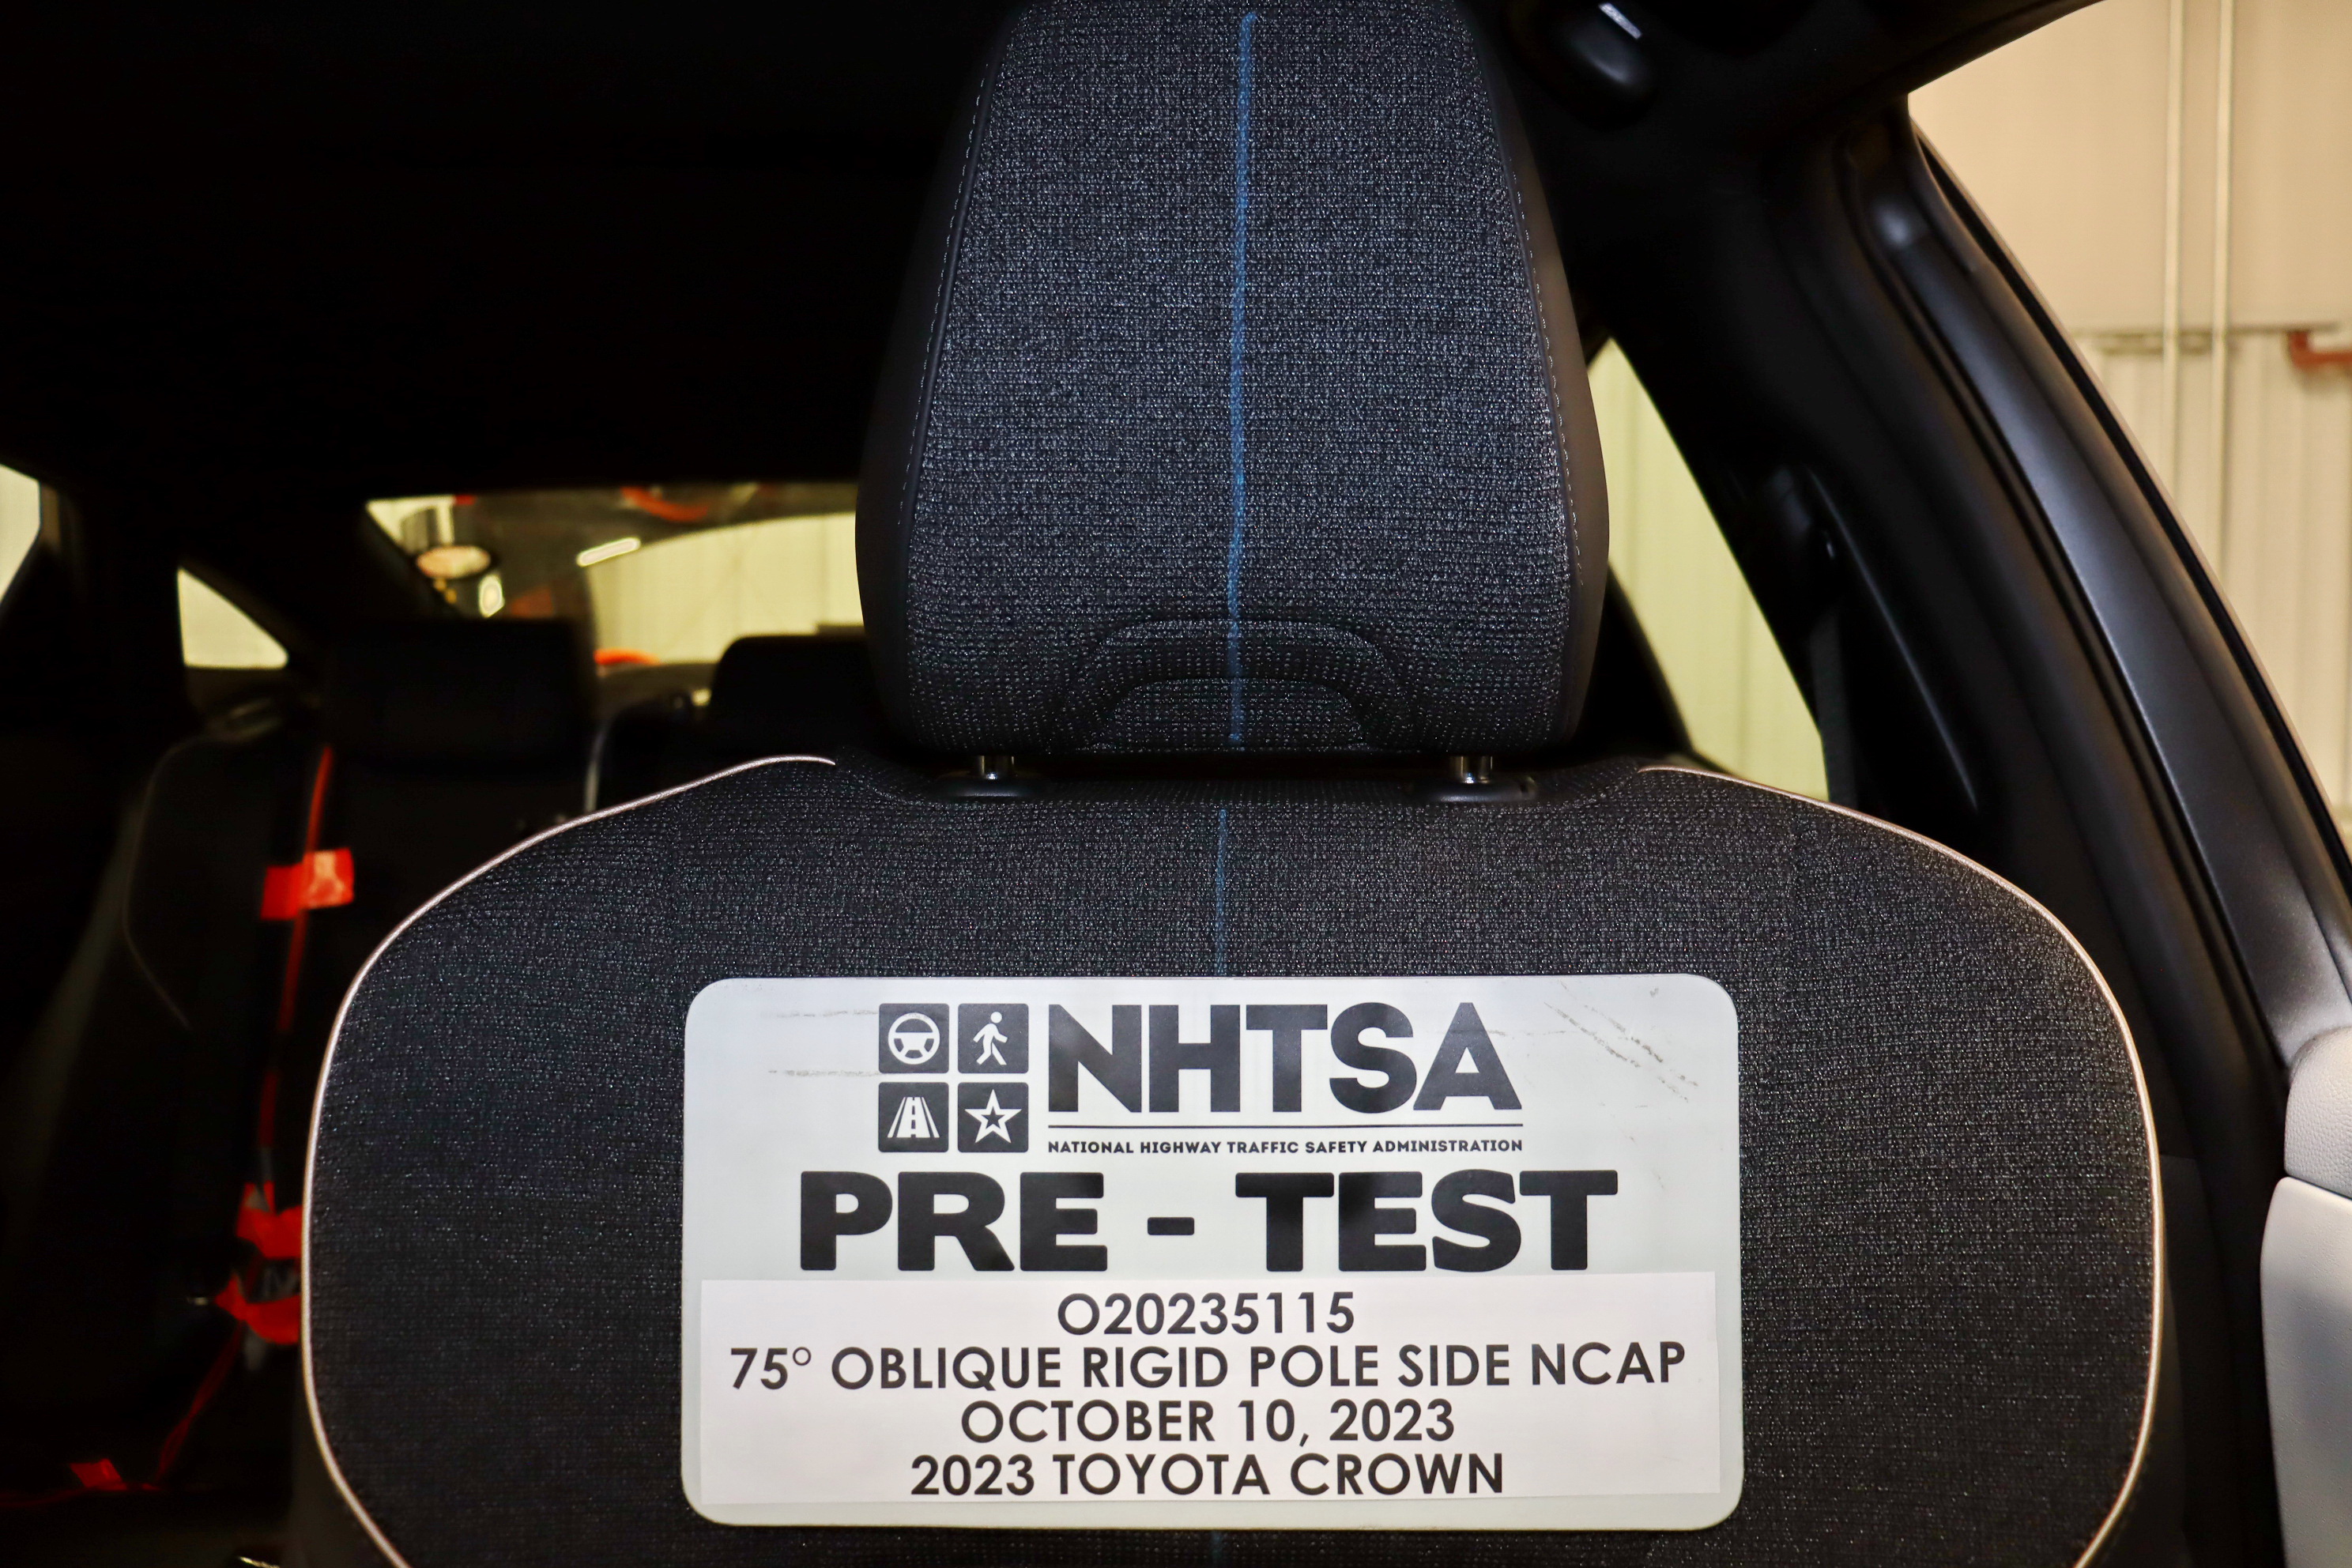
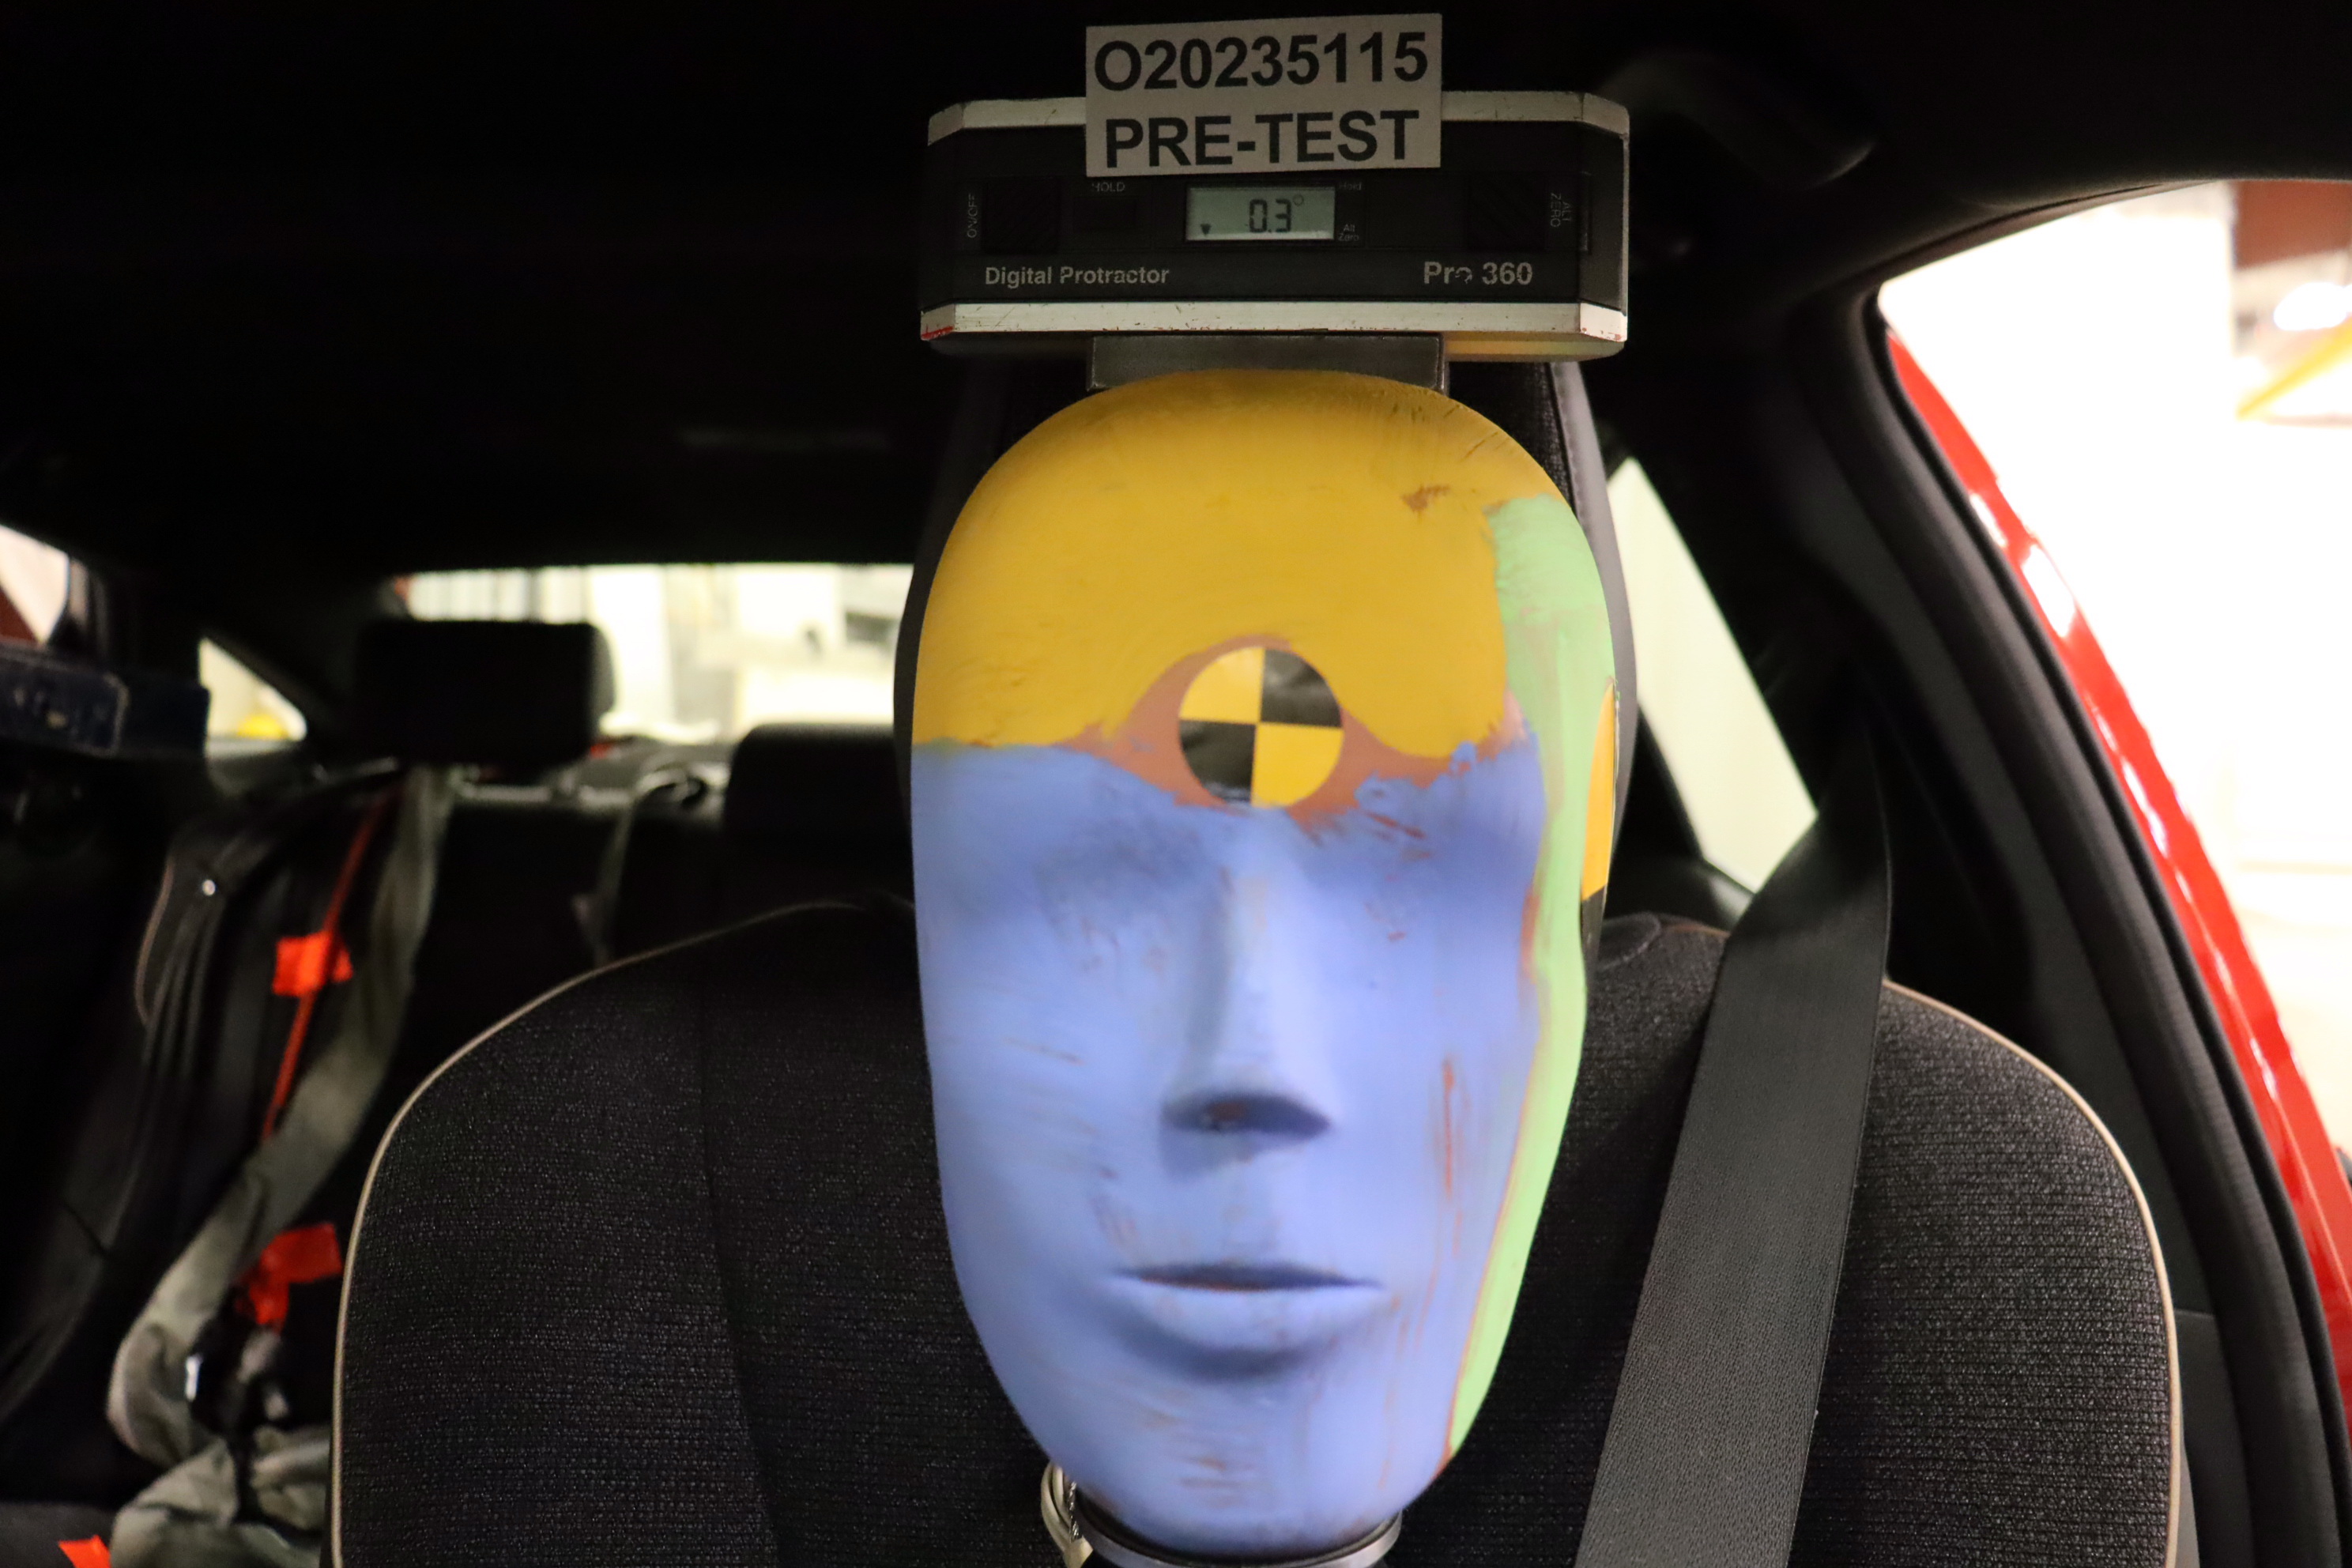
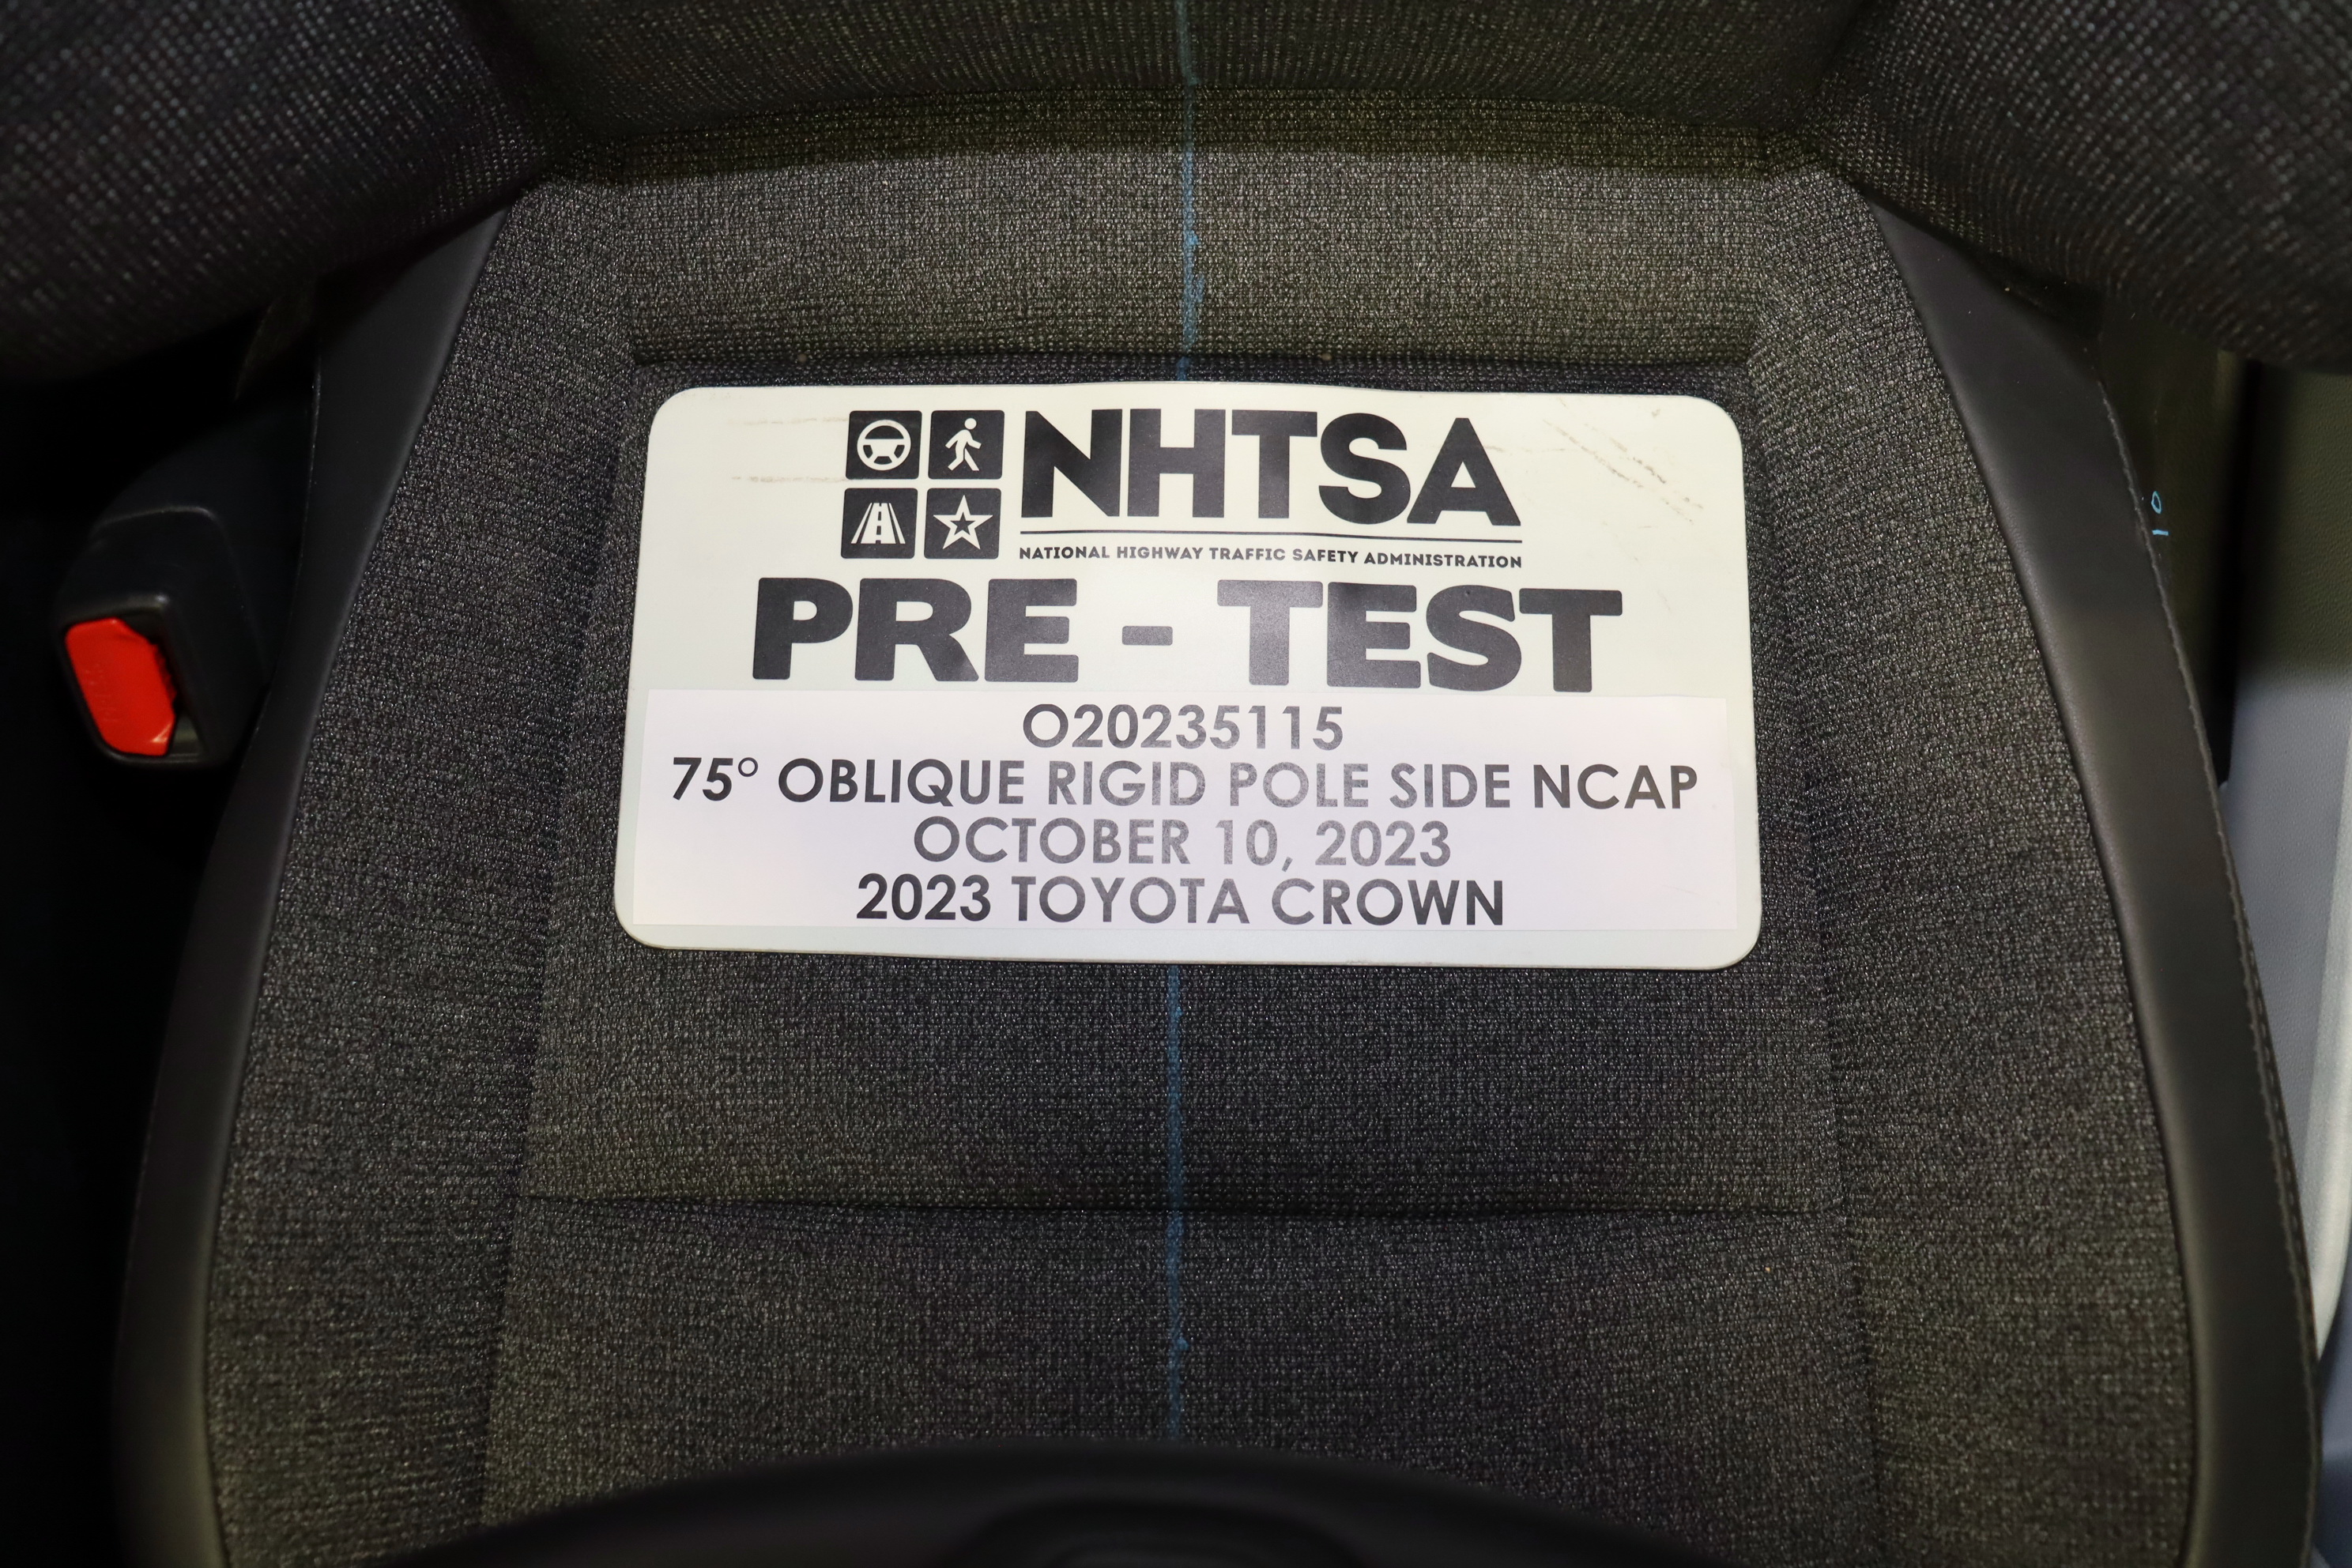
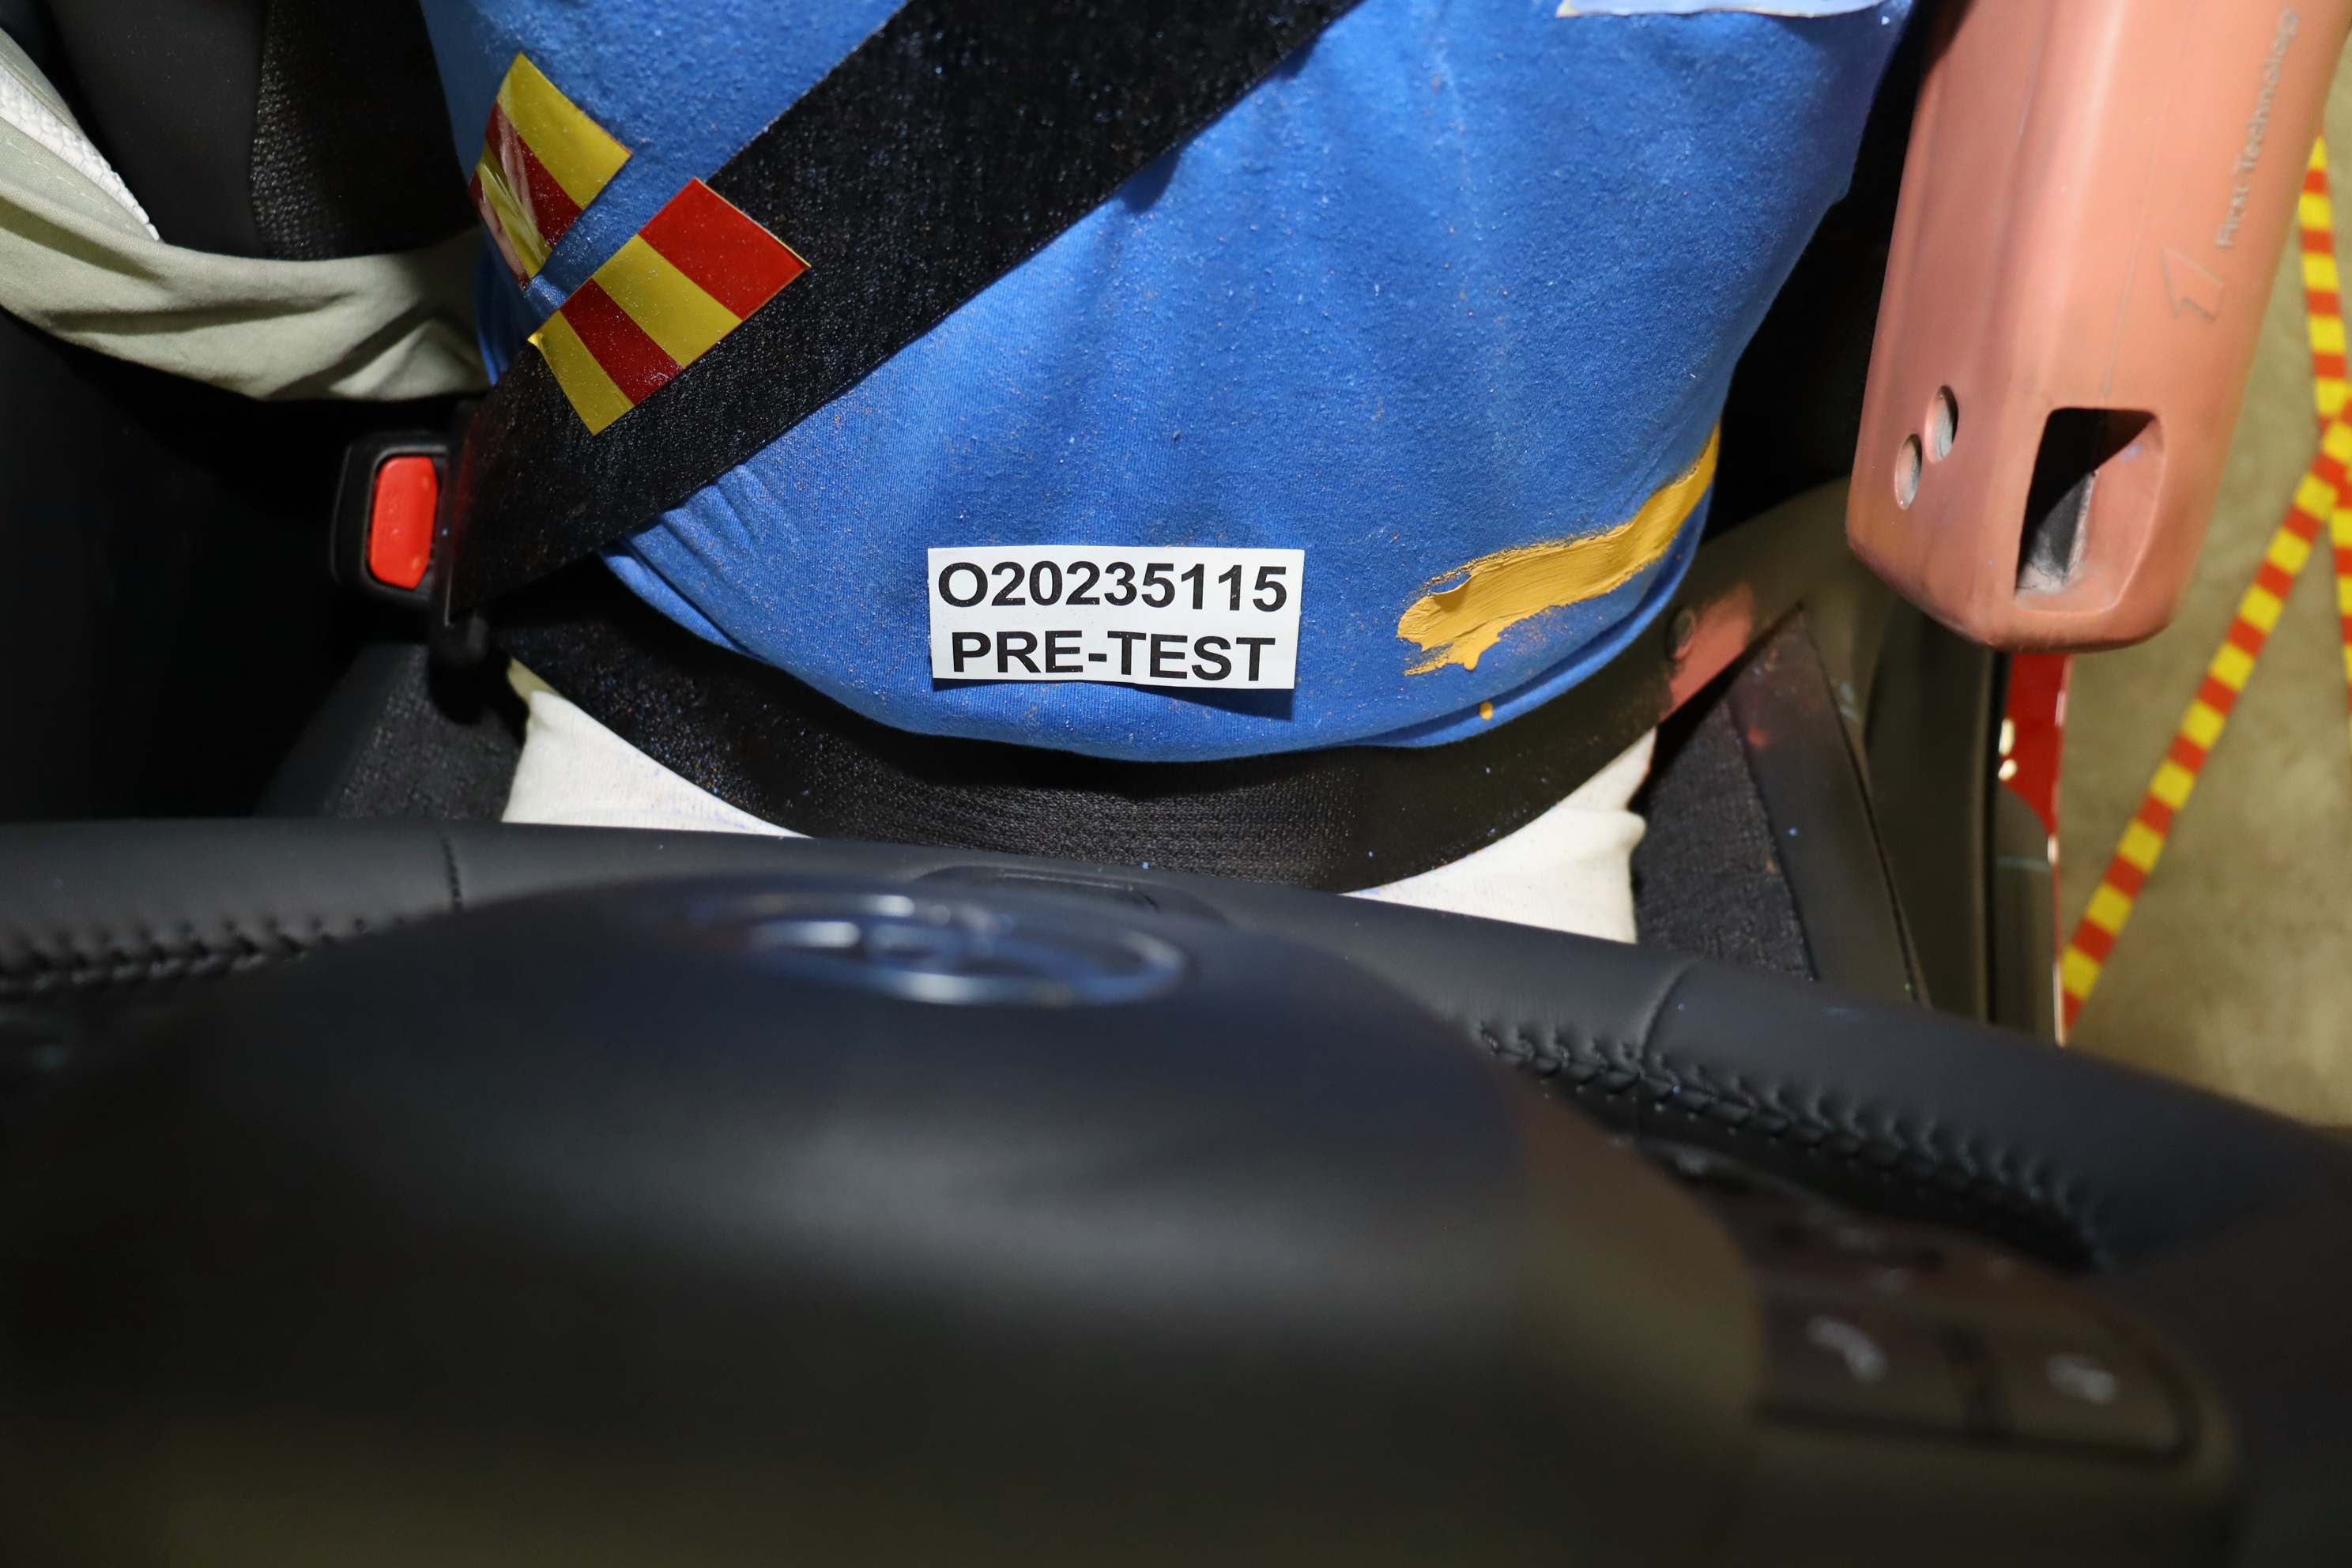
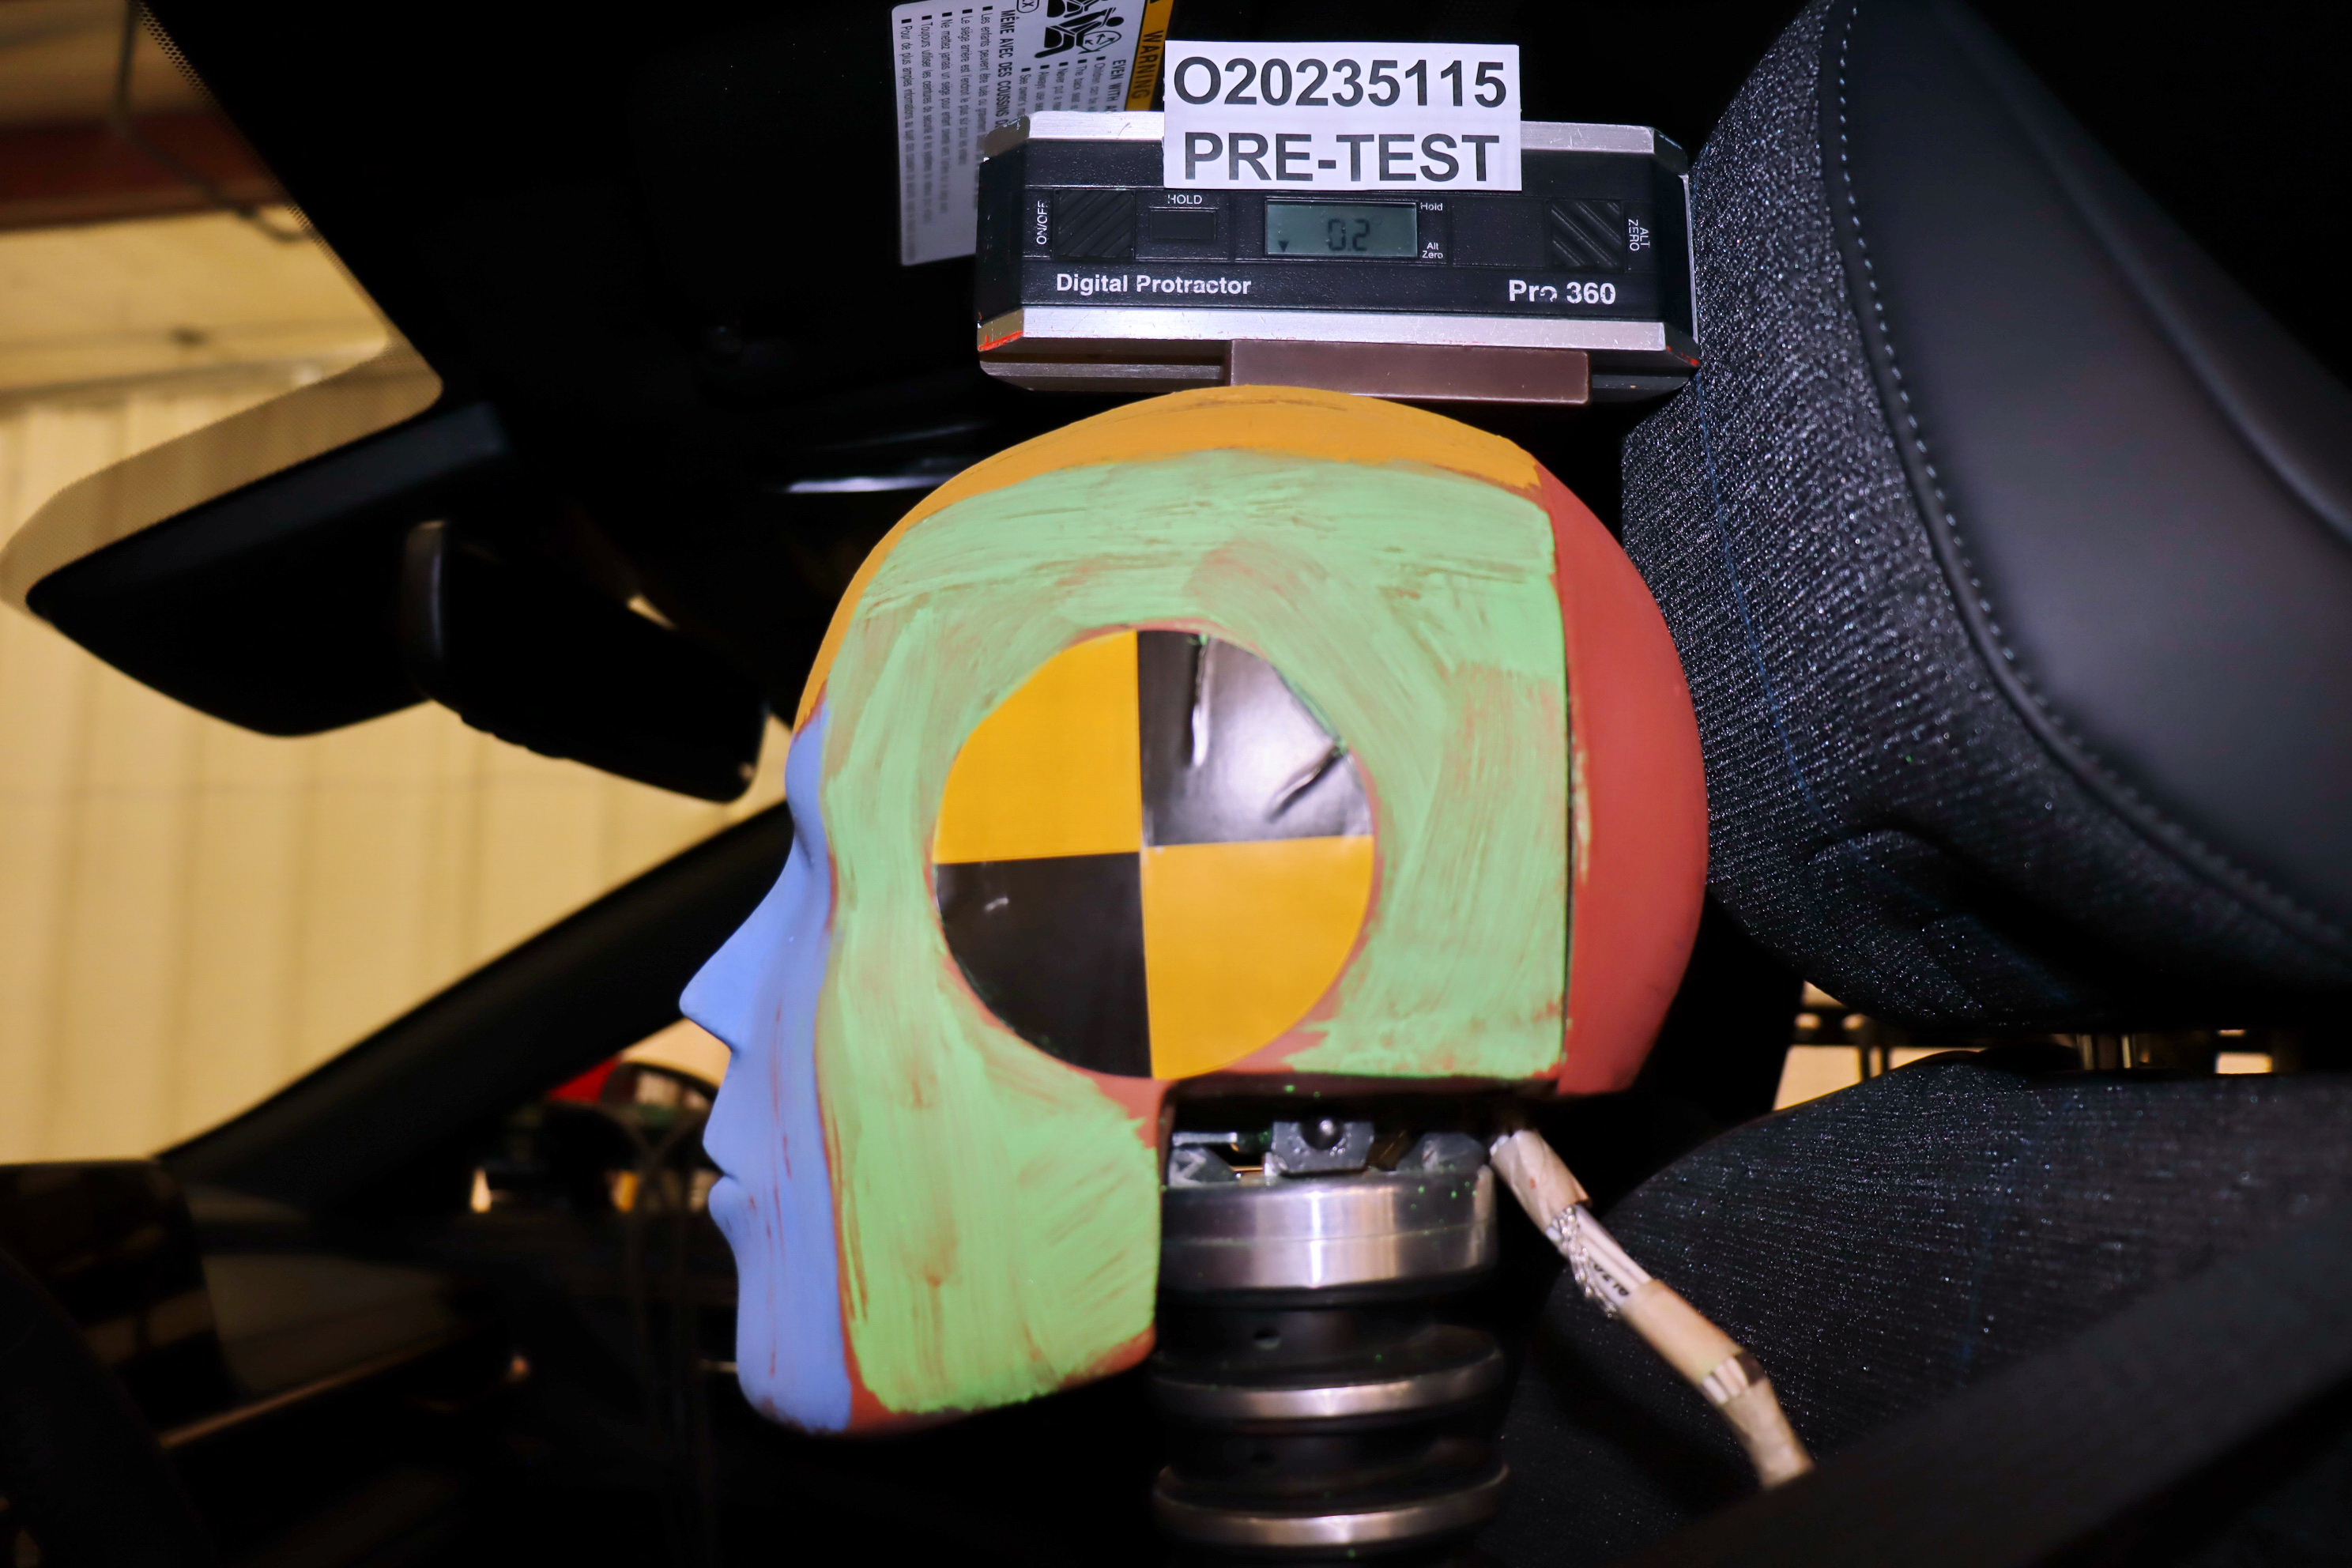
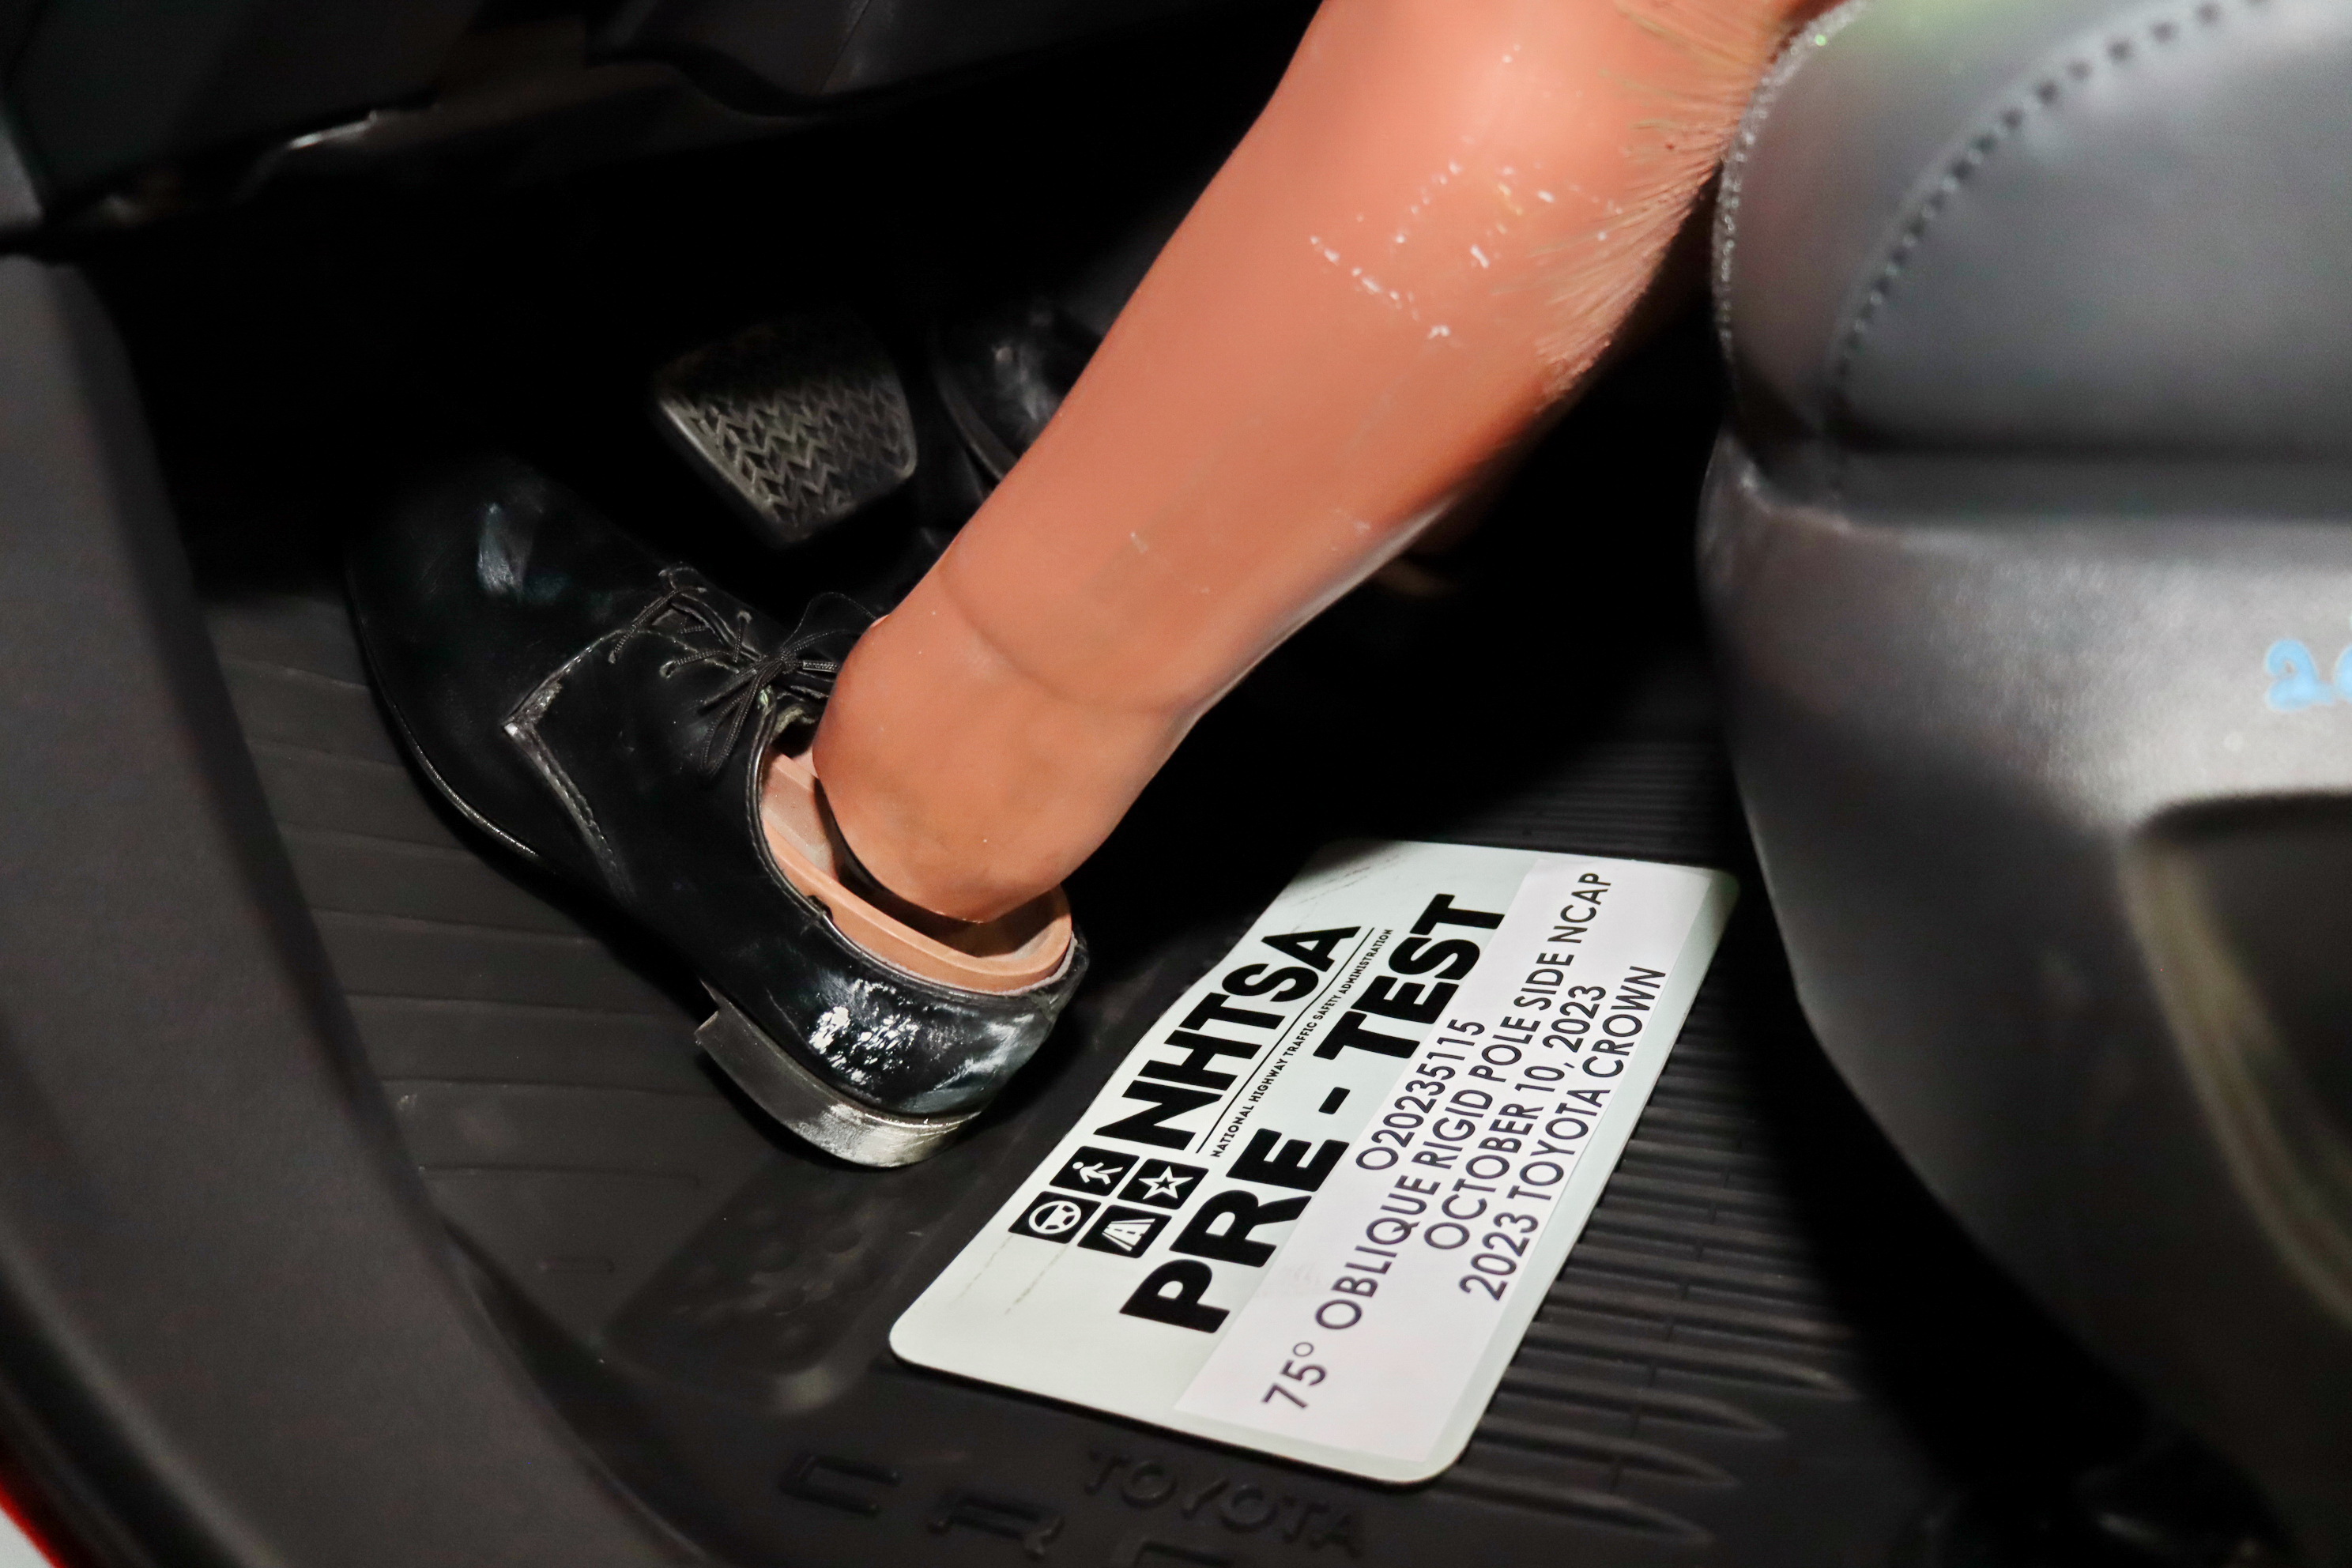
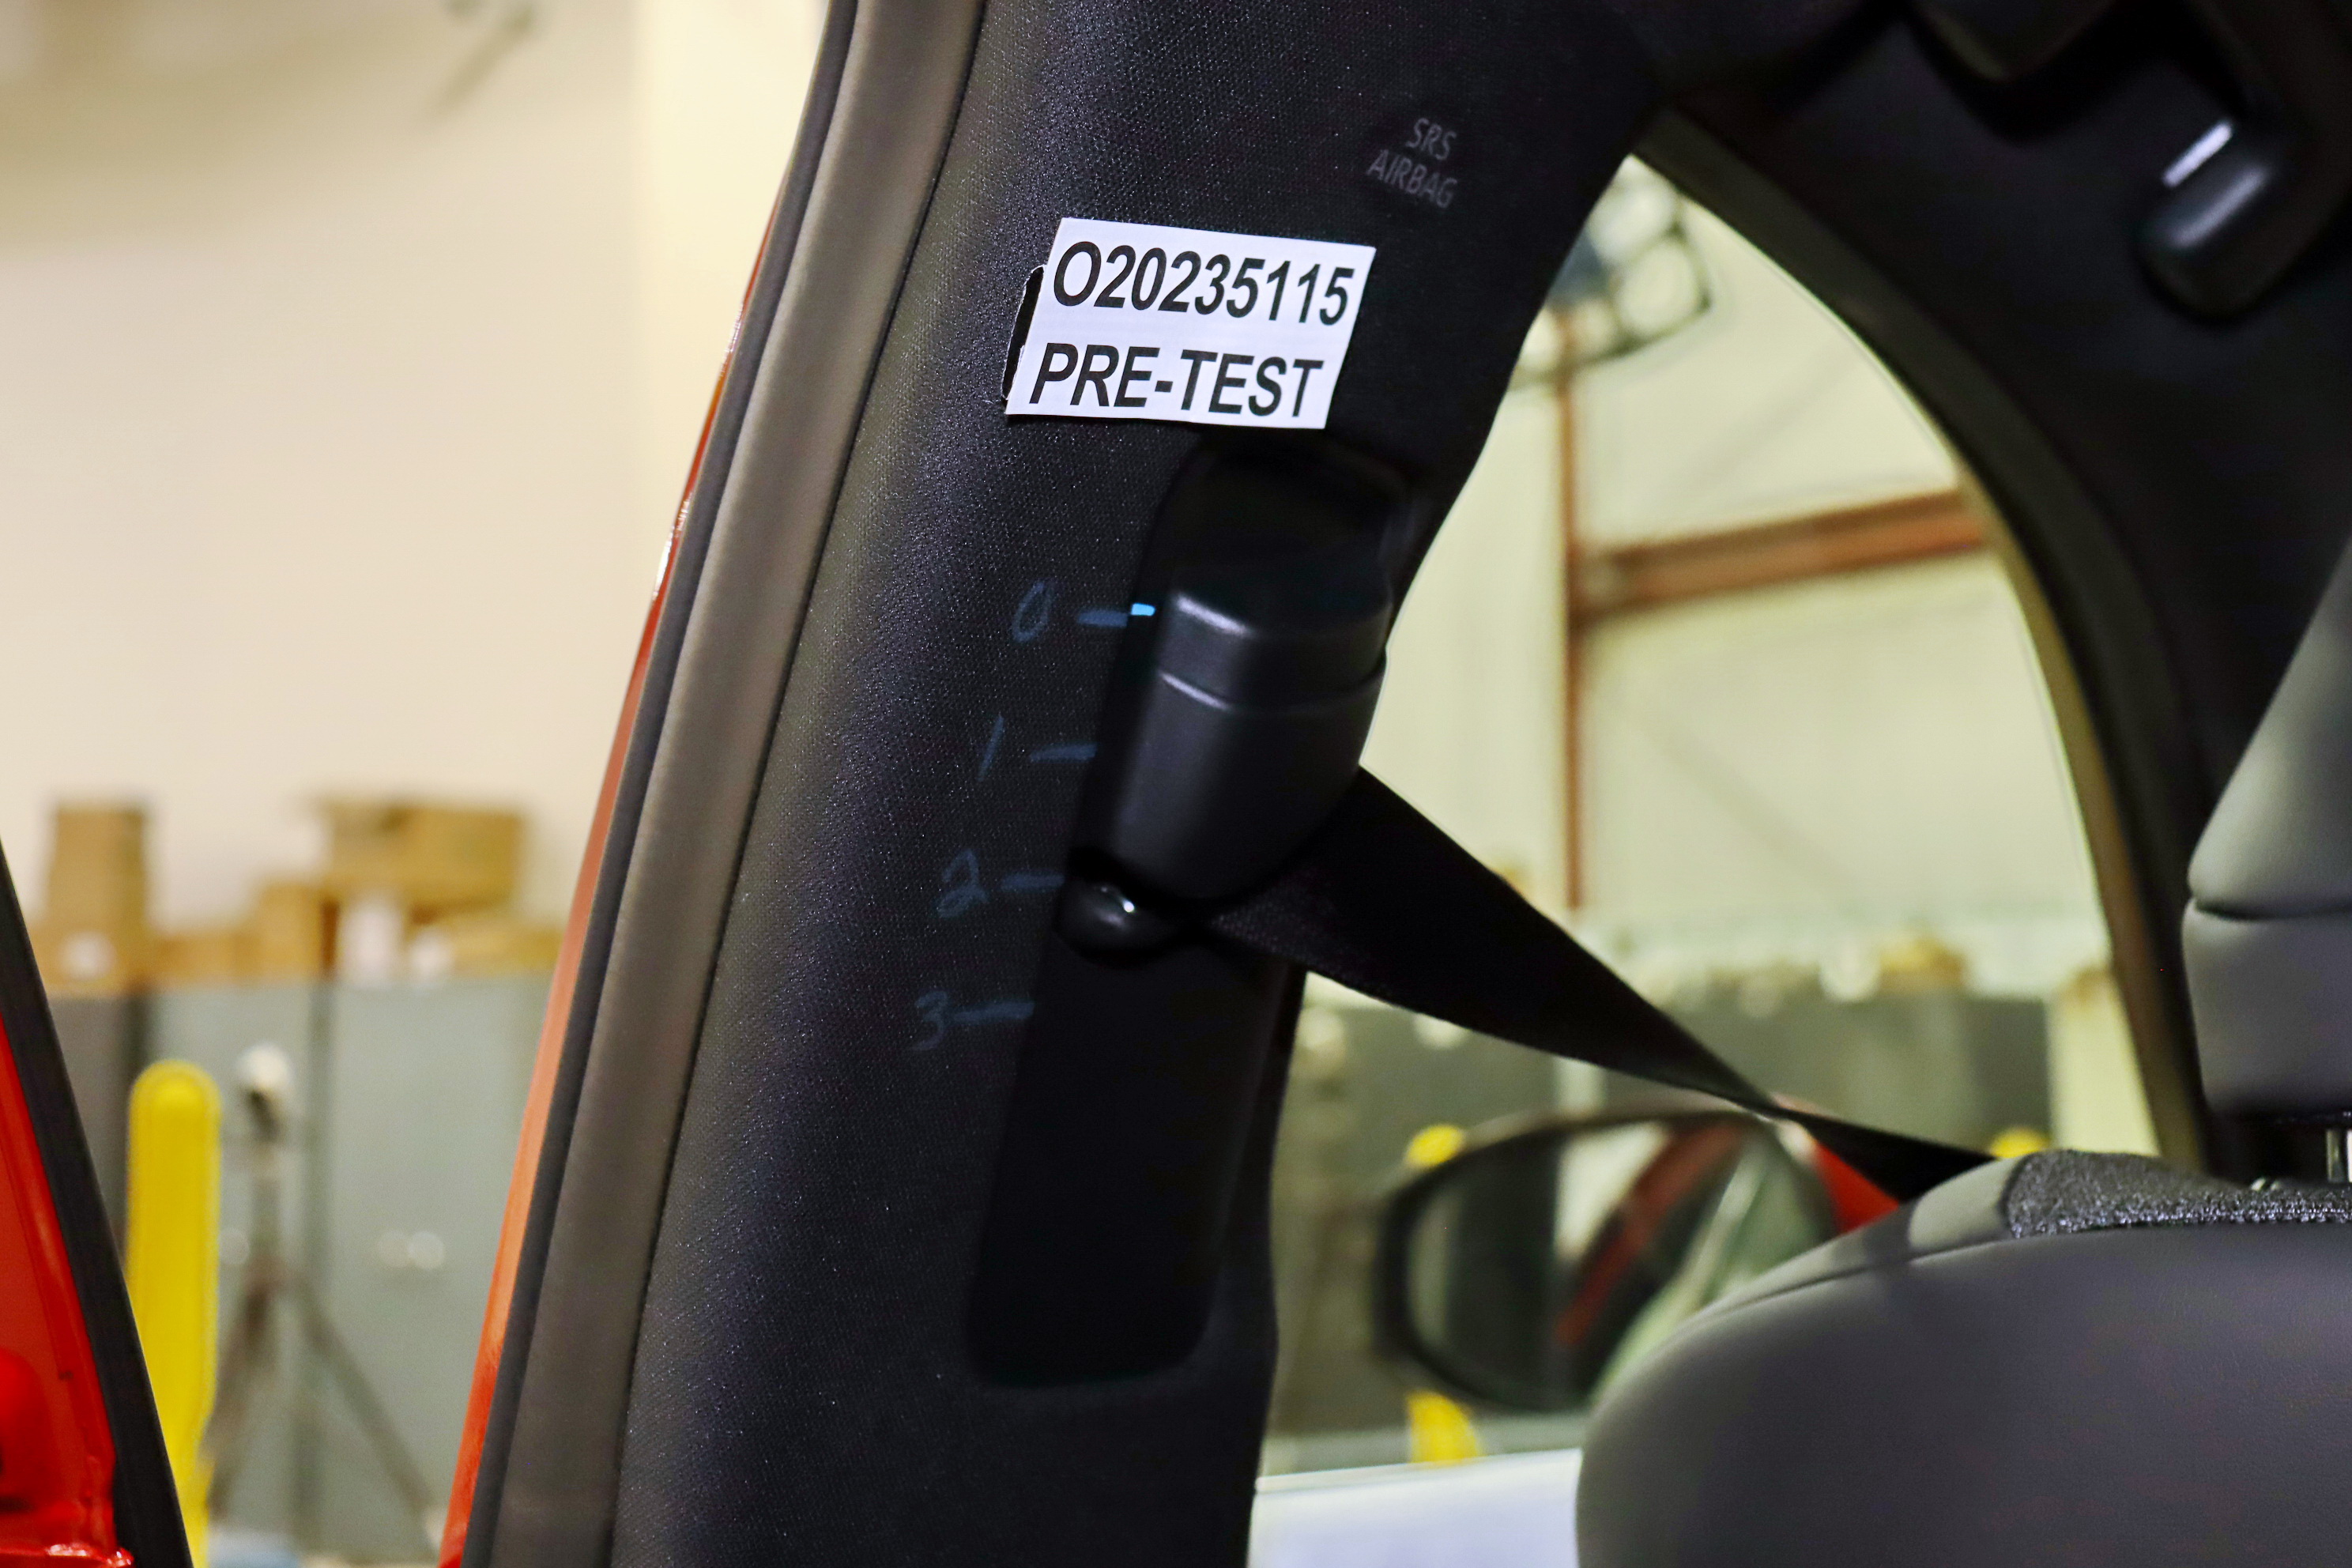
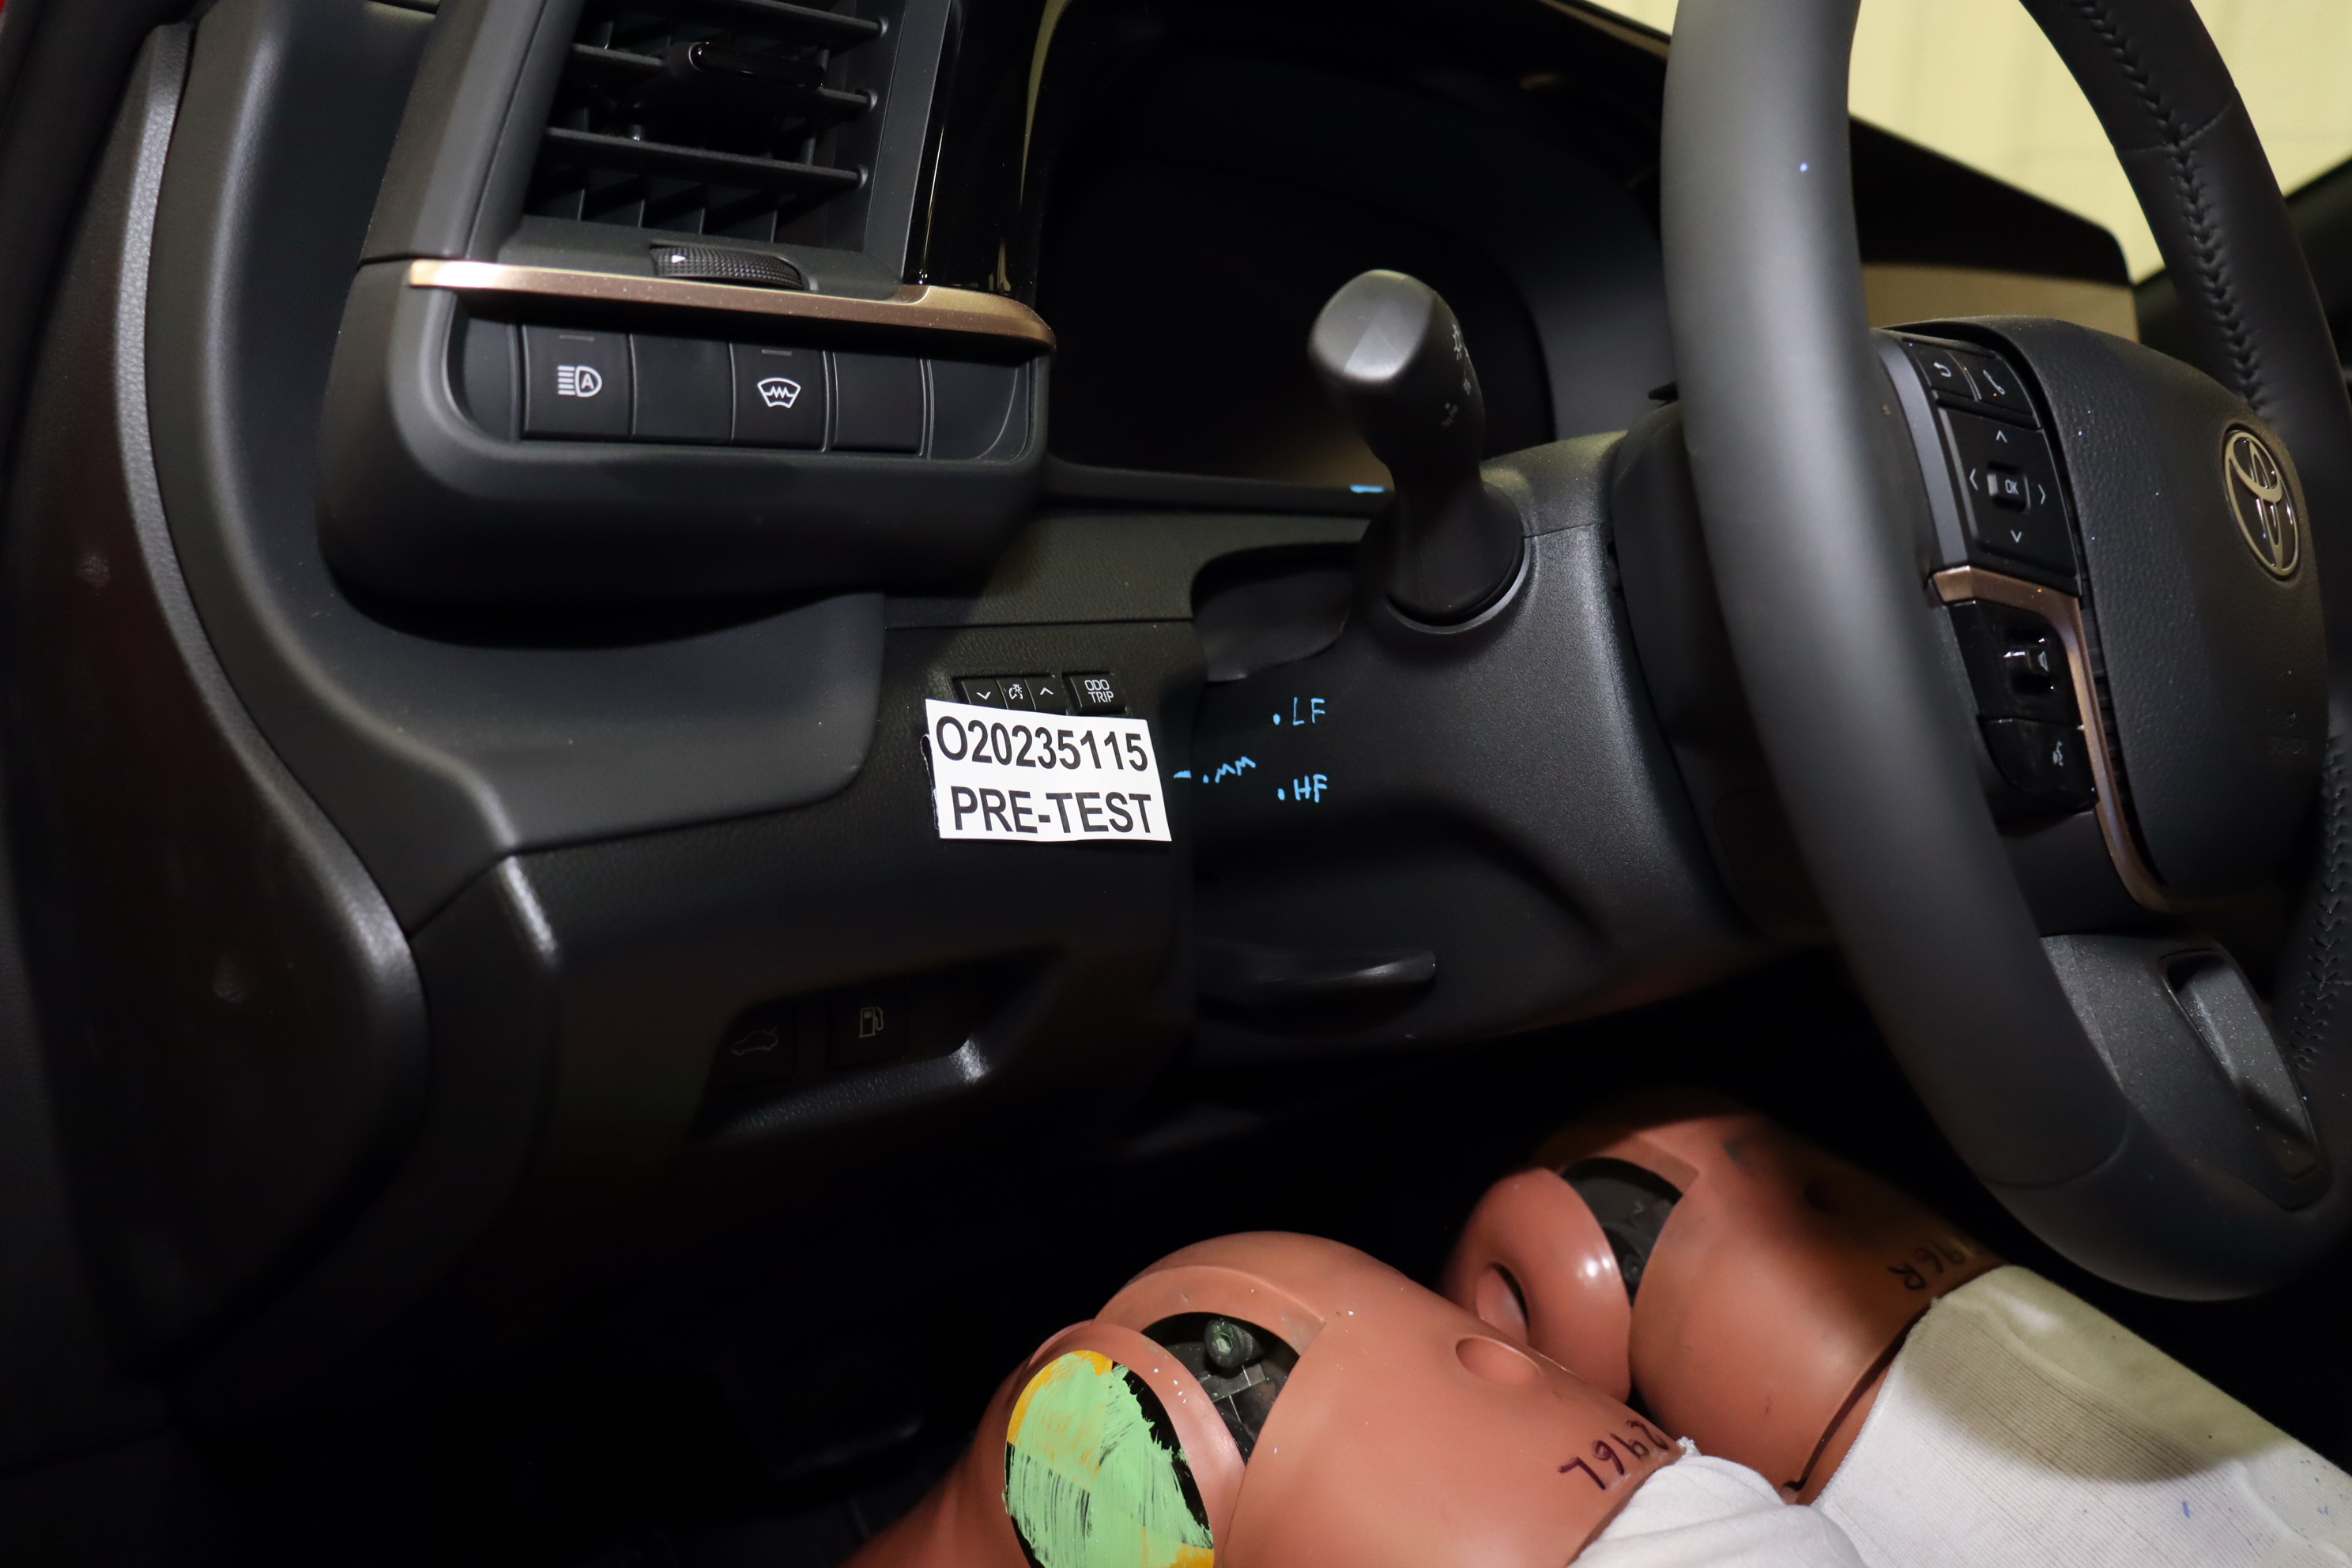
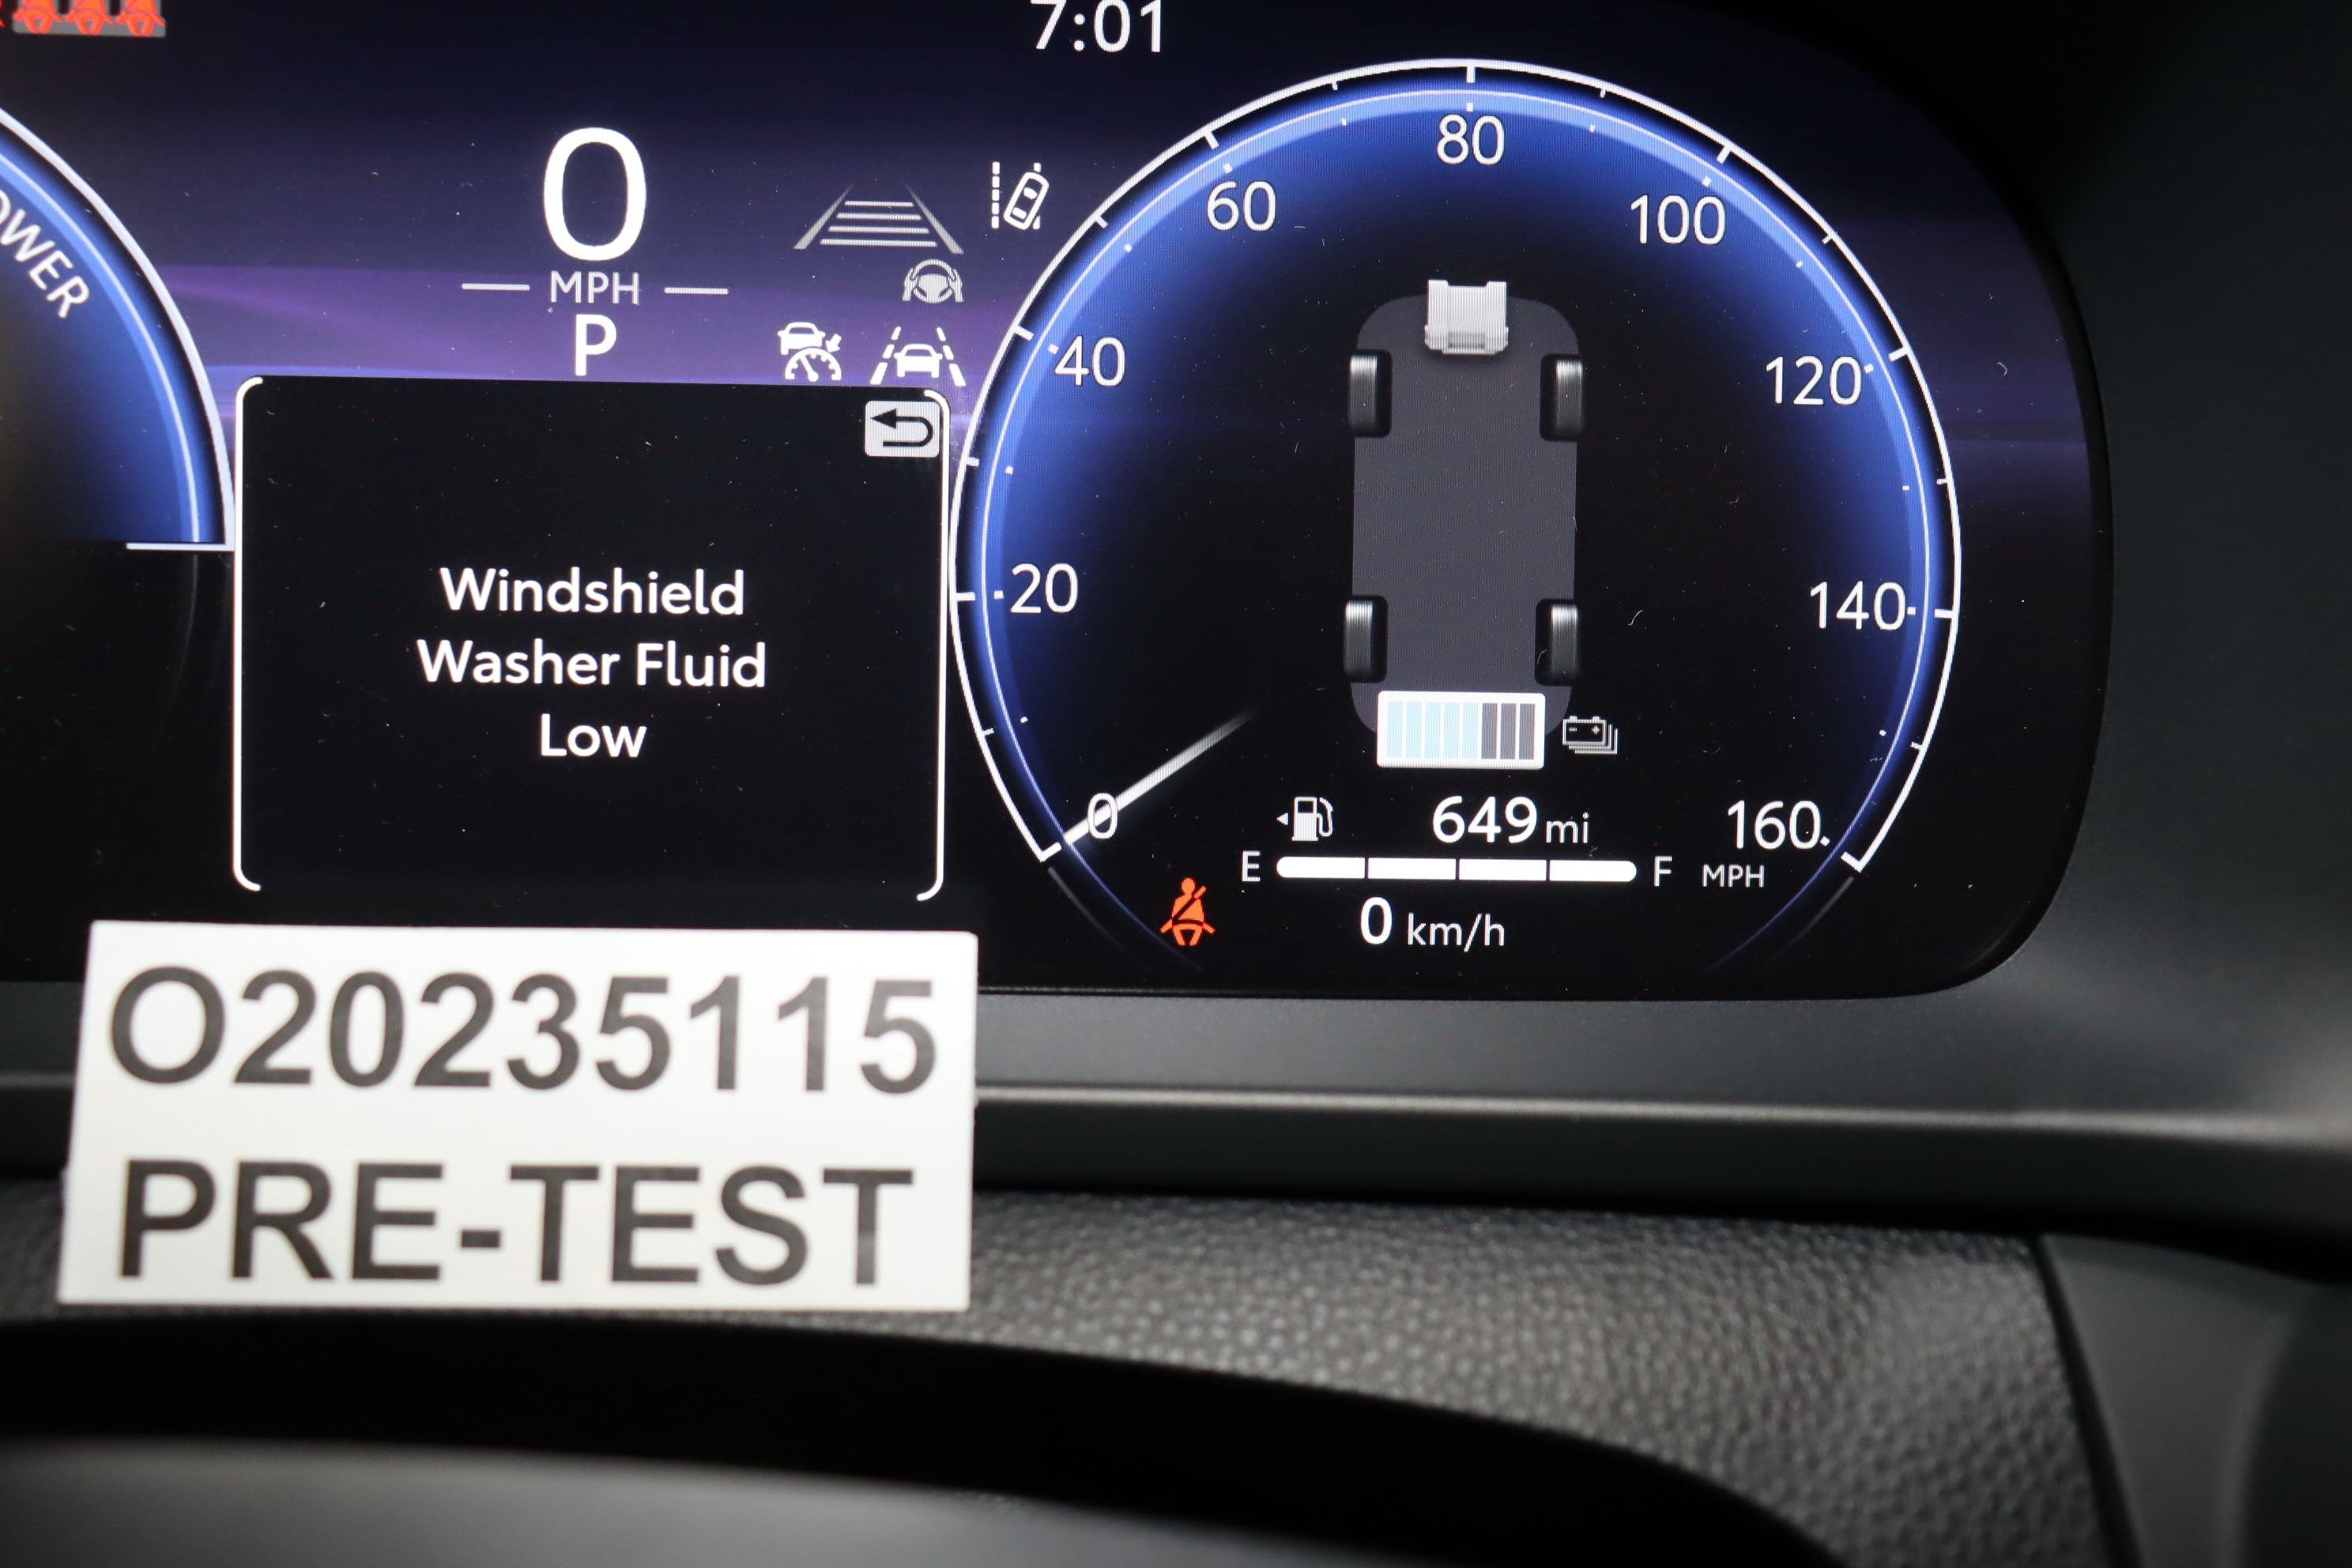
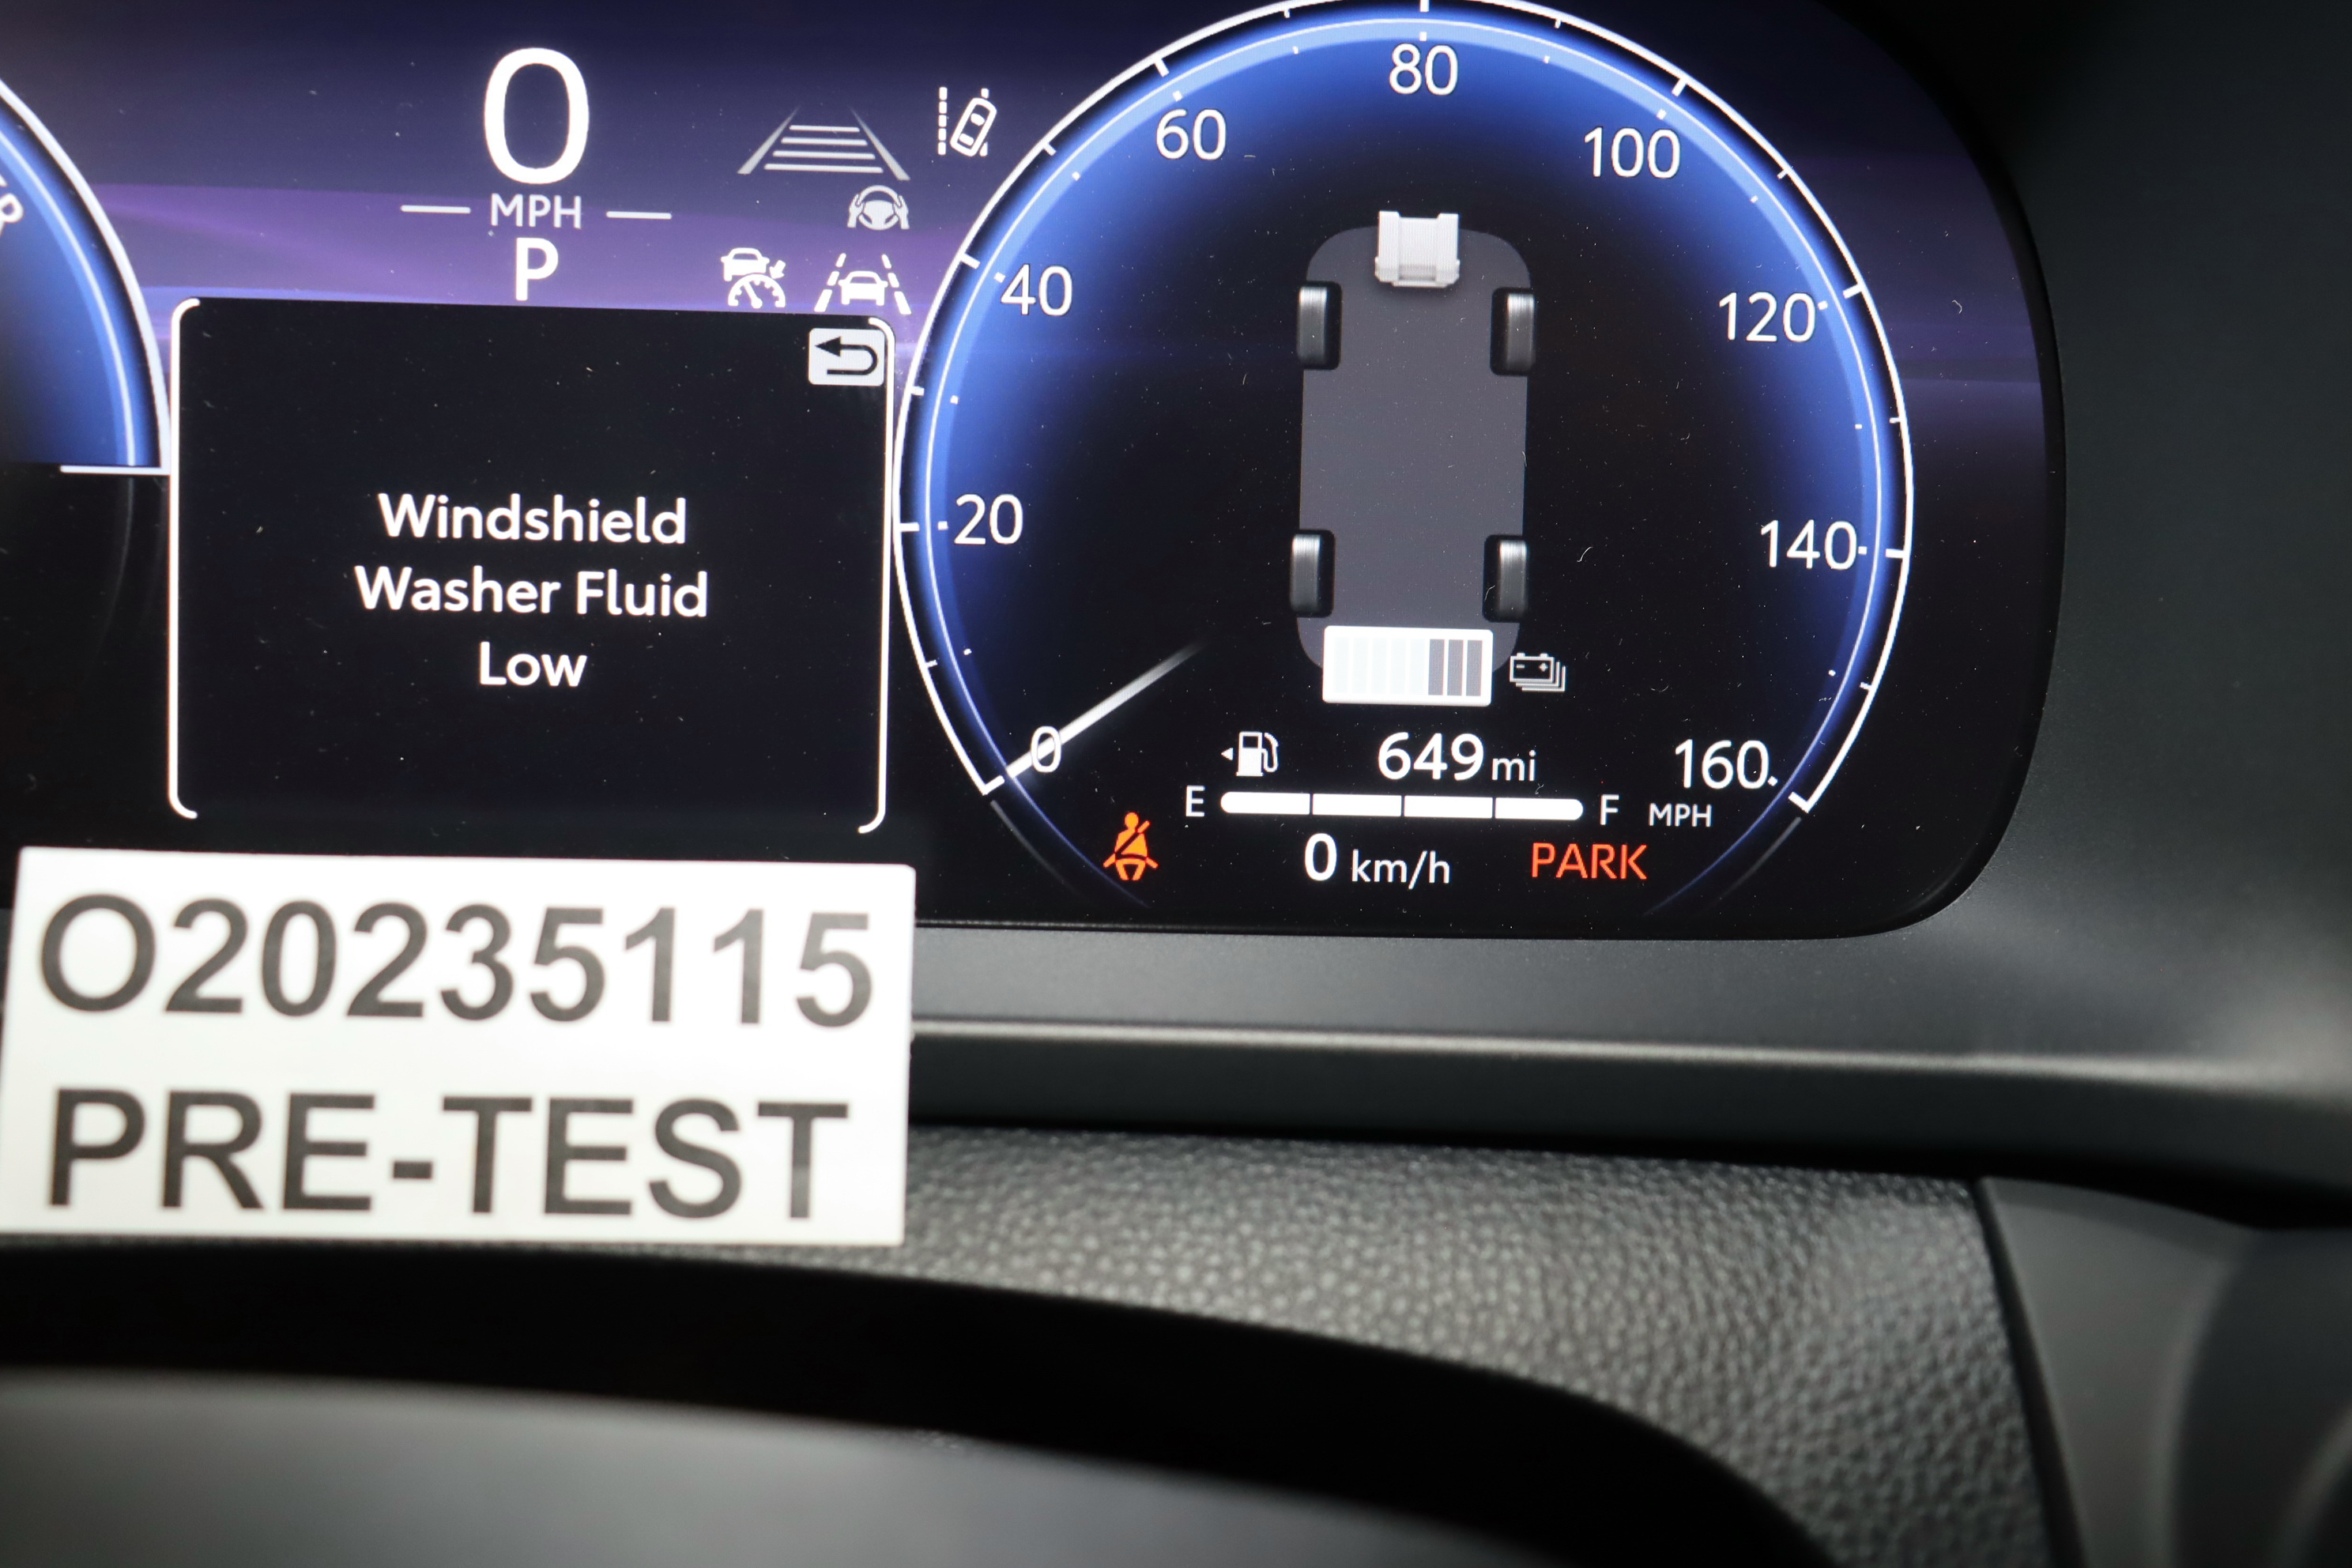
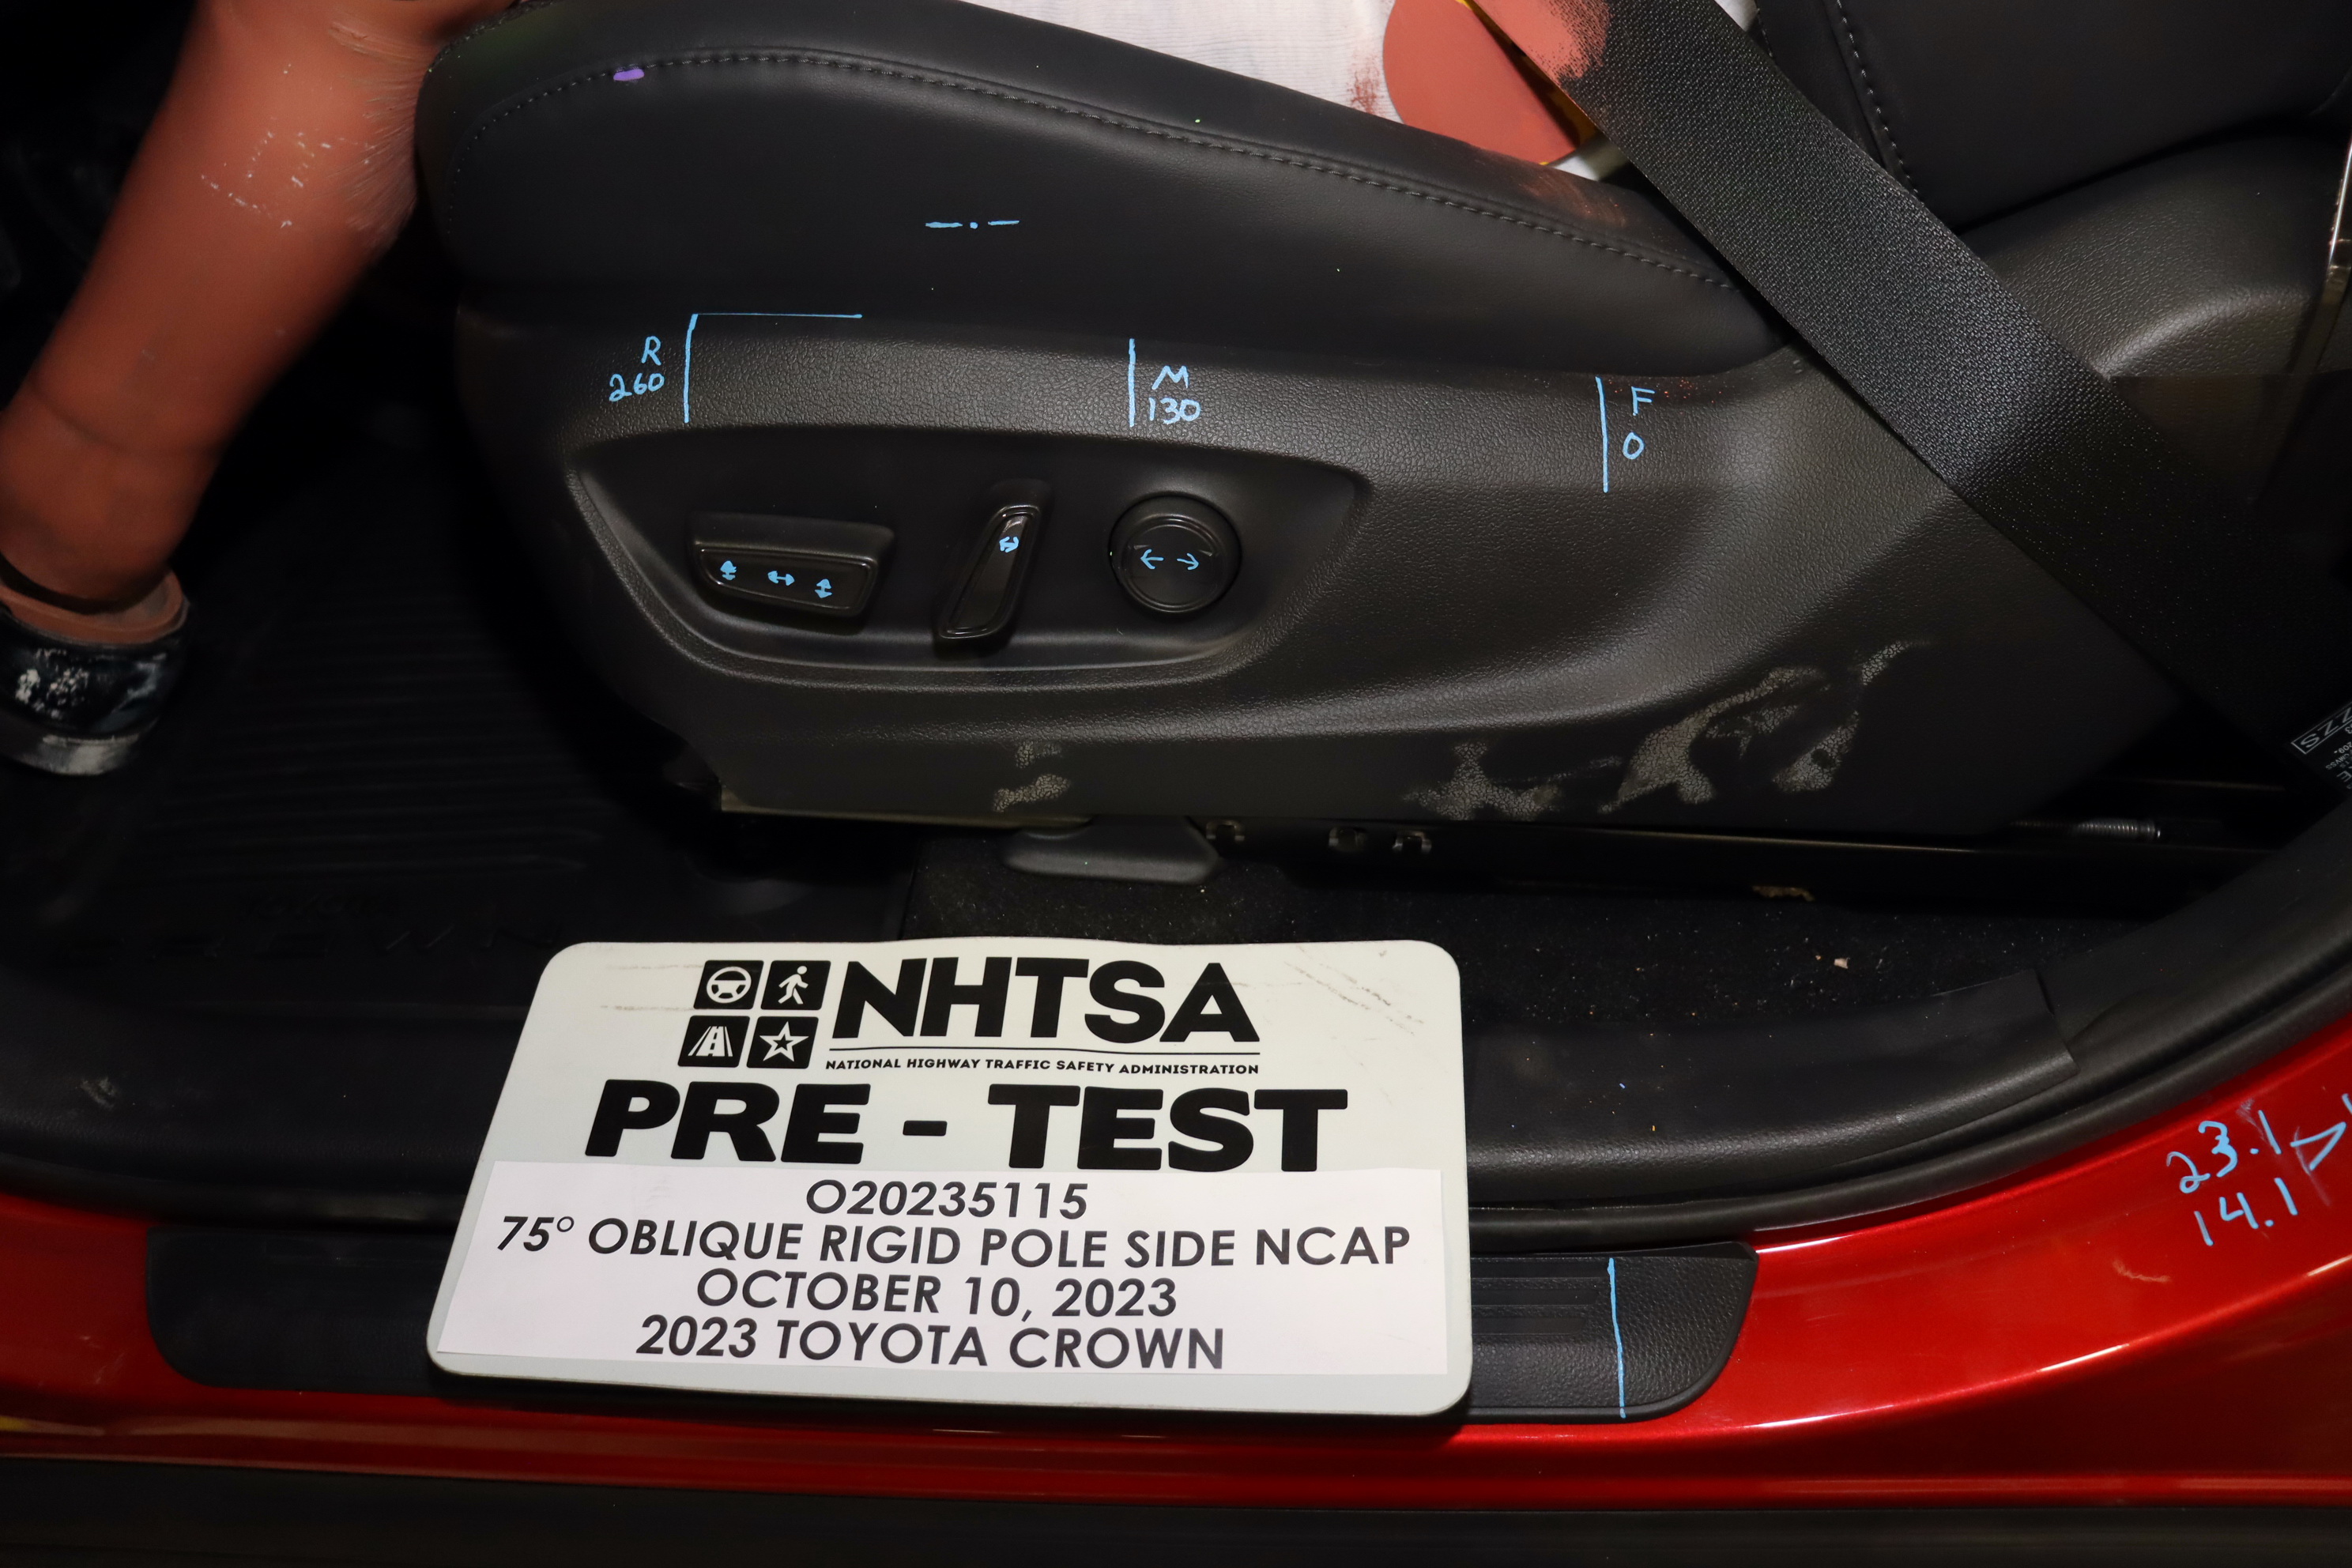
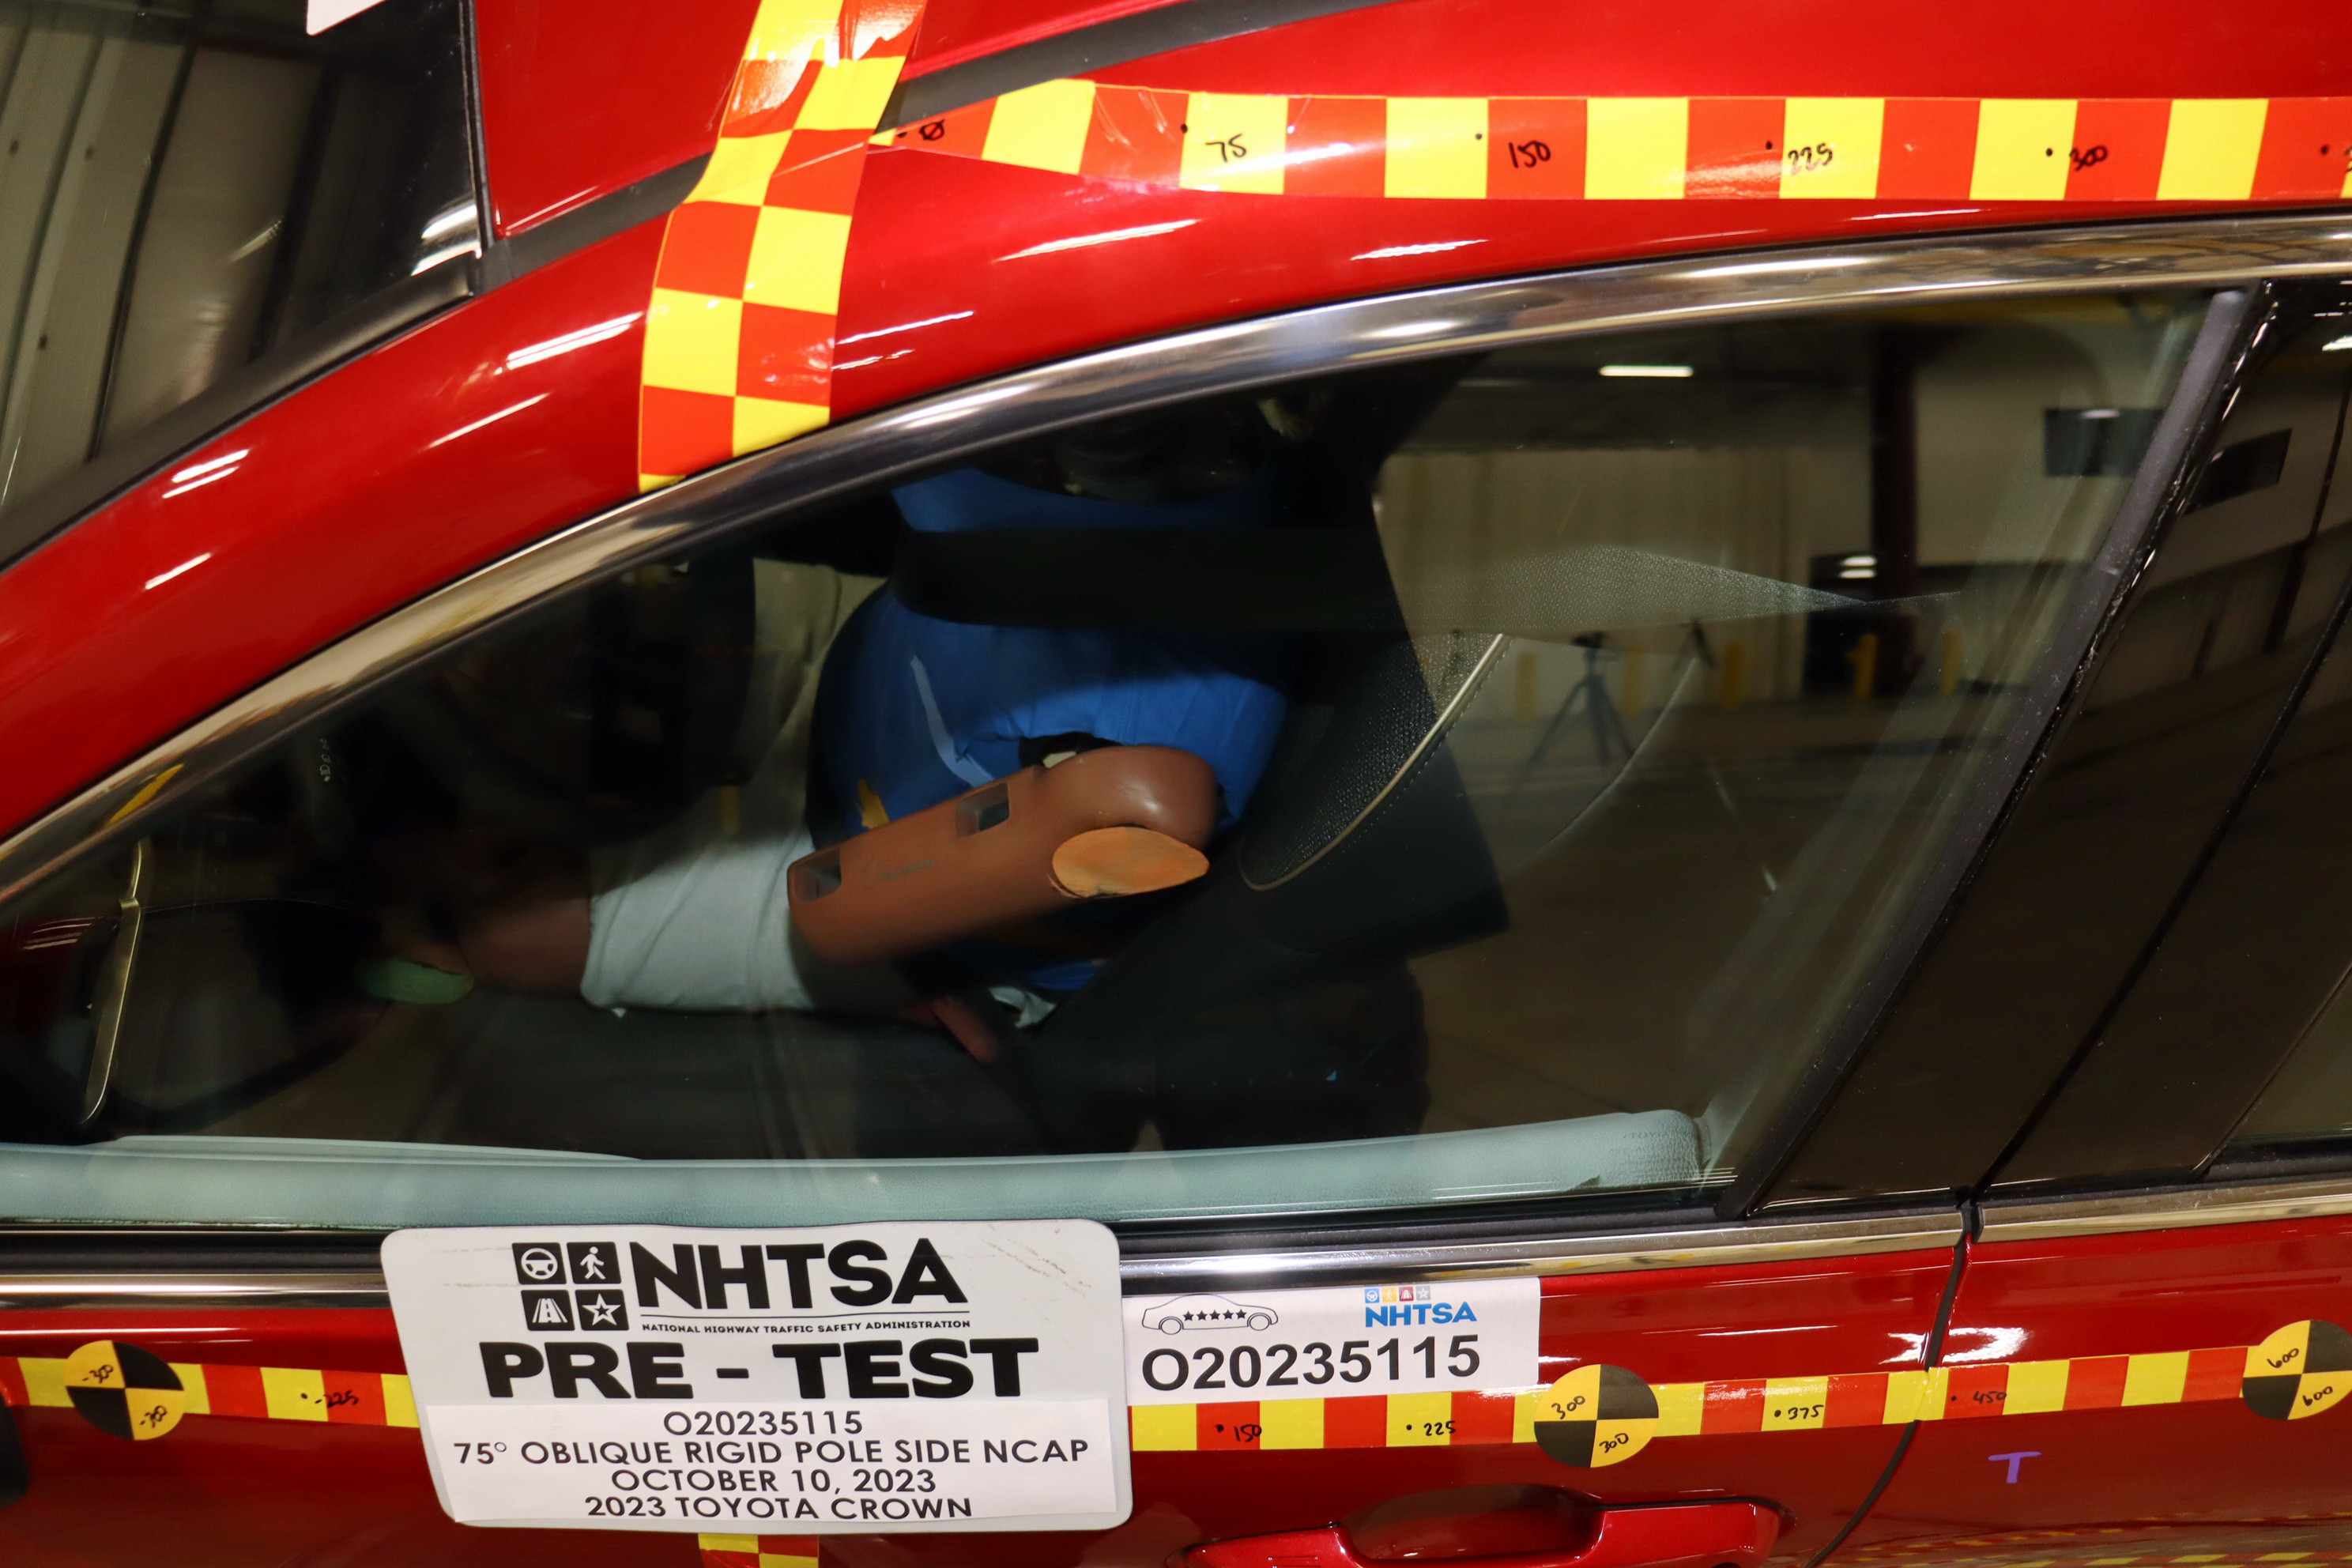
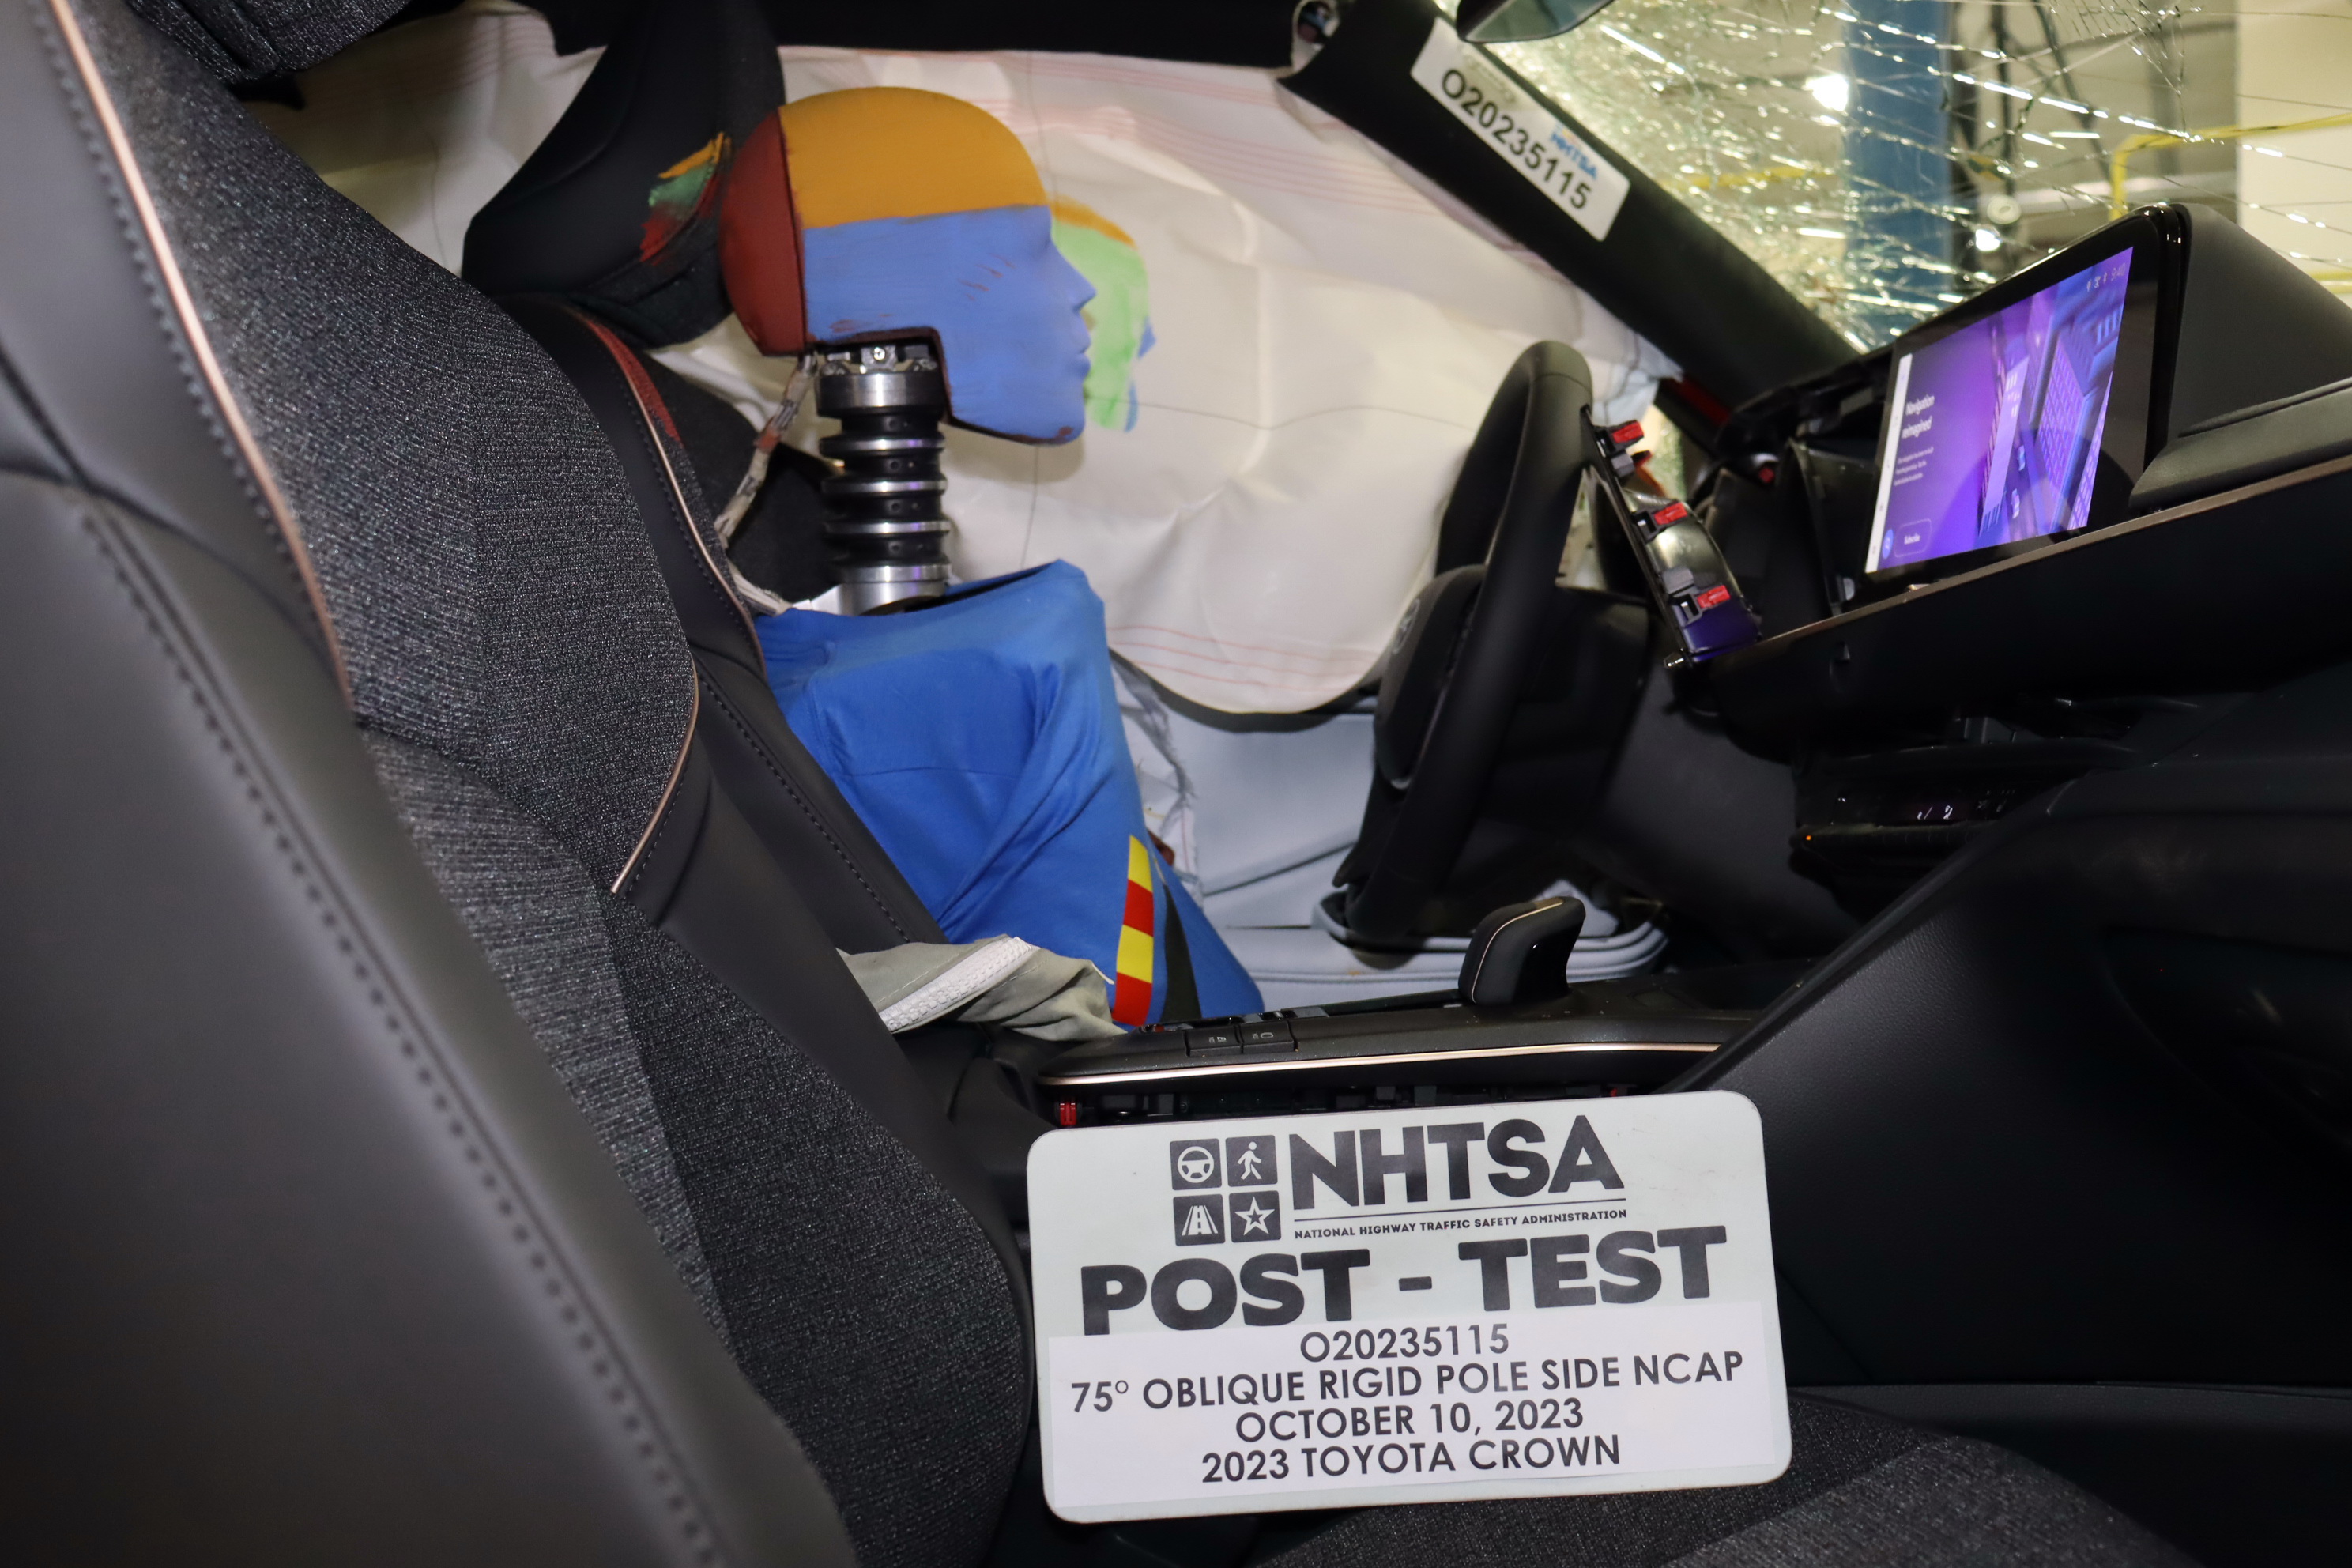
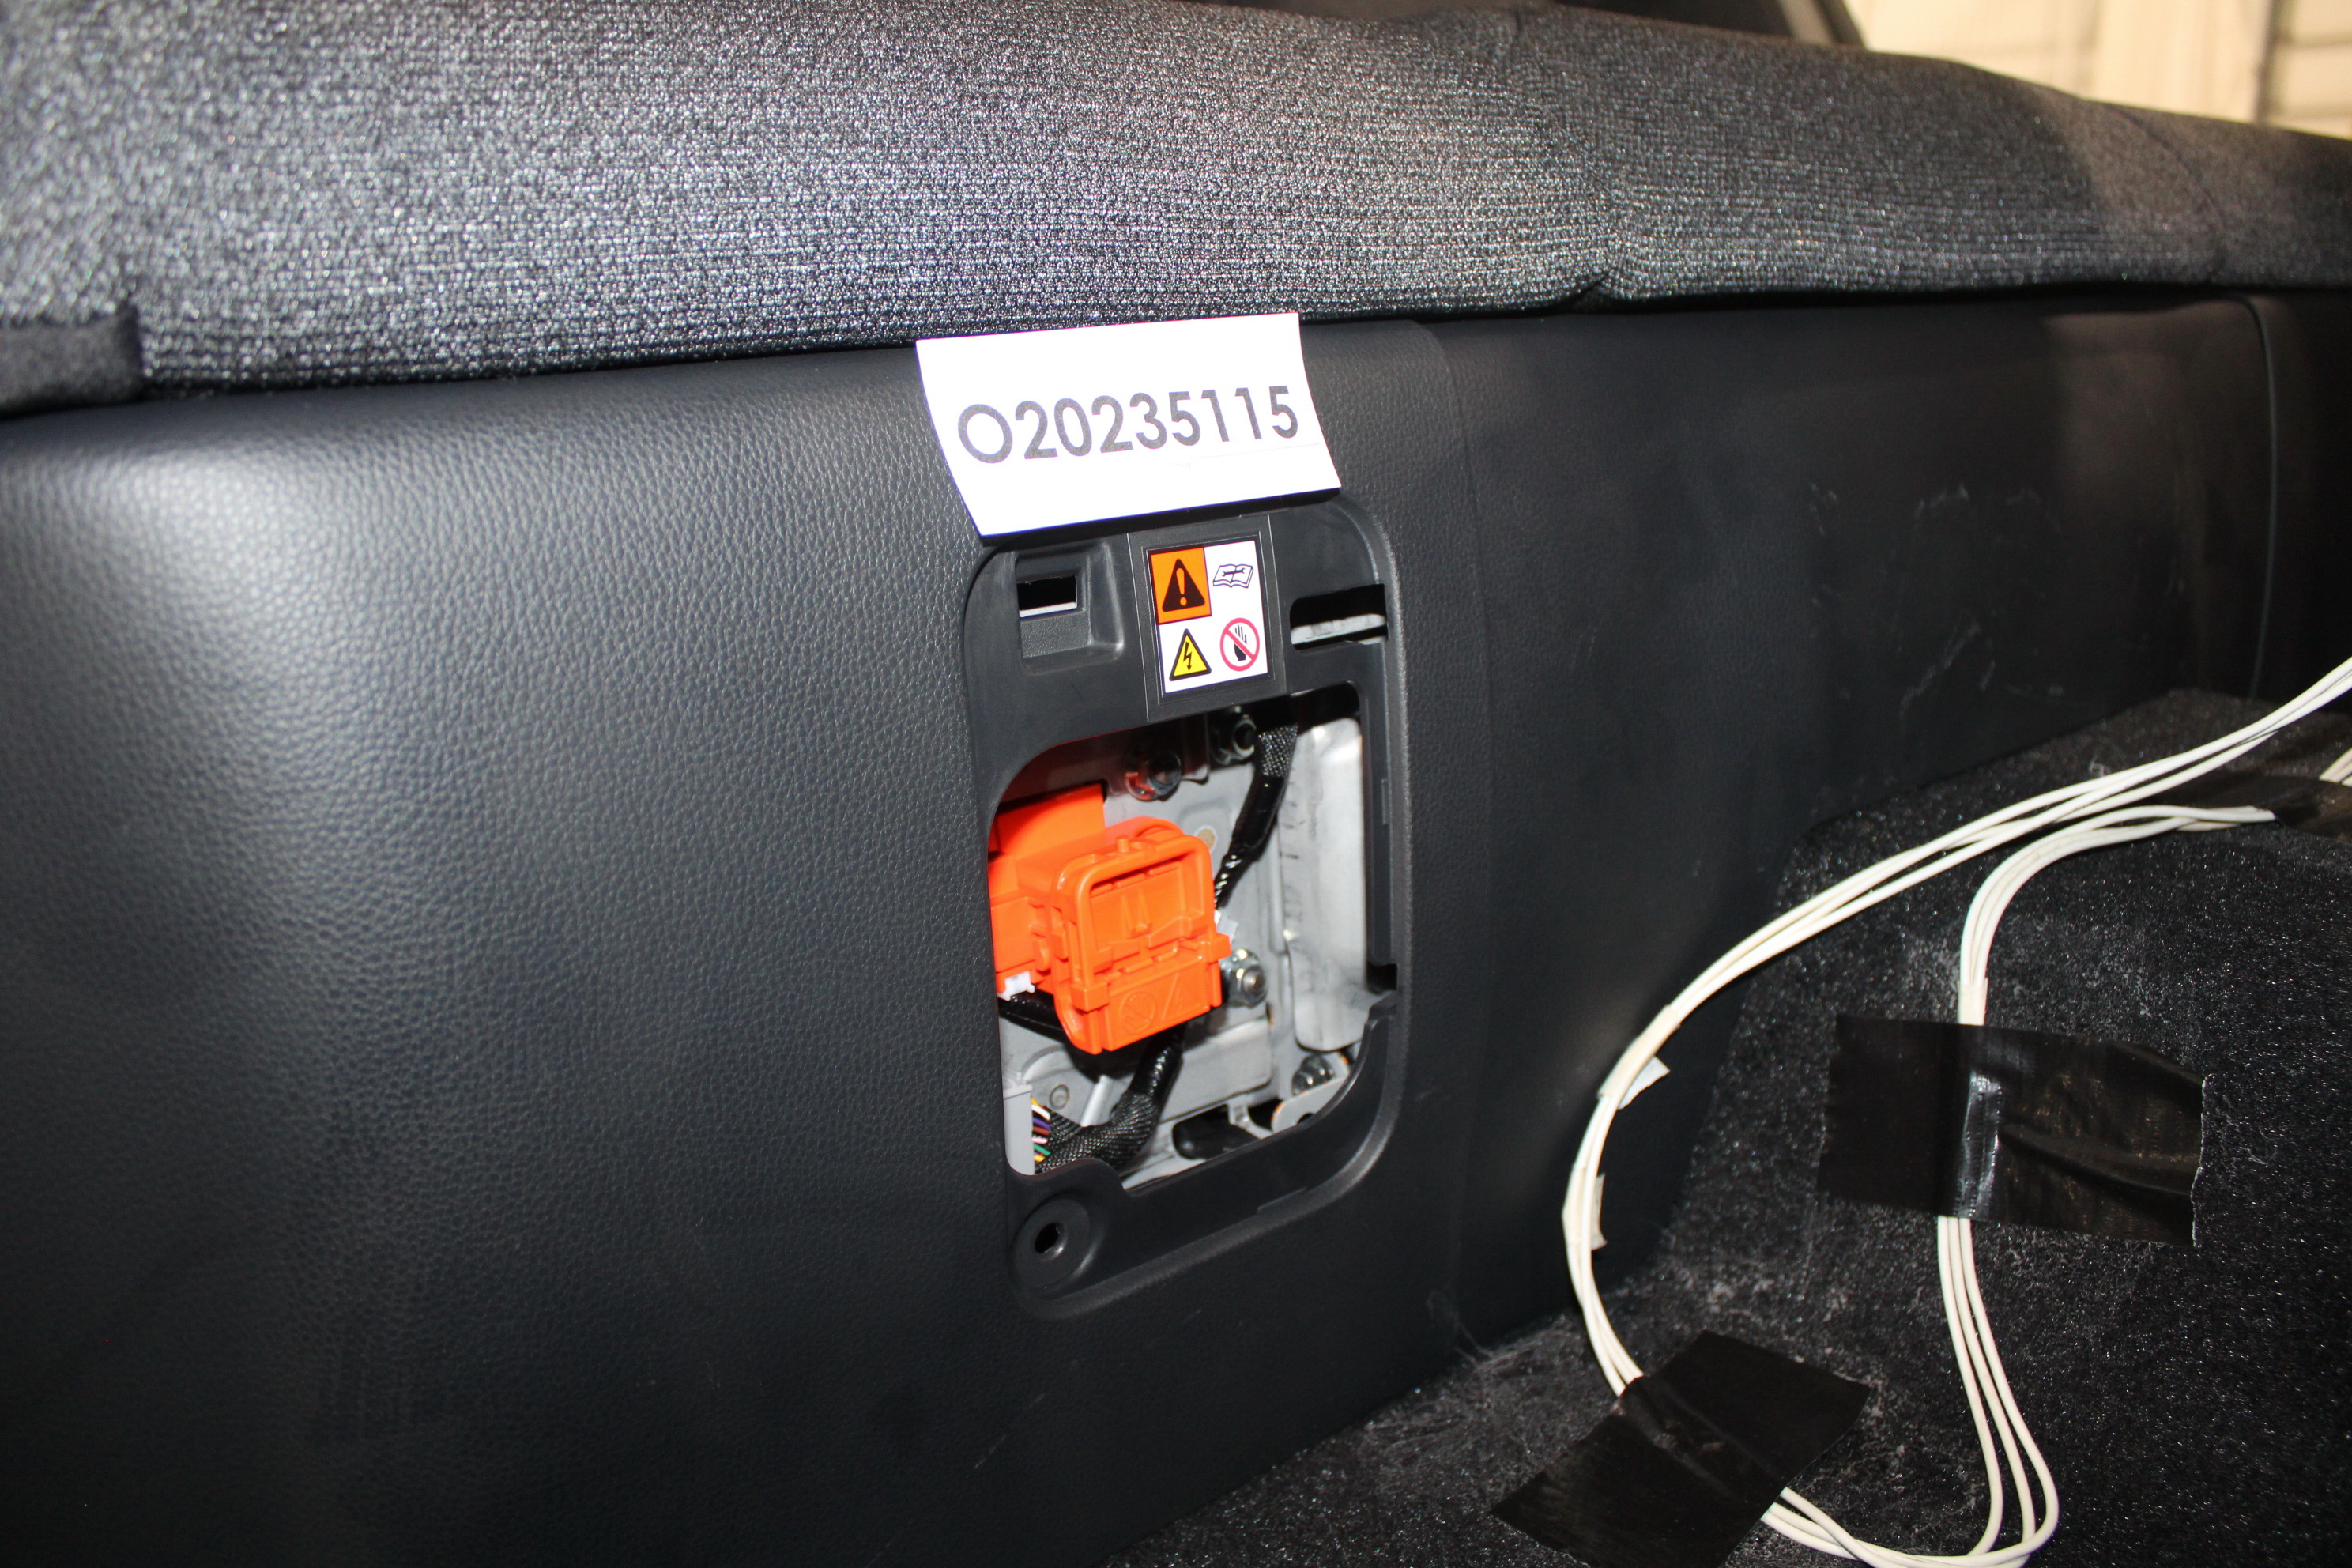
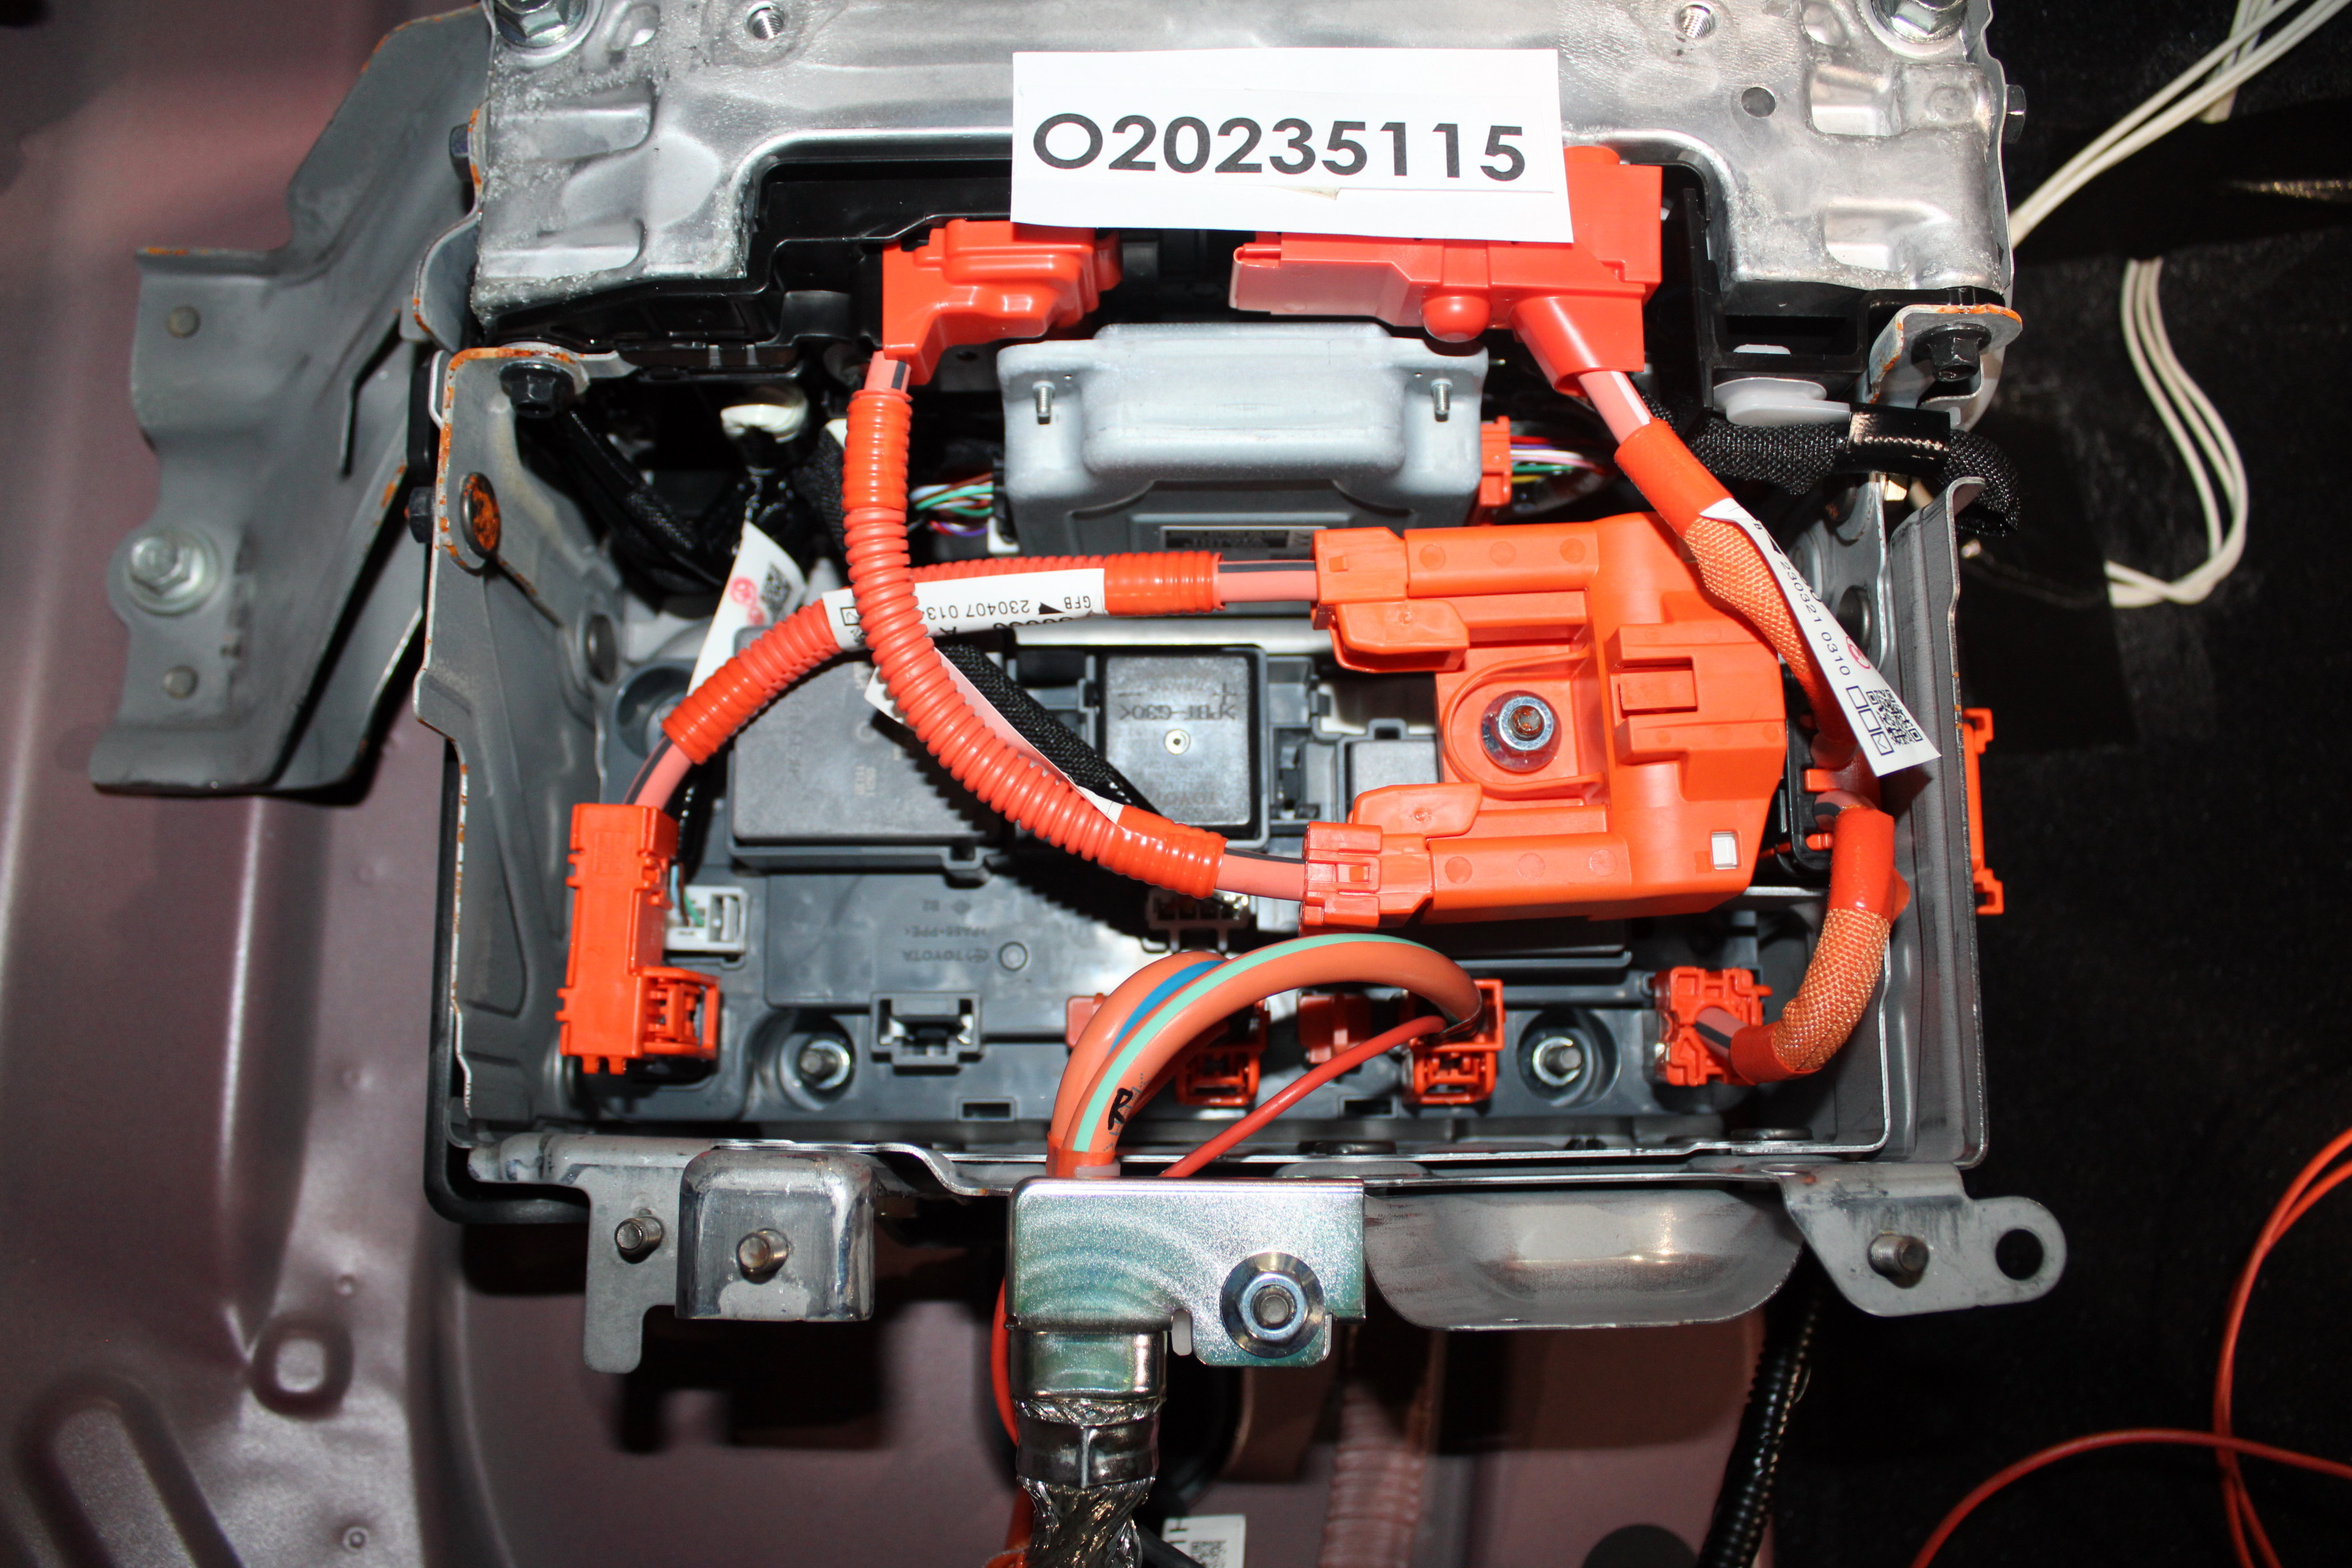
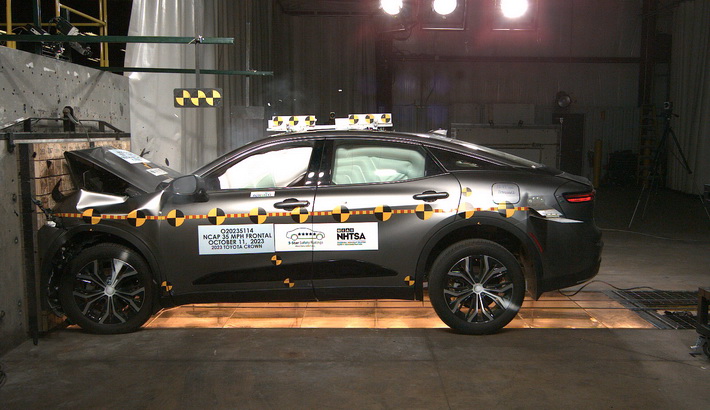
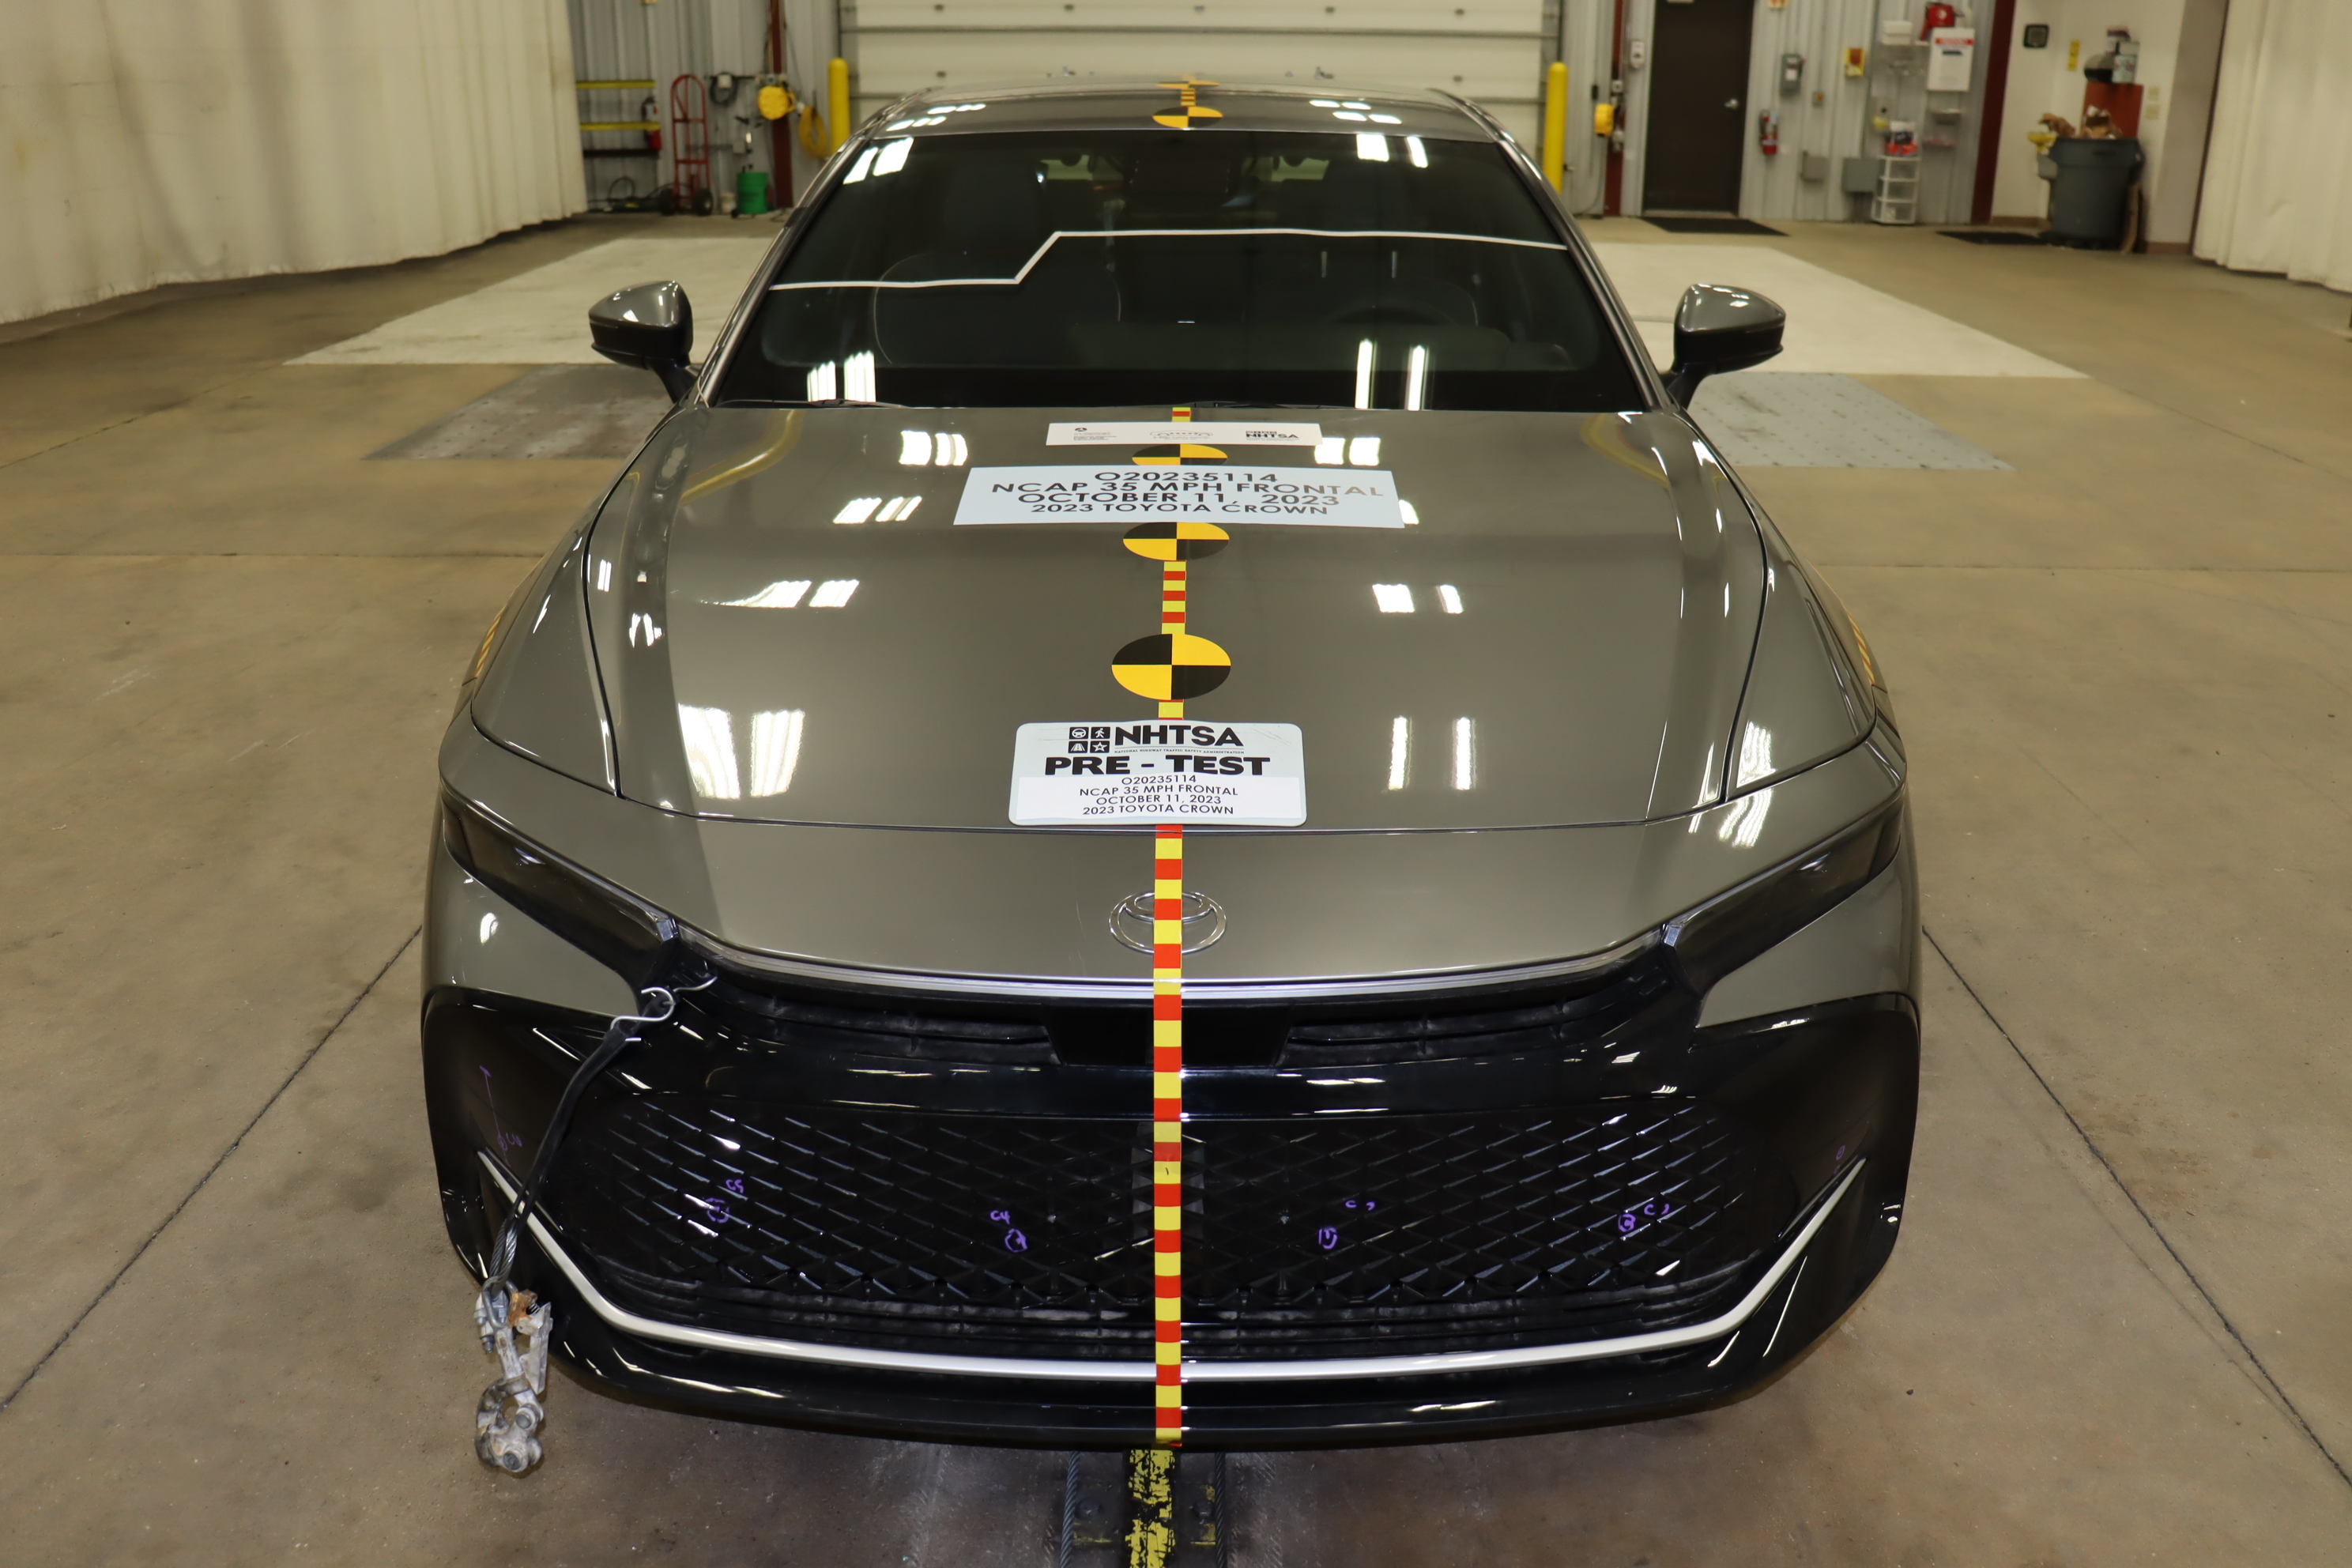
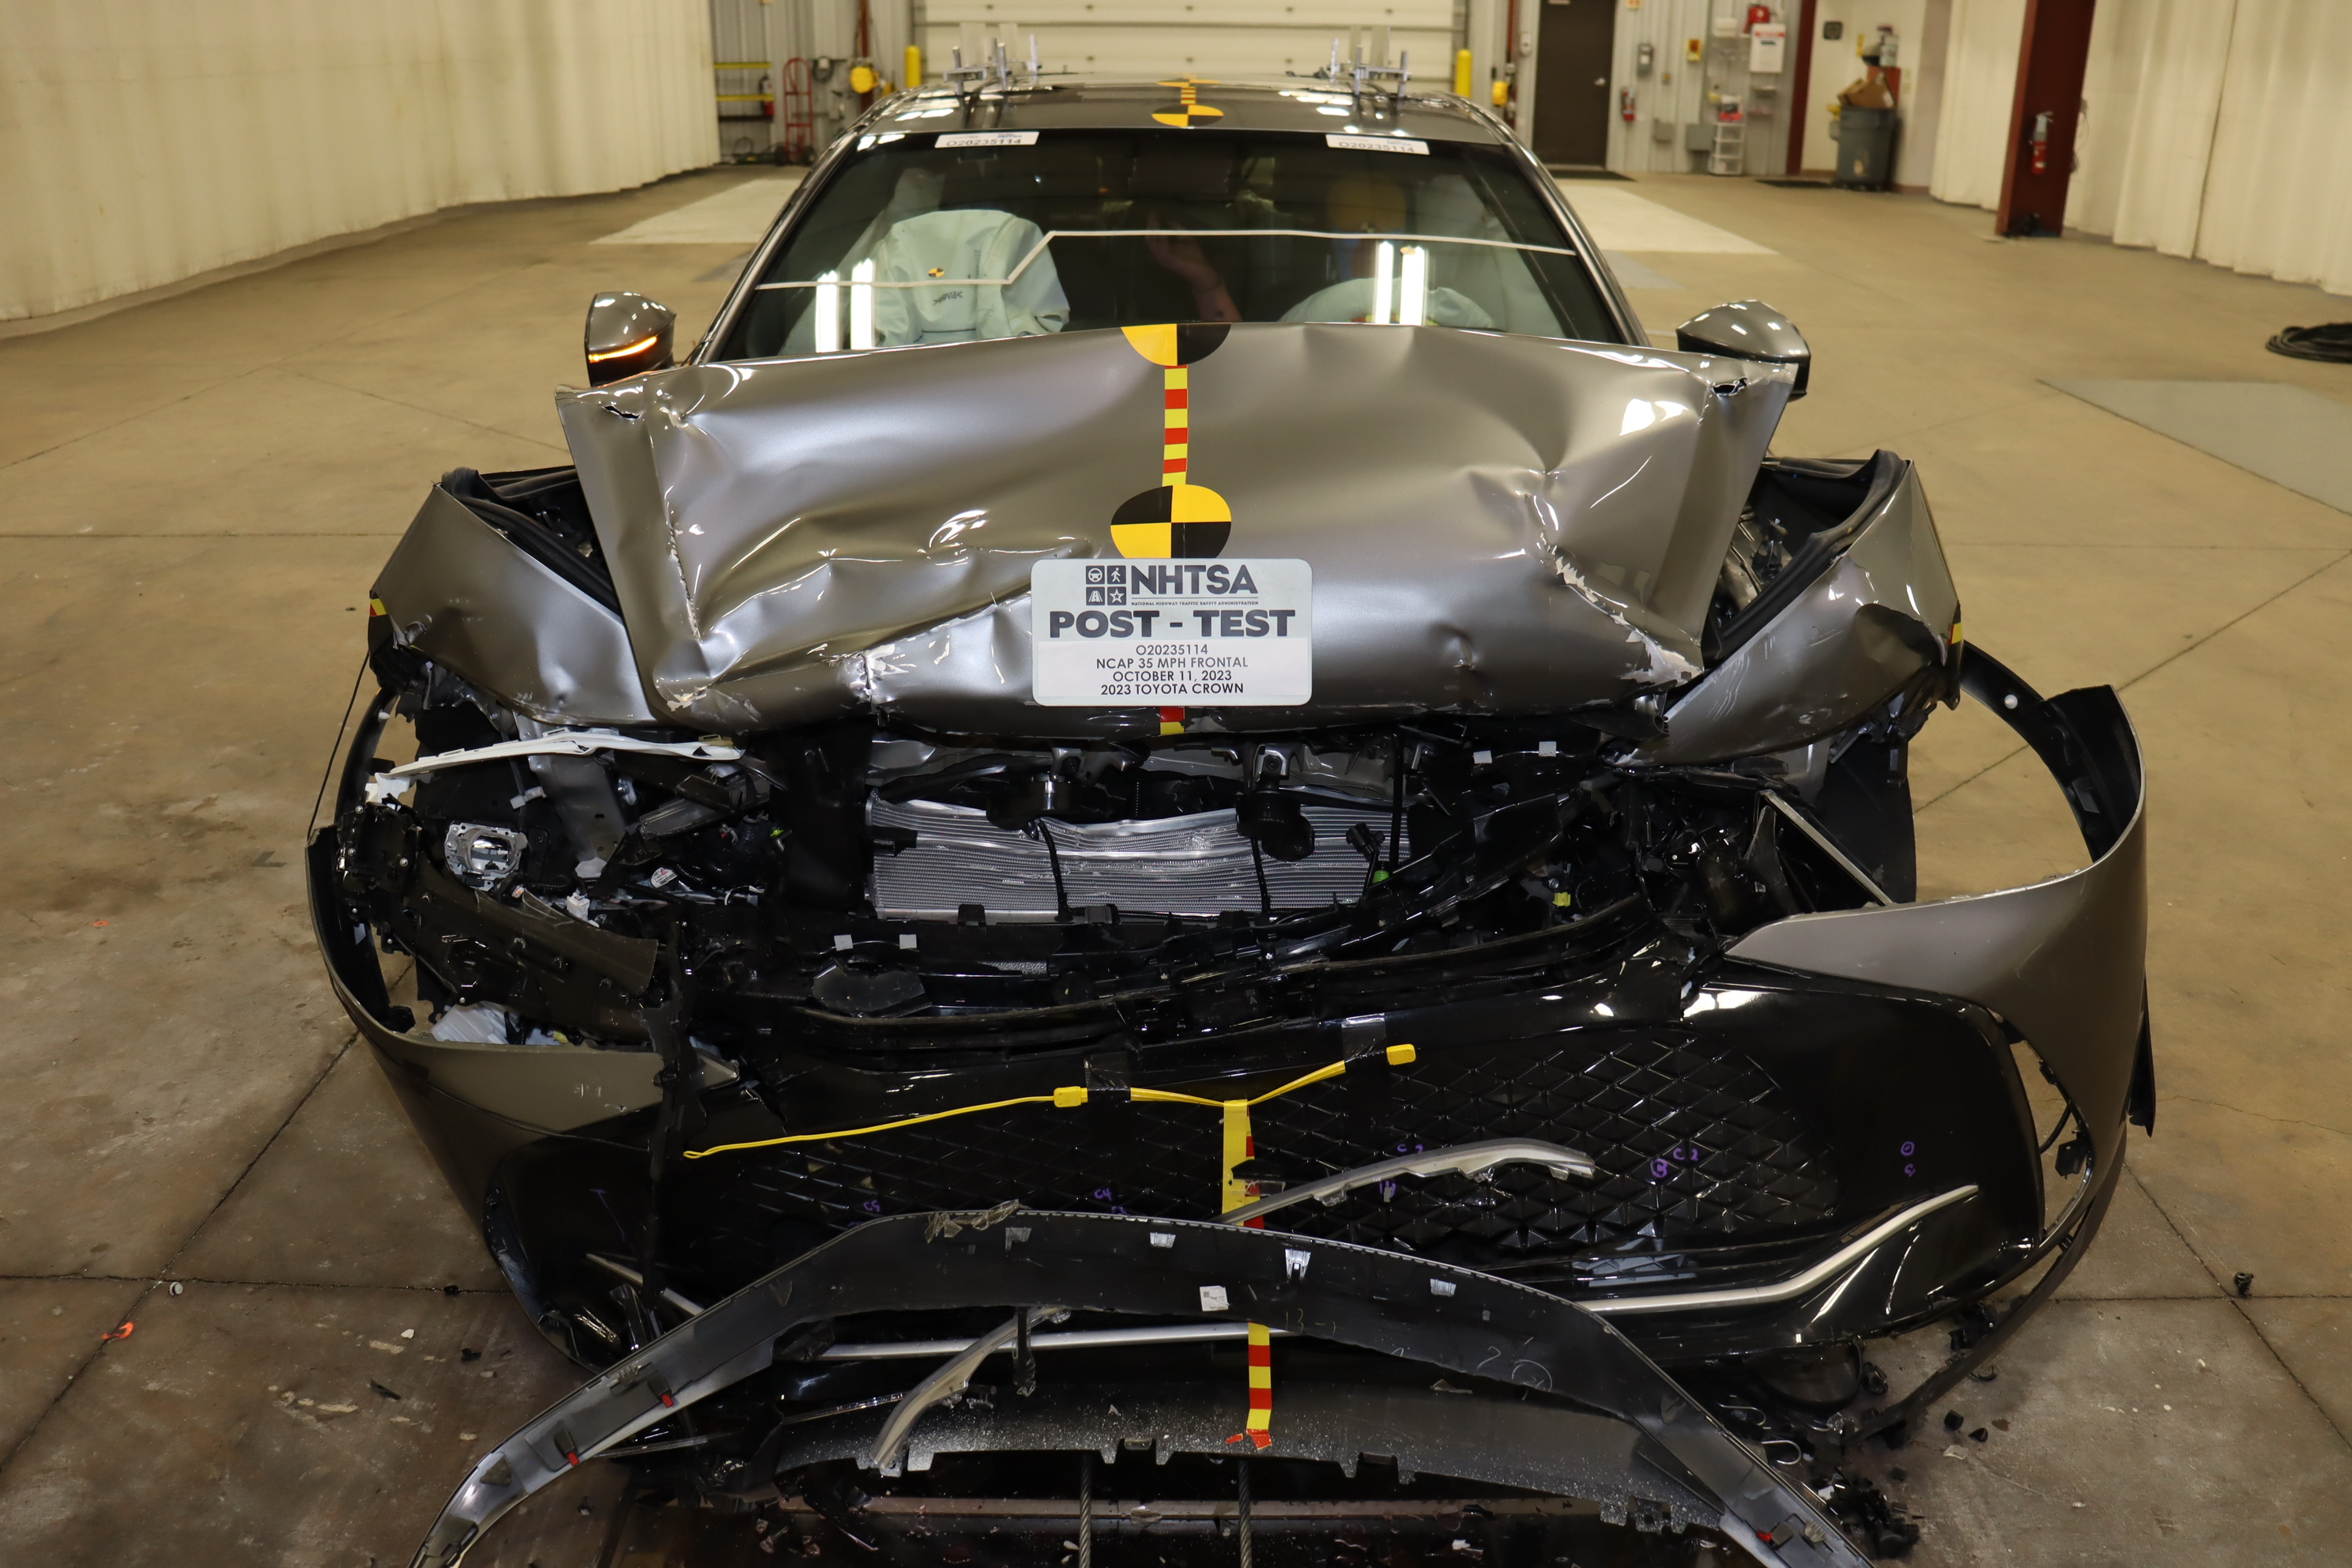
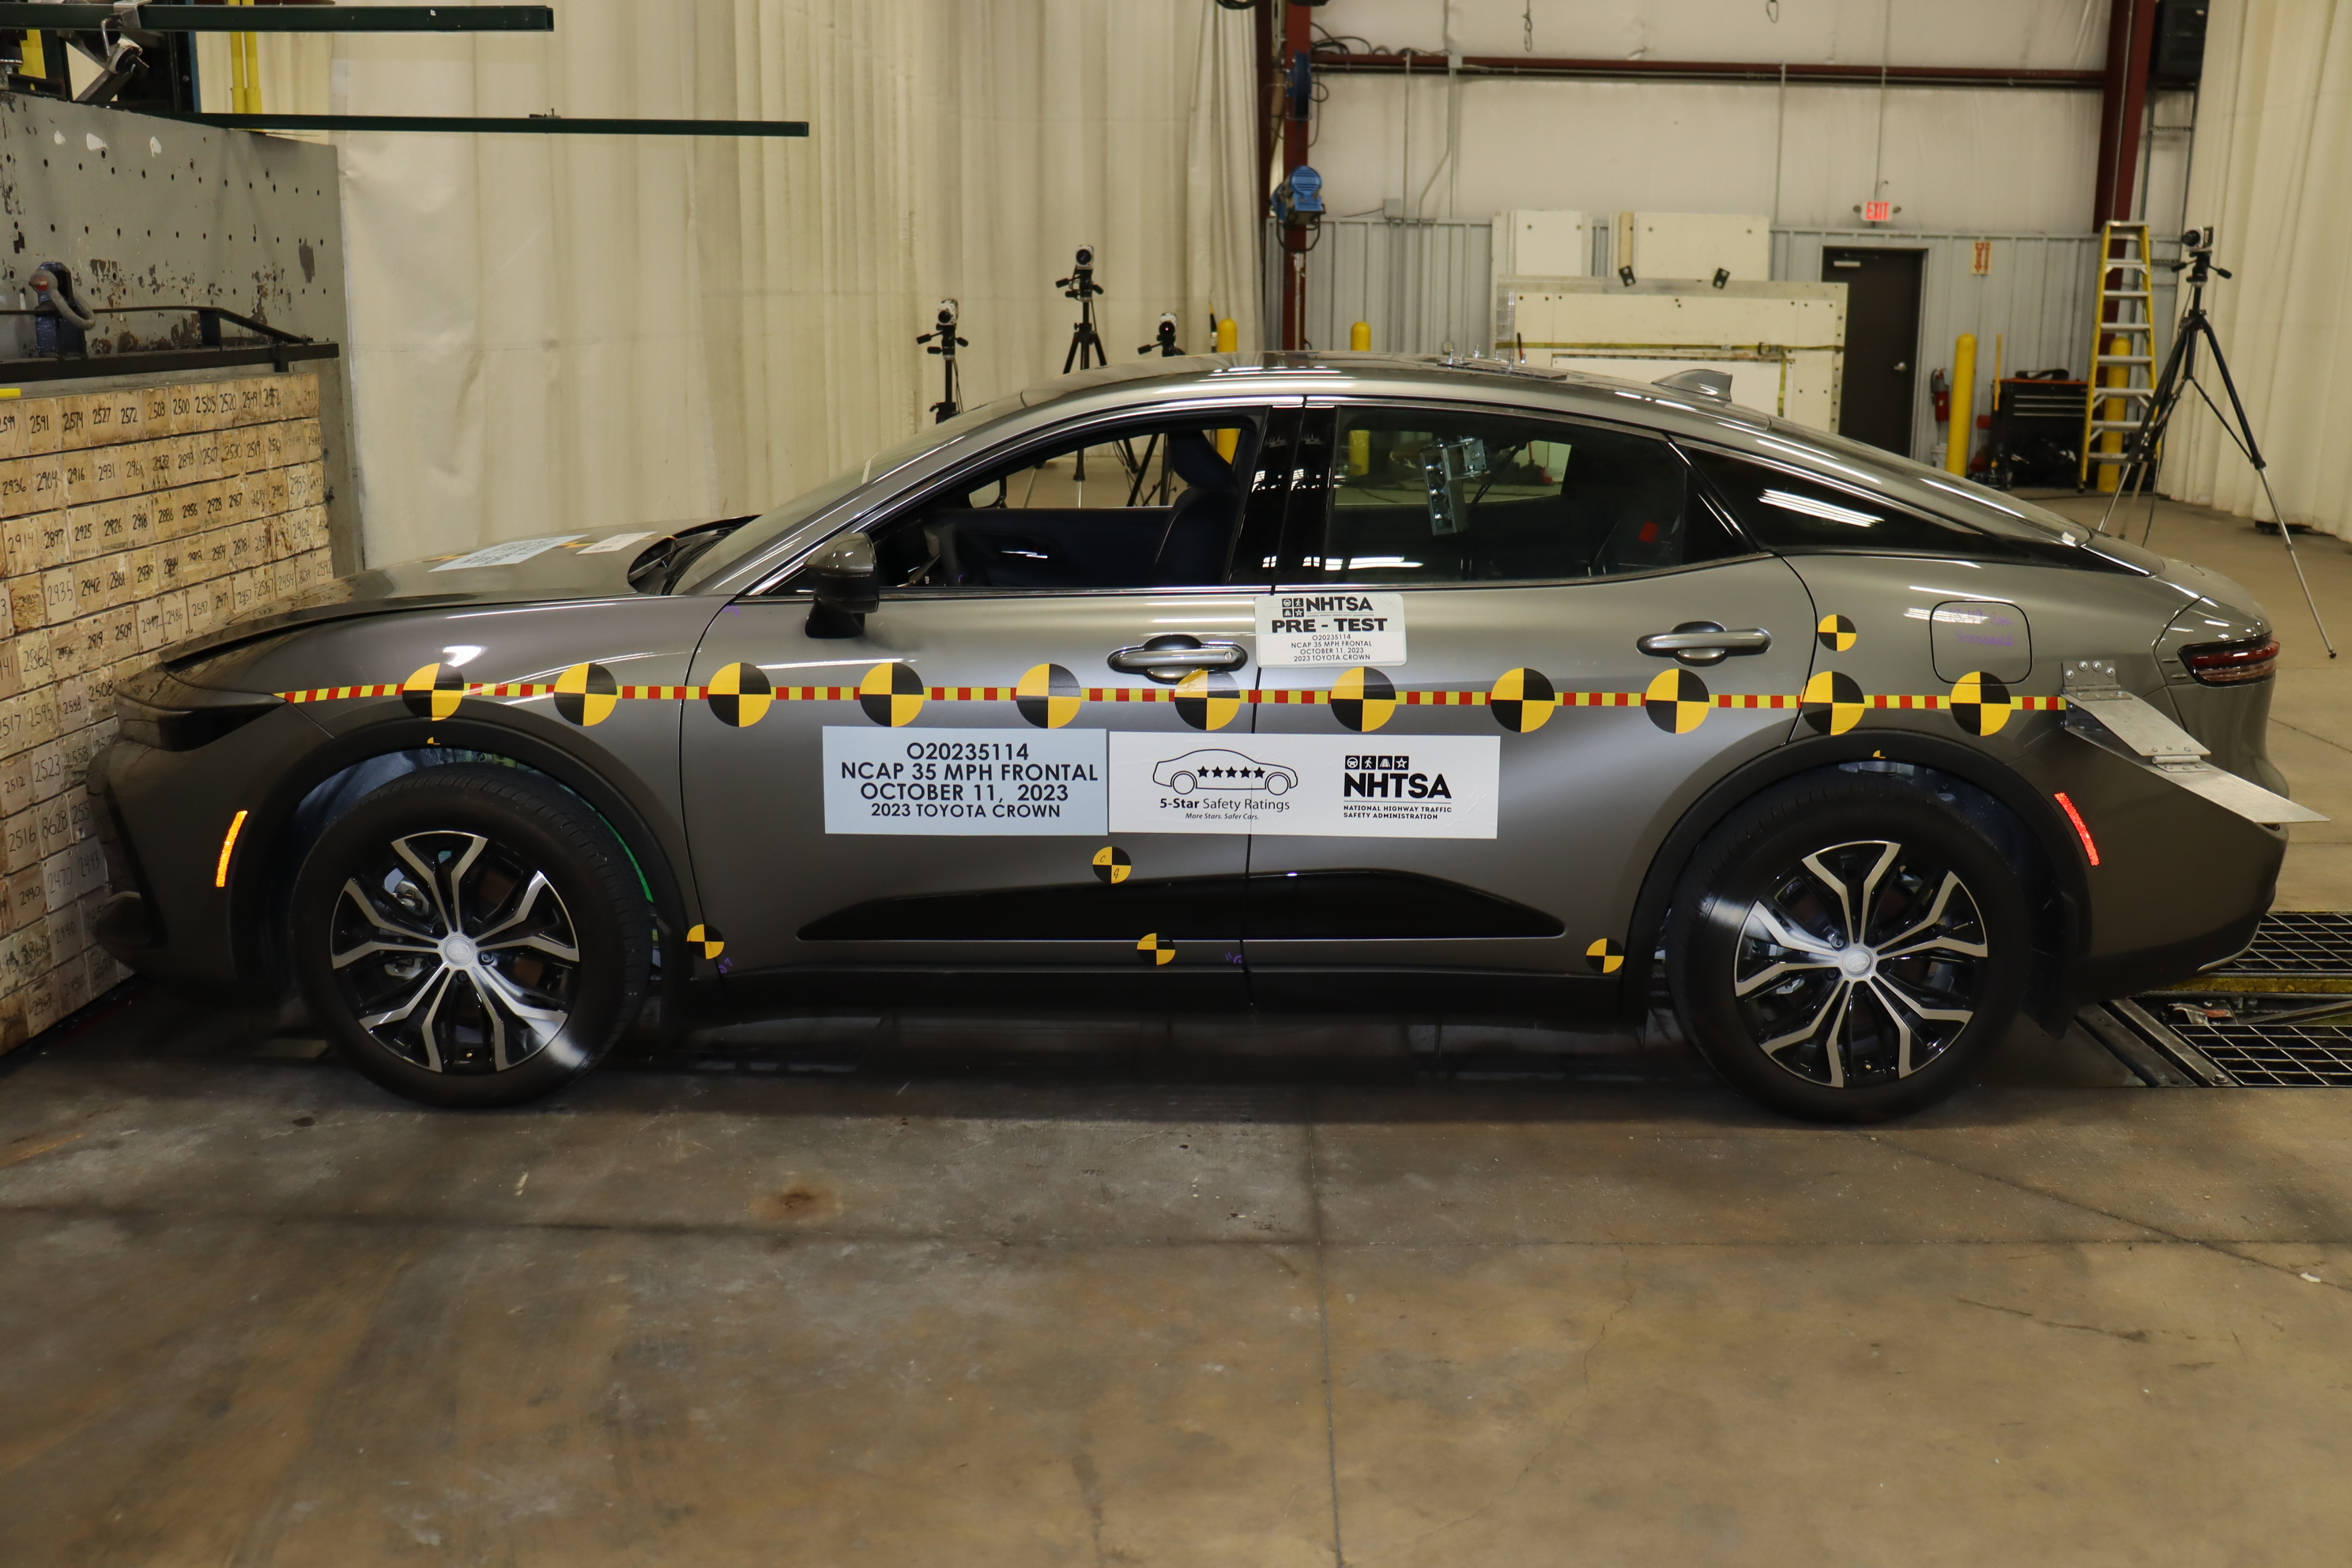
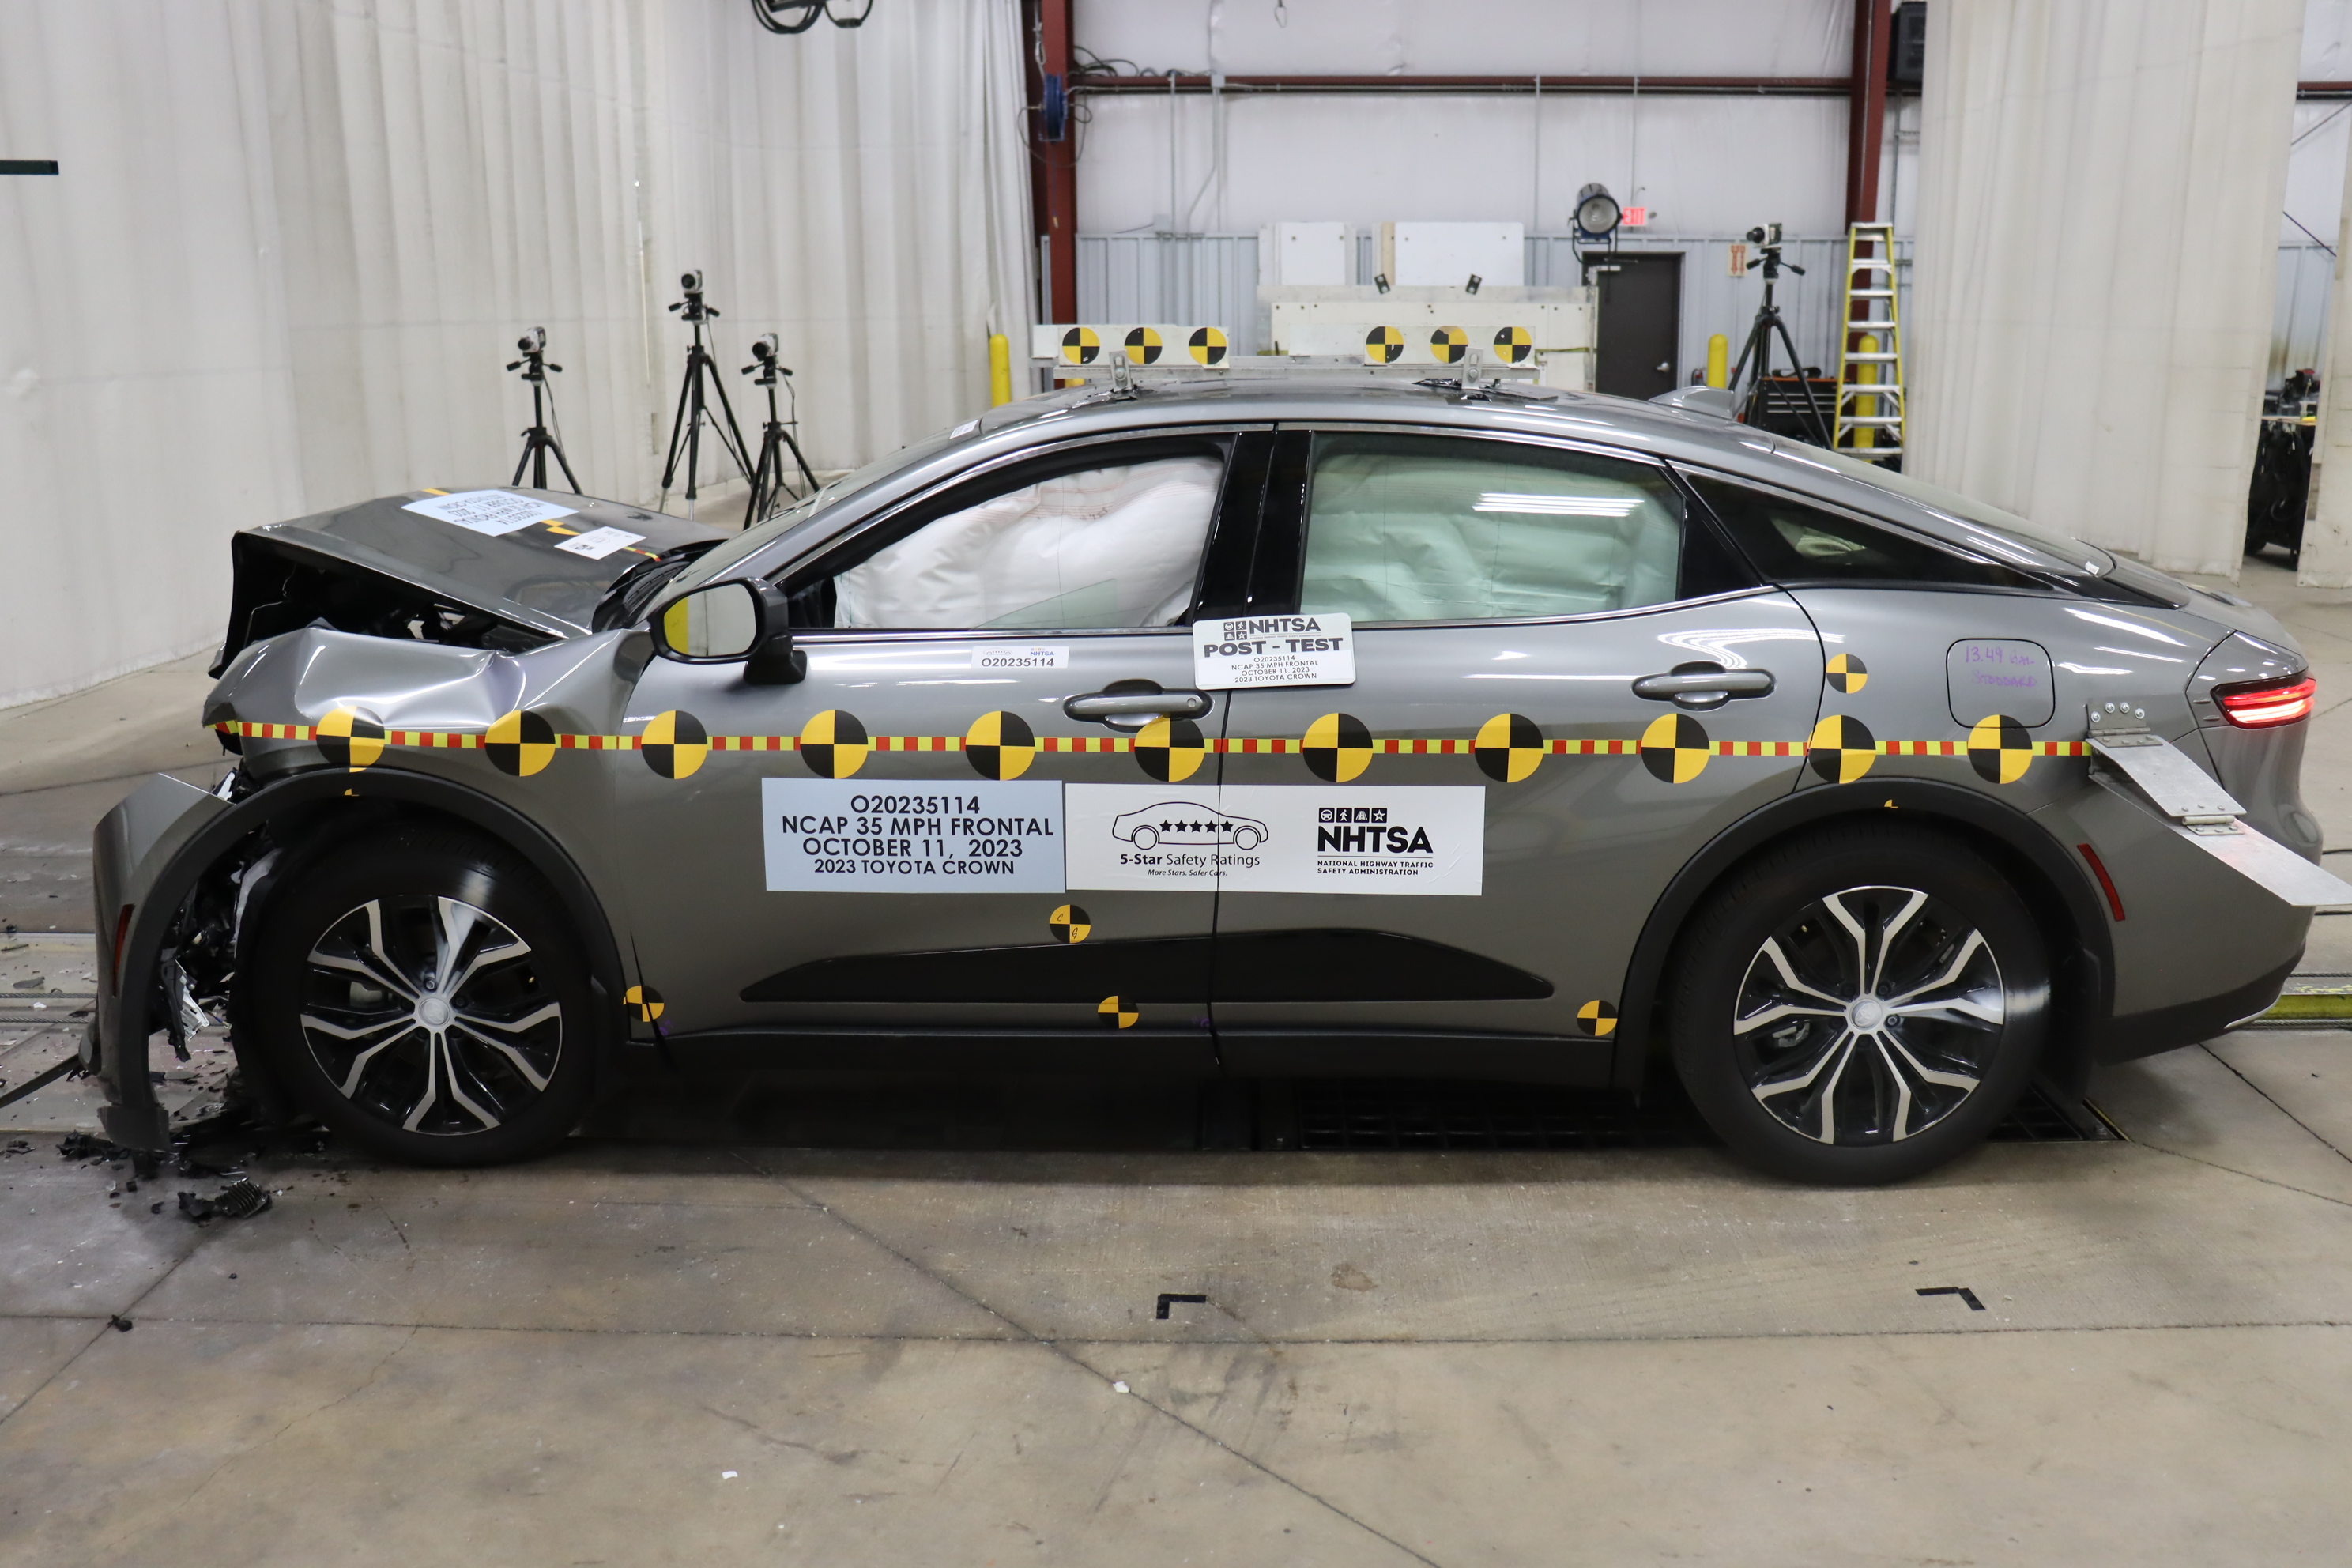
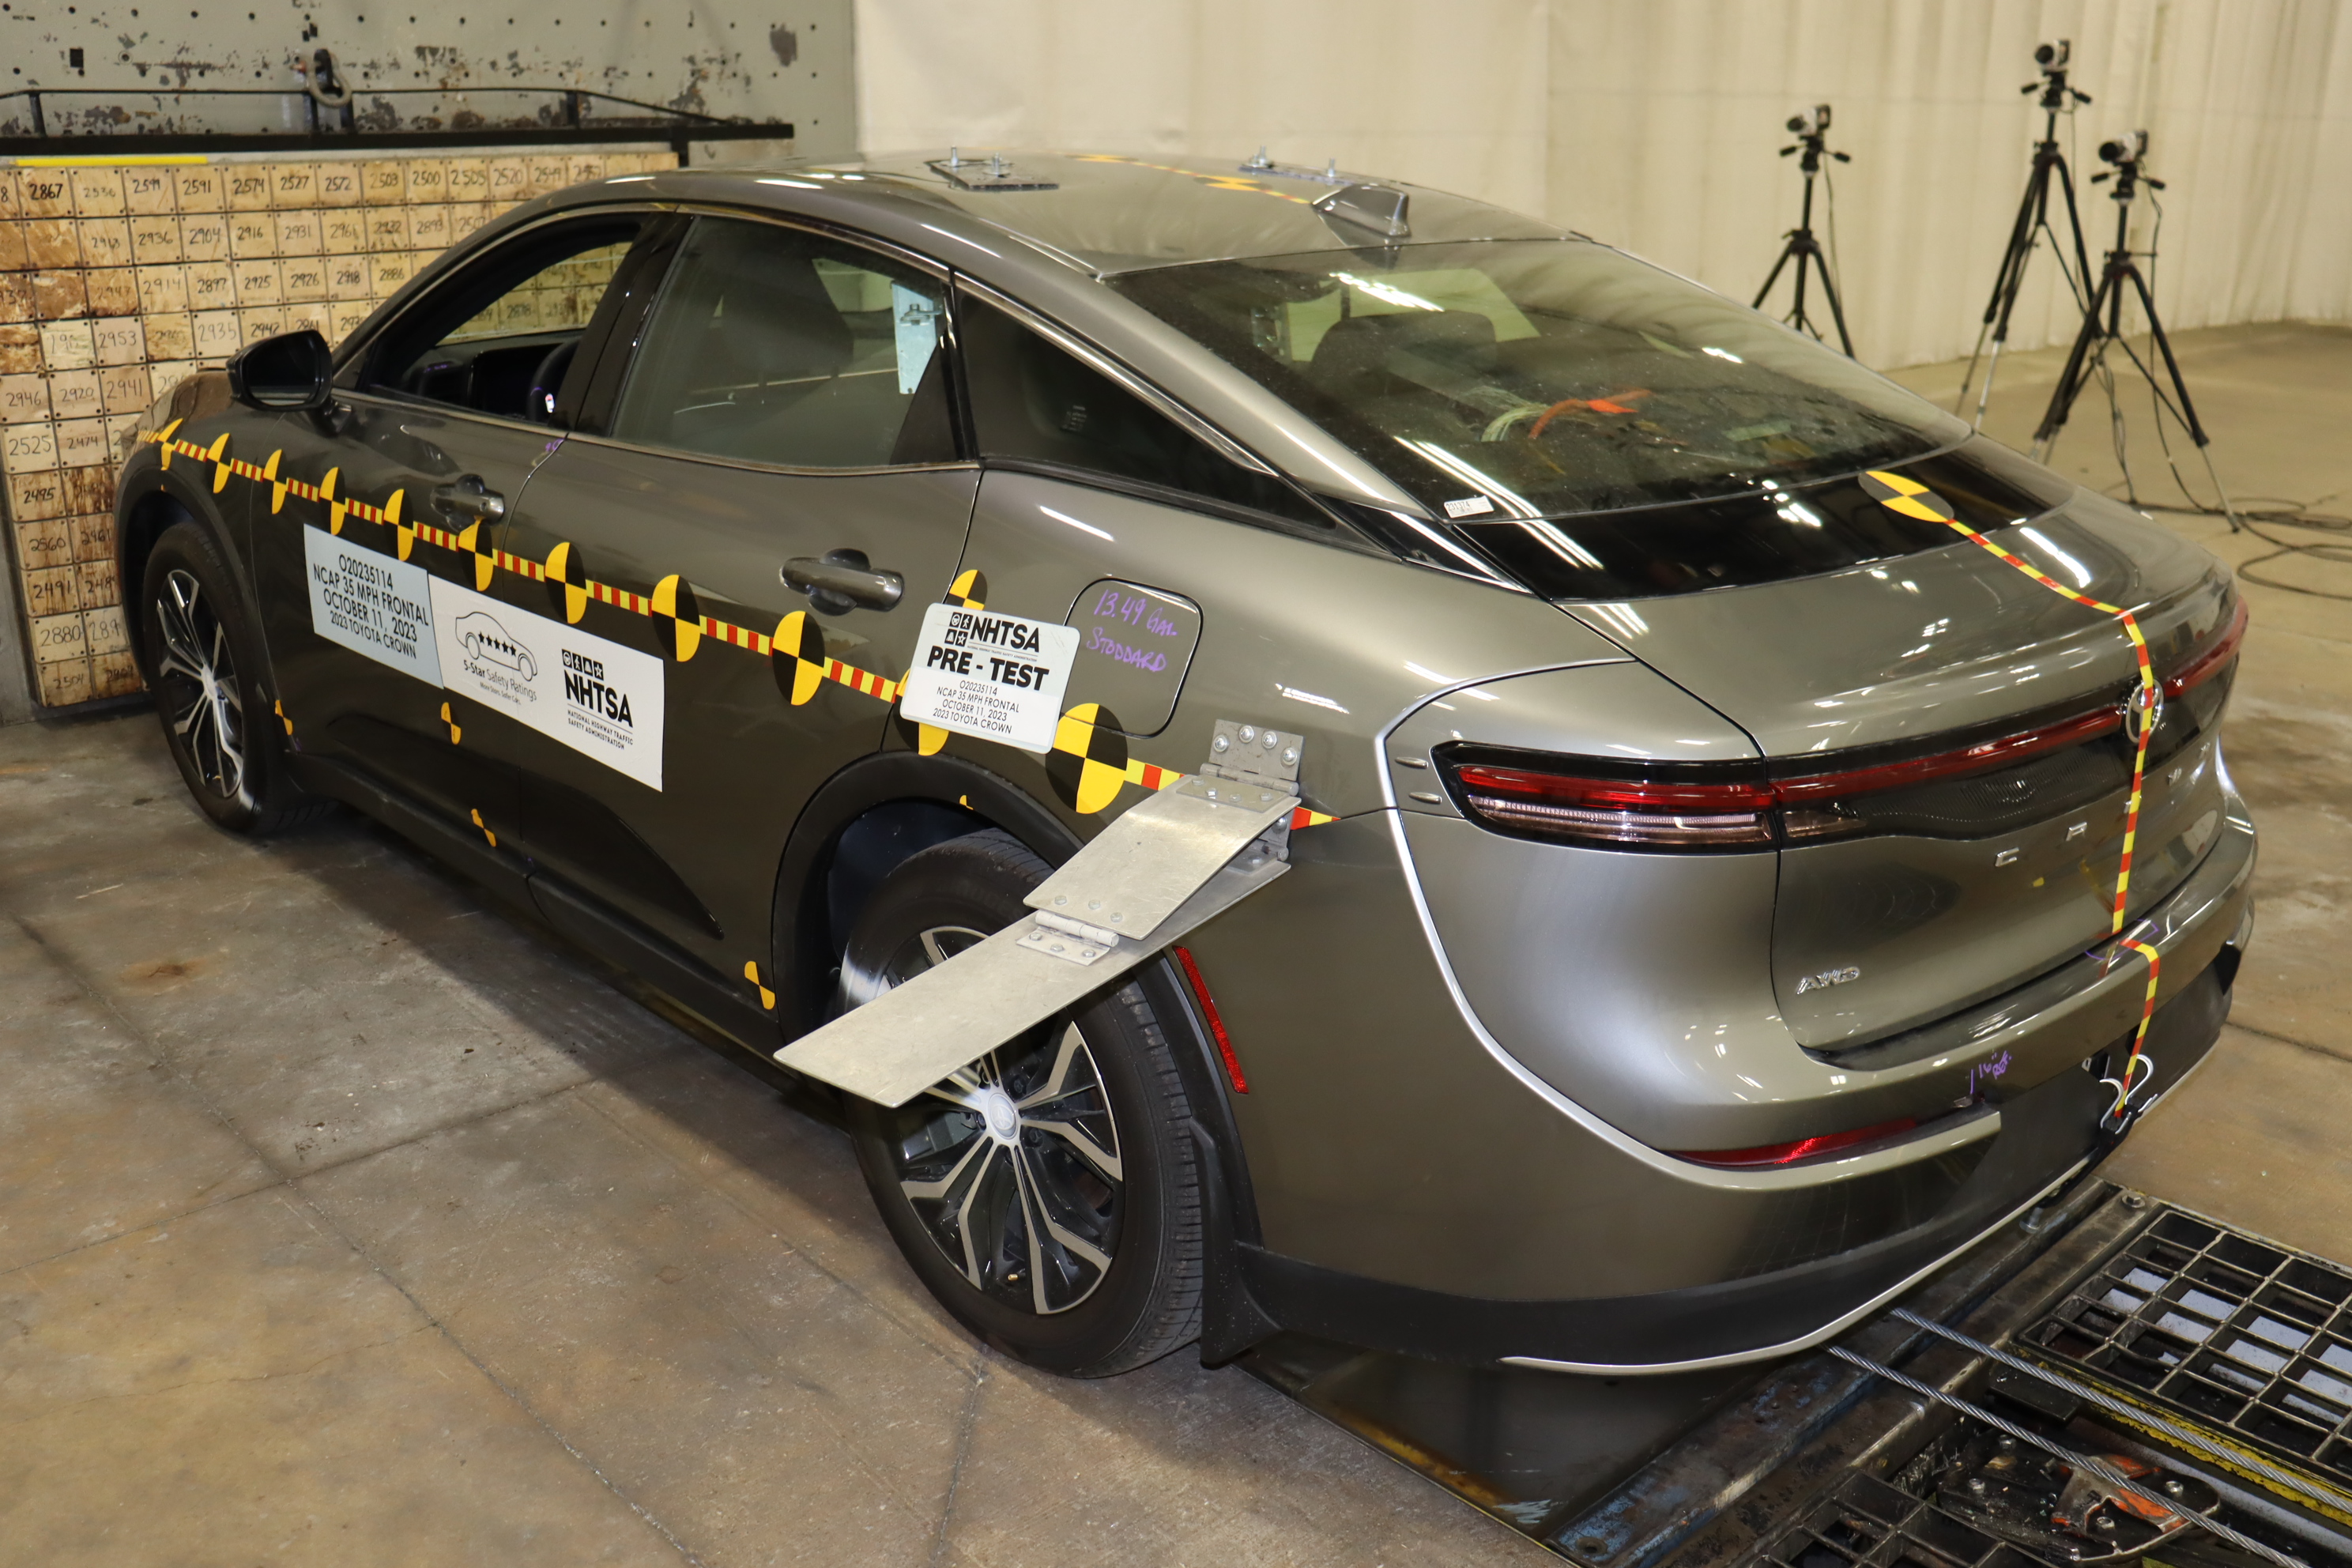
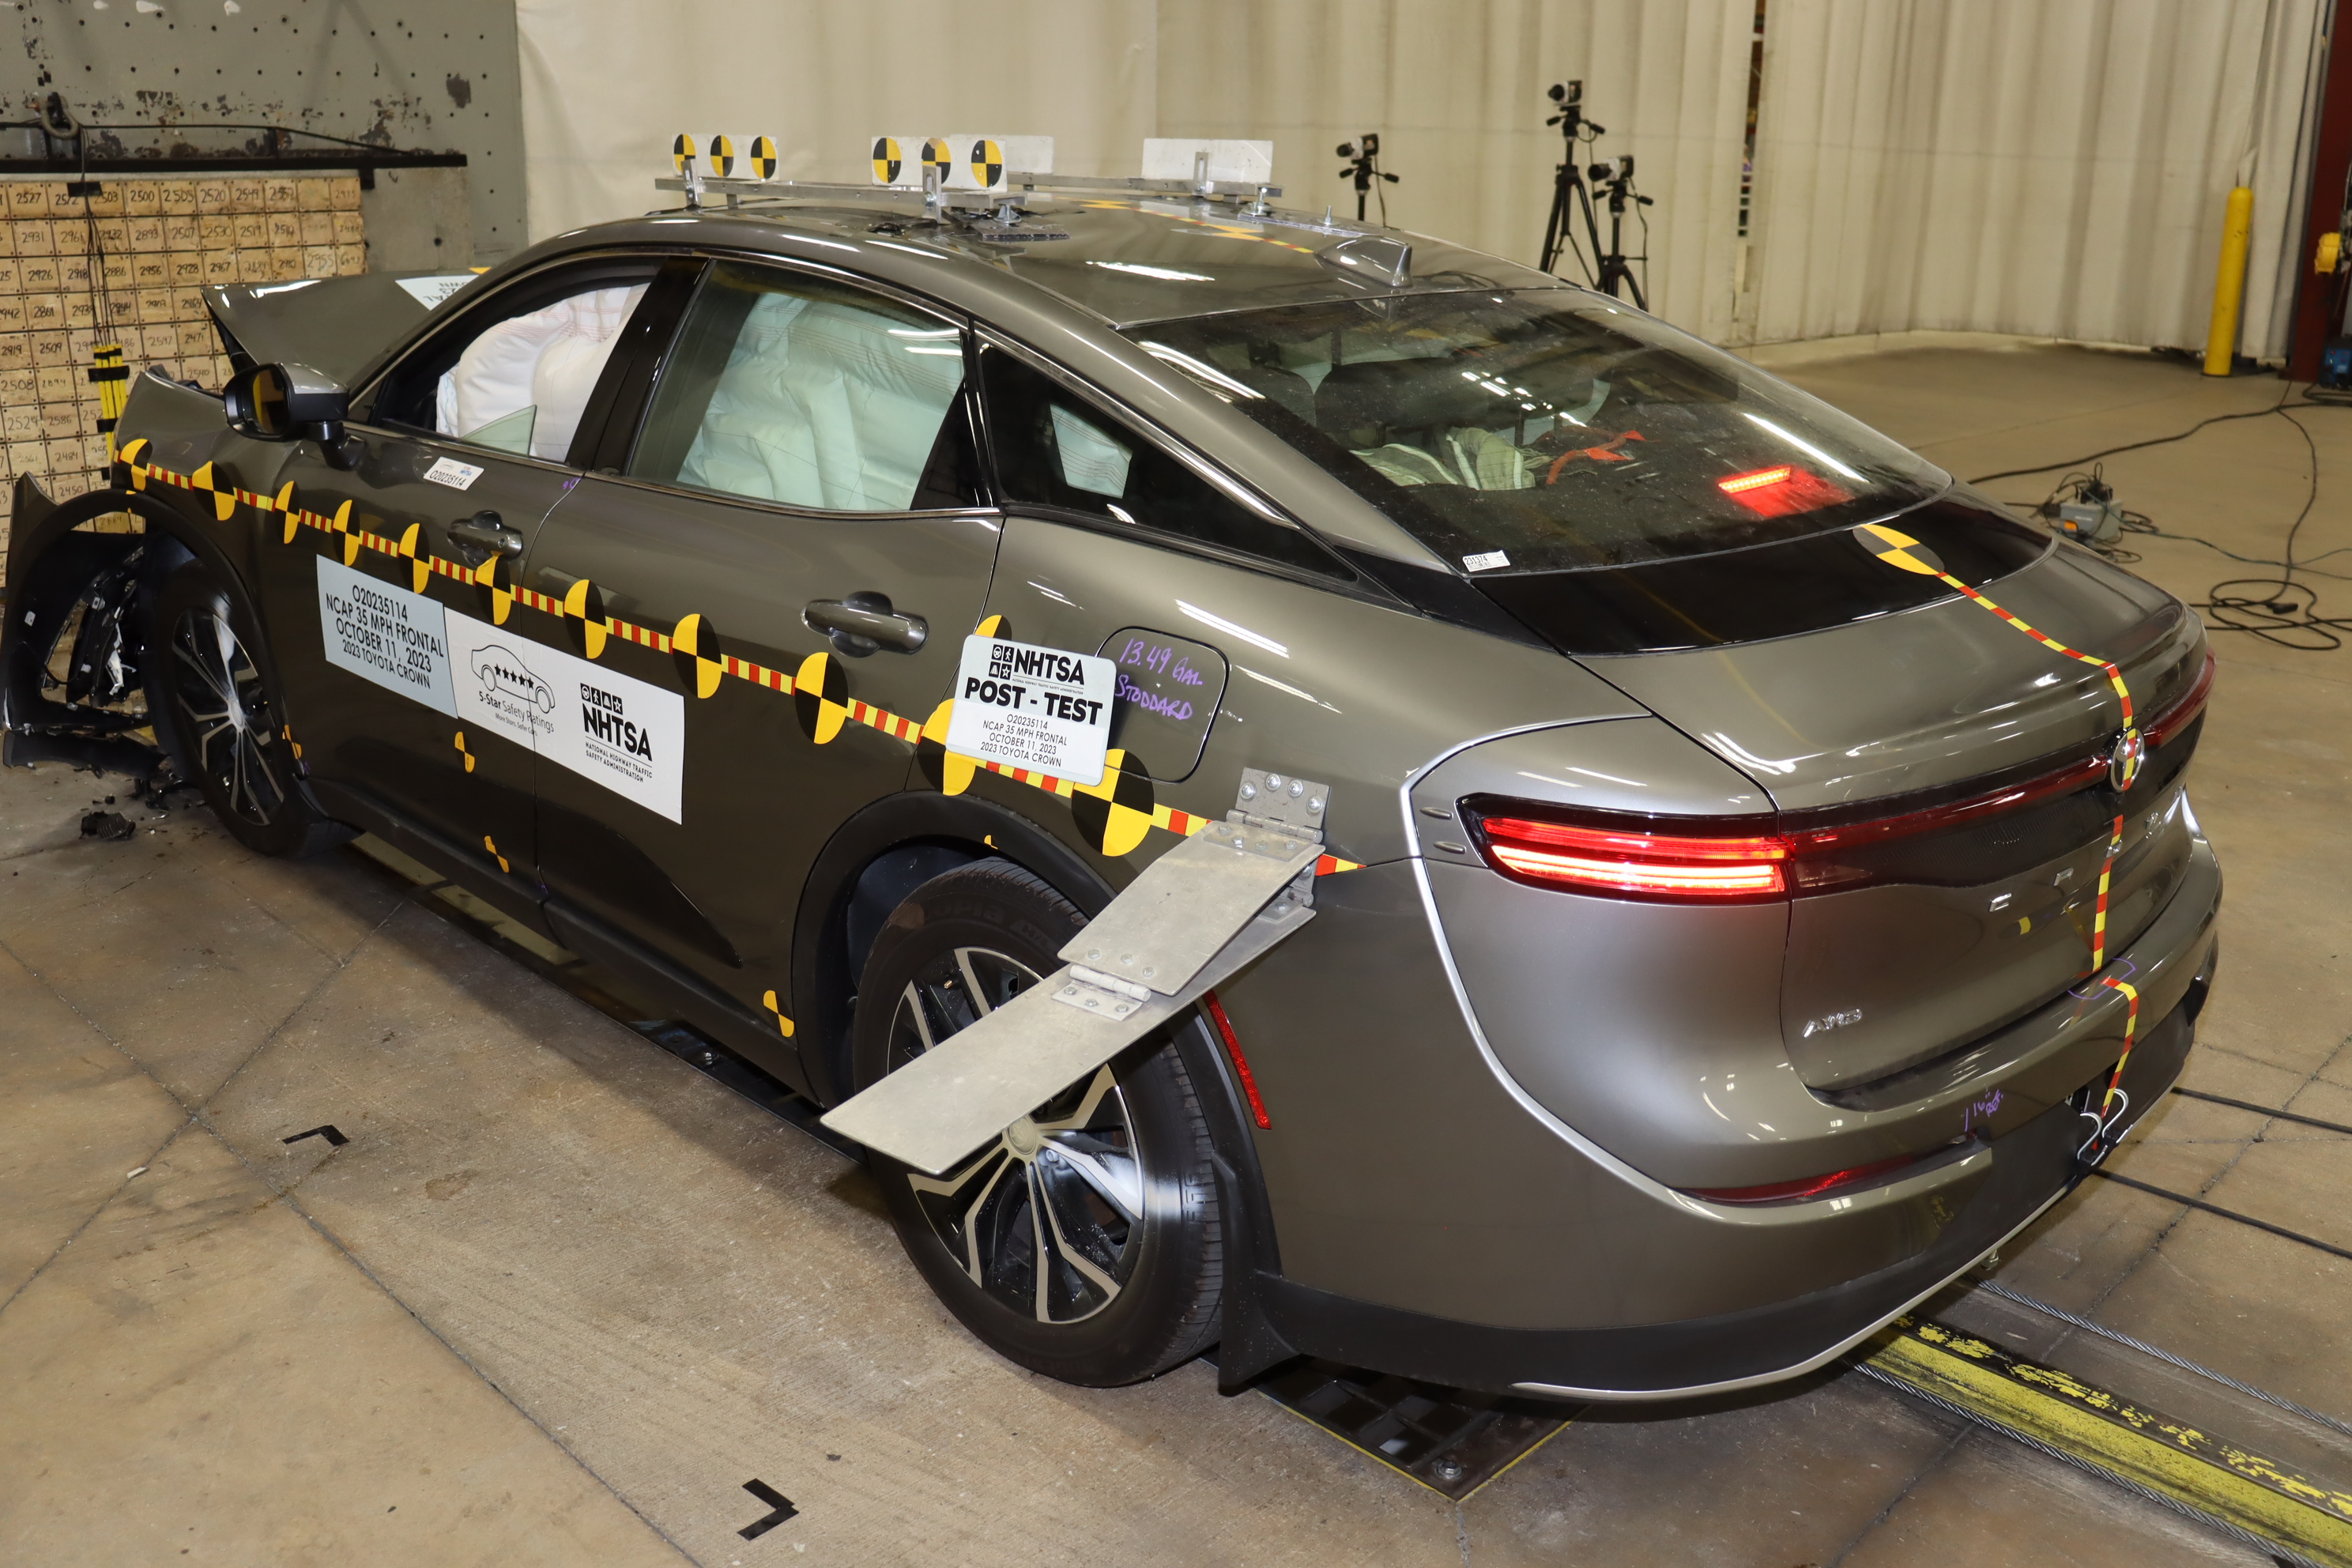
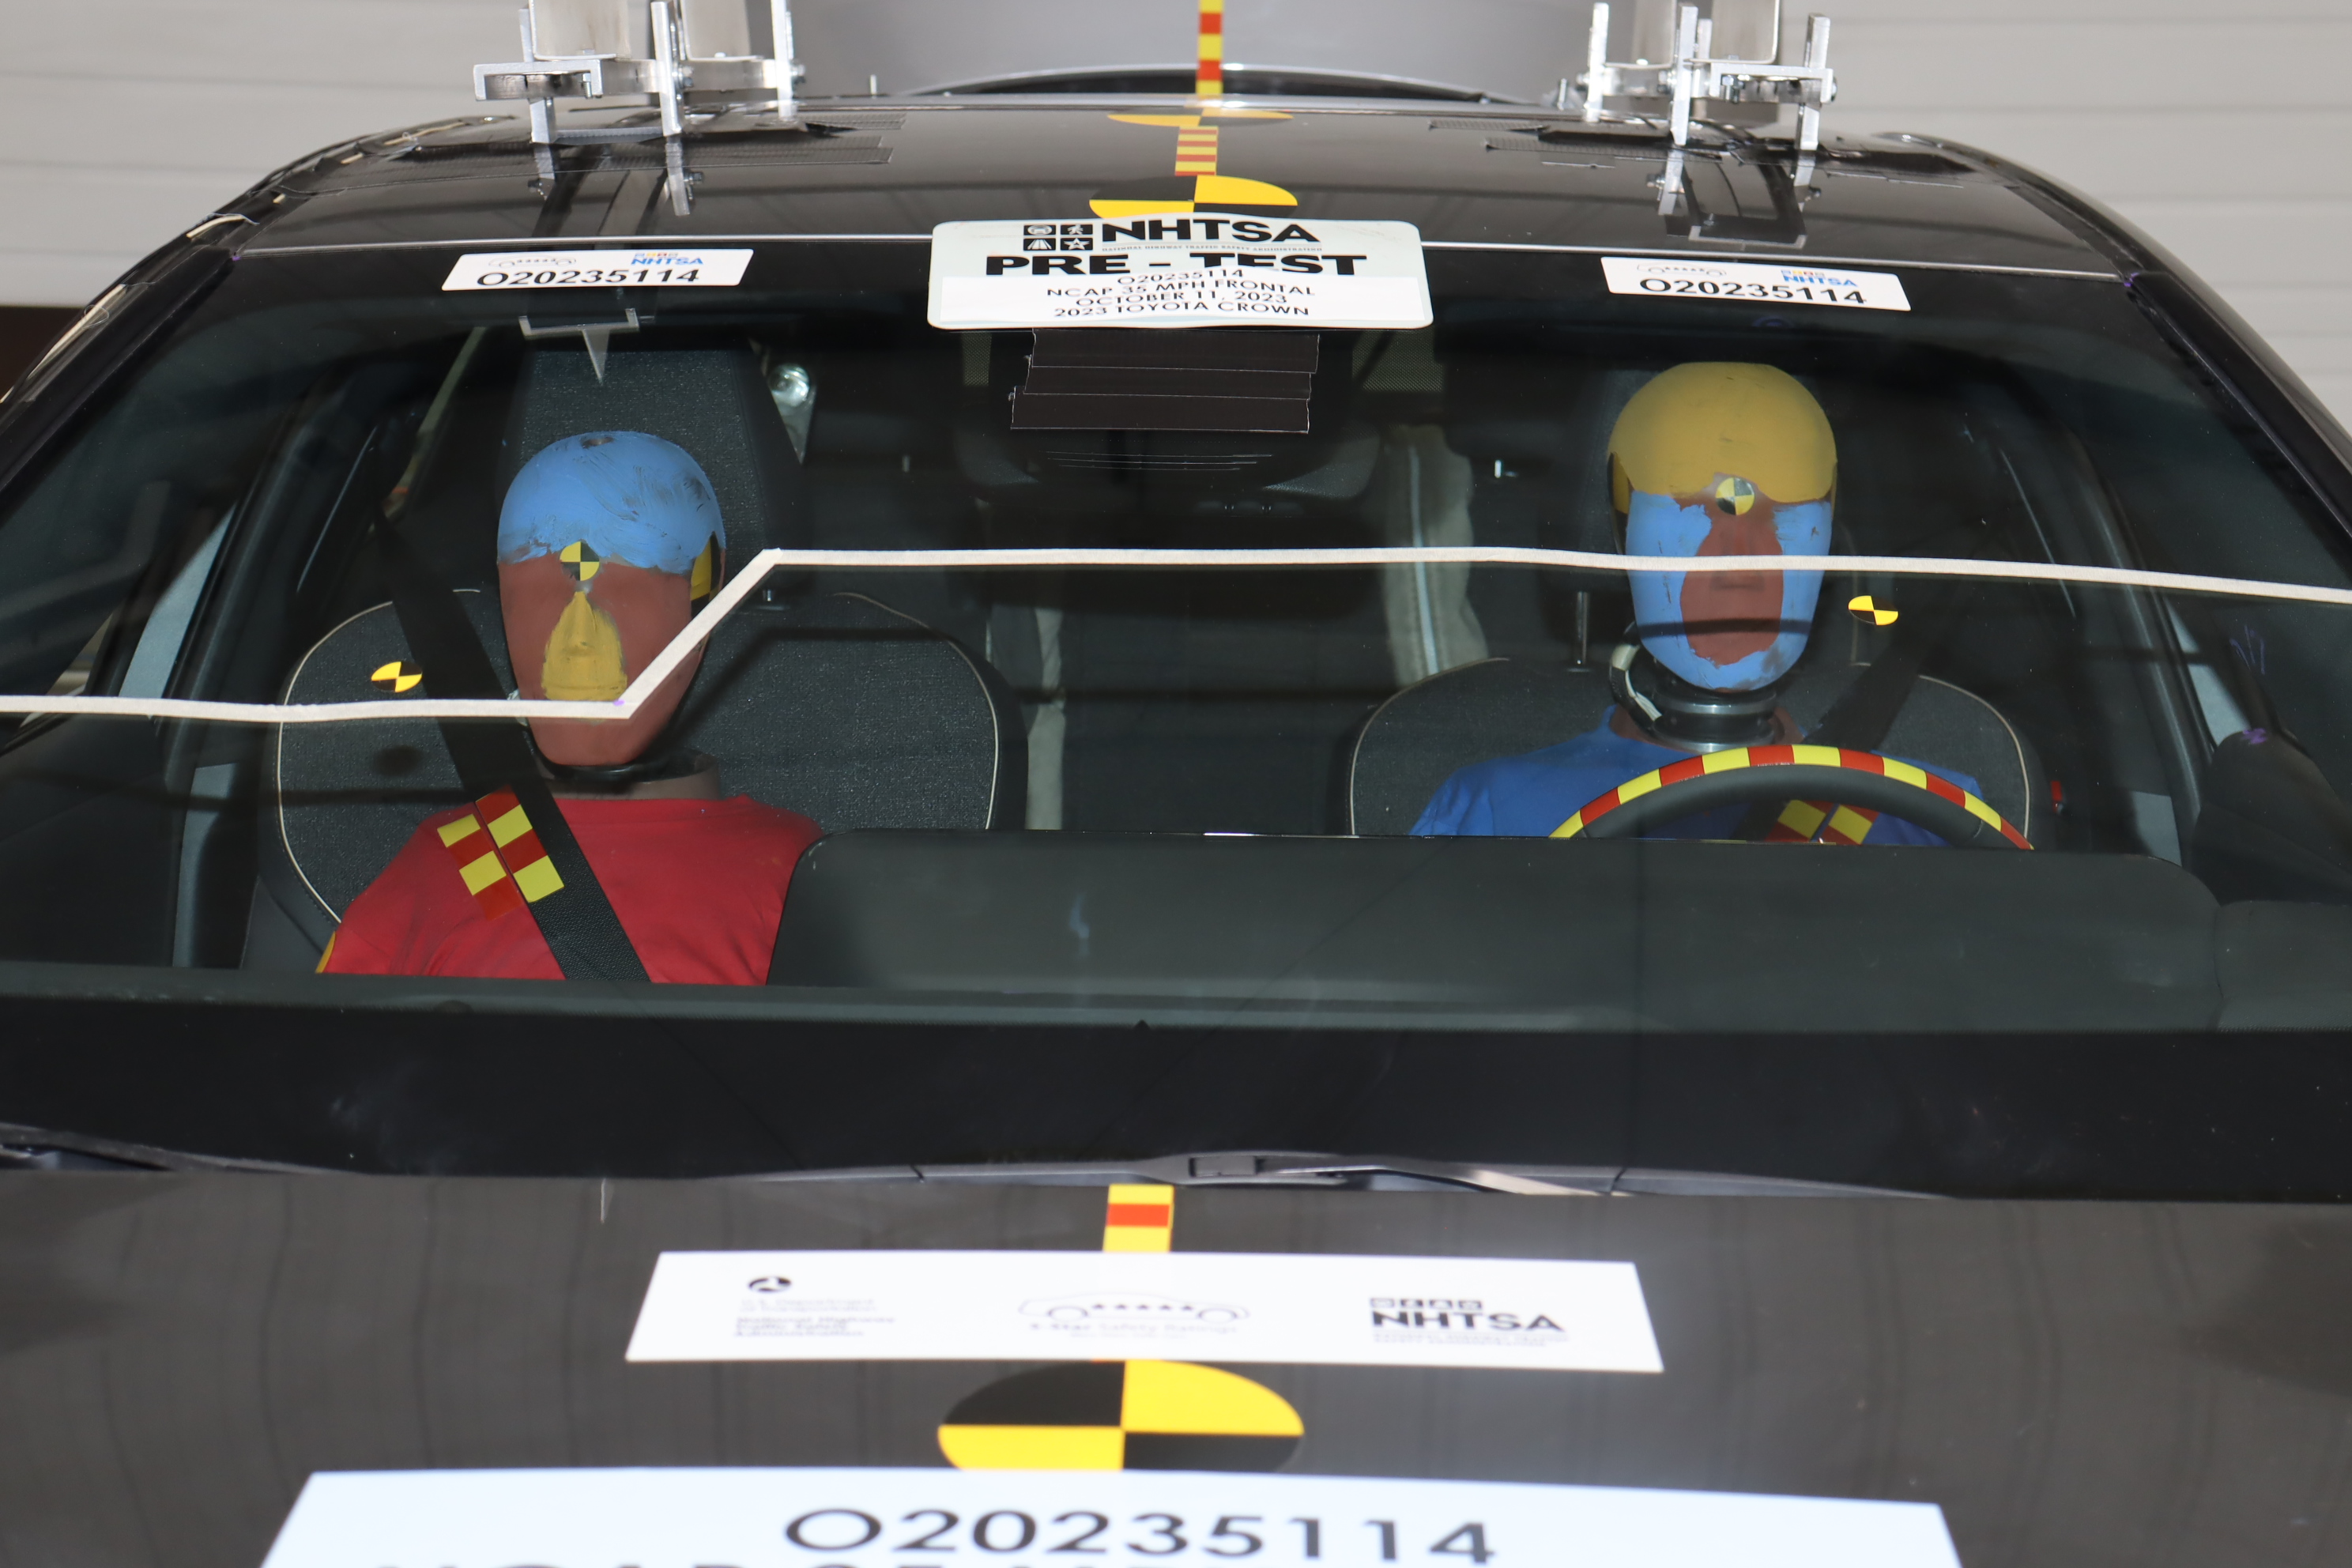
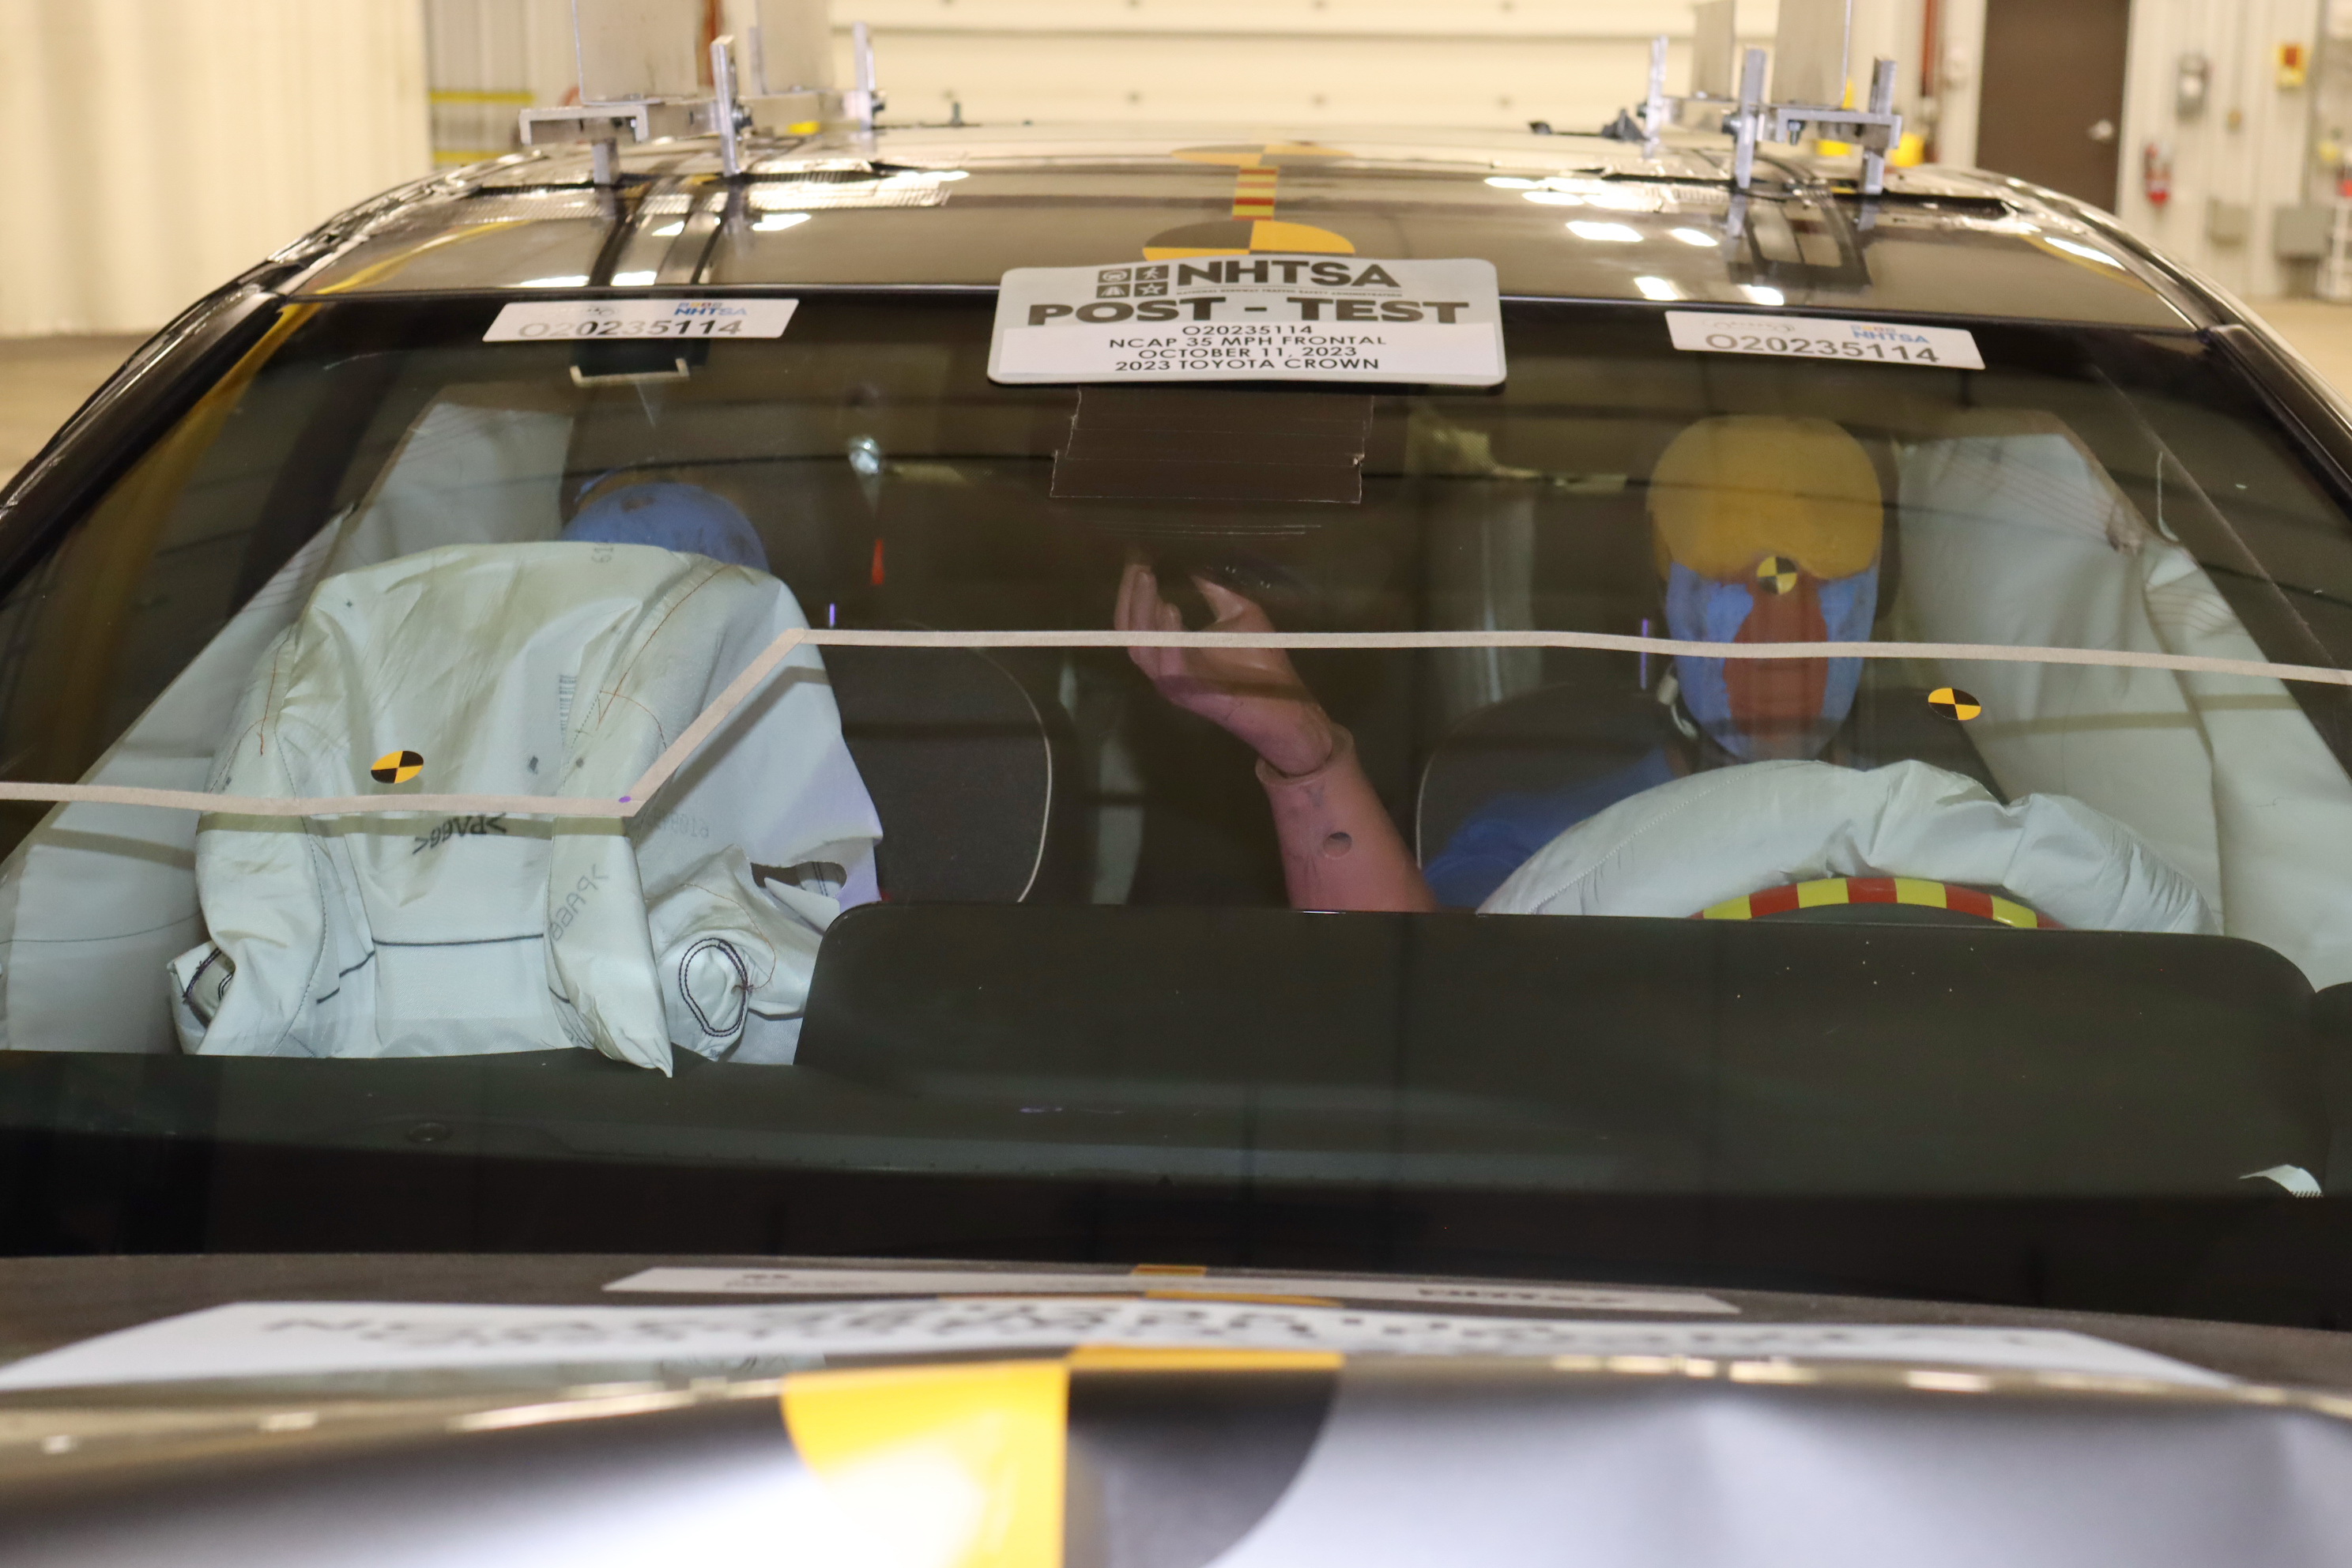
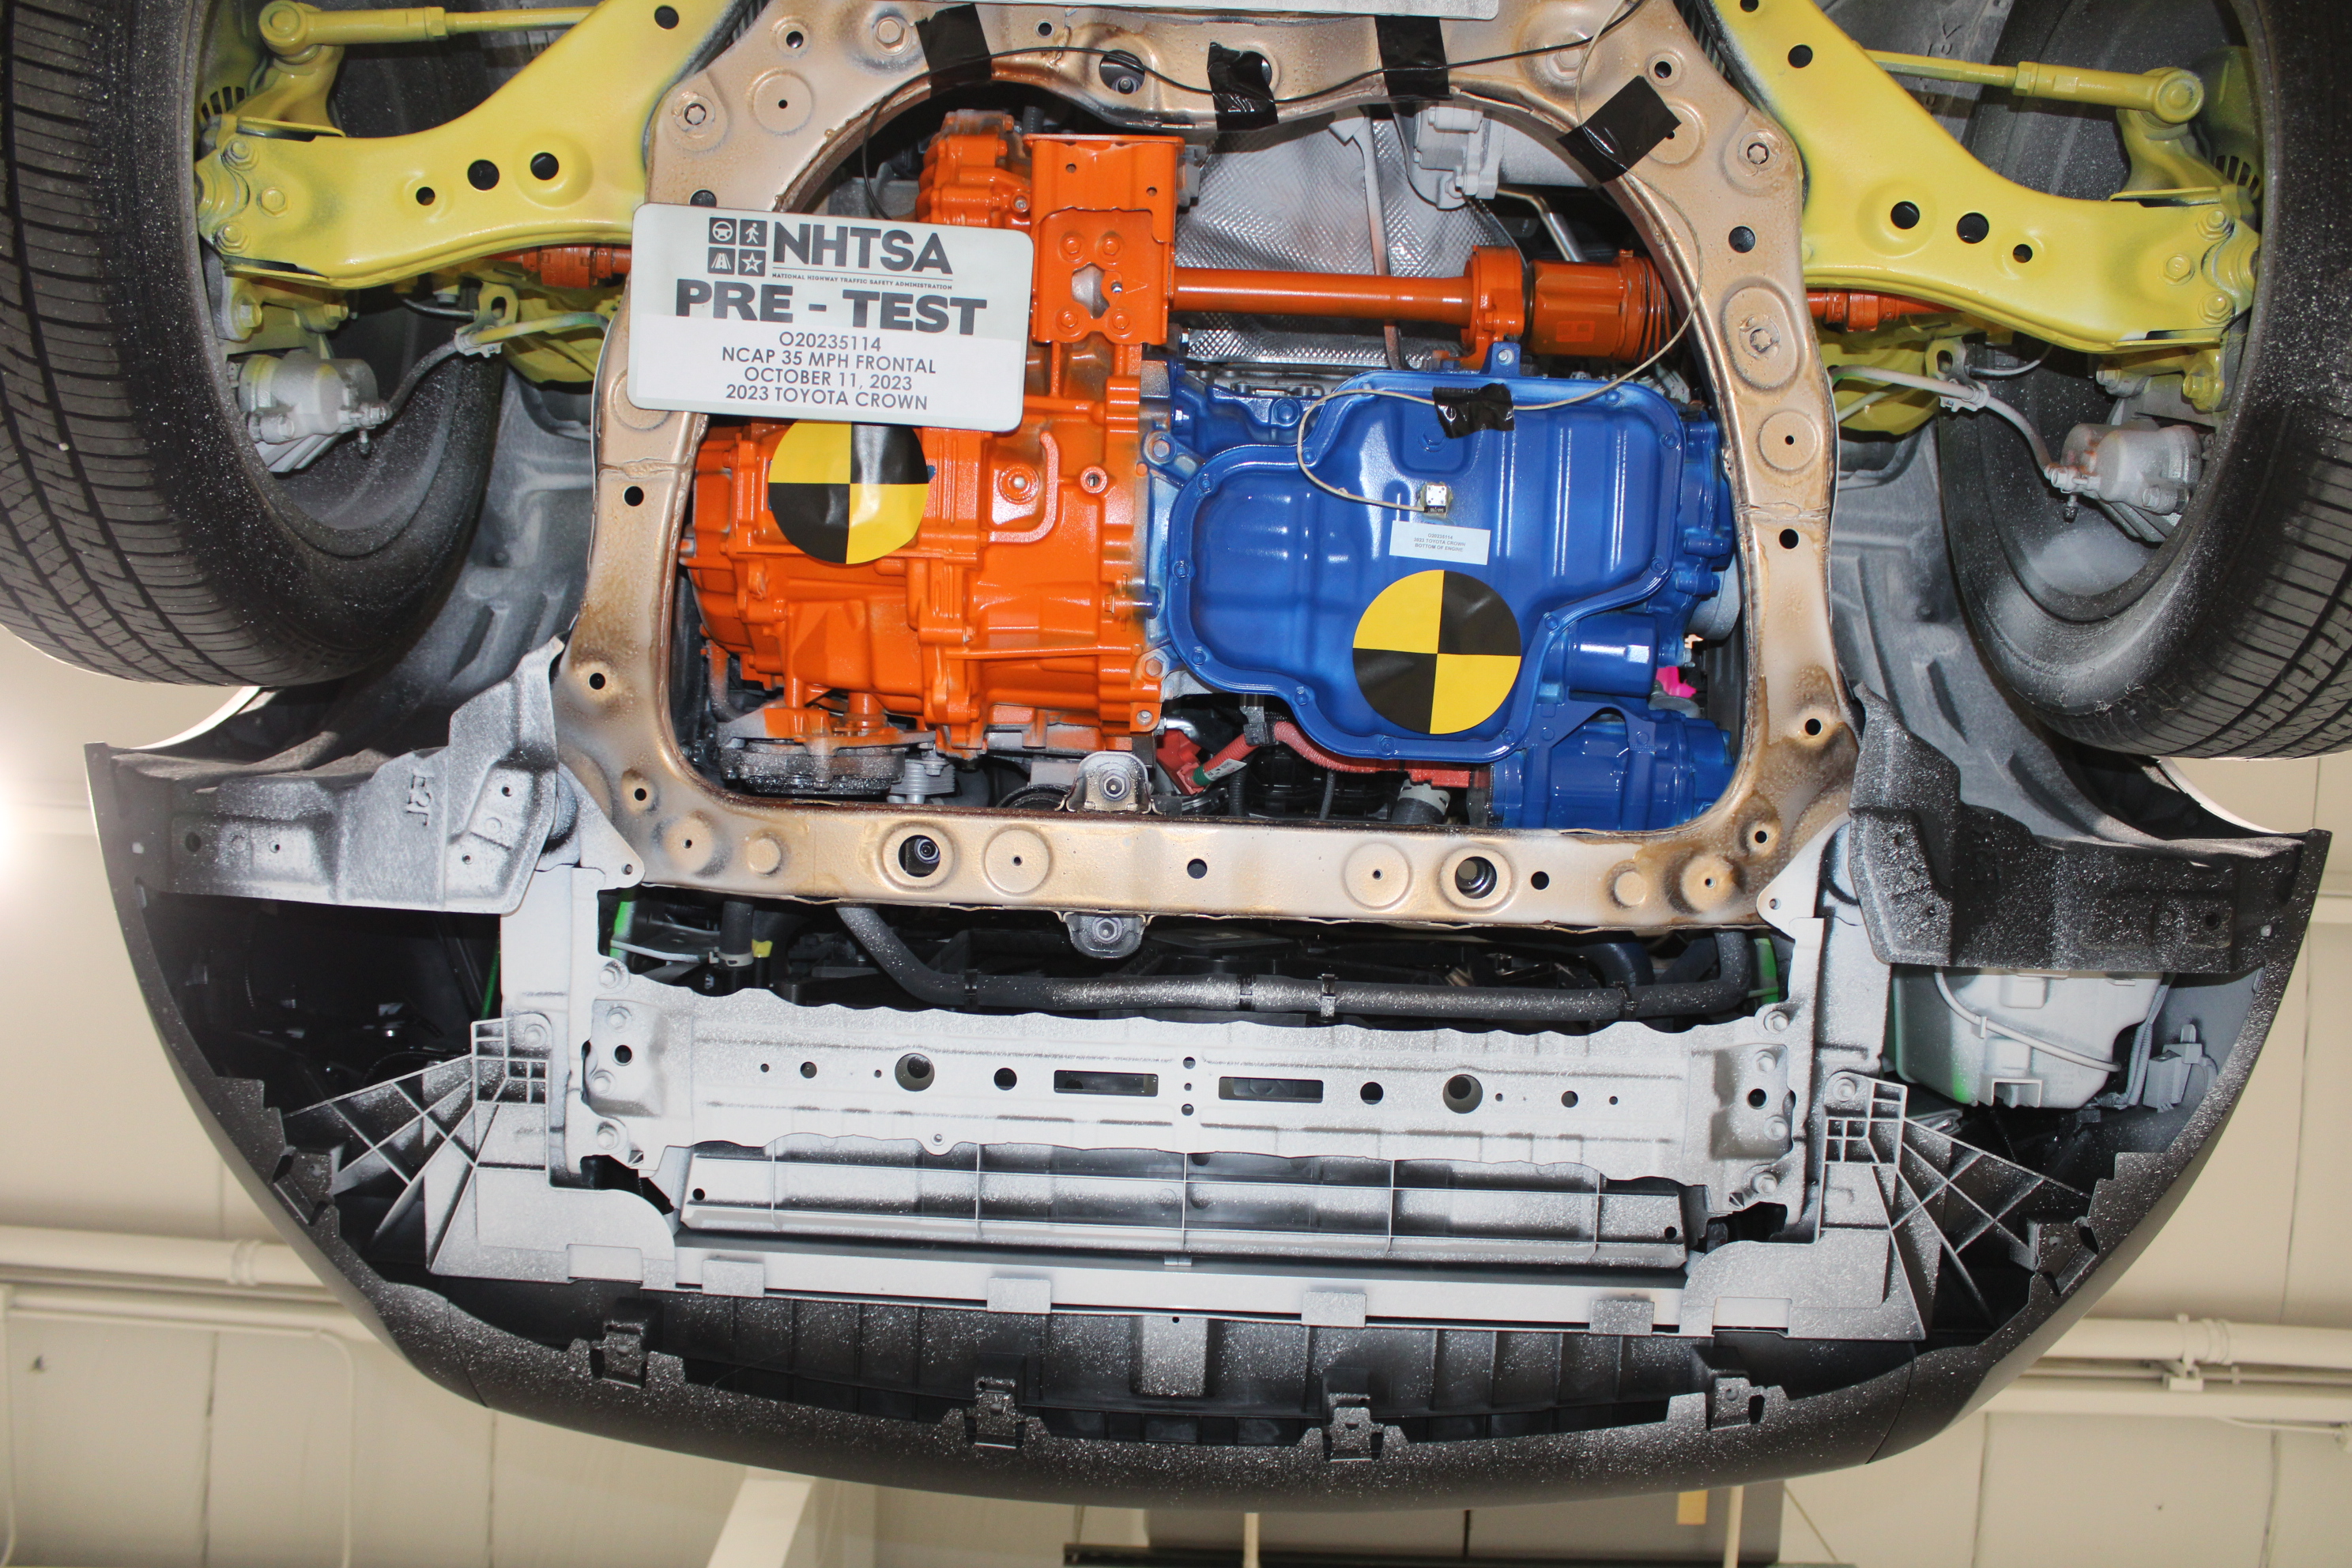
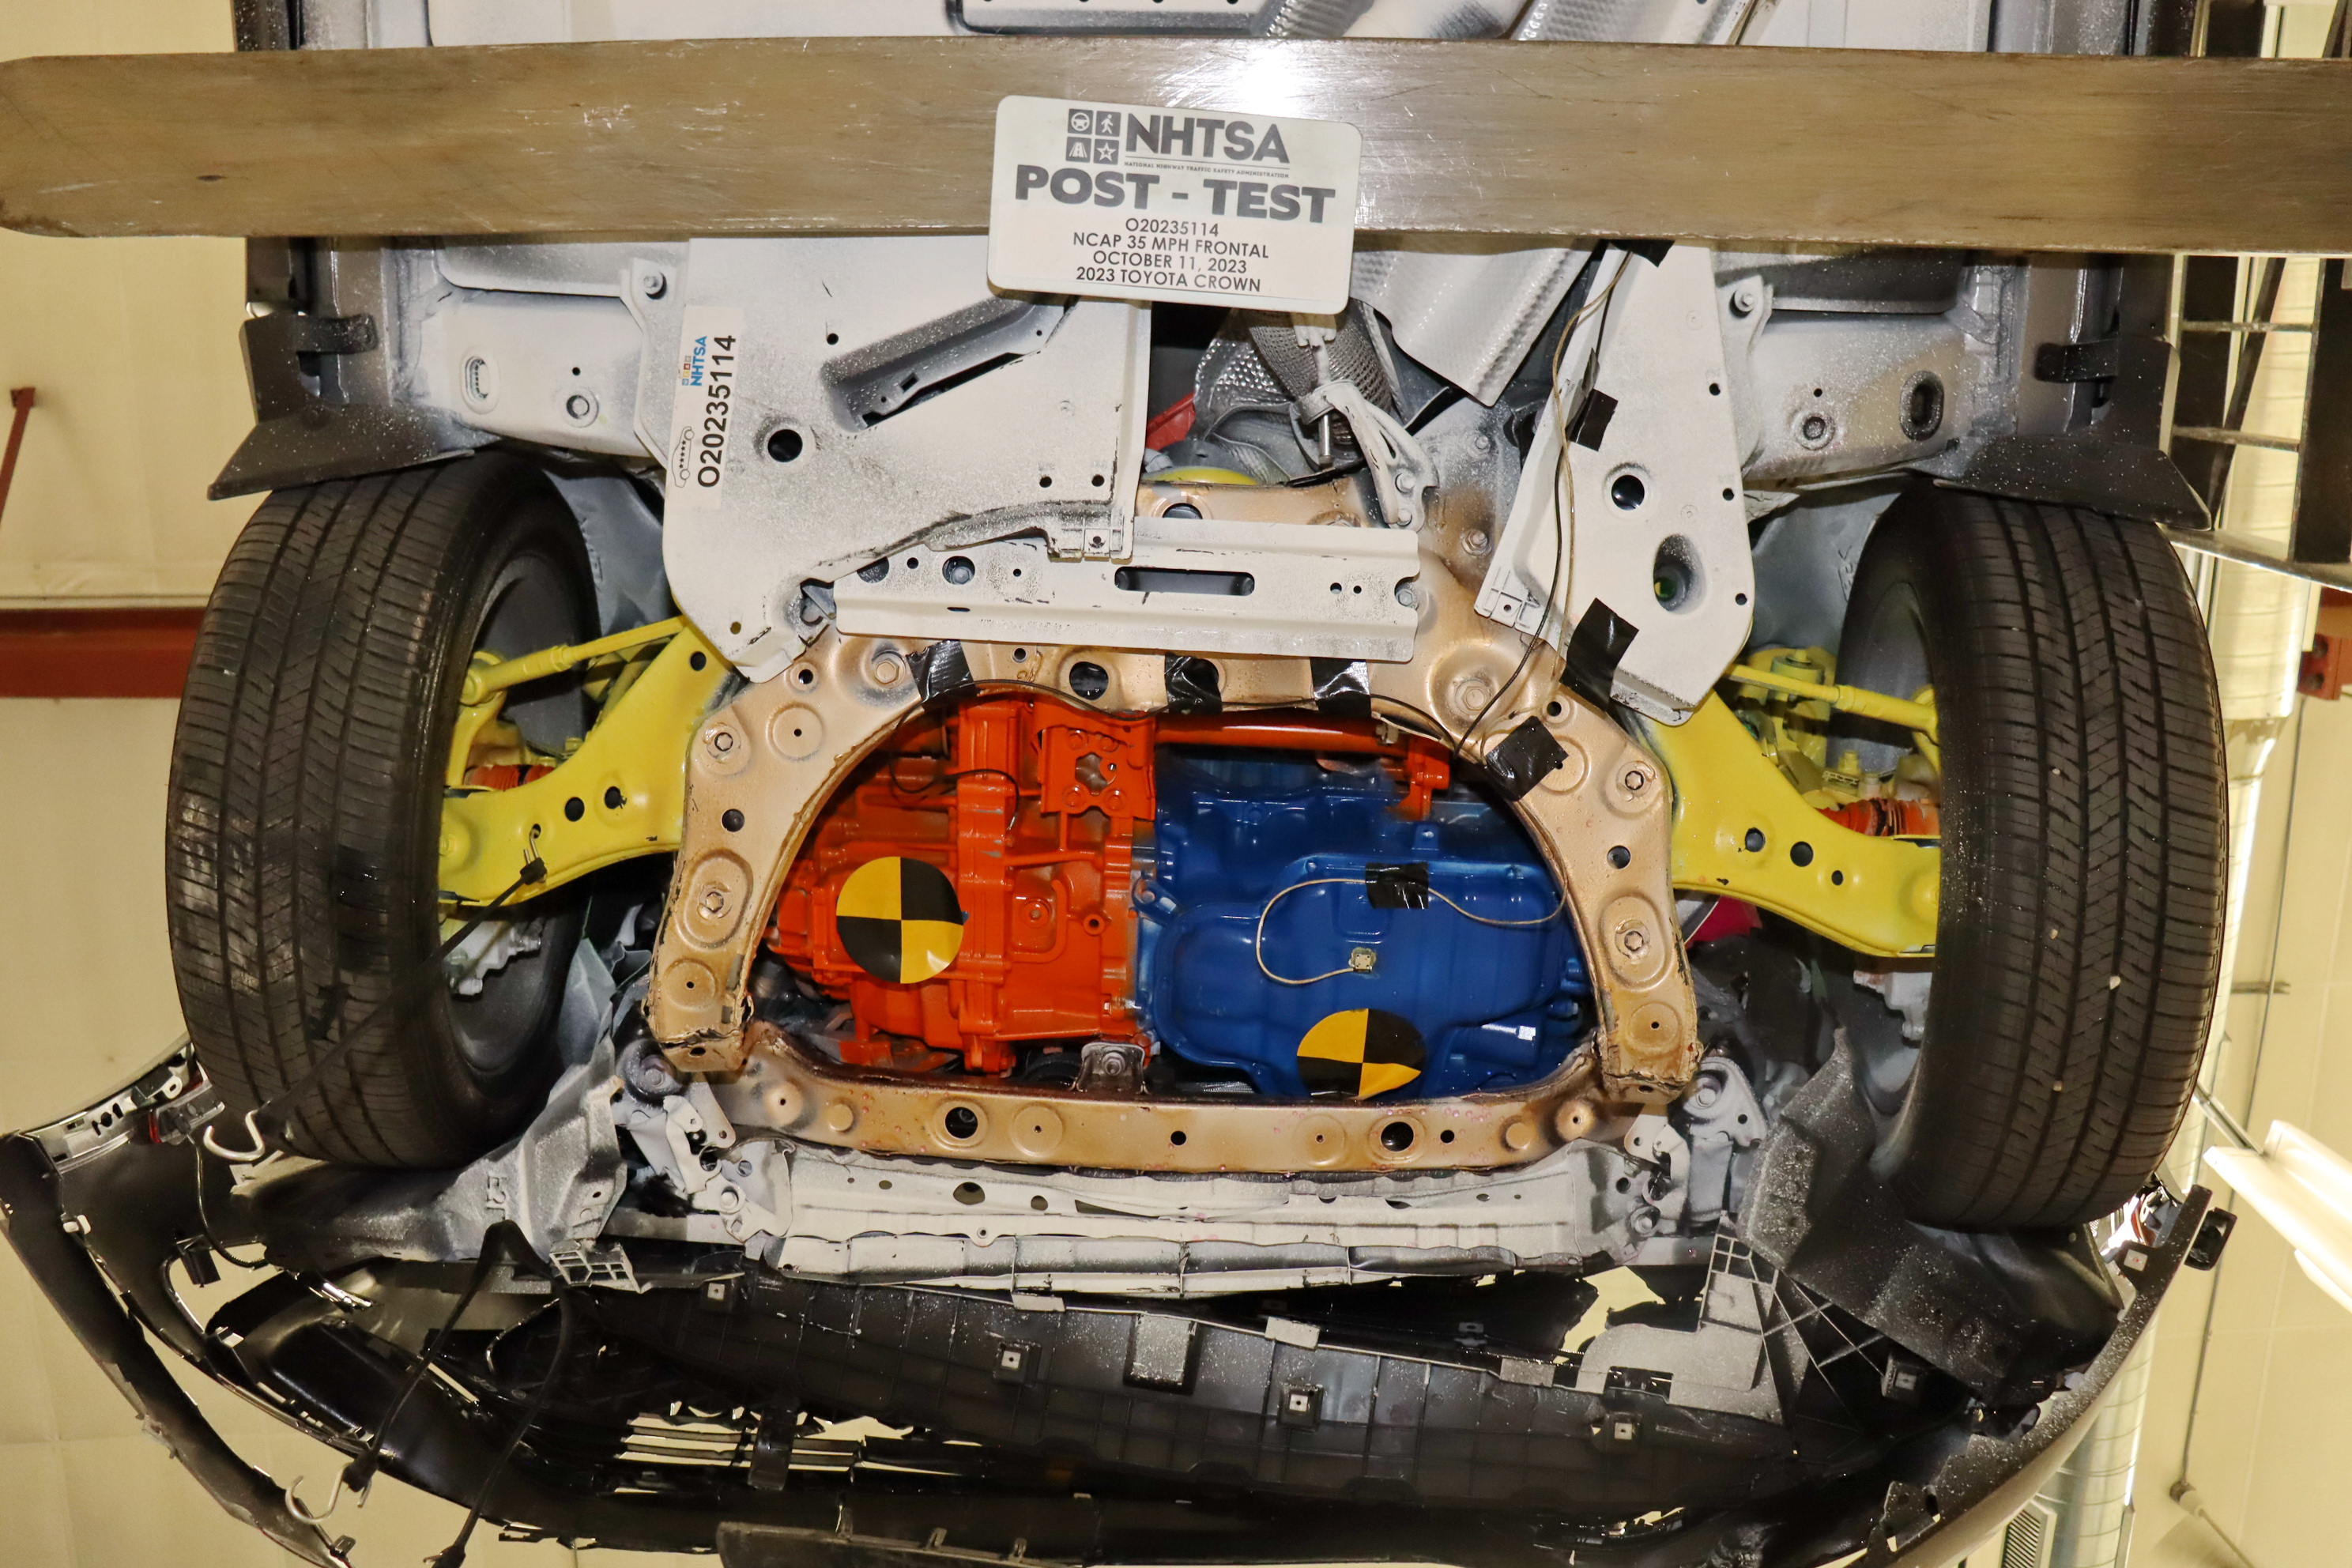
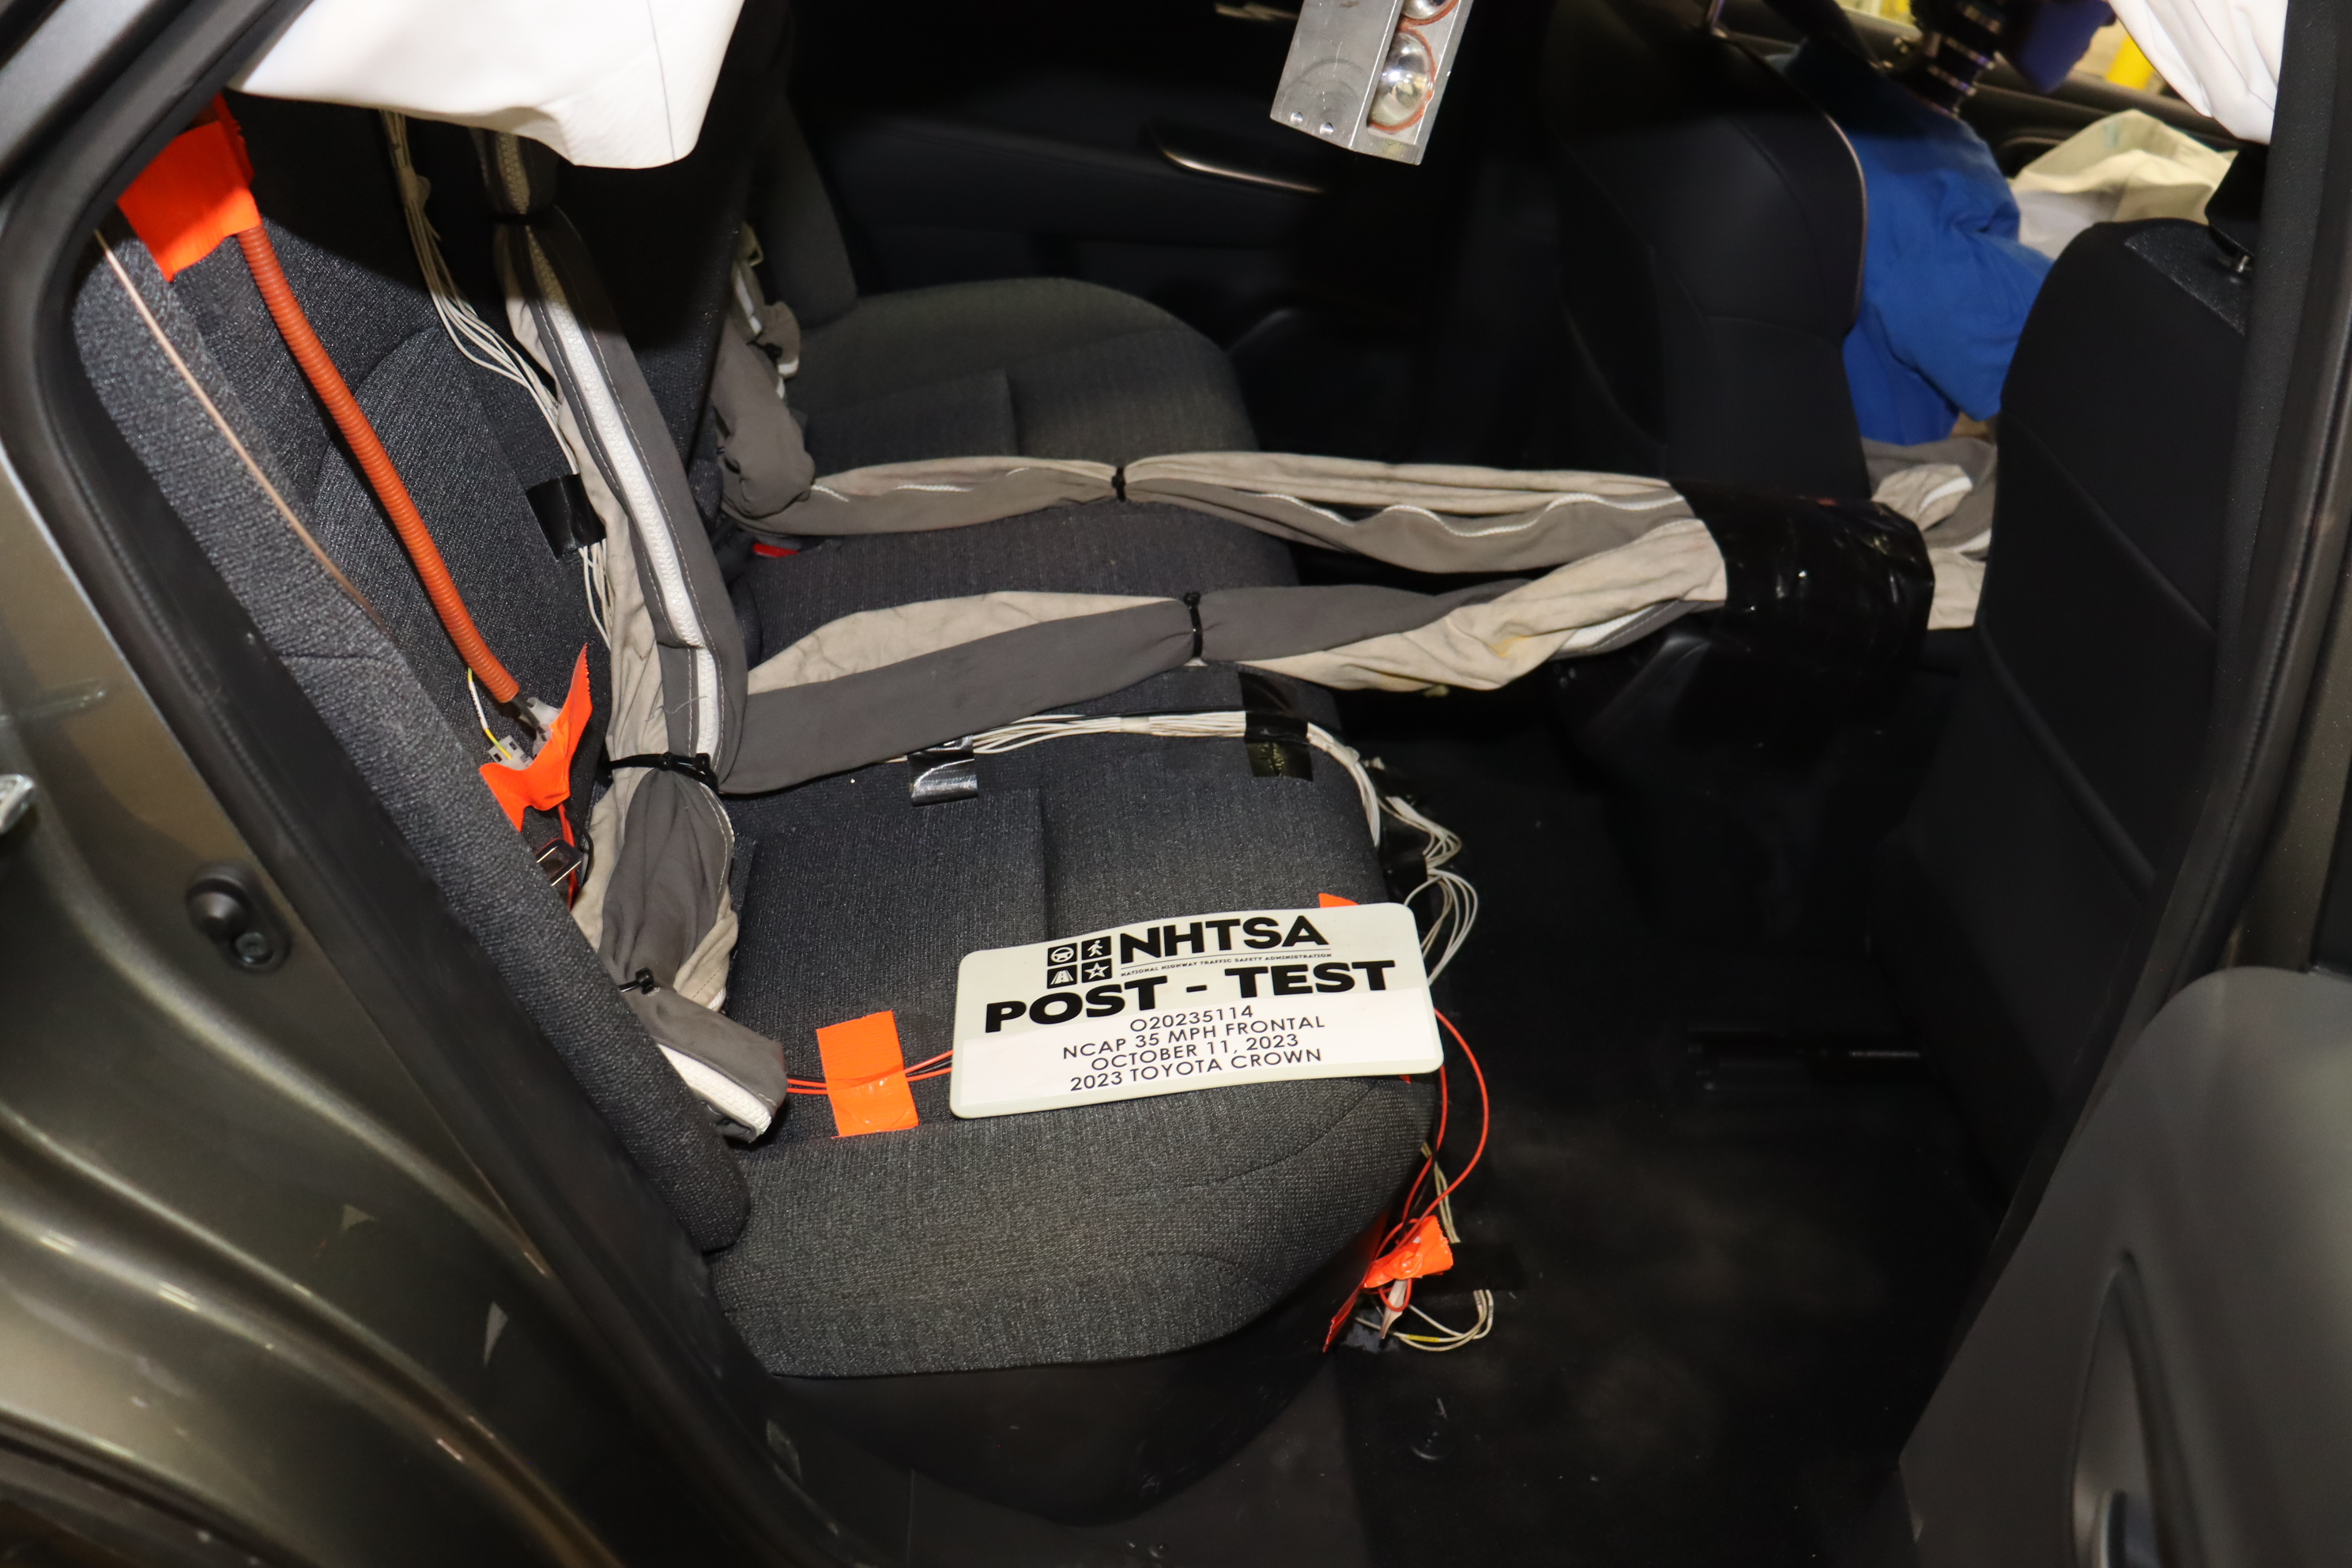
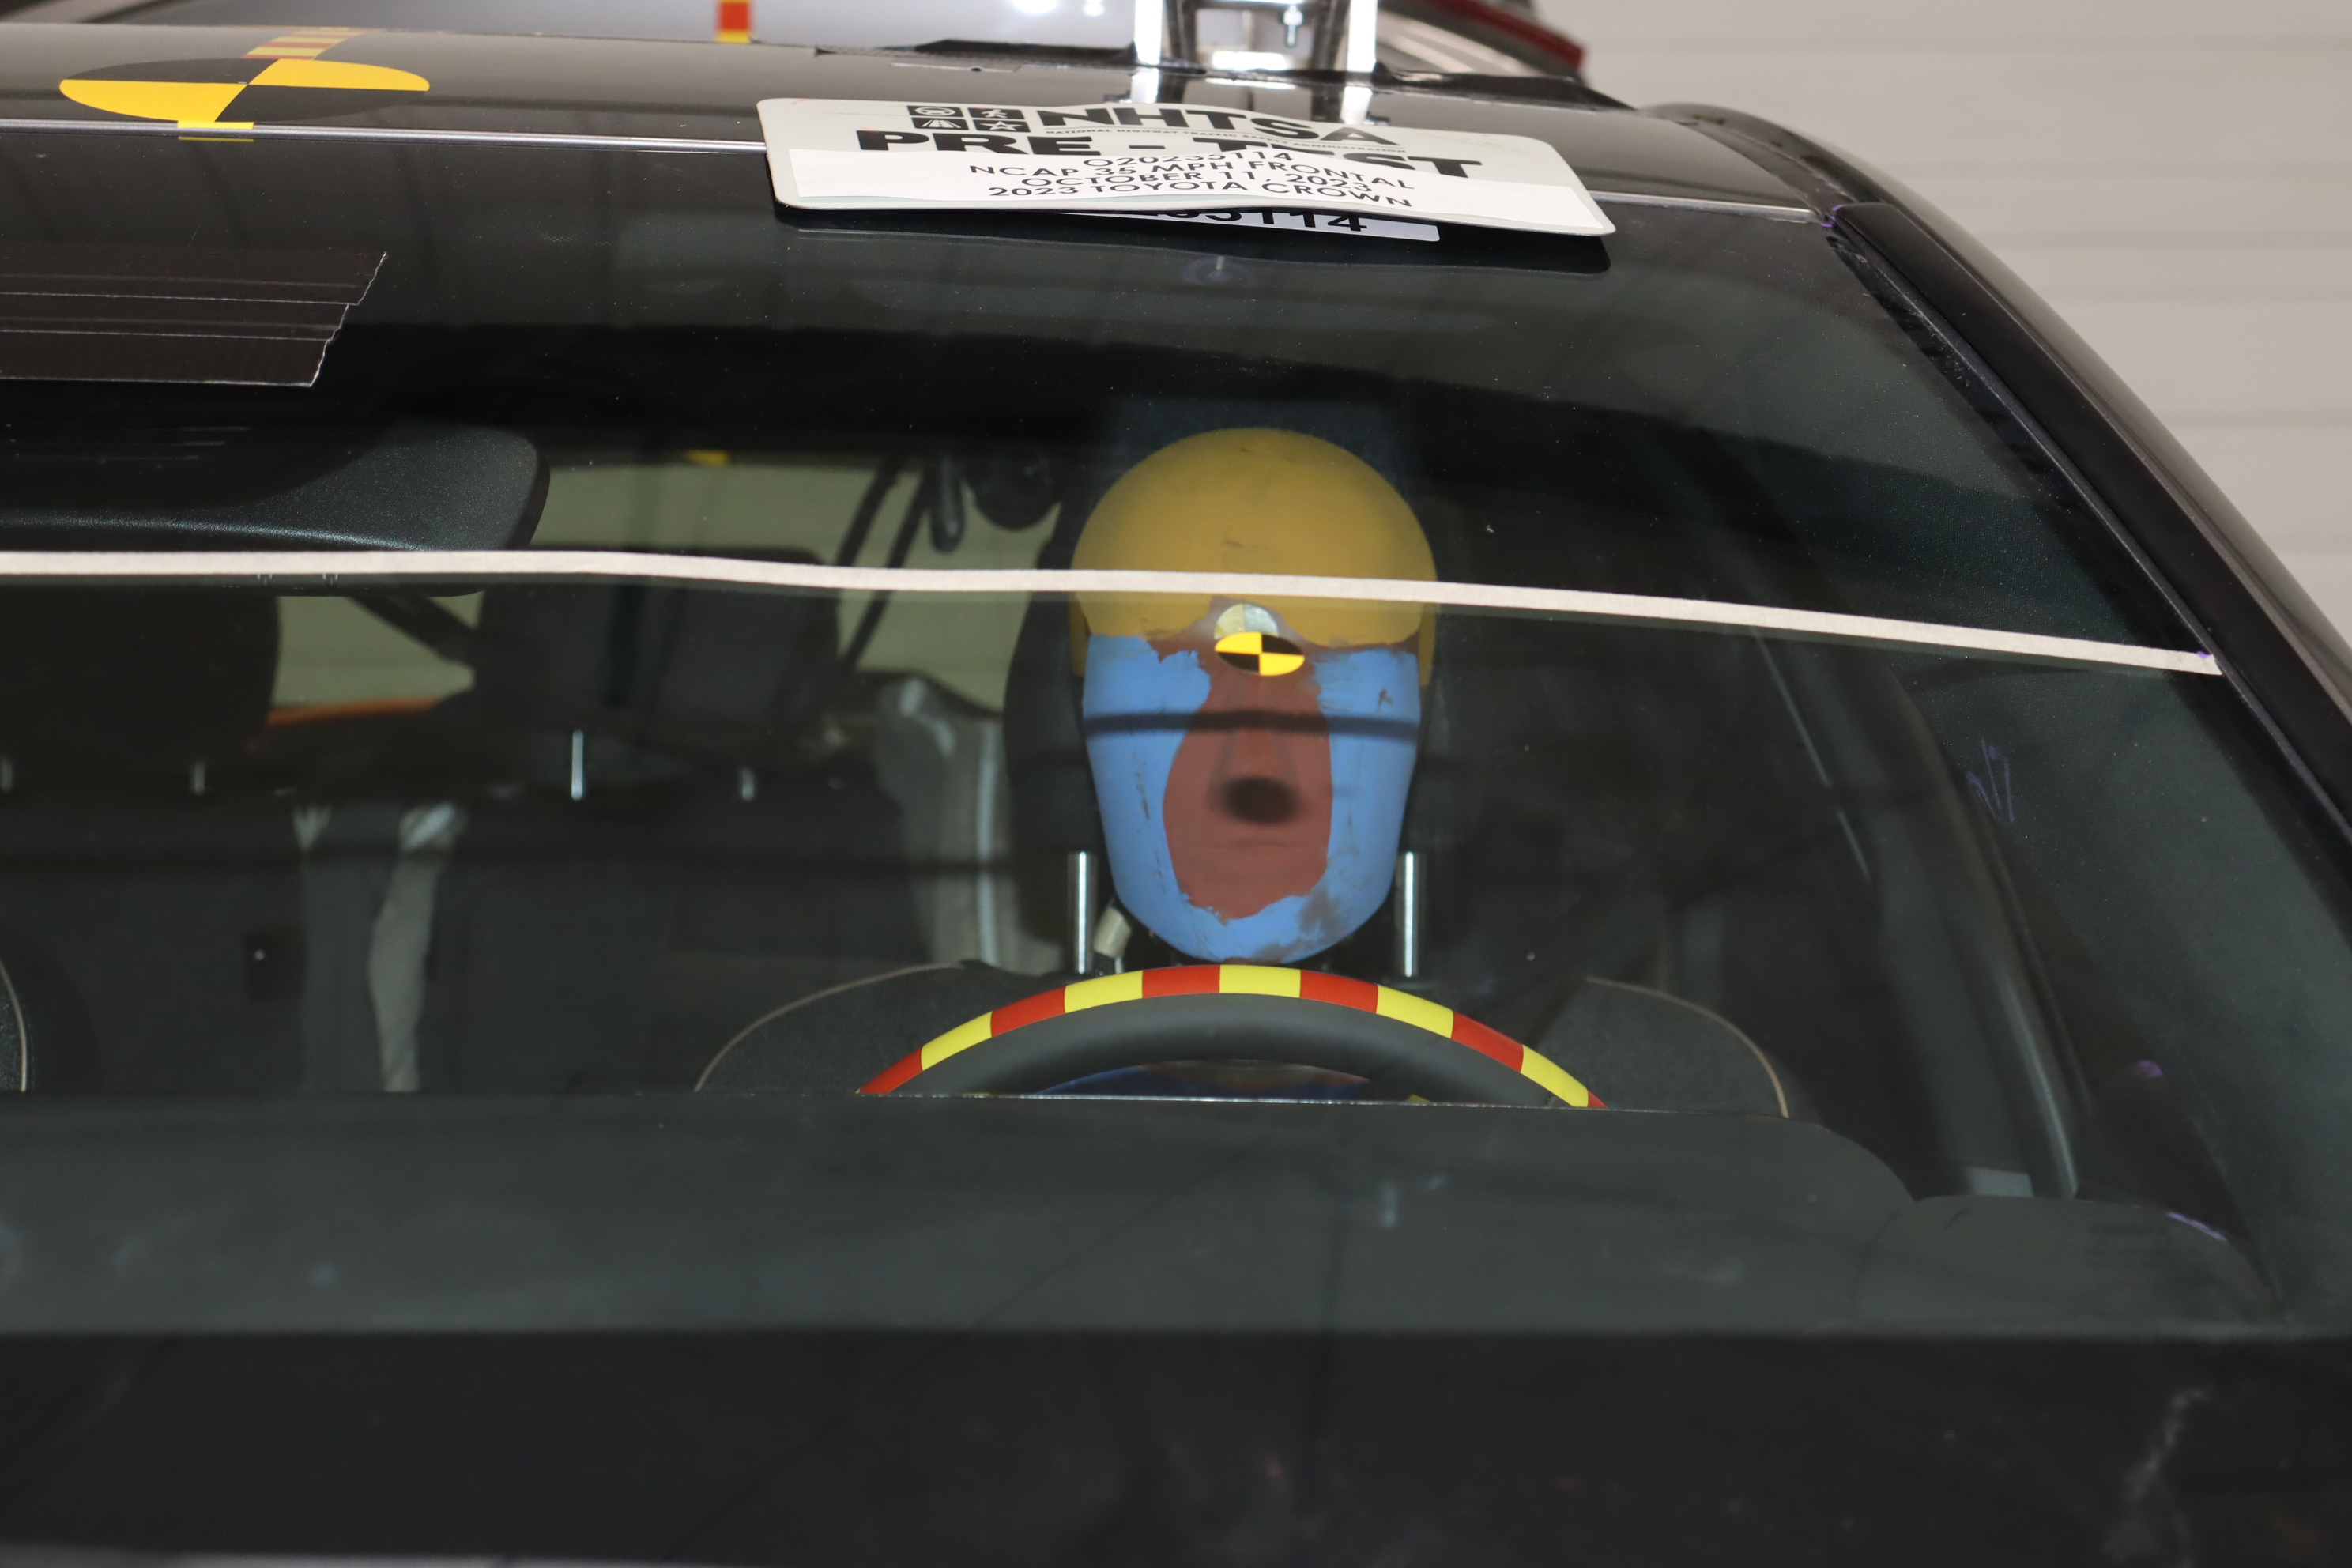
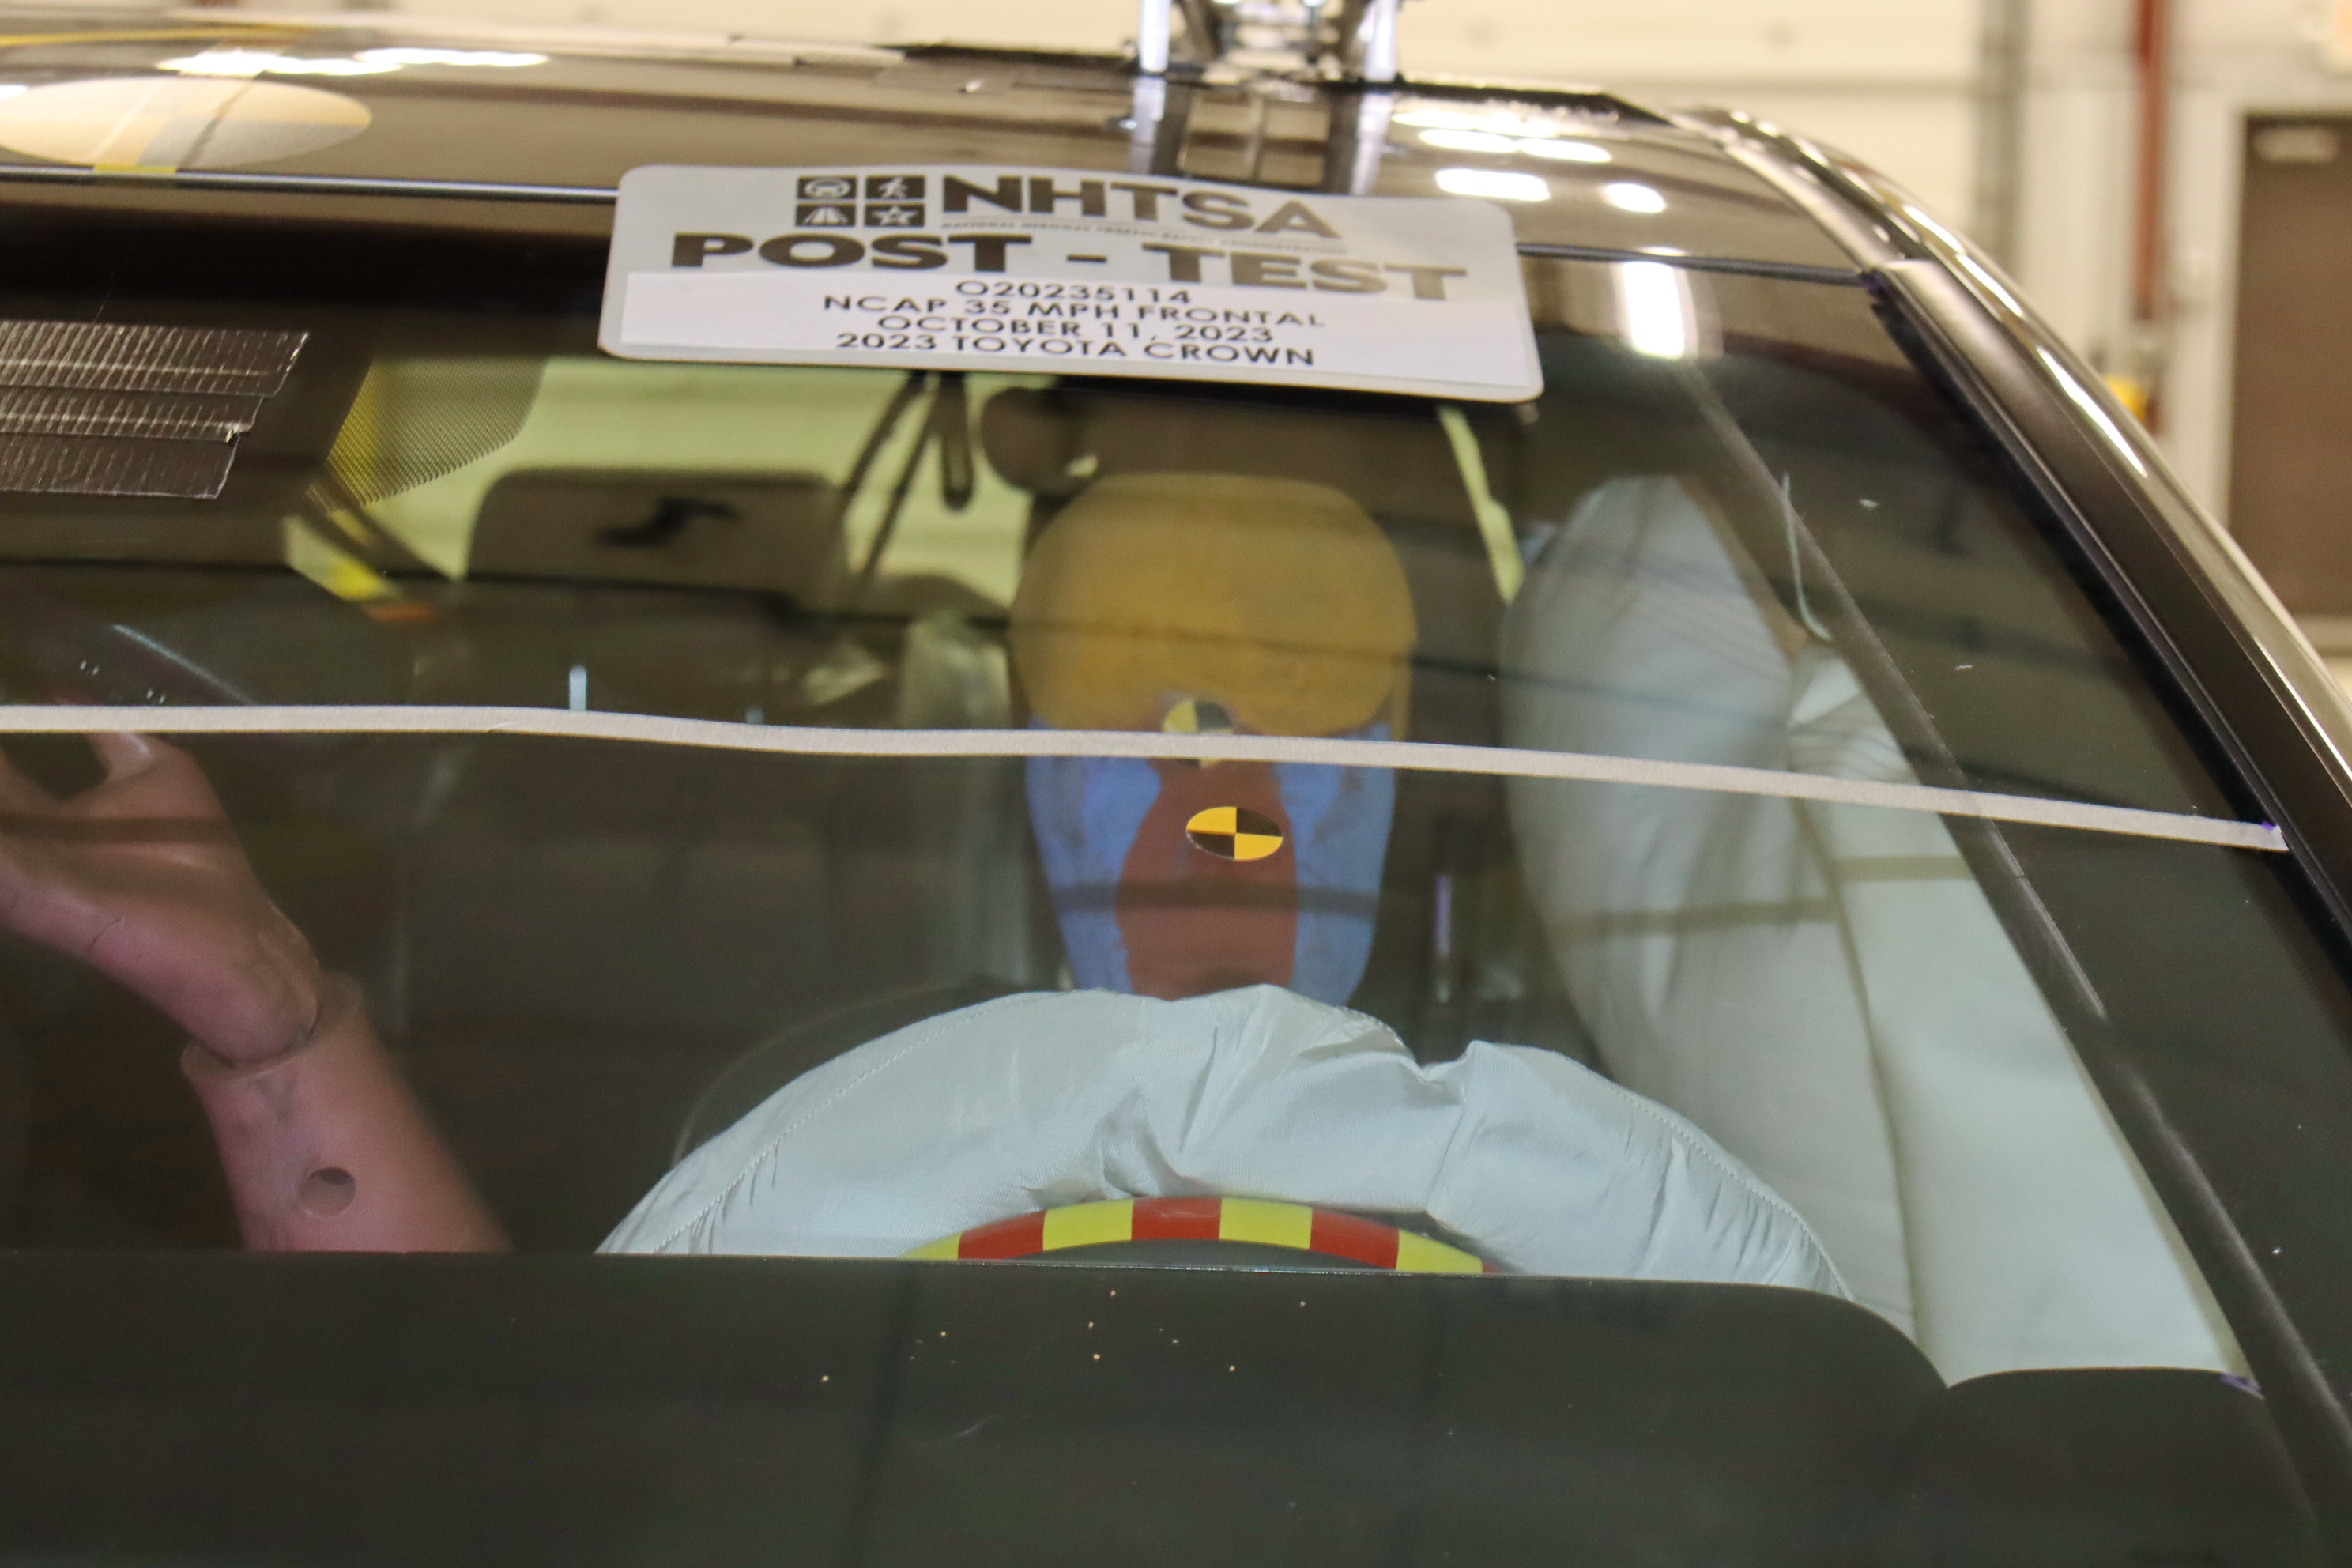
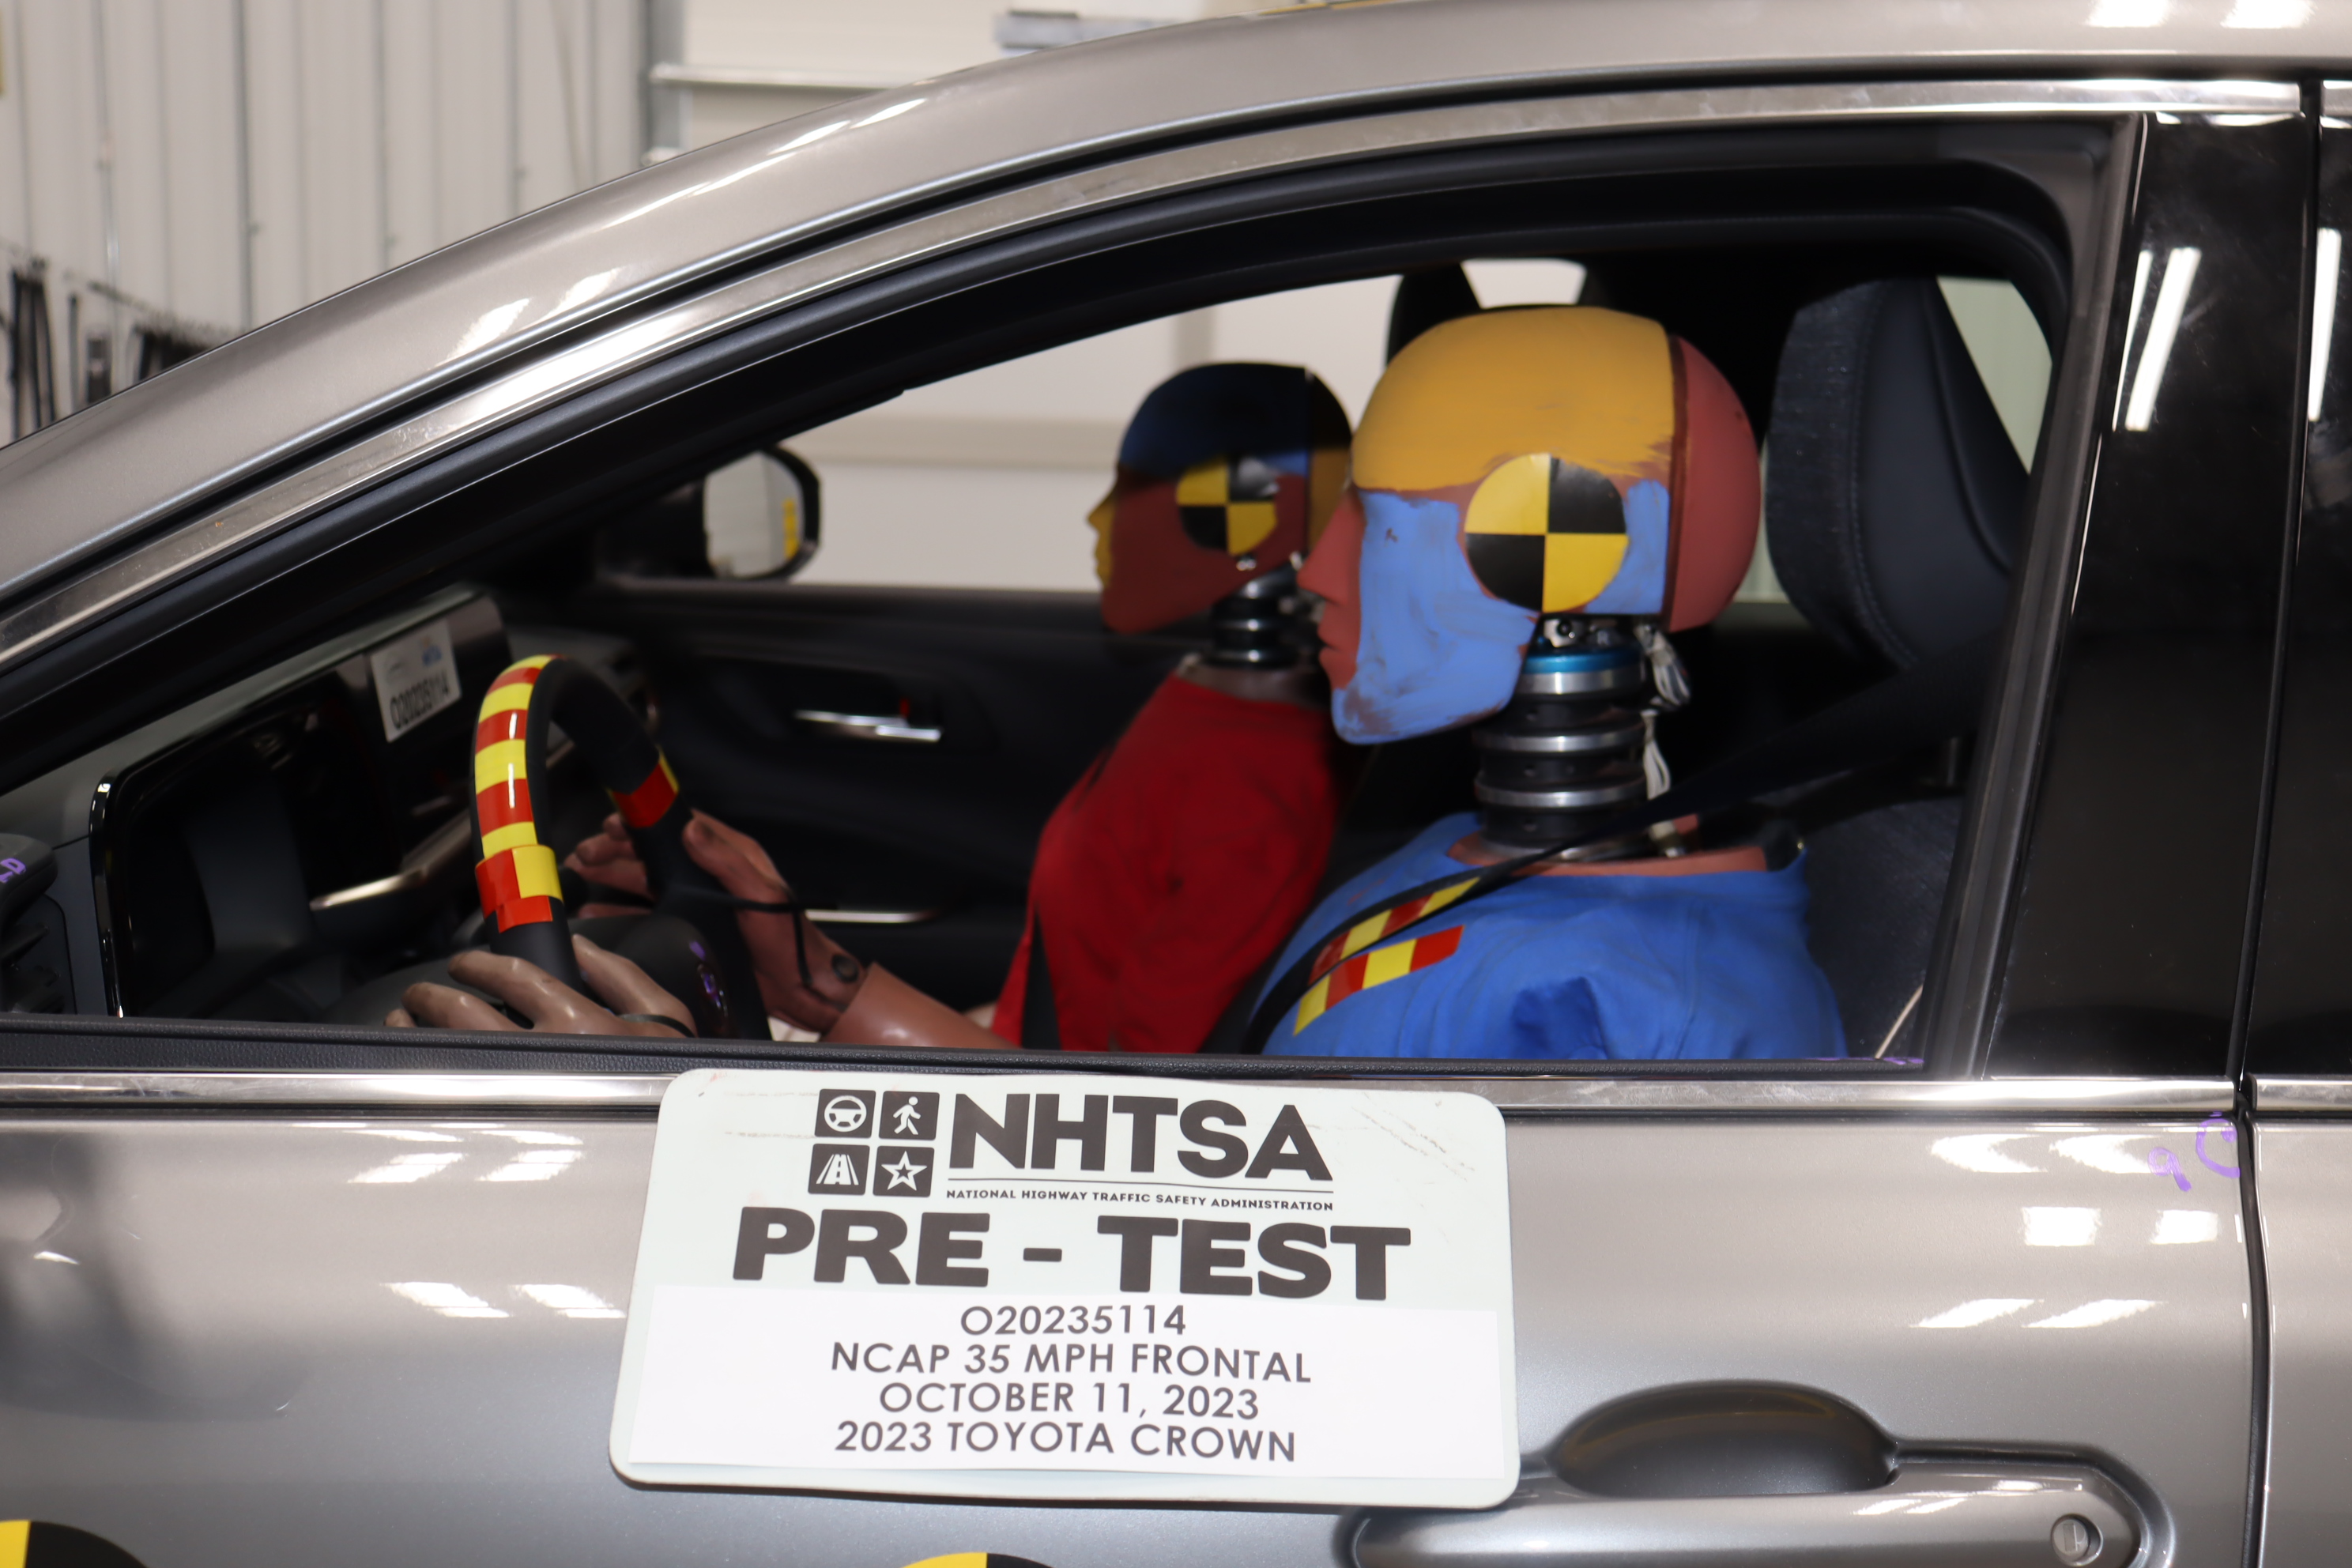
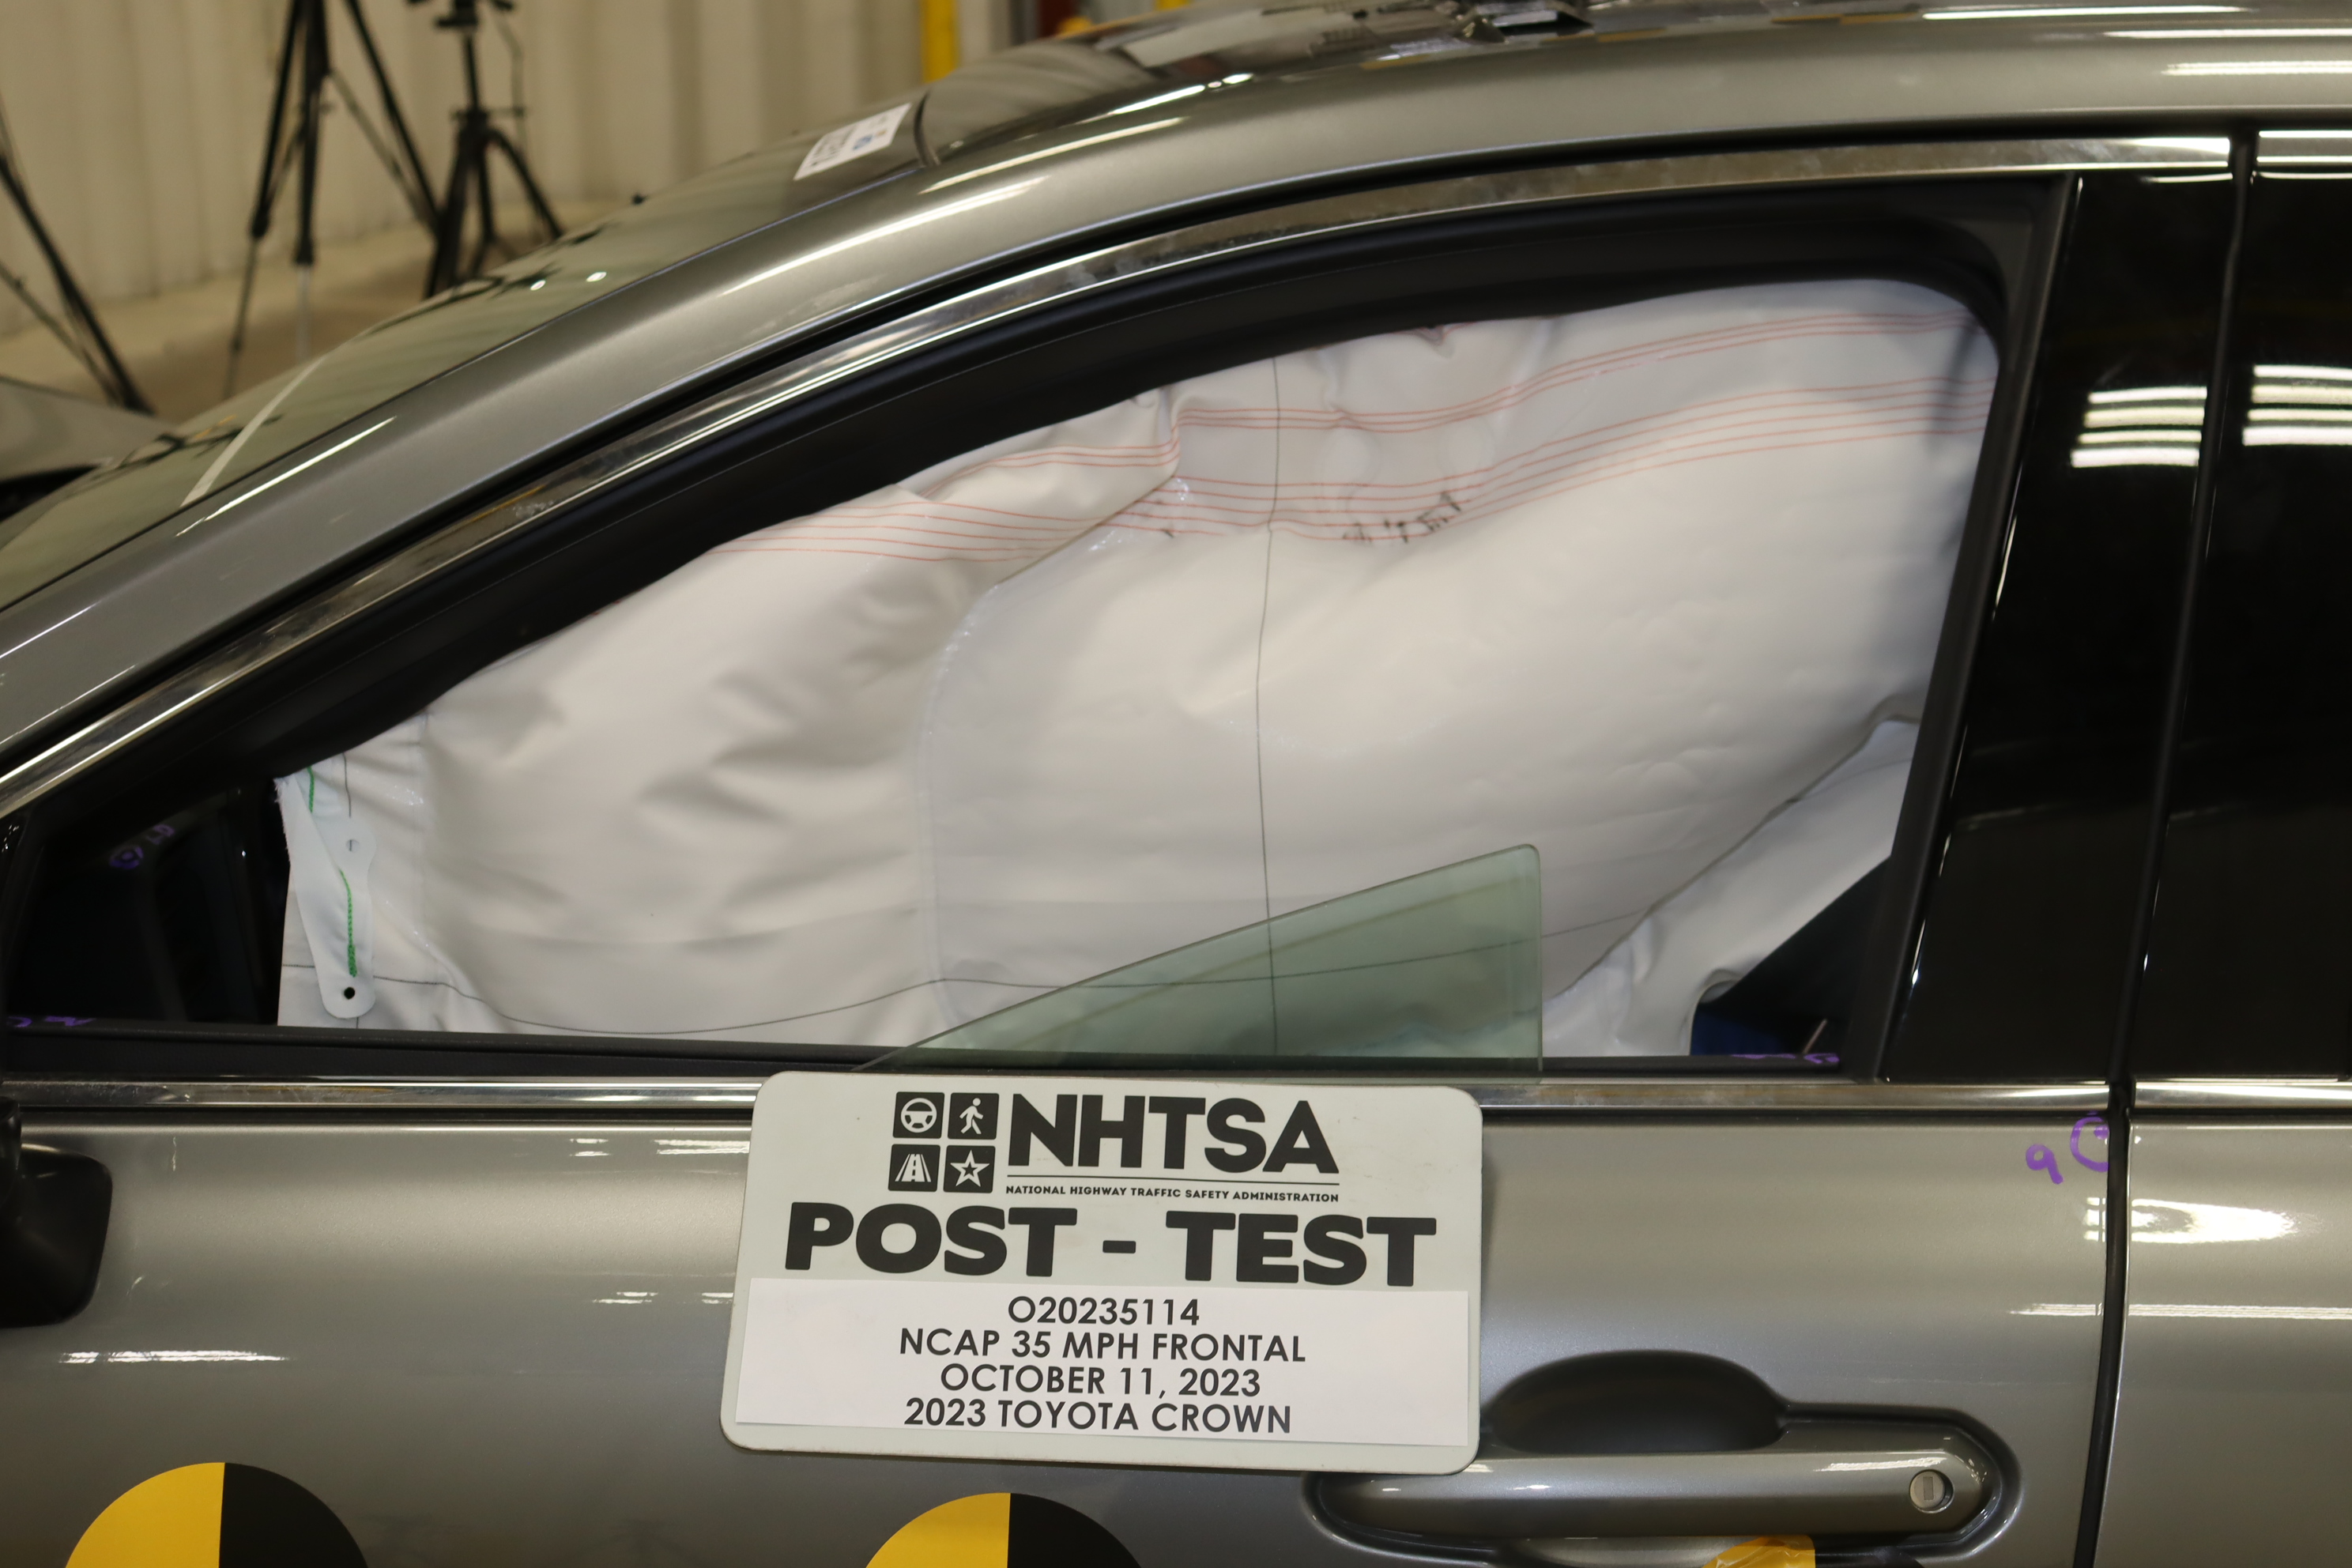
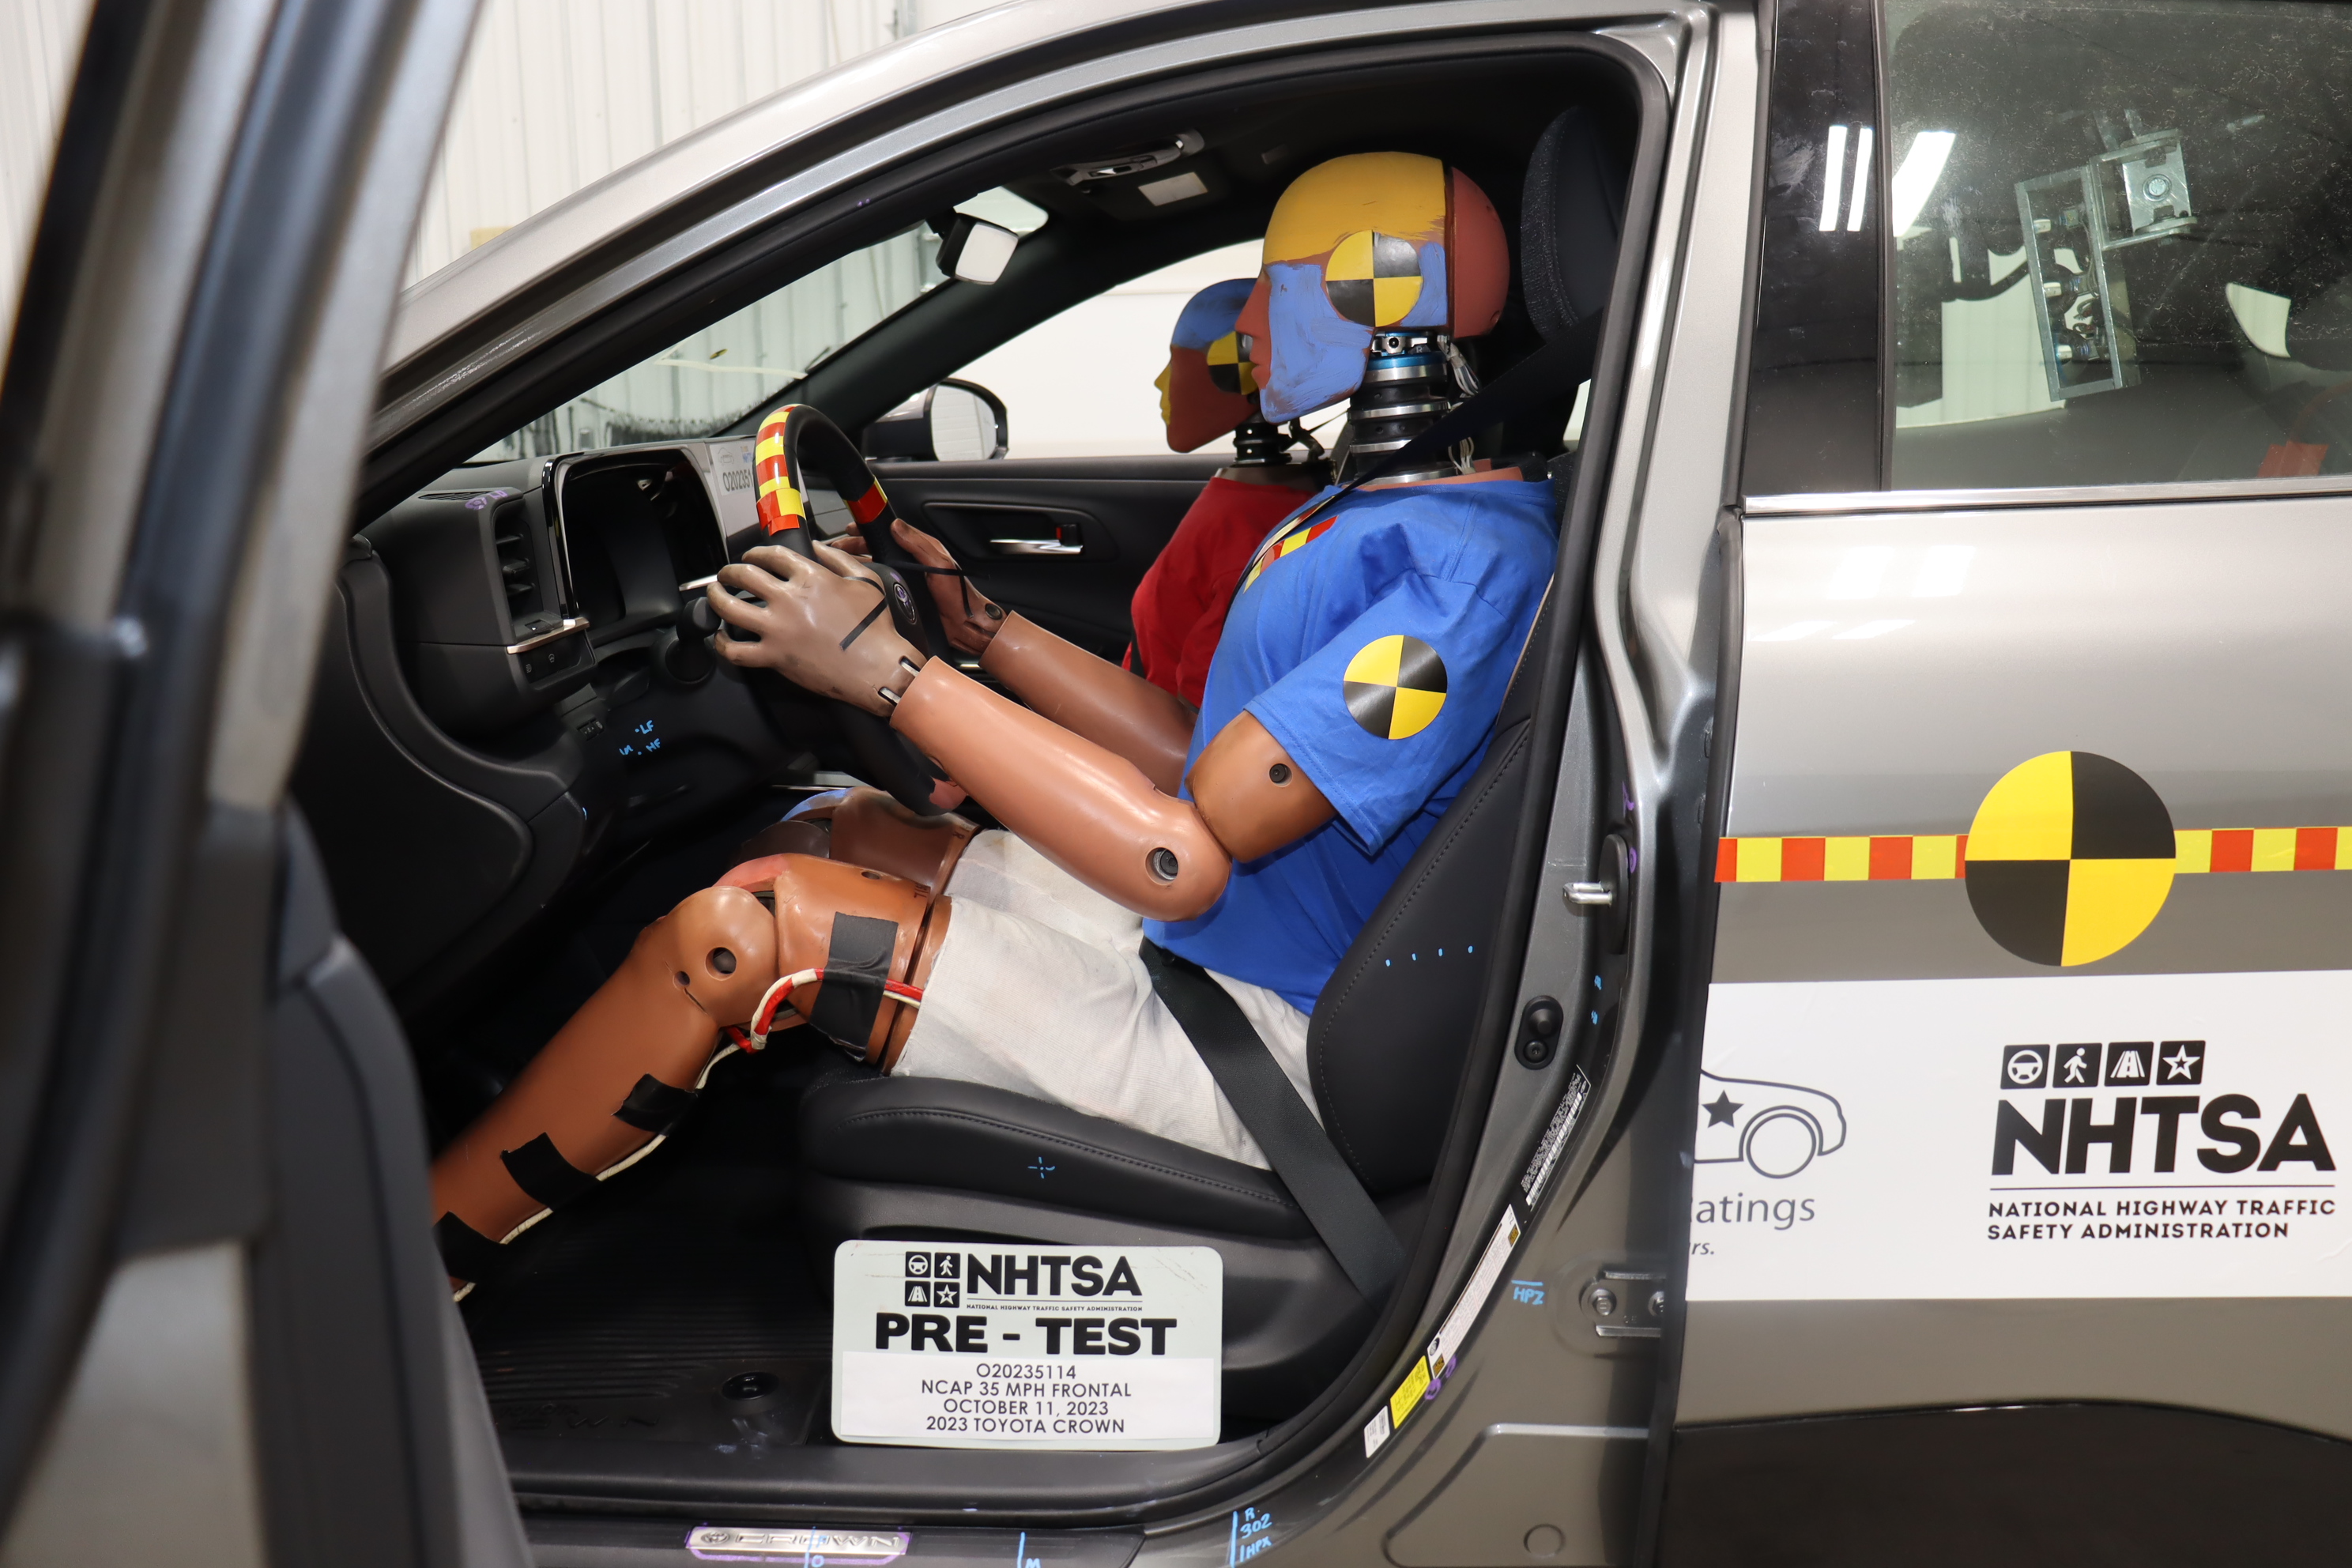
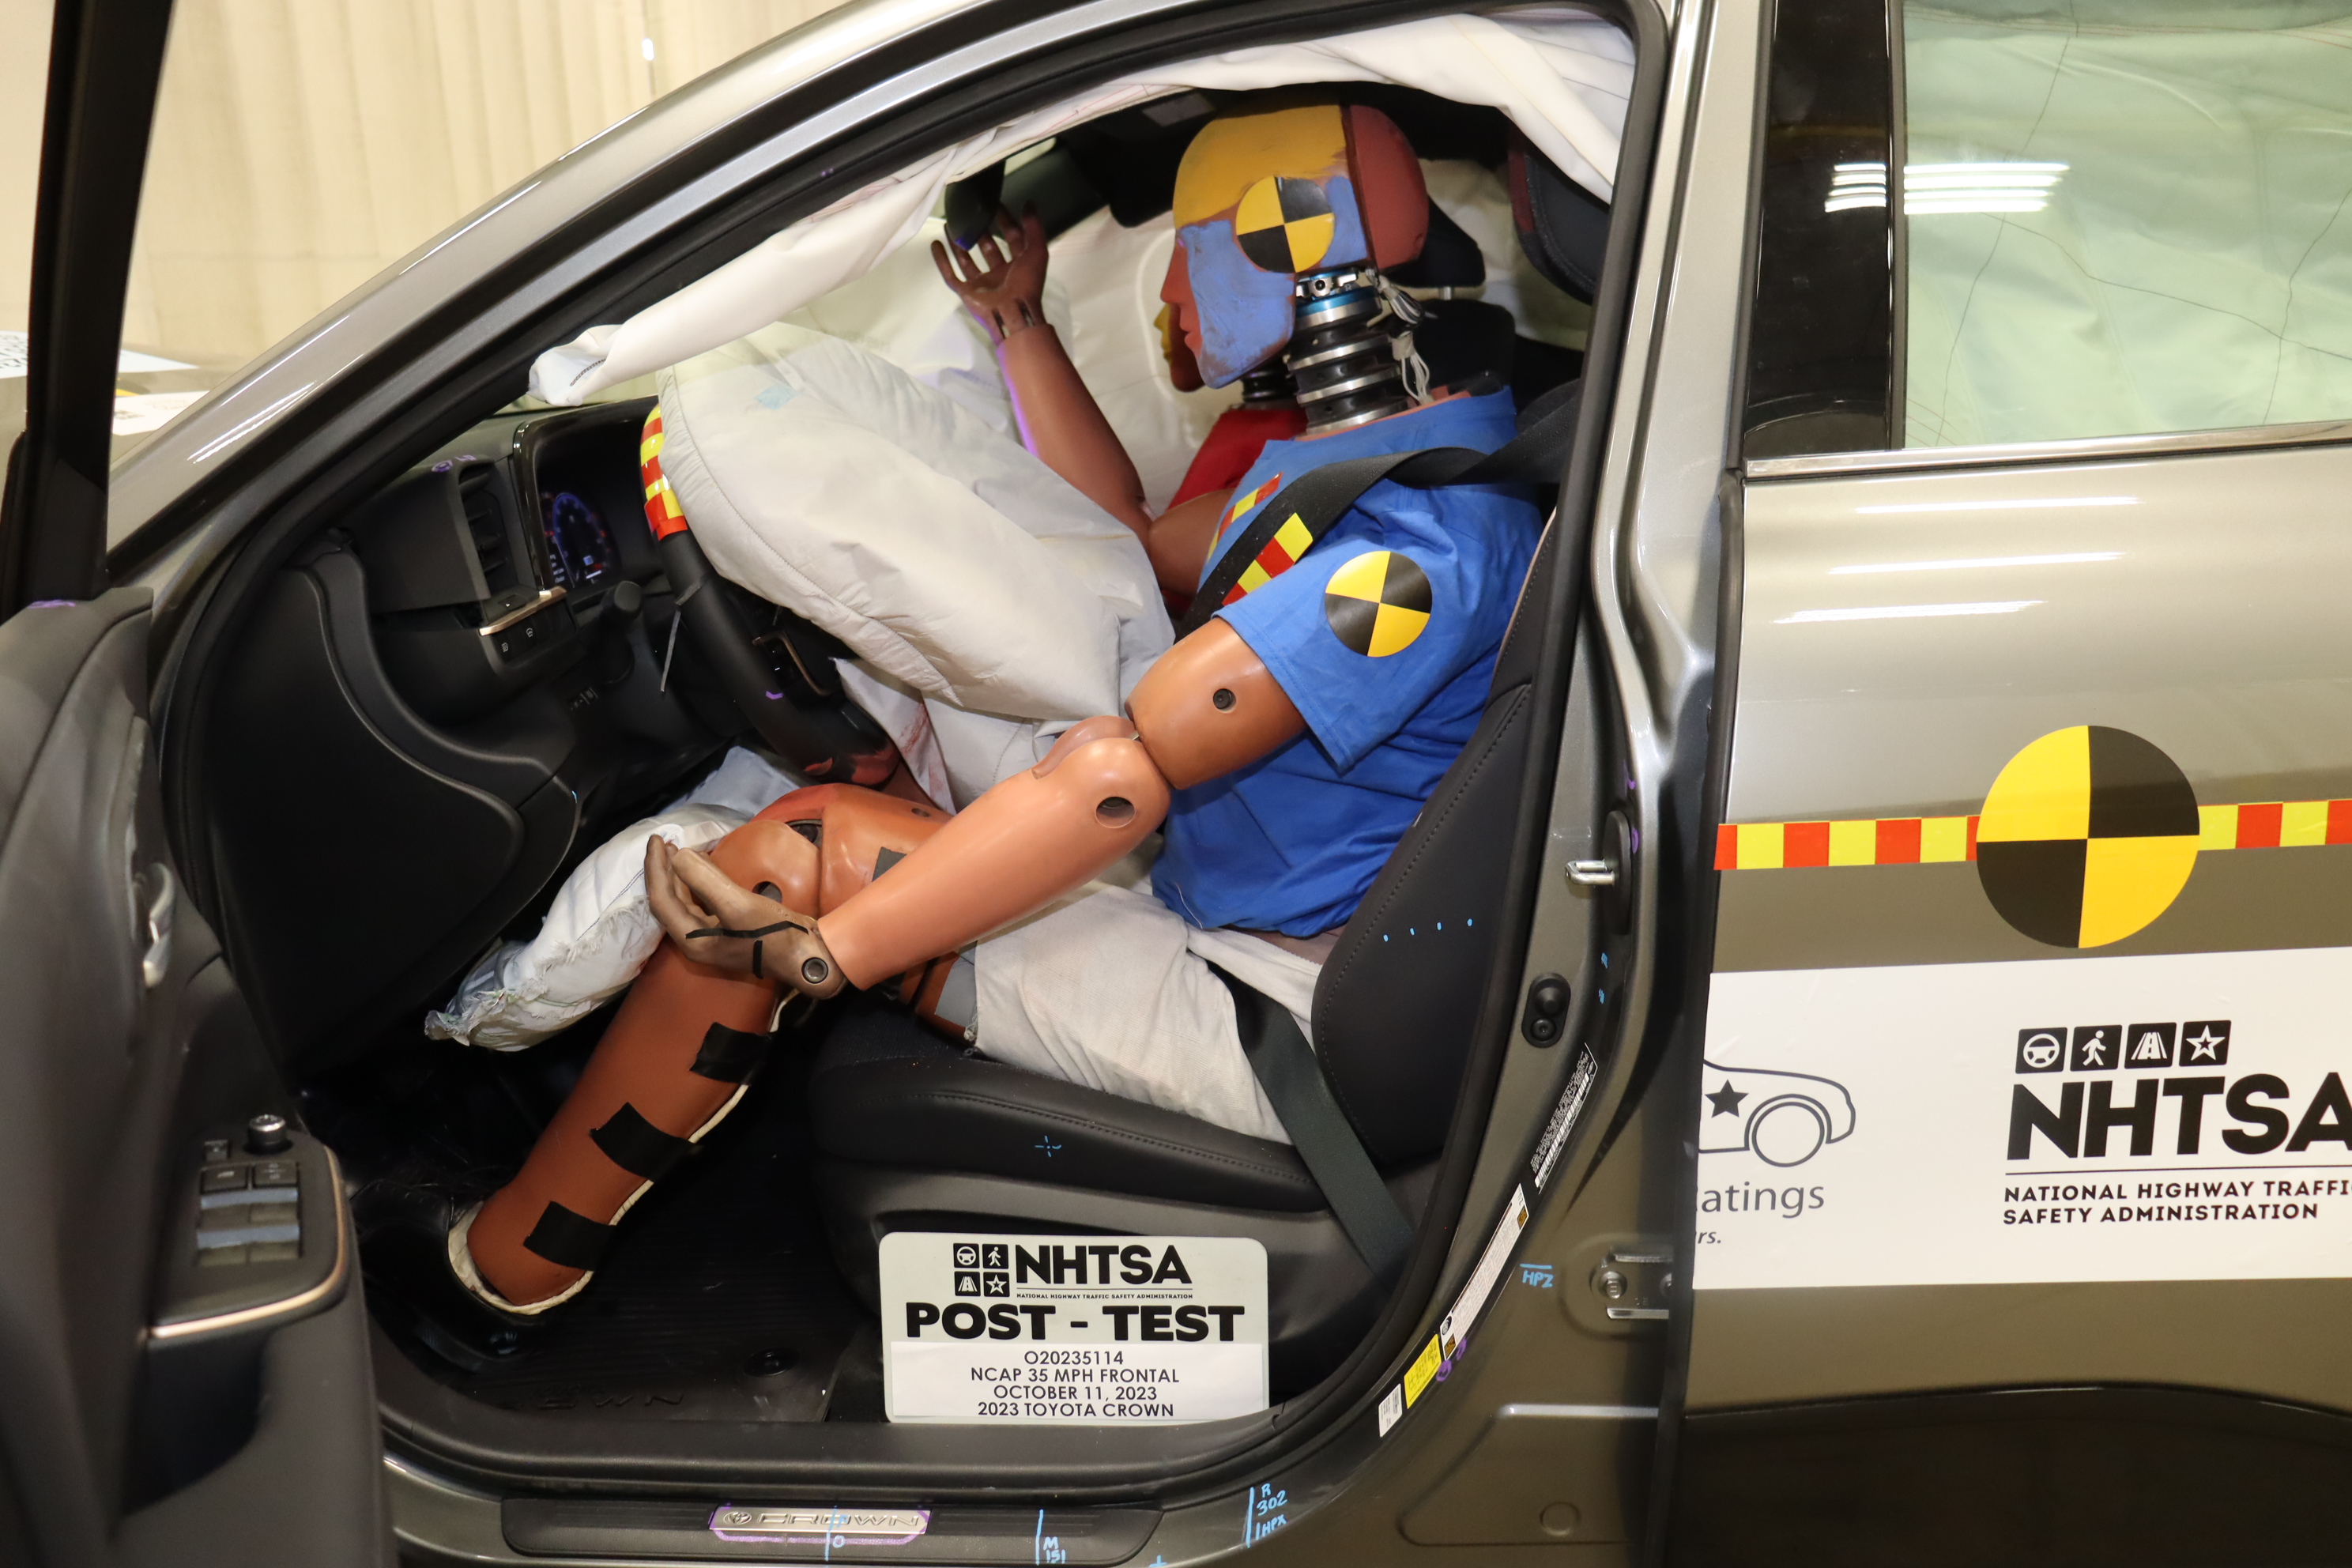
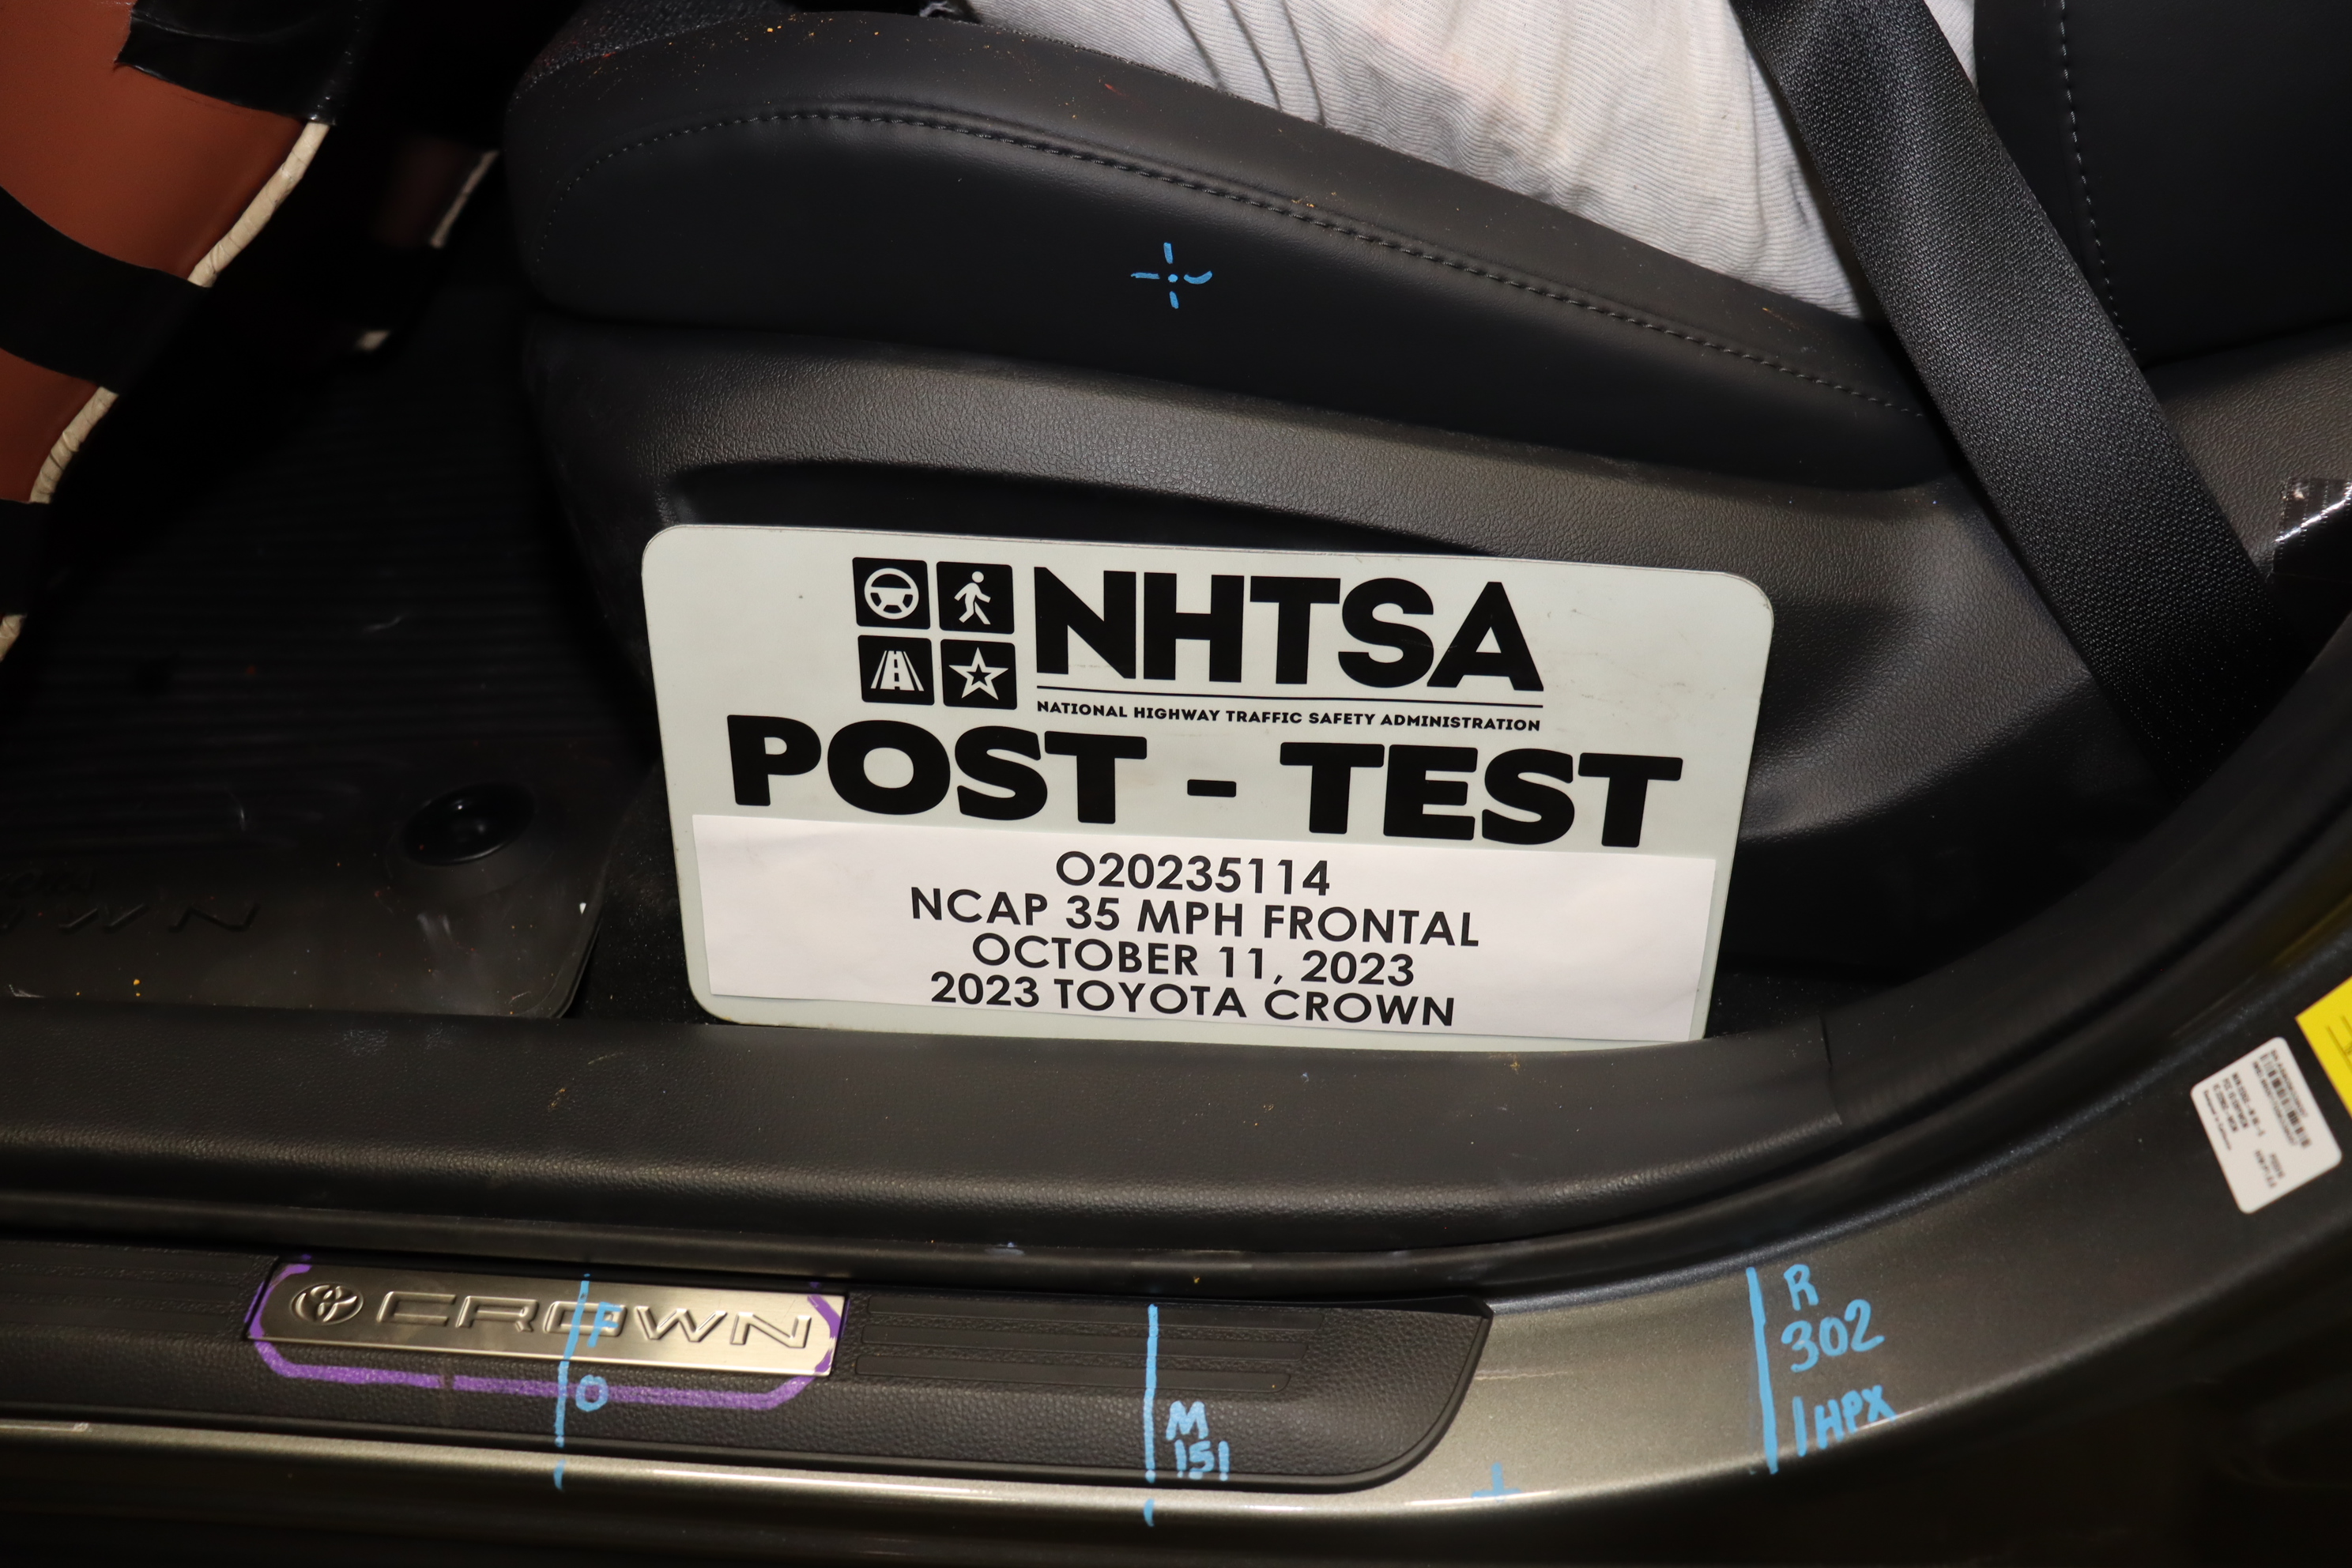
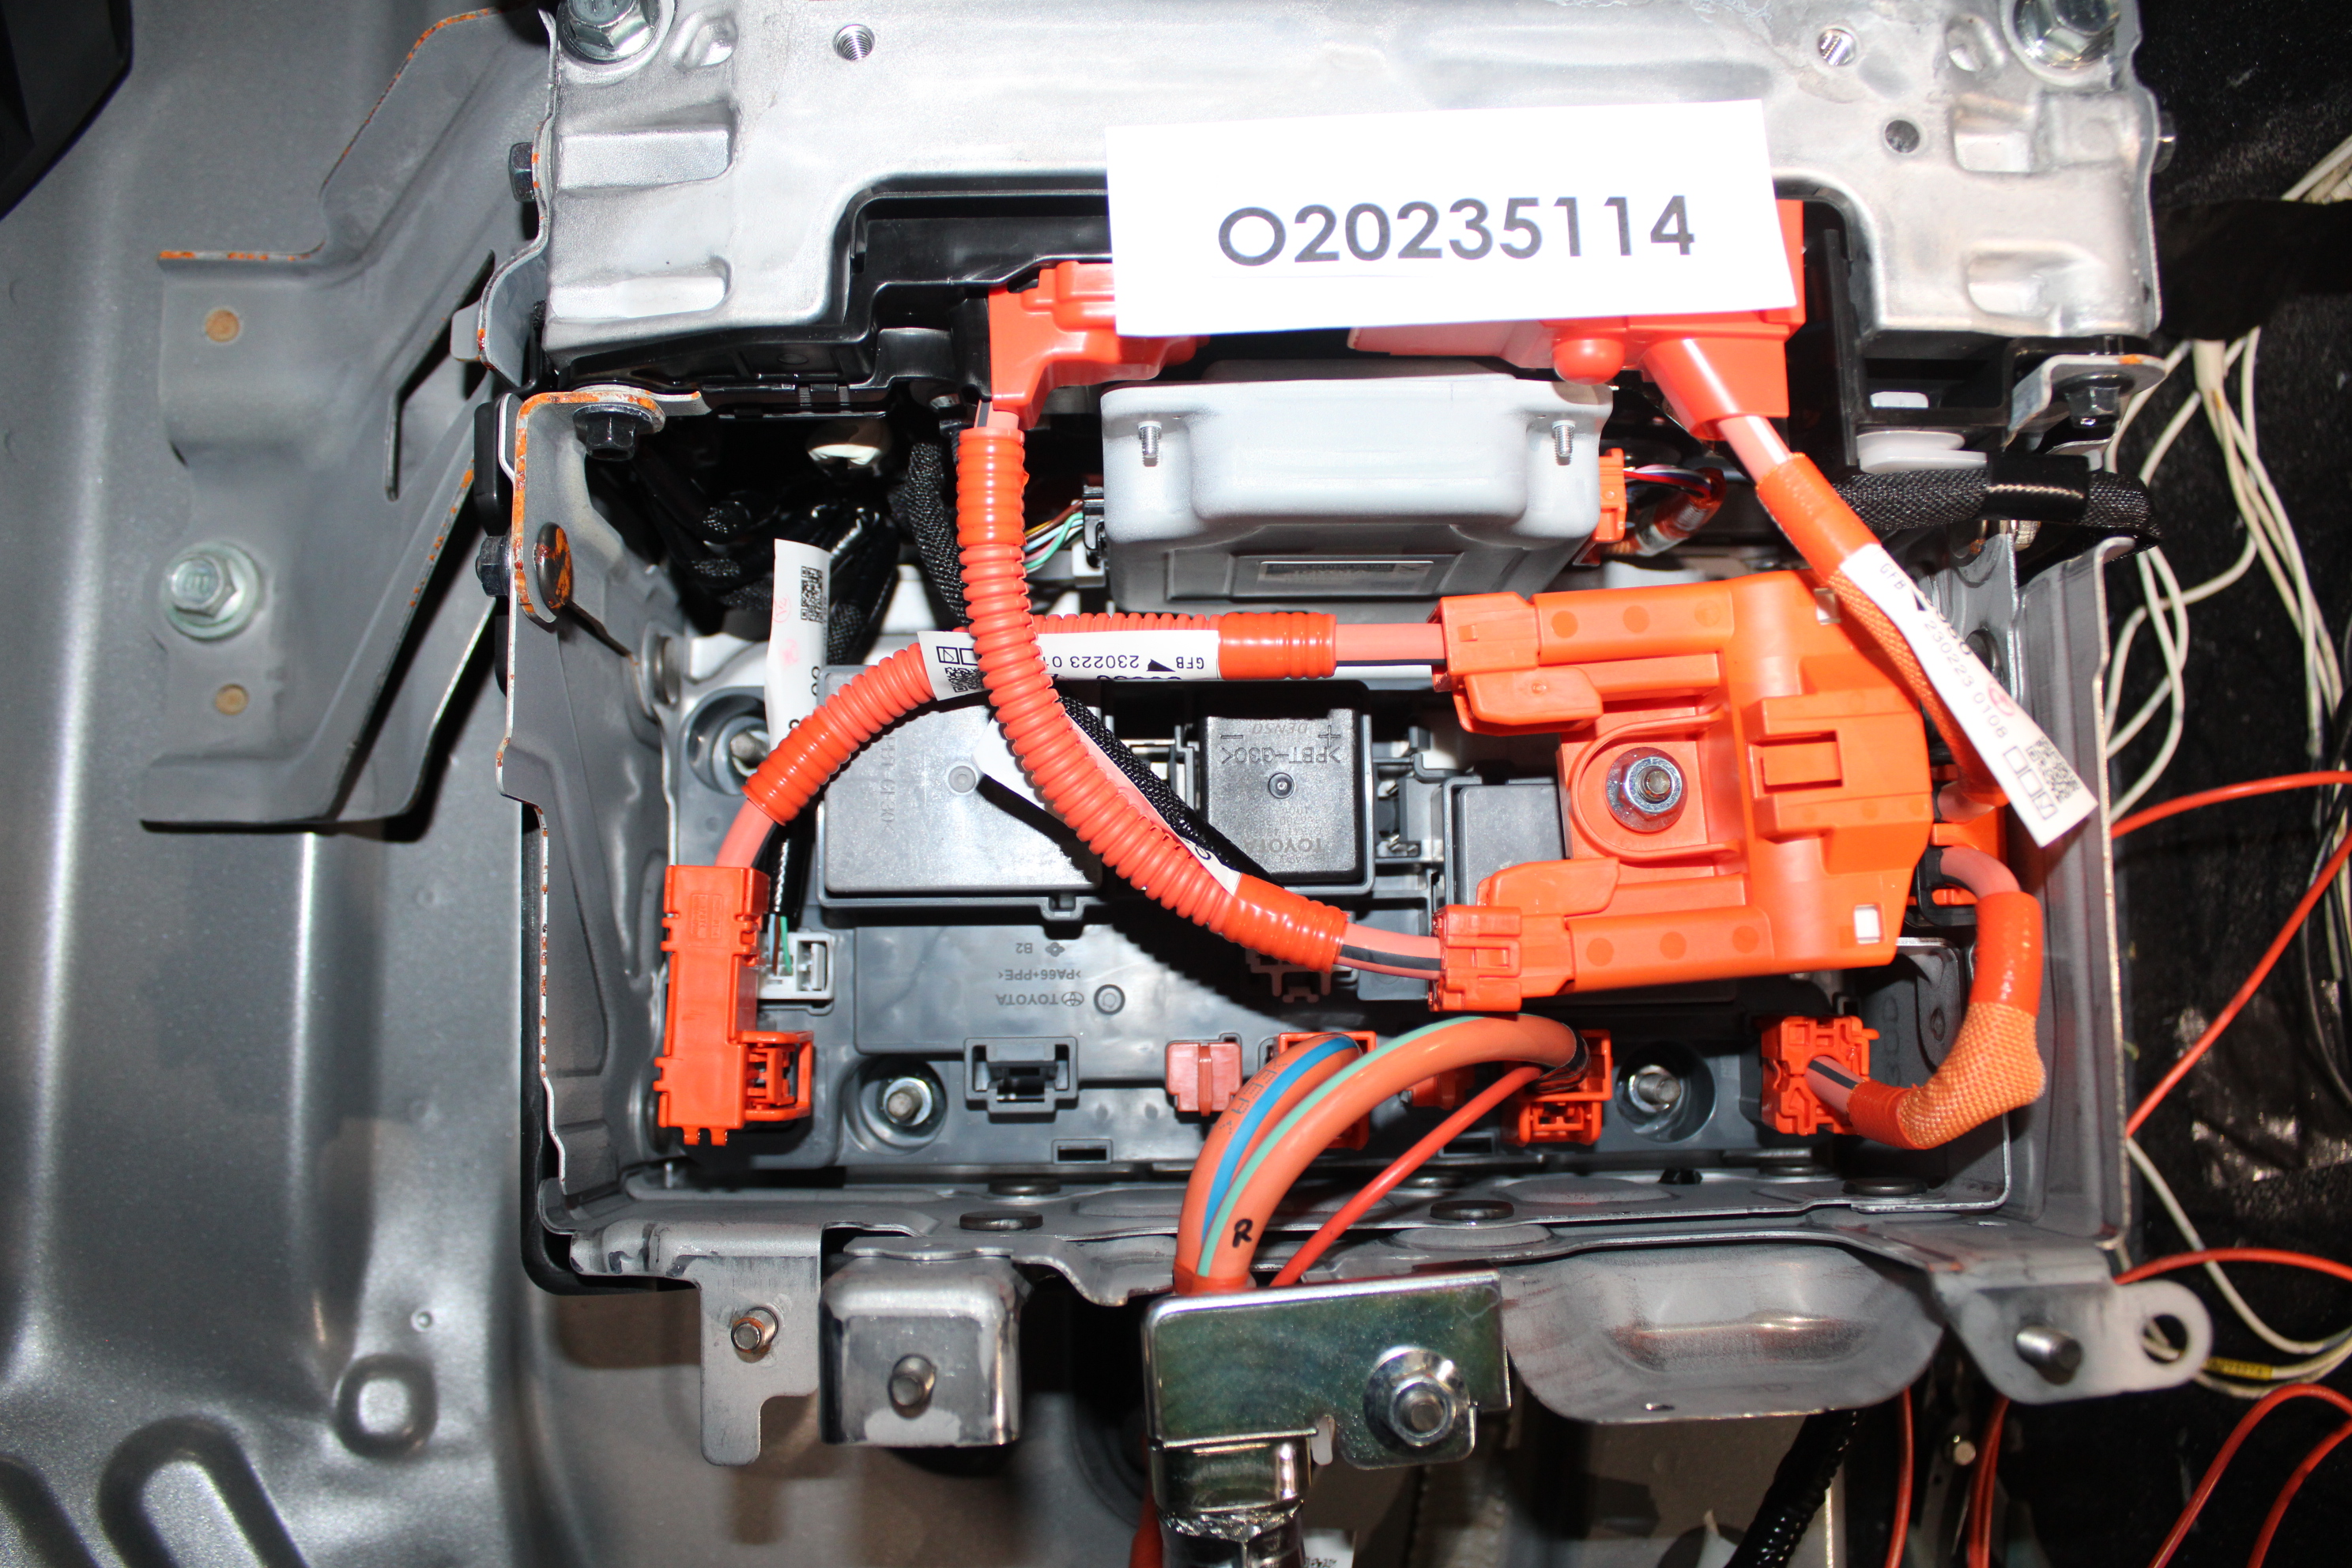
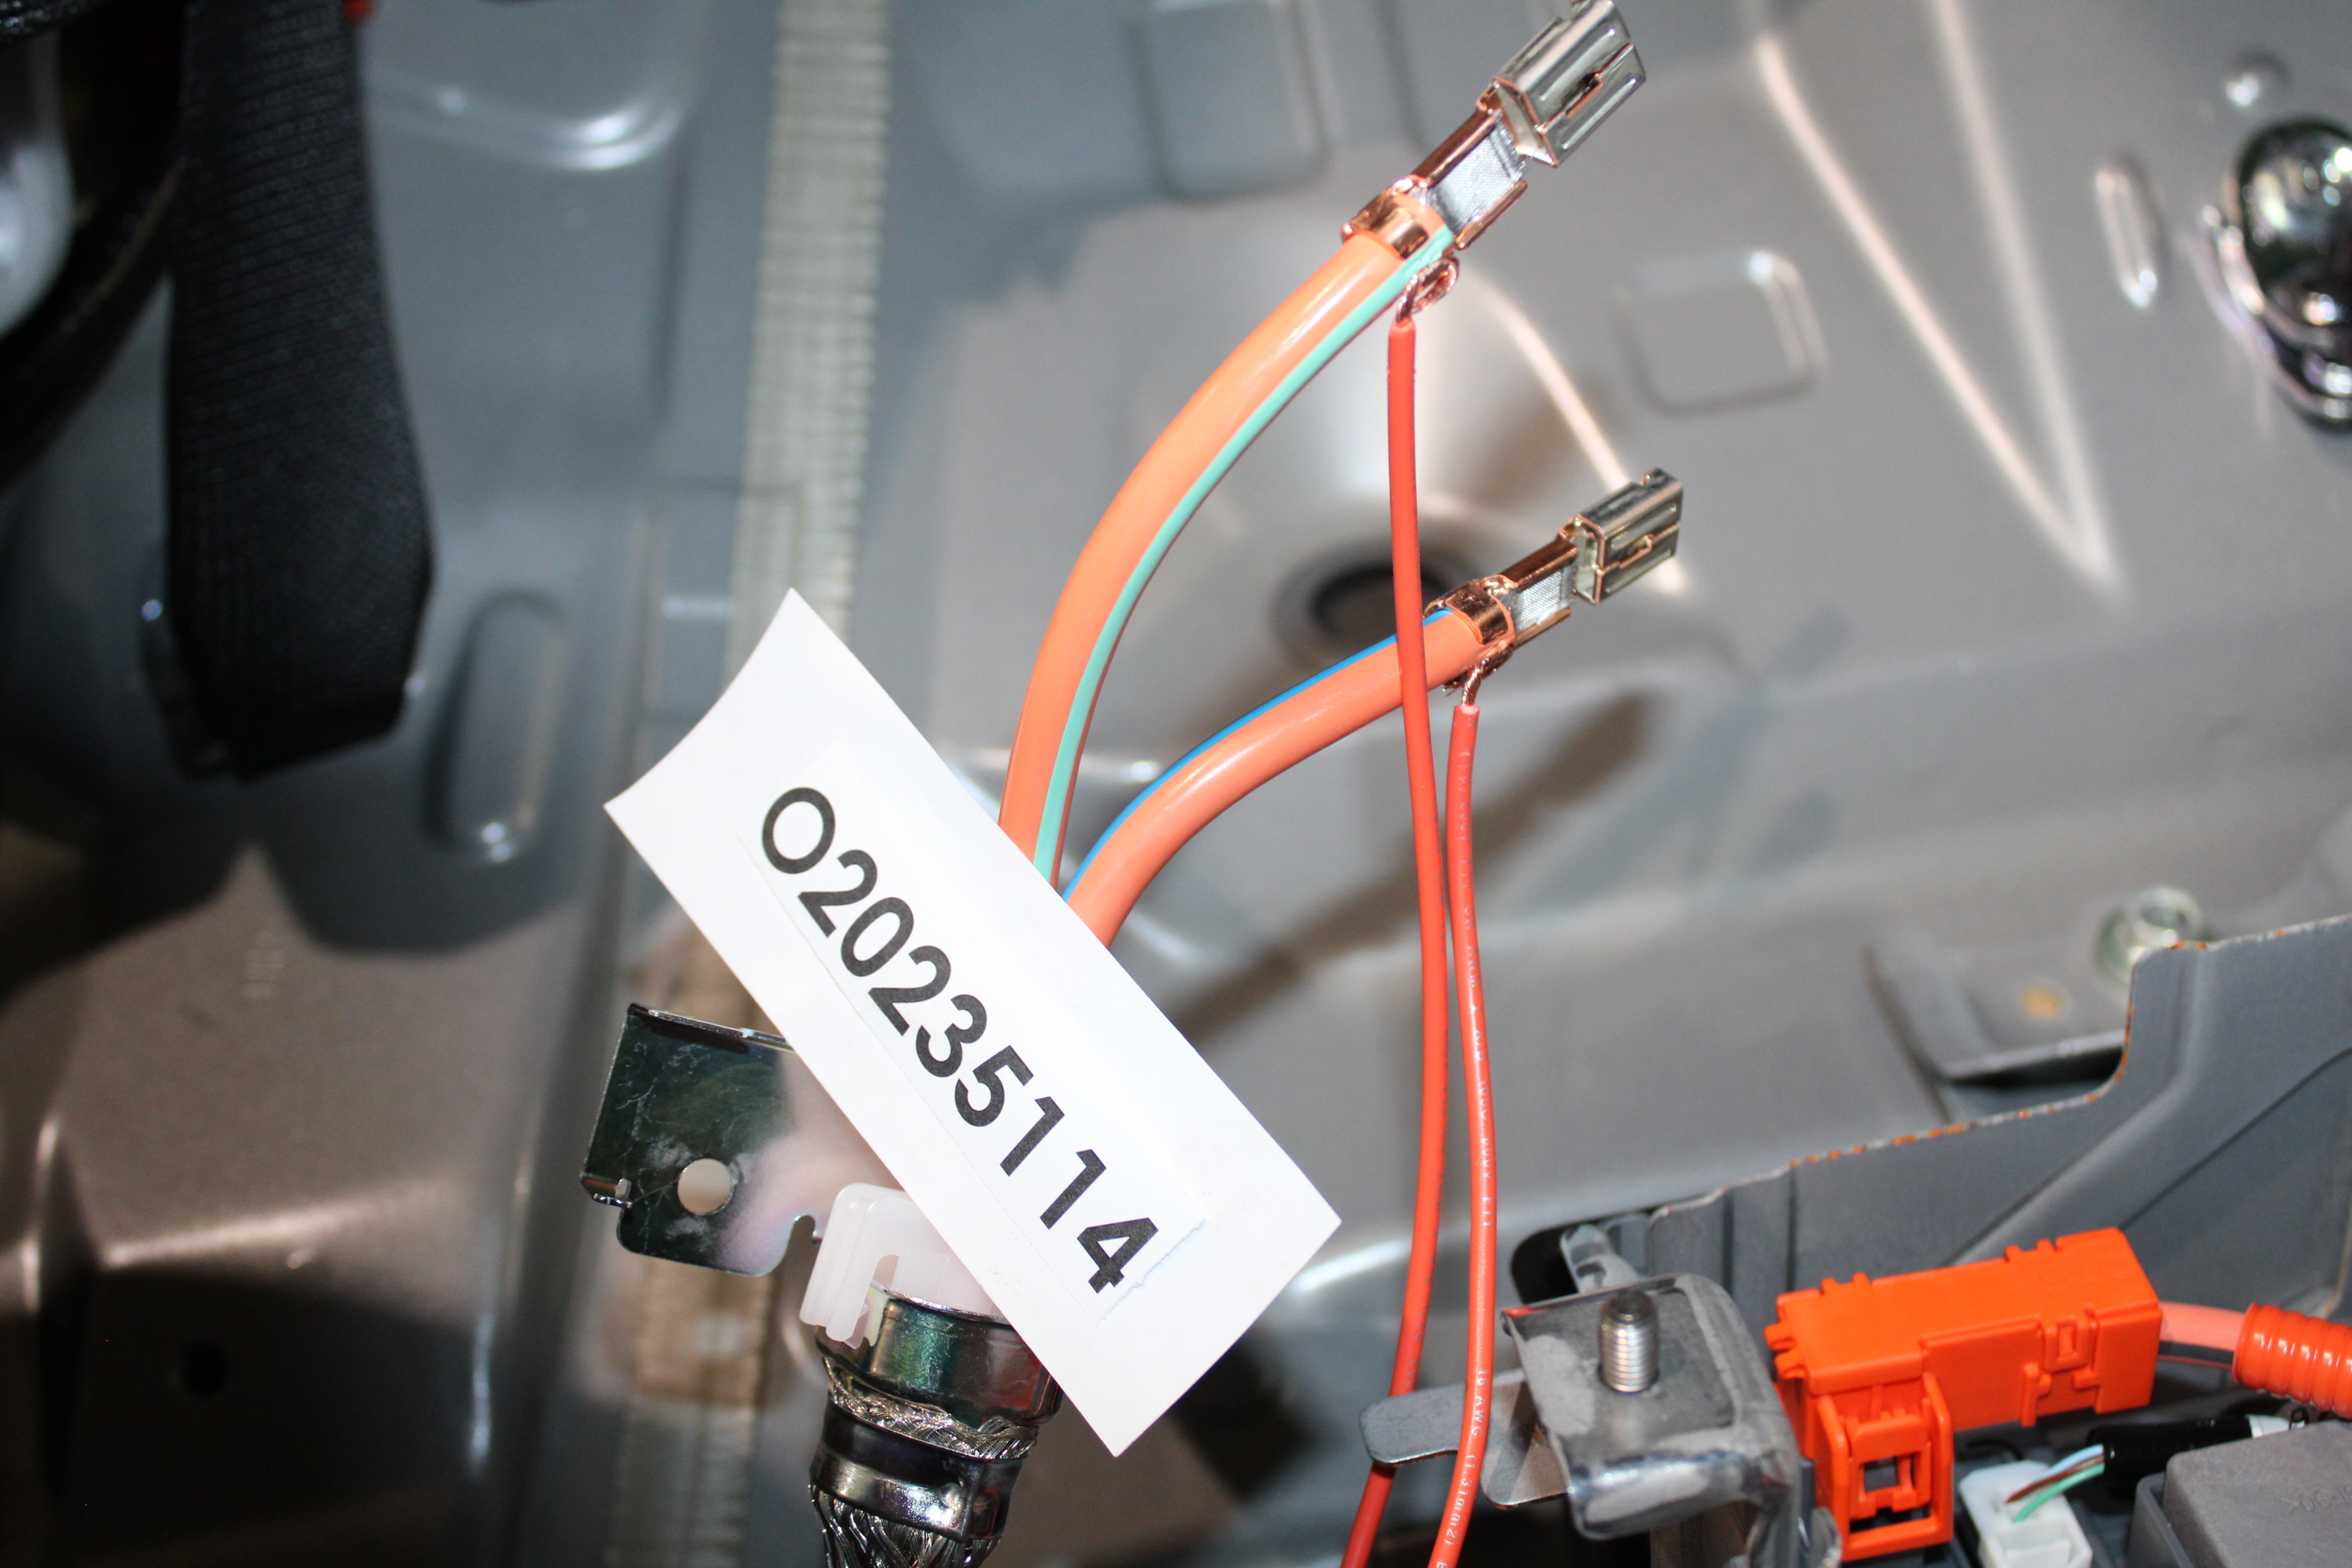
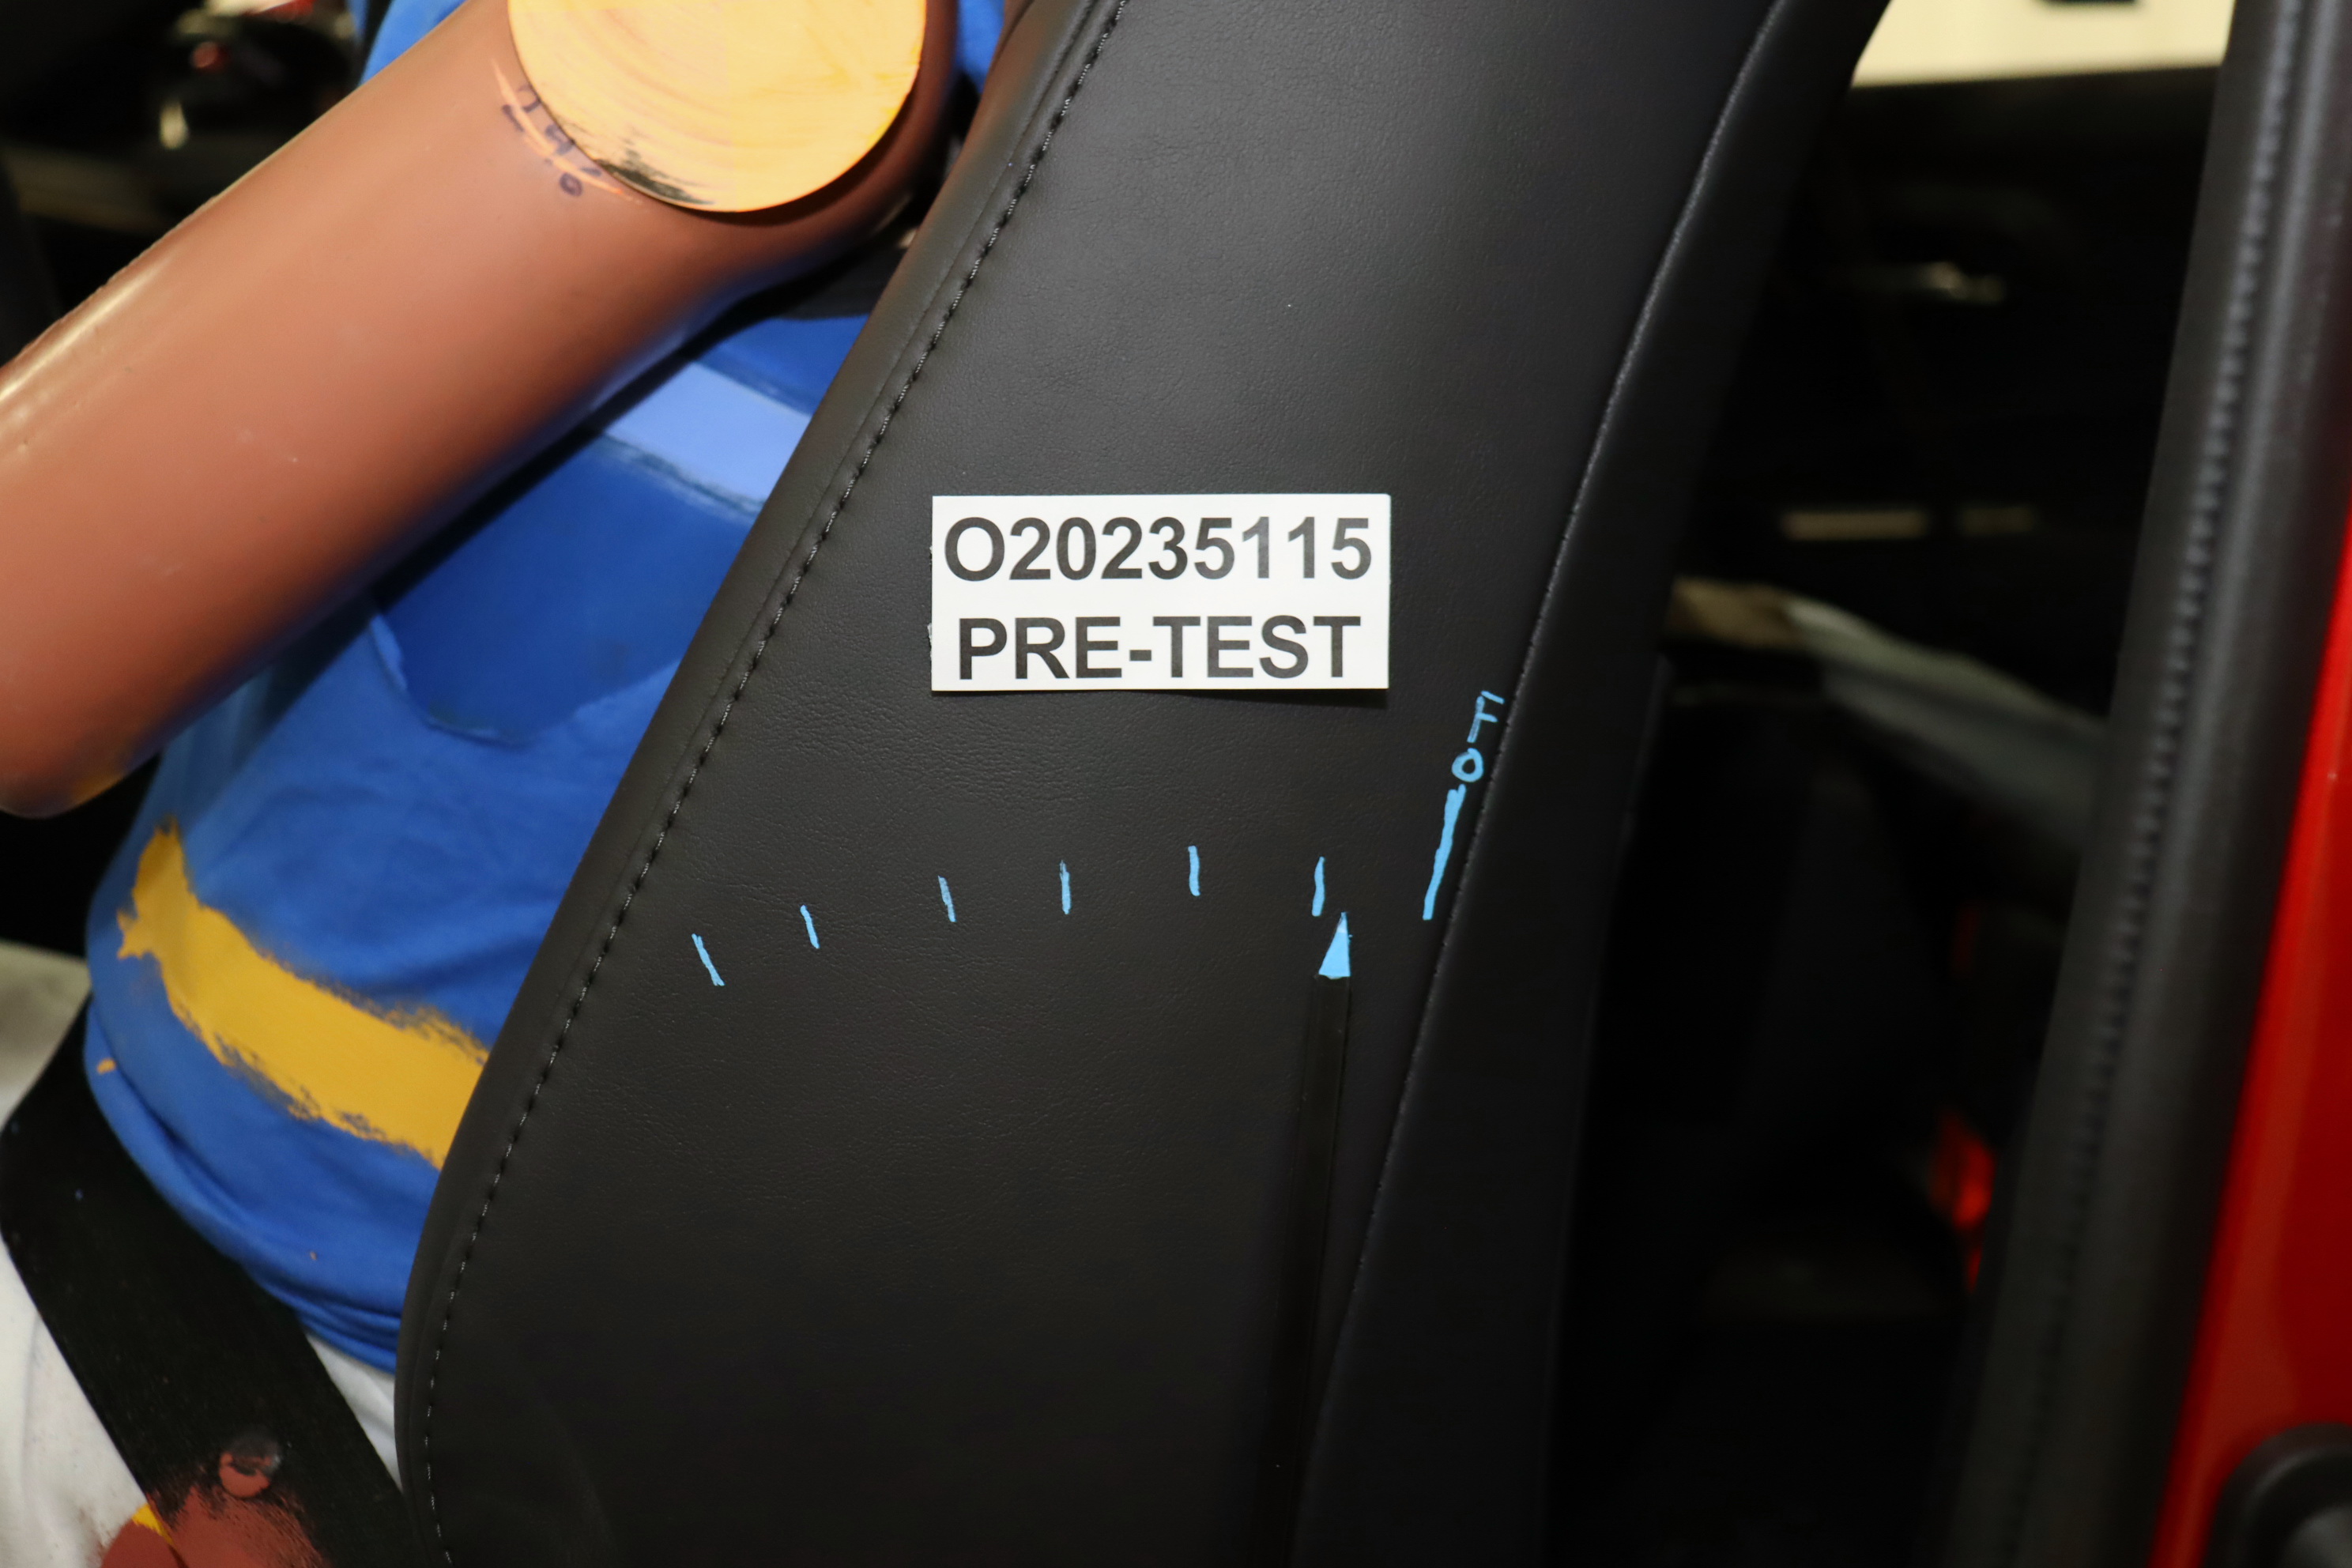
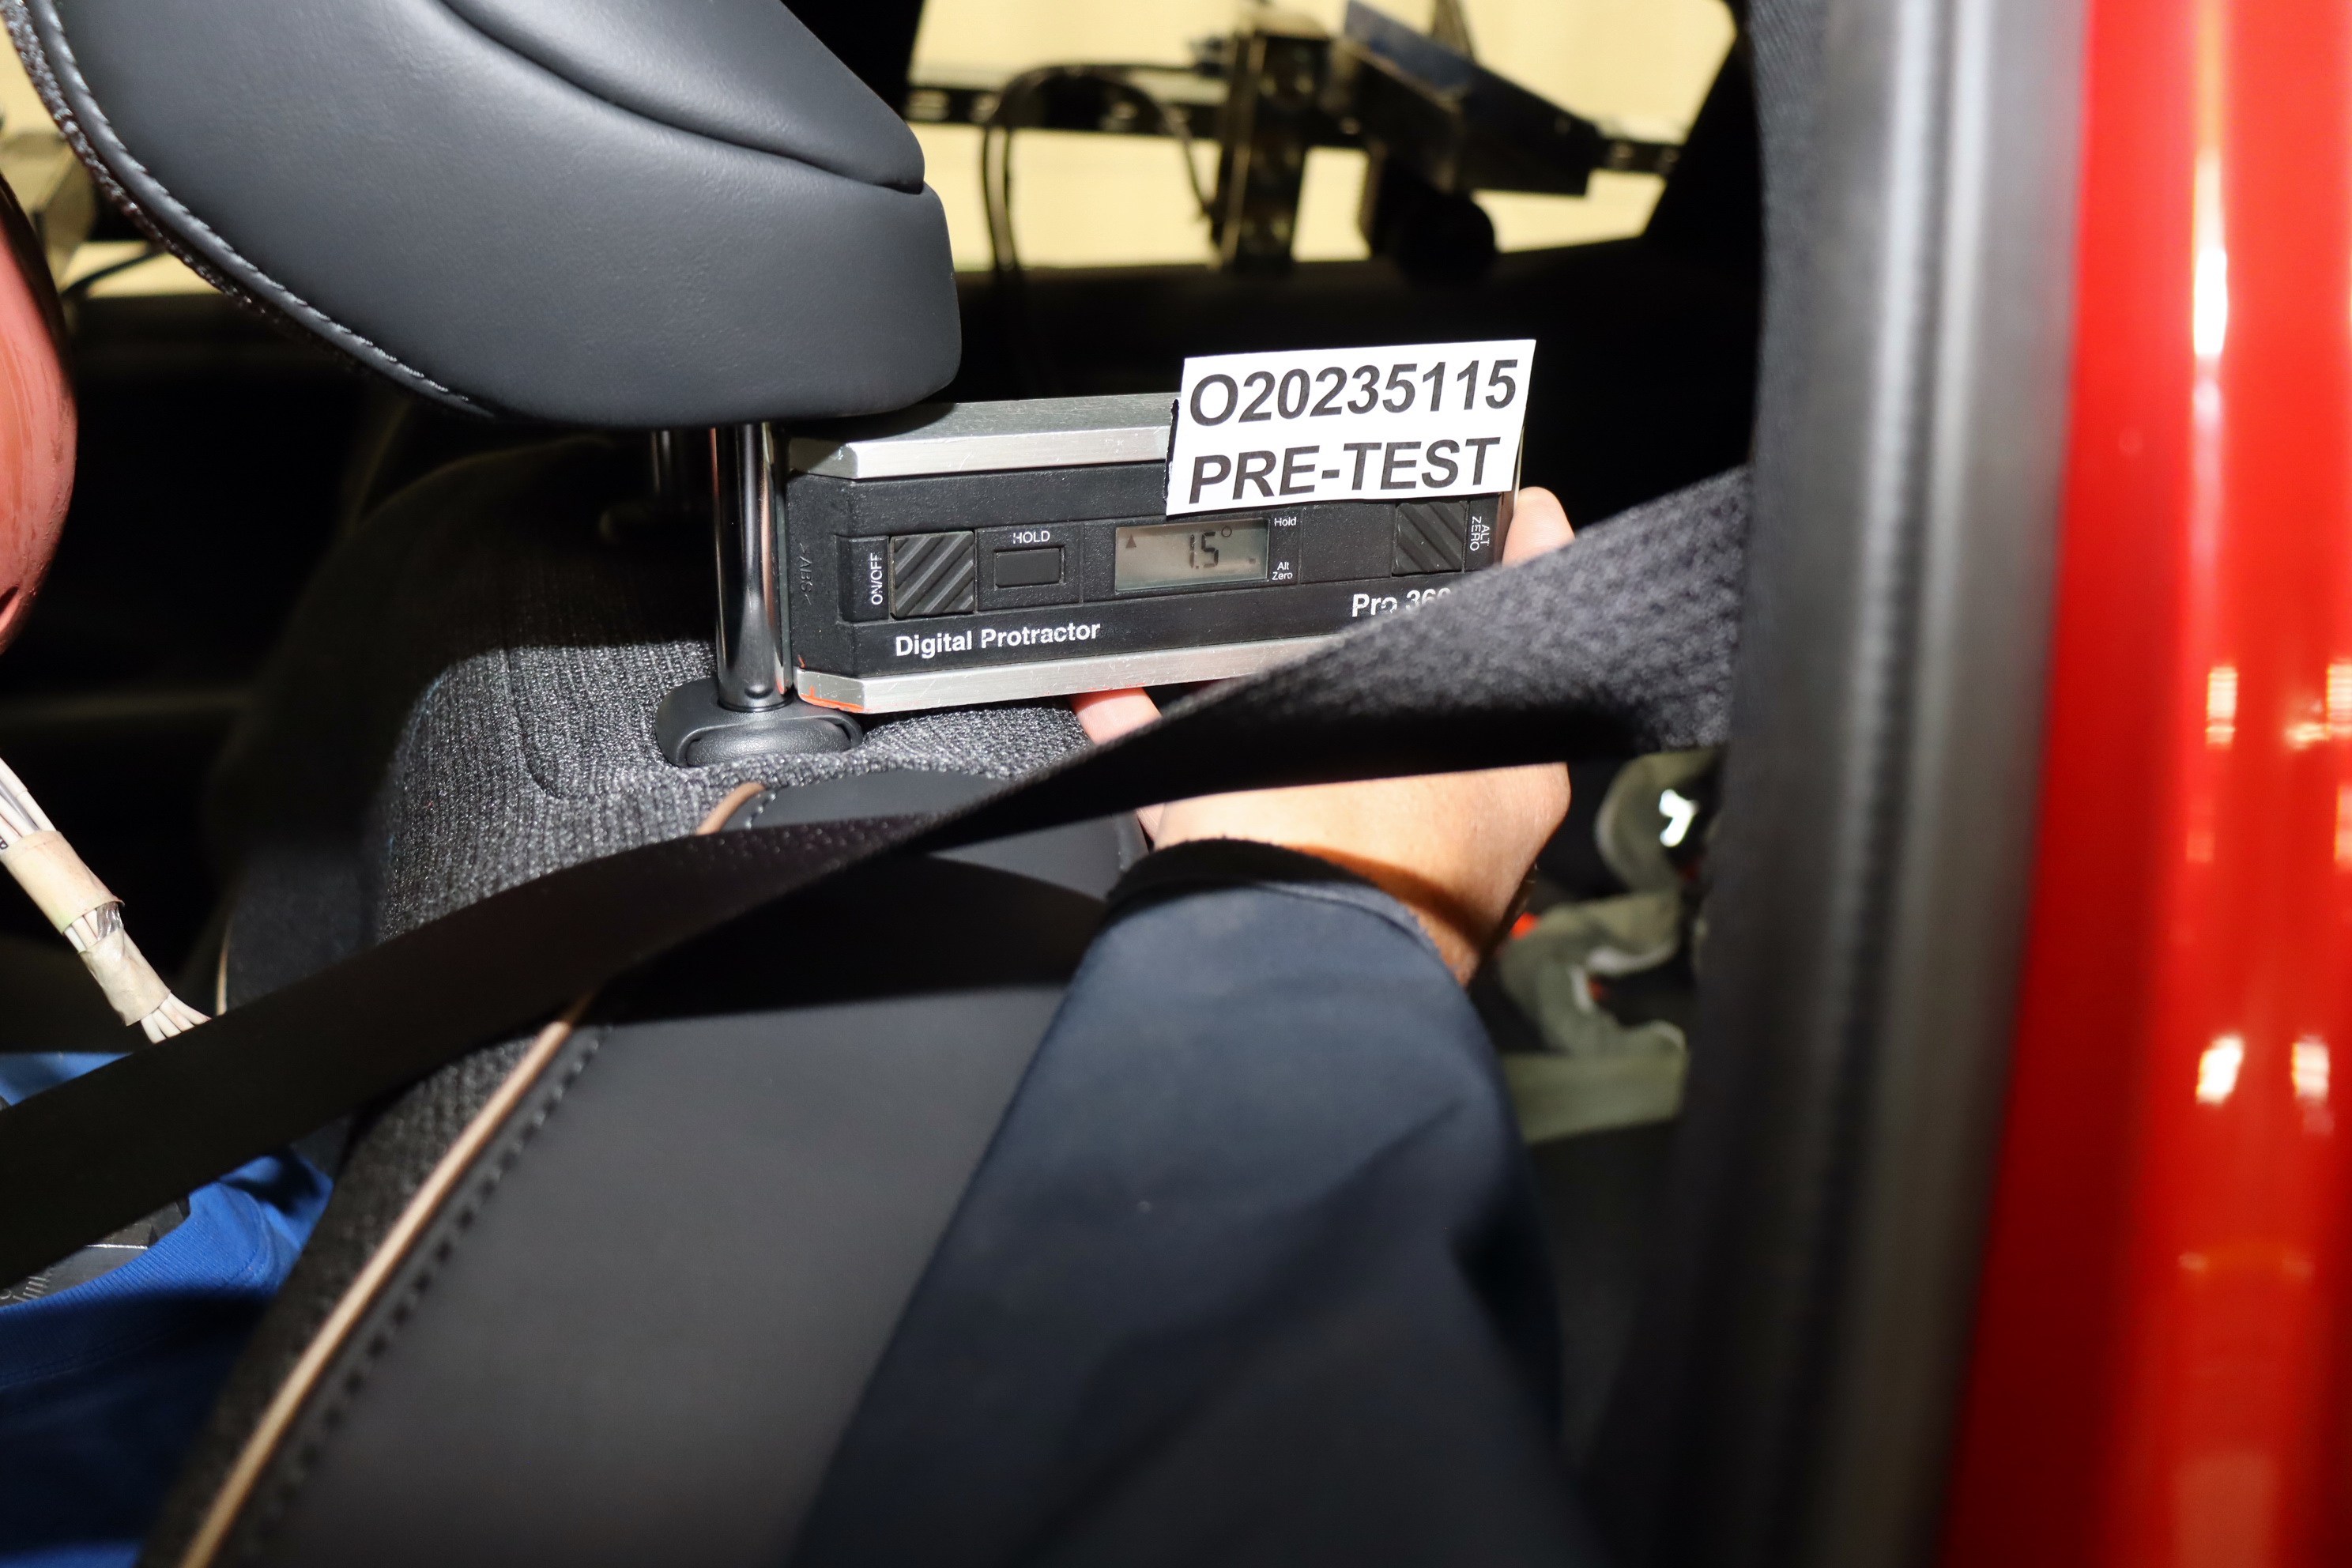
Photo No. 001 - As Delivered Right Front Three-Quarter View of Test Vehicle.jpgPhoto No. 002 - As Delivered Left Rear Three-Quarter View of Test Vehicle.jpgPhoto No. 003 - Pre-Test Frontal View of Test Vehicle.JPGPhoto No. 004 - Post-Test Frontal View of Test Vehicle.JPGPhoto No. 005 - Pre-Test Left Front Three-Quarter View of Test Vehicle.JPGPhoto No. 006 - Post-Test Left Front Three-Quarter View of Test Vehicle.JPGPhoto No. 007 - Pre-Test Left Side View of Test Vehicle.JPGPhoto No. 008 - Post-Test Left Side View of Test Vehicle.JPGPhoto No. 009 - Pre-Test Left Three-Quarter Rear View of Test Vehicle.JPGPhoto No. 010 - Post-Test Left Three-Quarter Rear View of Test Vehicle.JPGPhoto No. 011 - Pre-Test Rear View of Test Vehicle.JPGPhoto No. 012 - Post-Test Rear View of Test Vehicle.JPGPhoto No. 013 - Pre-Test Right Side View of Test Vehicle.JPGPhoto No. 014 - Post-Test Right Side View of Test Vehicle.JPGPhoto No. 015 - Pre-Test Overhead View of Test Area.JPGPhoto No. 016 - Post-Test Overhead View of Test Area.JPGPhoto No. 017 - Pre-Test Left Side View of MDB Positioned Against Side of Test  Vehicle.JPGPhoto No. 018 - Pre-Test Right Side View of MDB Positioned Against Side of Test  Vehicle.JPGPhoto No. 019 - Pre-Test Close-Up View of Impact Point Target.JPGPhoto No. 020 - Post-Test Close-Up View of Impact Point Target.JPGPhoto No. 021 - Pre-Test Left Front Door Latch Close-Up.JPGPhoto No. 022 - Post-Test Left Front Door Latch Close-Up.JPGPhoto No. 023 - Pre-Test Left Rear Door Latch Close-Up.JPGPhoto No. 024 - Post-Test Left Rear Door Latch Close-Up.JPGPhoto No. 025 - Pre-Test Front Close-Up View of Driver Dummy.JPGPhoto No. 026 - Post-Test Front Close-Up View of Driver Dummy.JPGPhoto No. 027 - Pre-Test Left Side View of Driver Dummy Showing Belt and Chalking.JPGPhoto No. 028 - Pre-Test Left Side View of Driver Dummy Shoulder and Door Top View.JPGPhoto No. 029 - Post-Test Left Side View of Driver Dummy Shoulder and Door Top View.JPGPhoto No. 030 - Pre-Test Frontal View of Driver Seat Back Prior to Dummy Positioning.JPGPhoto No. 031 - Pre-Test Frontal View of Driver Dummy Head and Shoulders in Relation to Head Restraint.JPGPhoto No. 032 - Pre-Test Frontal View of Driver Seat Pan Prior to Dummy Positioning.JPGPhoto No. 033 - Pre-Test Overhead View of Driver Dummy Thighs on Seat Pan.JPGPhoto No. 034 - Pre-Test Placement of Driver Dummy's Feet.JPGPhoto No. 035 - Pre-Test View of Belt Anchorage for Driver Dummy.JPGPhoto No. 036 - Pre-Test Left Side View of Steering Wheel.JPGPhoto No. 037 - Pre-Test View of Disengaged Parking Brake.JPGPhoto No. 038 - Pre-Test View of Parking Brake.JPGPhoto No. 039 - Pre-Test Close-Up Left Side View of Driver Seat Track.JPGPhoto No. 040 - Pre-Test Close-Up Left Side View of Driver Seat Back.JPGPhoto No. 044 - Pre-Test Right Side View of Driver Dummy and Front Seat of Occupant Compartment .JPGPhoto No. 045 - Post-Test Right Side View of Driver Dummy and Front Seat of Occupant Compartment .JPGPhoto No. 051 - Post-Test Driver Dummy Close-Up Torso Contact with Side Airbag View.JPGPhoto No. 061 - Pre-Test Overhead View of Rear Passenger Dummy Thighs on Seat Pan.JPGPhoto No. 063 - Pre-Test View of Rear Passenger Dummy's Head Showing Dummy's Head is Level.JPGPhoto No. 104 - Left Rear Passenger Head Restraint Use and Adjustment Information from Vehicle Owner's Manual.jpgPhoto No. 305-02 - Power Inverter Warning Label.JPGPhoto No. 305-15 - Post-Impact View of Propulsion Battery Module(s).jpgPhoto No. 305-23 - Pre-Impact Close-Up View of High Voltage Leads Attached.JPGPhoto No. 305-29 - FMVSS No. 305 Static Rollover at 180 Degrees.JPG

Crash test #2NHTSA test 15023

Full test report (PDF) ↗

Crash-test footage is converted for smooth playback the first time someone requests it — usually under a minute.
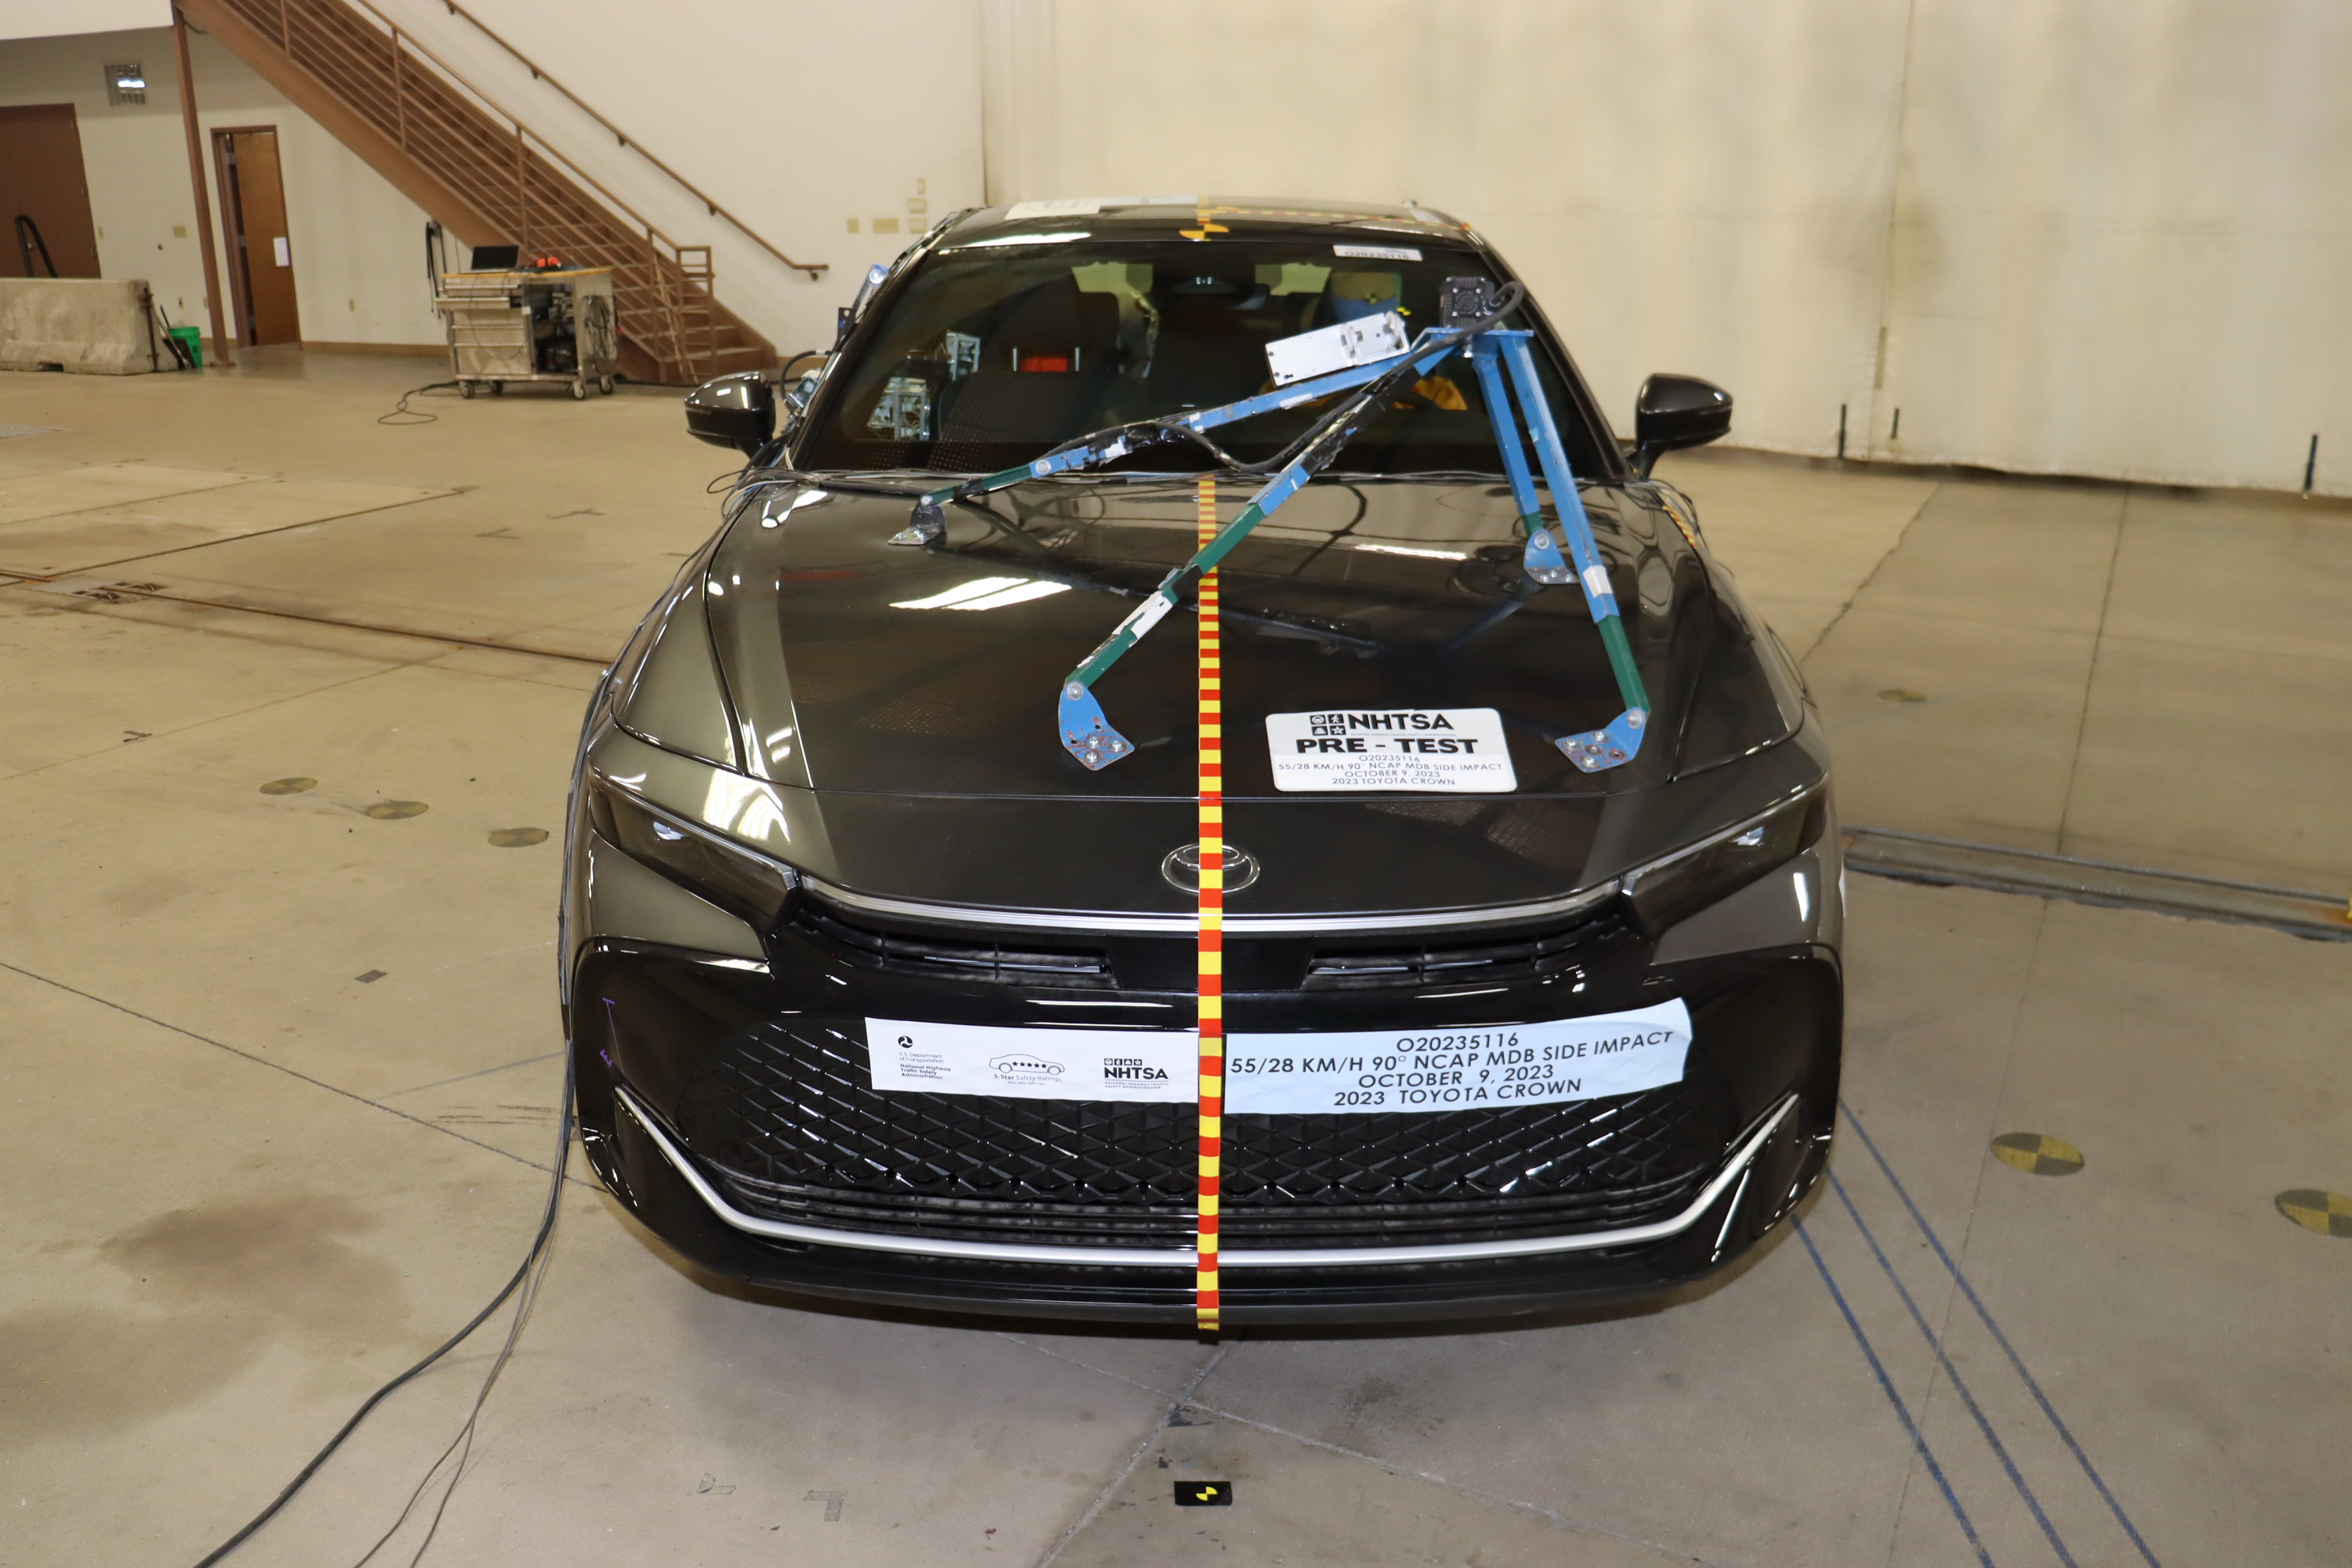
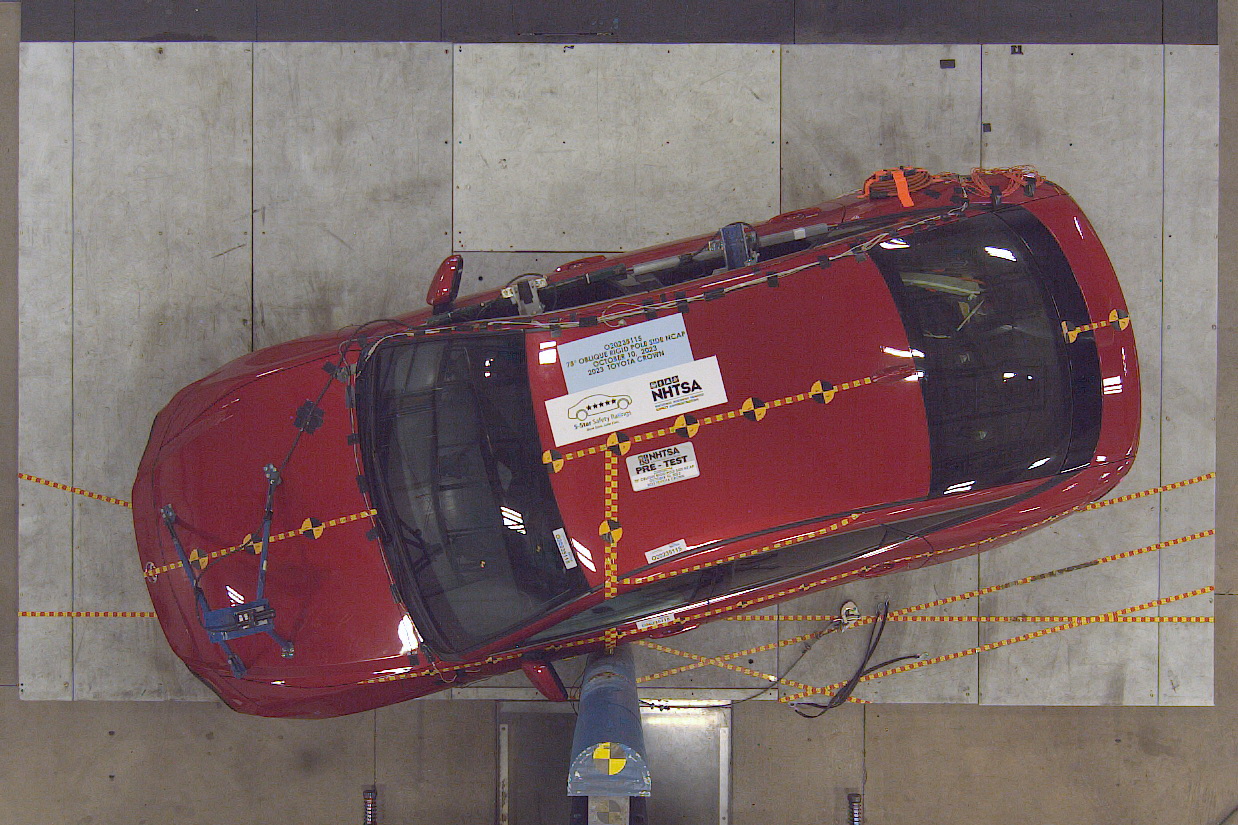
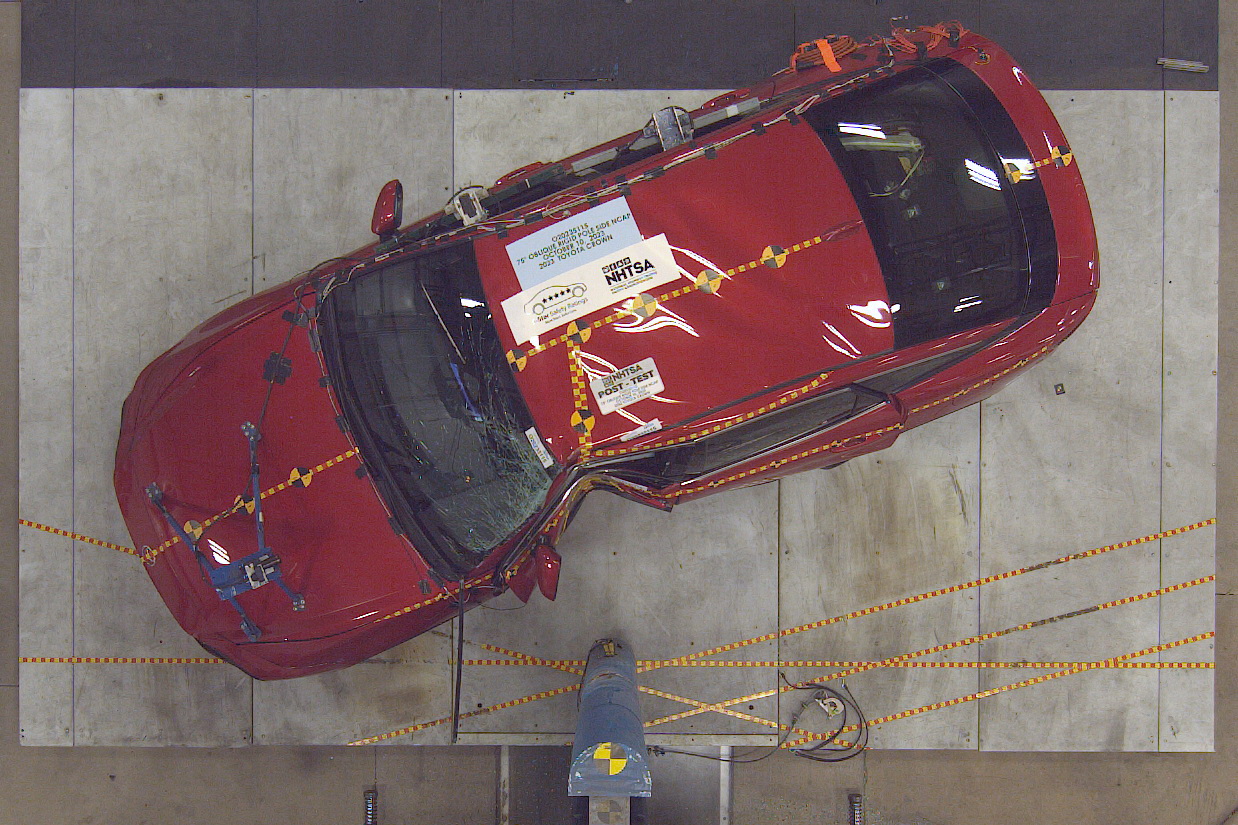
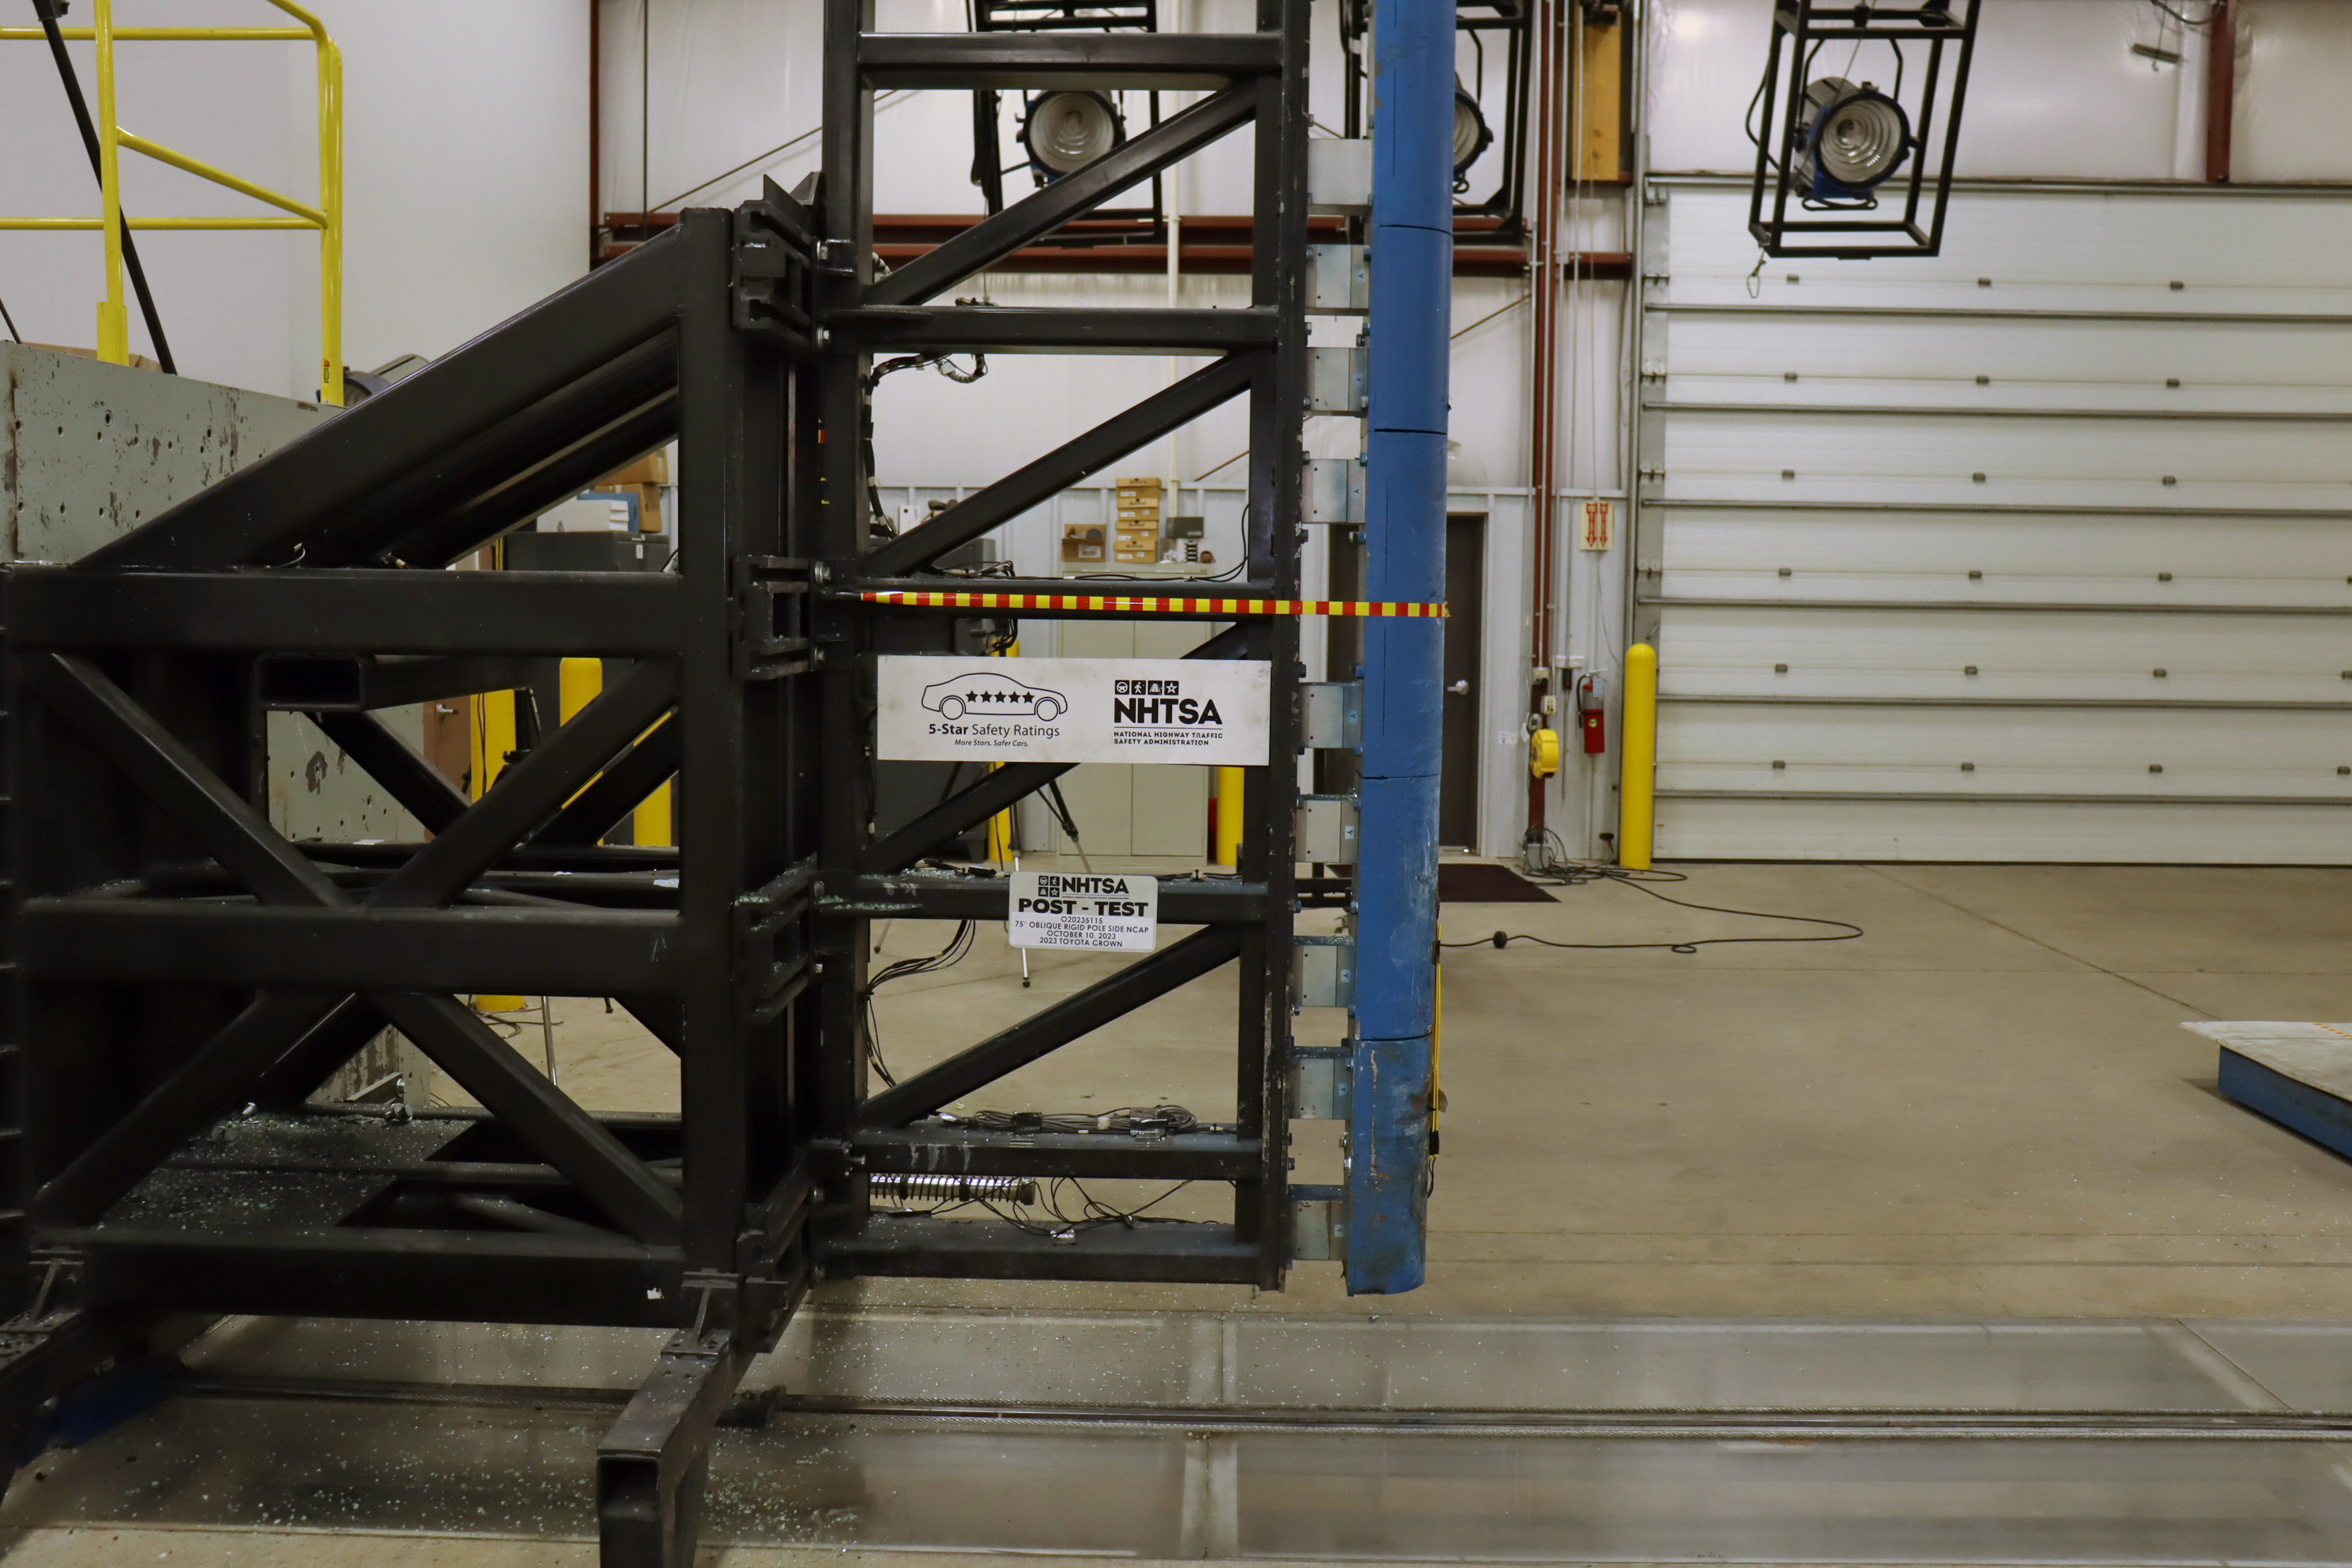
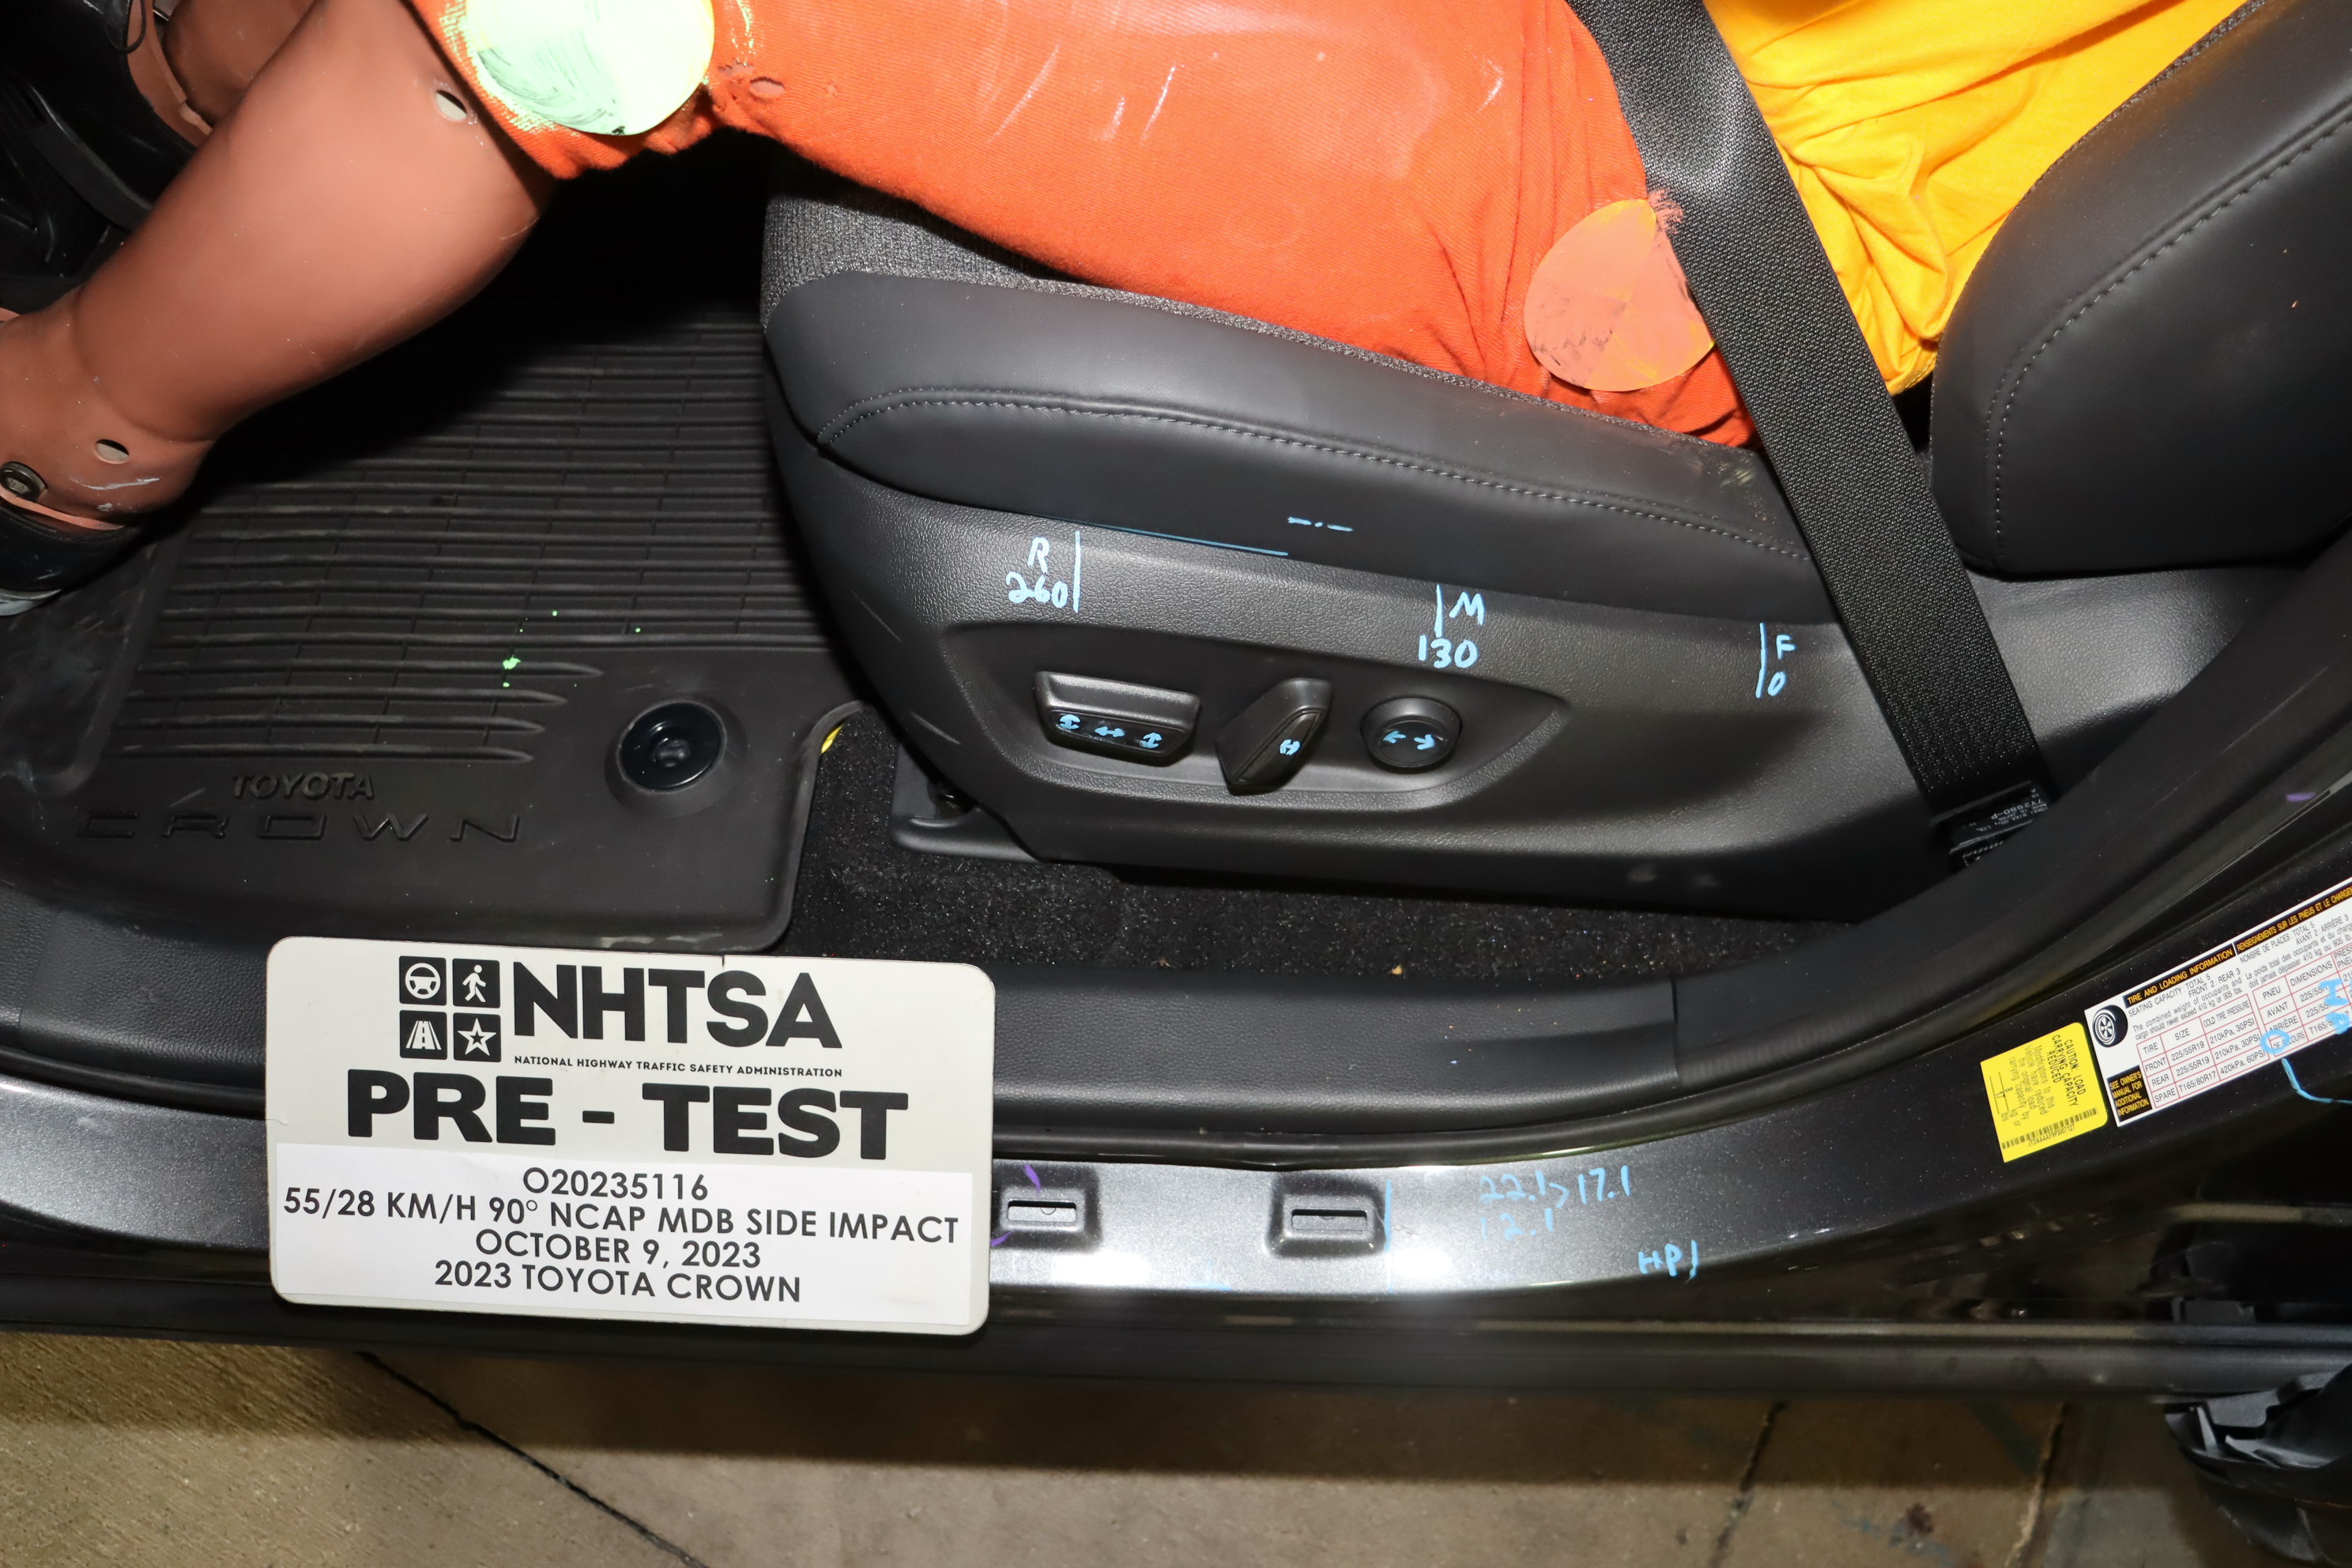
Photo No. 001 - As Delivered Right Front Three-Quarter View of Test Vehicle.jpgPhoto No. 002 - As Delivered Left Rear Three-Quarter View of Test Vehicle.jpgPhoto No. 003 - Pre-Test Frontal View of Test Vehicle.JPGPhoto No. 004 - Post-Test Frontal View of Test Vehicle.JPGPhoto No. 005 - Pre-Test Left Front Three-Quarter View of Test Vehicle.JPGPhoto No. 006 - Post-Test Left Front Three-Quarter View of Test Vehicle.JPGPhoto No. 007 - Pre-Test Left Side View of Test Vehicle.JPGPhoto No. 008 - Post-Test Left Side View of Test Vehicle.JPGPhoto No. 009 - Pre-Test Left Rear Three-Quarter View of Test Vehicle.JPGPhoto No. 010 - Post-Test Left Rear Three-Quarter View of Test Vehicle.JPGPhoto No. 011 - Pre-Test Rear View of Test Vehicle.JPGPhoto No. 012 - Post-Test Rear View of Test Vehicle.JPGPhoto No. 013 - Pre-Test Right Side View of Test Vehicle.JPGPhoto No. 014 - Post-Test Right Side View of Test Vehicle.JPGPhoto No. 015 - Pre-Test Overhead View of Test Area .jpgPhoto No. 016 - Post-Test Overhead View of Test Area.jpgPhoto No. 017 - Pre-Test Left Side View of Pole Positioned Against Side of Vehicle.JPGPhoto No. 018 - Pre-Test Right Side View of Pole Positioned Against Side of Vehicle.JPGPhoto No. 019 - Pre-Test Close-Up View of Impact Point Target.JPGPhoto No. 020 - Post-Test Close-Up View of Impact Point Target Showing Impact Location.JPGPhoto No. 021 - Pre-Test Front Close-Up View of Dummy Head and Chest.JPGPhoto No. 022 - Post-Test Front Close-Up View of Dummy.JPGPhoto No. 023 - Pre-Test Left Side View of Dummy Showing Belt and Chalking.JPGPhoto No. 024 - Pre-Test Left Side View of Dummy Shoulder and Door Top View.JPGPhoto No. 025 - Post-Test Left Side View of Dummy Shoulder and Door Top View.JPGPhoto No. 026 - Pre-Test Front View of Seat Back Prior to Dummy Positioning.JPGPhoto No. 027 - Pre-Test Front Close-Up View of Dummy Head and Shoulders in Relation to Head Restraint.JPGPhoto No. 028 - Pre-Test Front View of Seat Pan Prior to Dummy Positioning.JPGPhoto No. 029 - Pre-Test Overhead View of Dummy Thighs on Seat Pan.JPGPhoto No. 030 - Pre-Test Left Side View of Dummy's Neck Showing Position of Adjustable Neck Bracket.jpgPhoto No. 031 - Pre-Test Left Side View of Dummy's Head Showing Dummy's Head is Level.JPGPhoto No. 032 - Pre-Test Placement of Dummy's Feet.JPGPhoto No. 033 - Pre-Test View of Belt Anchorage for Dummy.JPGPhoto No. 034 - Pre-Test Left Side View of Steering Wheel.JPGPhoto No. 035 - Pre-Test View of Disengaged Parking Brake.JPGPhoto No. 036 - Pre-Test View of Parking Brake.JPGPhoto No. 037 - Pre-Test Close-Up Left Side View of Driver Seat Track.JPGPhoto No. 038 - Pre-Test Close-Up Left Side View of Driver Seat Back.JPGPhoto No. 039 - Pre-Test Close-Up View of Driver Seat Back or Head Restraint.JPGPhoto No. 040 - Pre-Test Dummy and Door Clearance View.JPGPhoto No. 043 - Post-Test Right Side View of Dummy and Front Seat of Occupant Compartment.JPGPhoto No. 052 - Post-Test Dummy Close-Up Knee Contact with Vehicle Interior View.jpgPhoto No. 062 - Post-Test Pole Barrier Side View.JPGPhoto No. 305-06 - Manual High Voltage Service Disconnect in Place.JPGPhoto No. 305-11 - Post-Impact Rear View of Propulsion Battery.jpgPhoto No. 305-22 - Pre-Impact View of High Voltage Leads Attached.JPG

Crash test #3NHTSA test 15024

Full test report (PDF) ↗

Crash-test footage is converted for smooth playback the first time someone requests it — usually under a minute.
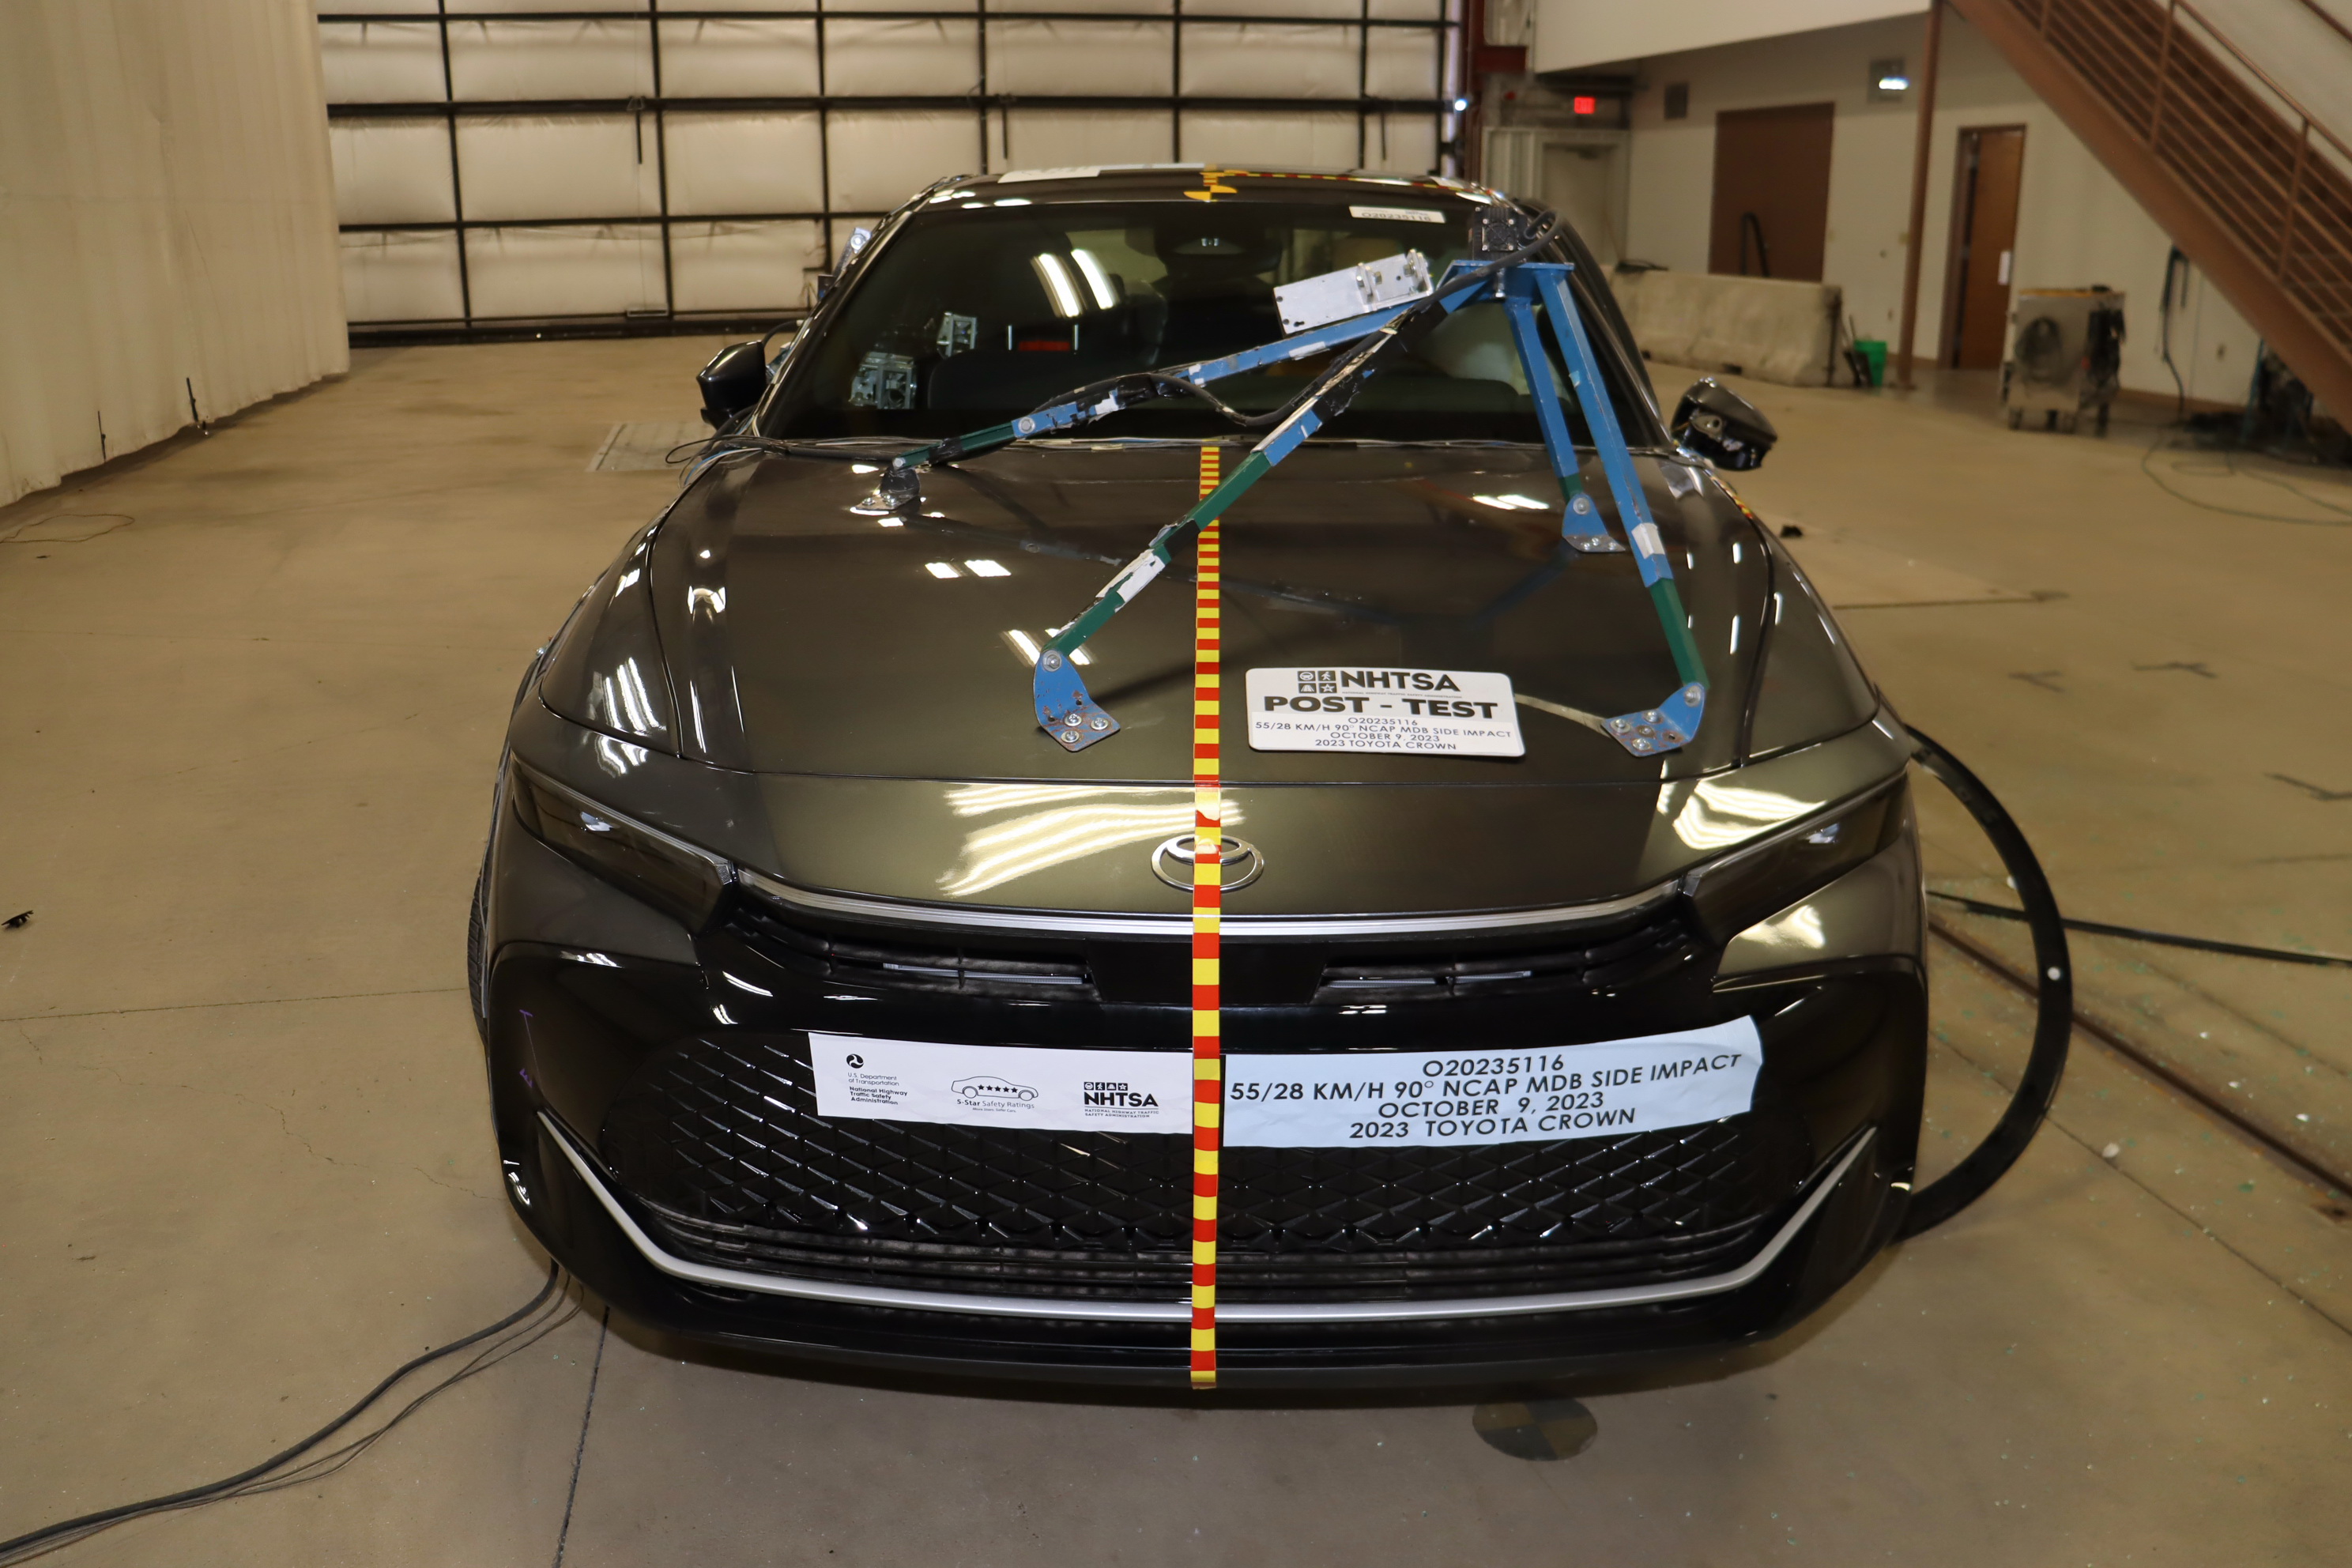
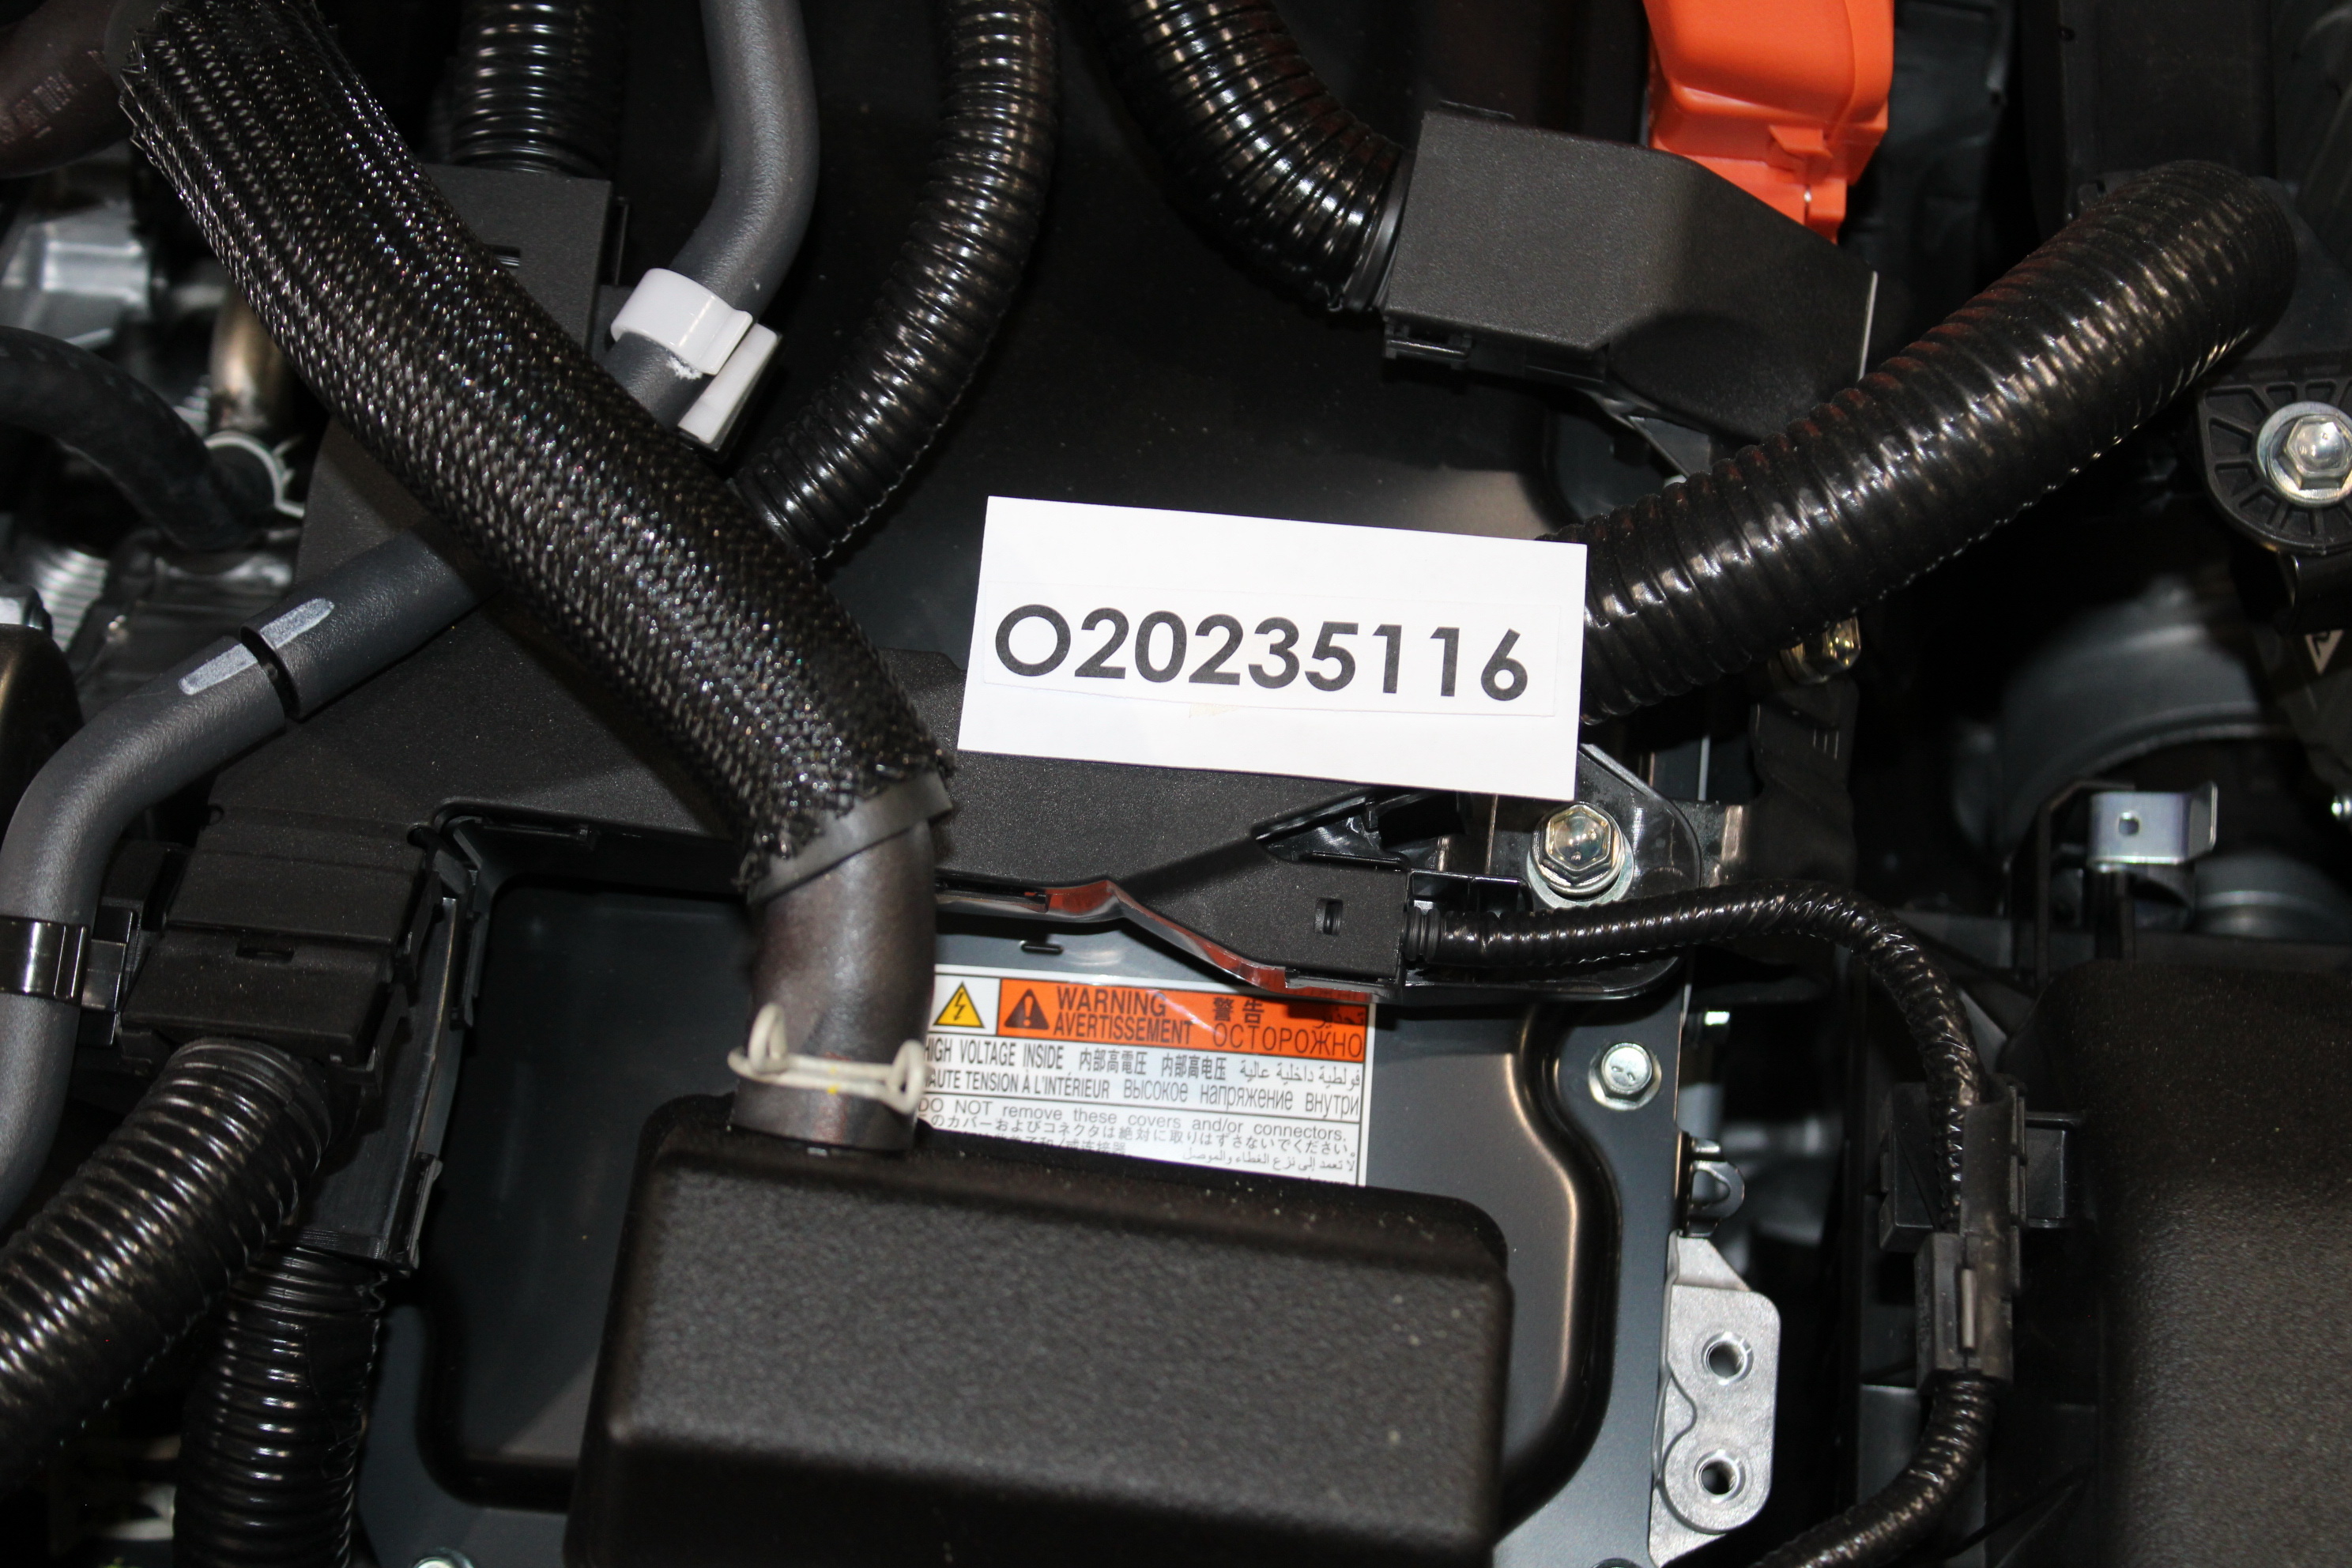
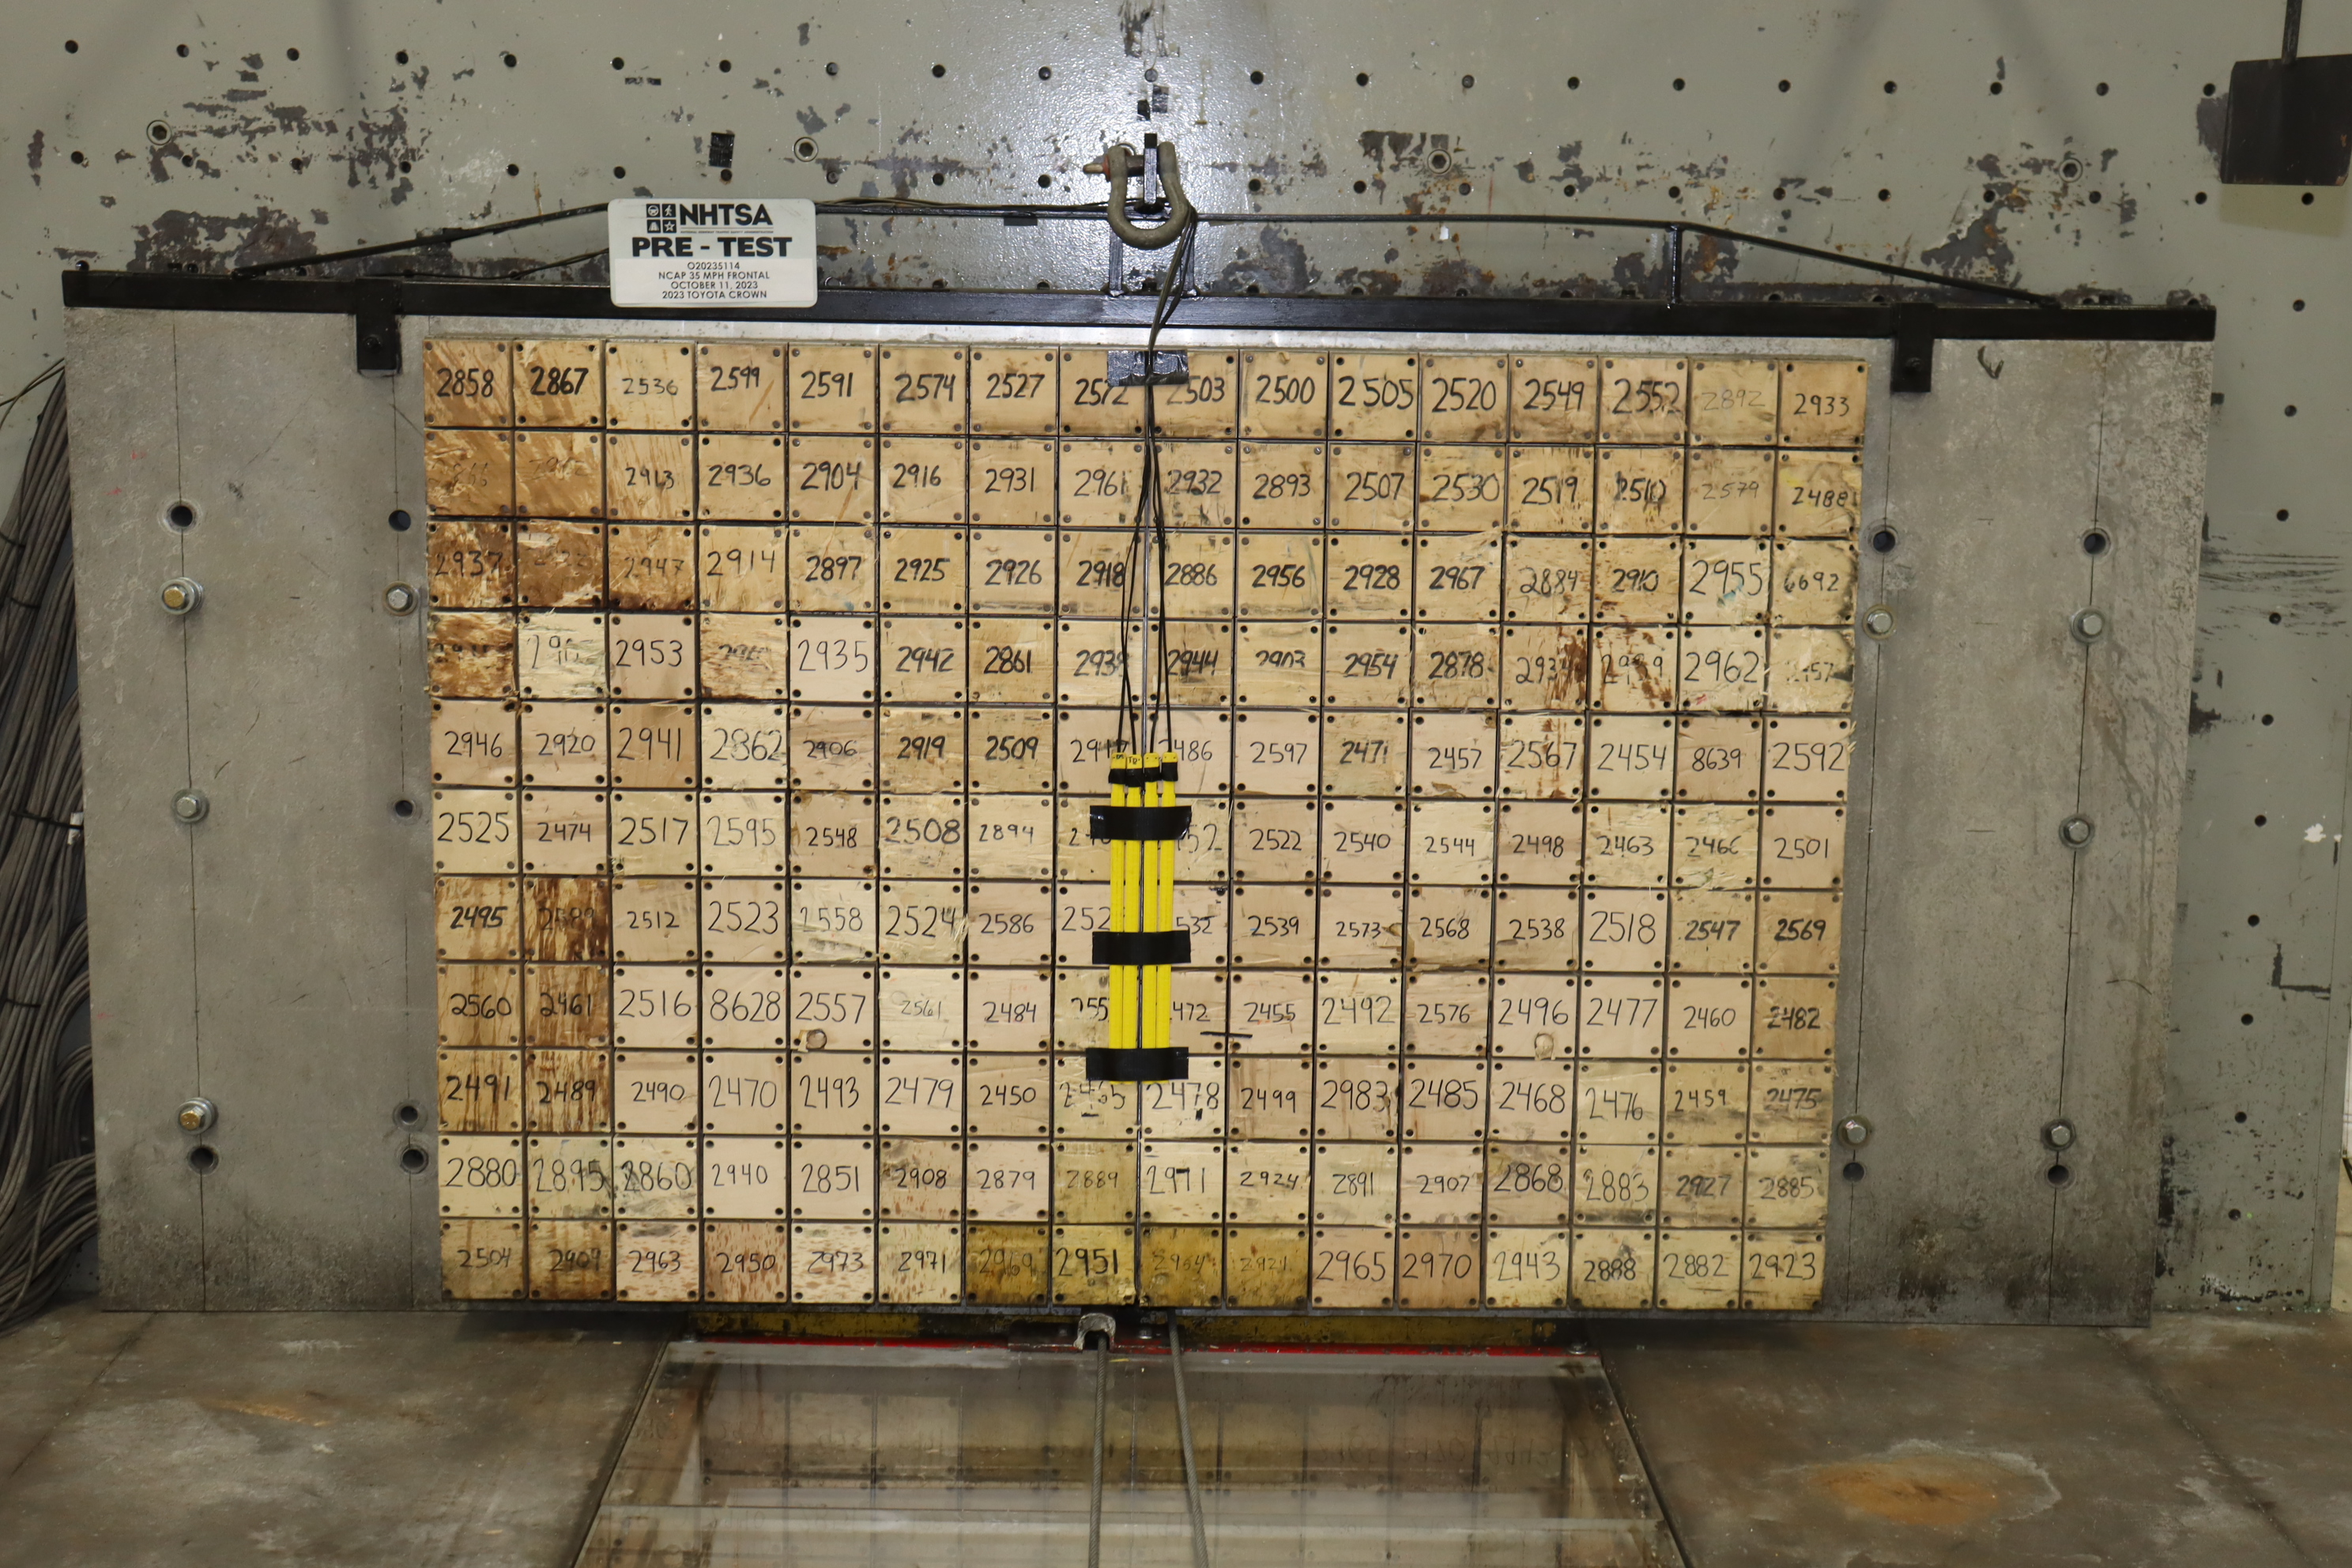
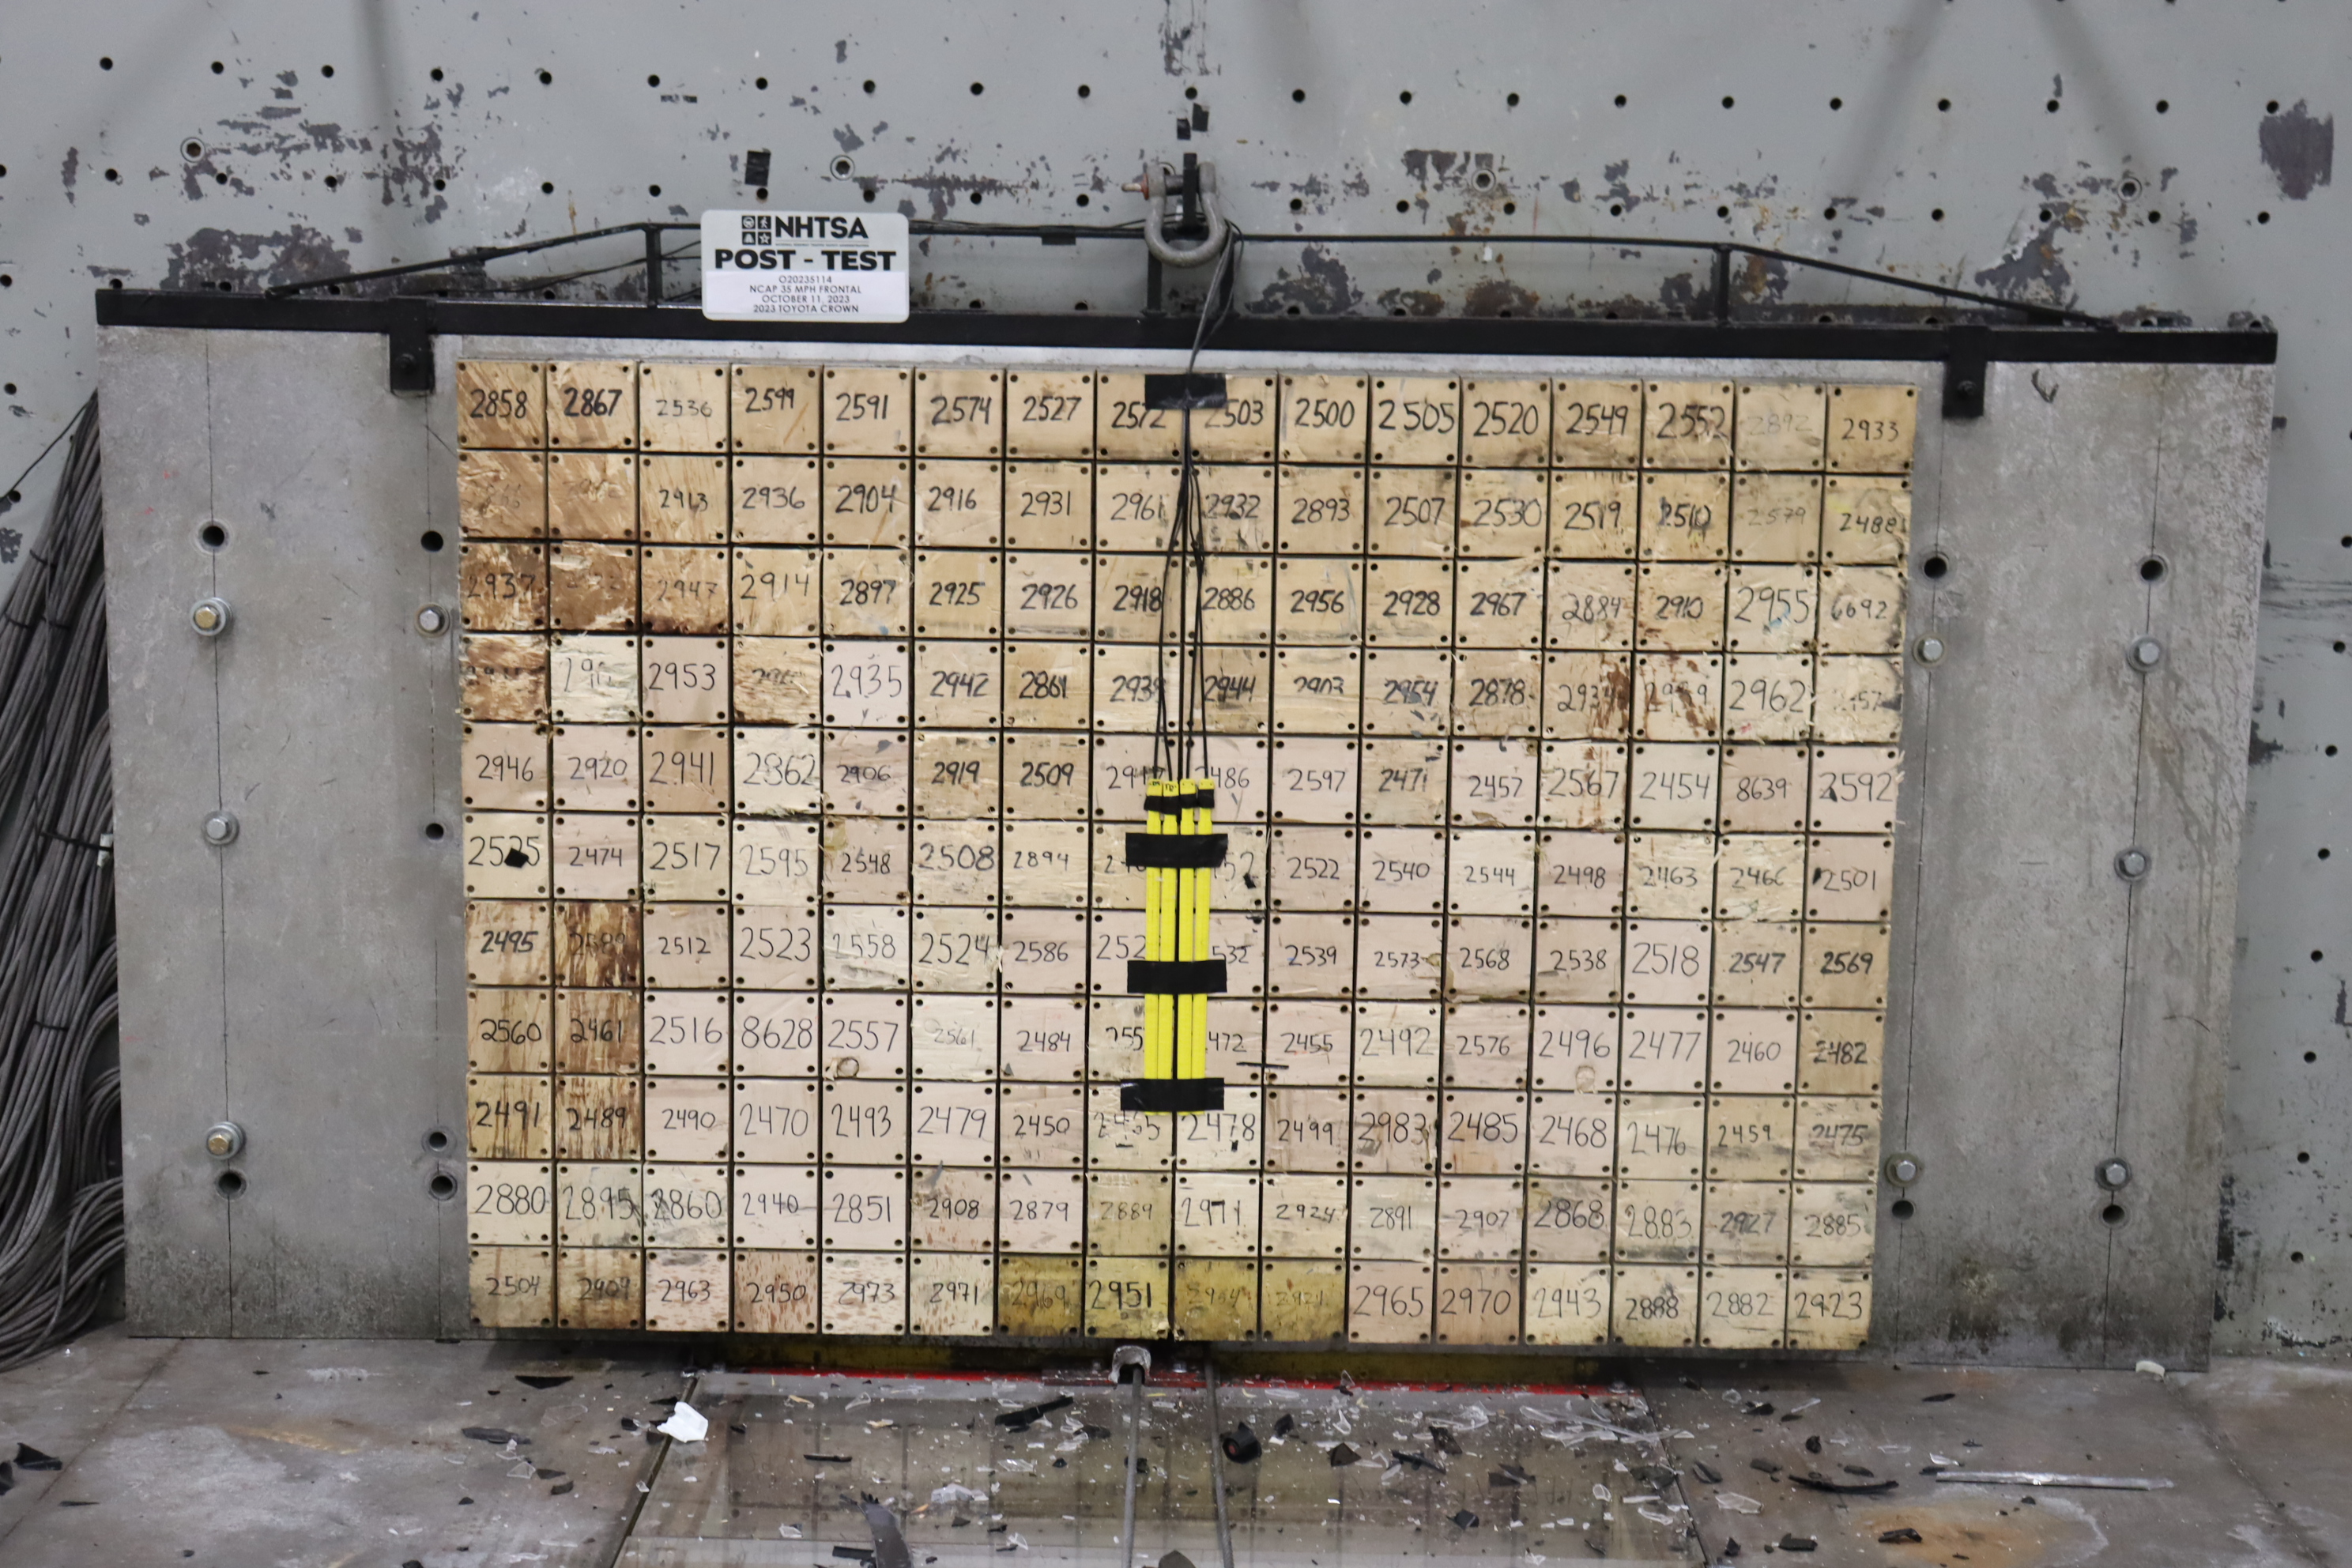
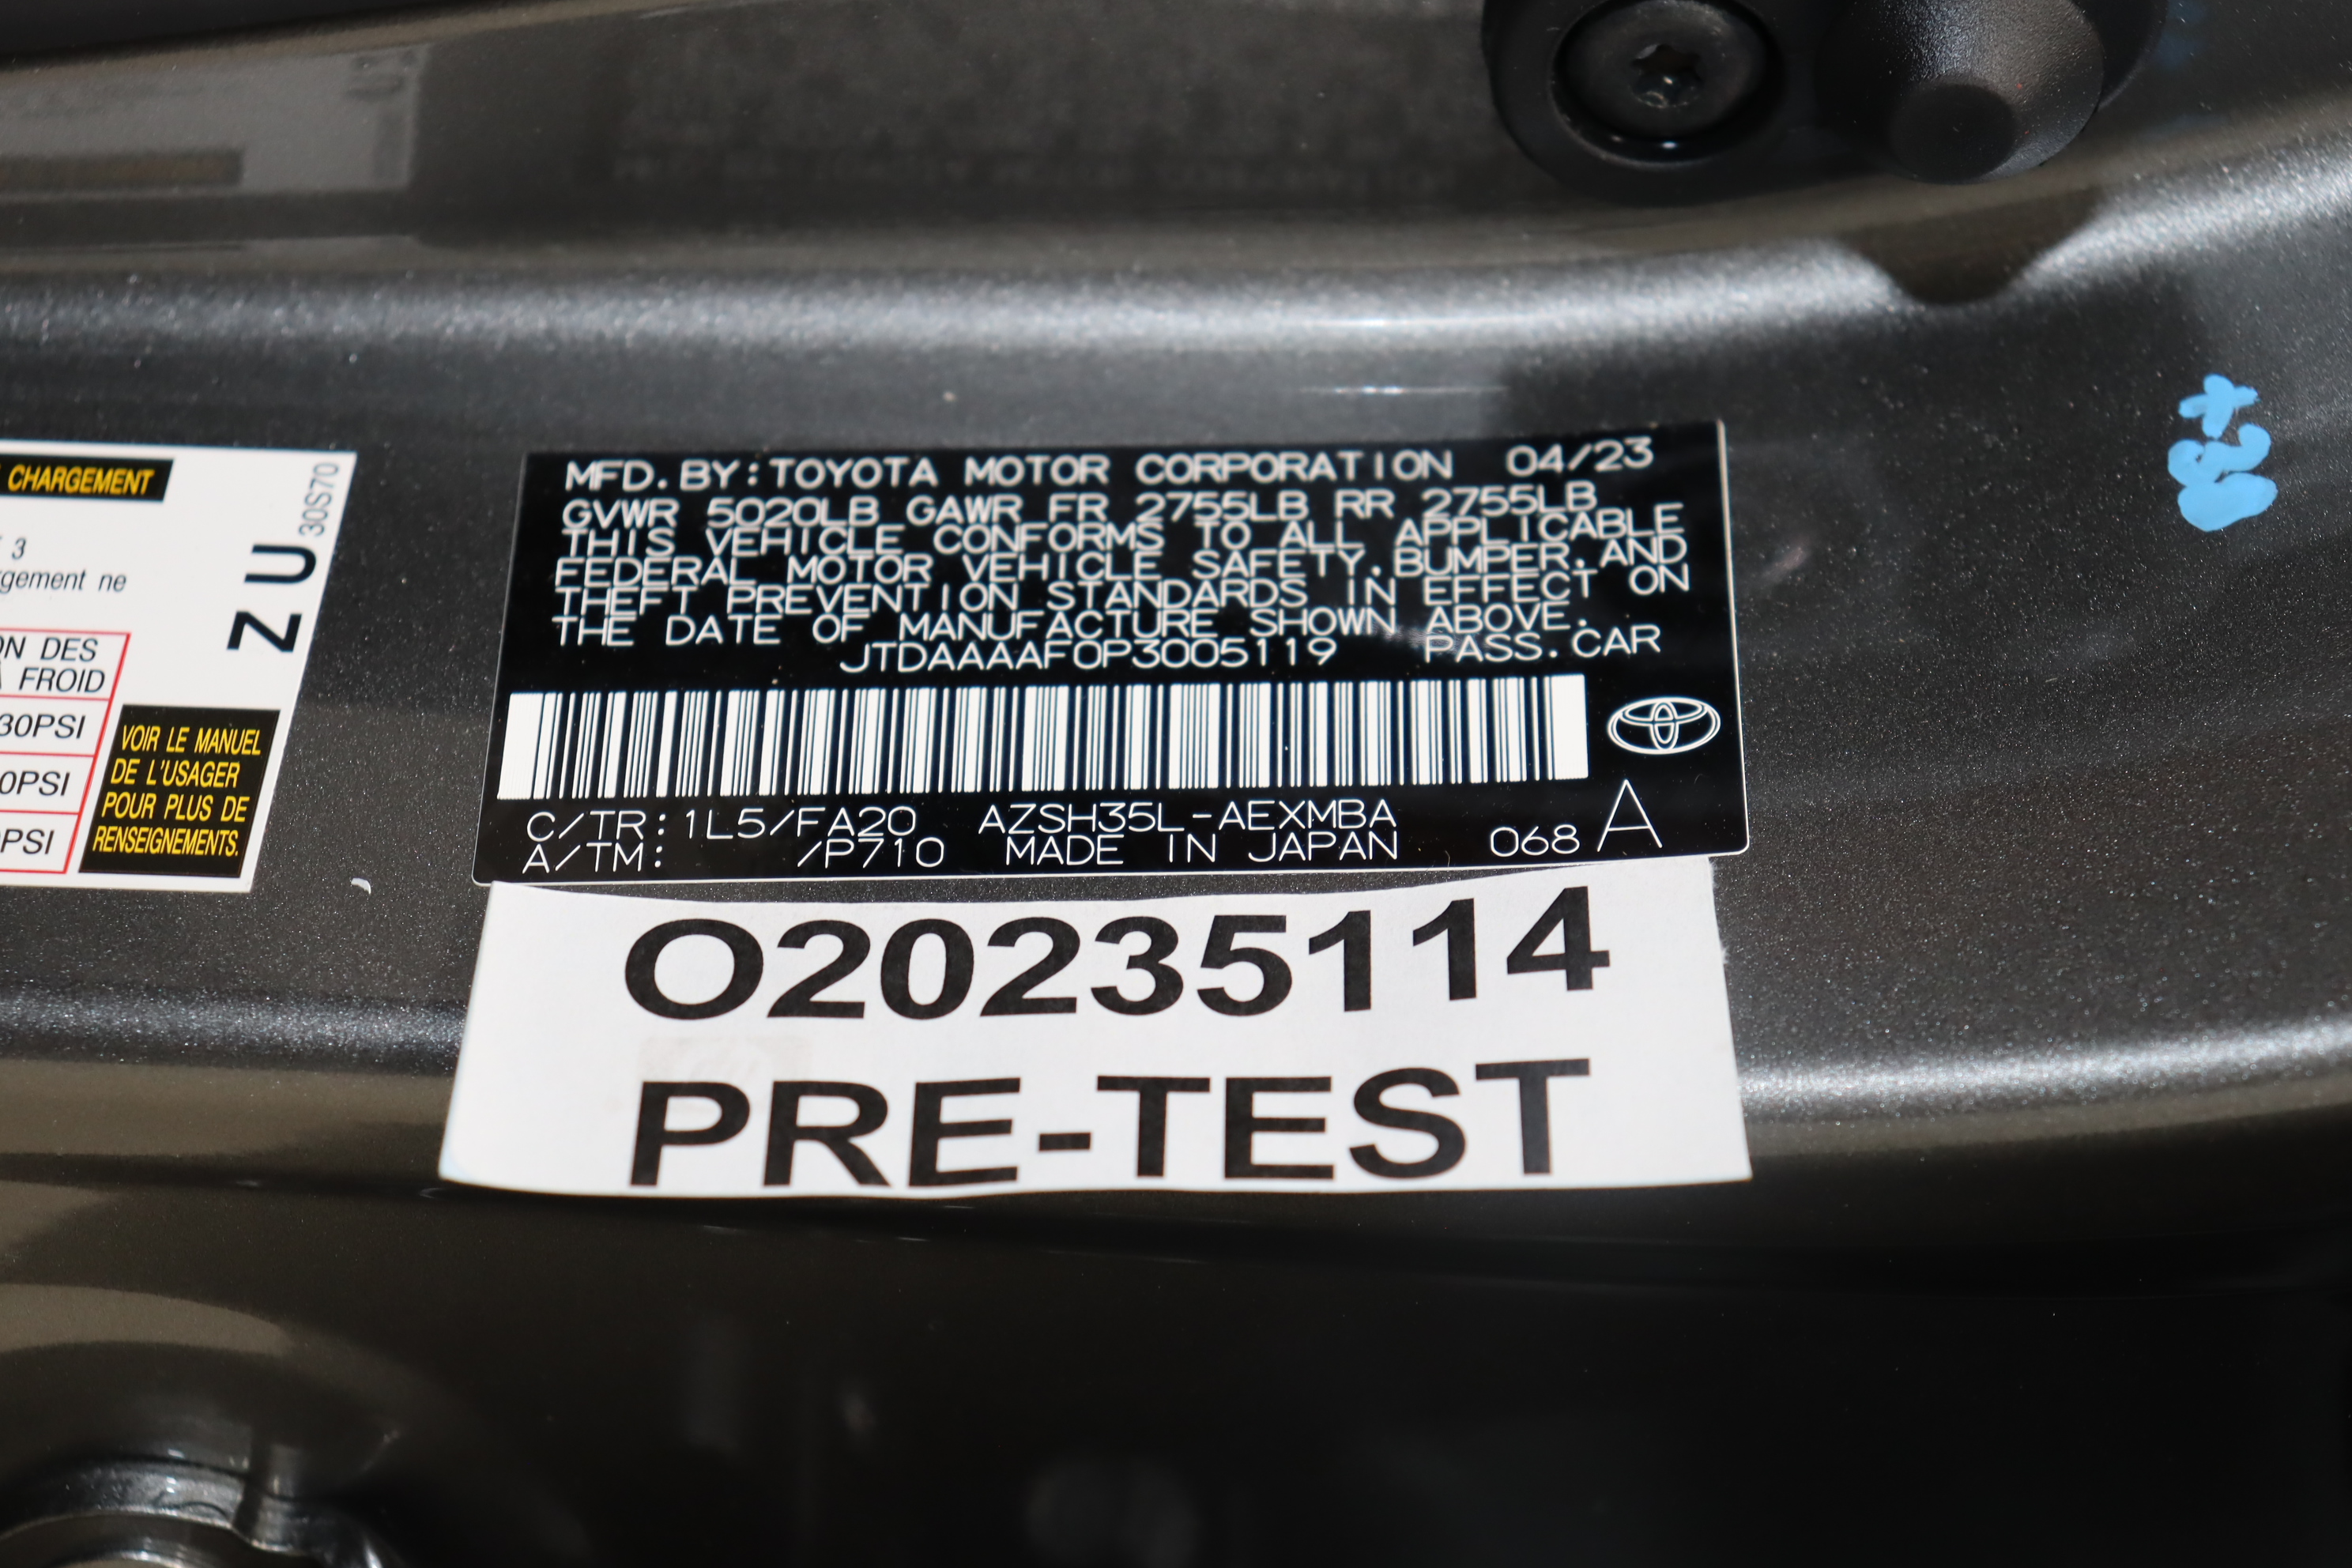
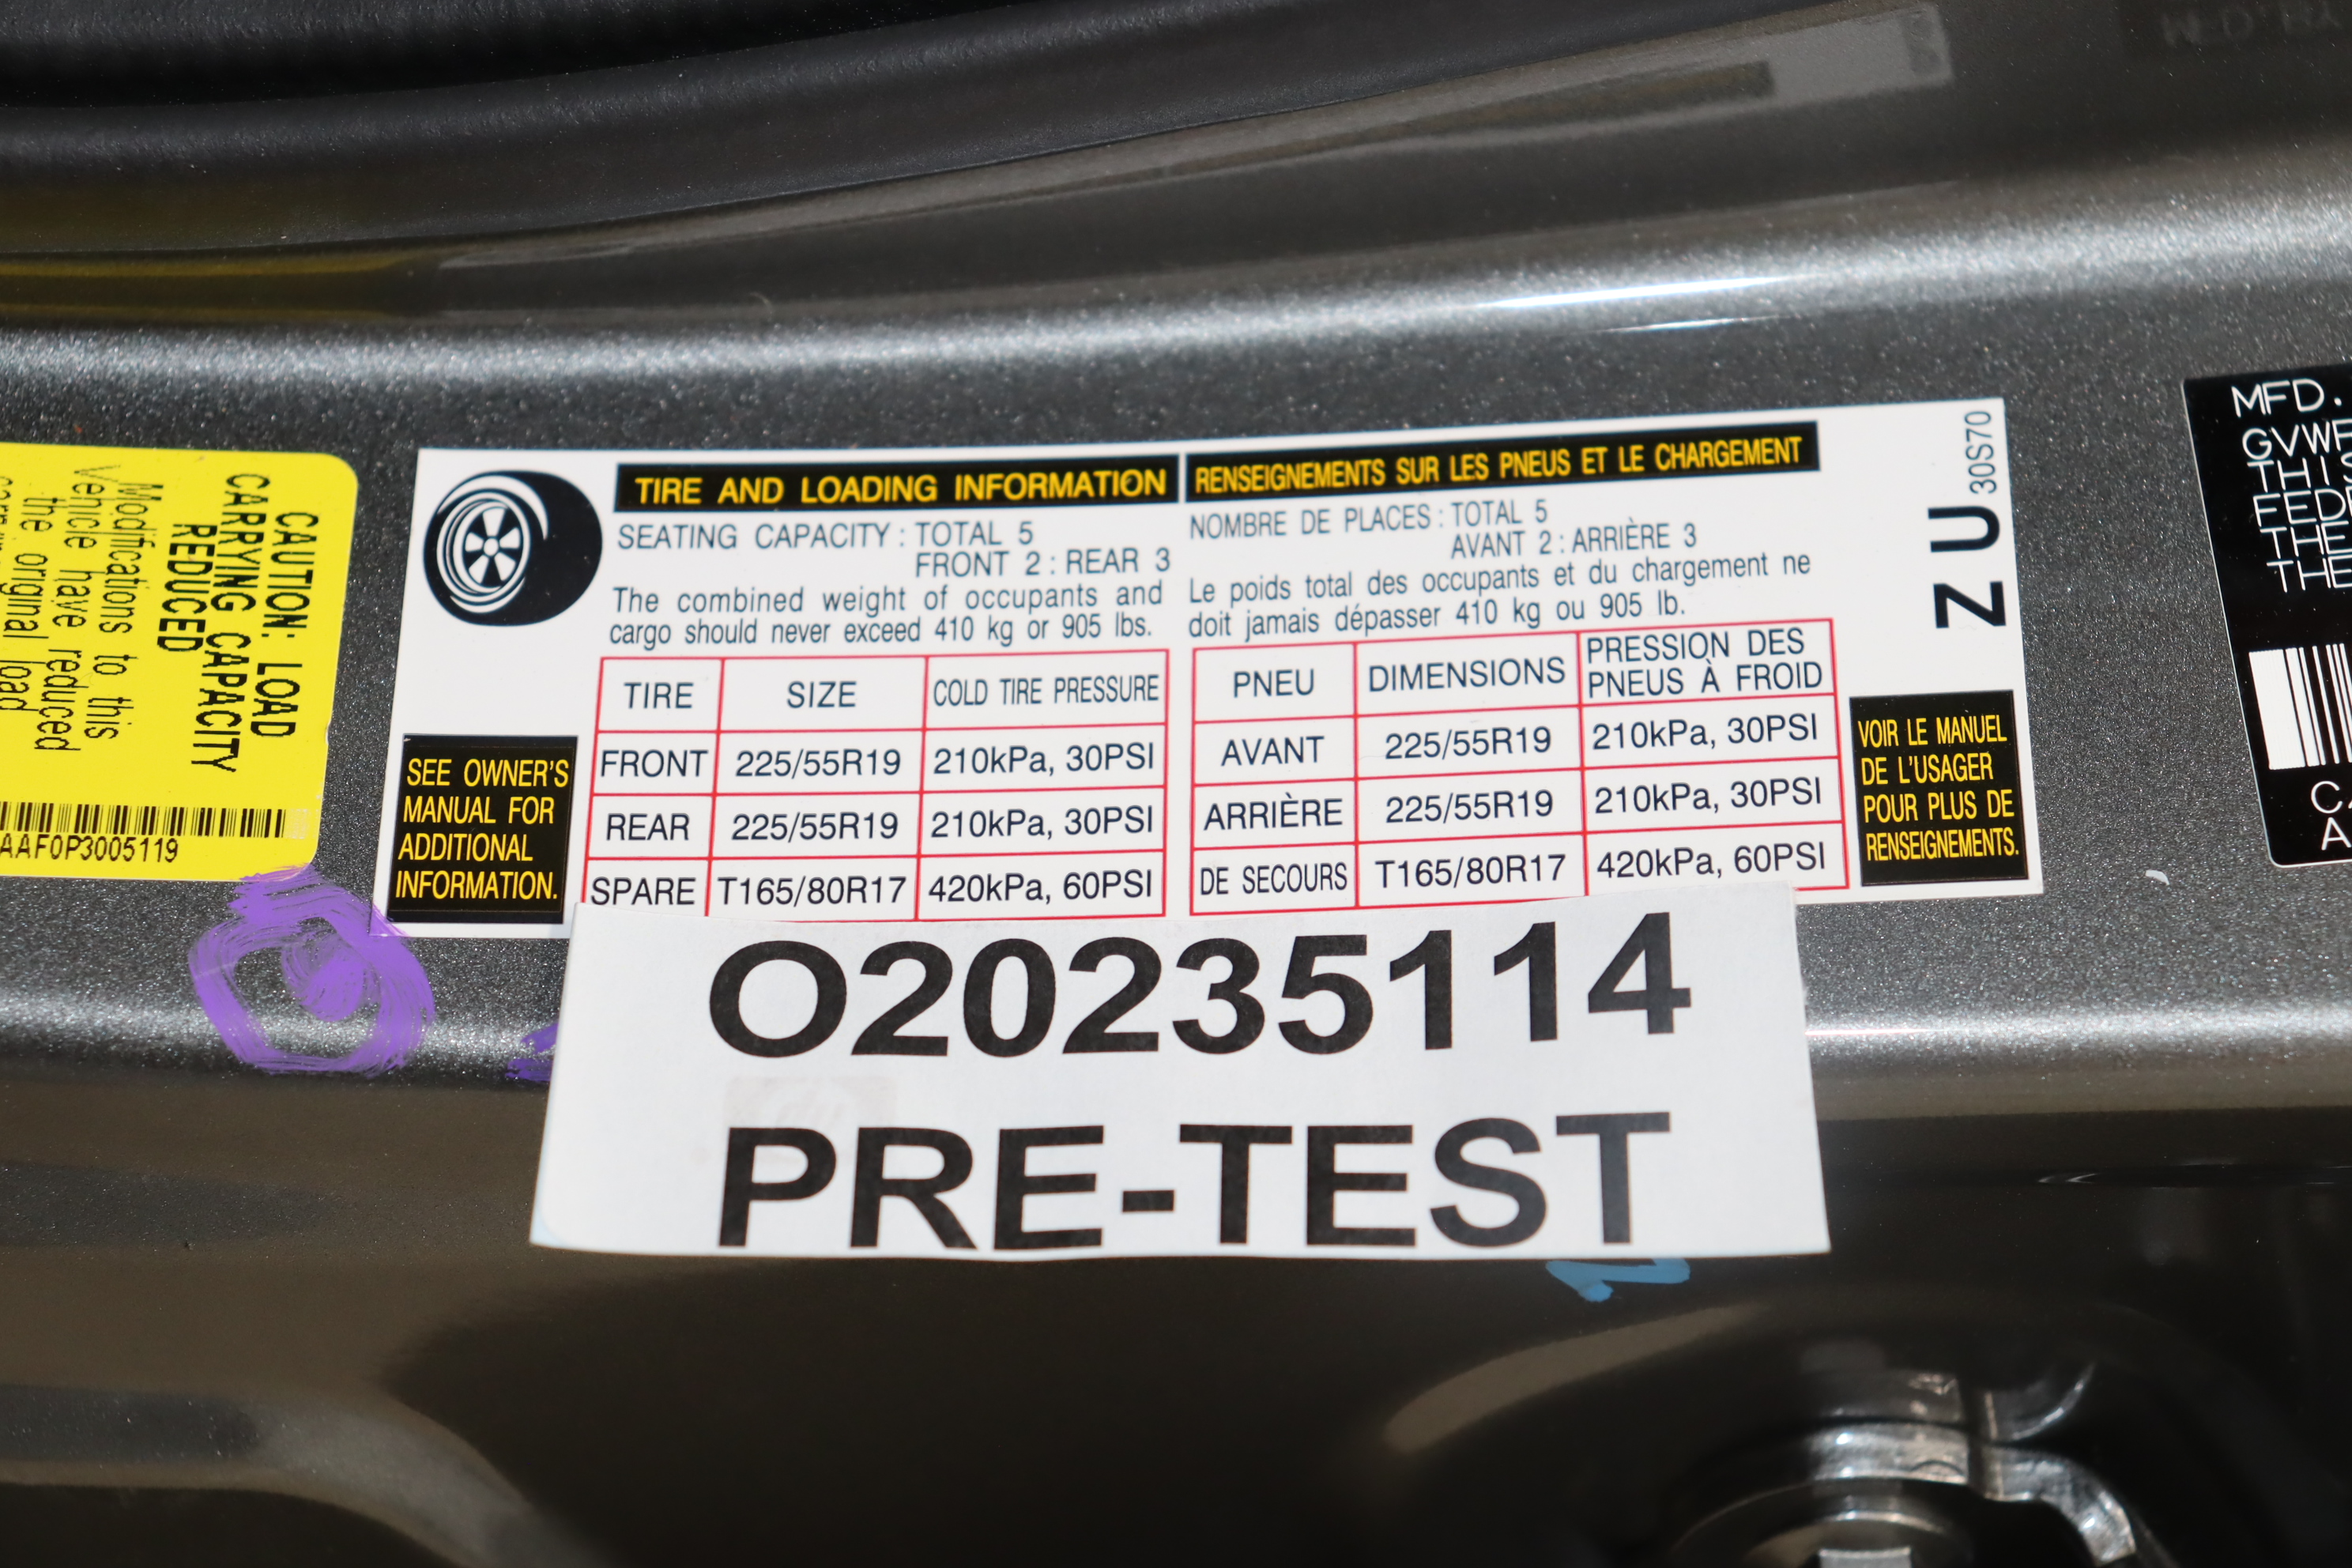
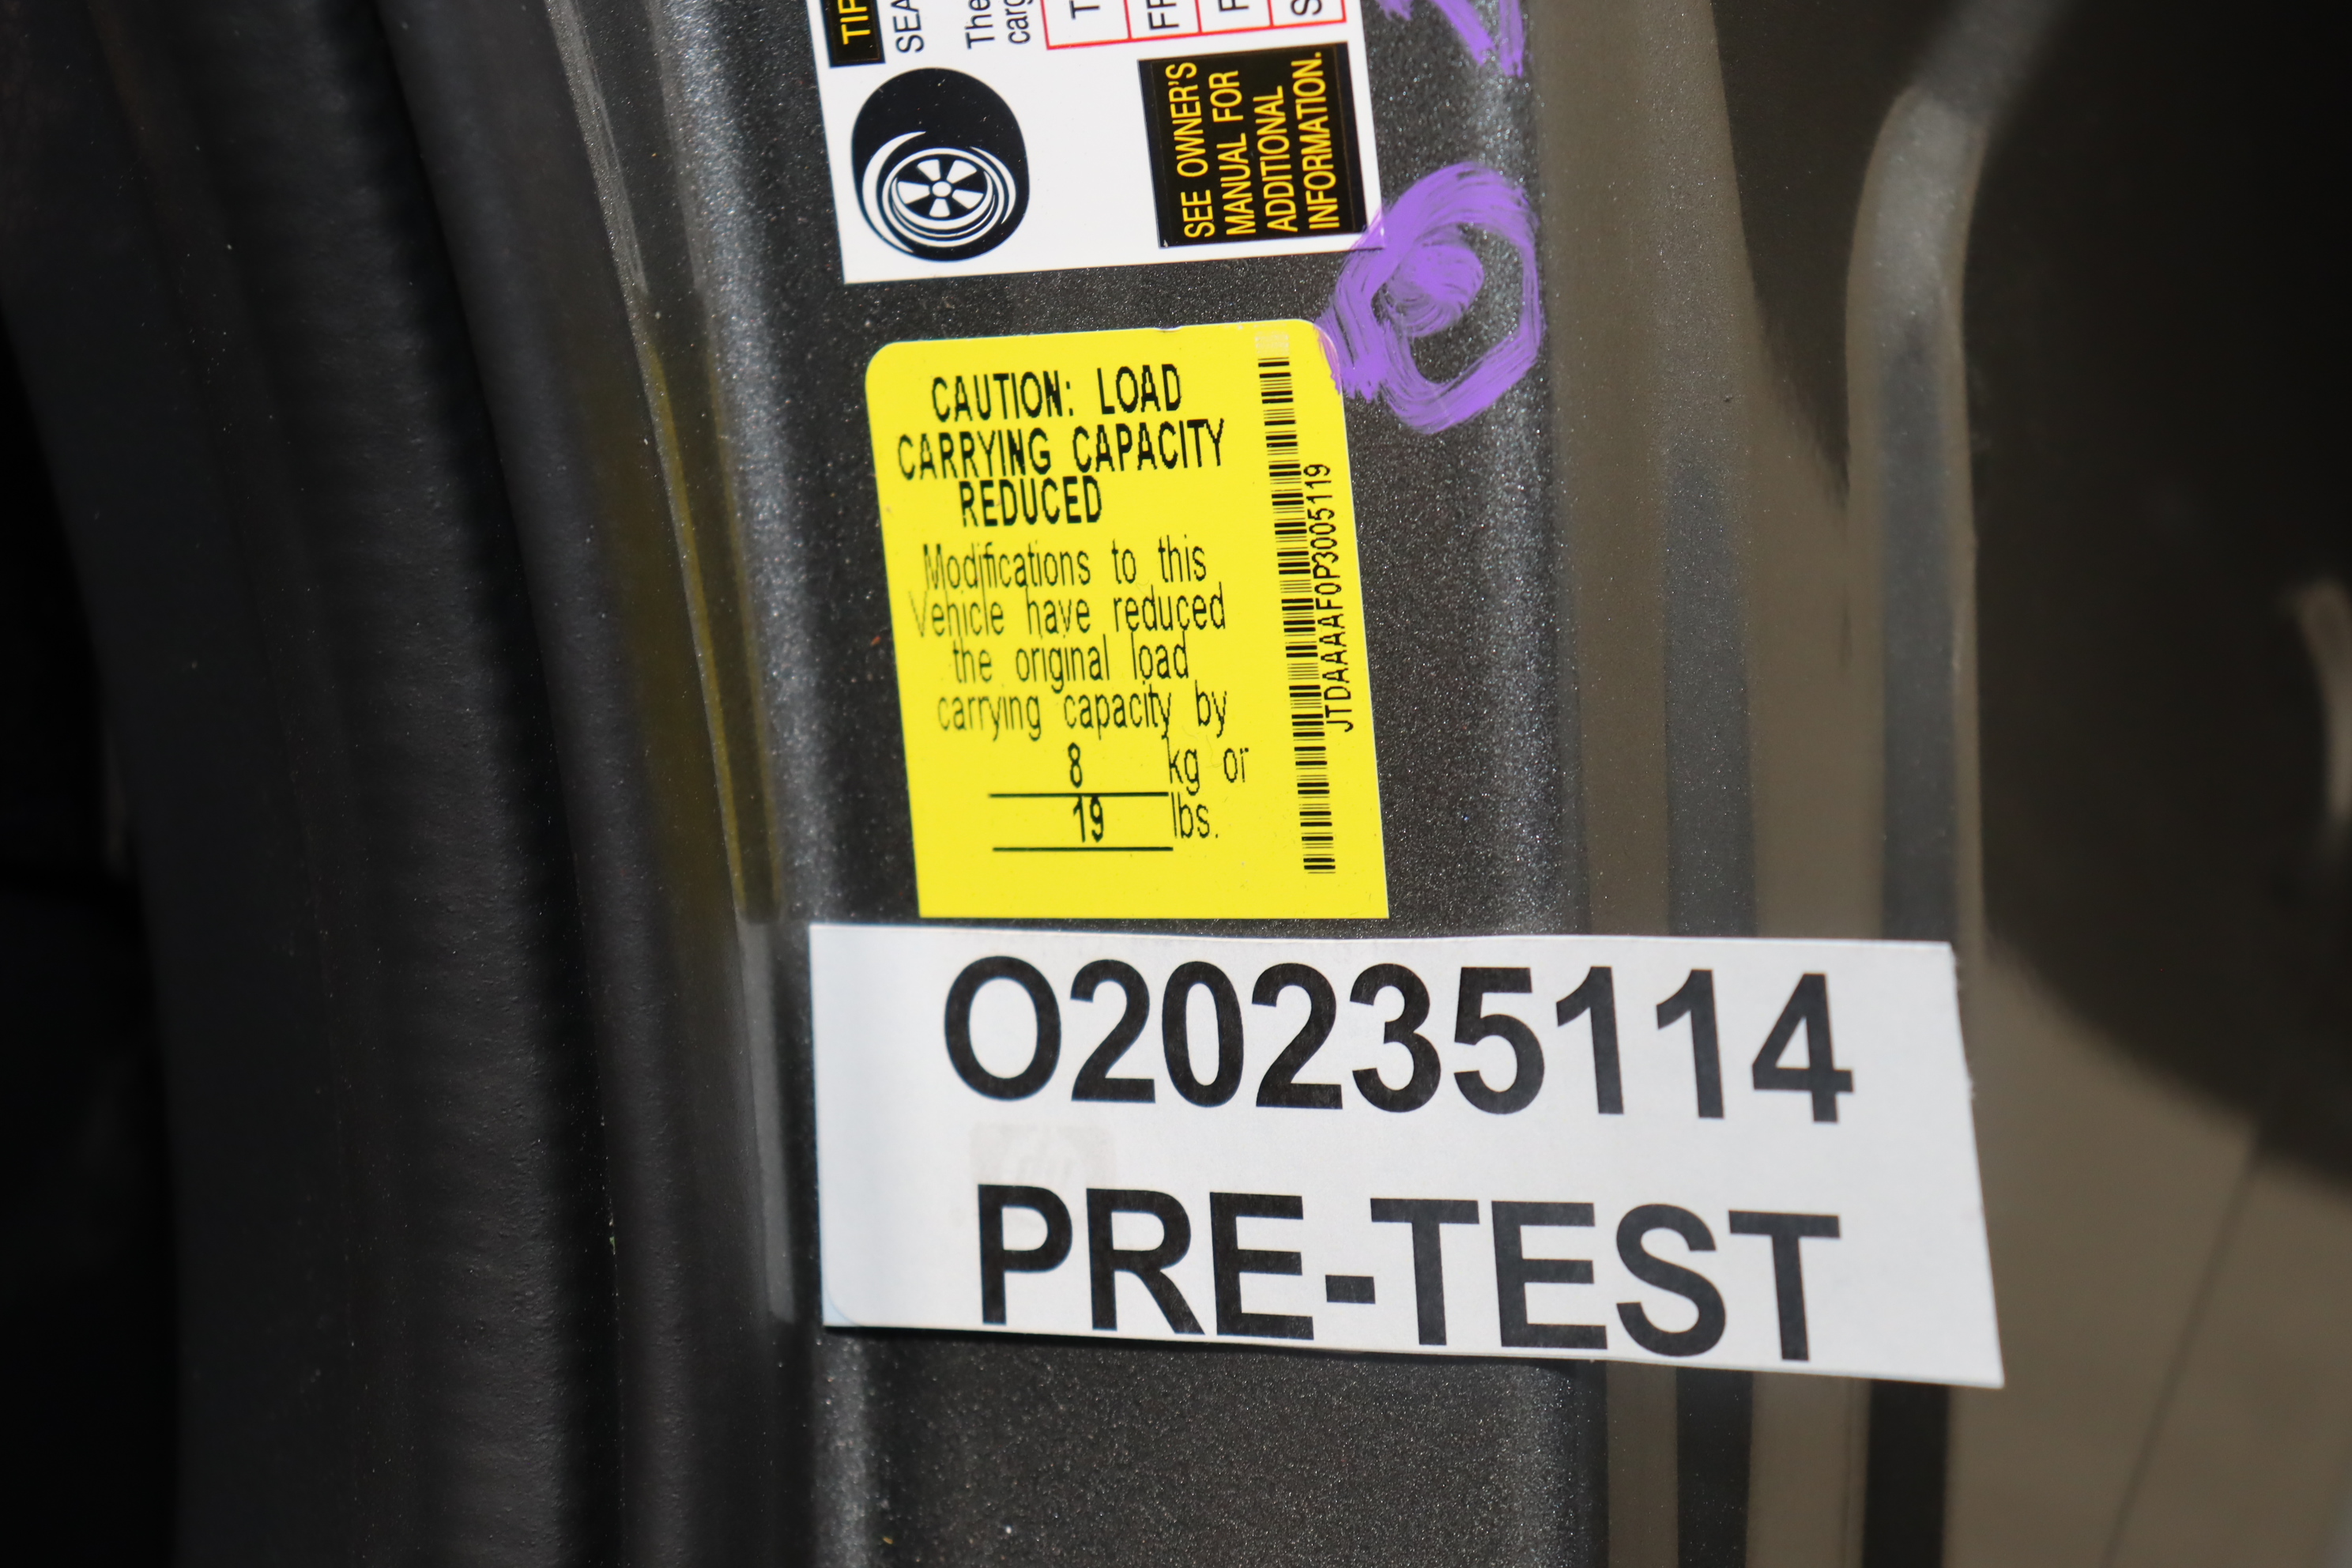
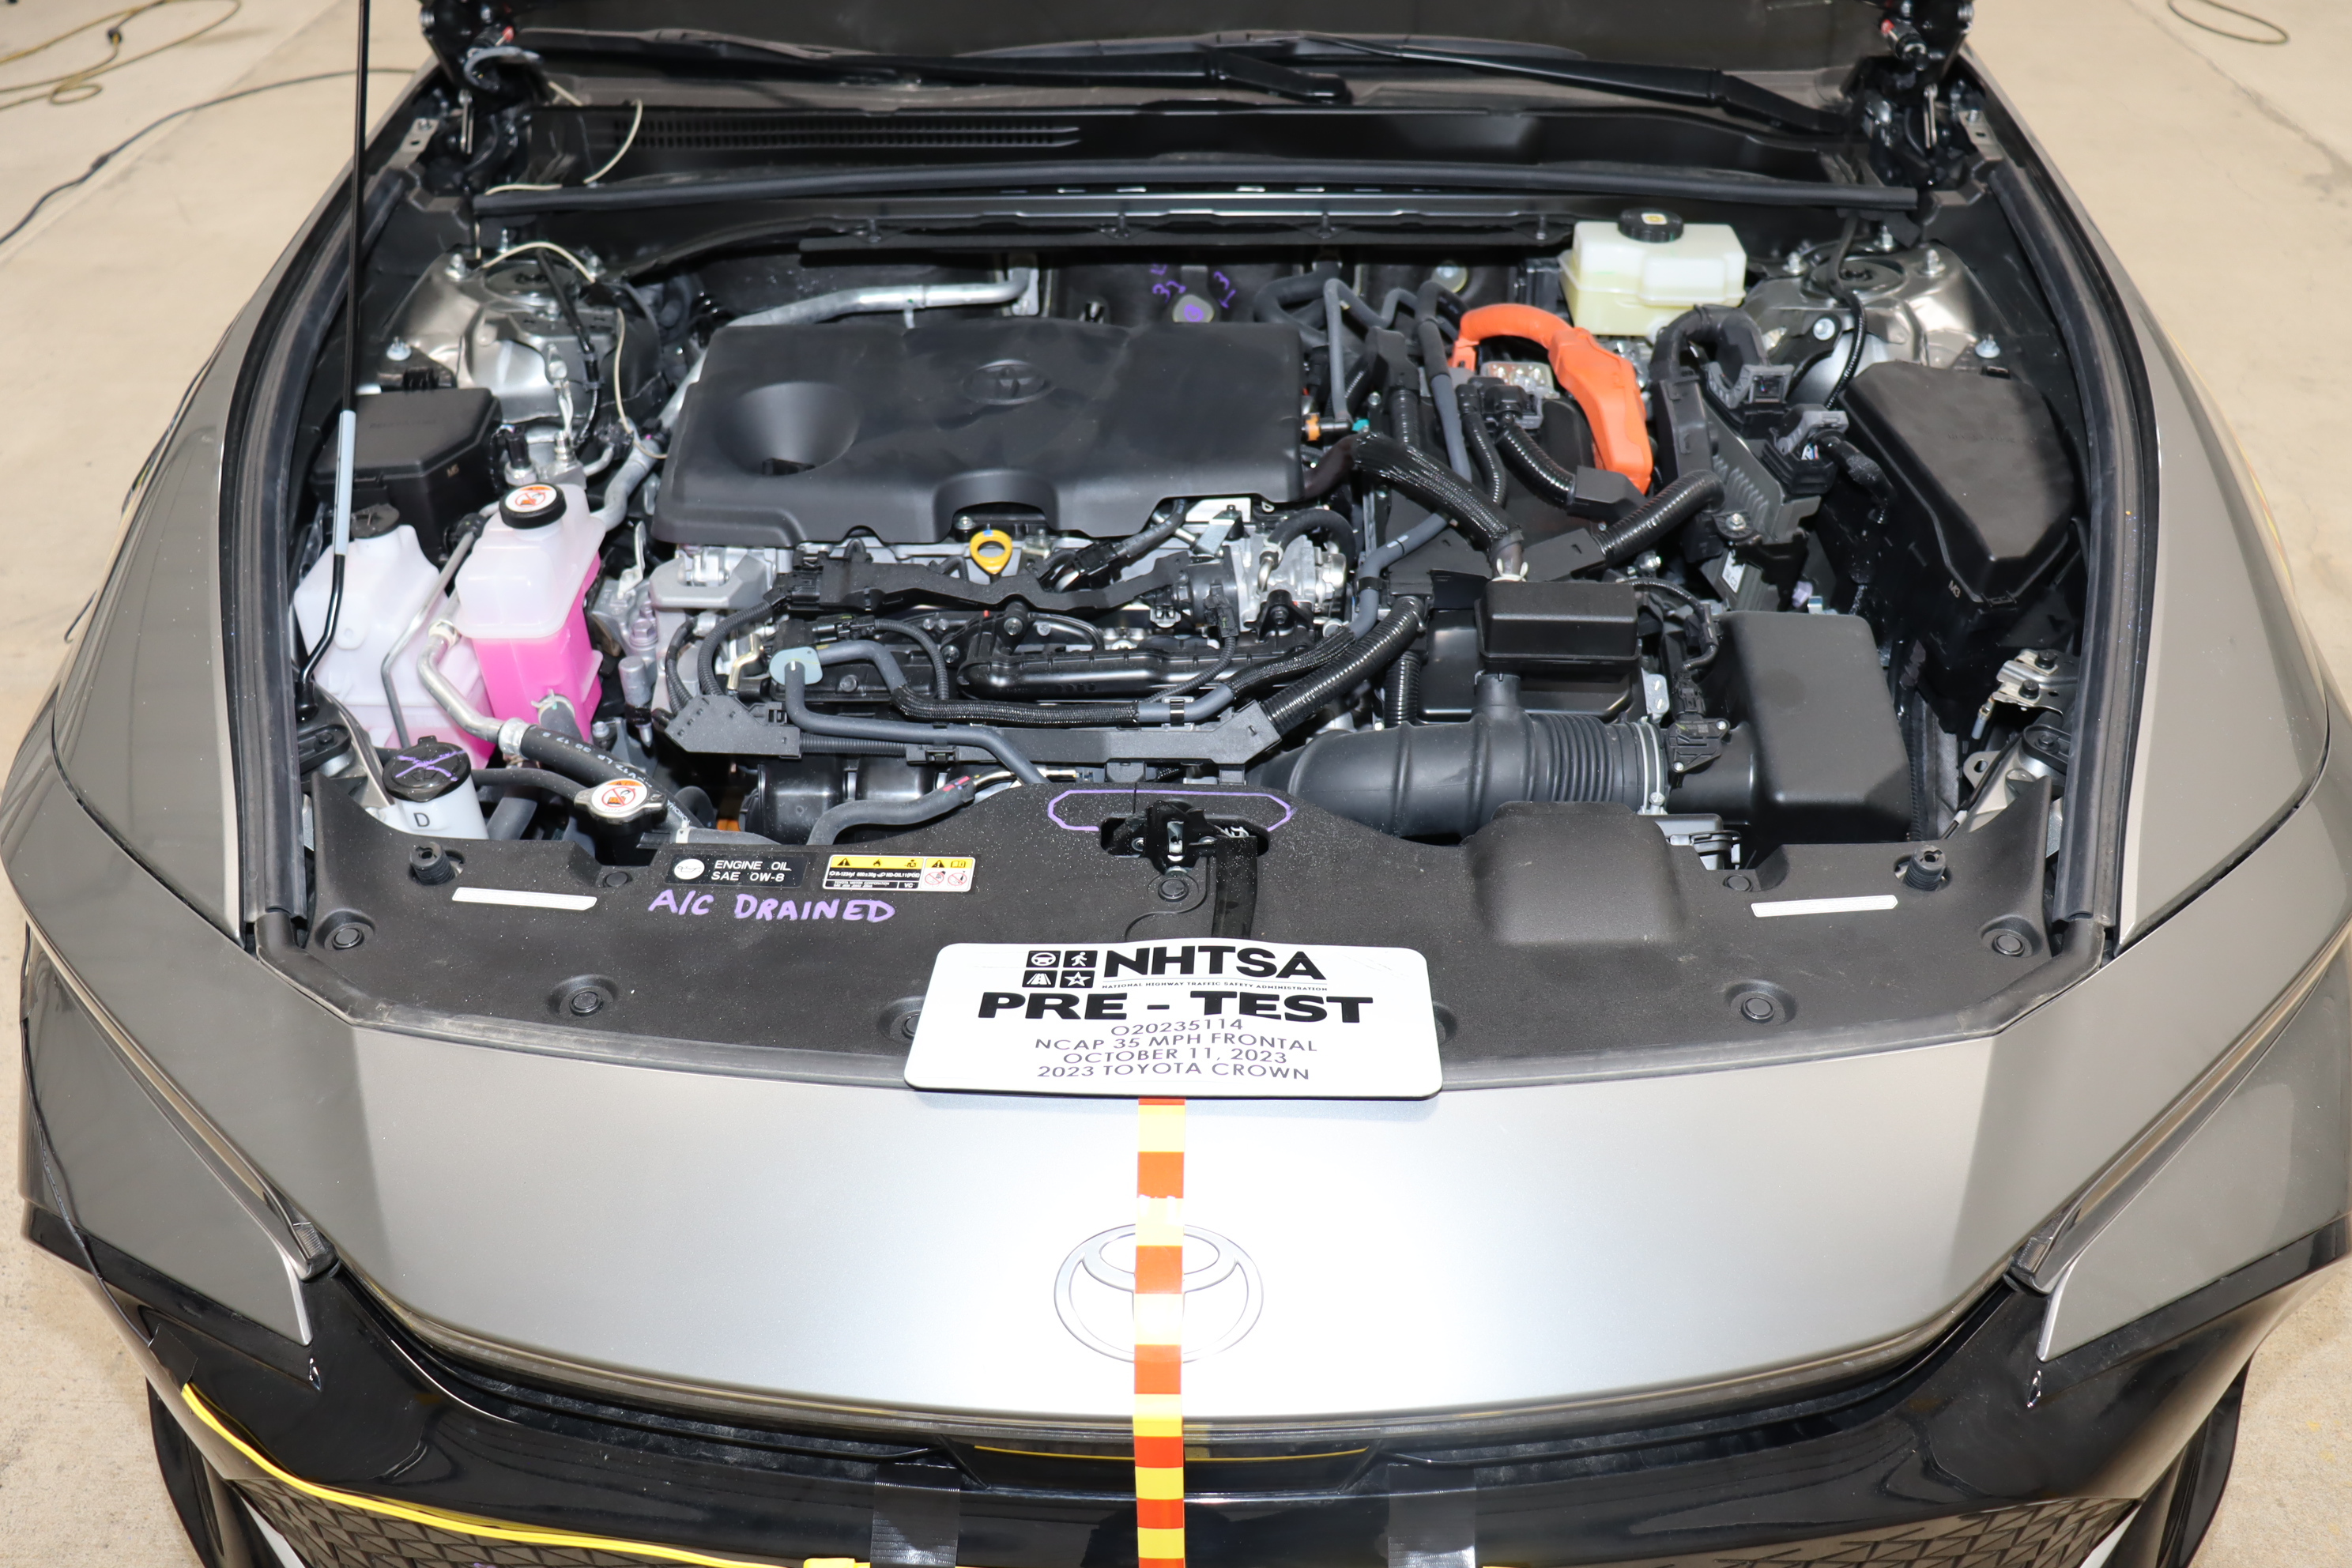
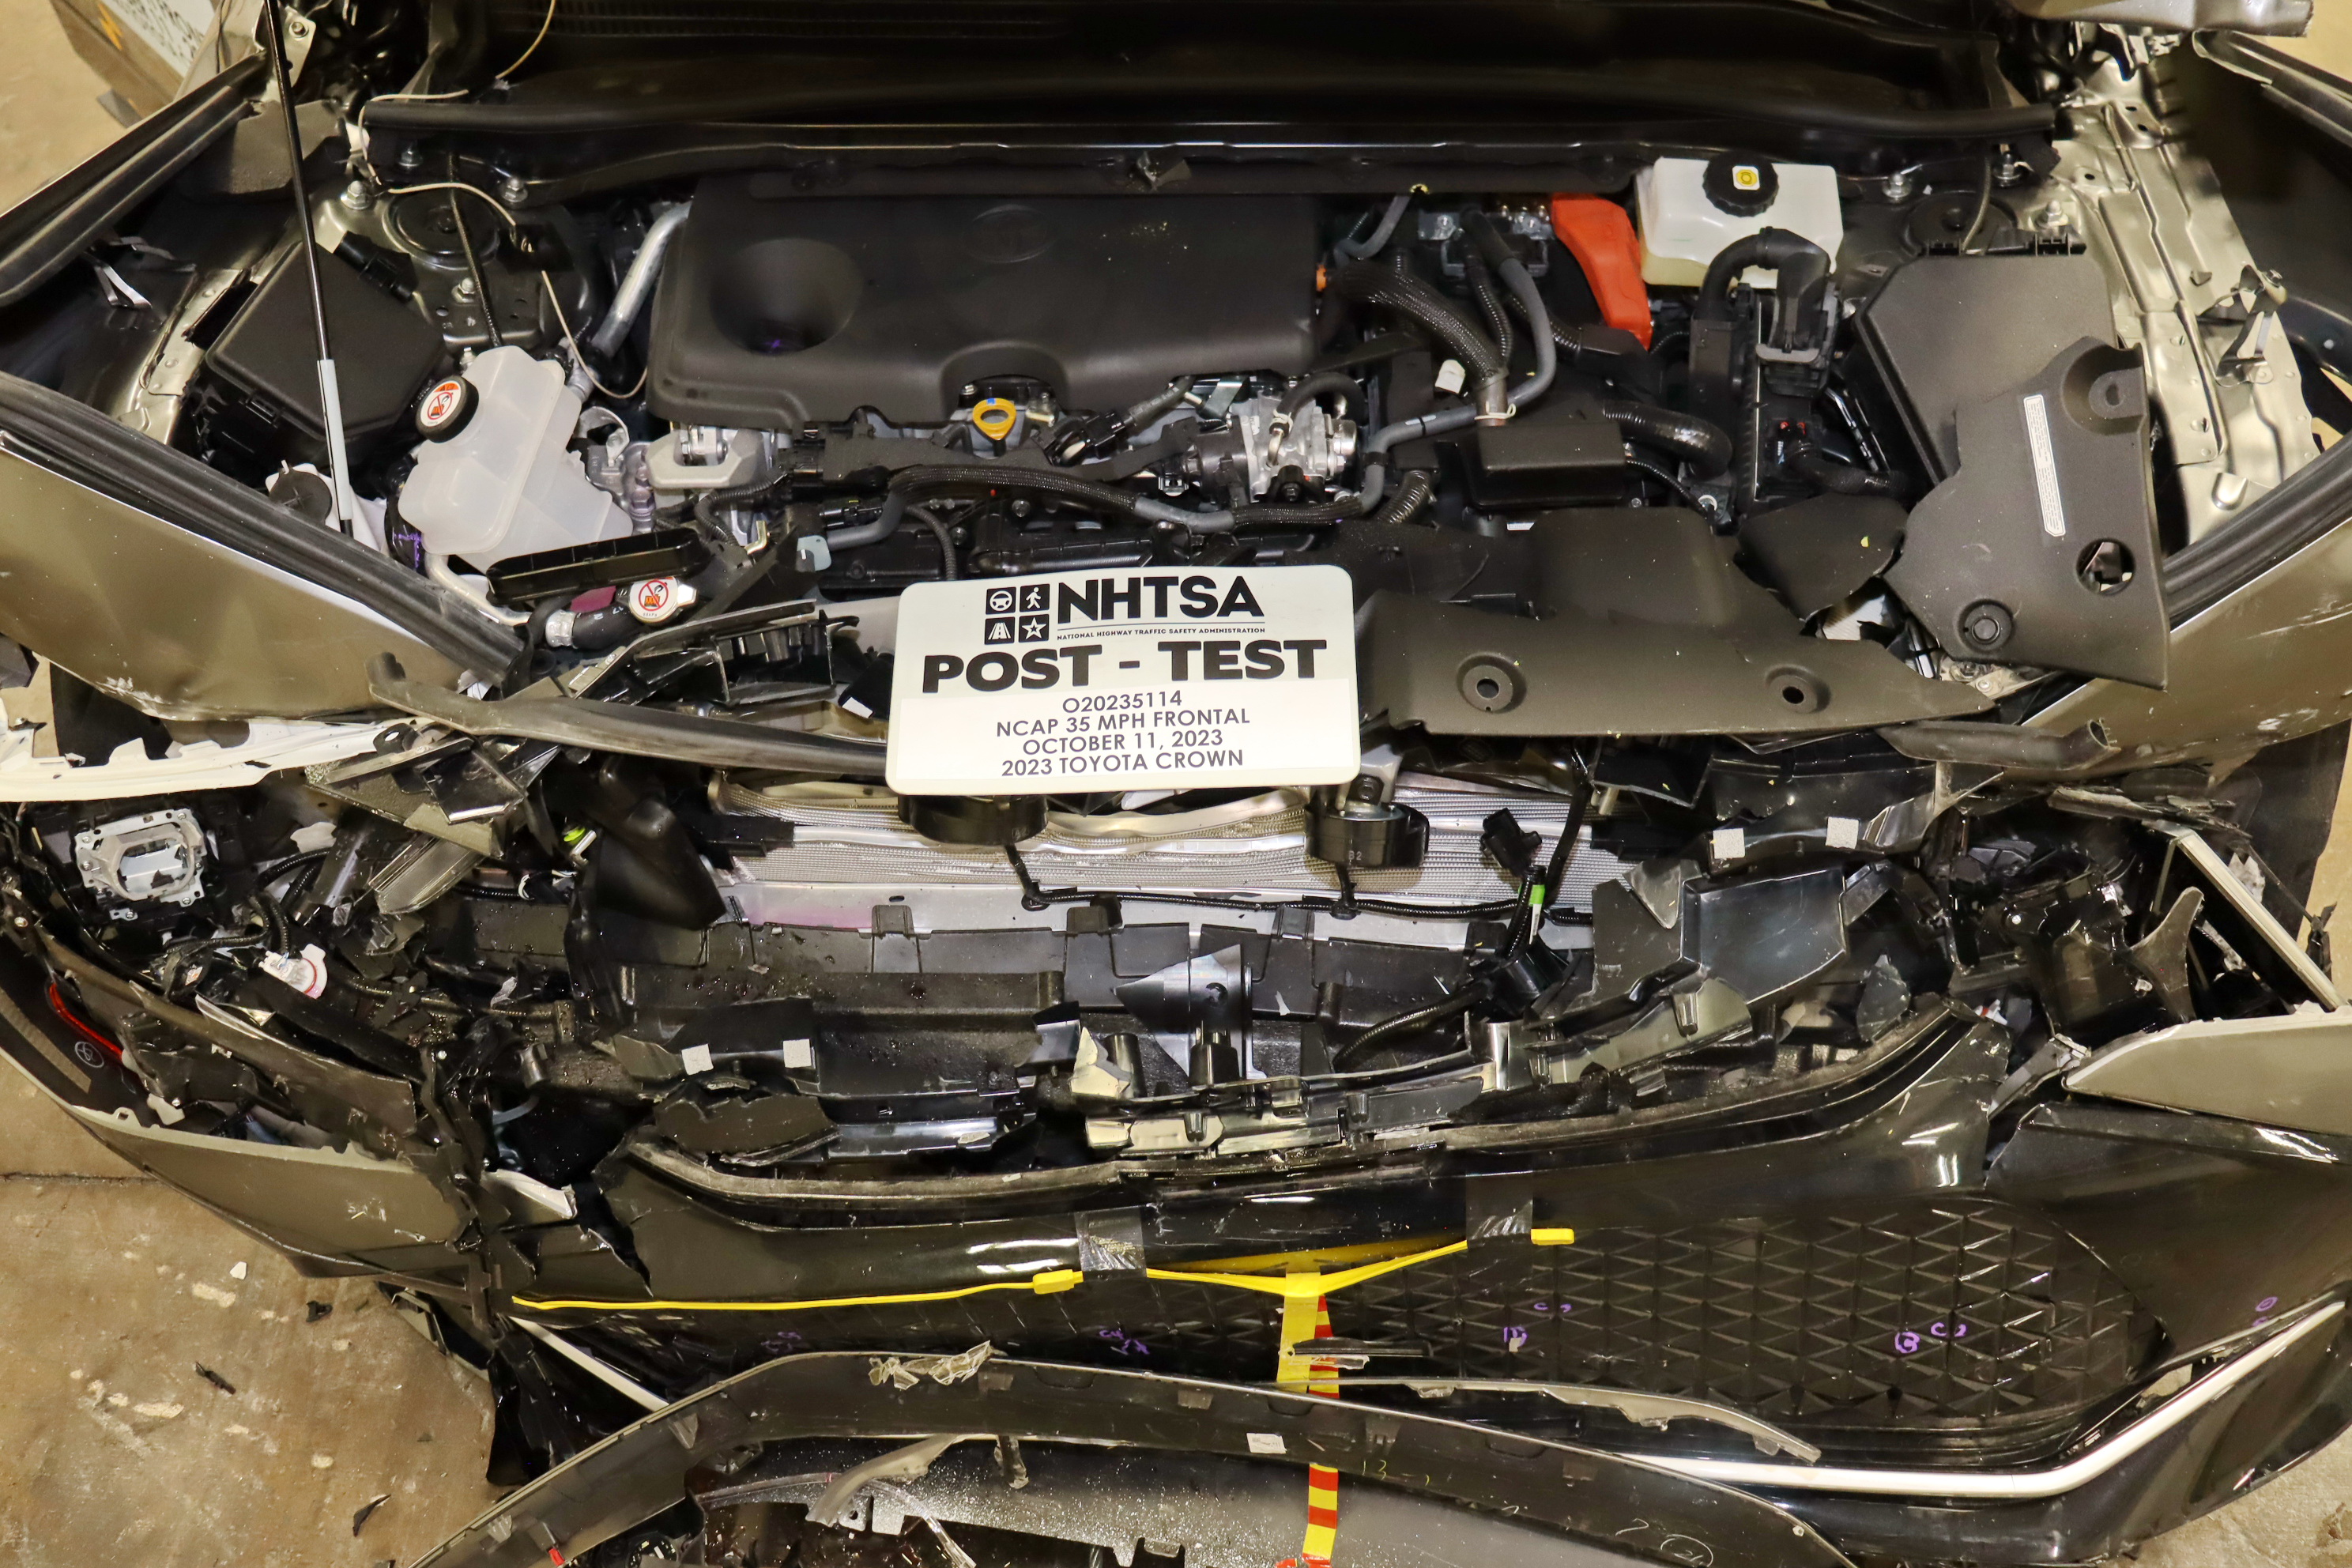
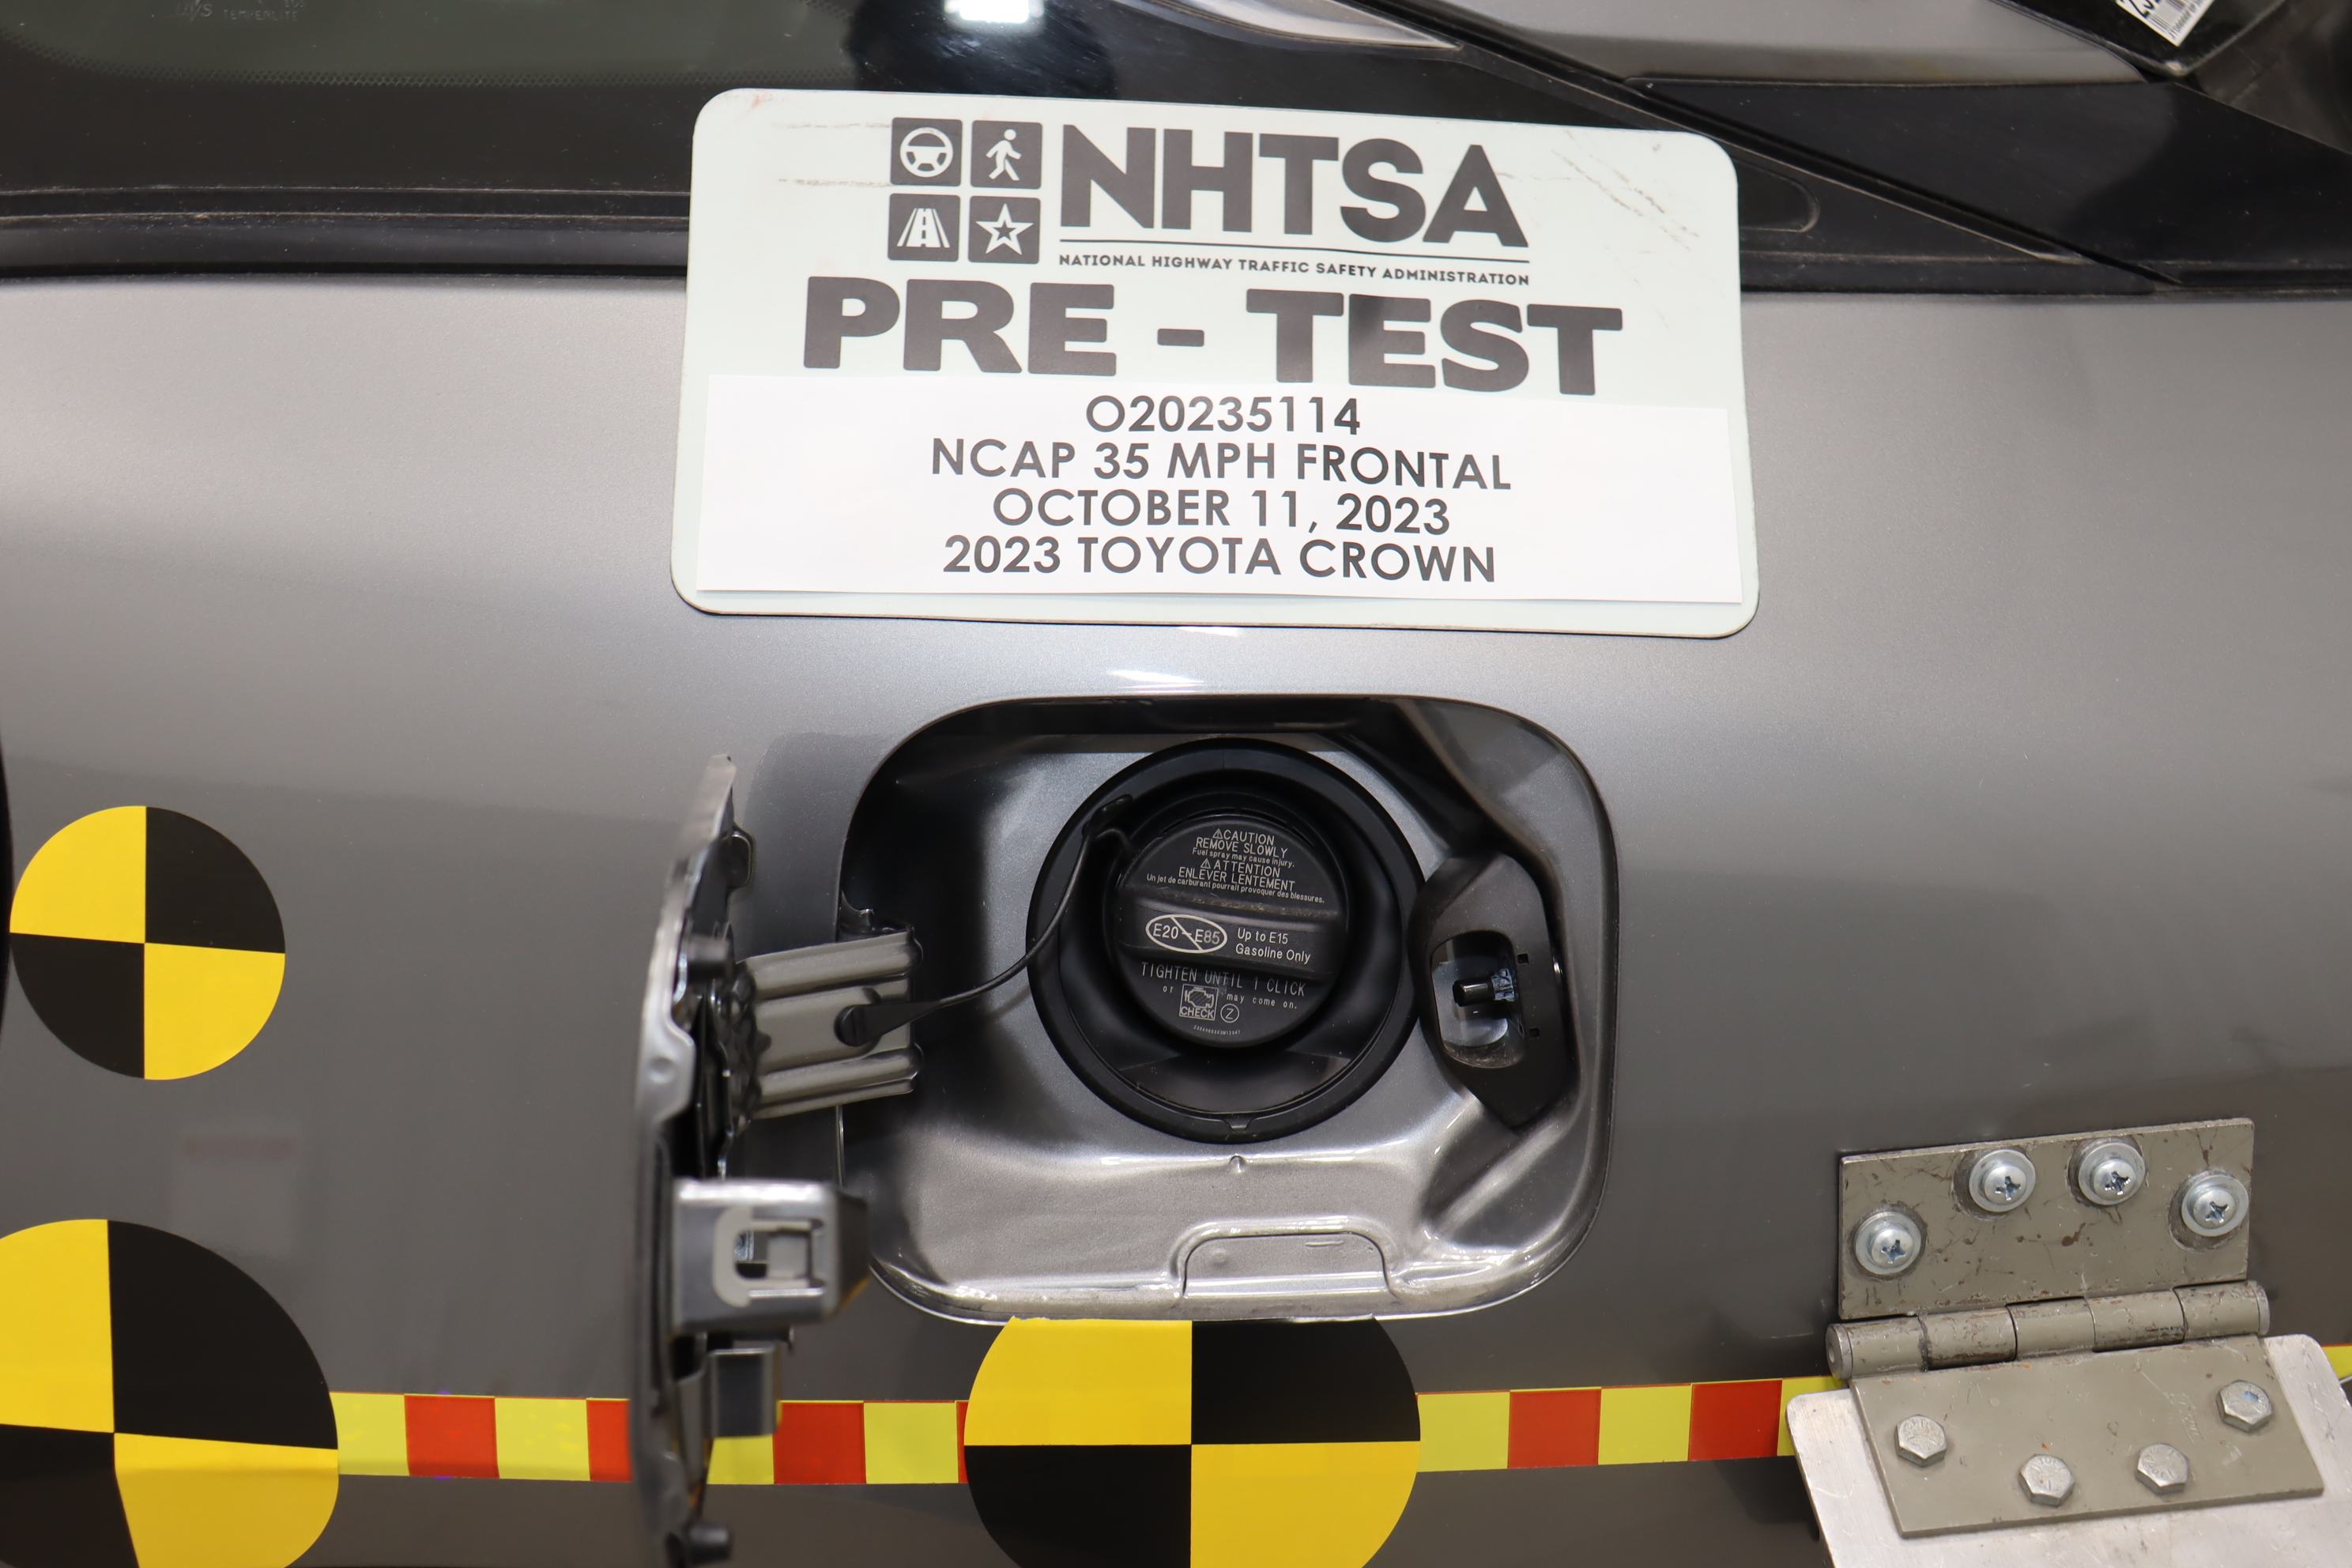
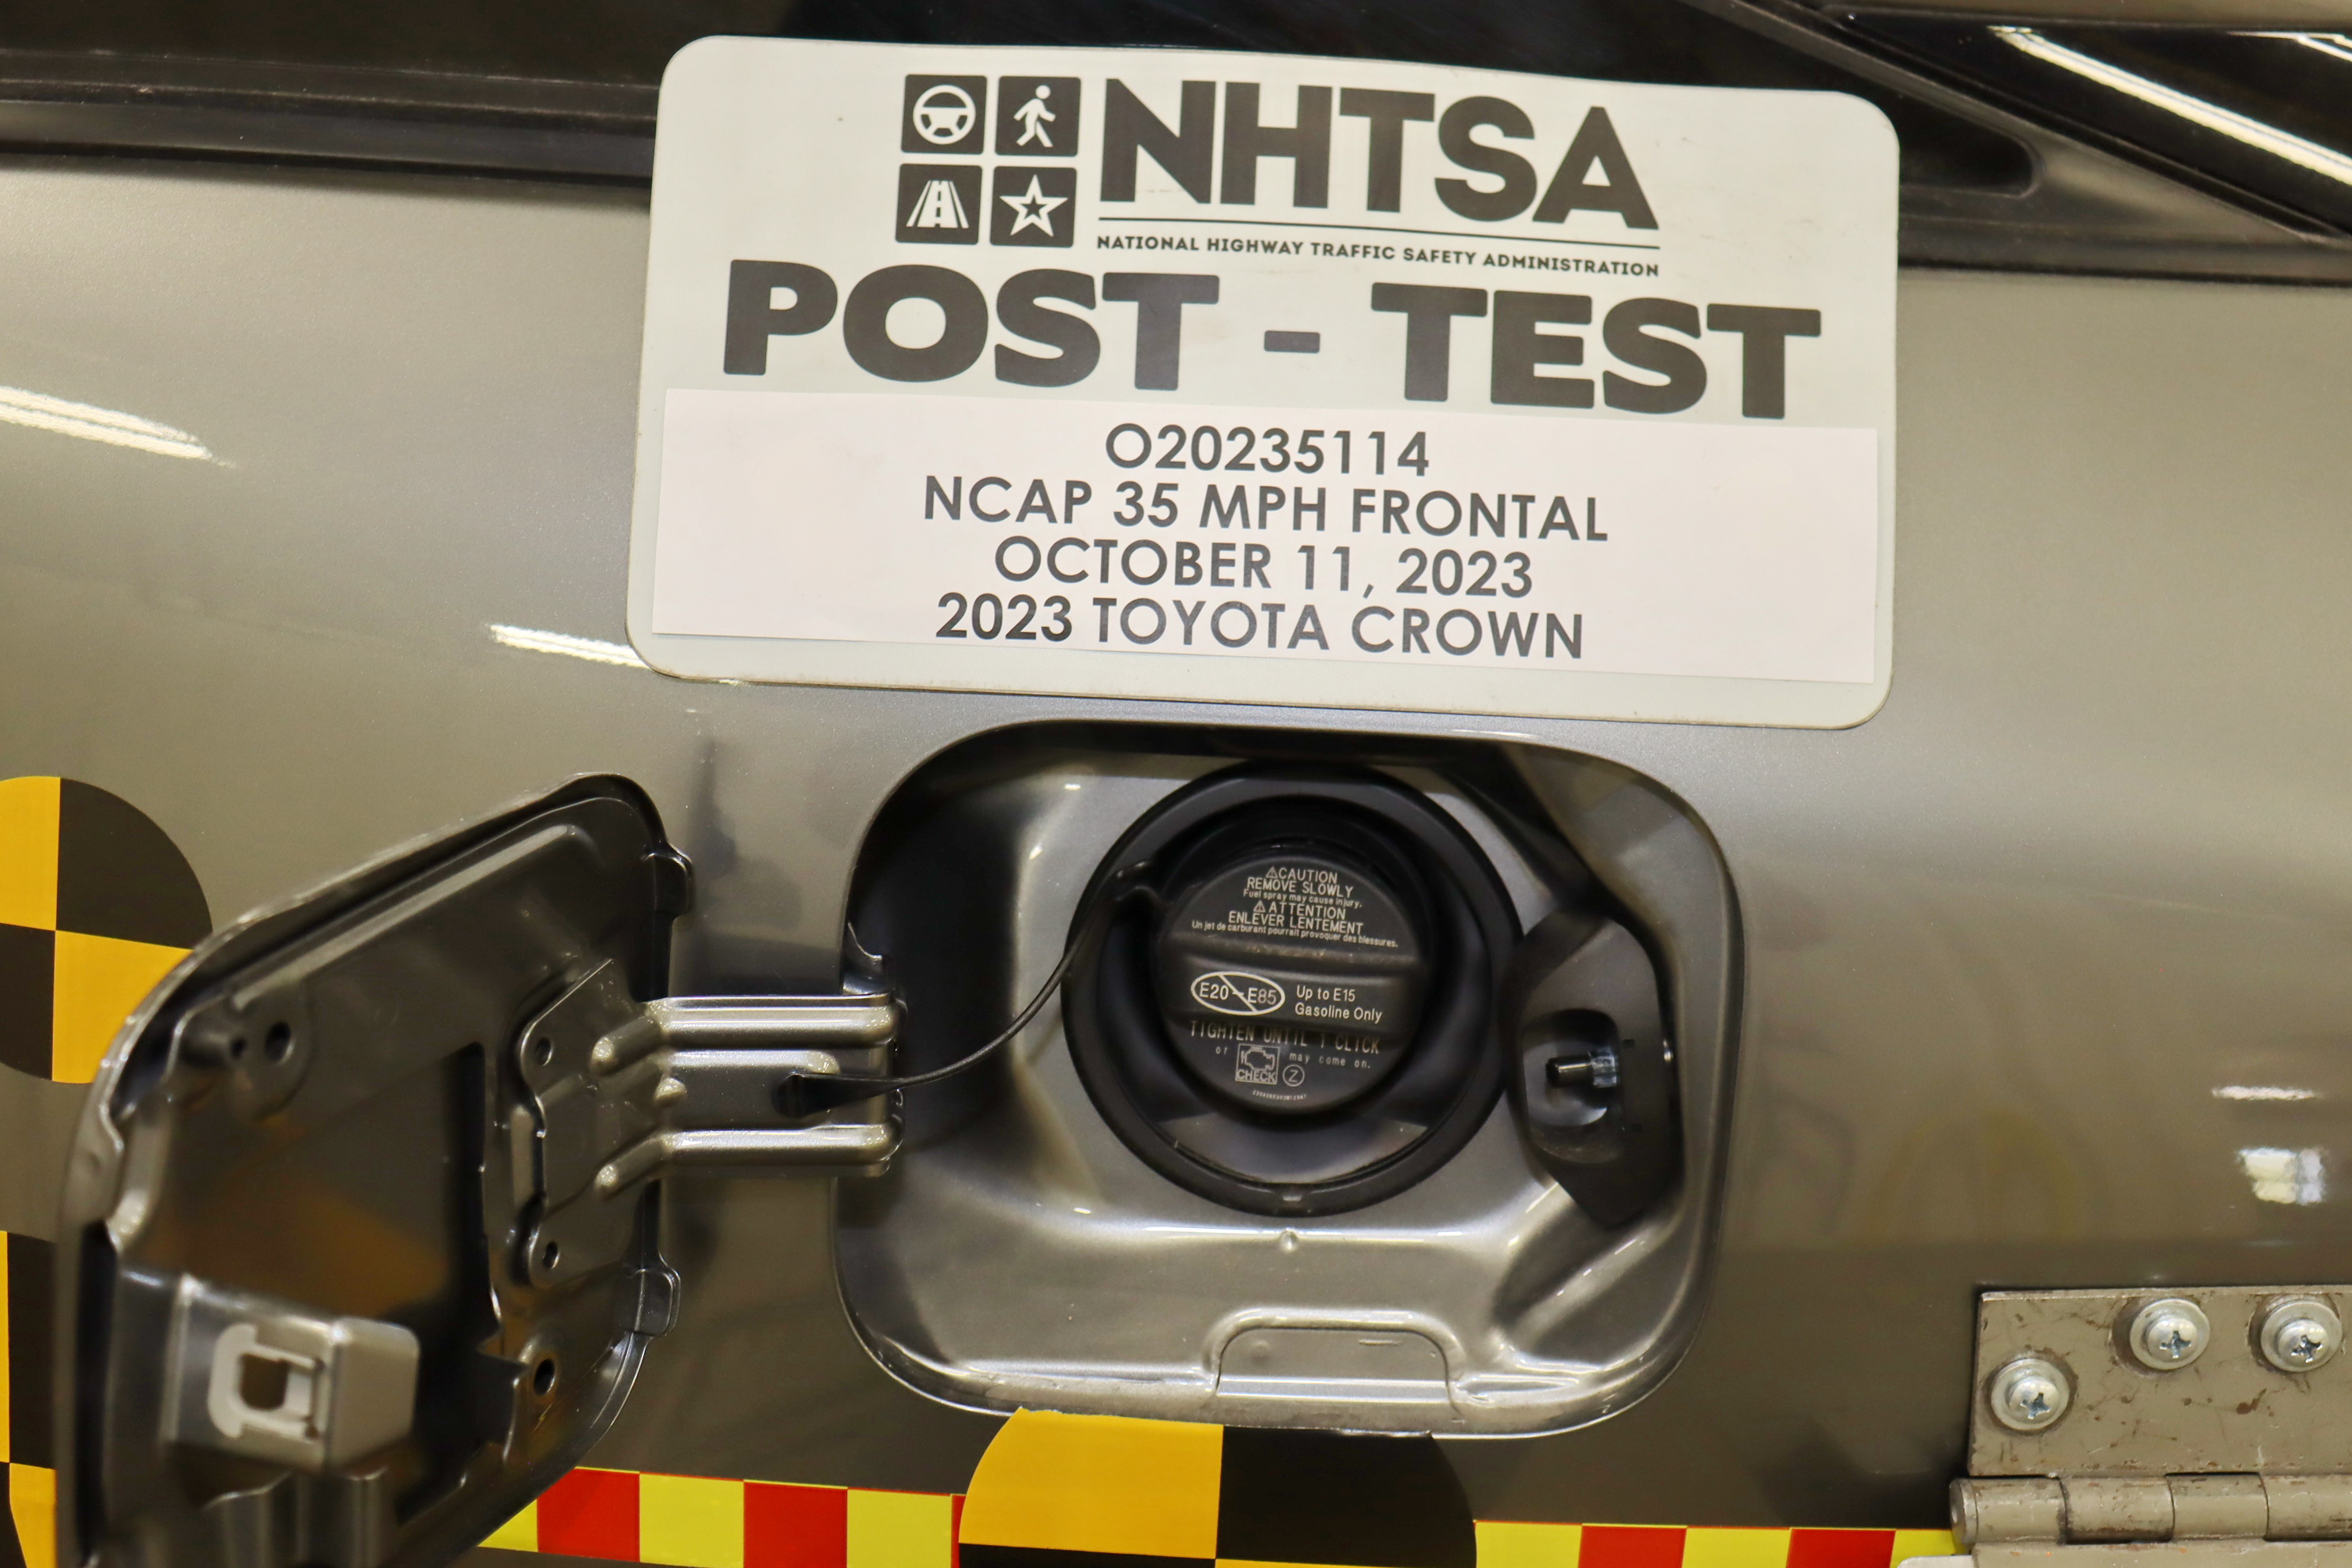
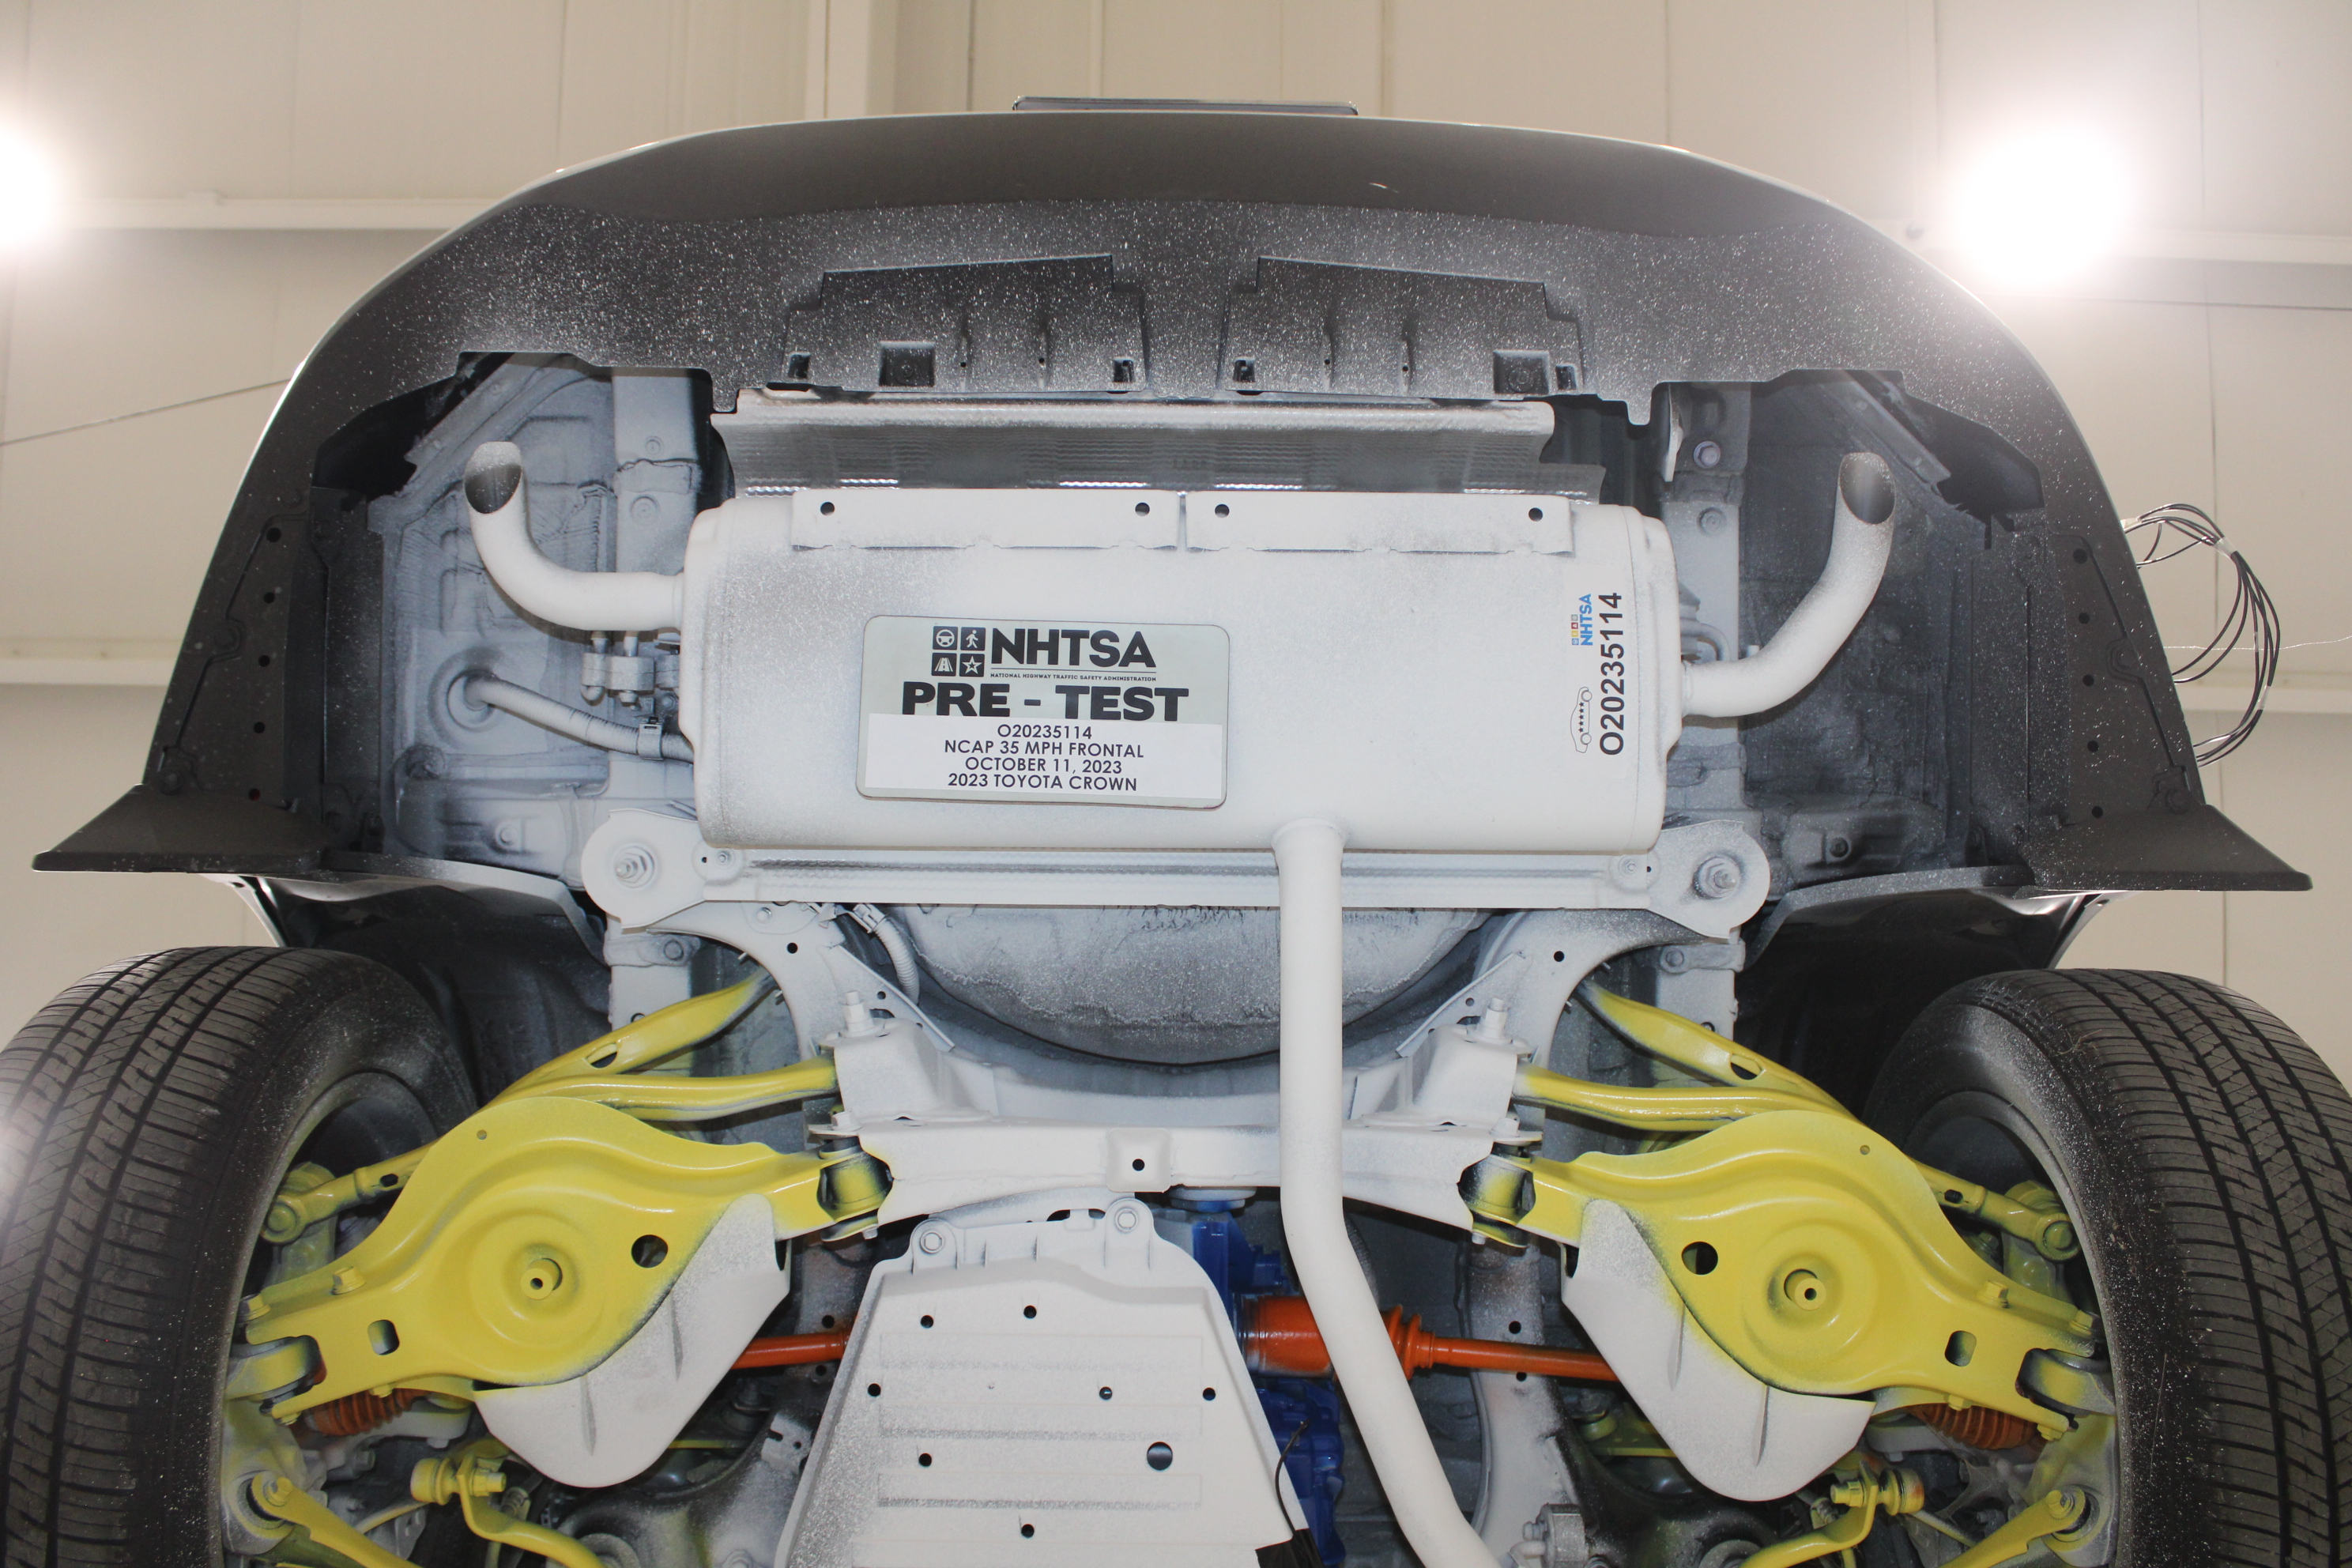
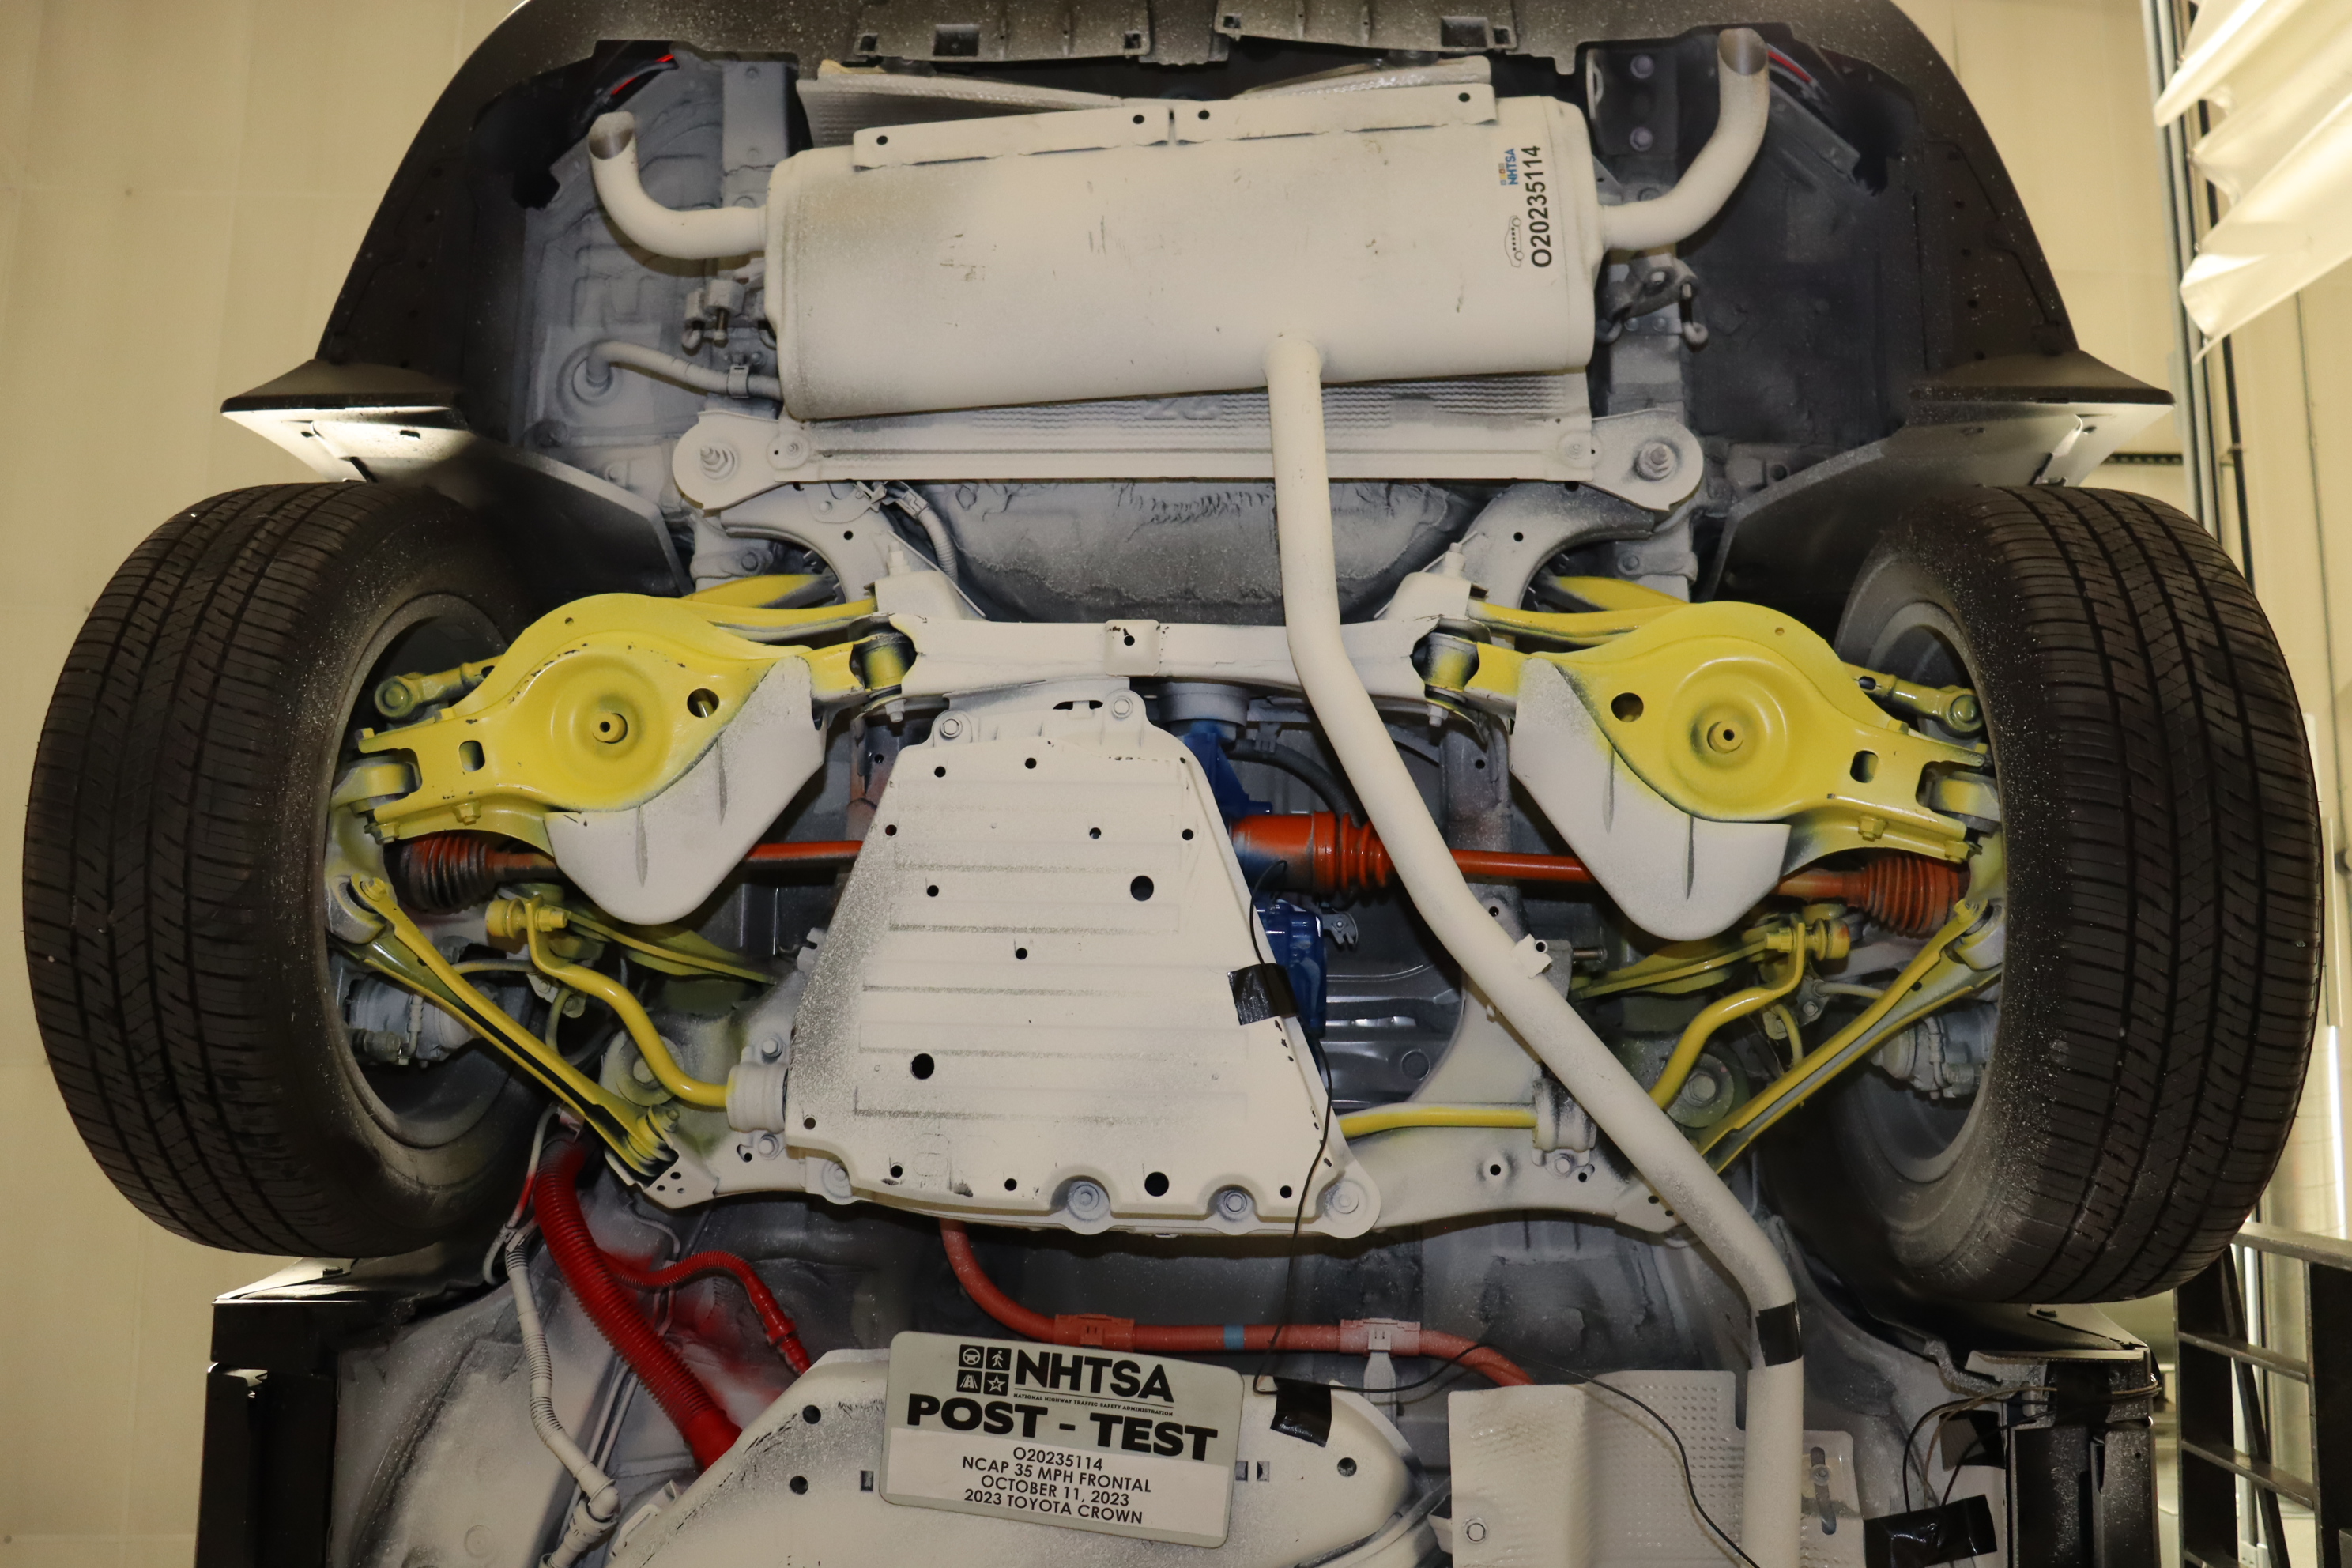
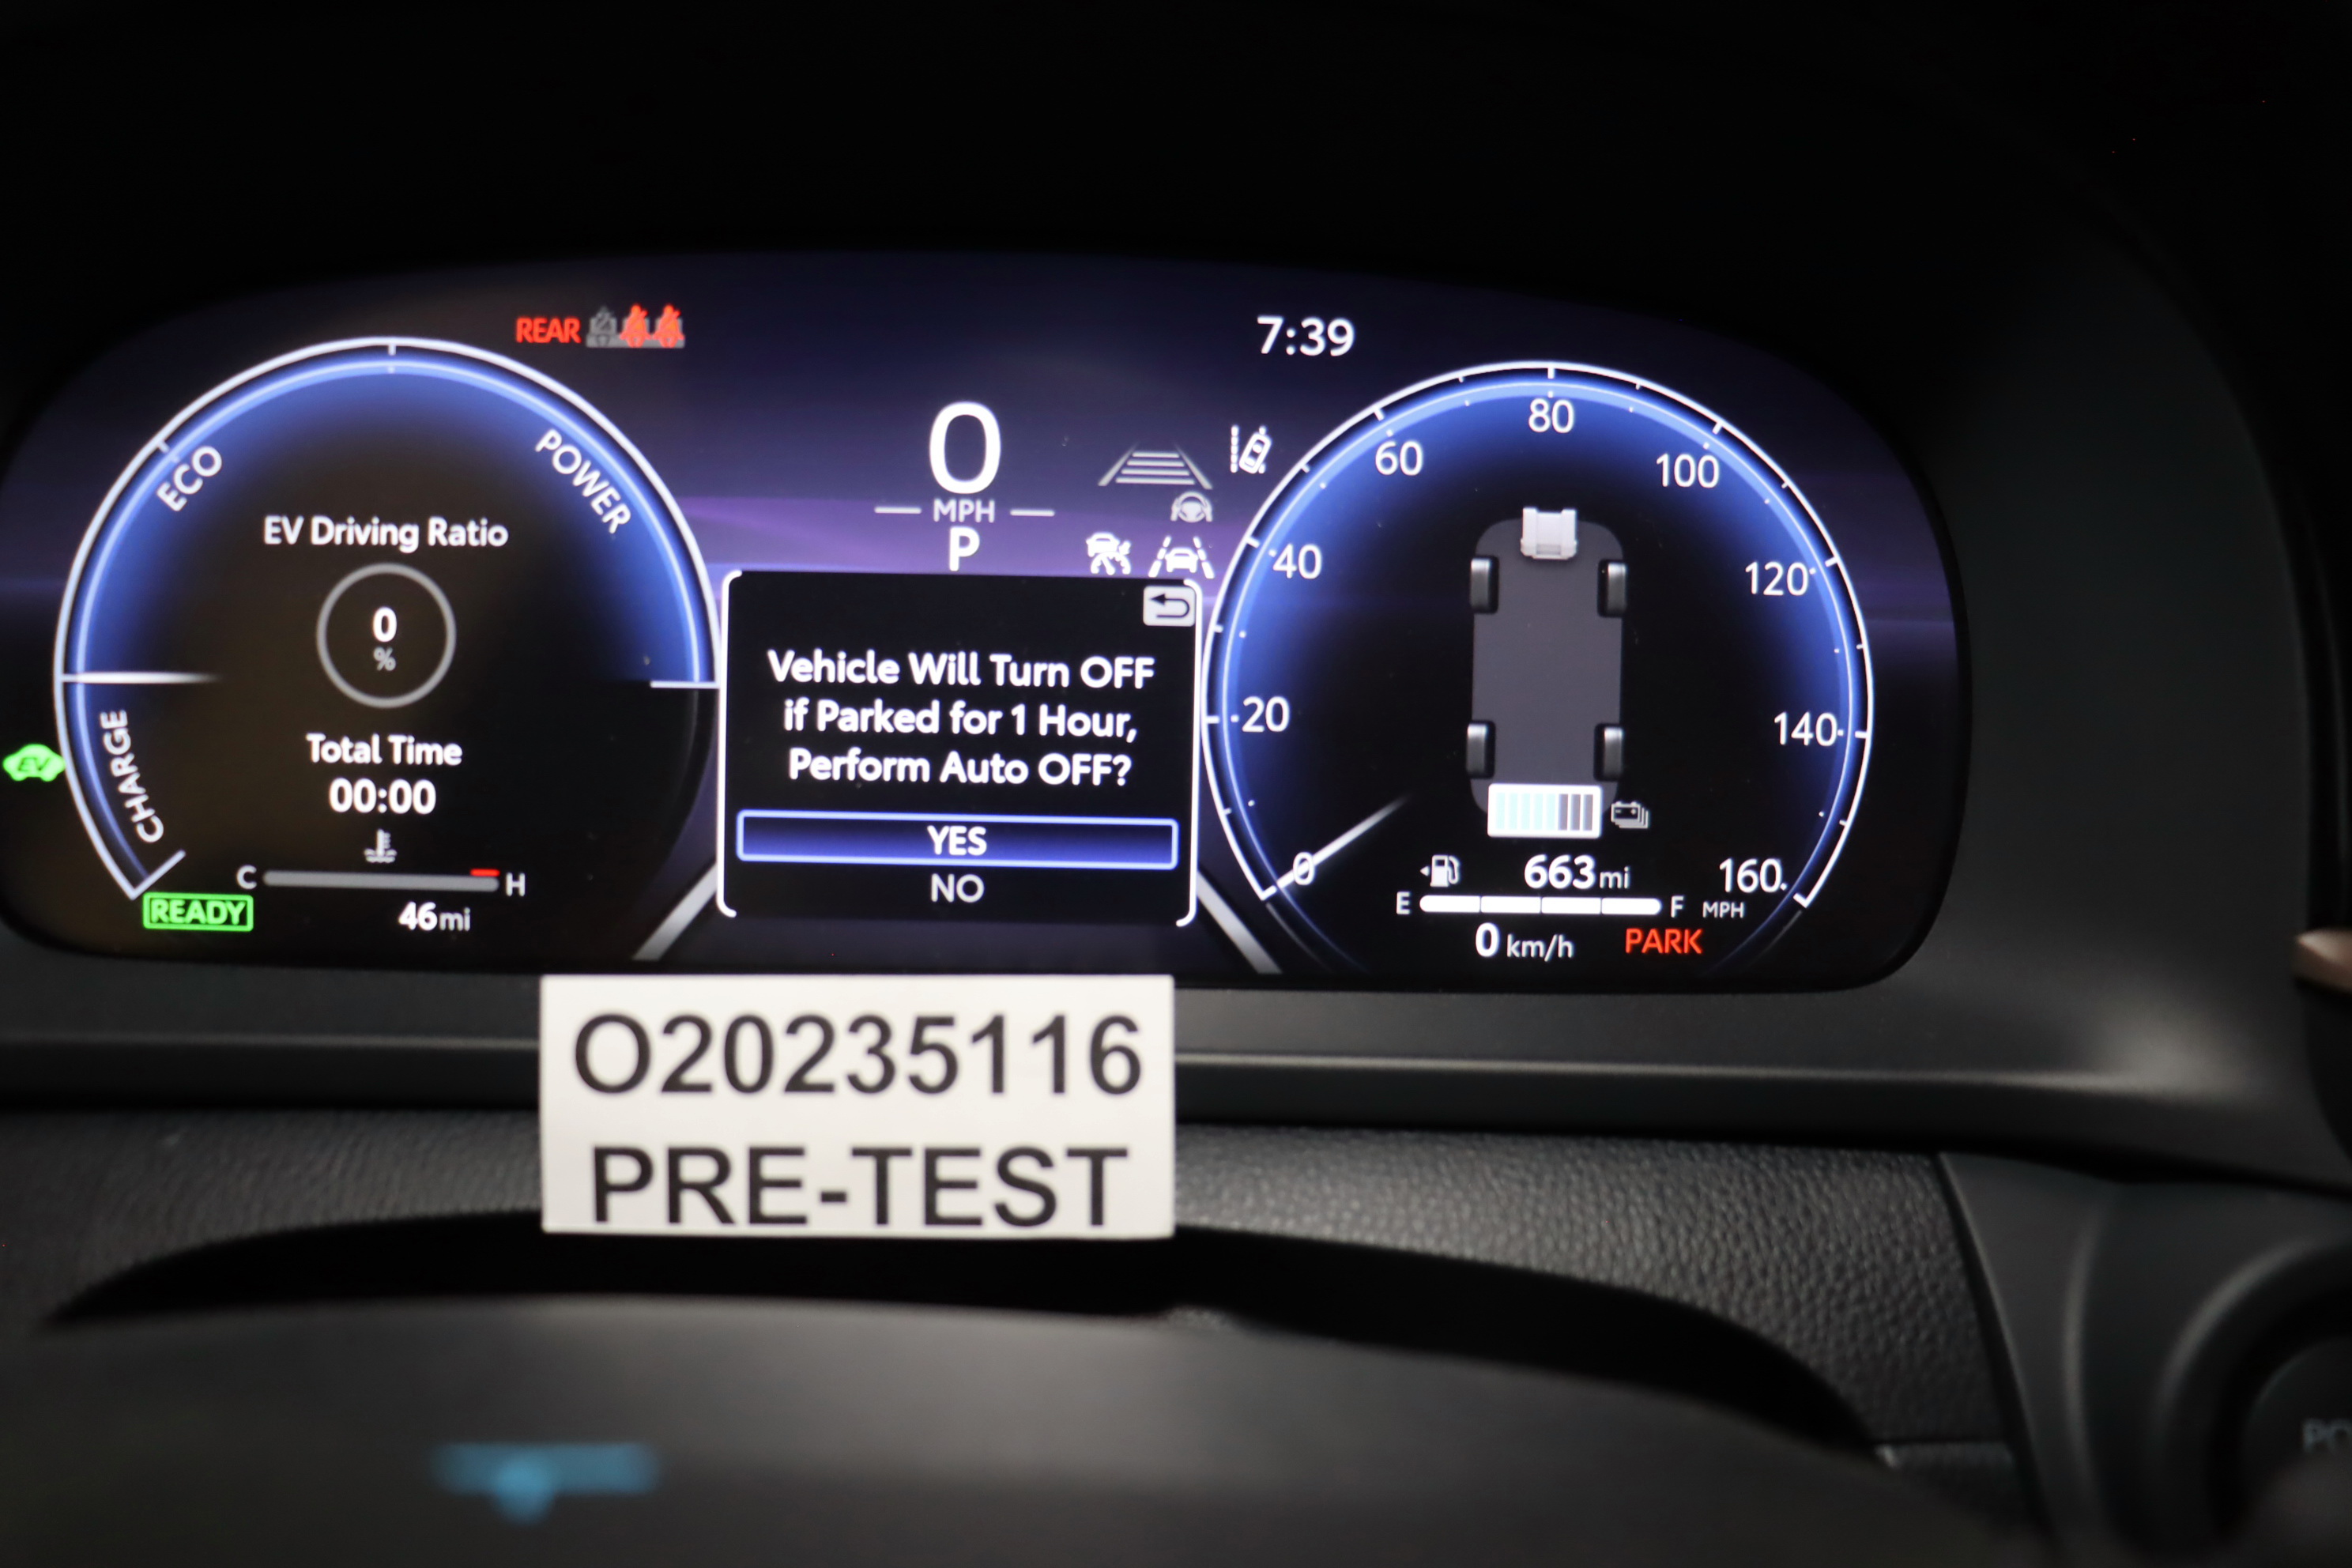
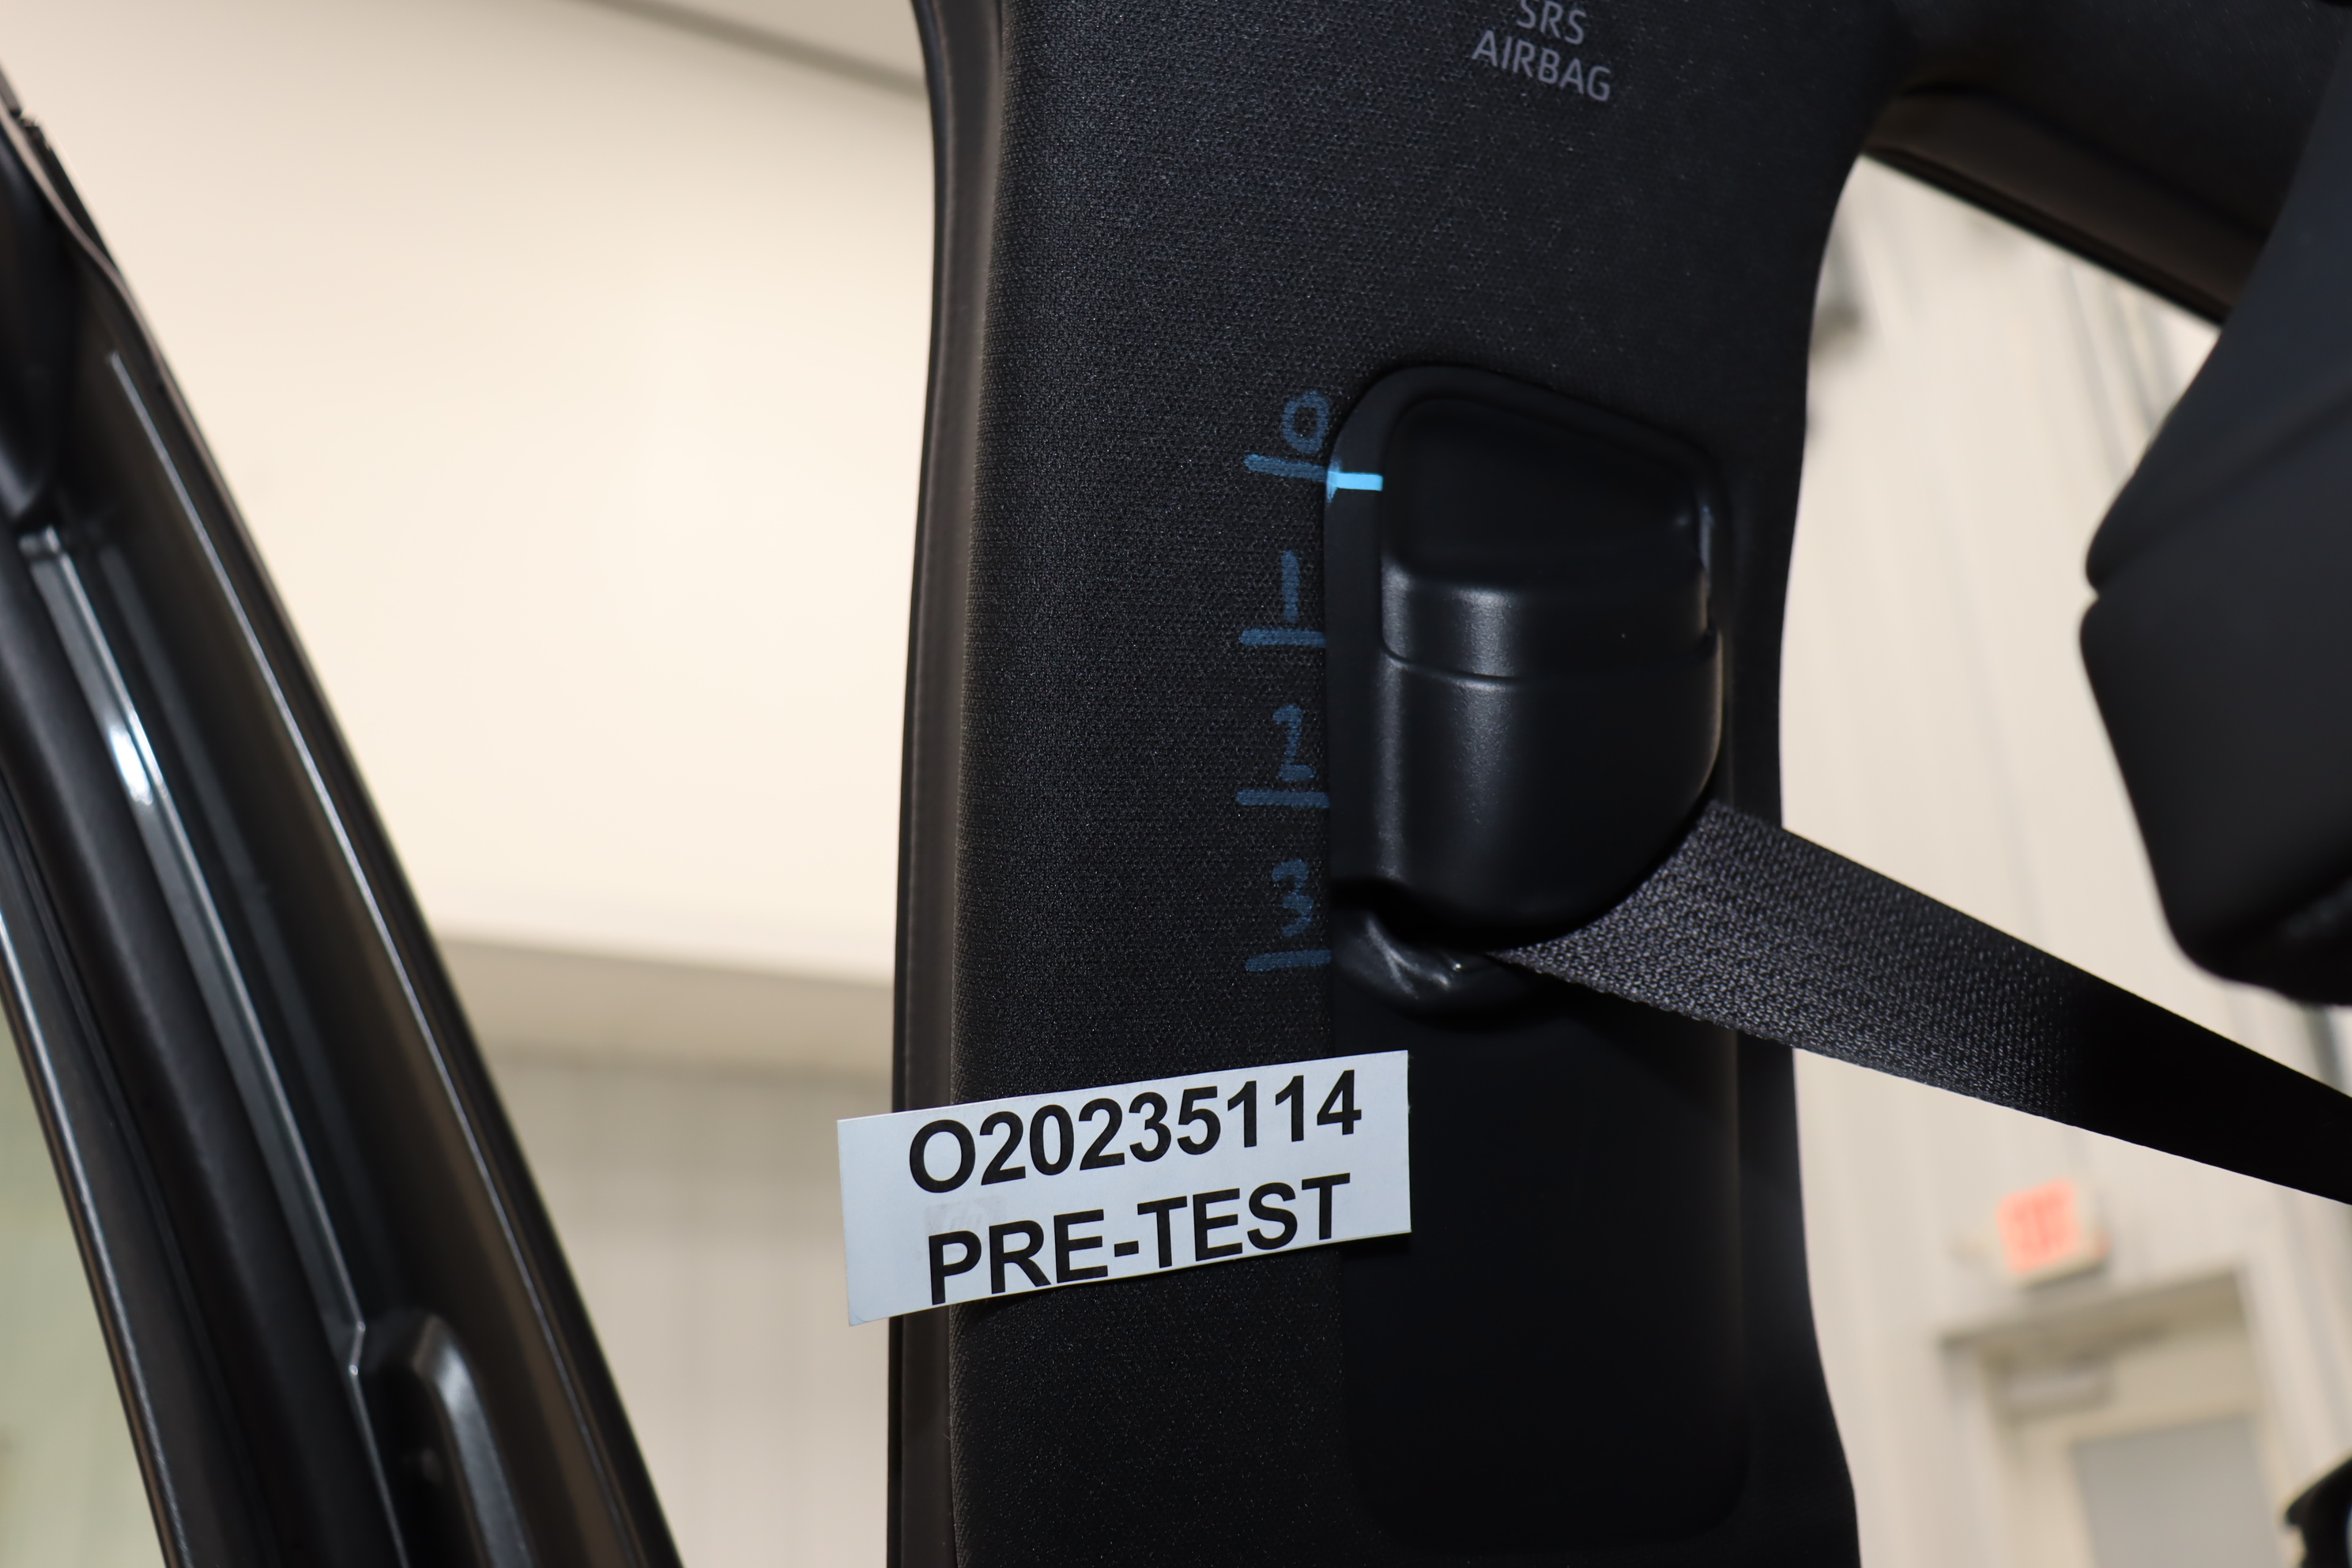
Photo No. 001 - Load Cell Location.JPGPhoto No. 002 - Pre-Test Load Cell Wall.JPGPhoto No. 003 - Post-Test Load Cell Wall.JPGPhoto No. 004 - Manufacturer's Label.JPGPhoto No. 005 - Tire Placard.JPGPhoto No. 005a - Vehicle Load Carrying Capacity Reduction Label.JPGPhoto No. 006 - 2023 Toyota Crown XLE 4-Door Sedan Frontal As Delivered.jpgPhoto No. 007 - Left Rear 3-4 View, As Received.jpgPhoto No. 008 - Pre-Test Front View of Test Vehicle.JPGPhoto No. 009 - Post-Test Front View of Test Vehicle.JPGPhoto No. 010 - Pre-Test Left View of Test Vehicle.JPGPhoto No. 011 - Post-Test Left View of Test Vehicle.JPGPhoto No. 012 - Pre-Test Right View of Test Vehicle.JPGPhoto No. 013 - Post-Test Right View of Test Vehicle.JPGPhoto No. 014 - Pre-Test Right Front 3-4 View.JPGPhoto No. 015 - Post-Test Right Front 3-4 View.JPGPhoto No. 016 - Pre-Test Left Rear 3-4 View.JPGPhoto No. 017 - Post-Test Left Rear 3-4 View.JPGPhoto No. 018 - Pre-Test Windshield View.JPGPhoto No. 019 - Post-Test Windshield View.JPGPhoto No. 020 - Pre-Test Engine Compartment View.JPGPhoto No. 021 - Post-Test Engine Compartment View.JPGPhoto No. 022 - Pre-Test Fuel Filler Cap View.JPGPhoto No. 023 - Post-Test Fuel Filler Cap View.JPGPhoto No. 024 - Pre-Test Front Underbody View.JPGPhoto No. 025 - Post-Test Front Underbody View.JPGPhoto No. 026 - Pre-Test Rear Underbody View.JPGPhoto No. 027 - Post-Test Rear Underbody View.JPGPhoto No. 028 - Pre-Test Dummy Cable Routing.JPGPhoto No. 029 - Post-Test Dummy Cable Routing.JPGPhoto No. 030 - Pre-Test Driver Dummy Front View .JPGPhoto No. 031 - Post-Test Driver Dummy Front View.JPGPhoto No. 032 - Pre-Test Driver Dummy Window View.JPGPhoto No. 033 - Post-Test Driver Dummy Window View.JPGPhoto No. 034 - Pre-Test Driver Dummy and Vehicle Interior View.JPGPhoto No. 035 - Post-Test Driver Dummy and Vehicle Interior View.JPGPhoto No. 036 - Pre-Test Driver's Seat Fore-Aft Markings .JPGPhoto No. 037 - Post-Test Driver's Seat Fore-Aft Markings.JPGPhoto No. 038 - Pre-Test View of Belt Anchorage for Driver Dummy.JPGPhoto No. 039 - Post-Test View of Belt Anchorage for Driver Dummy.jpgPhoto No. 063 - Pre-Test View of Belt Buckle and Latch Plate for Passenger Dummy.JPGPhoto No. 305-15 - Post-Impact View of Propulsion Battery Module(s).jpgPhoto No. 305-22 - Pre-Impact View of High Voltage Leads Attached.JPGPhoto No. 305-23 - Pre-Impact Close-Up View of High Voltage Leads Attached.JPG

Recalls (1)

  • BACK OVER PREVENTION:DISPLAY FUNCTIONCampaign 25V744000 · 30/10/2025

    Toyota Motor Engineering & Manufacturing (Toyota) is recalling certain 2022-2026 Toyota, Lexus, and Subaru Solterra vehicles equipped with a Panoramic View Monitor (PVM) system. Please see the recall report for a complete list of models. A software error may cause the rearview camera to freeze or display a blank screen when the vehicle is in reverse. As such, these vehicles fail to comply with the requirements of Federal Motor Vehicle Safety Standard (FMVSS) number 111, "Rear Visibility."
    Risk: A rearview camera that fails to display an image can reduce the driver's view behind the vehicle, increasing the risk of a crash.
    Fix: Dealers will update the parking assist software, free of charge. Owner letters were mailed January 2, 2026. Owners may contact Toyota's customer service at 1-800-331-4331. Toyota's numbers for this recall are 25TB13 and 25LB06. Subaru's number for this recall is WRE25.
Owner complaints

No owner complaints on record for this vehicle.