crashtest

2017 / Mitsubishi

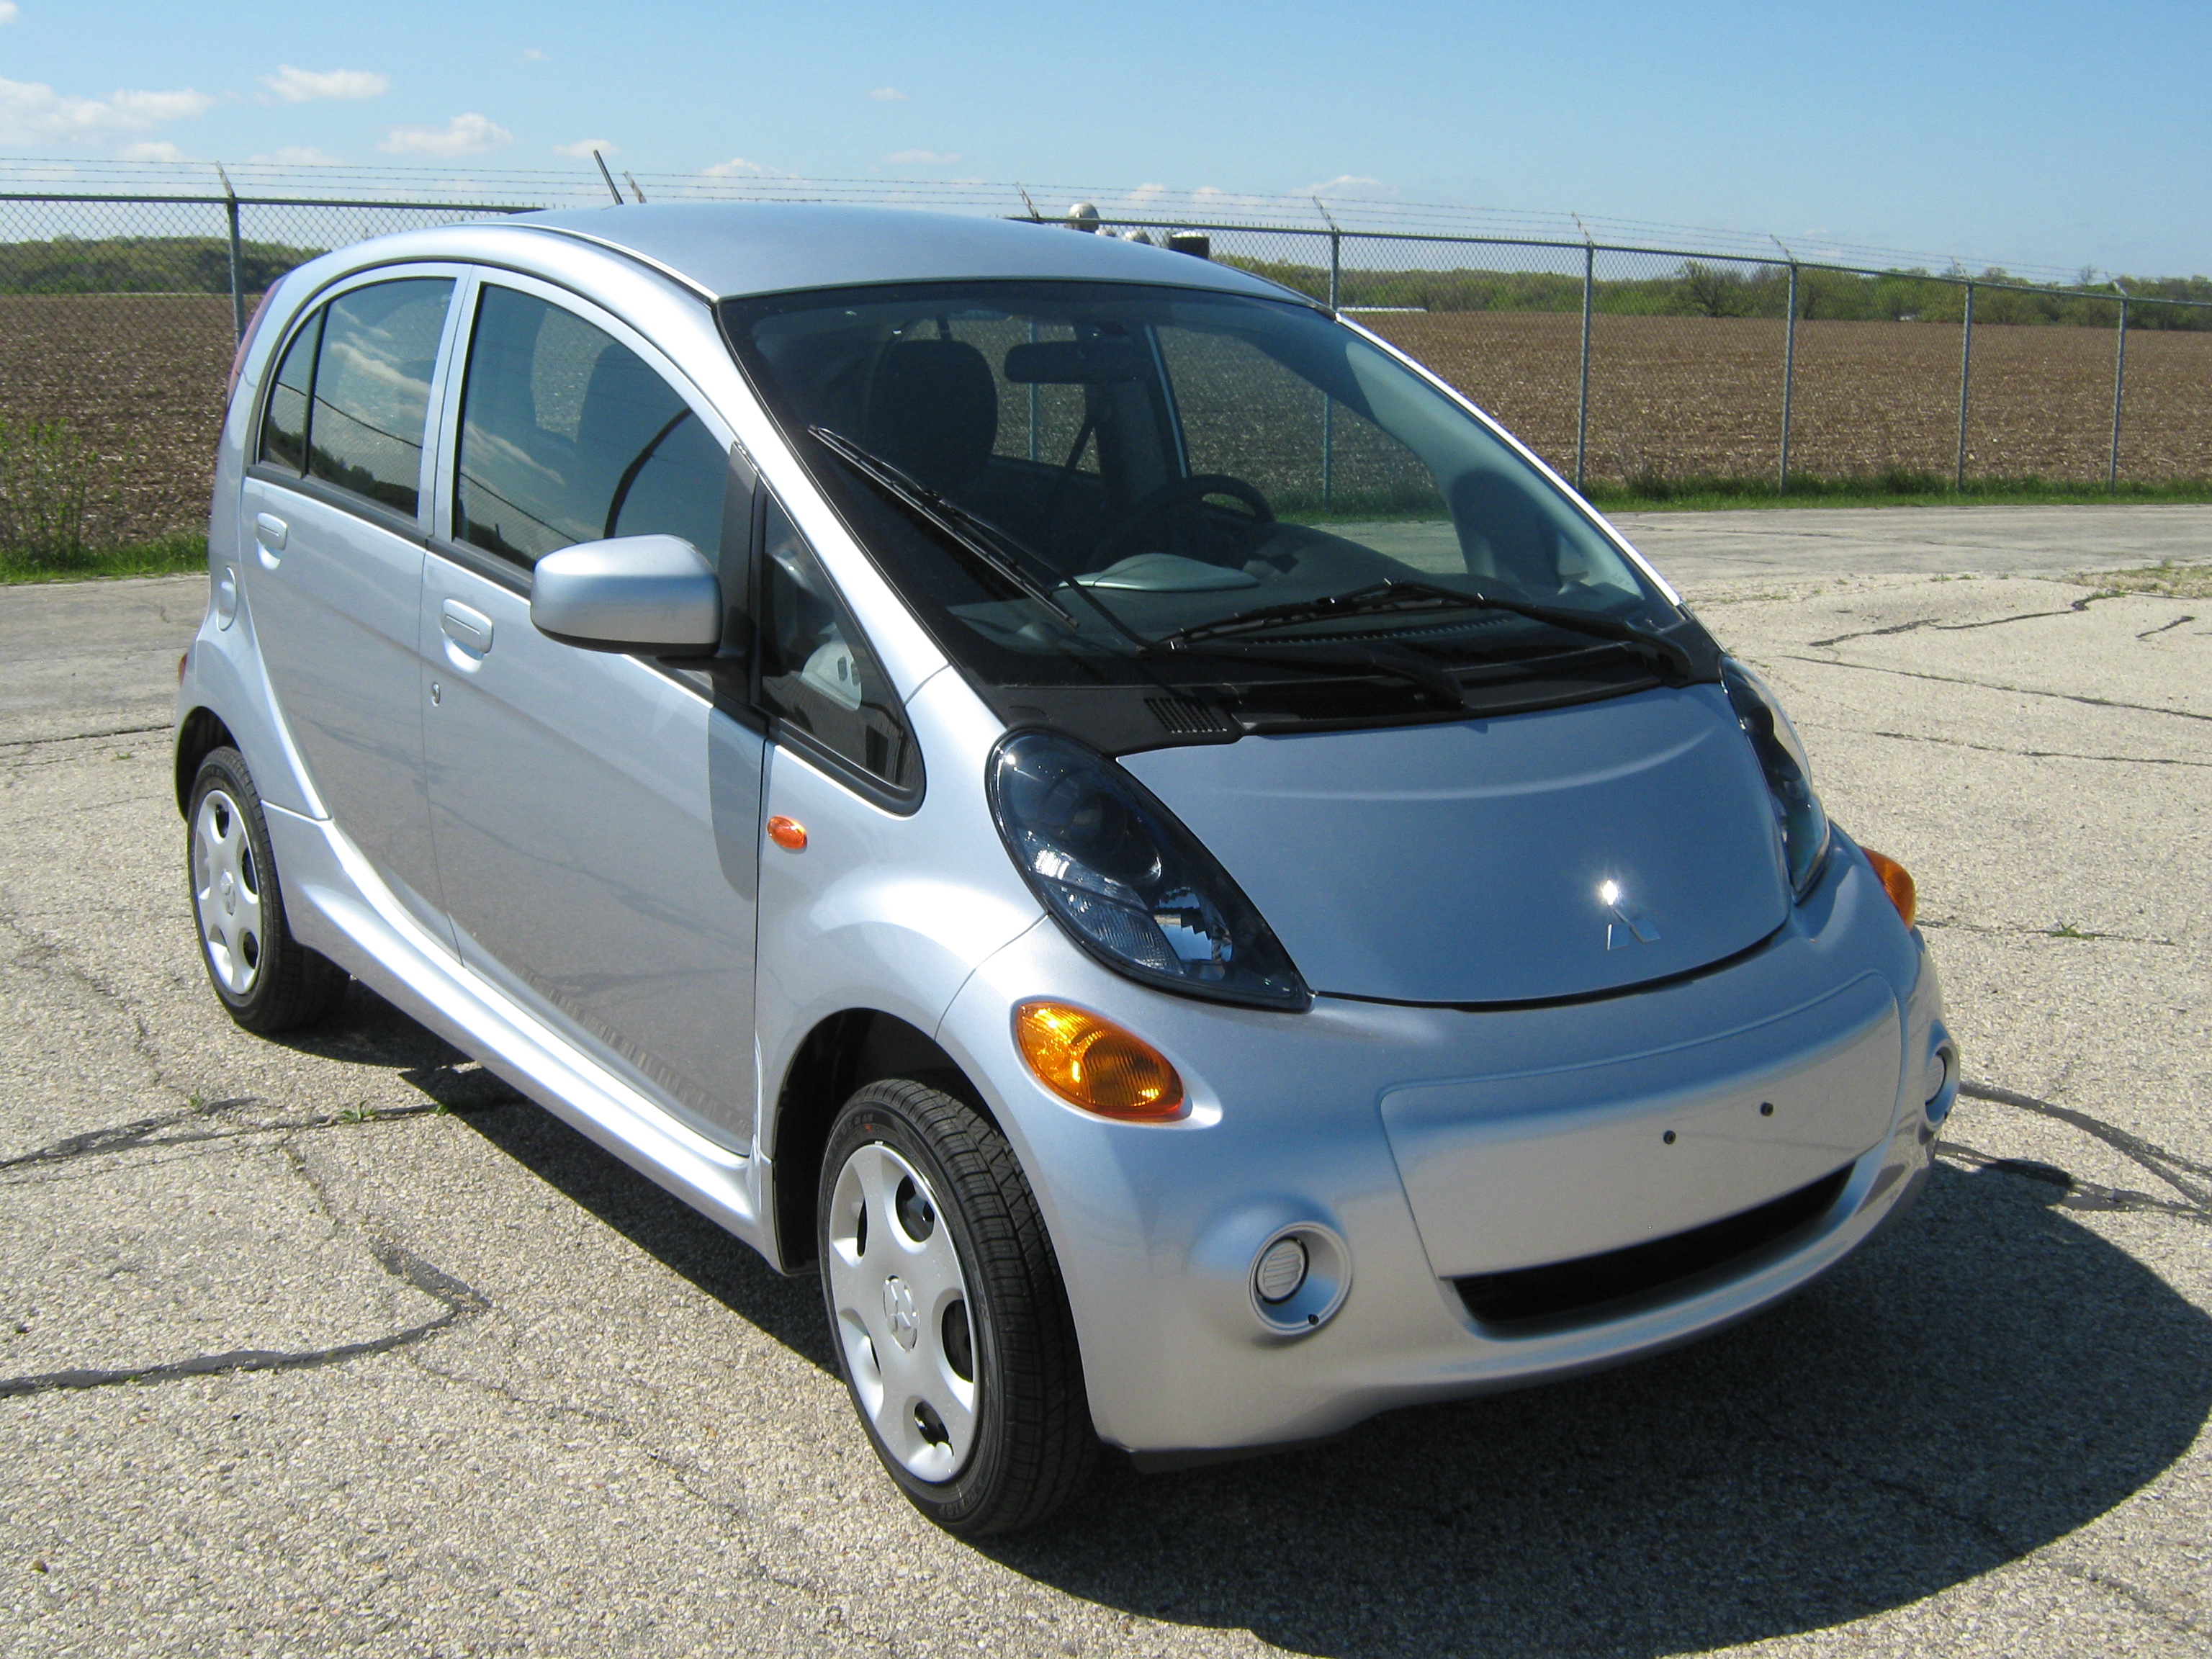
2017 Mitsubishi Imiev

4/5

Overall rating (best variant)

Safety ratings

2017 Mitsubishi i-MiEV 5 HB RWD

4/5Overall
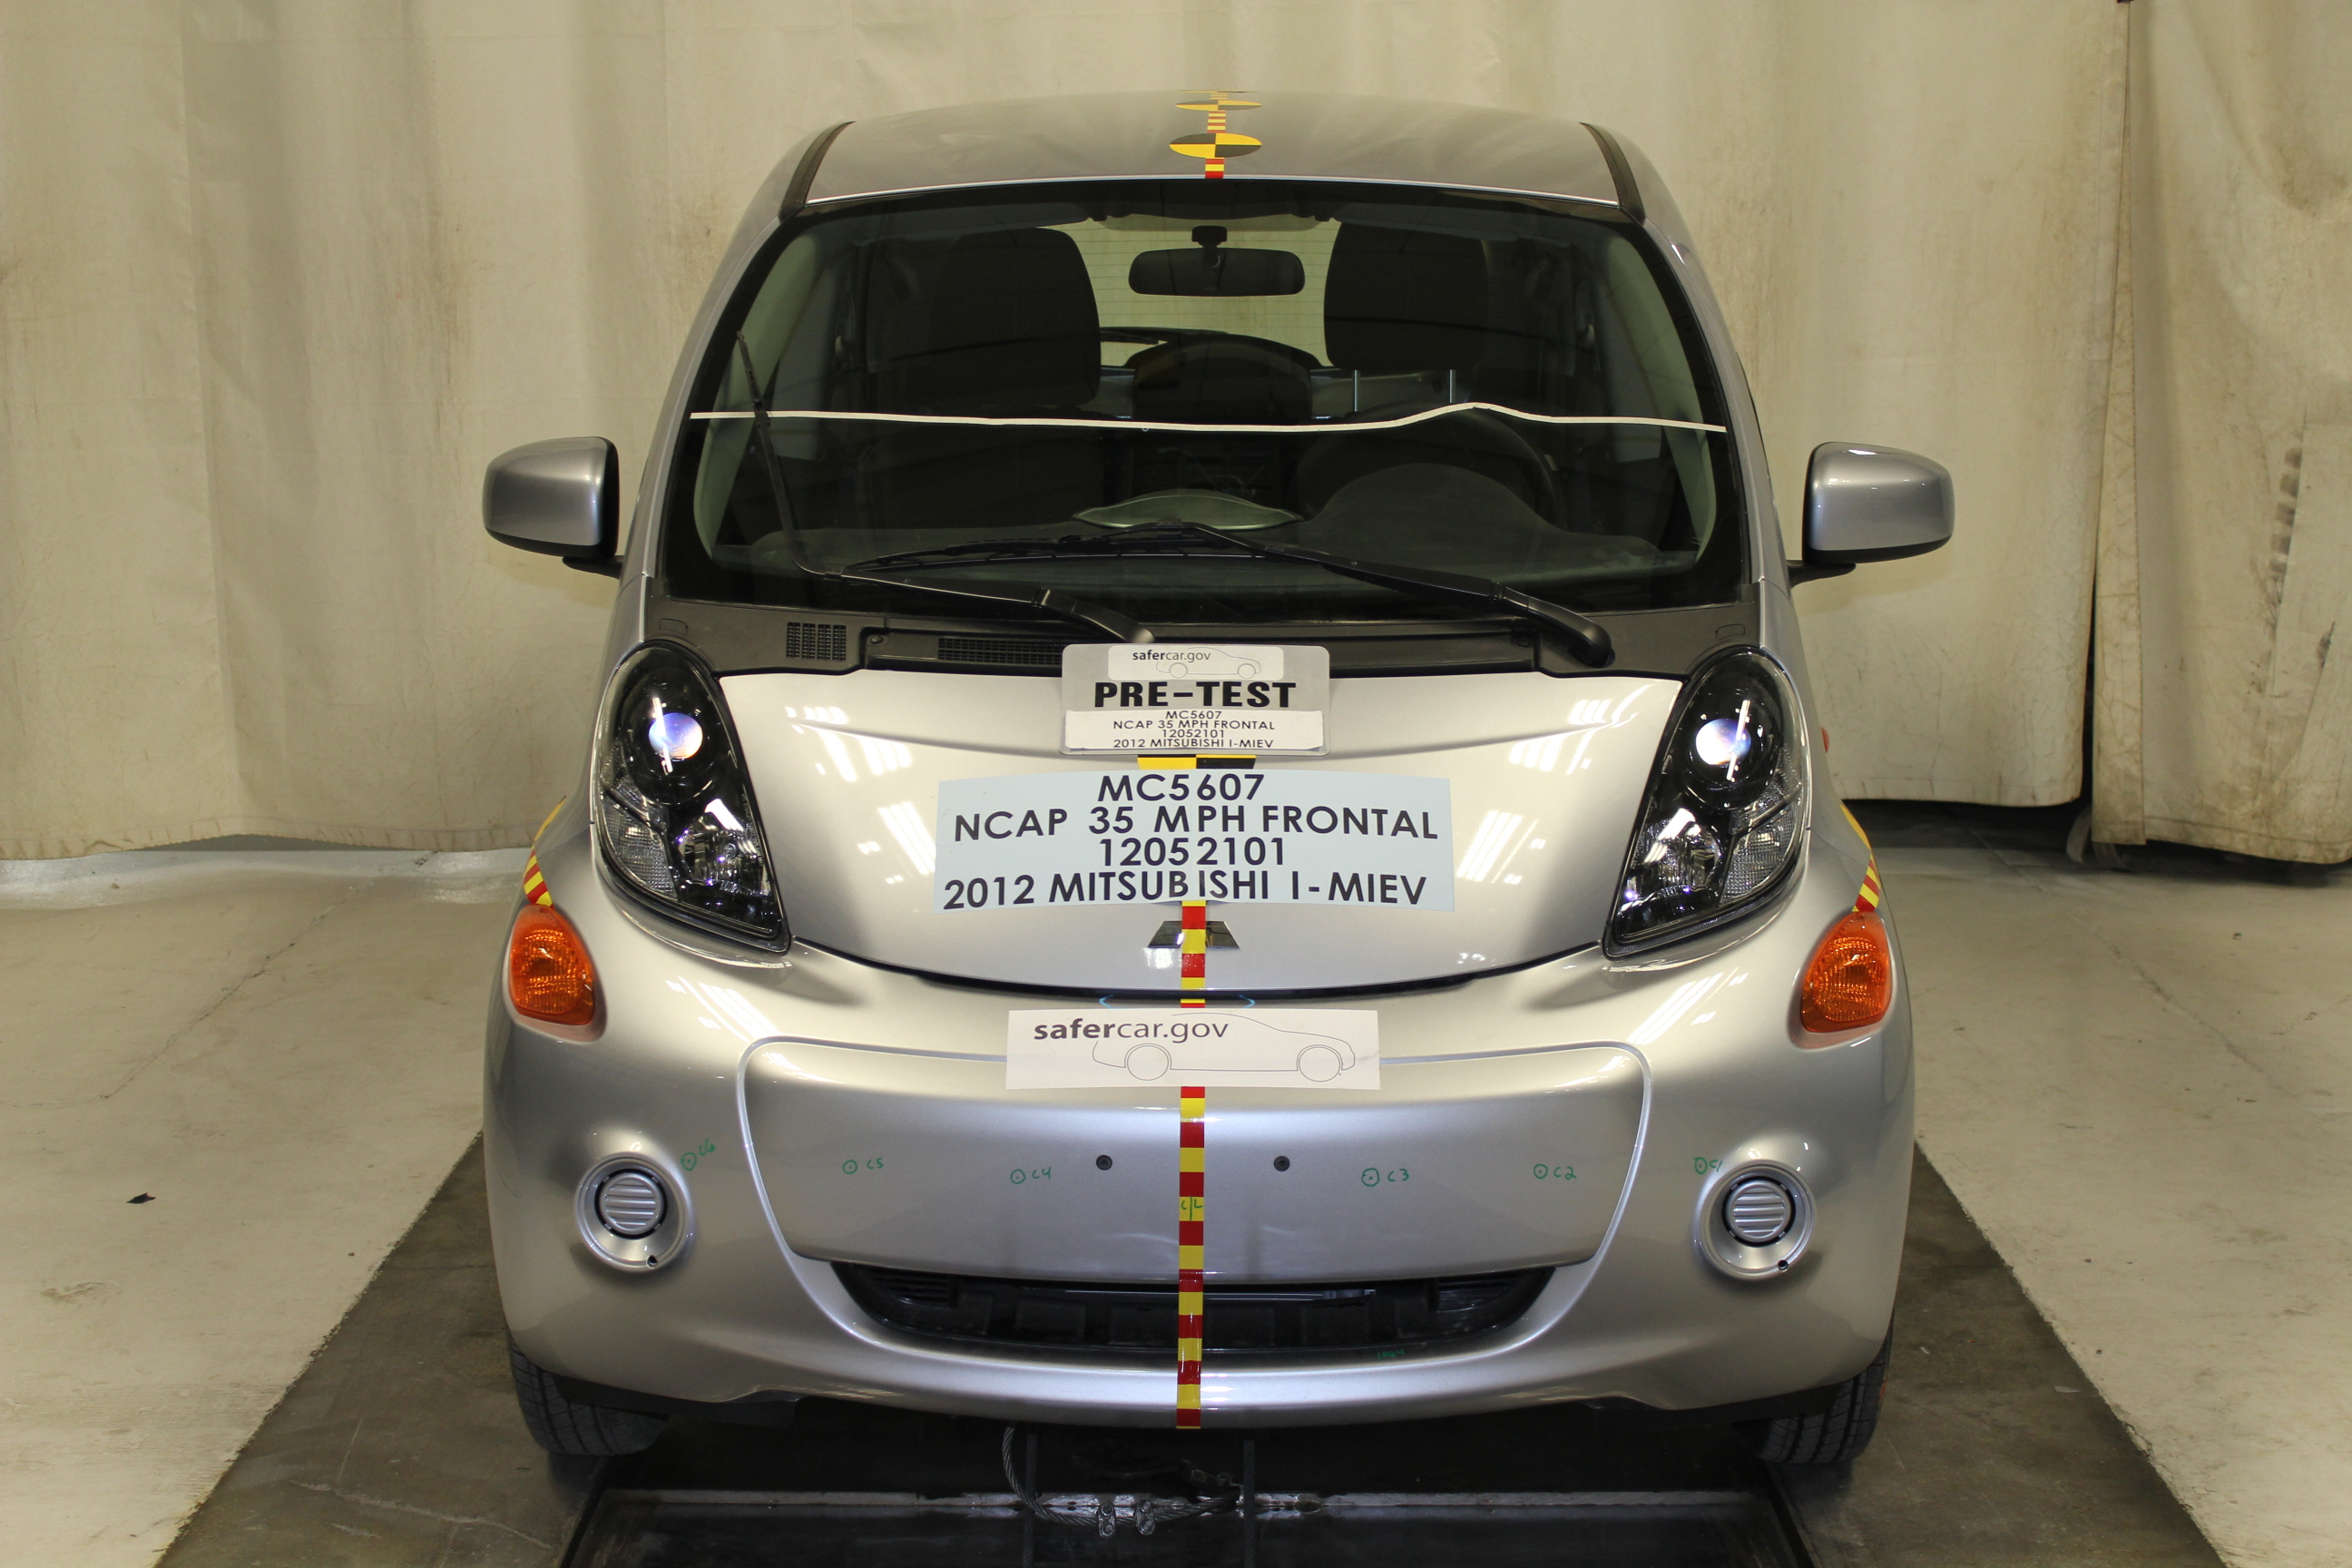
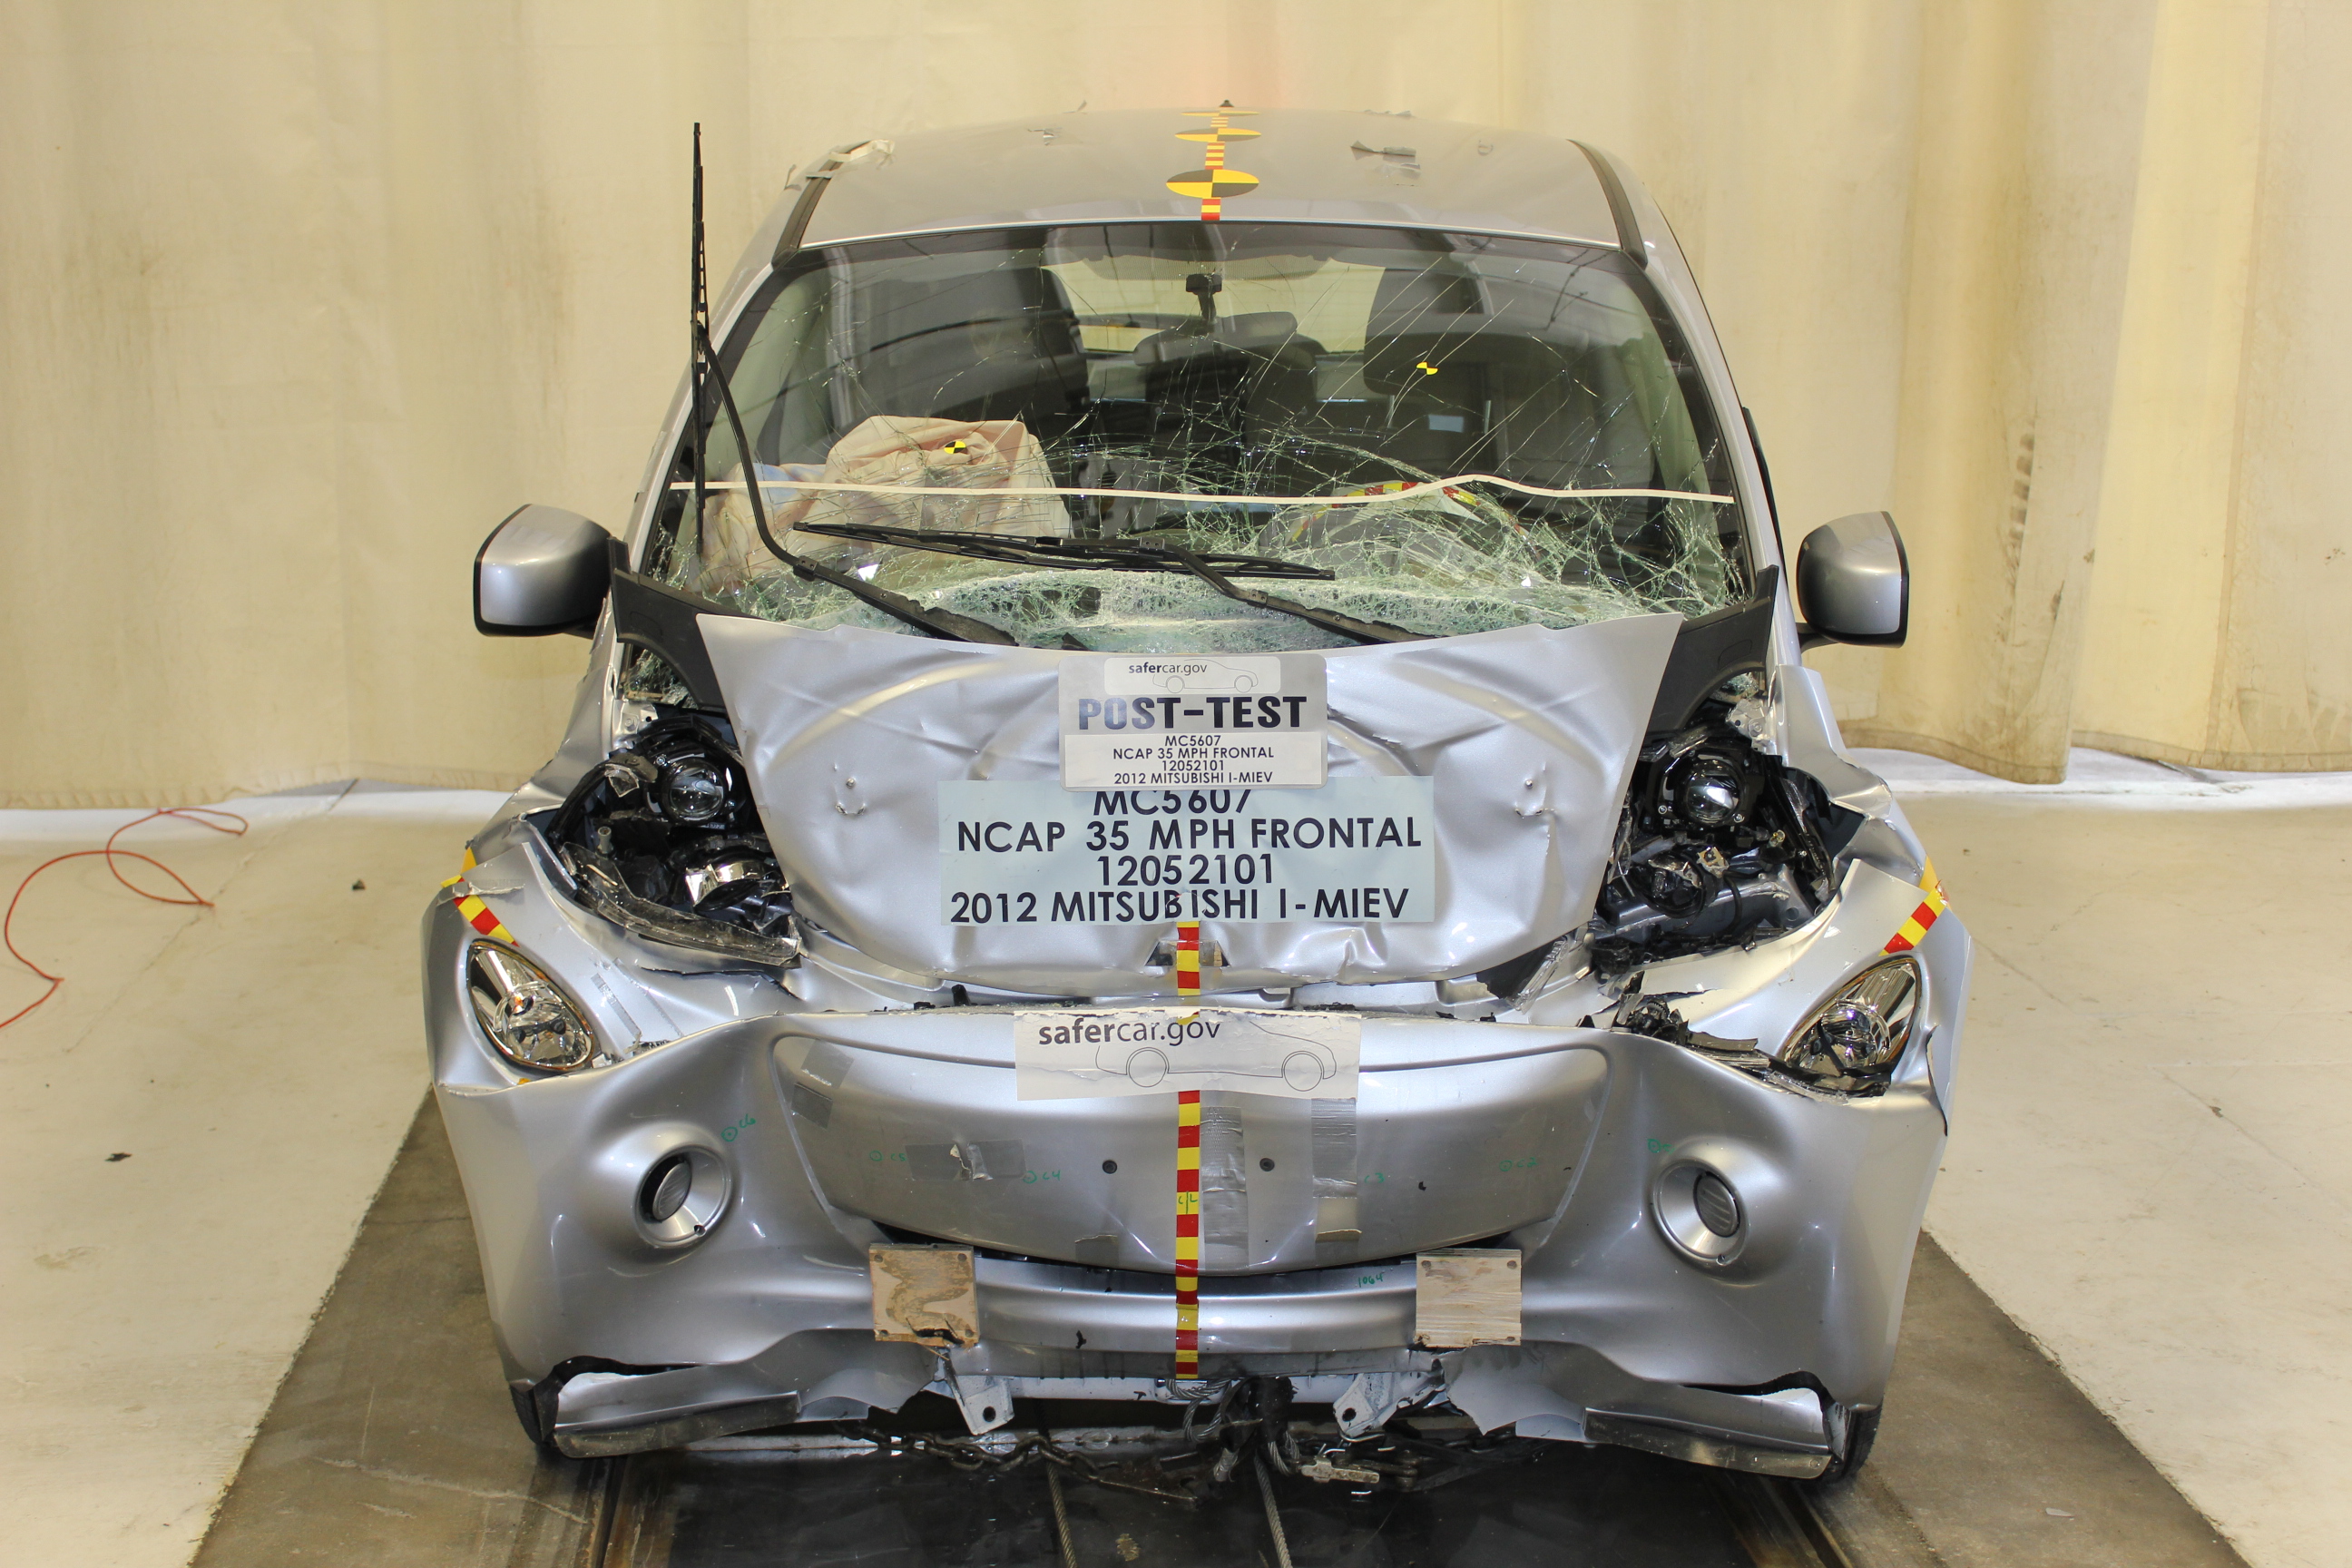
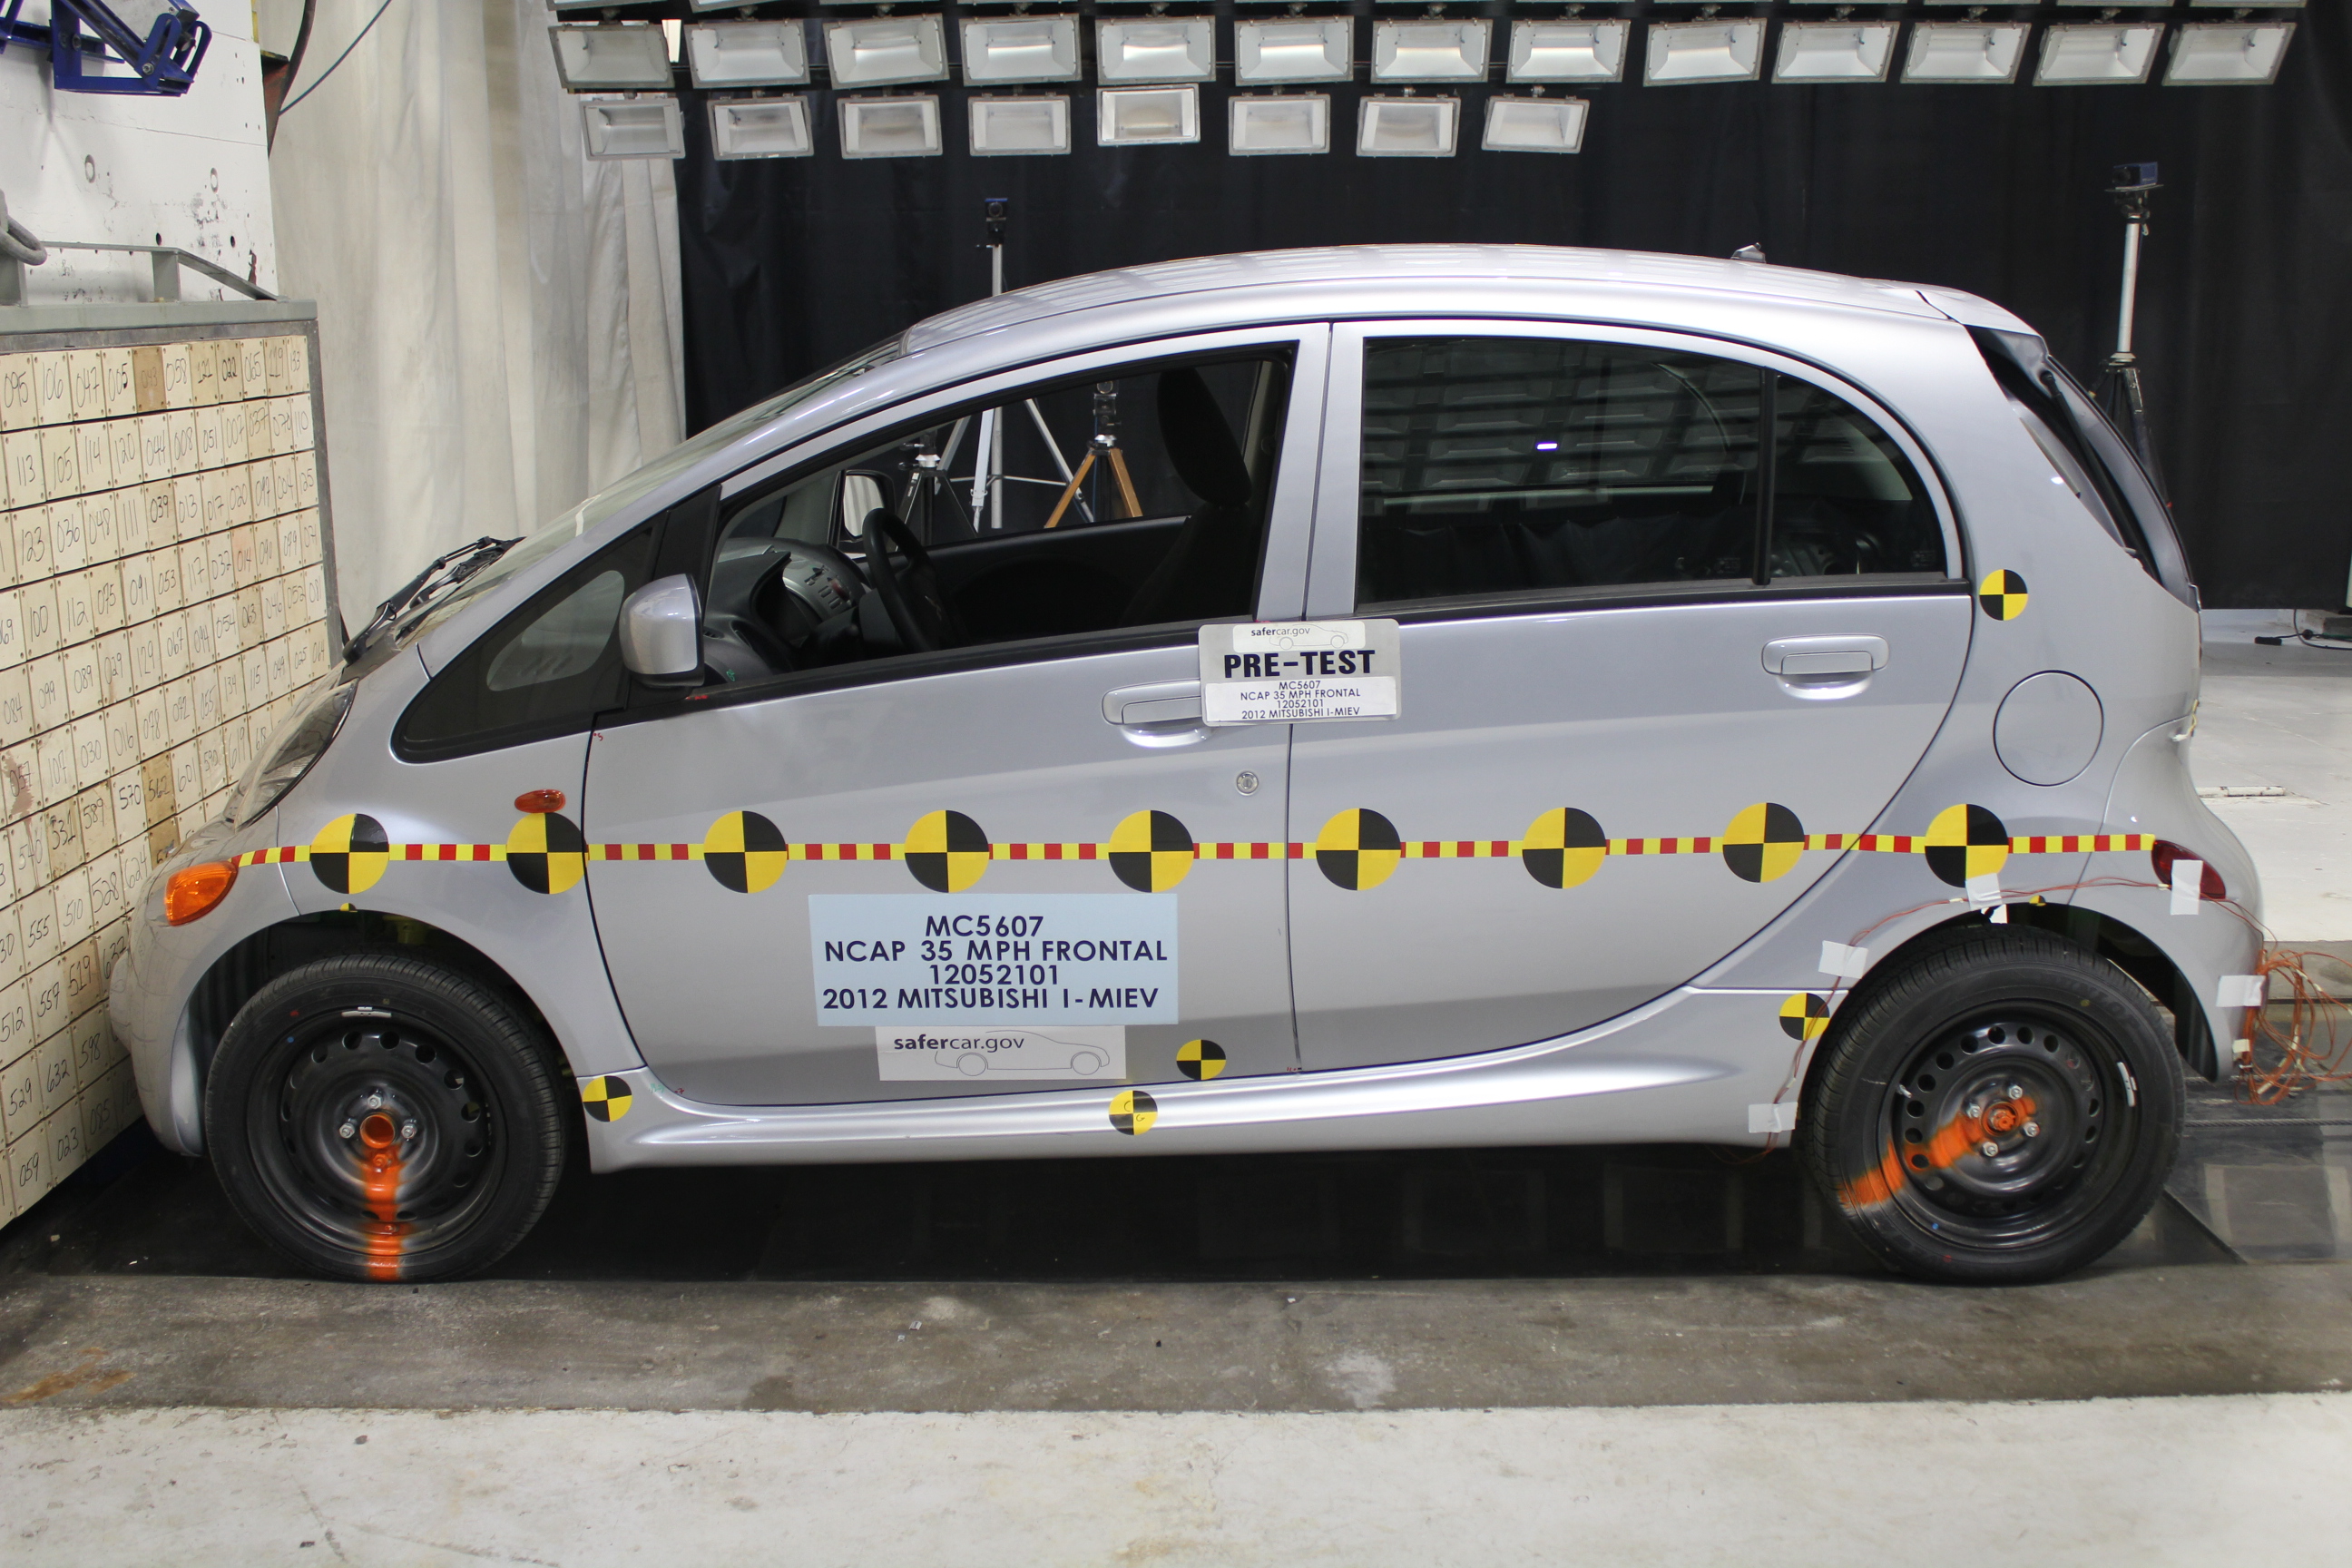
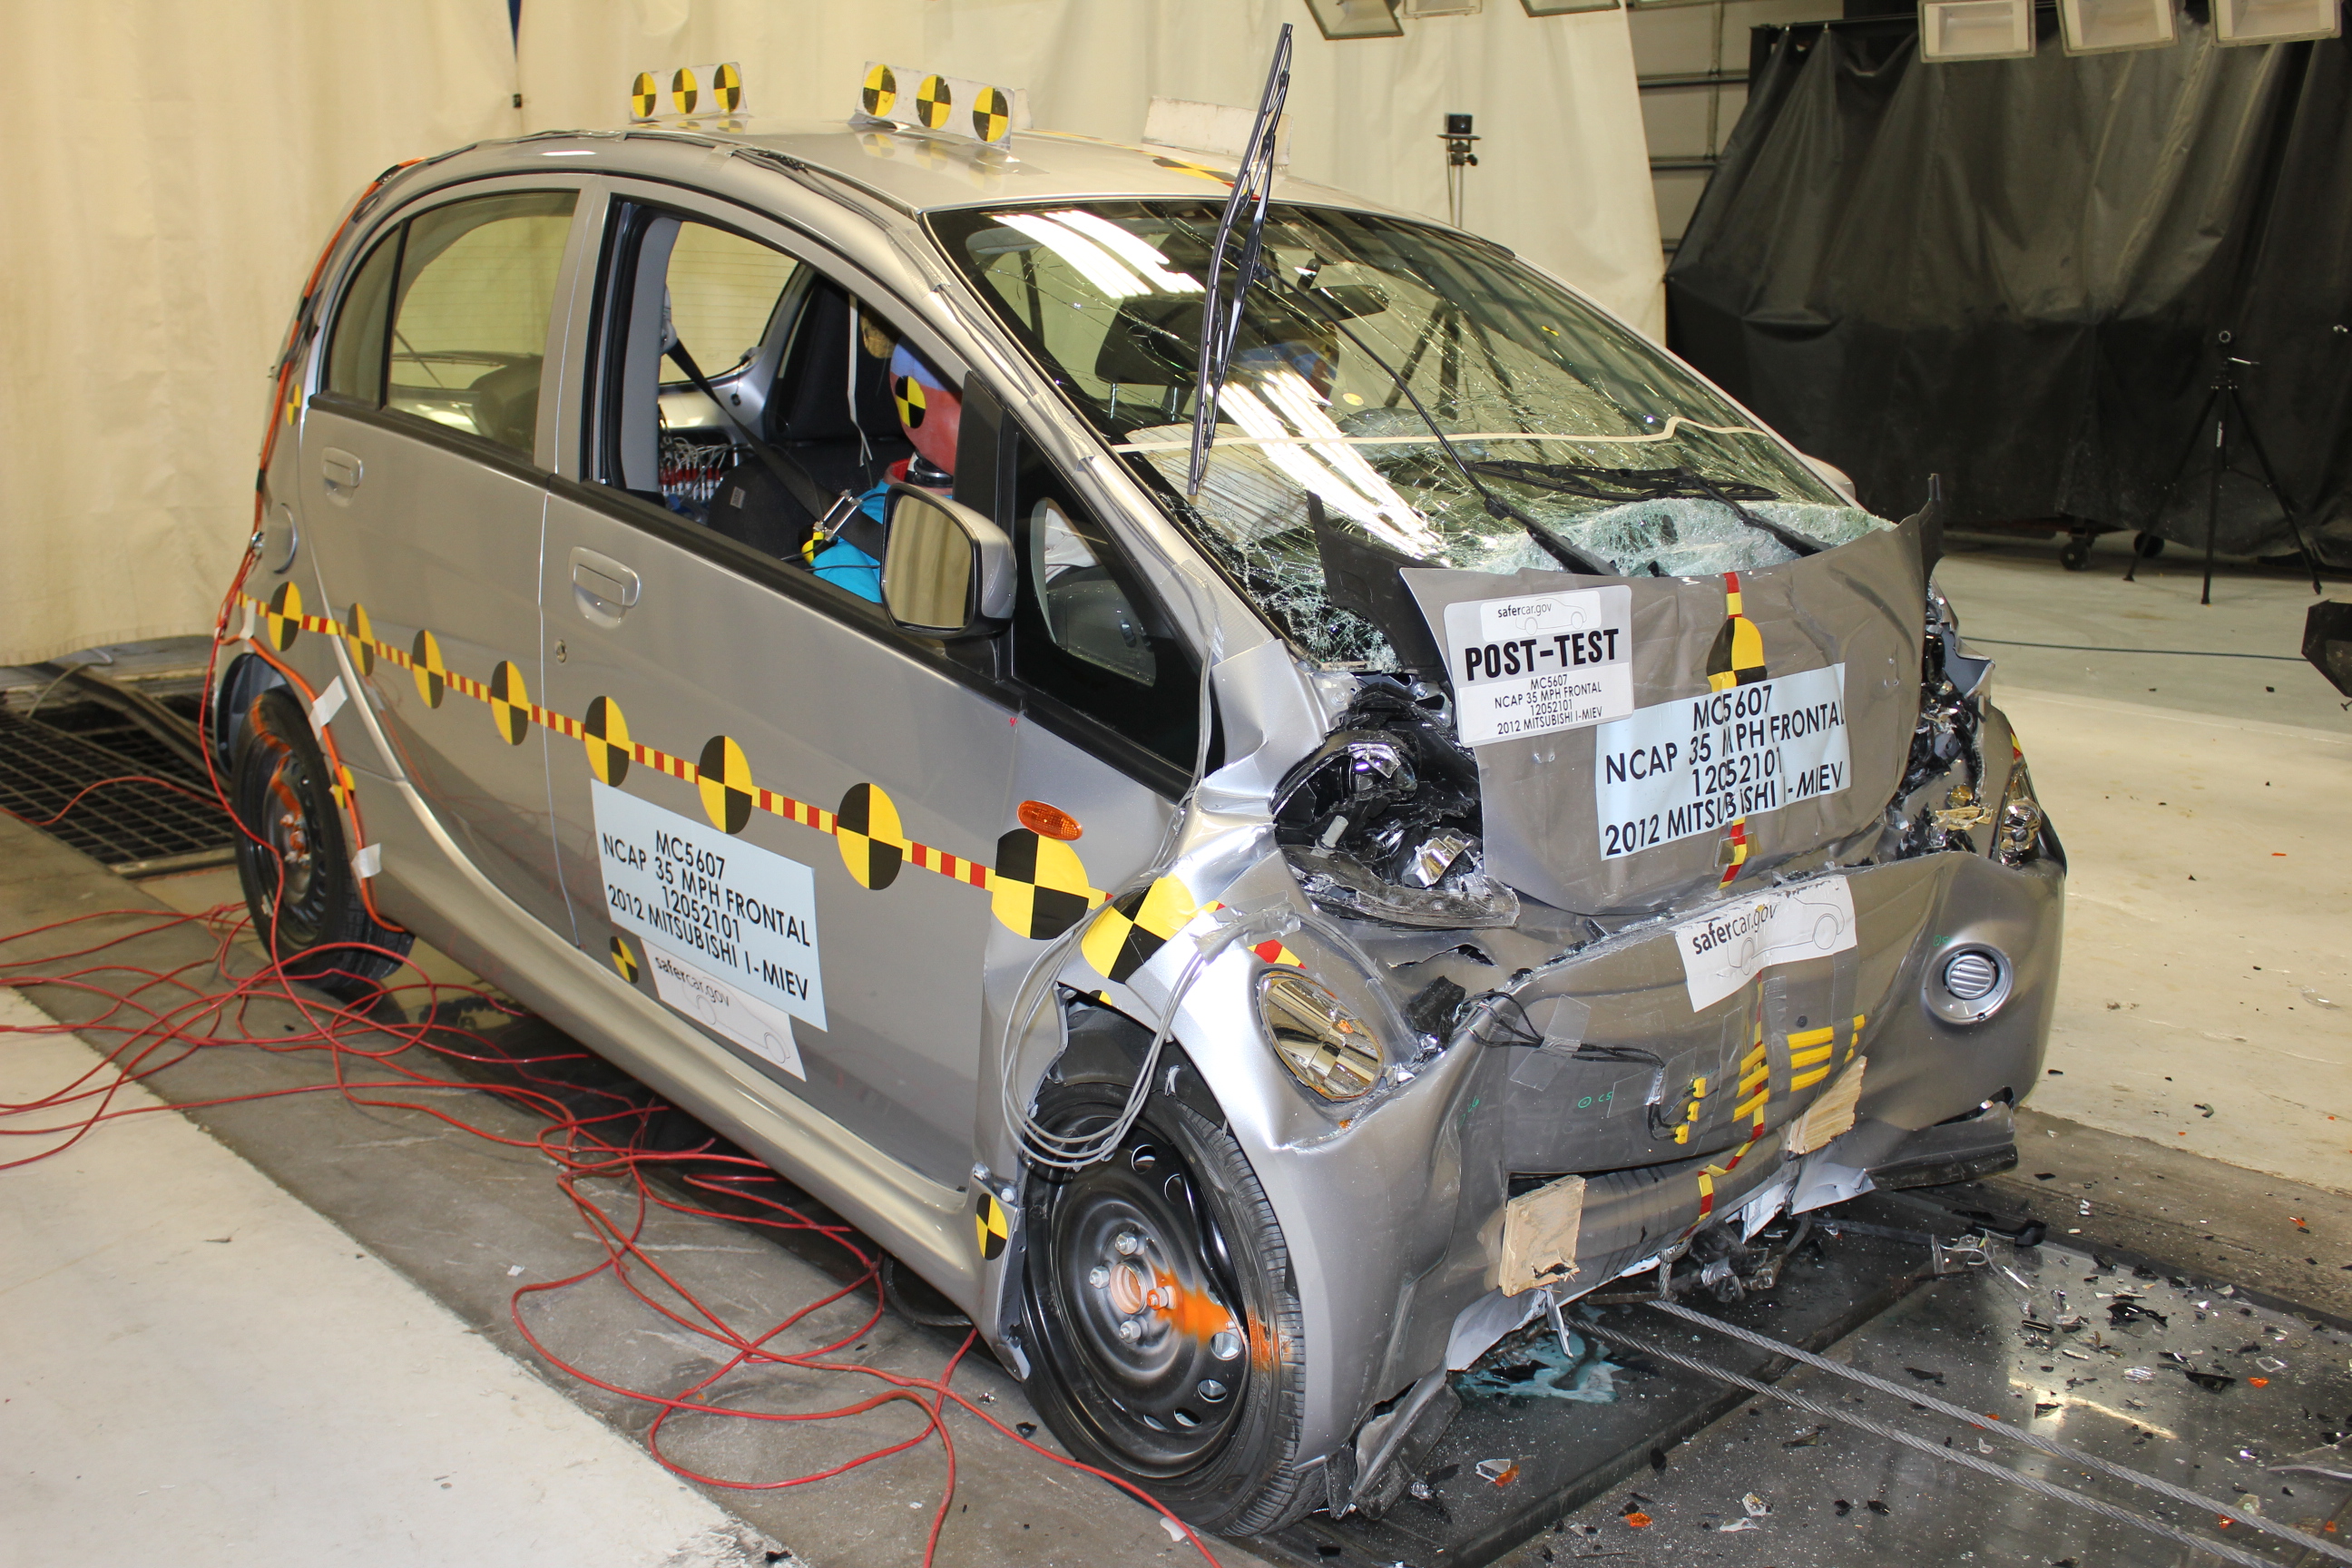
4/5Frontal crash
3/5Side crash
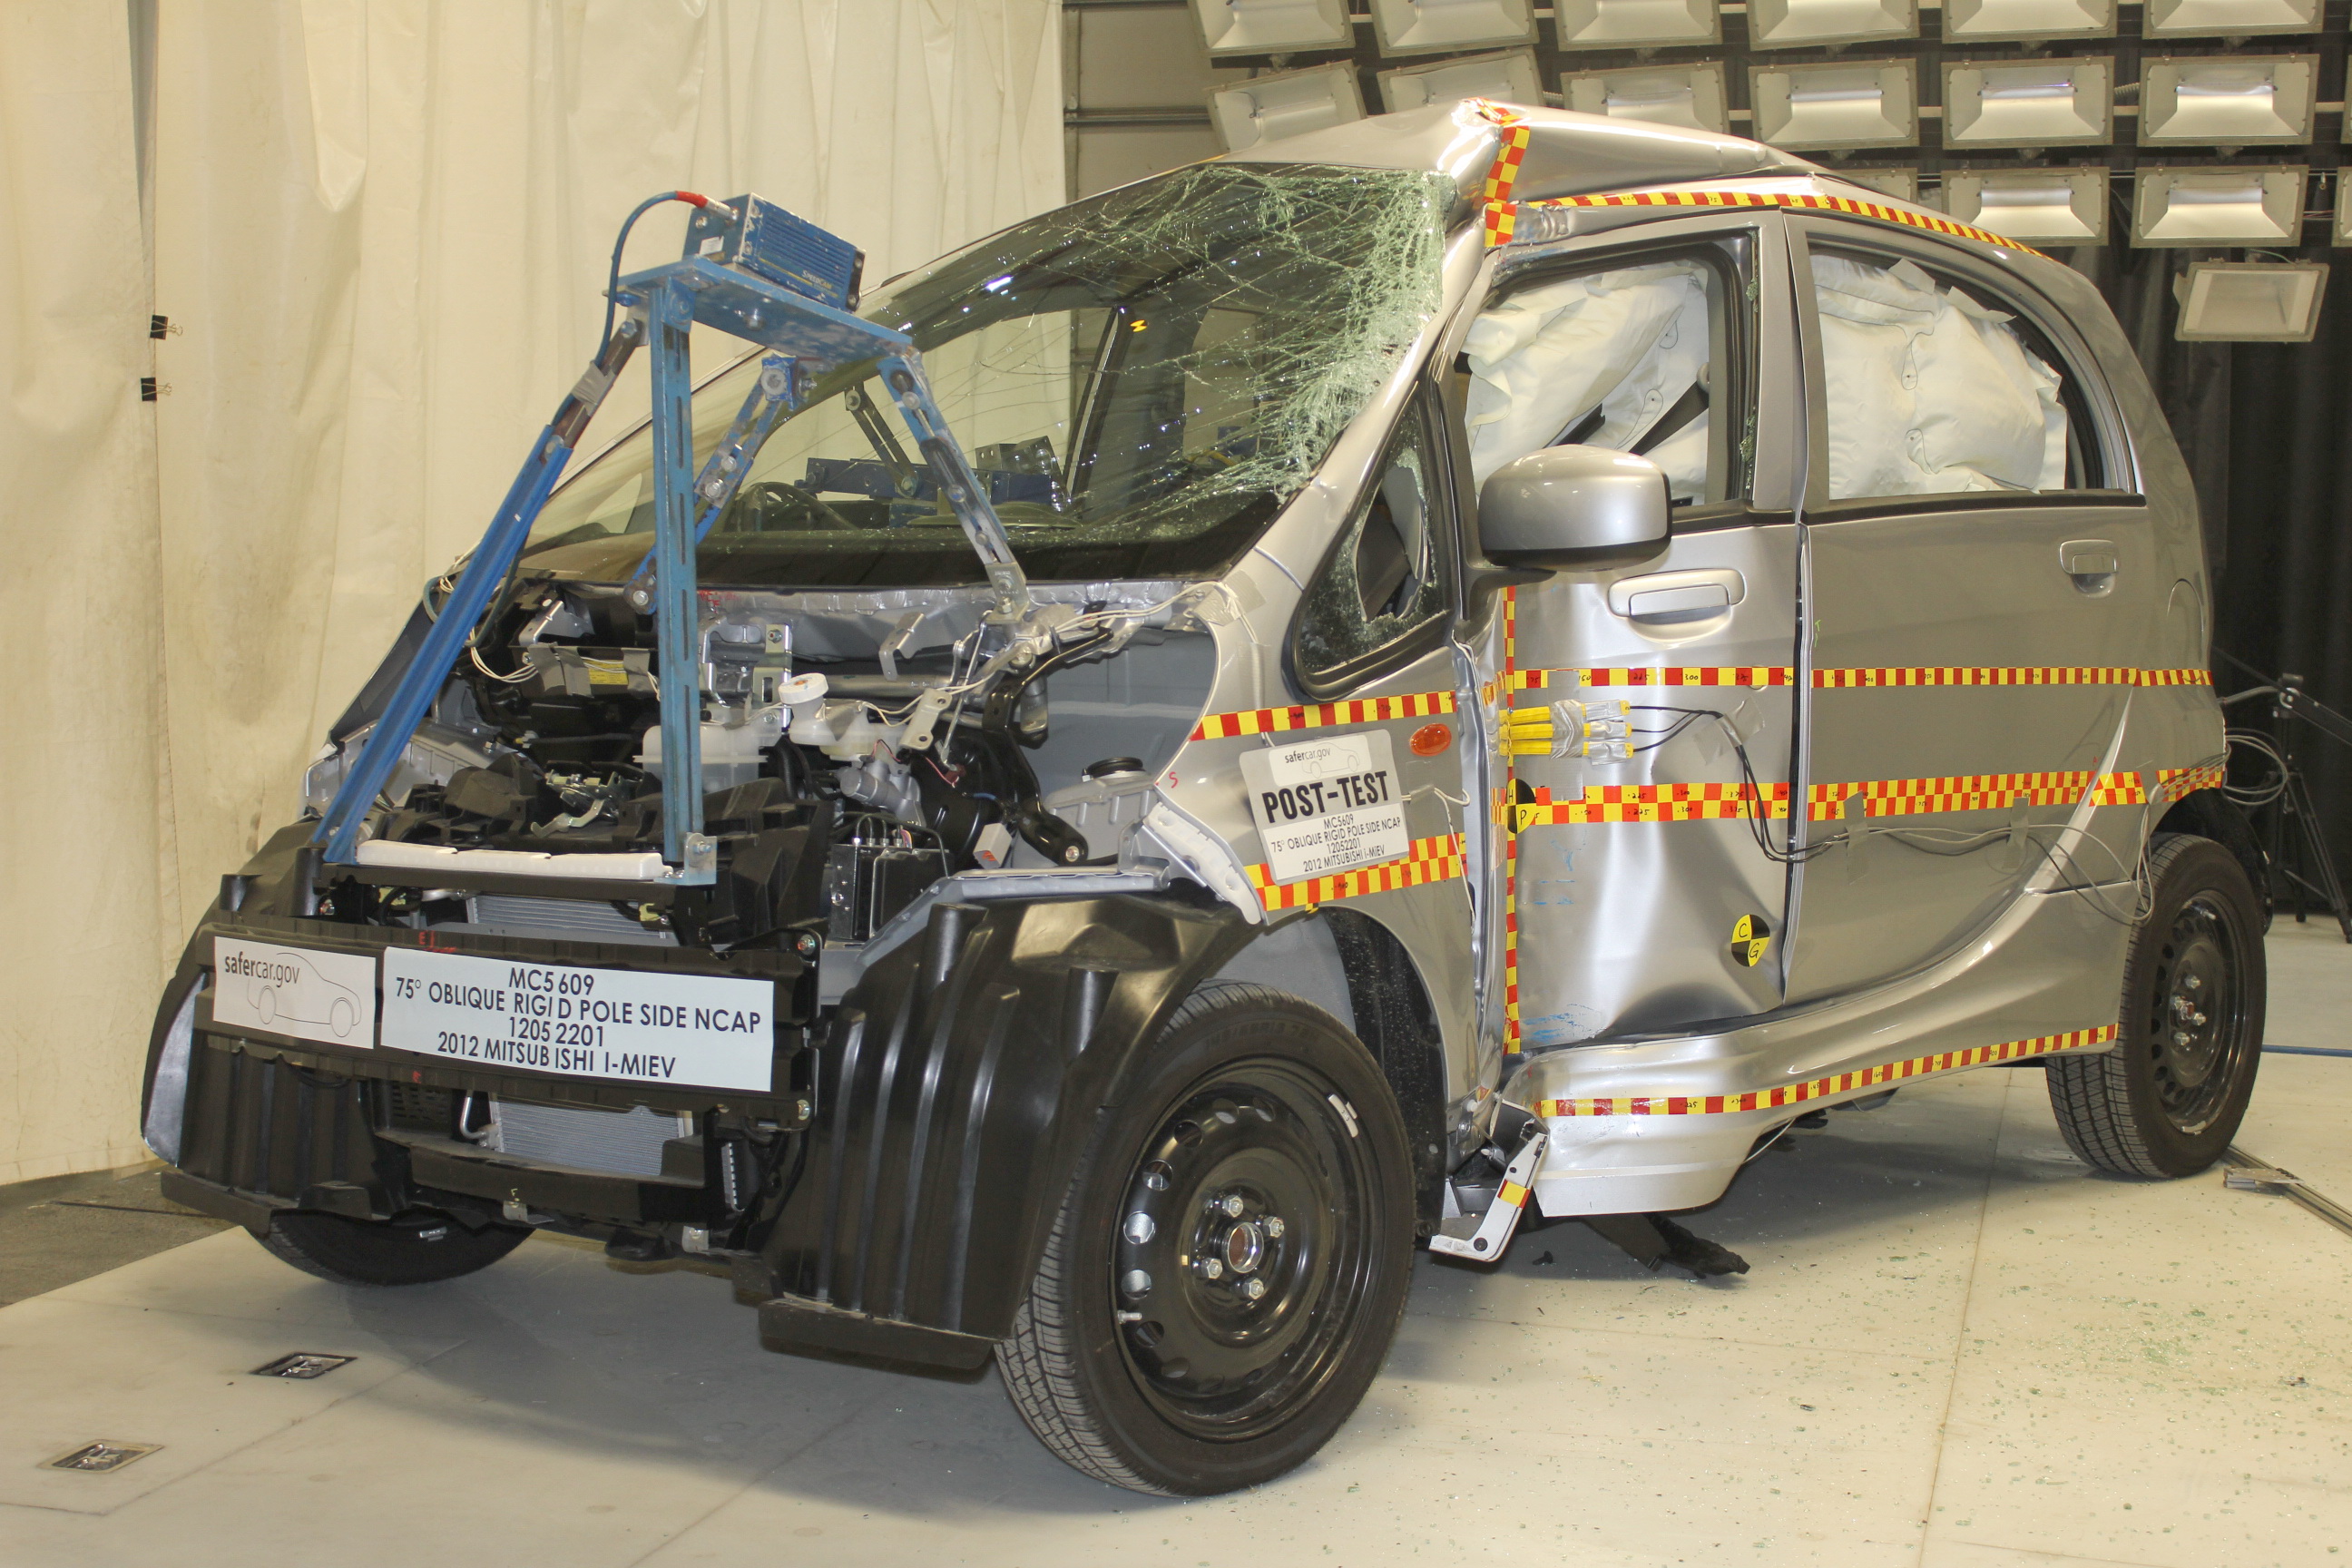
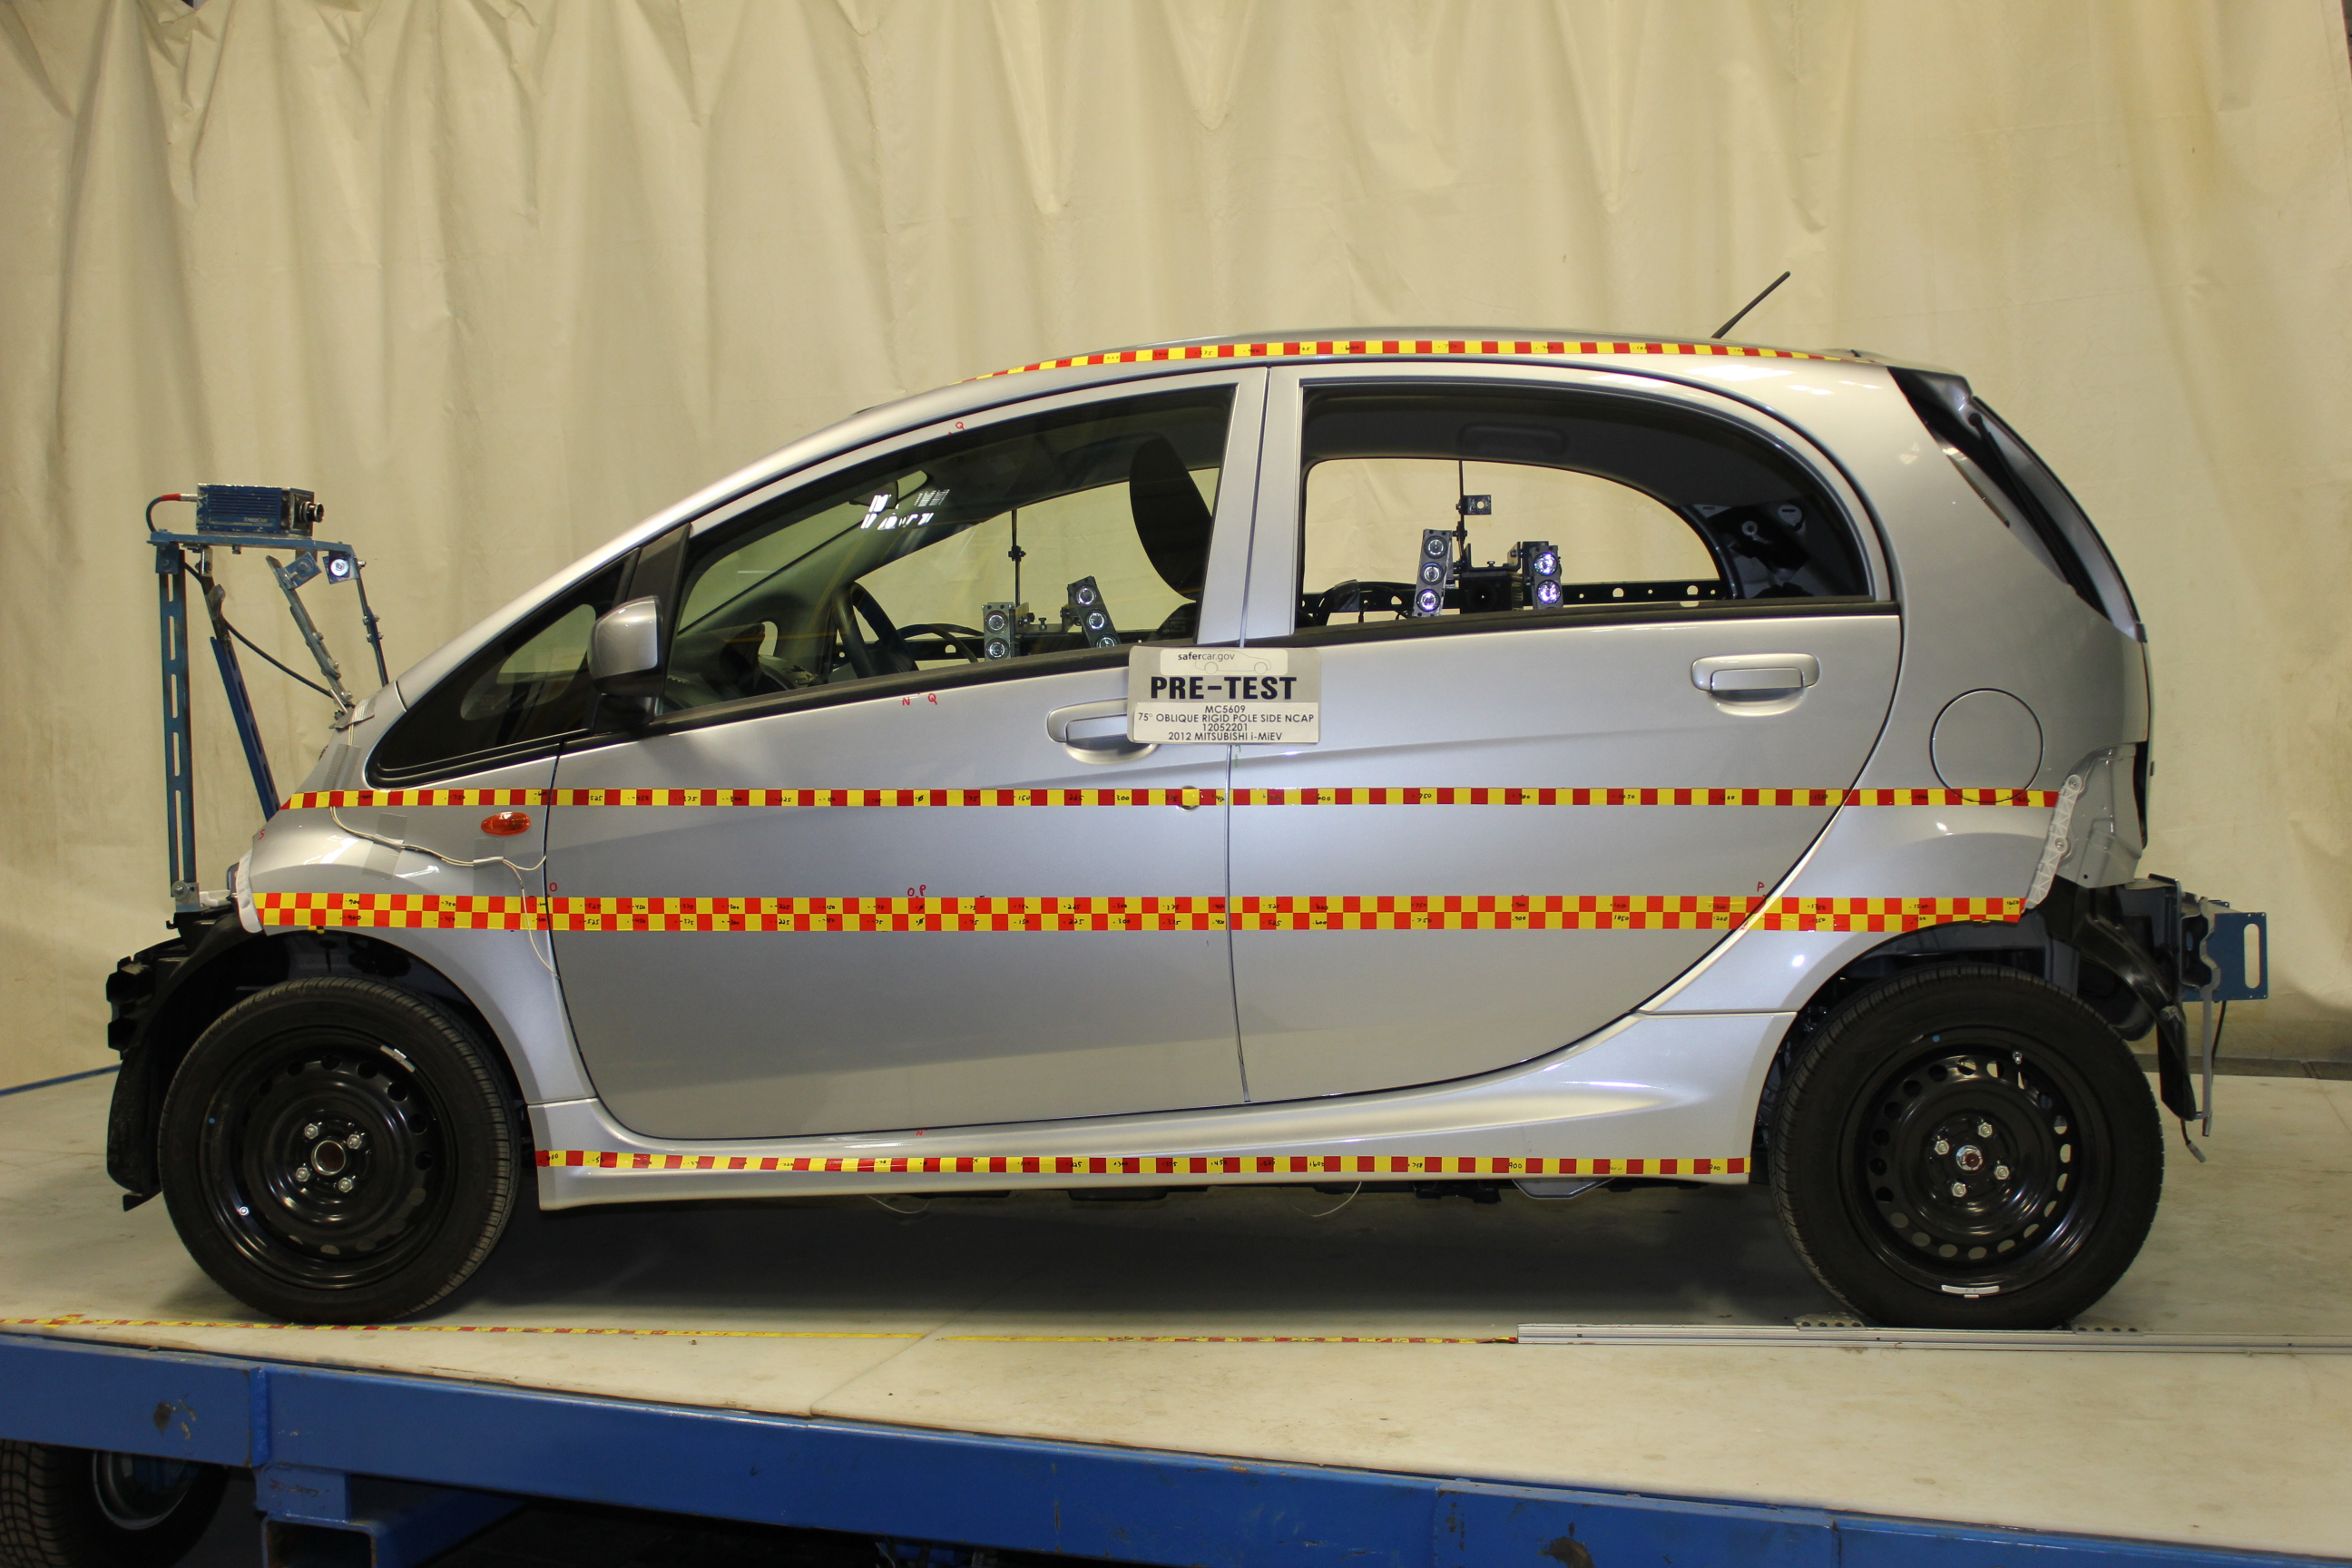
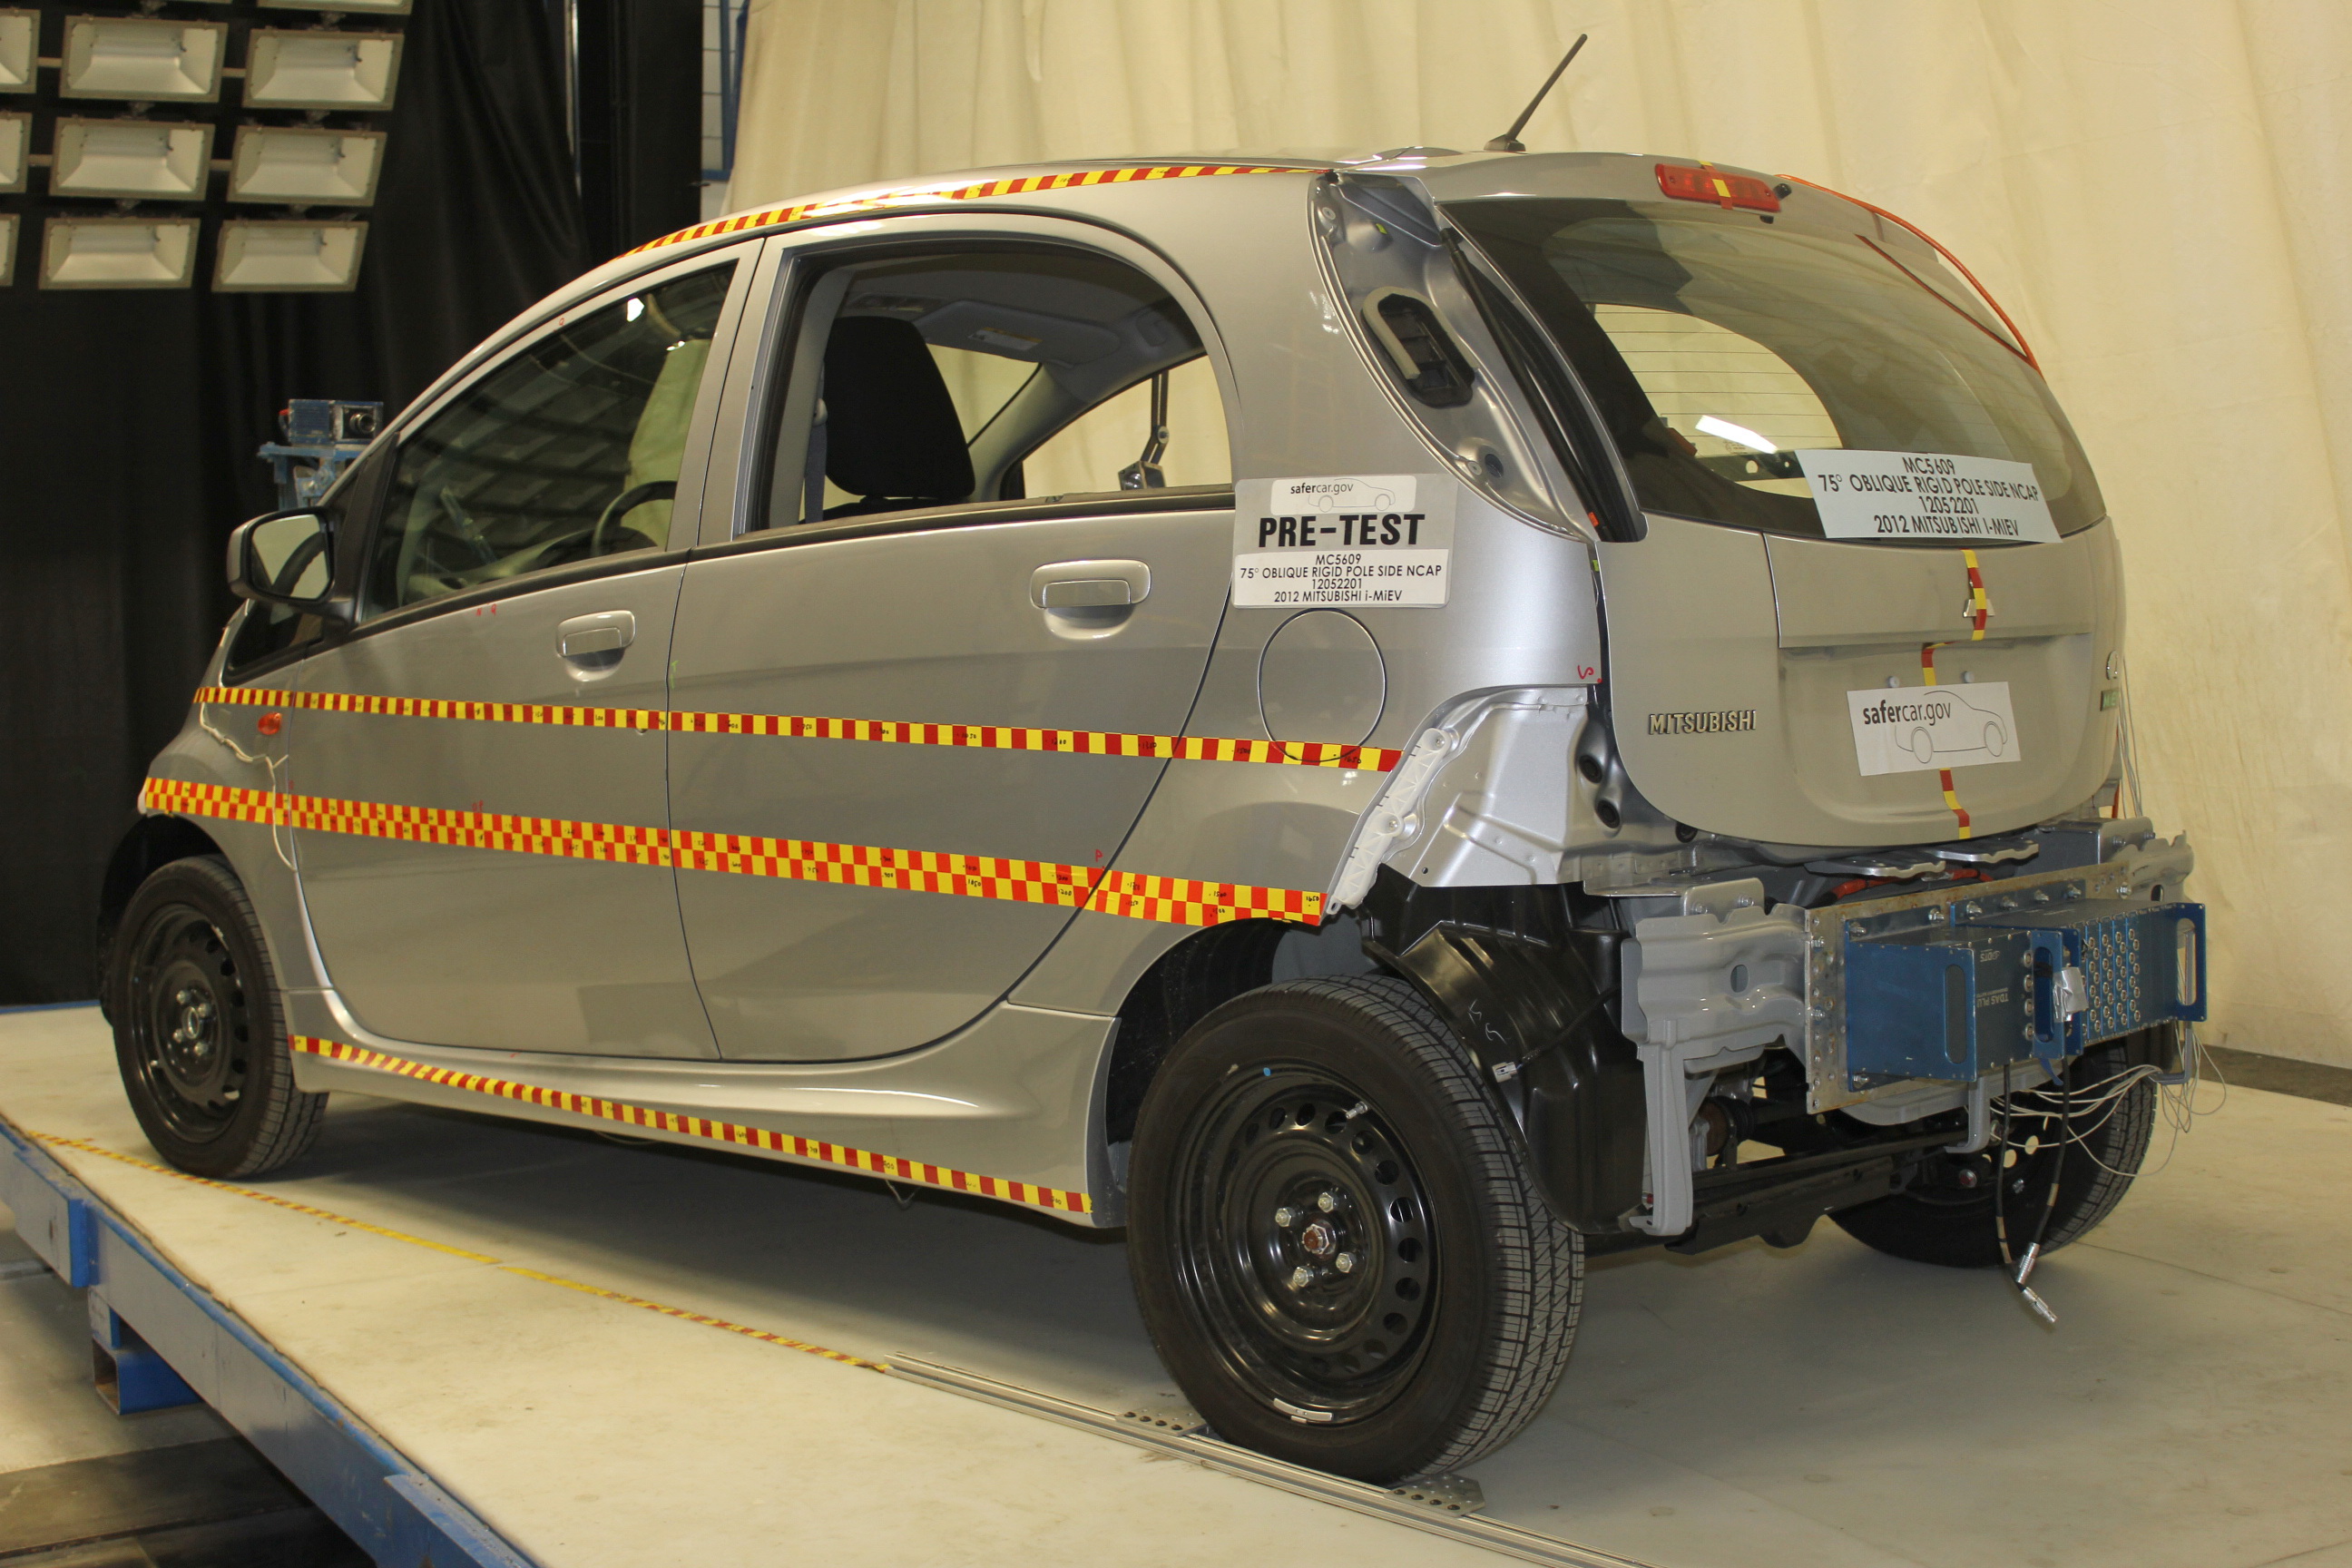
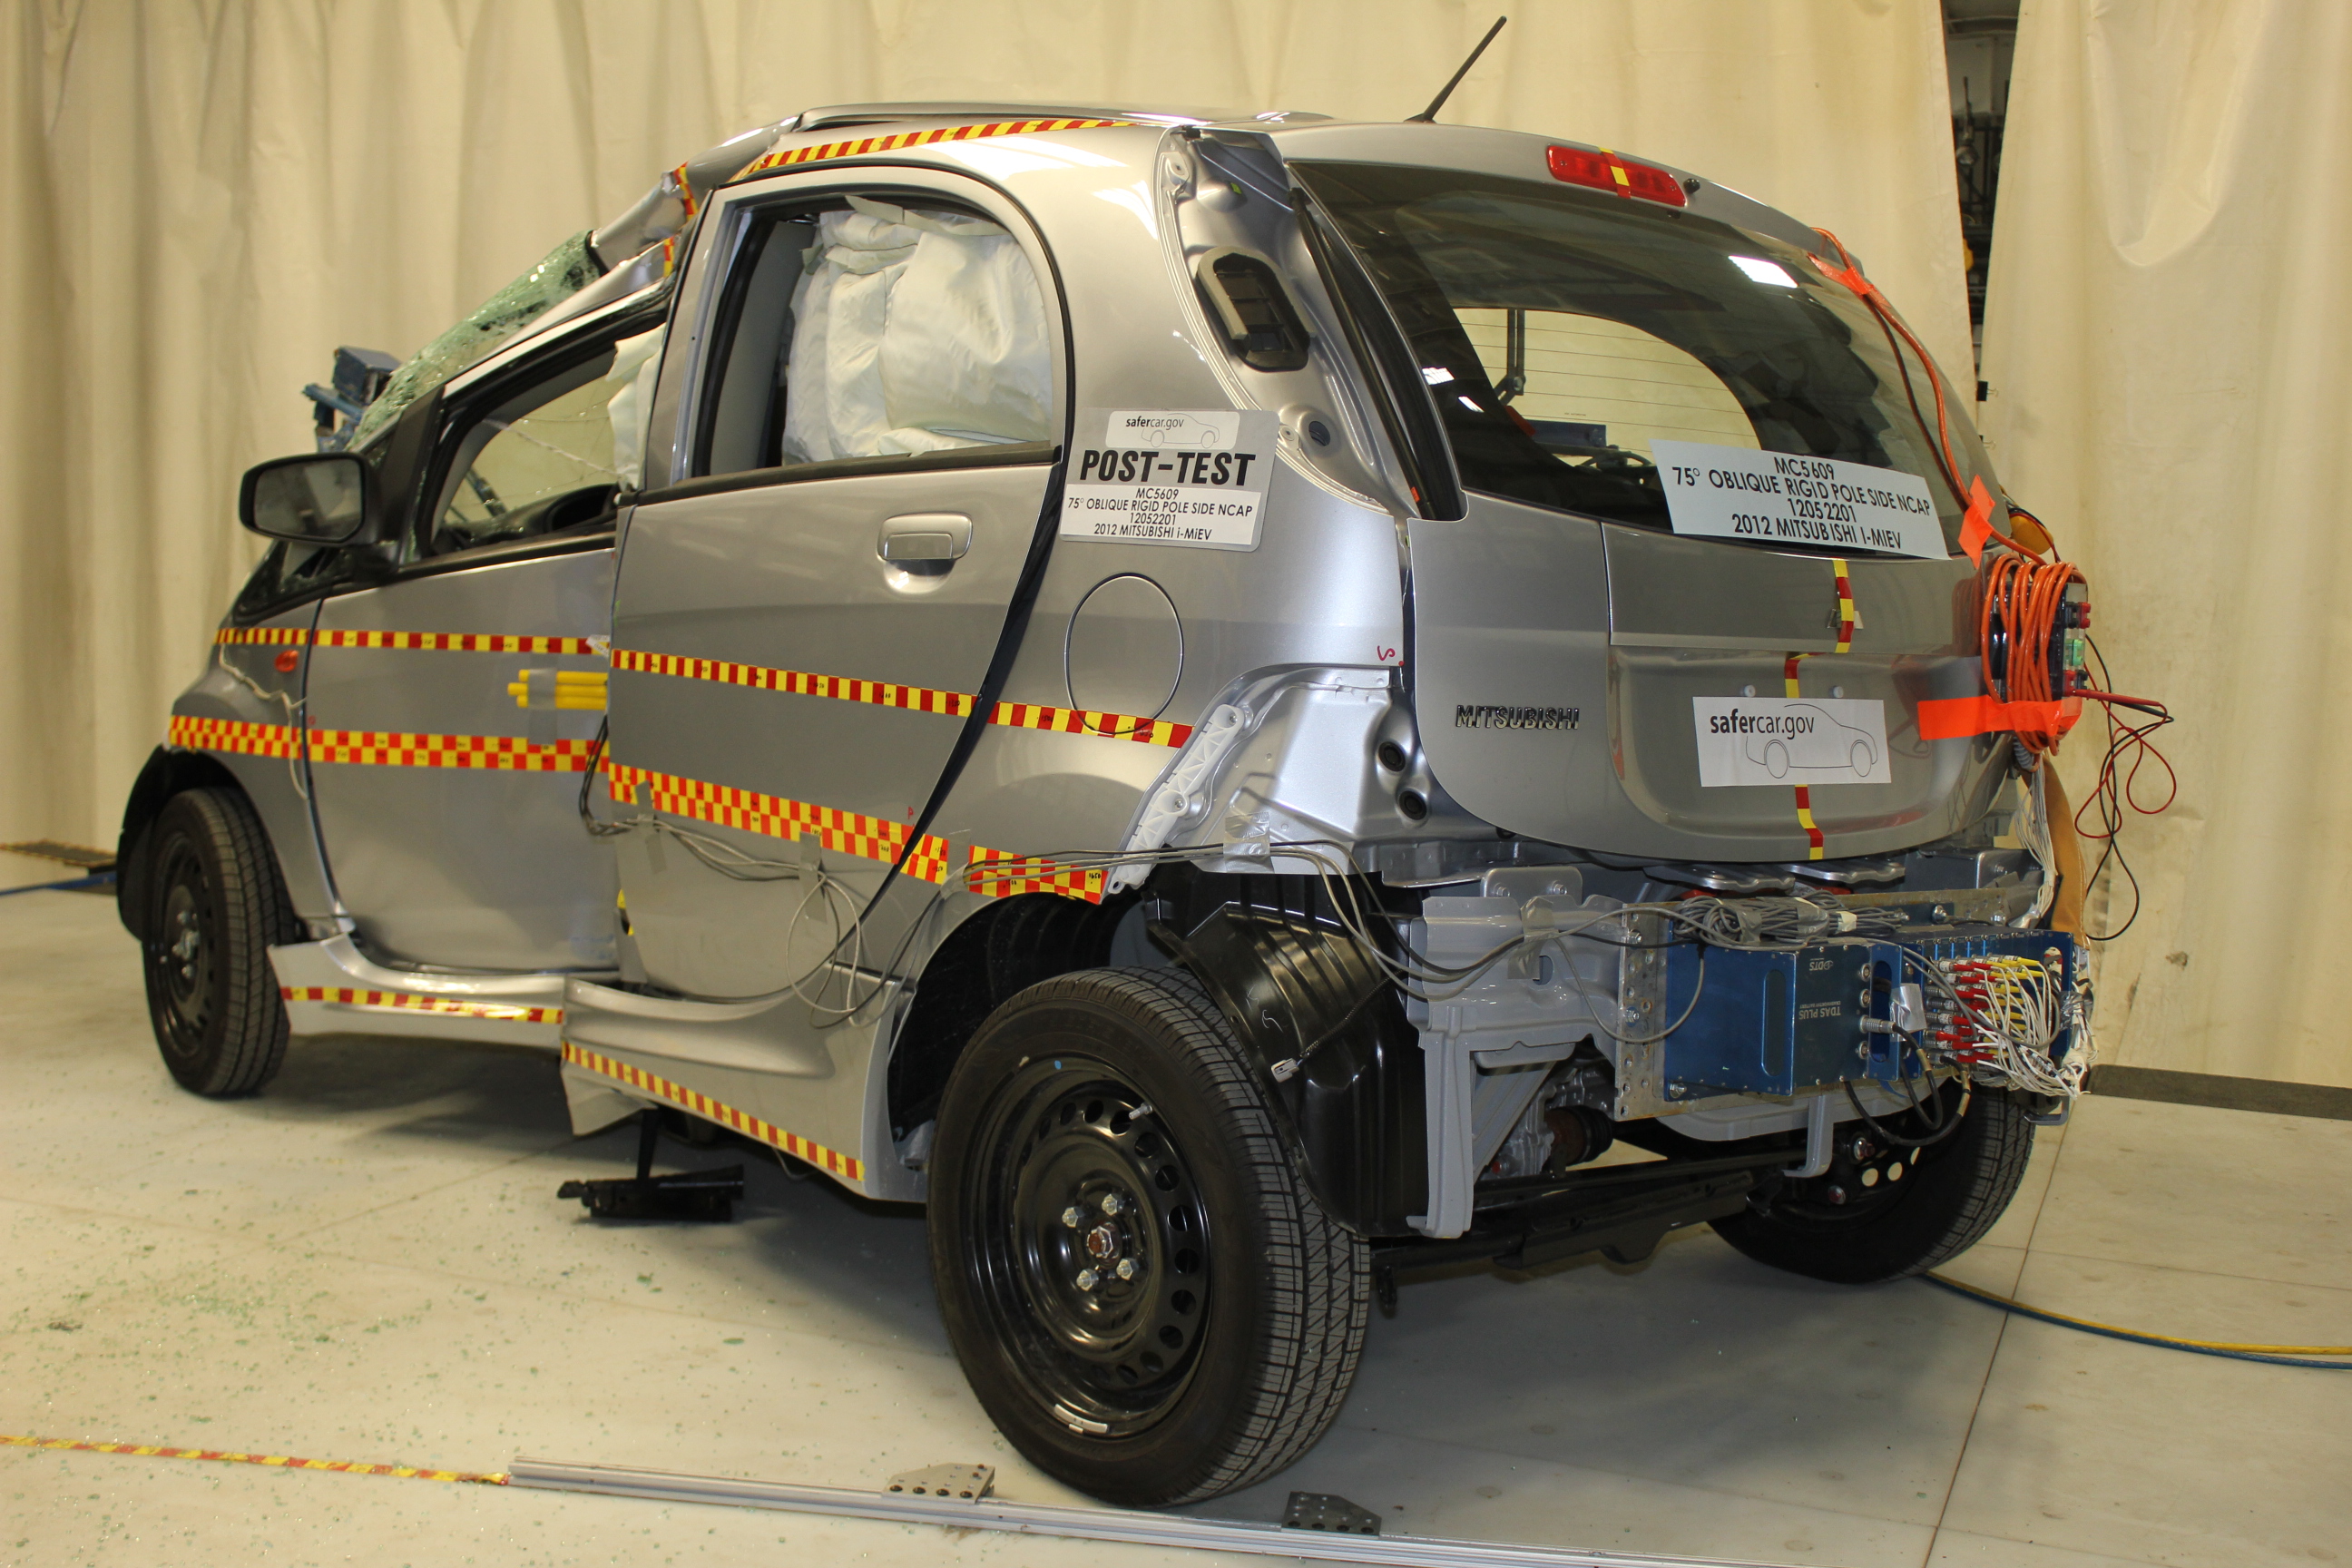
5/5Side pole
4/5Rollover
Frontal, driver: 4★Frontal, passenger: 4★Side, driver: 5★Side, rear passenger: 2★Rollover risk: 14.7%
  • Lane departure warningNo
  • Forward collision warningNo
  • Electronic stability controlStandard

Crash test videos & photos

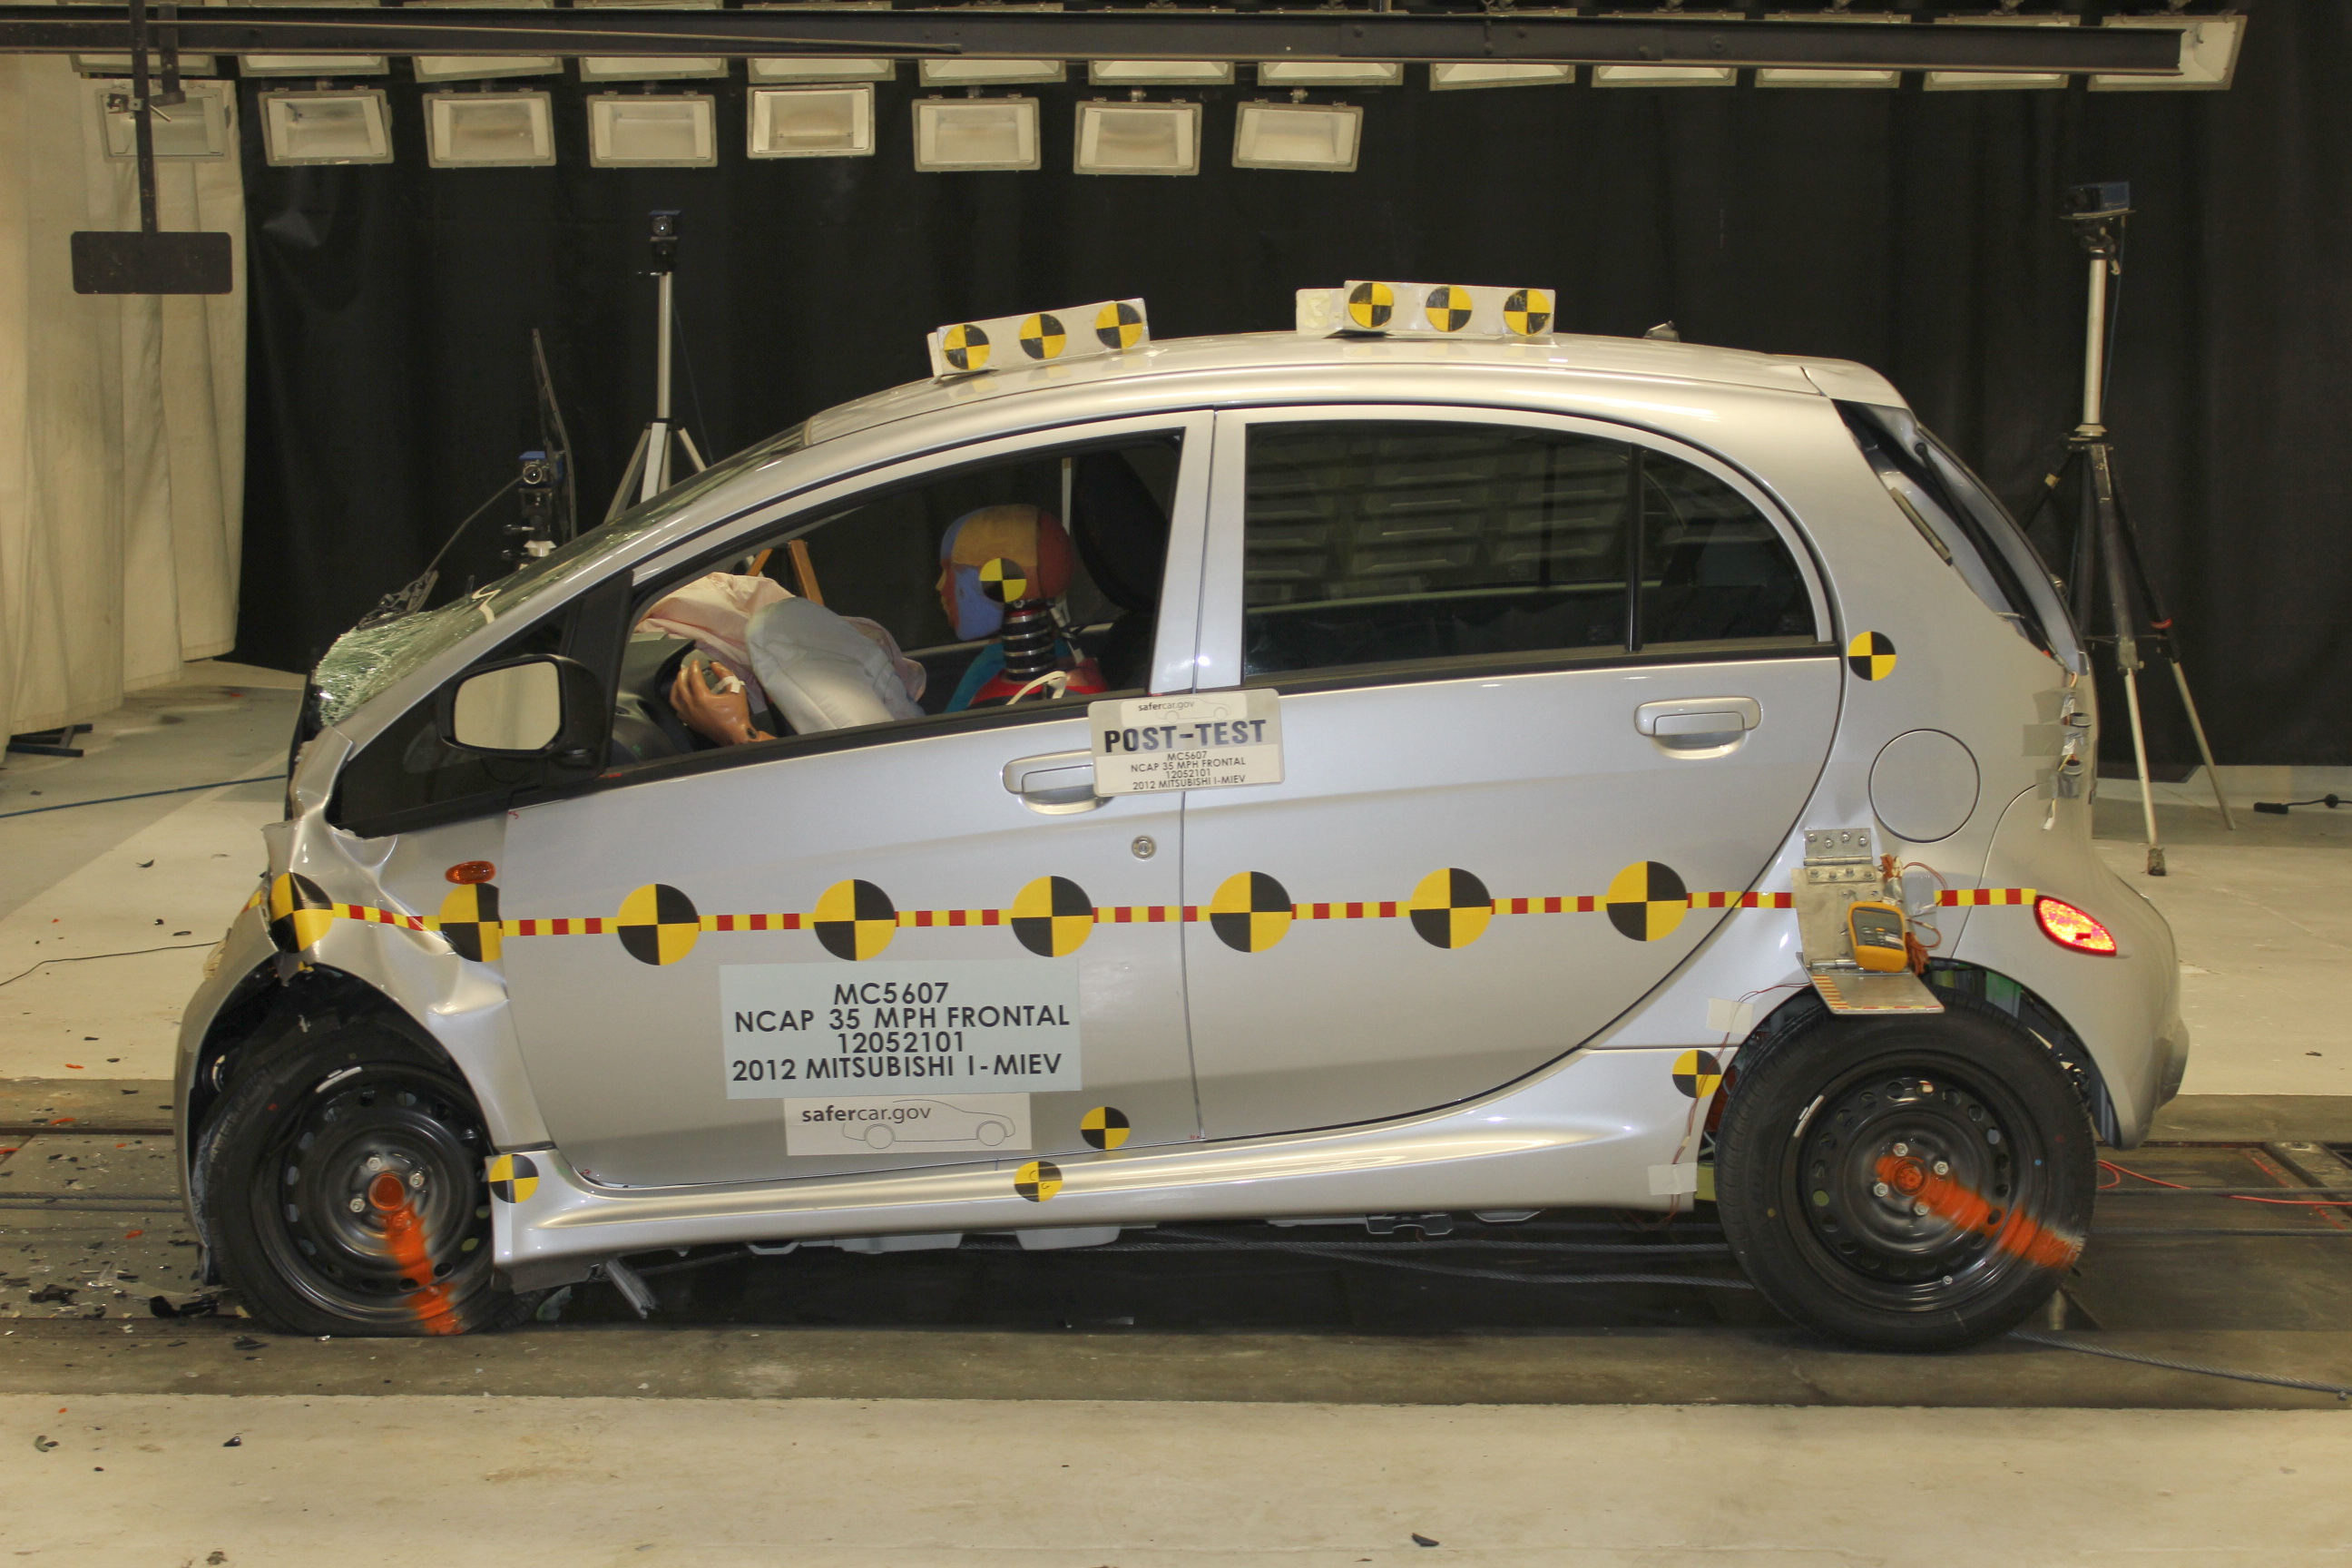
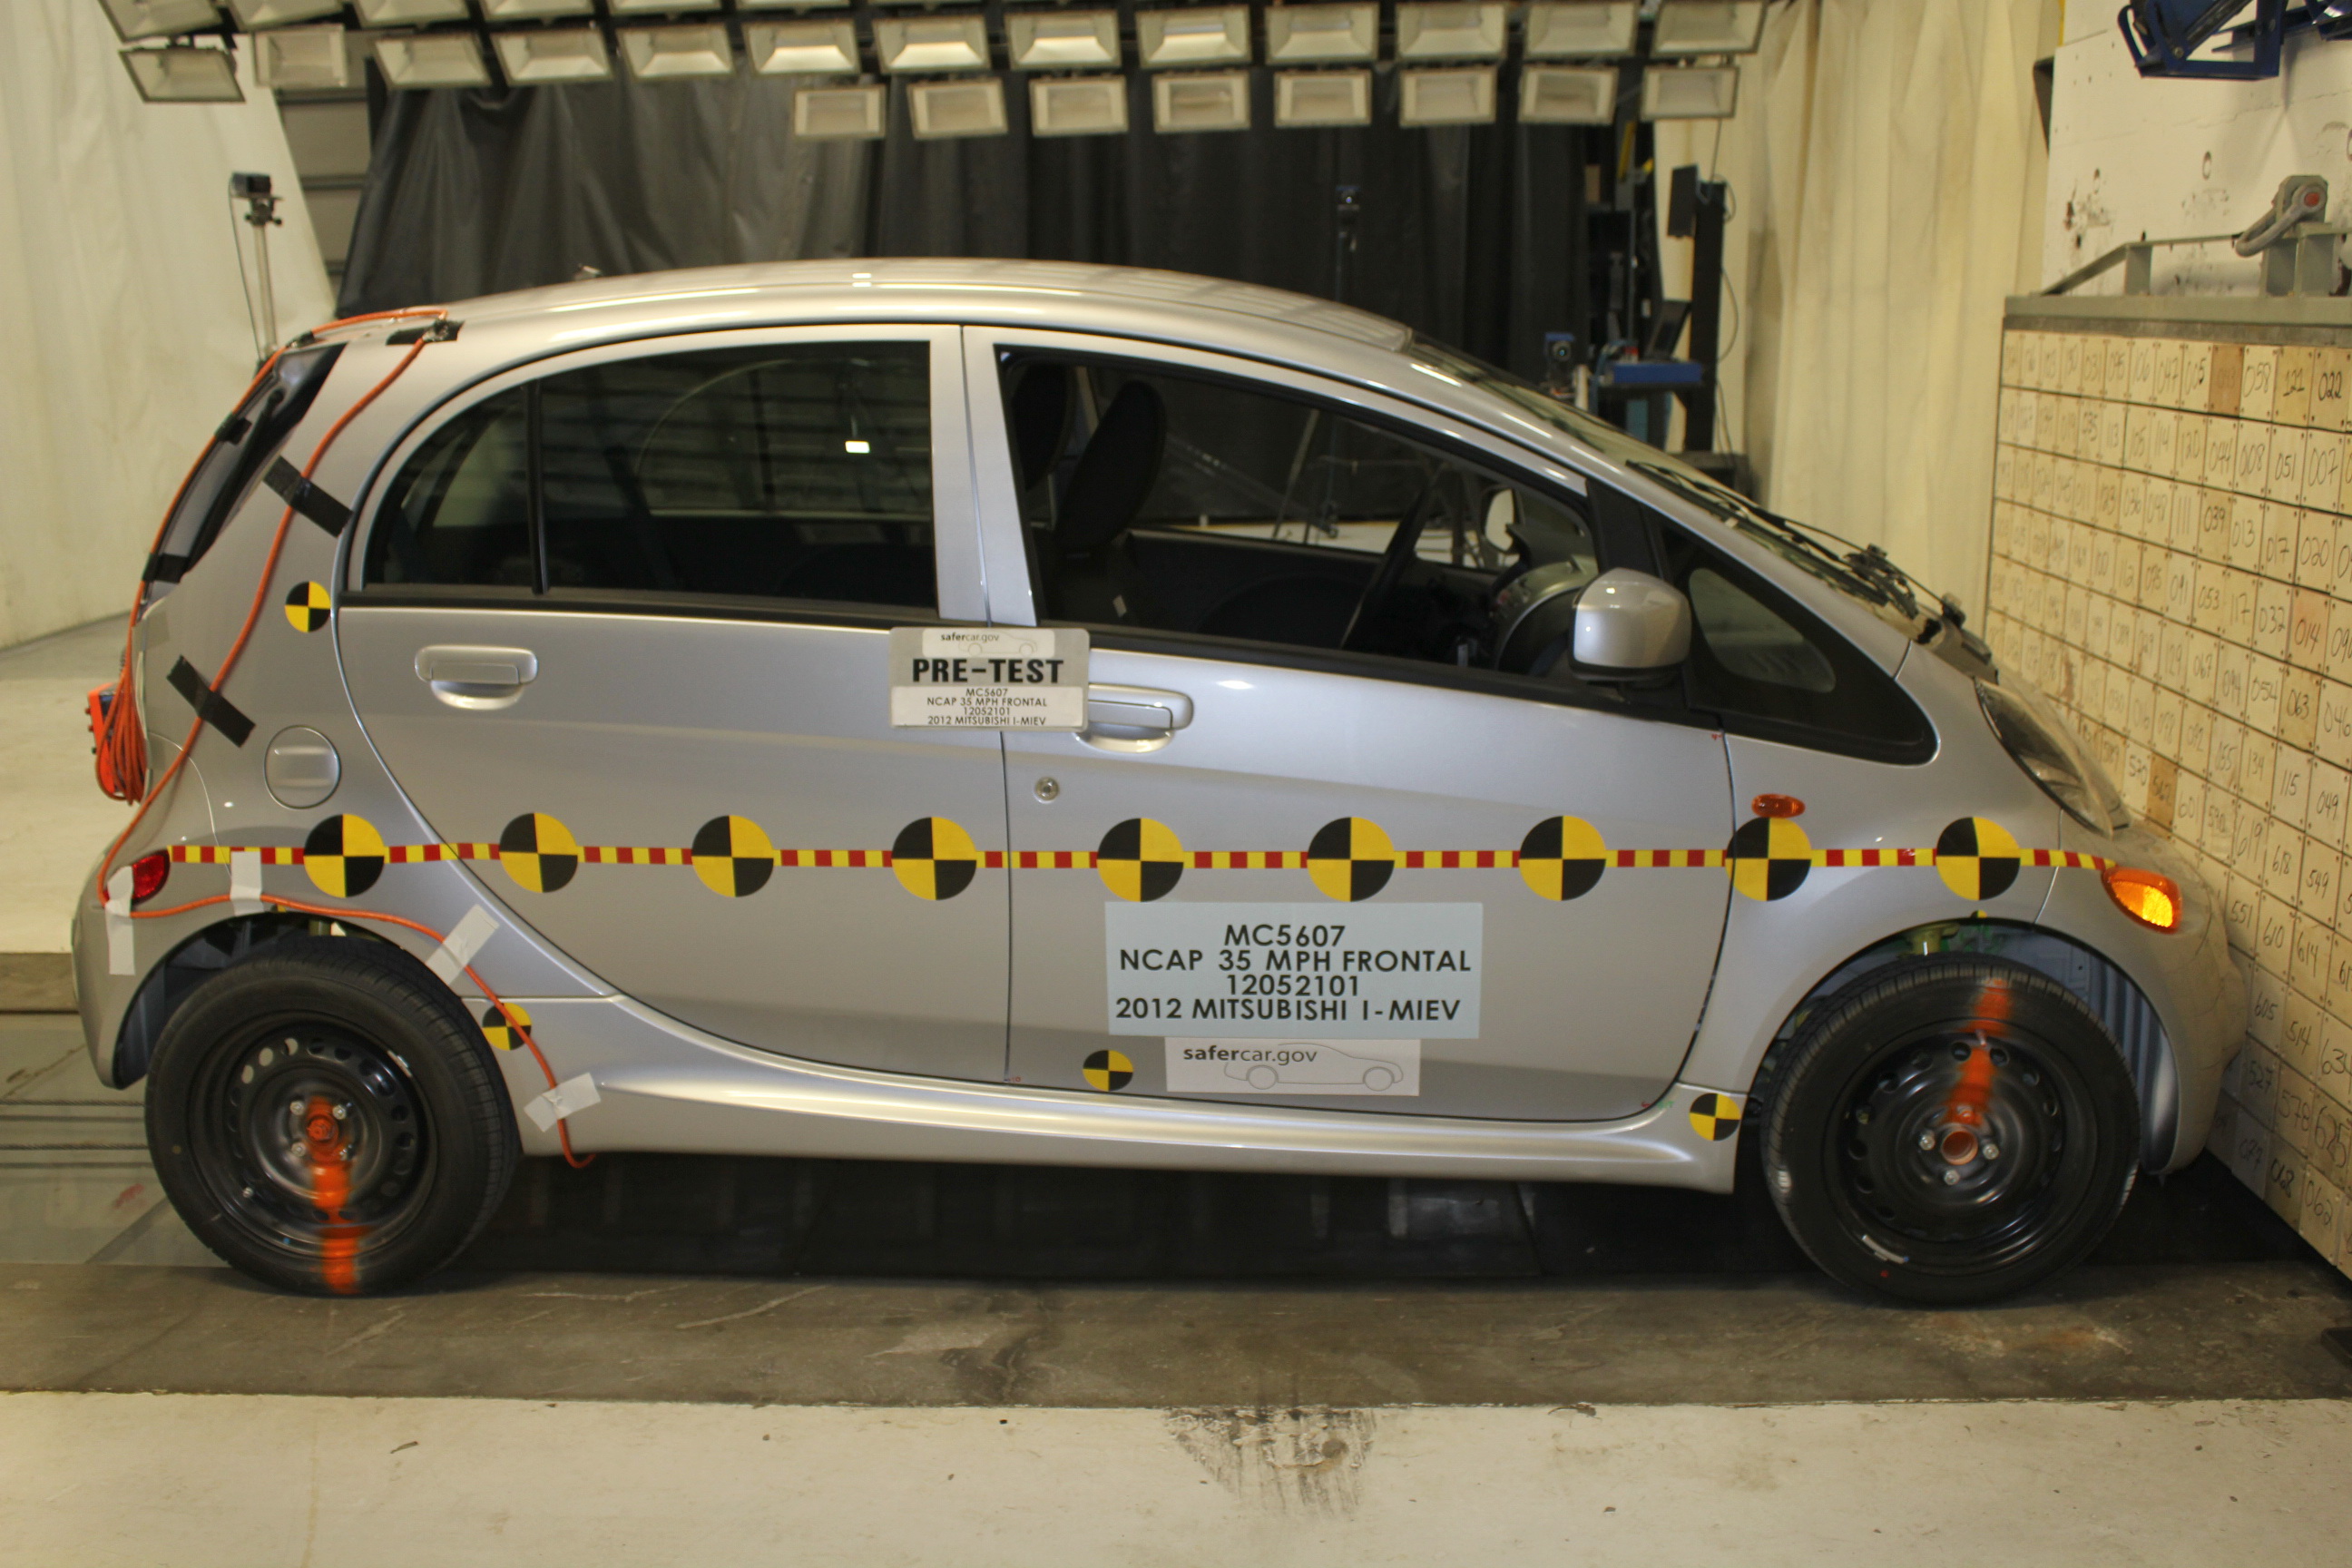
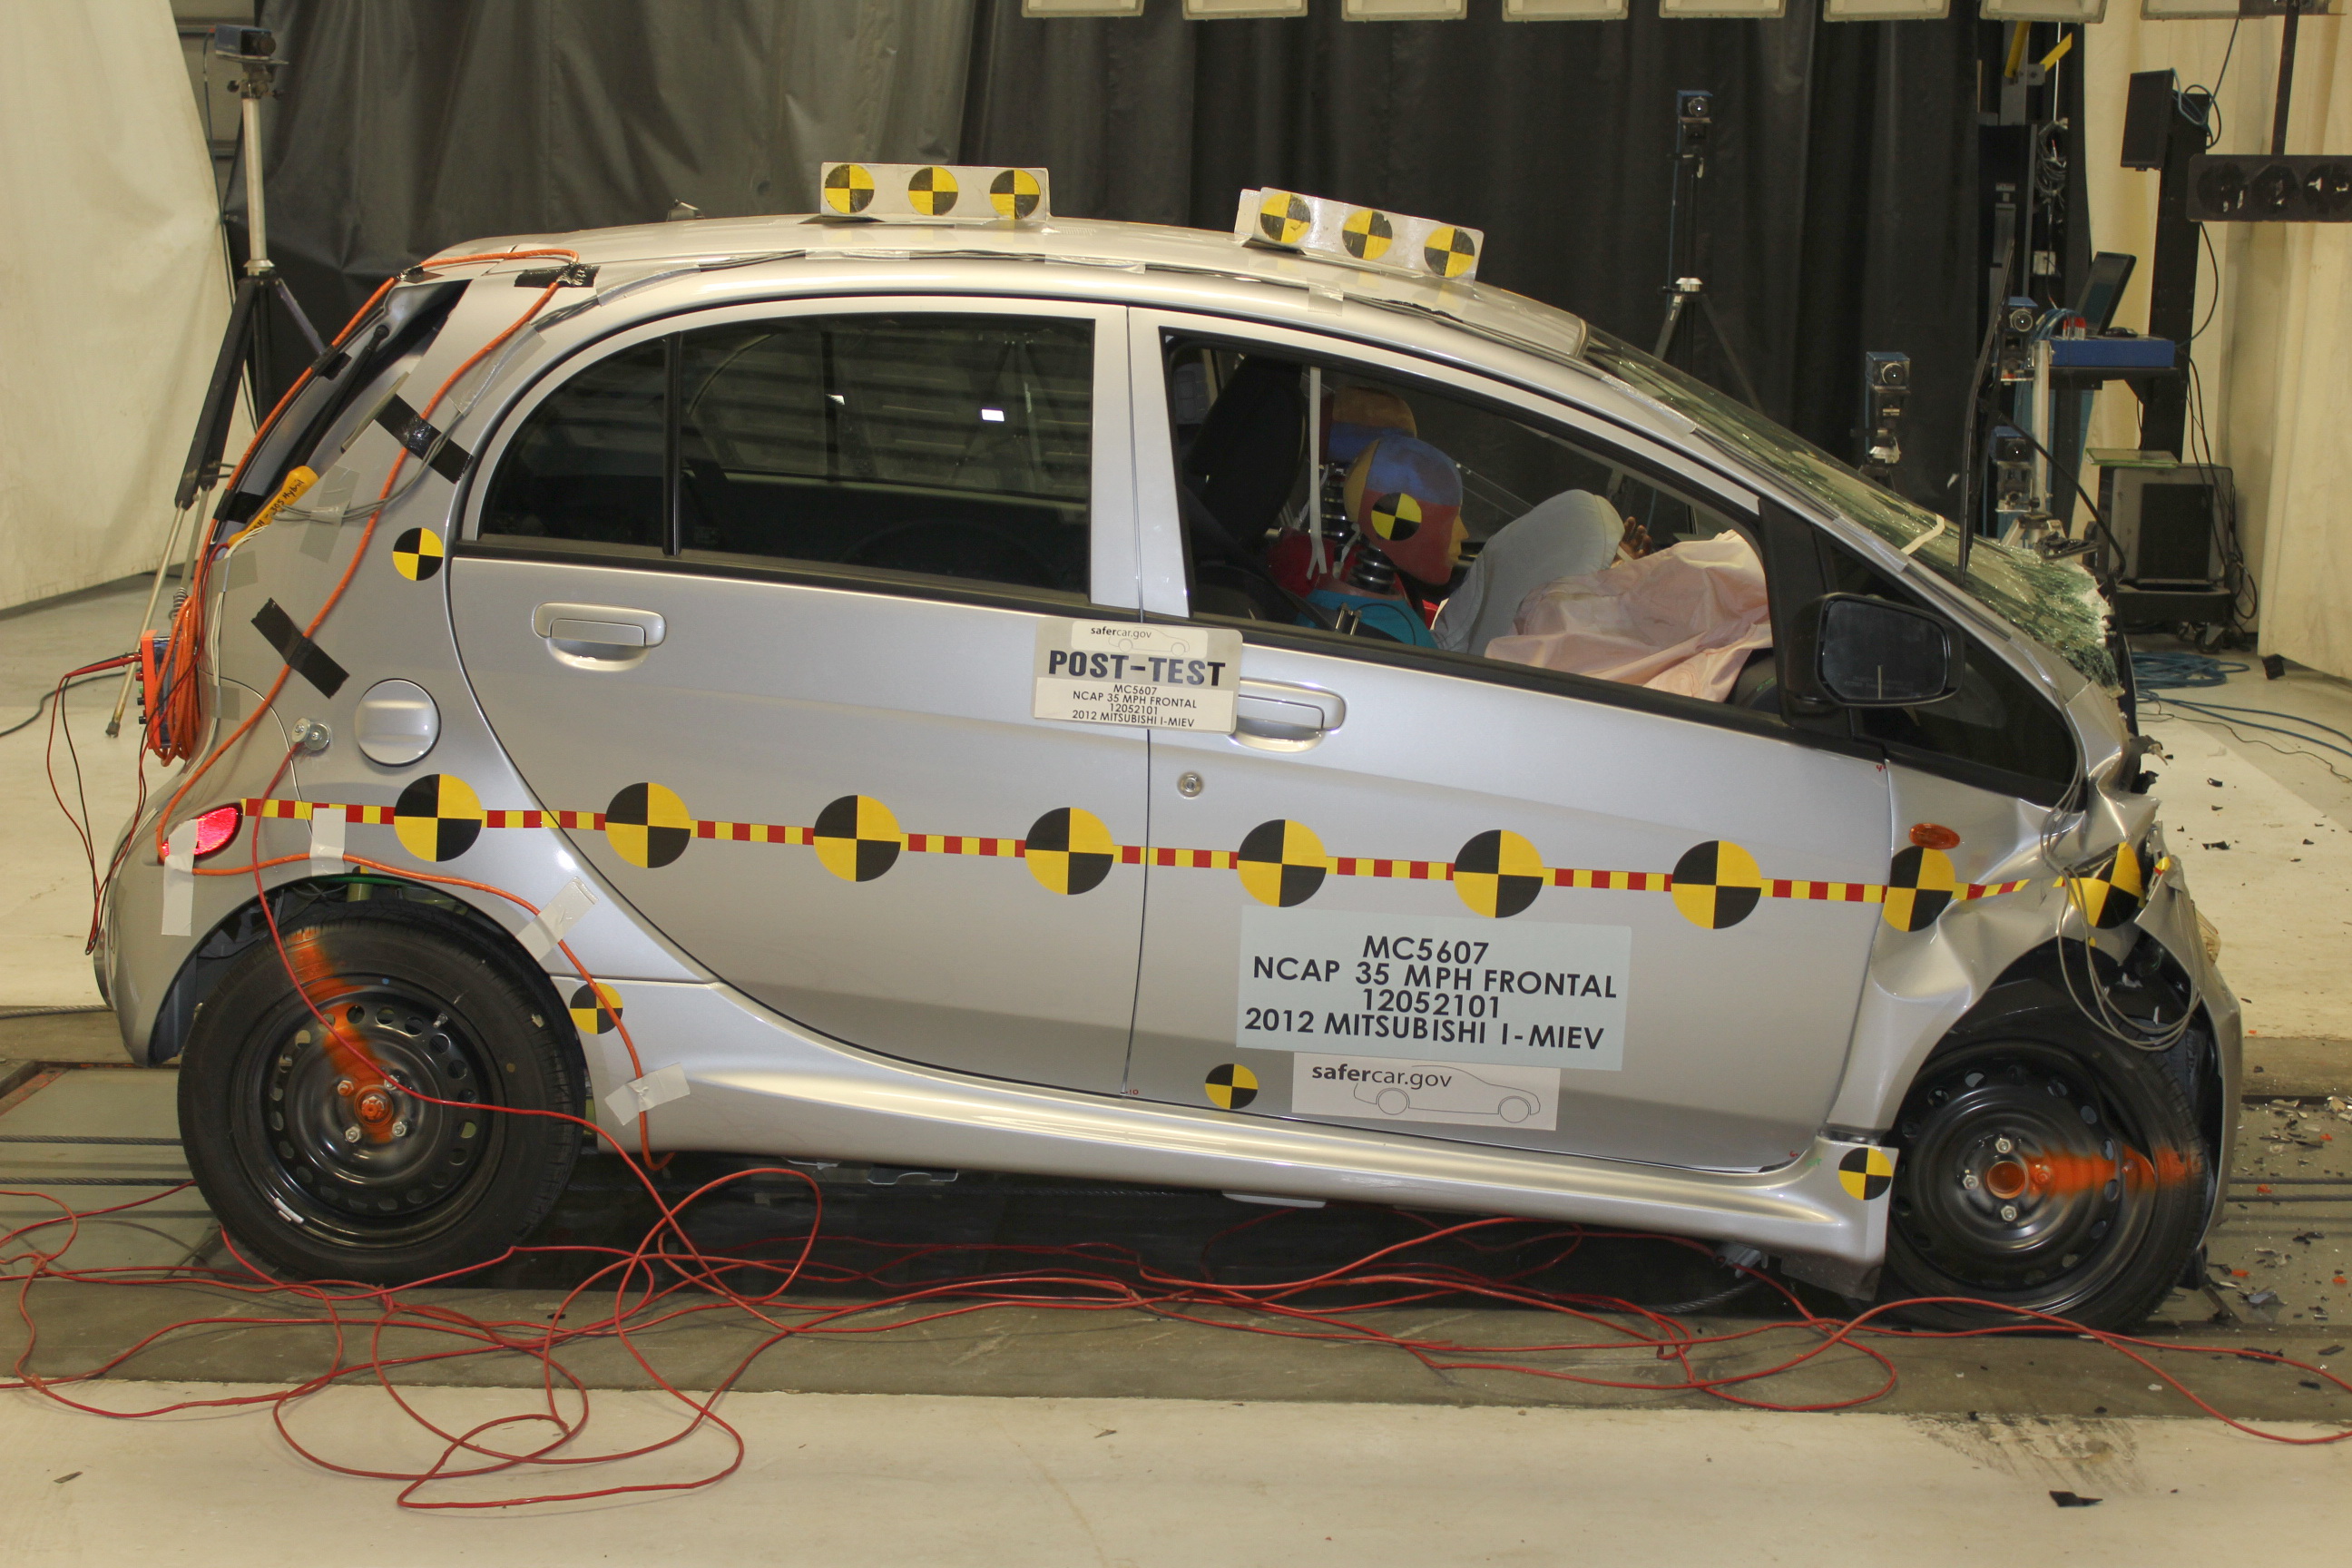
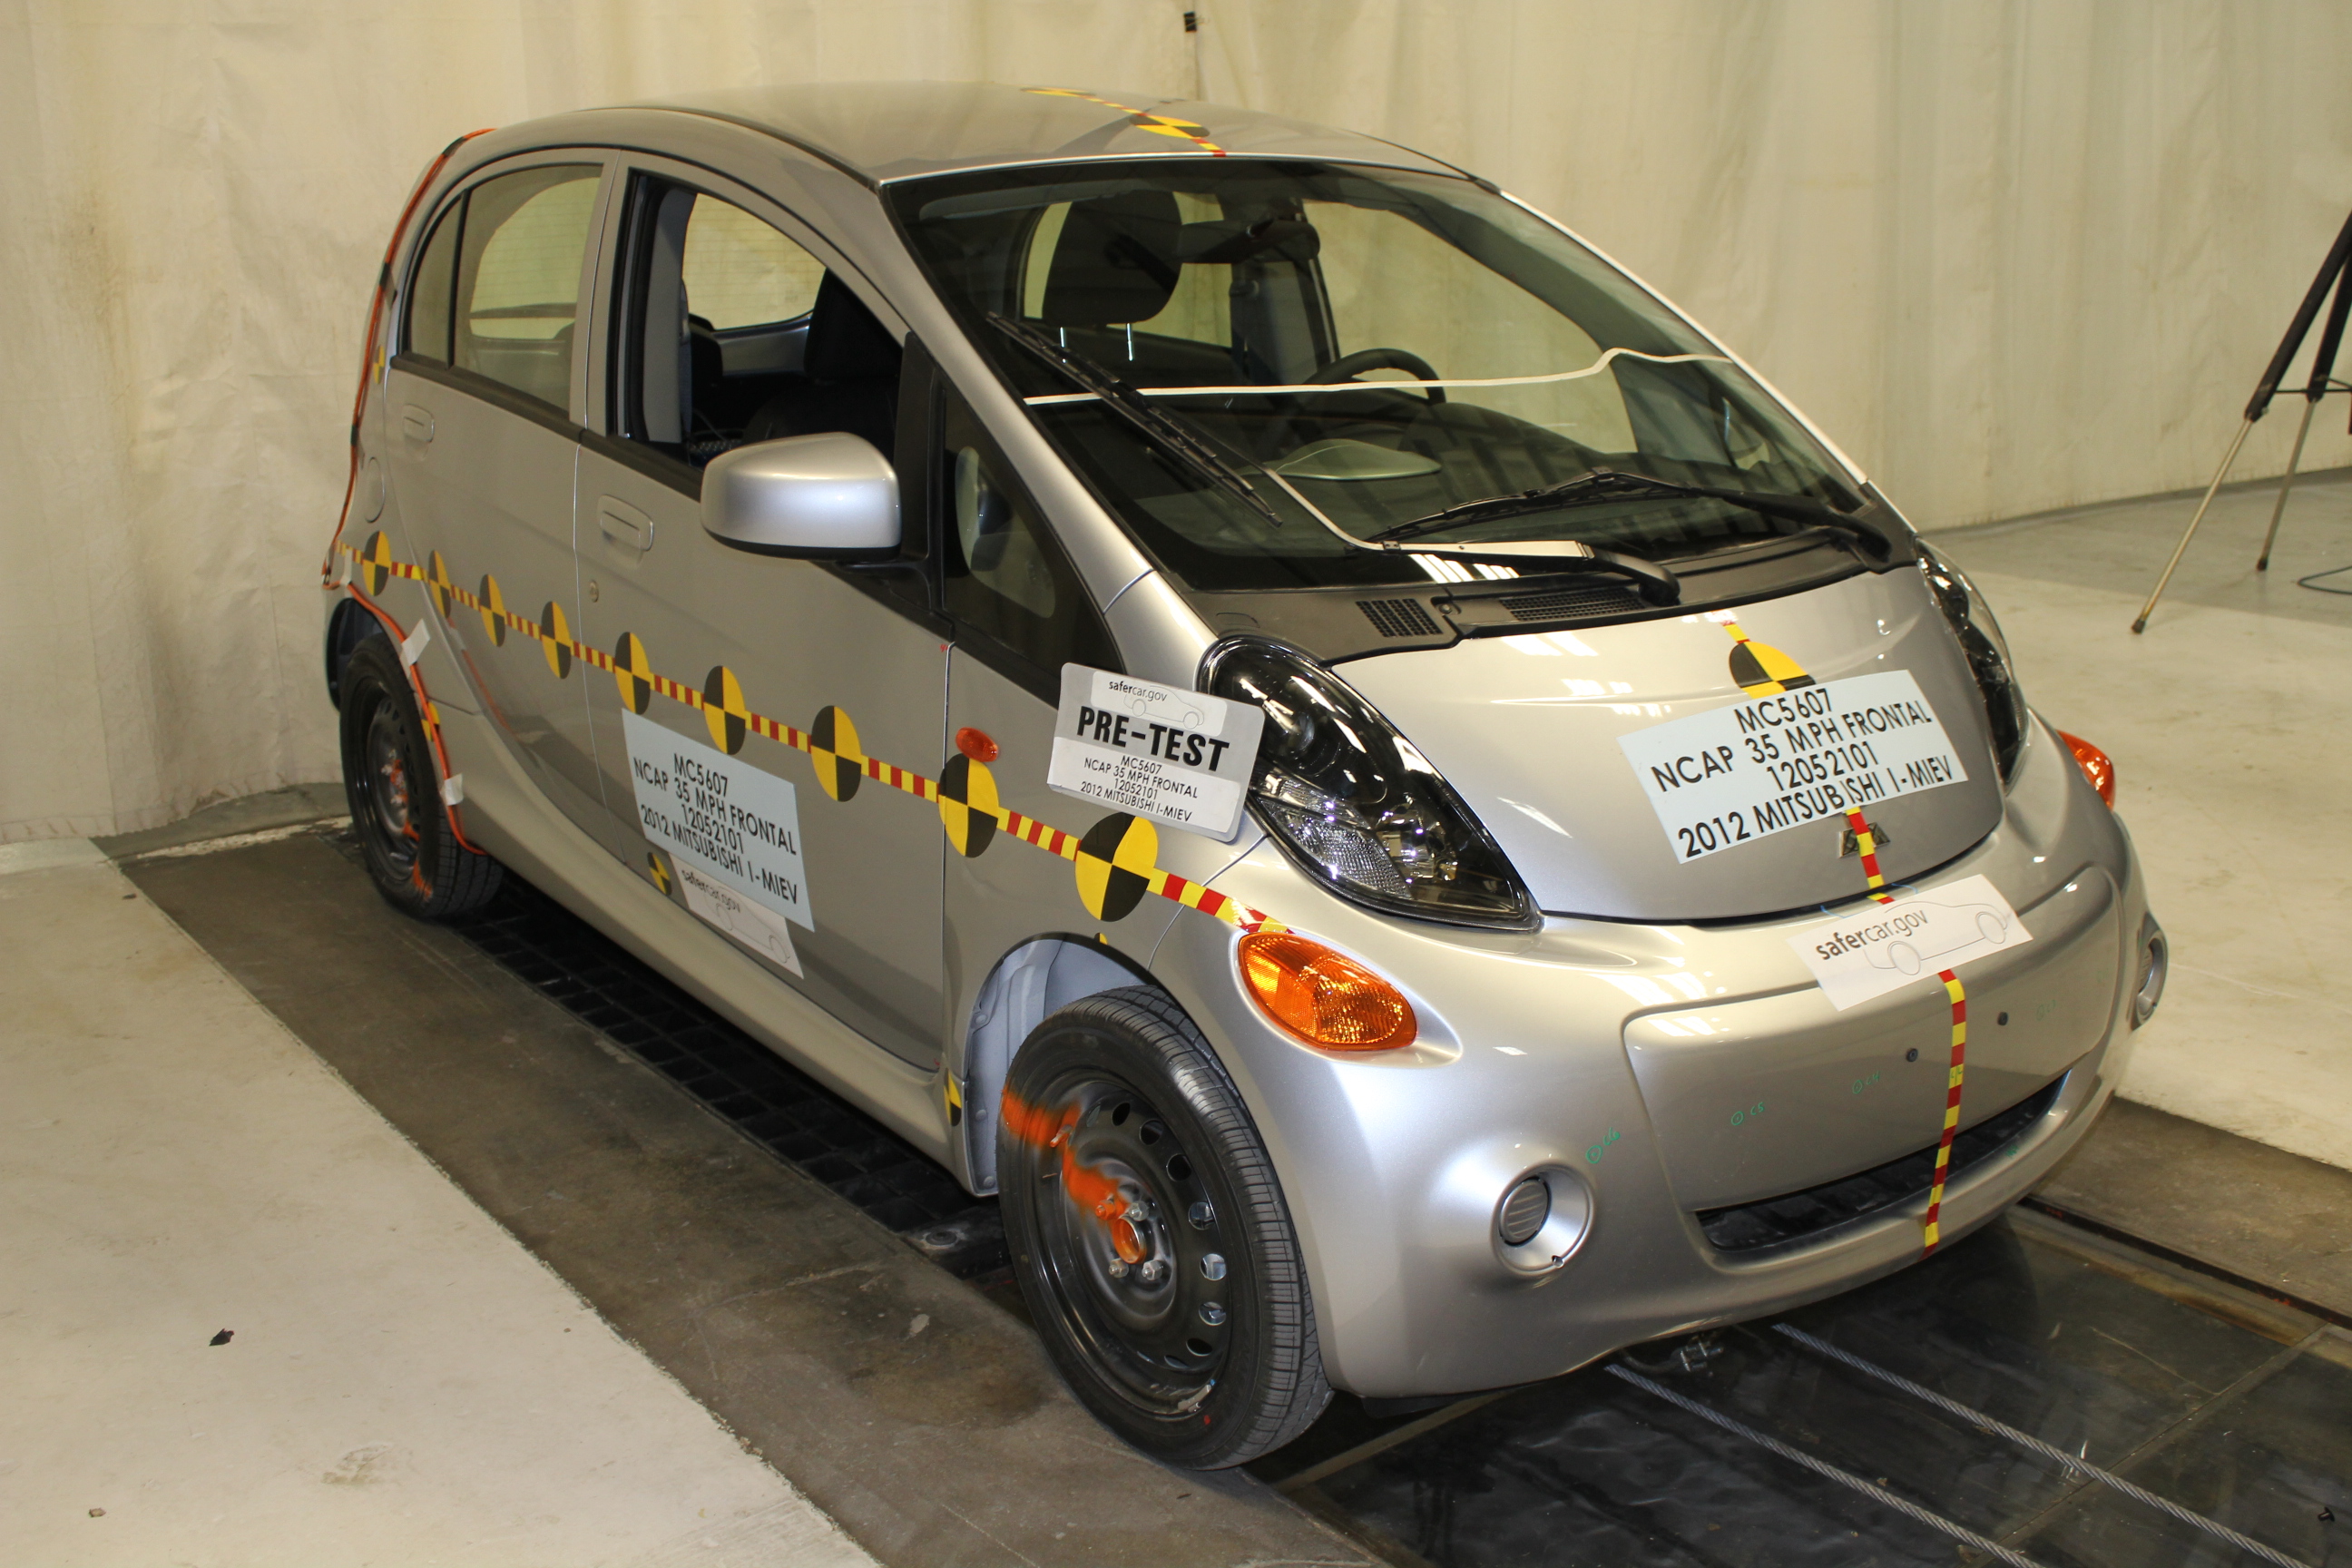
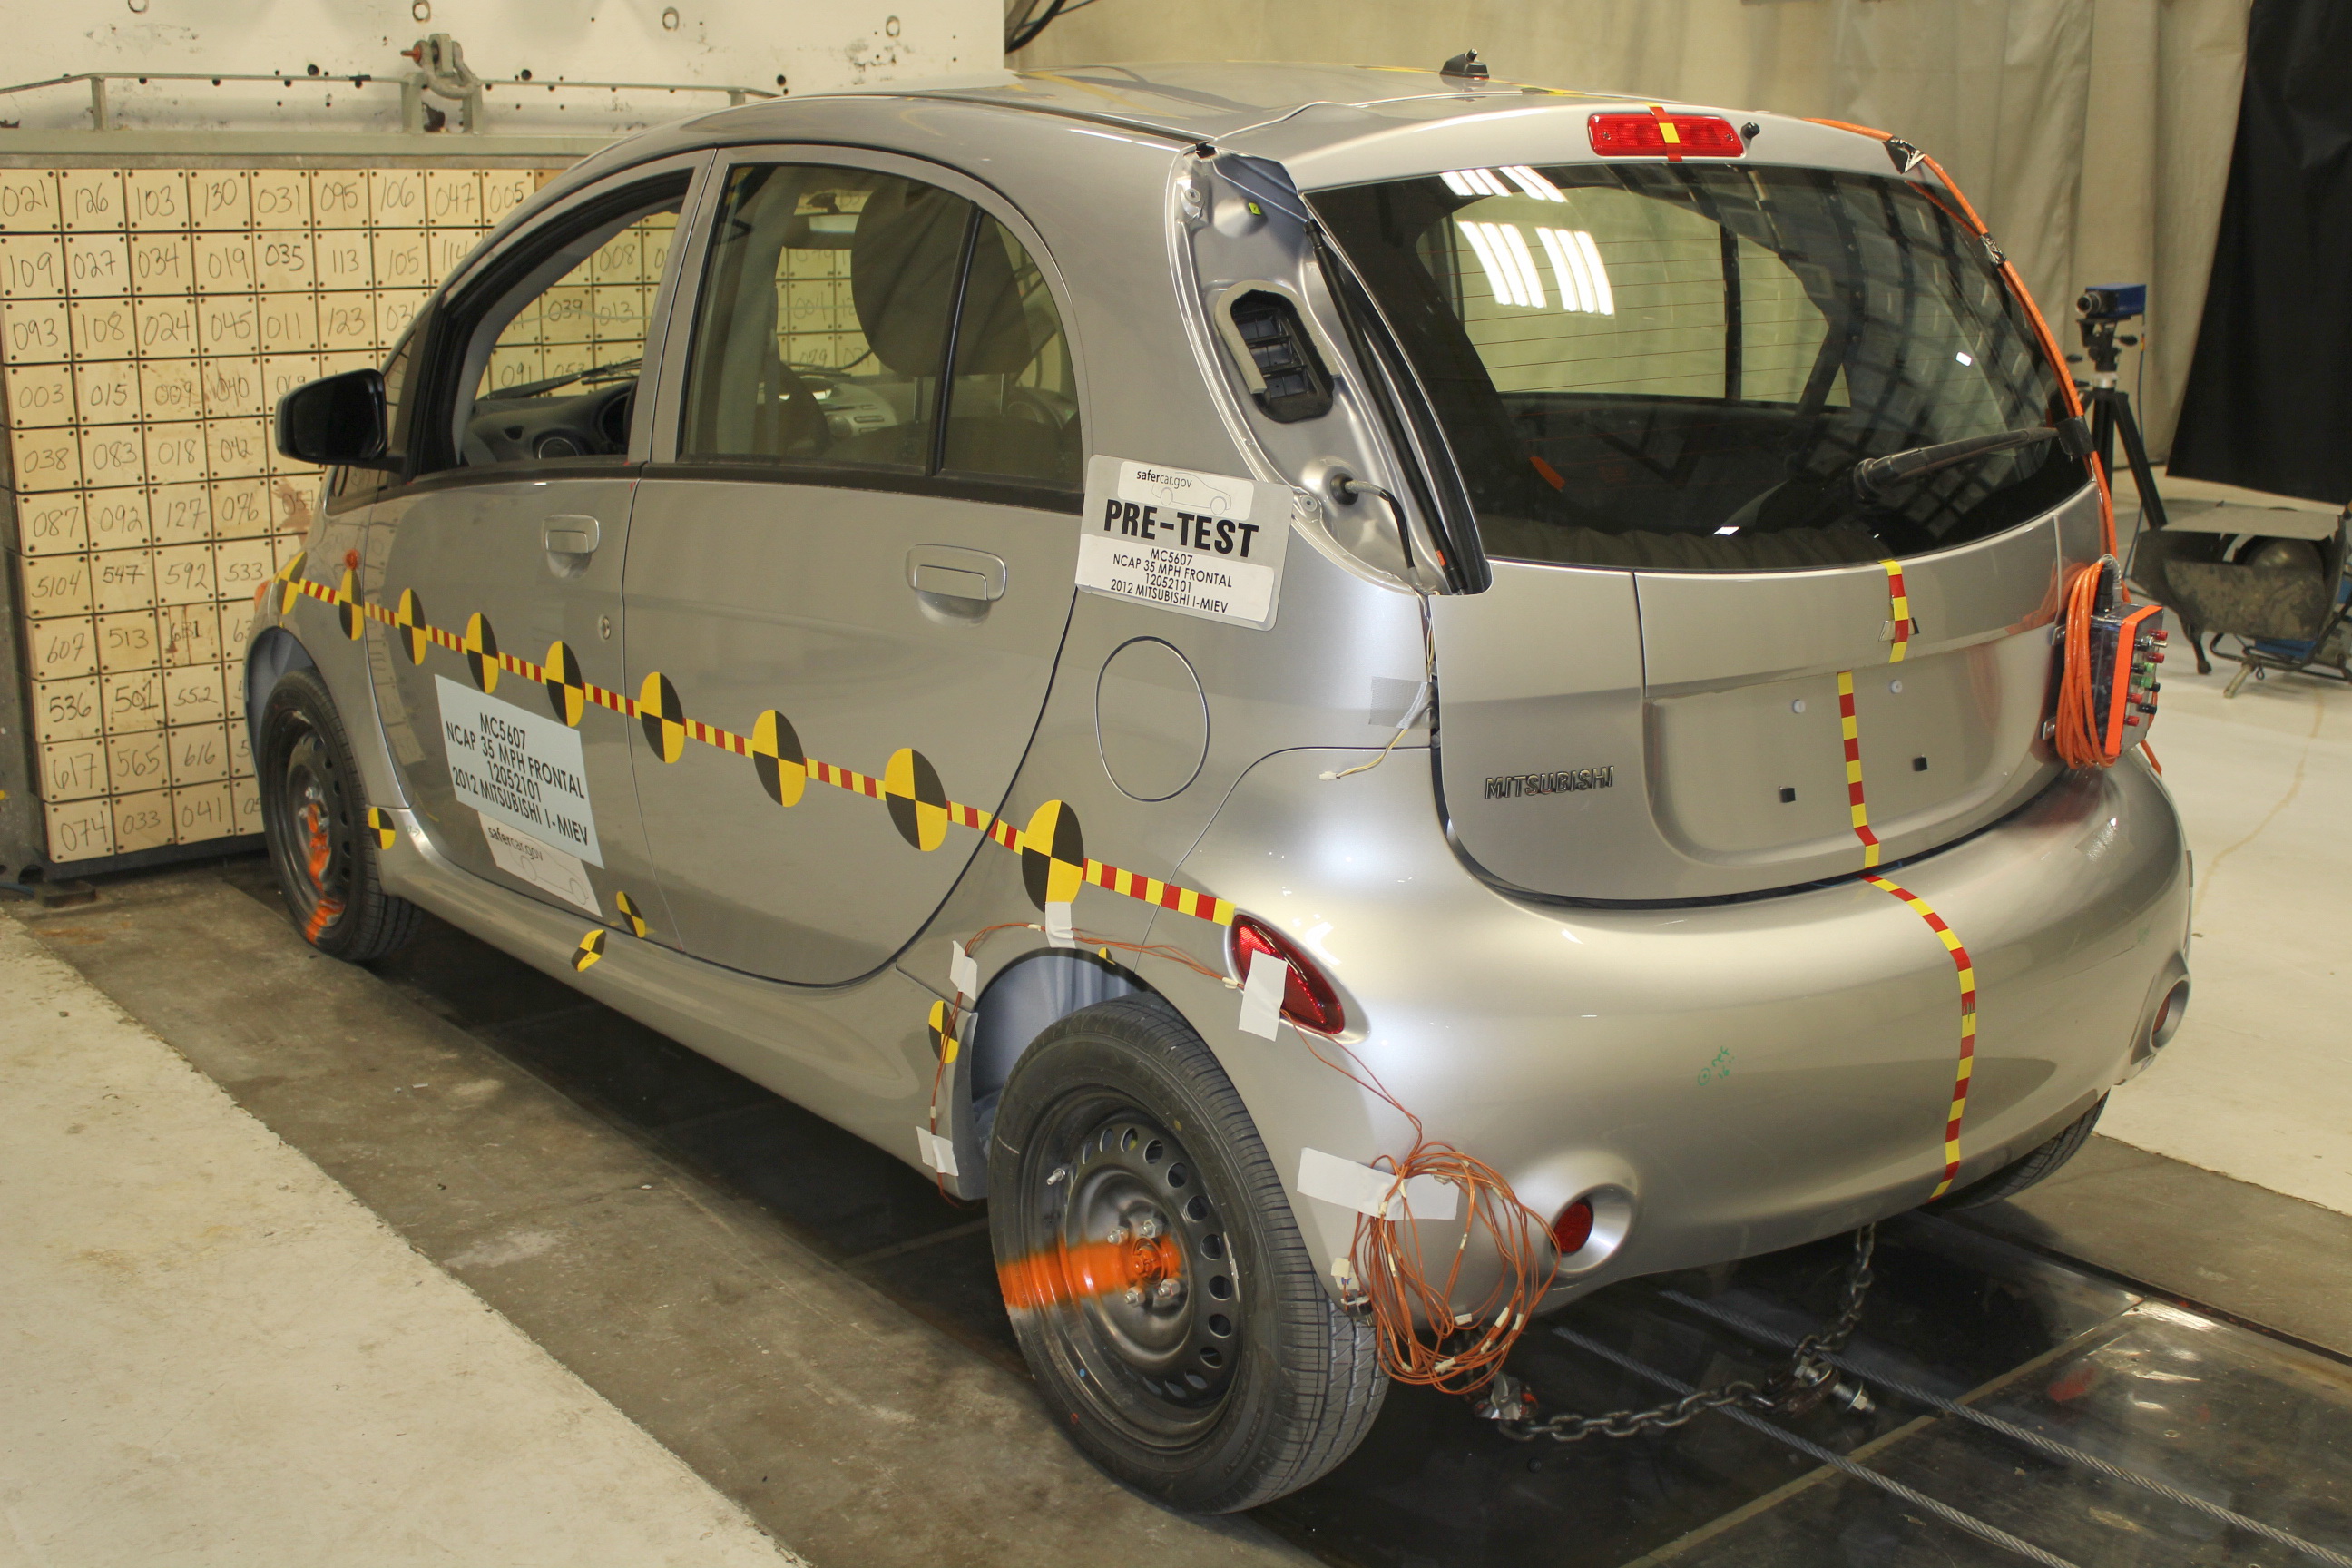
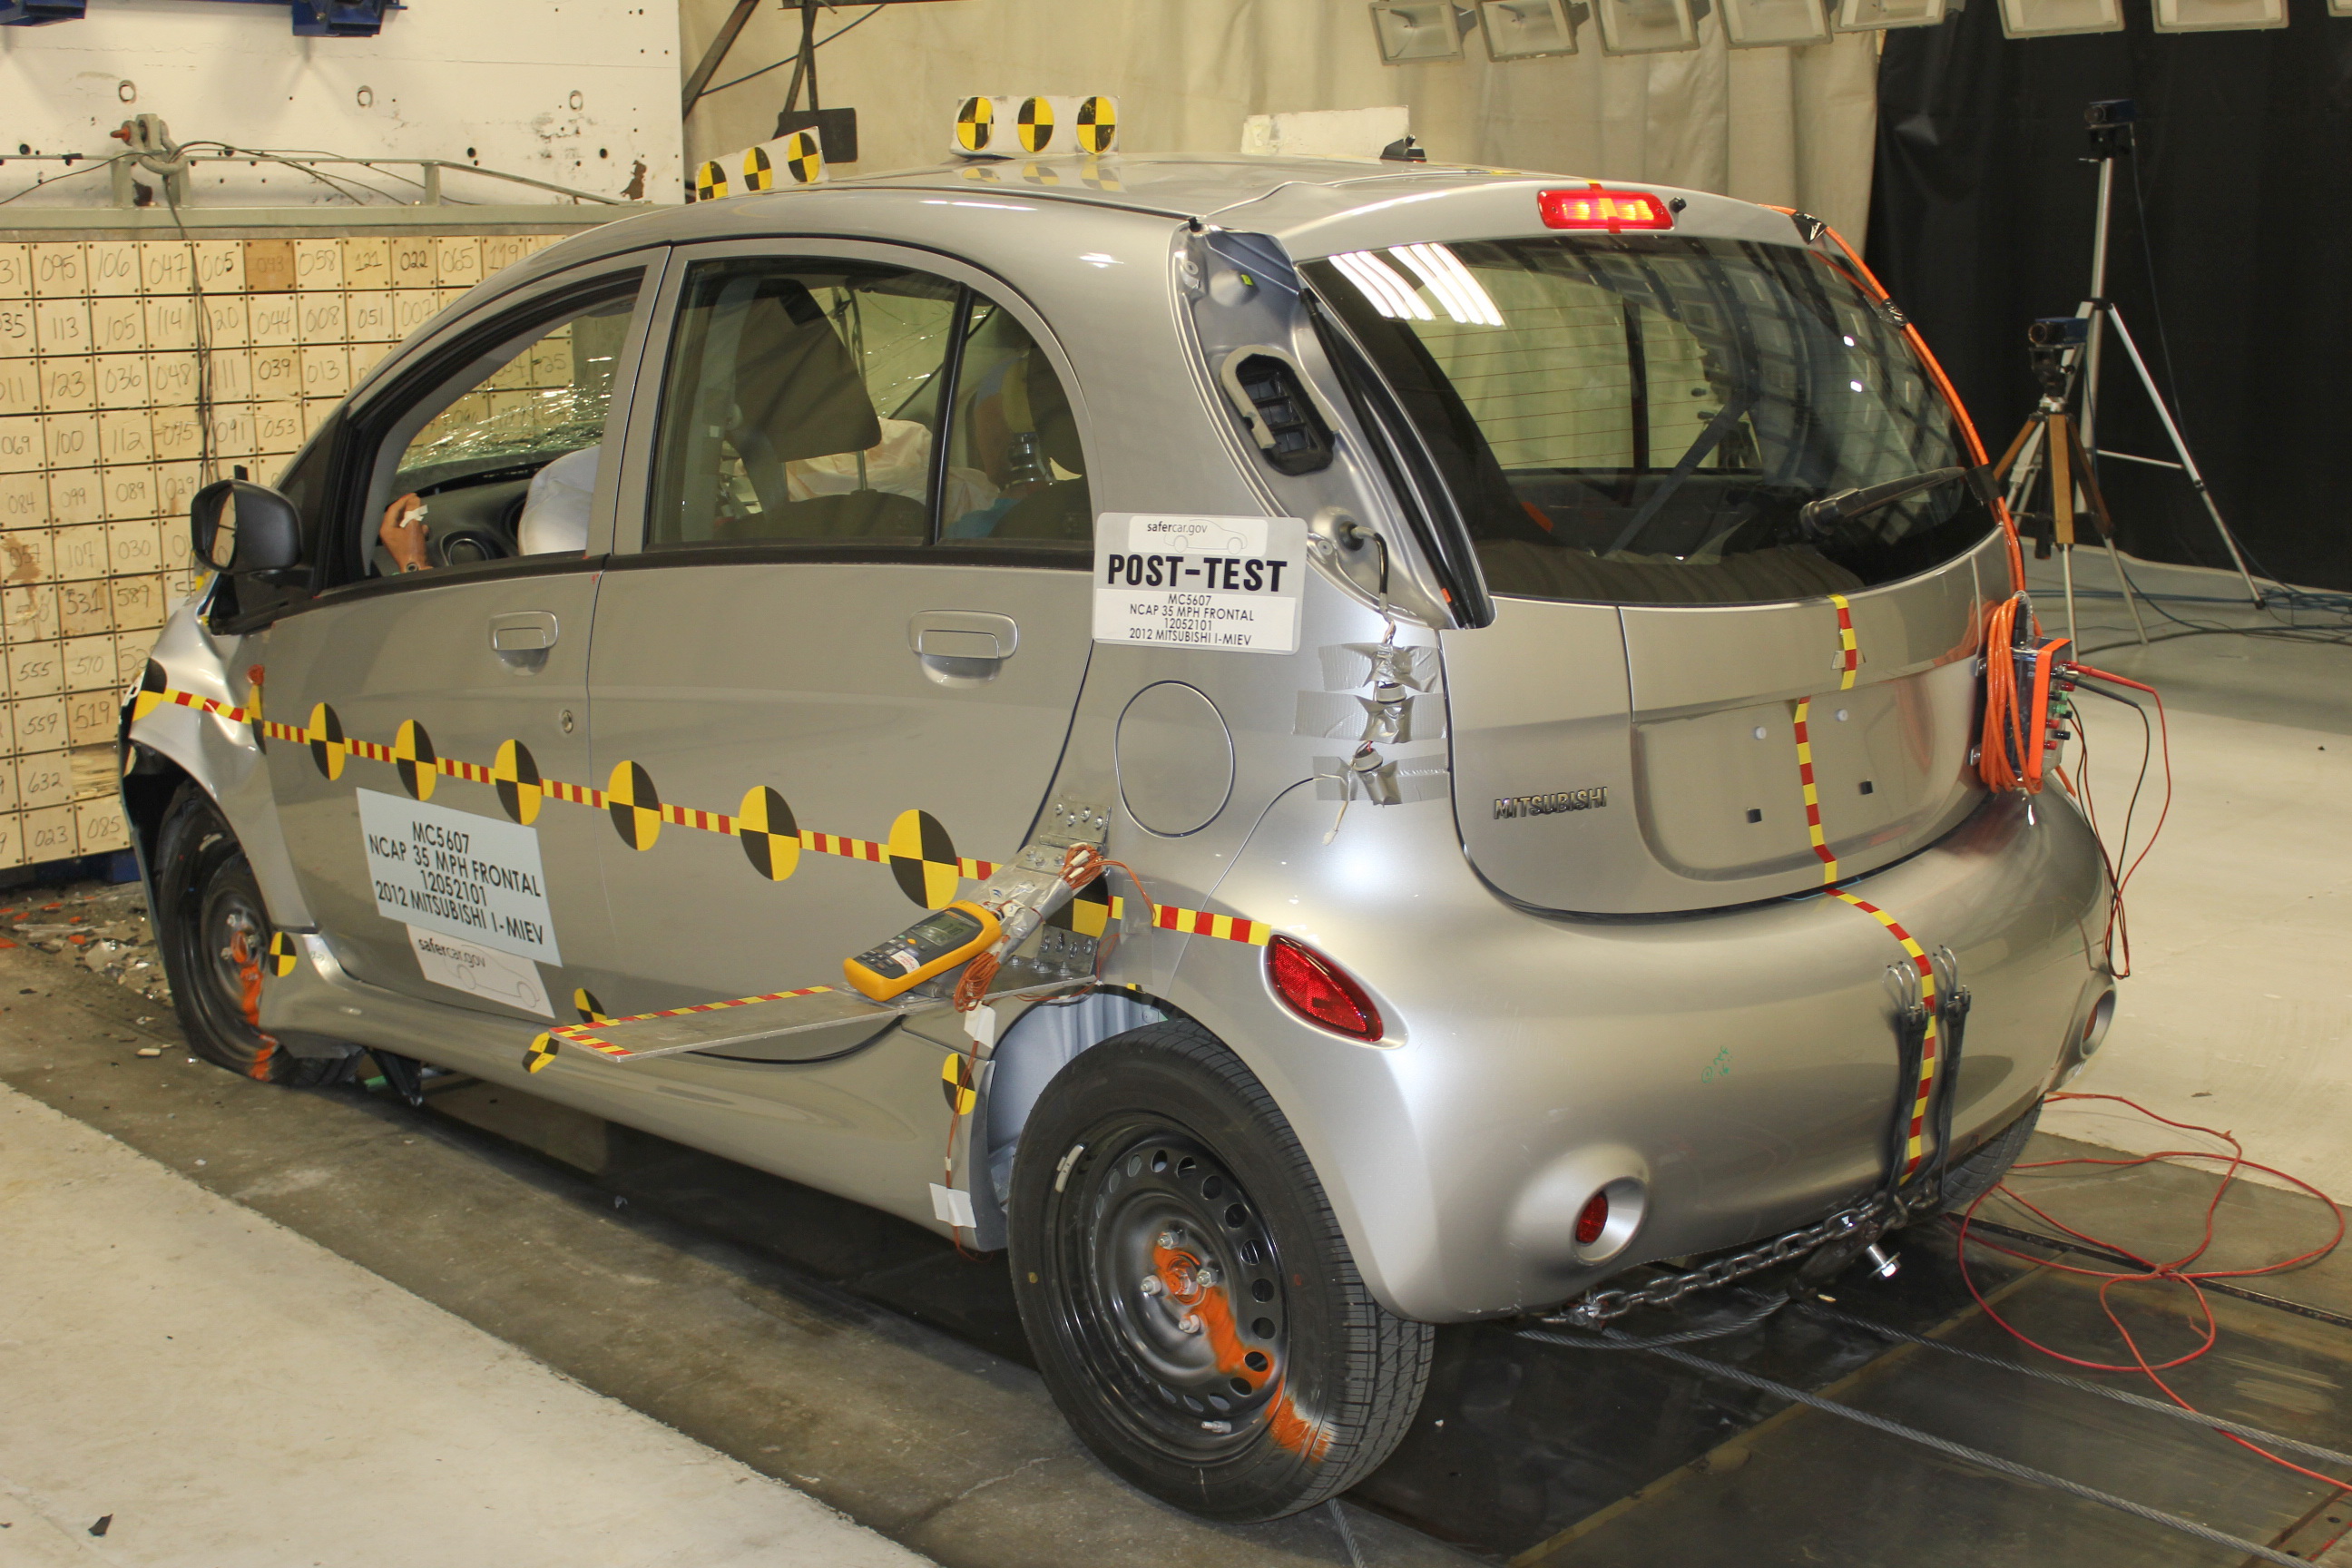
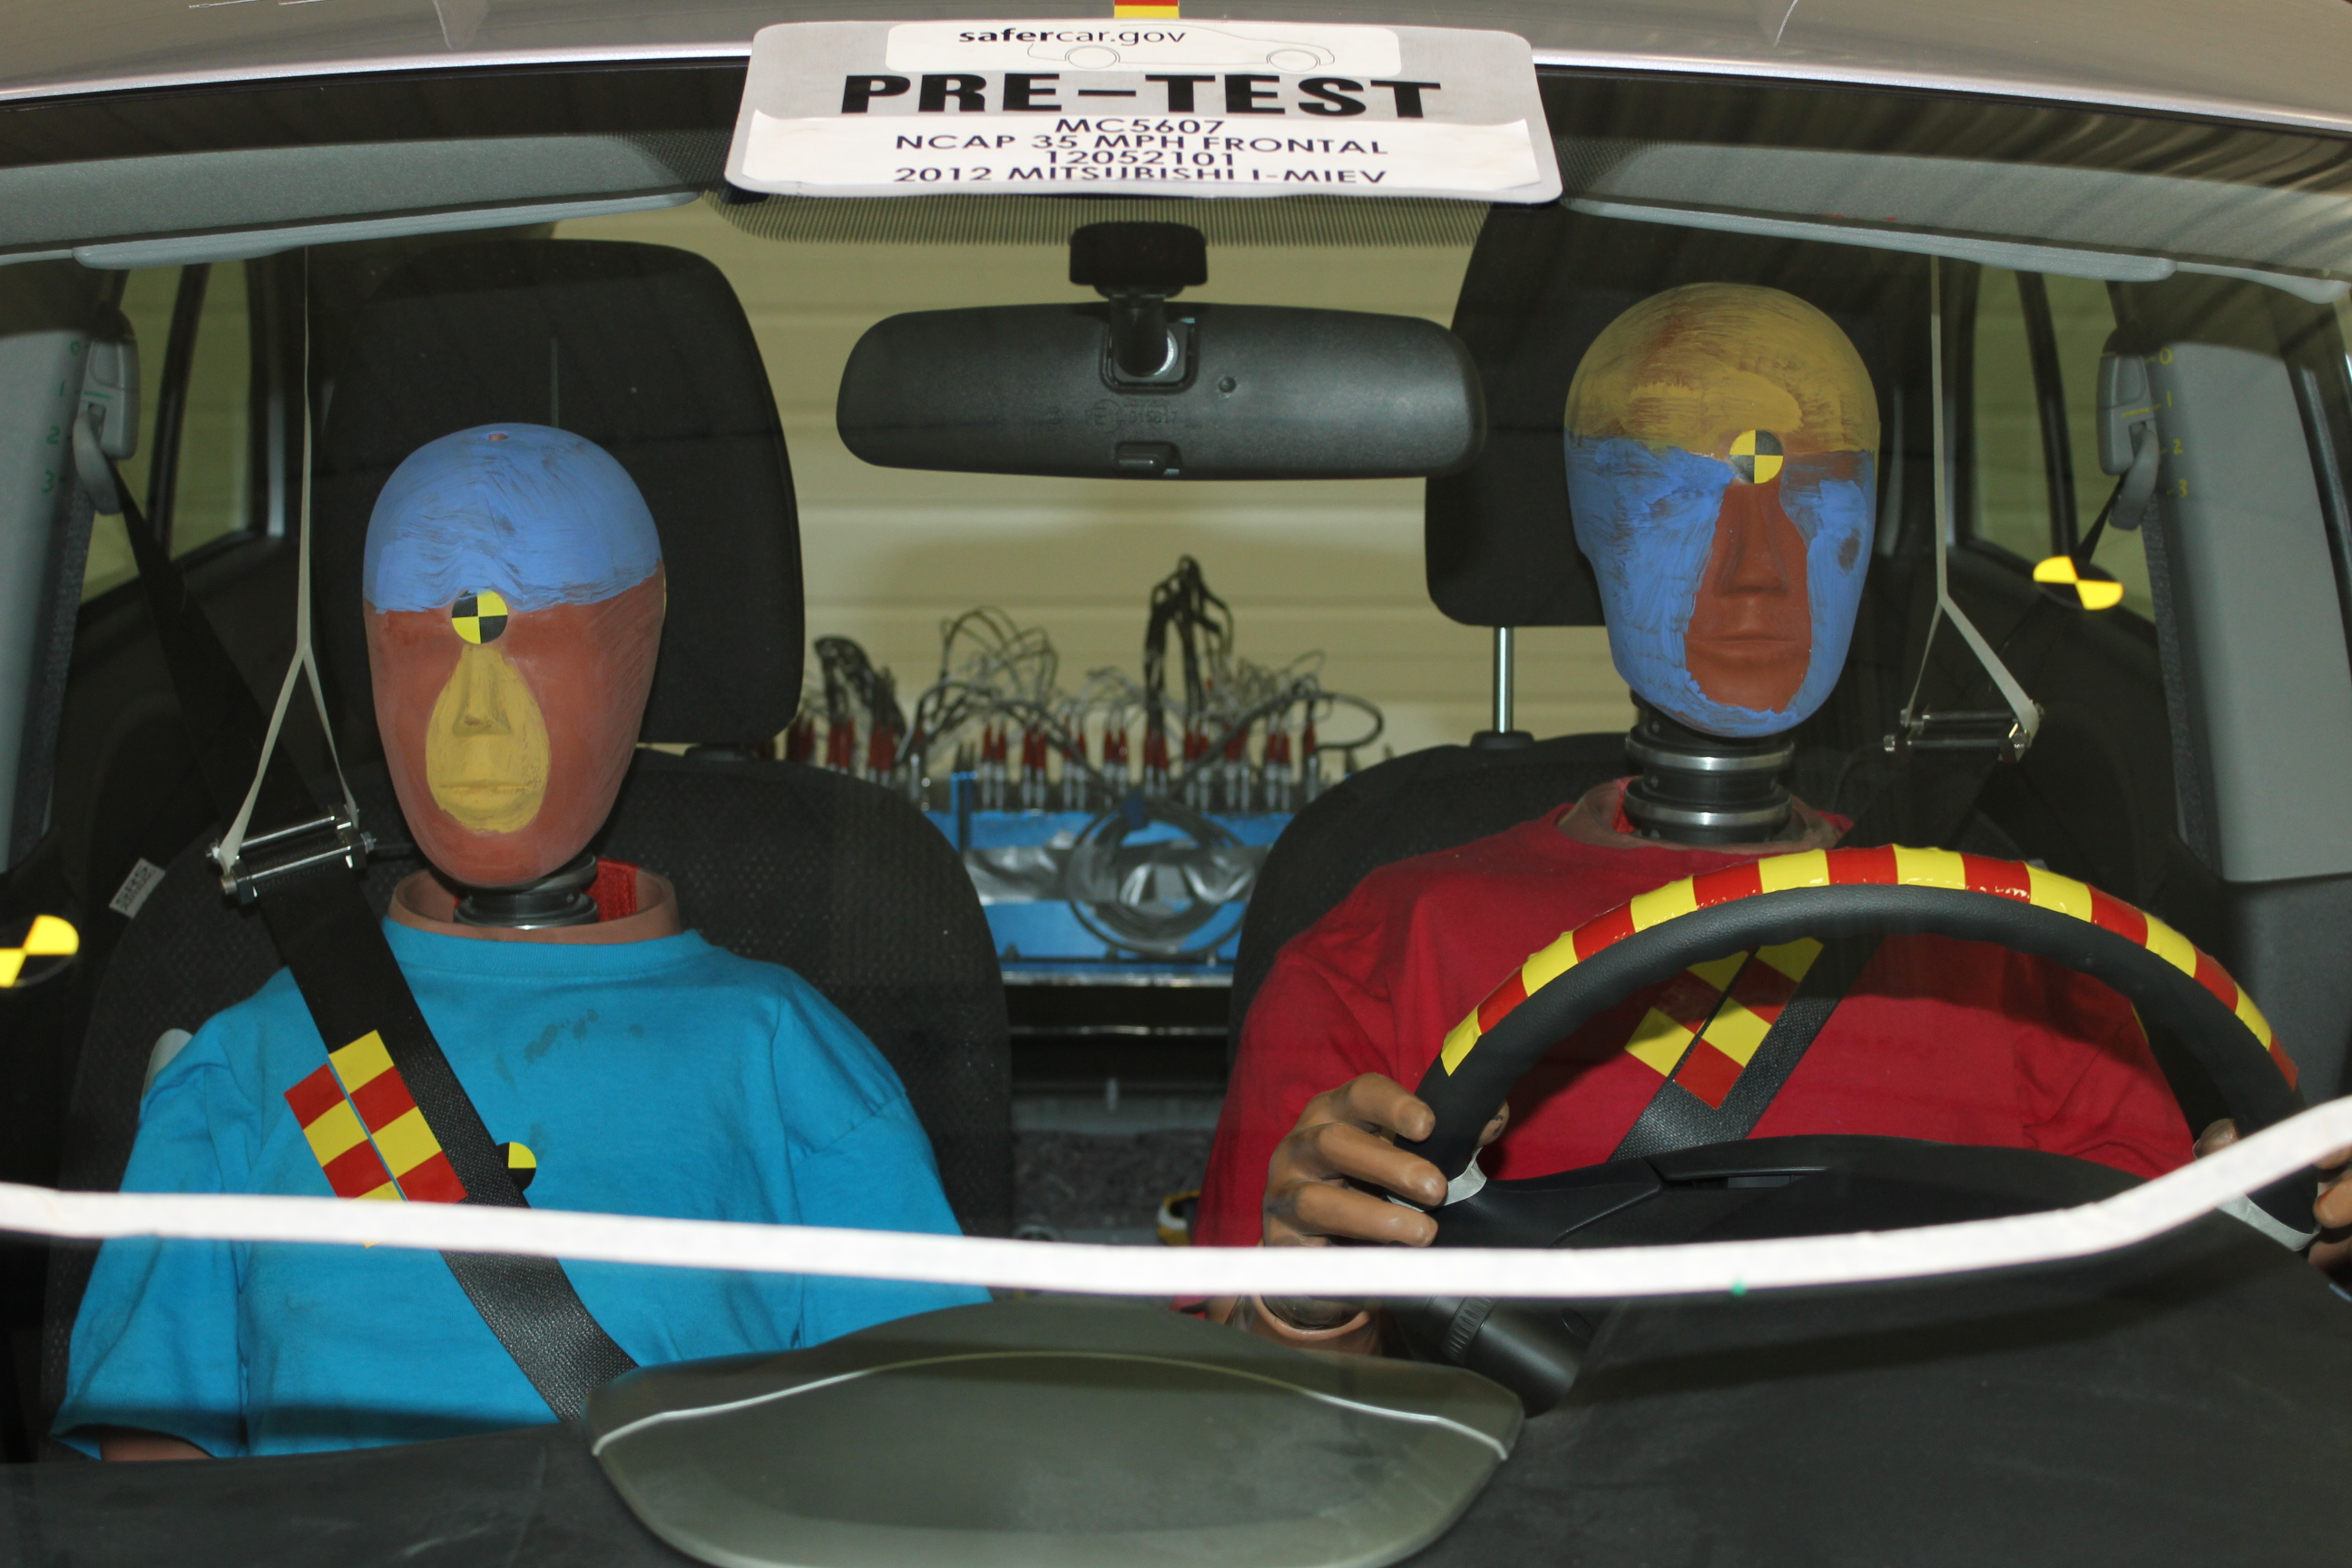
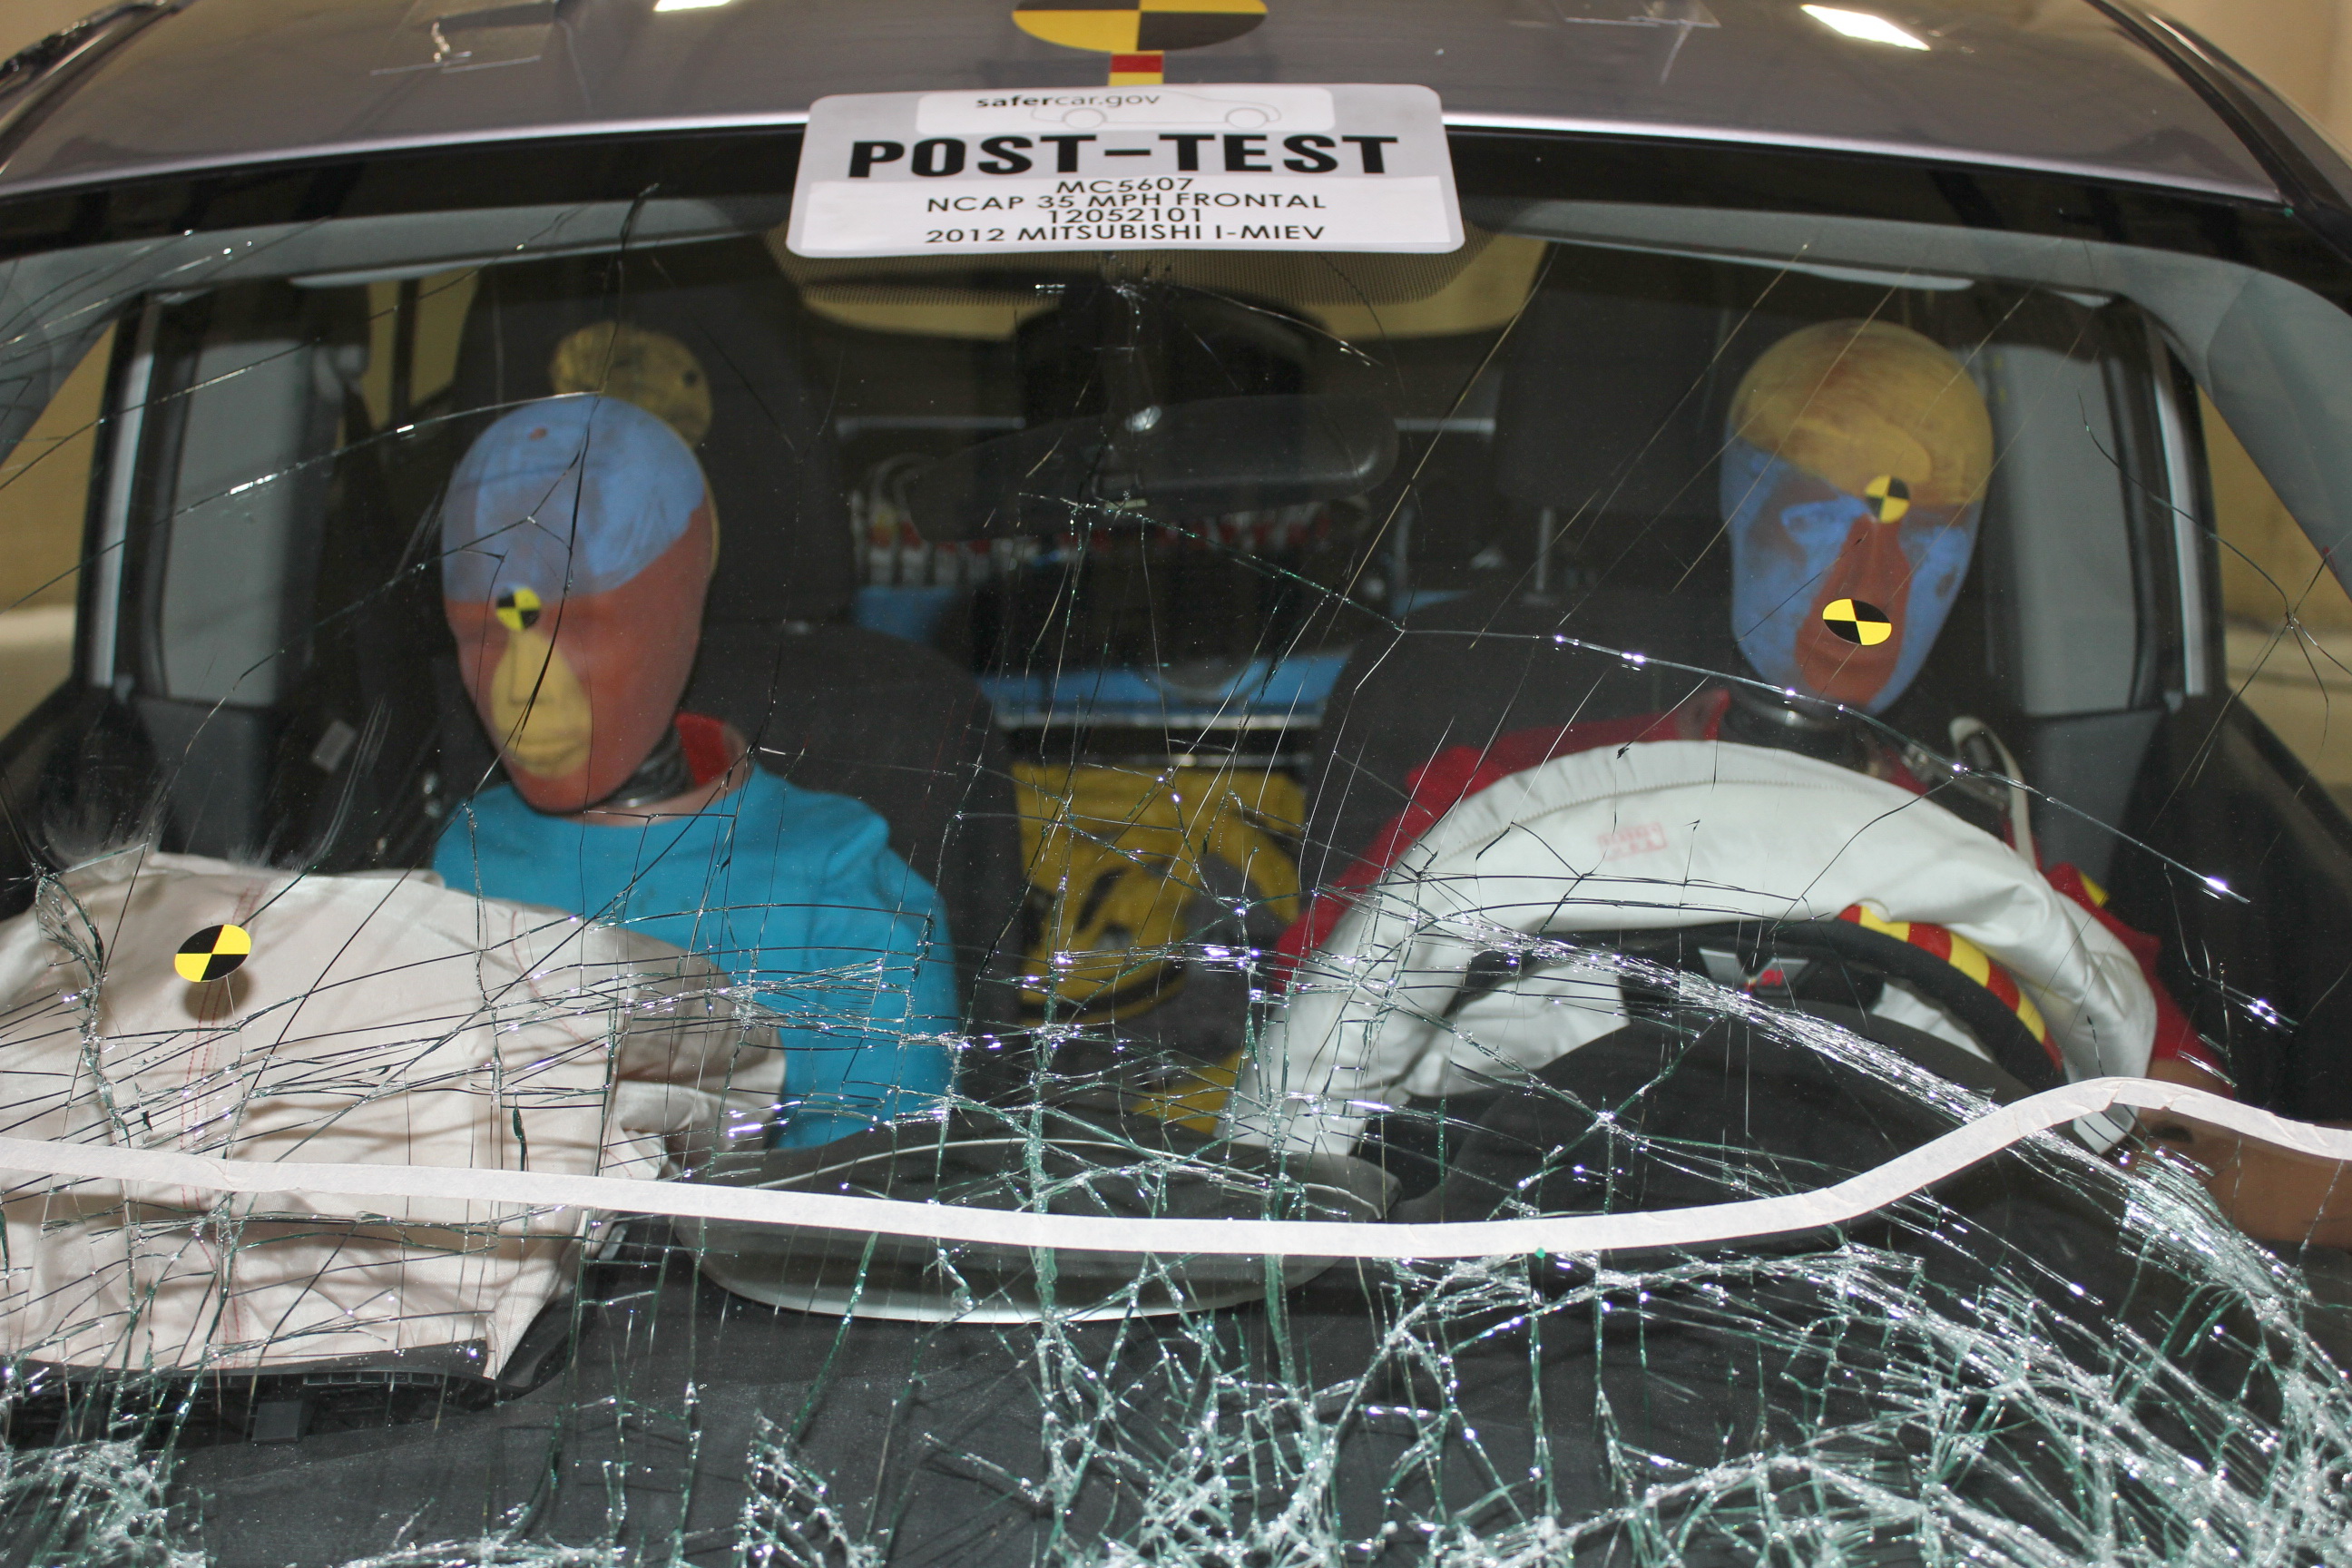
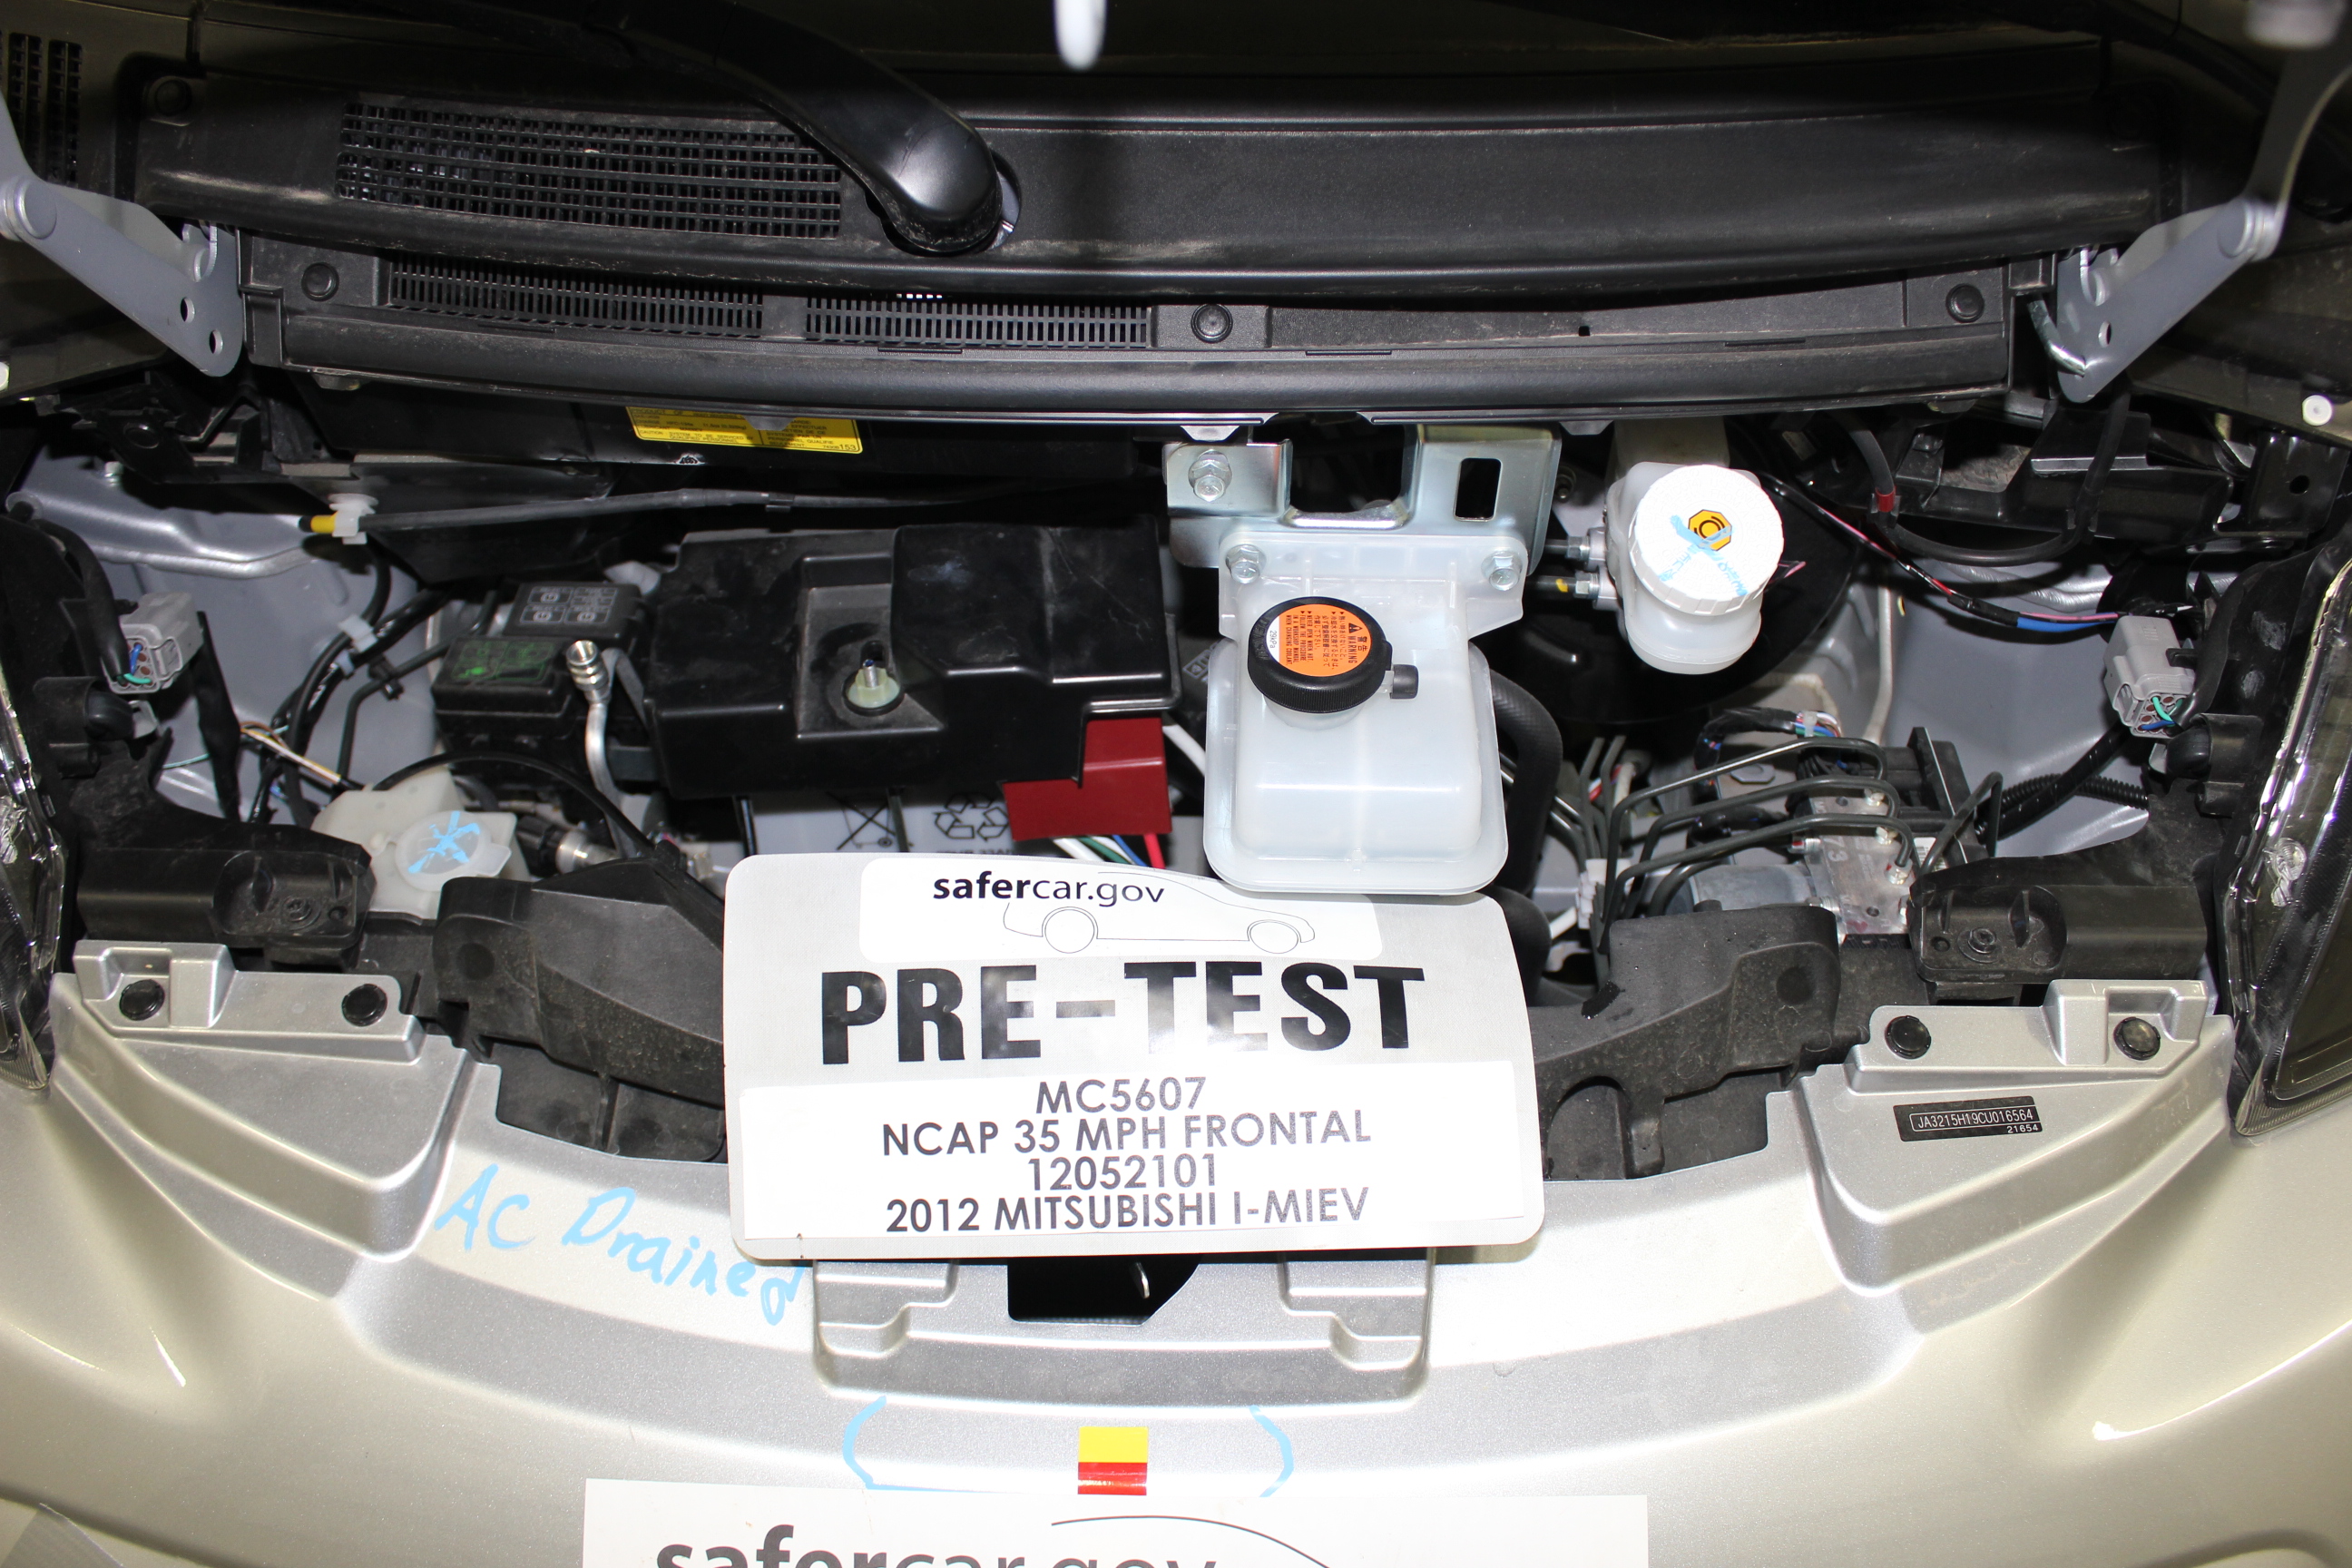
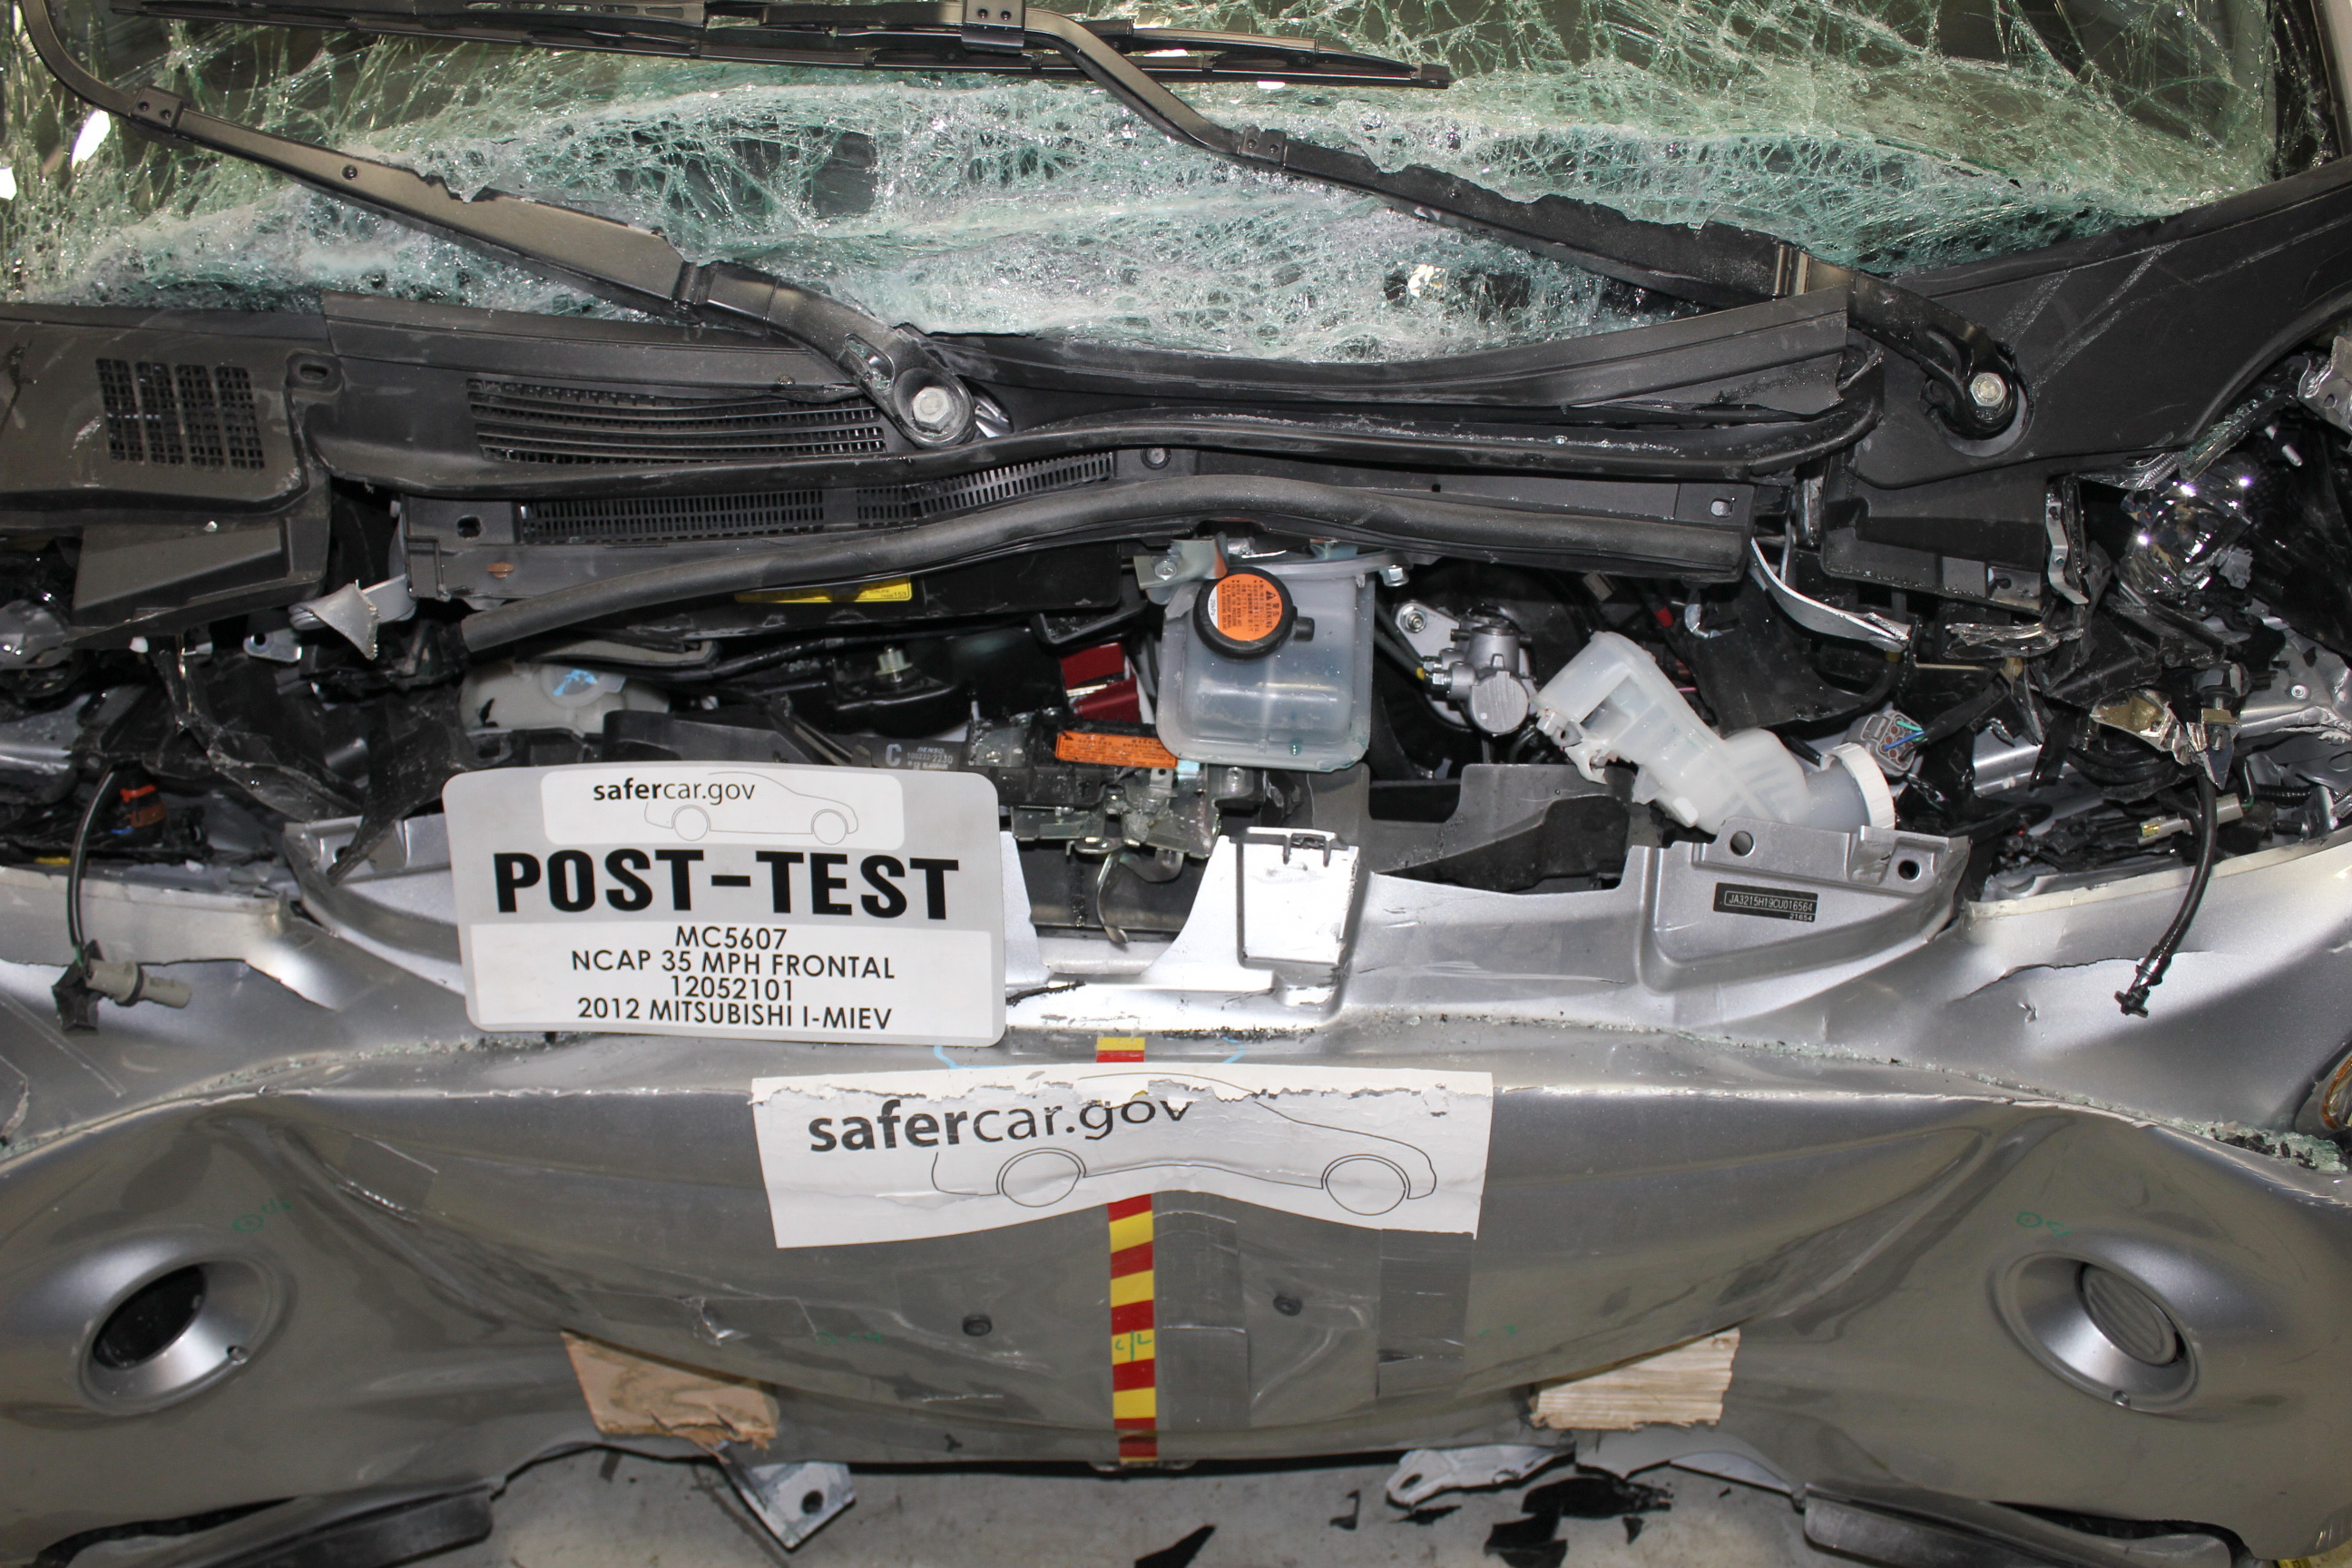
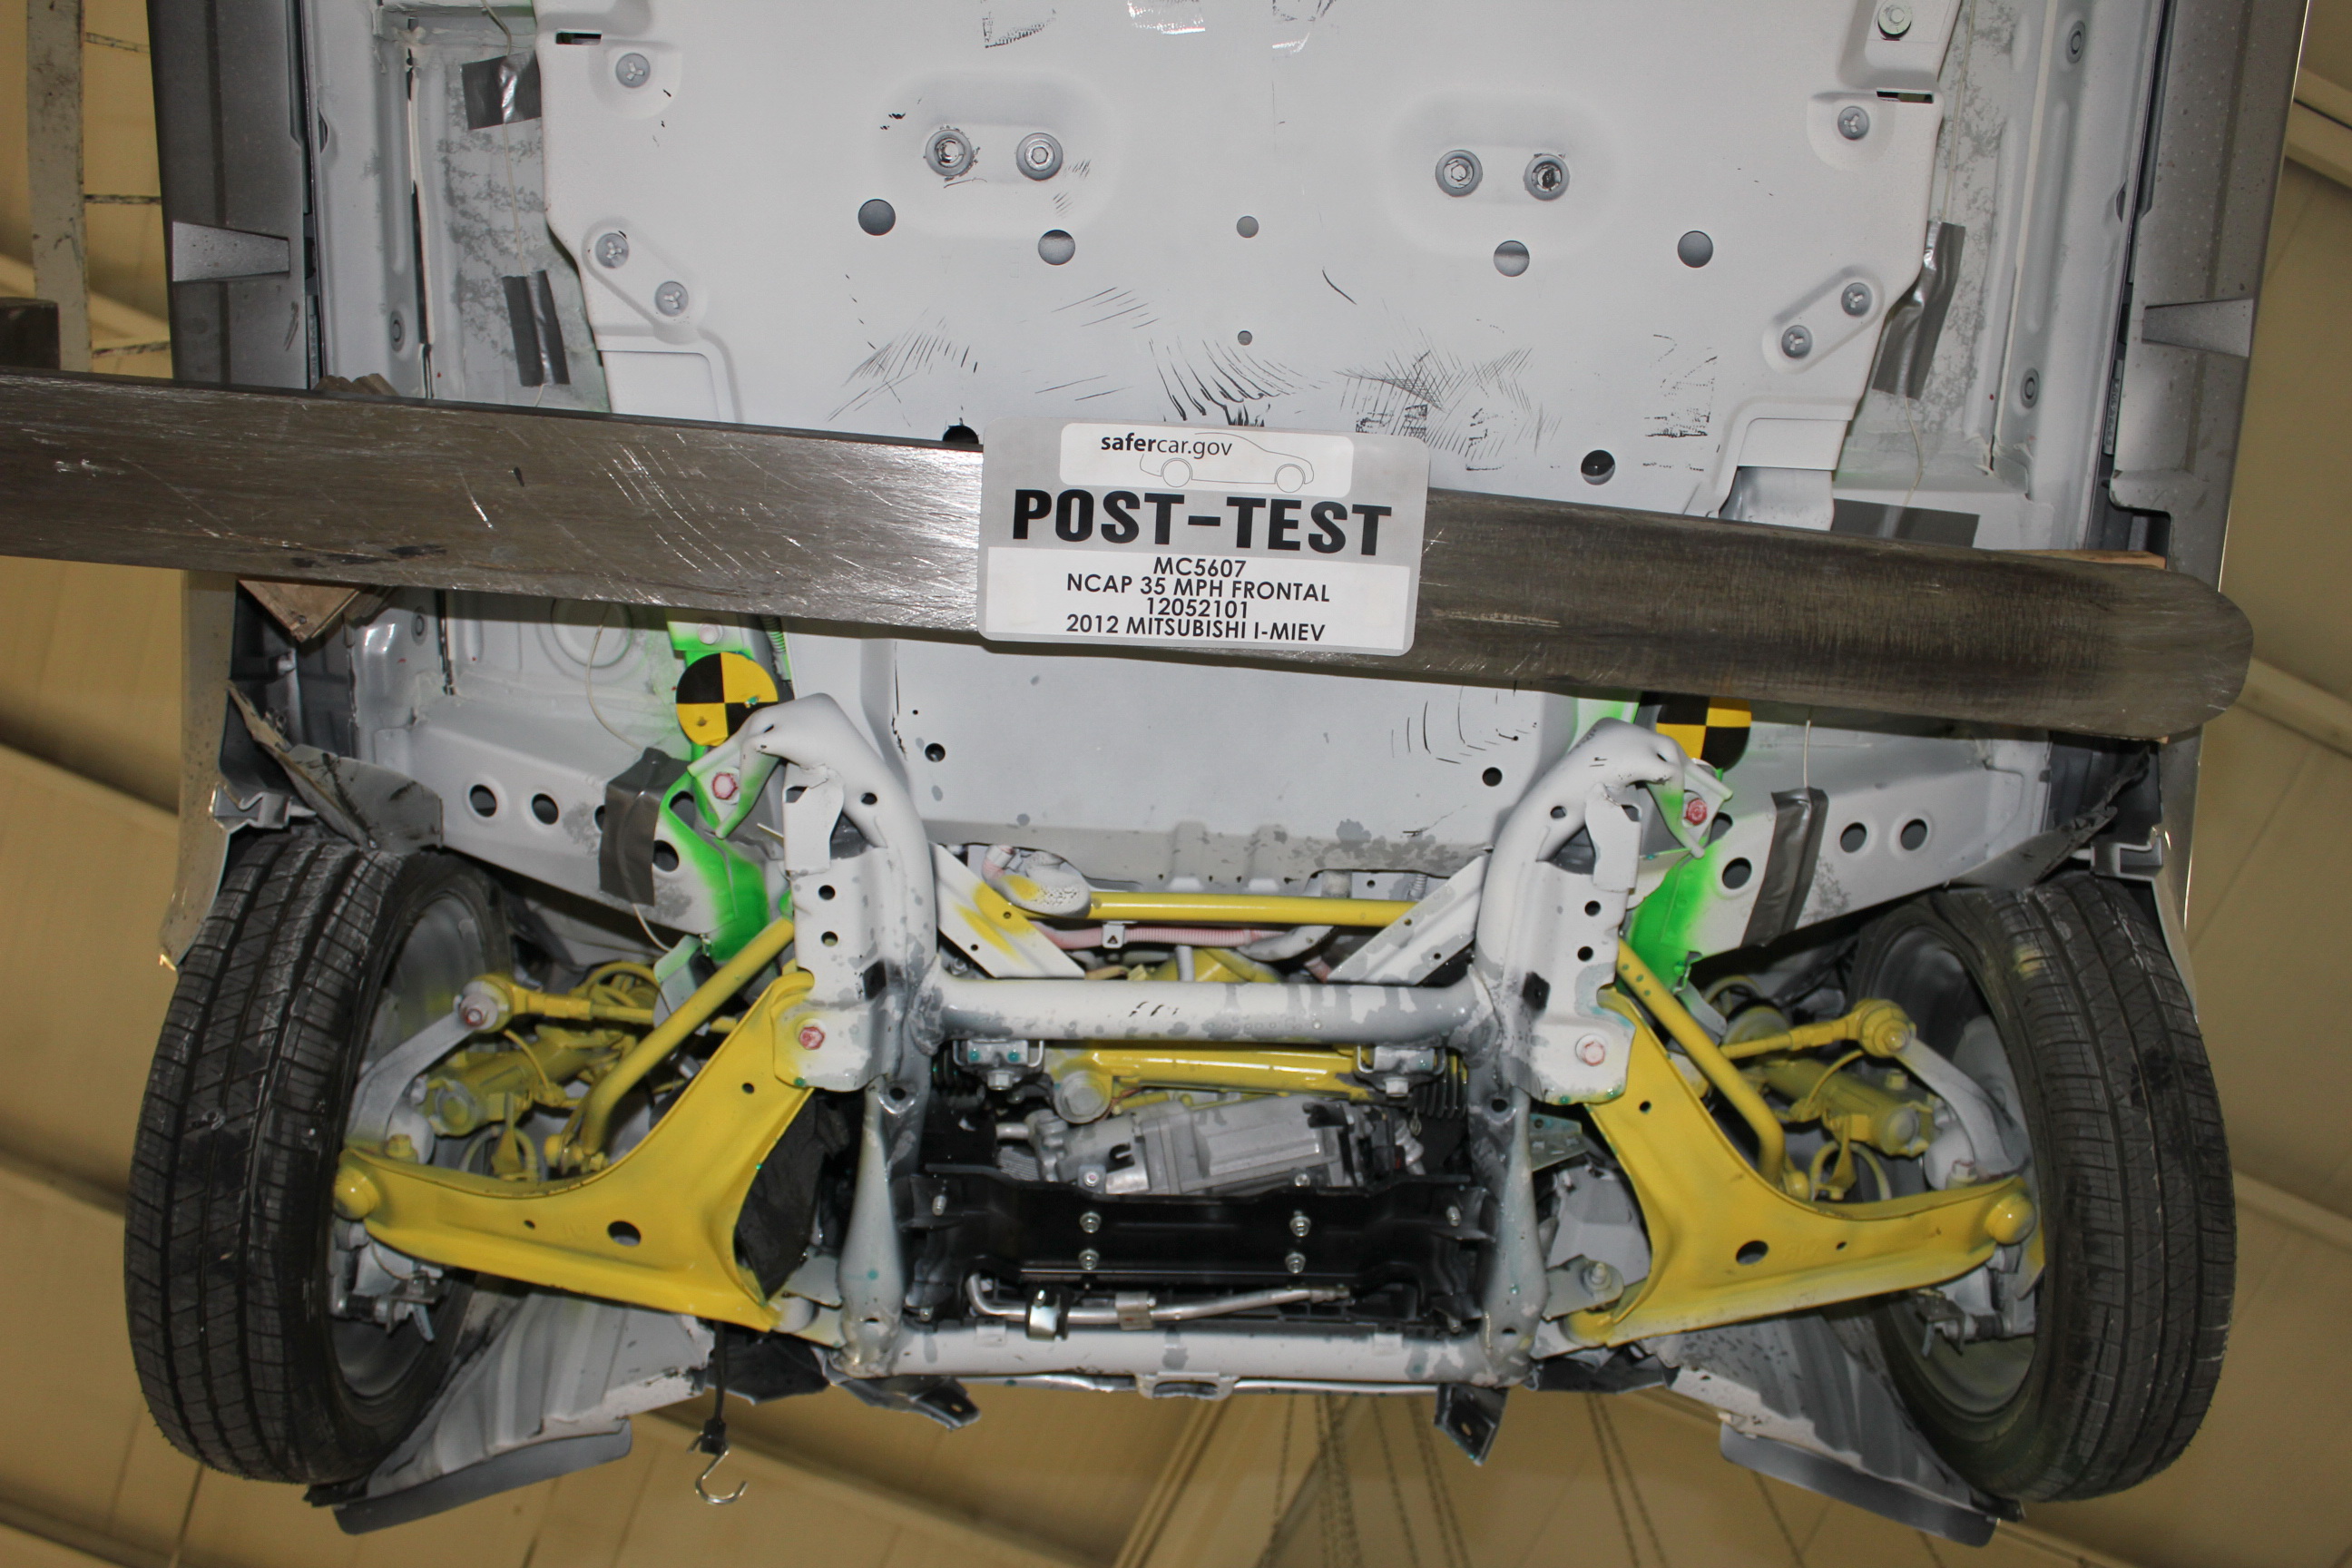
Crash test #1NHTSA test 7863

Full test report (PDF) ↗

Crash-test footage is converted for smooth playback the first time someone requests it — usually under a minute.

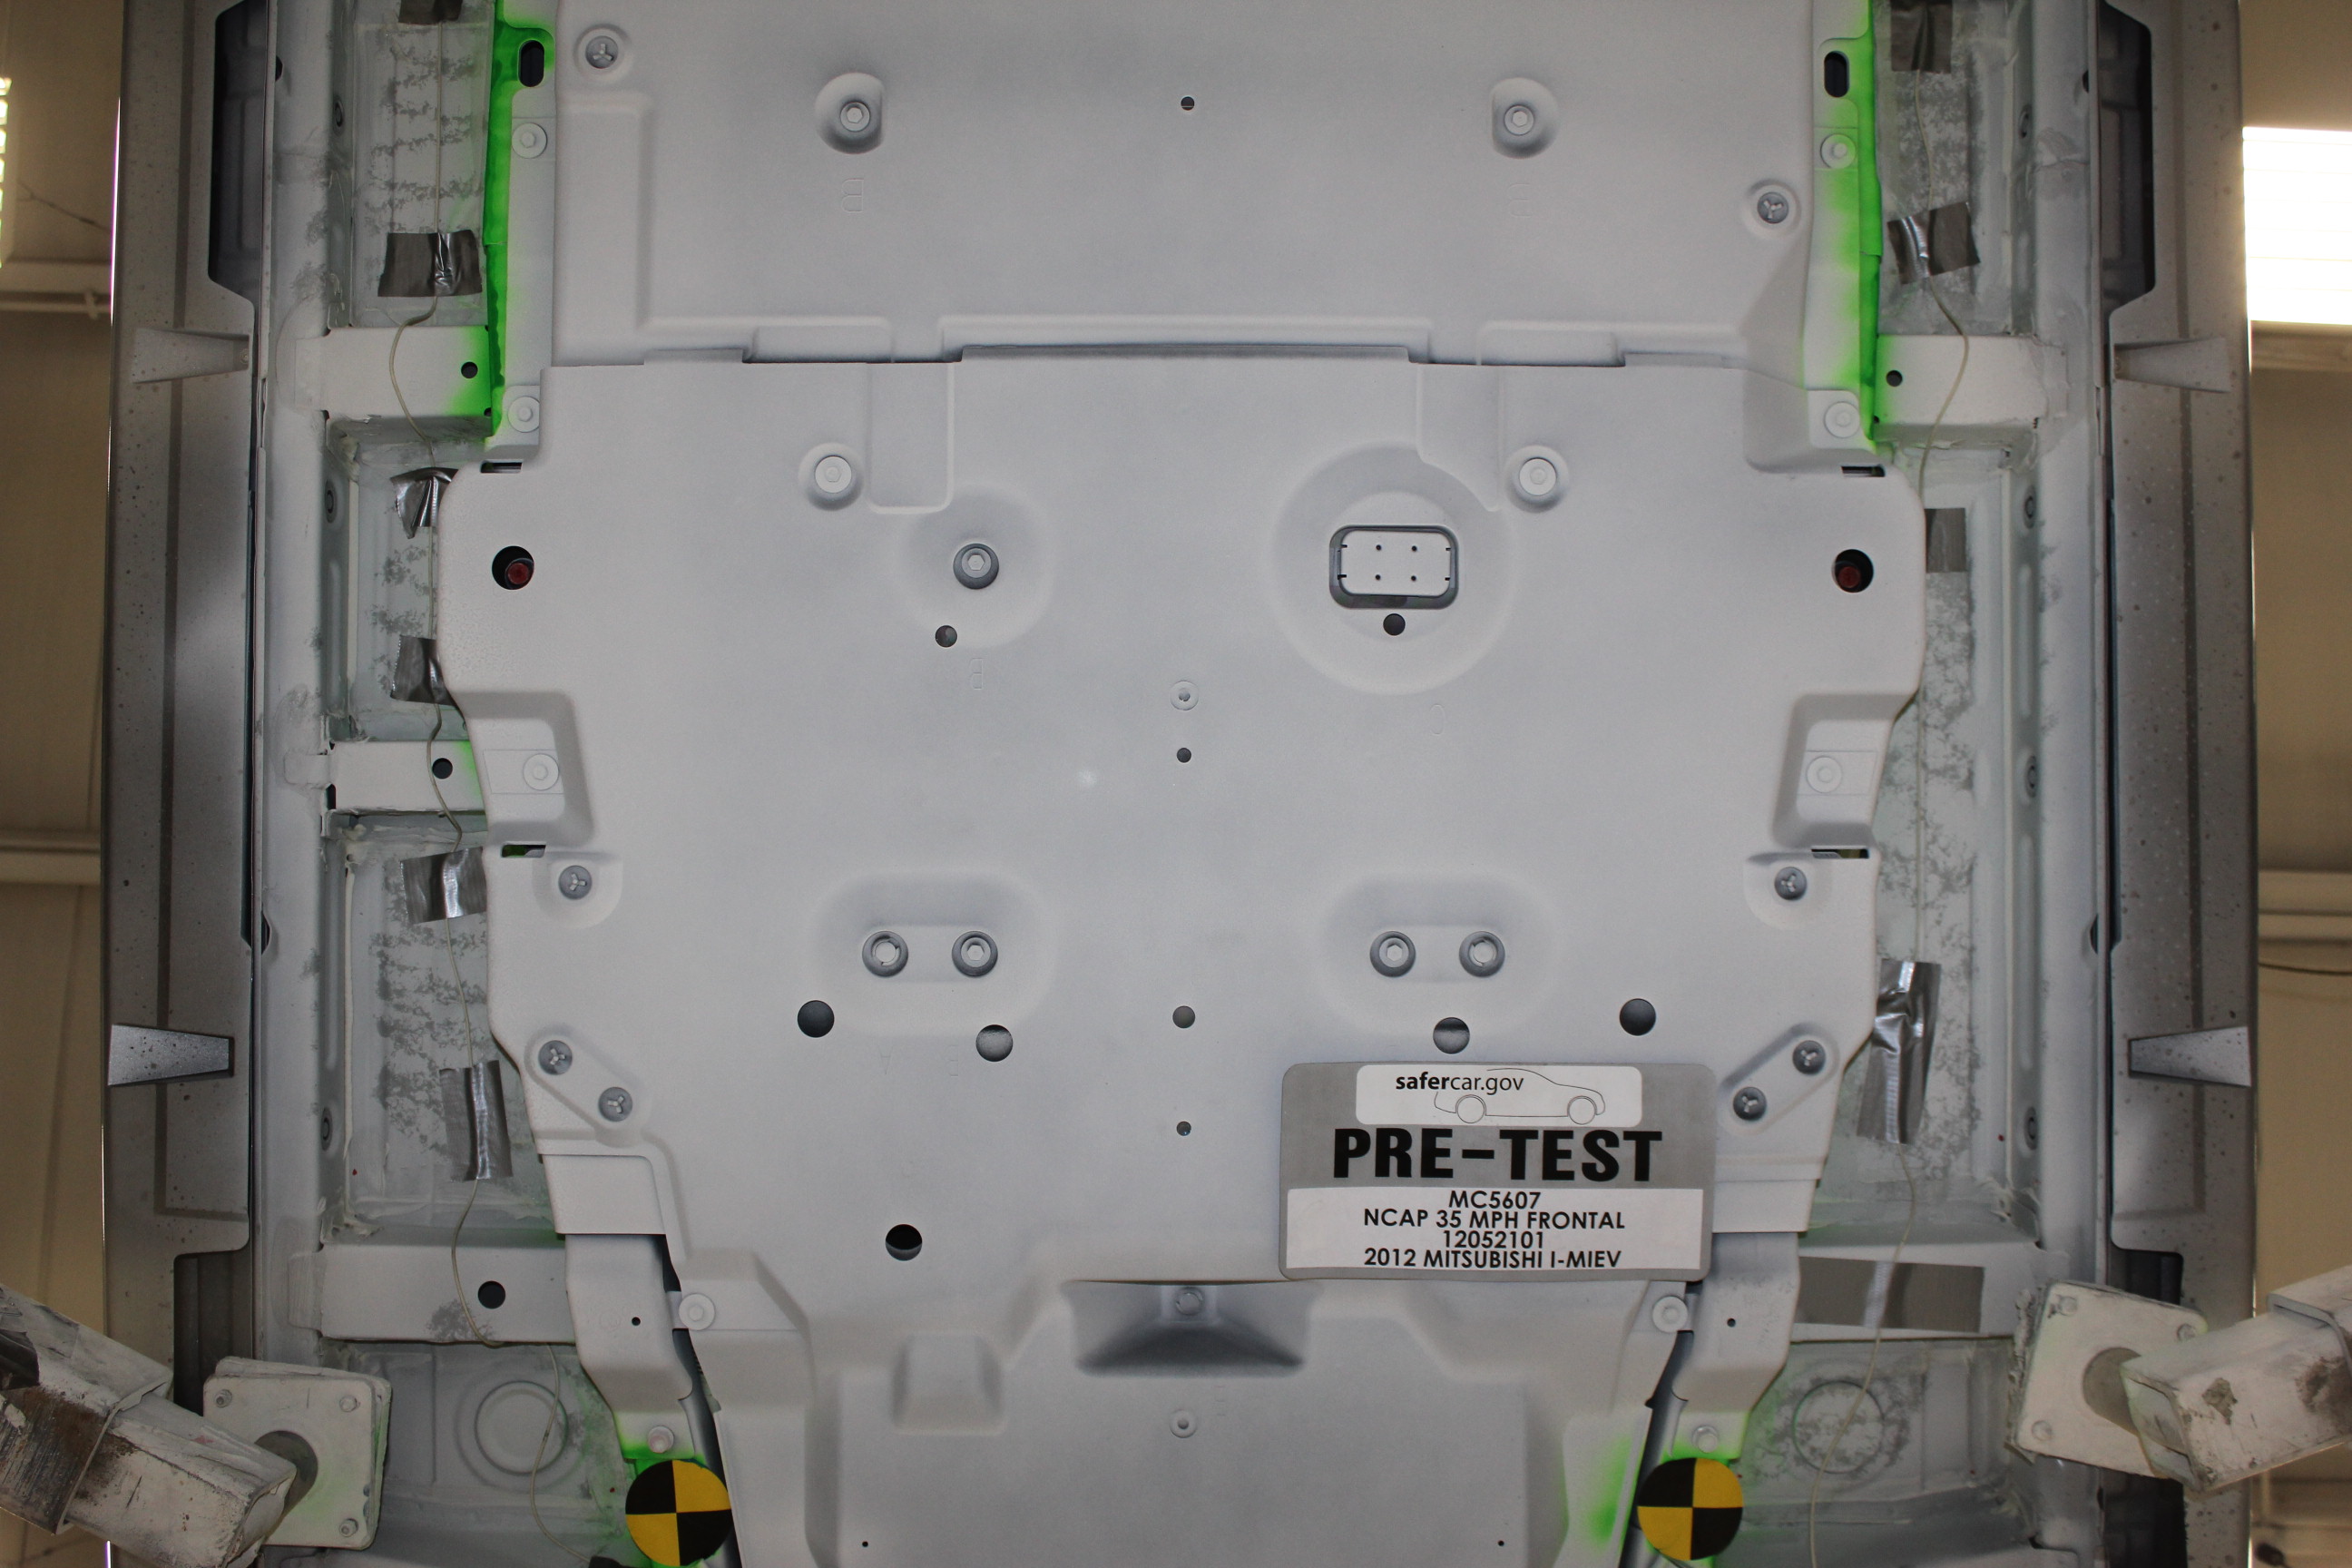
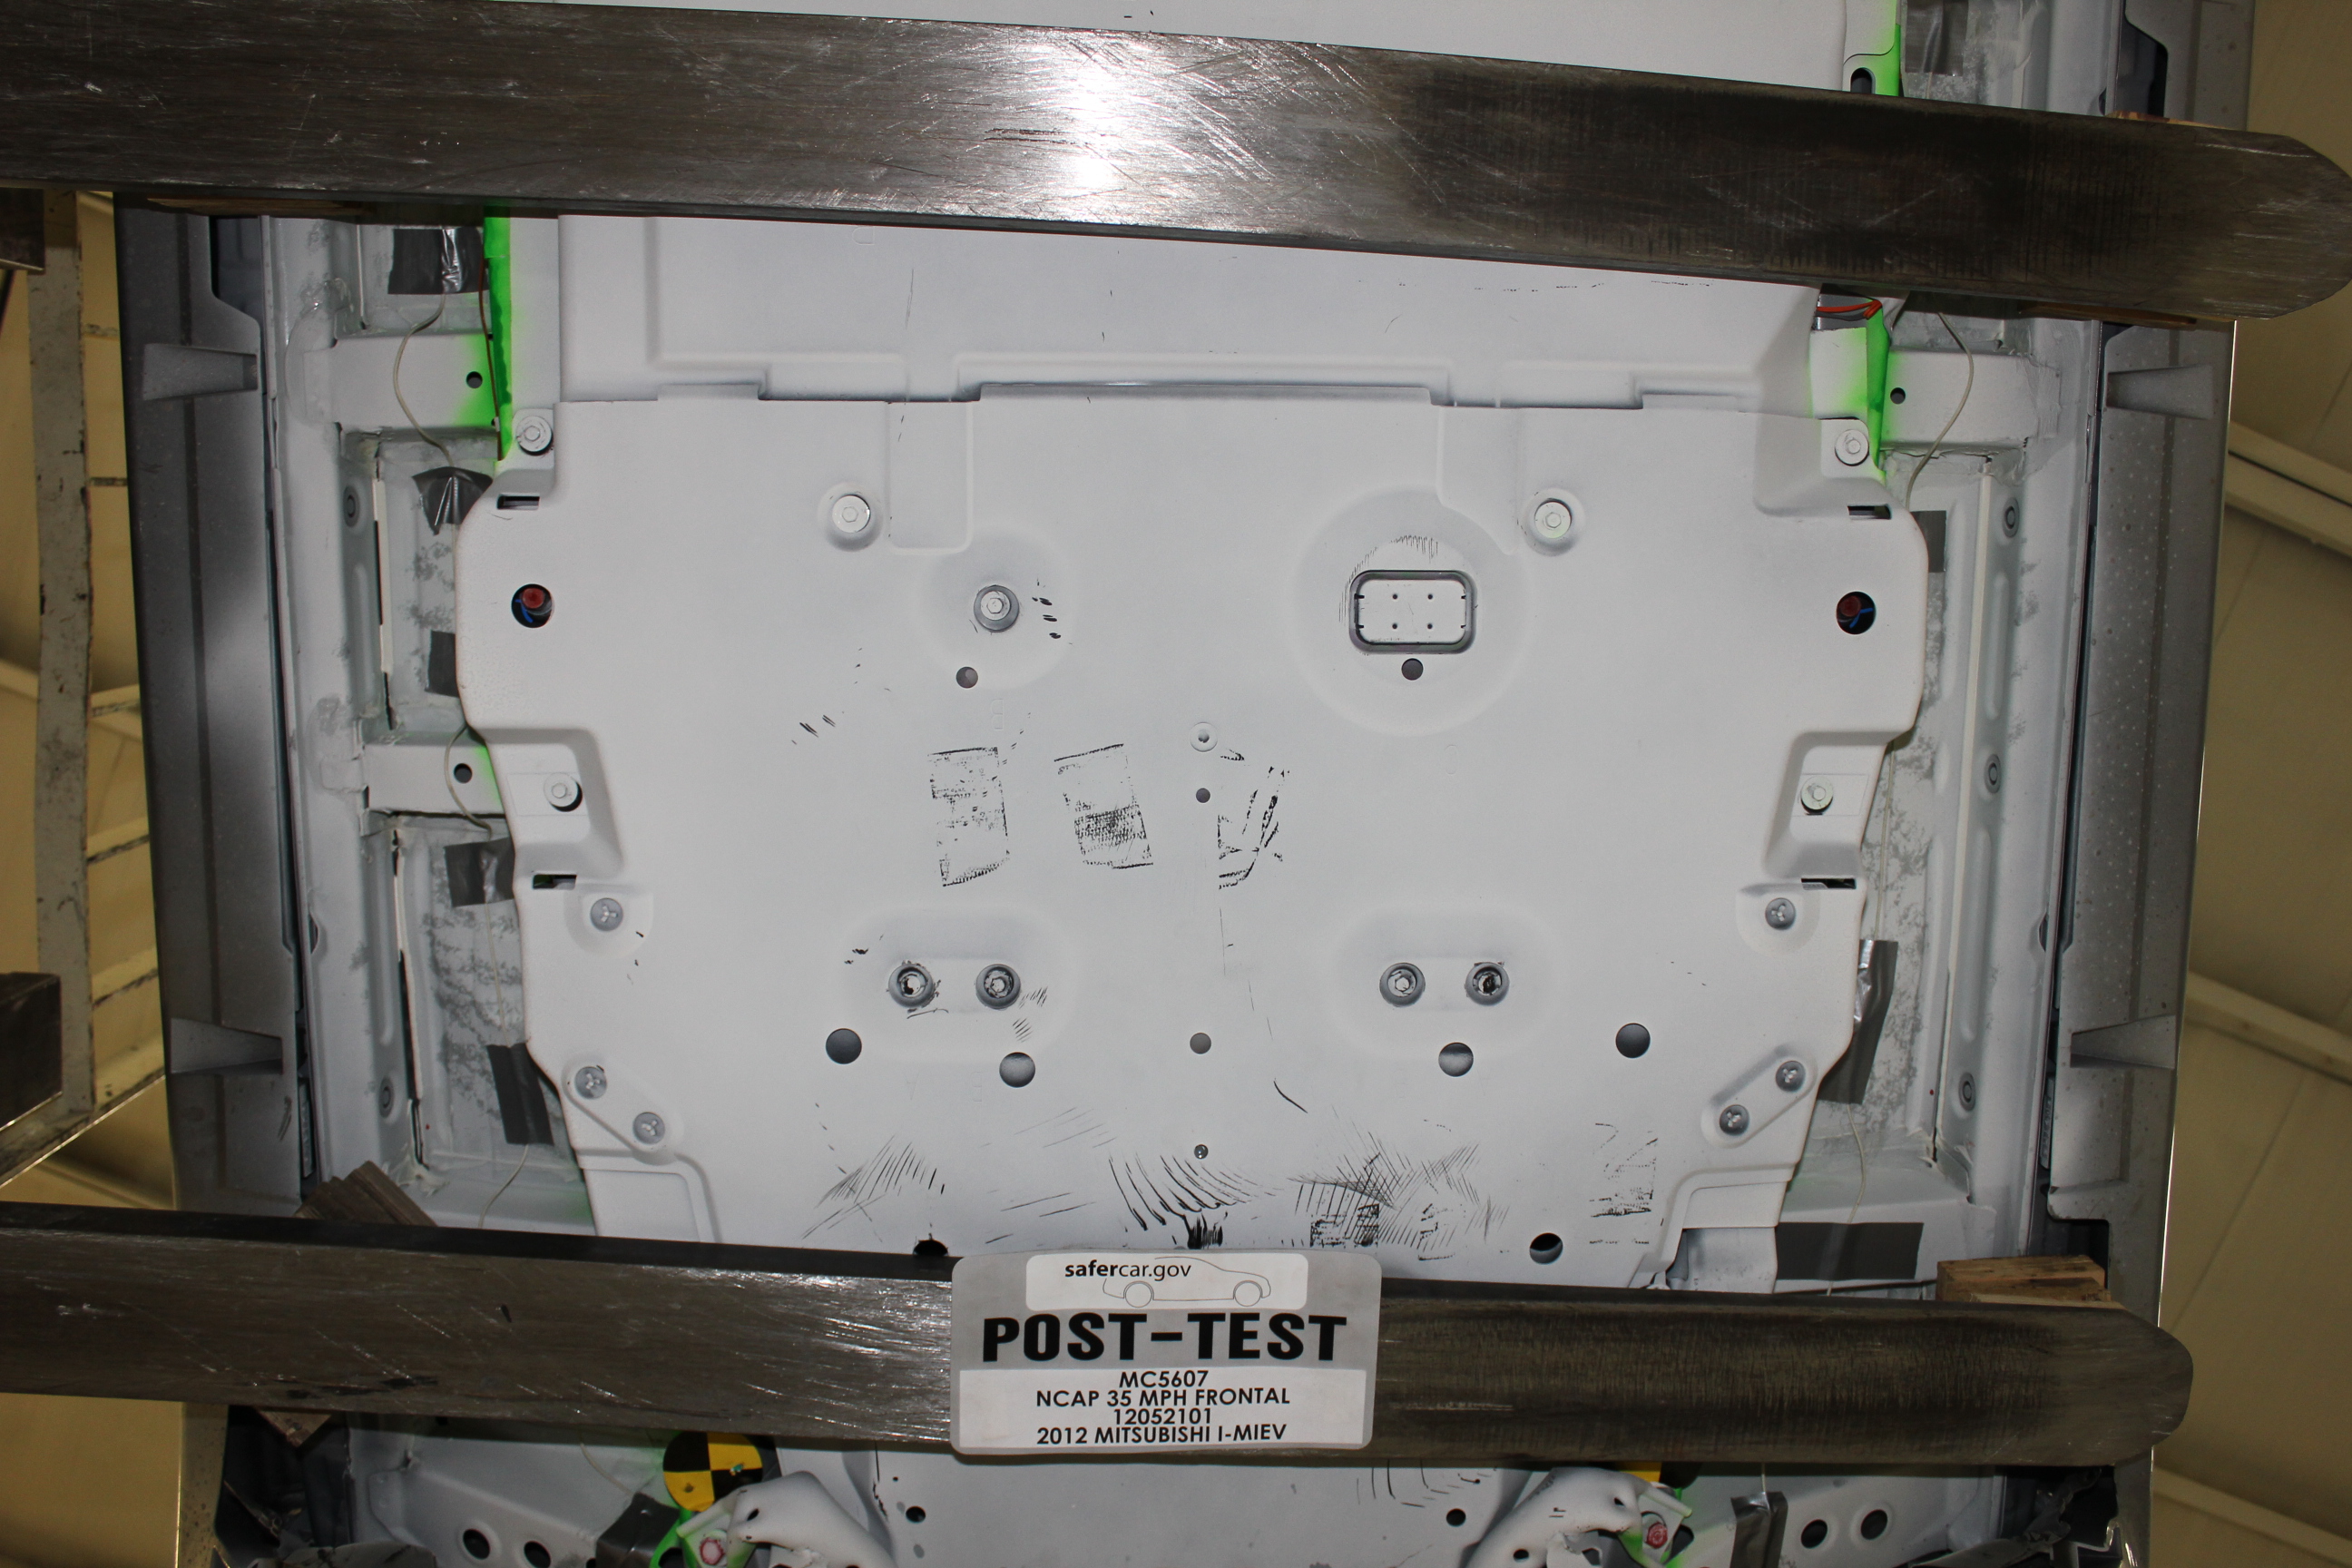
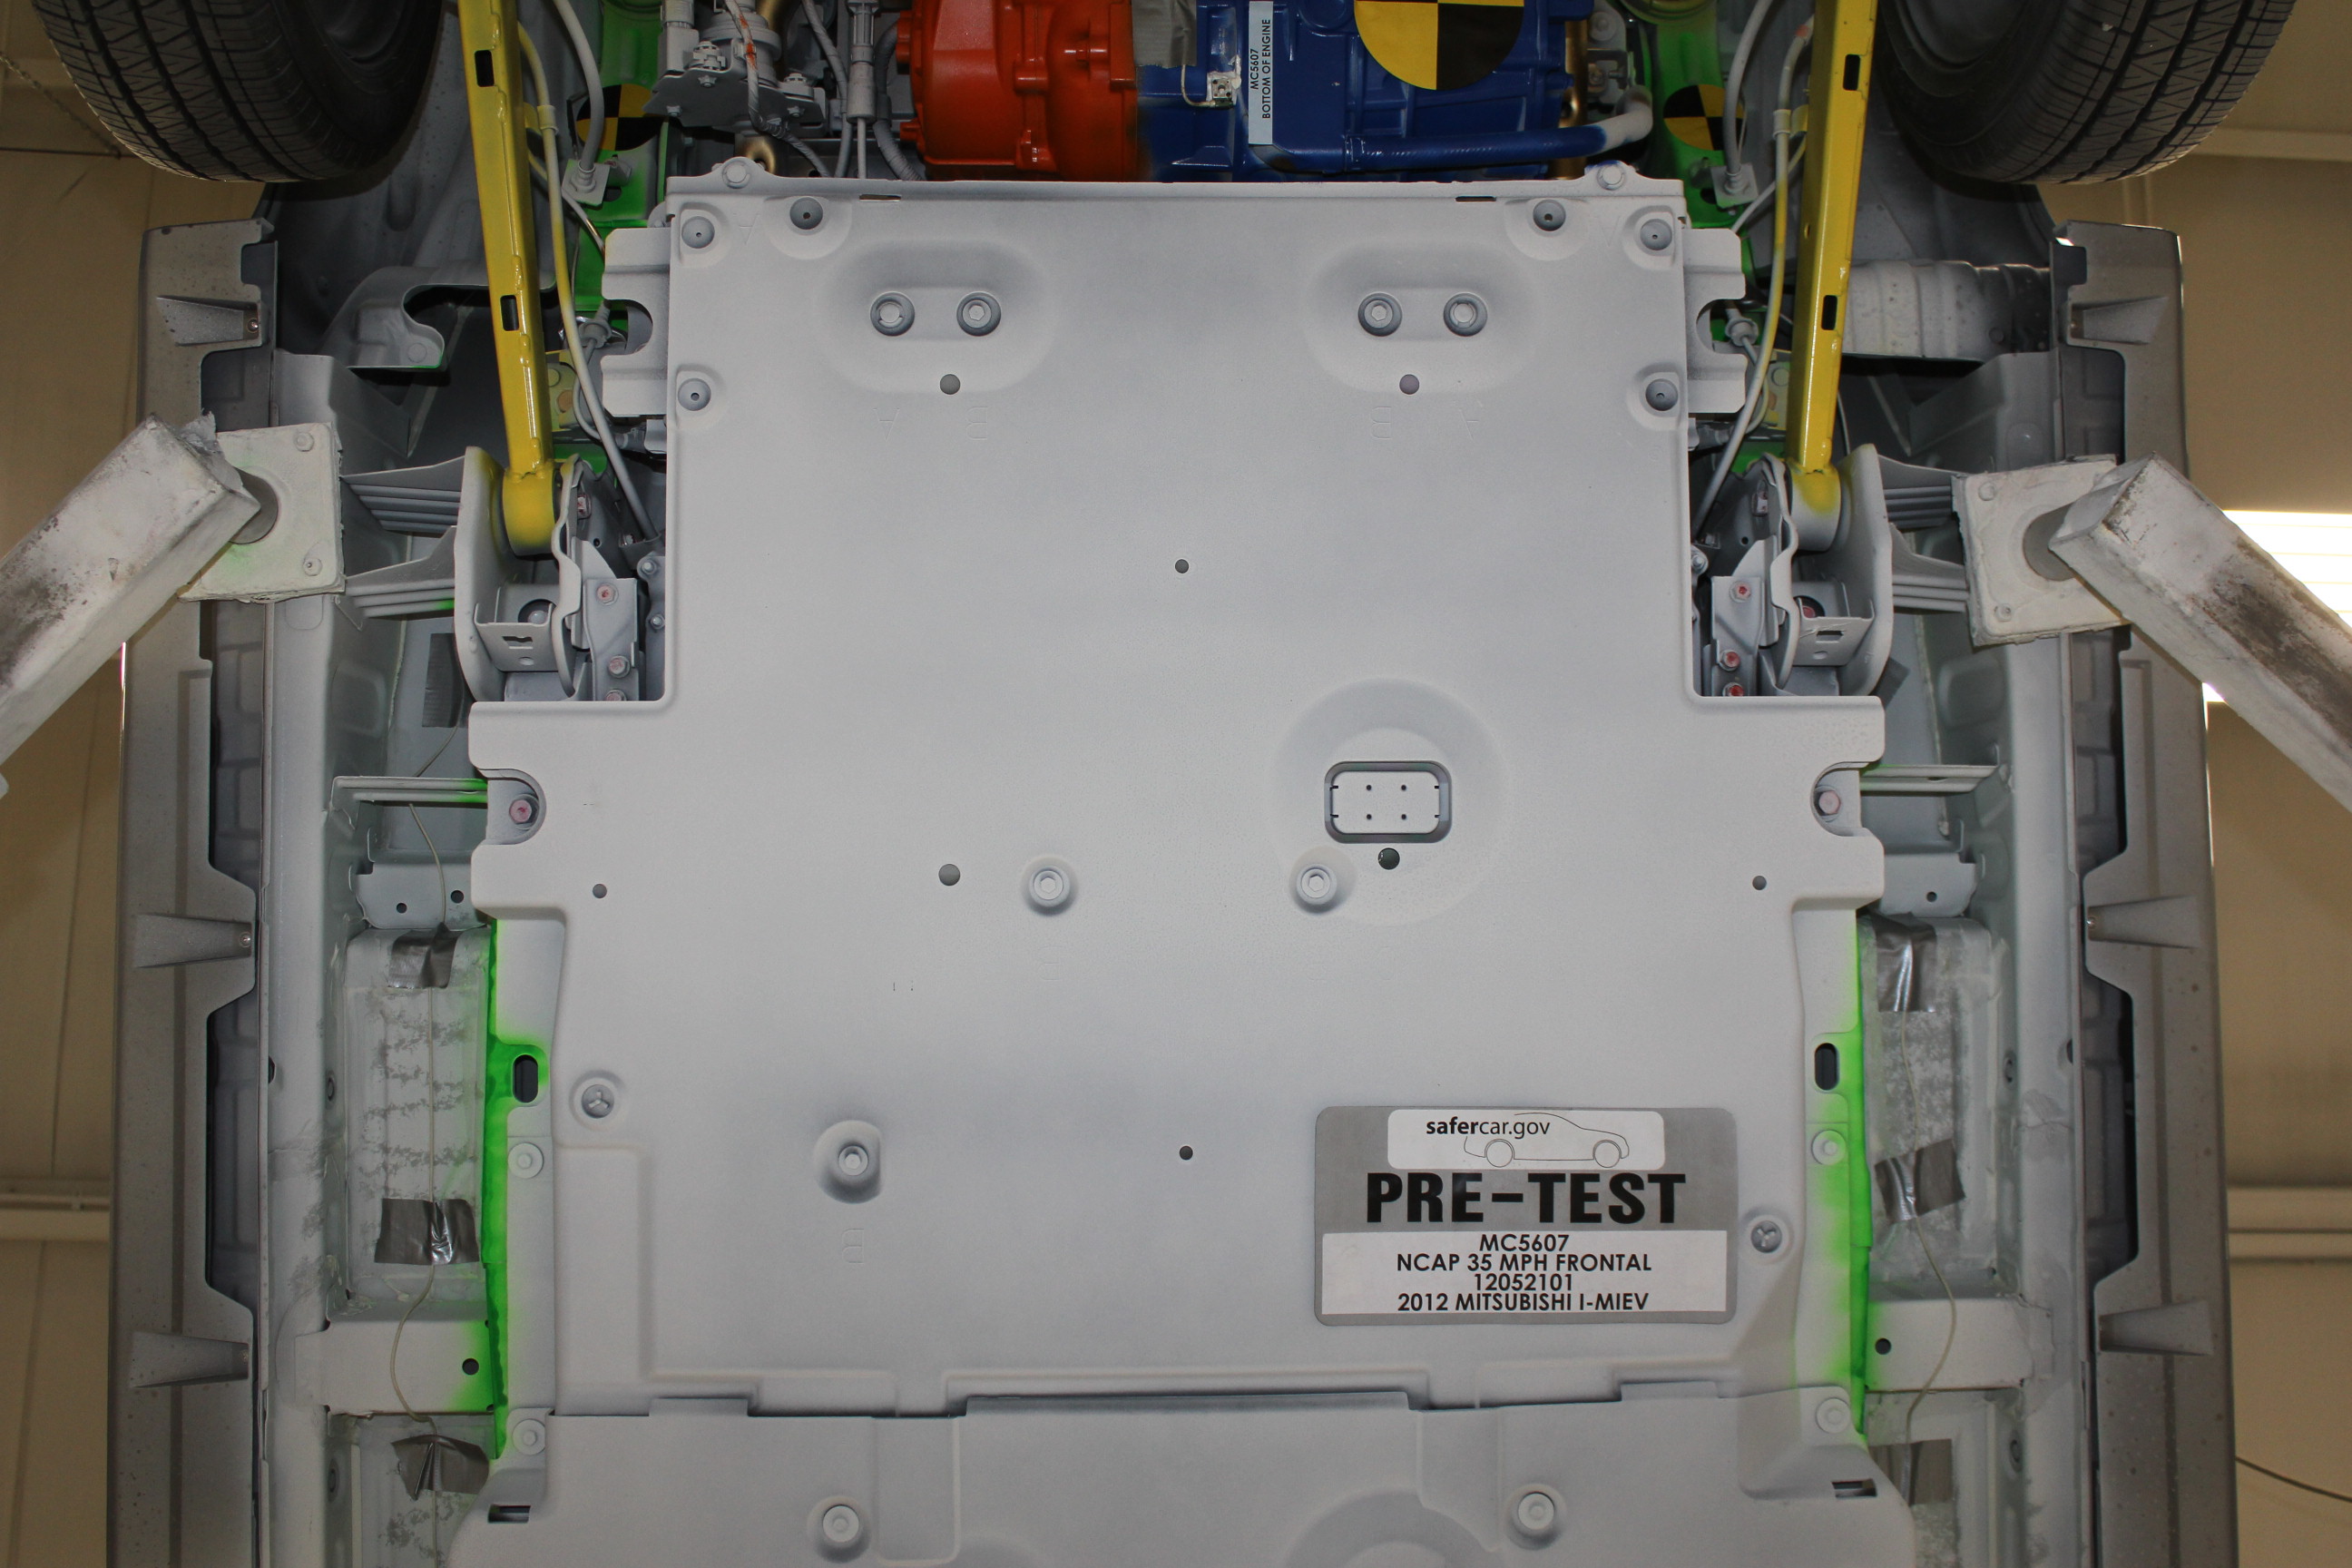
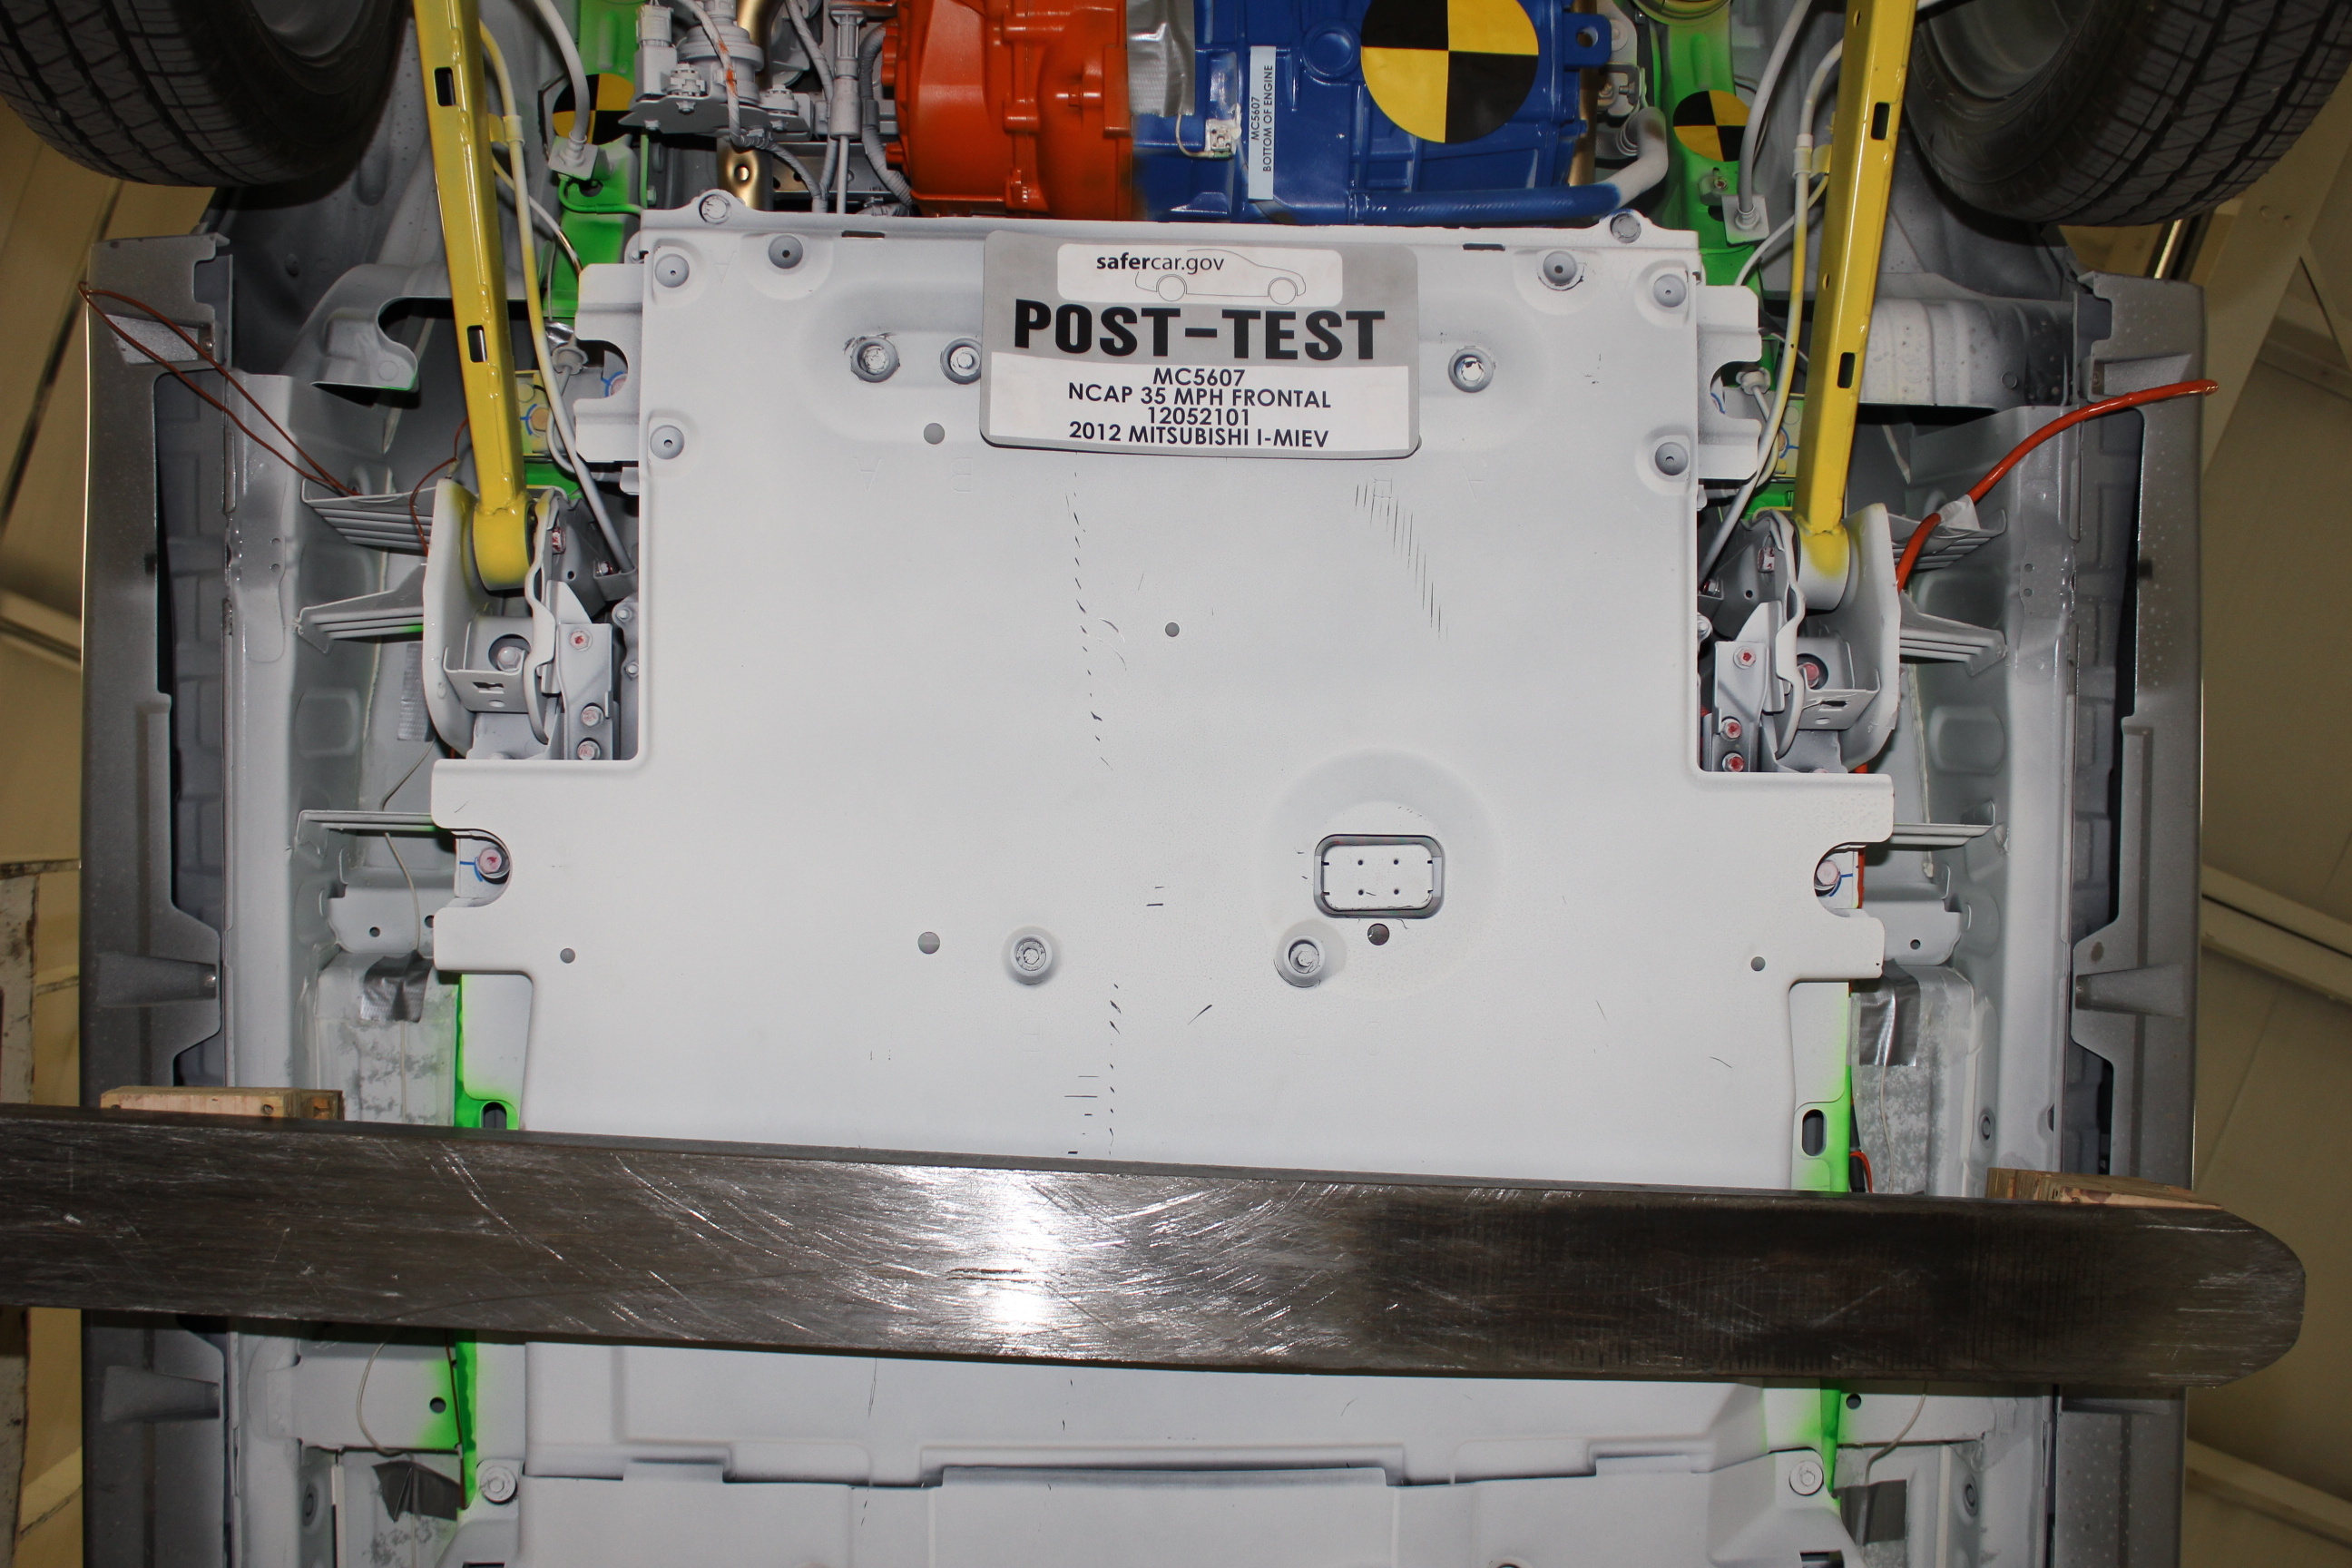
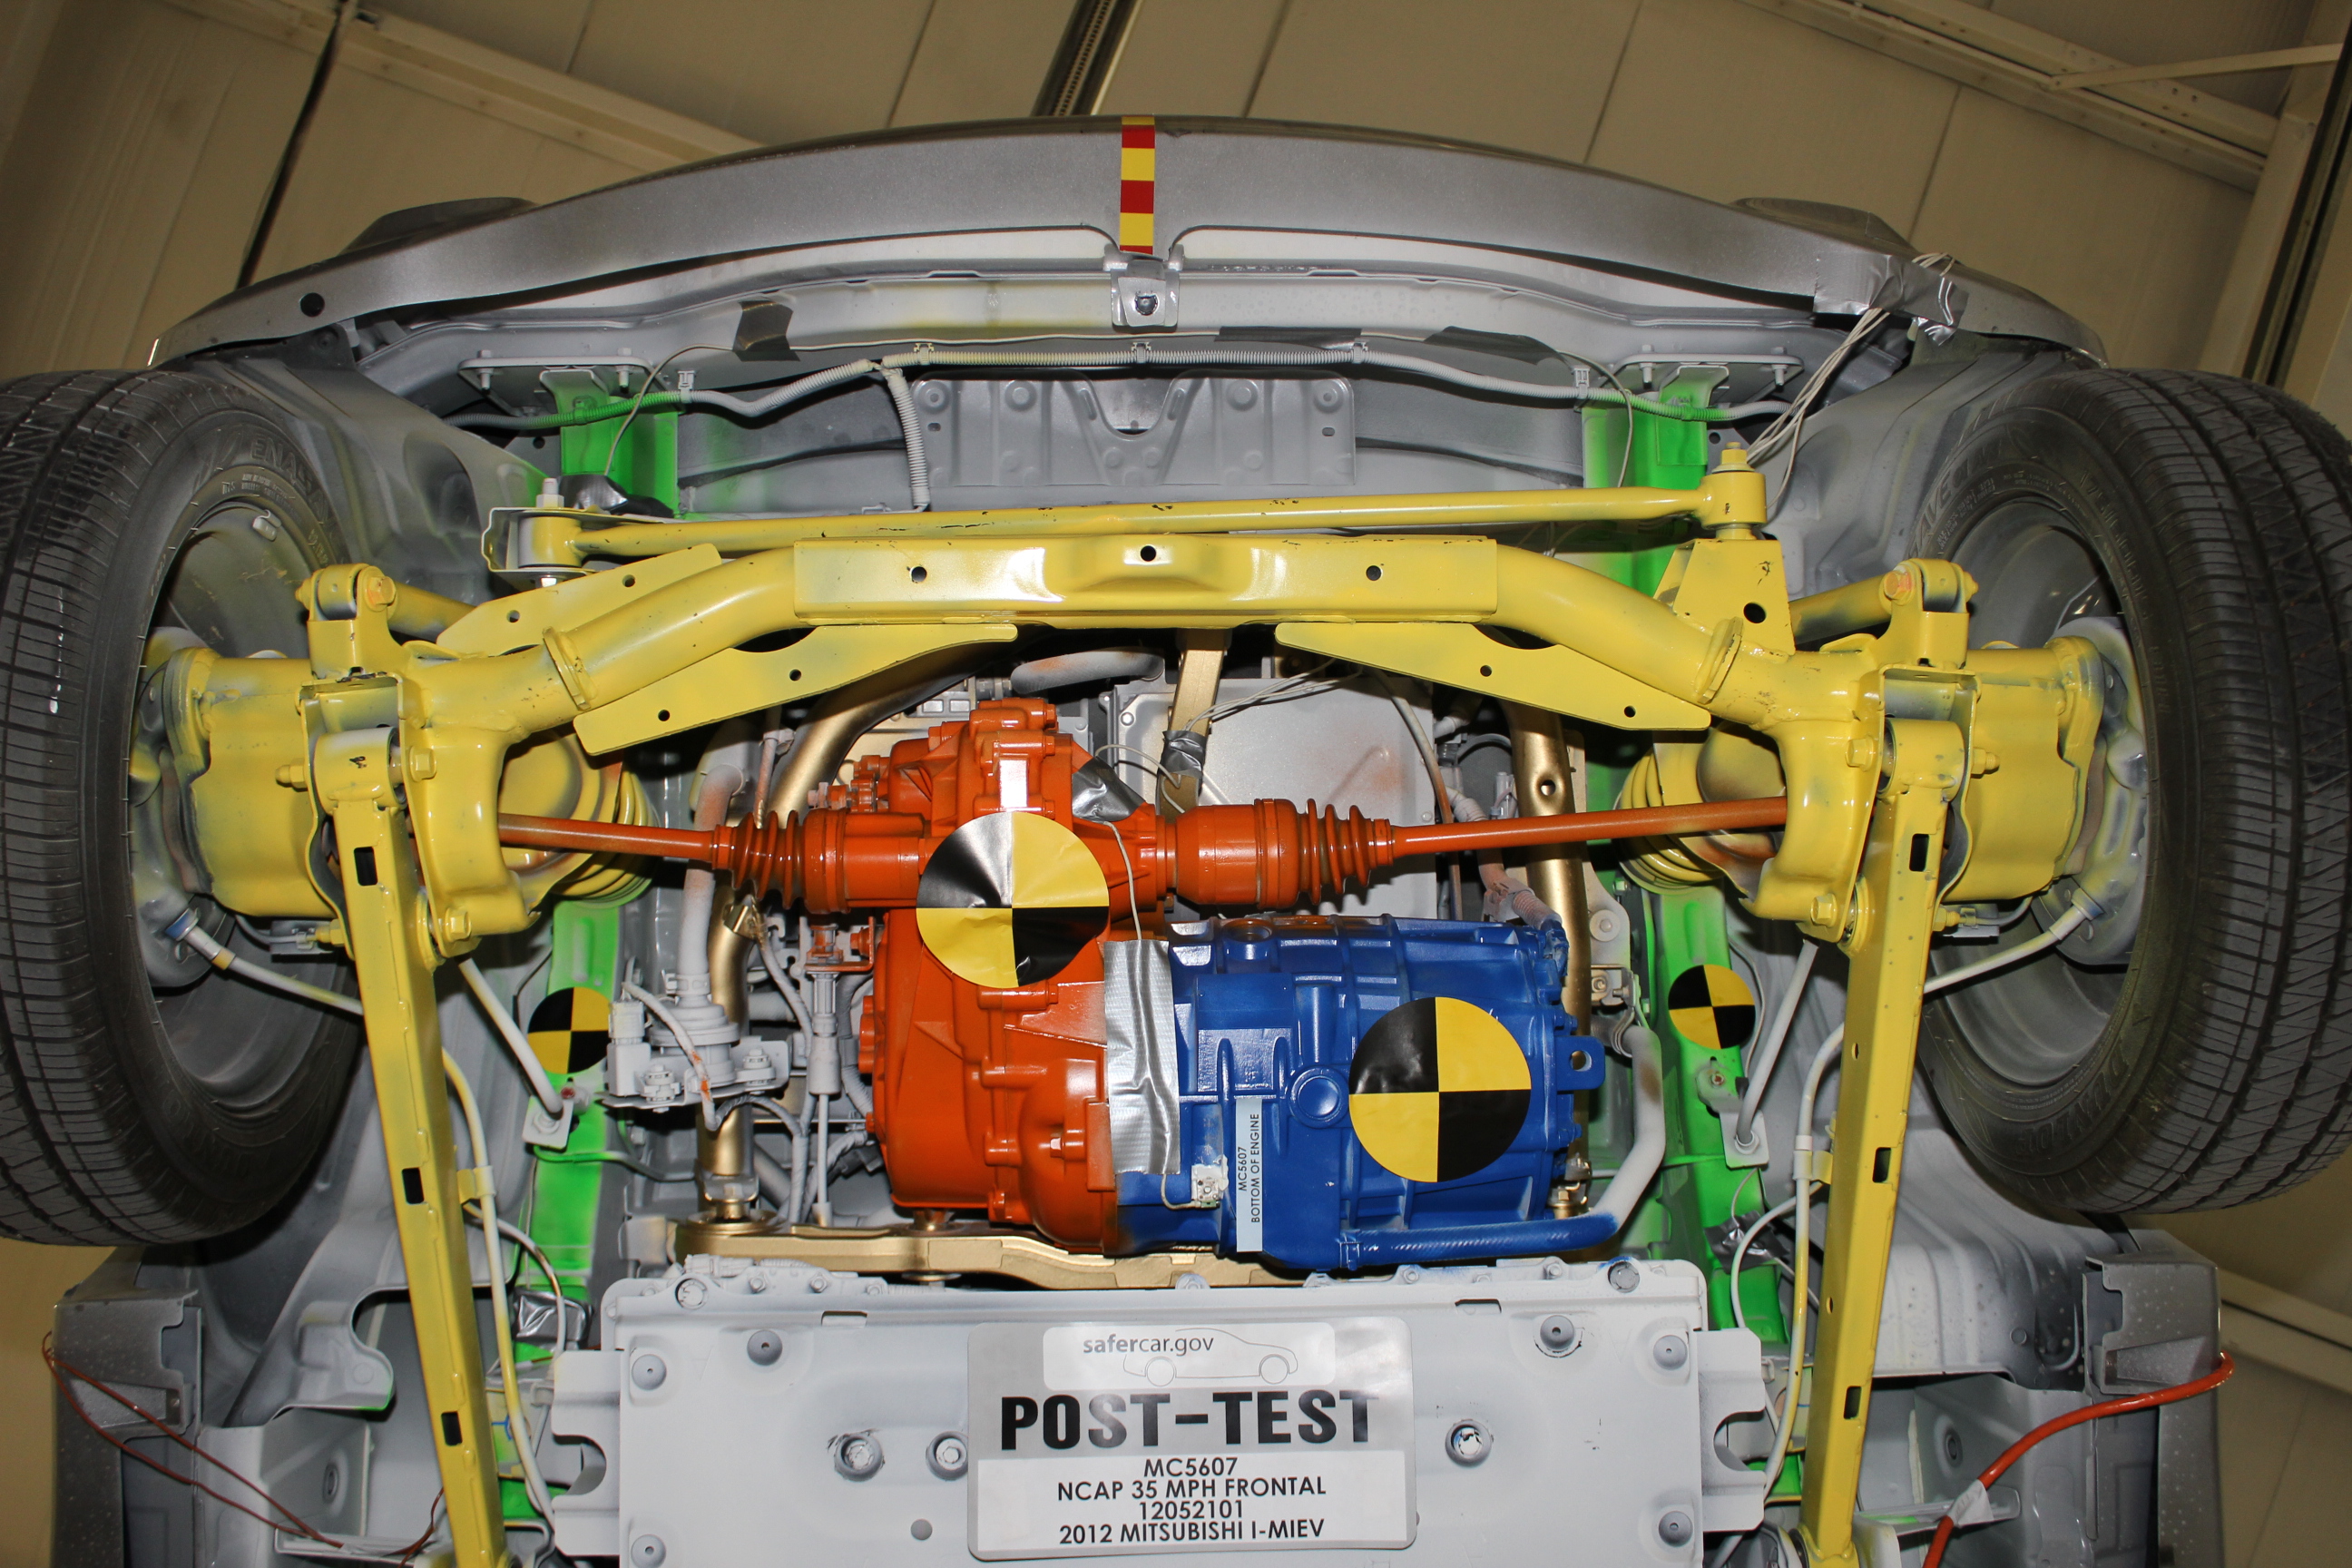
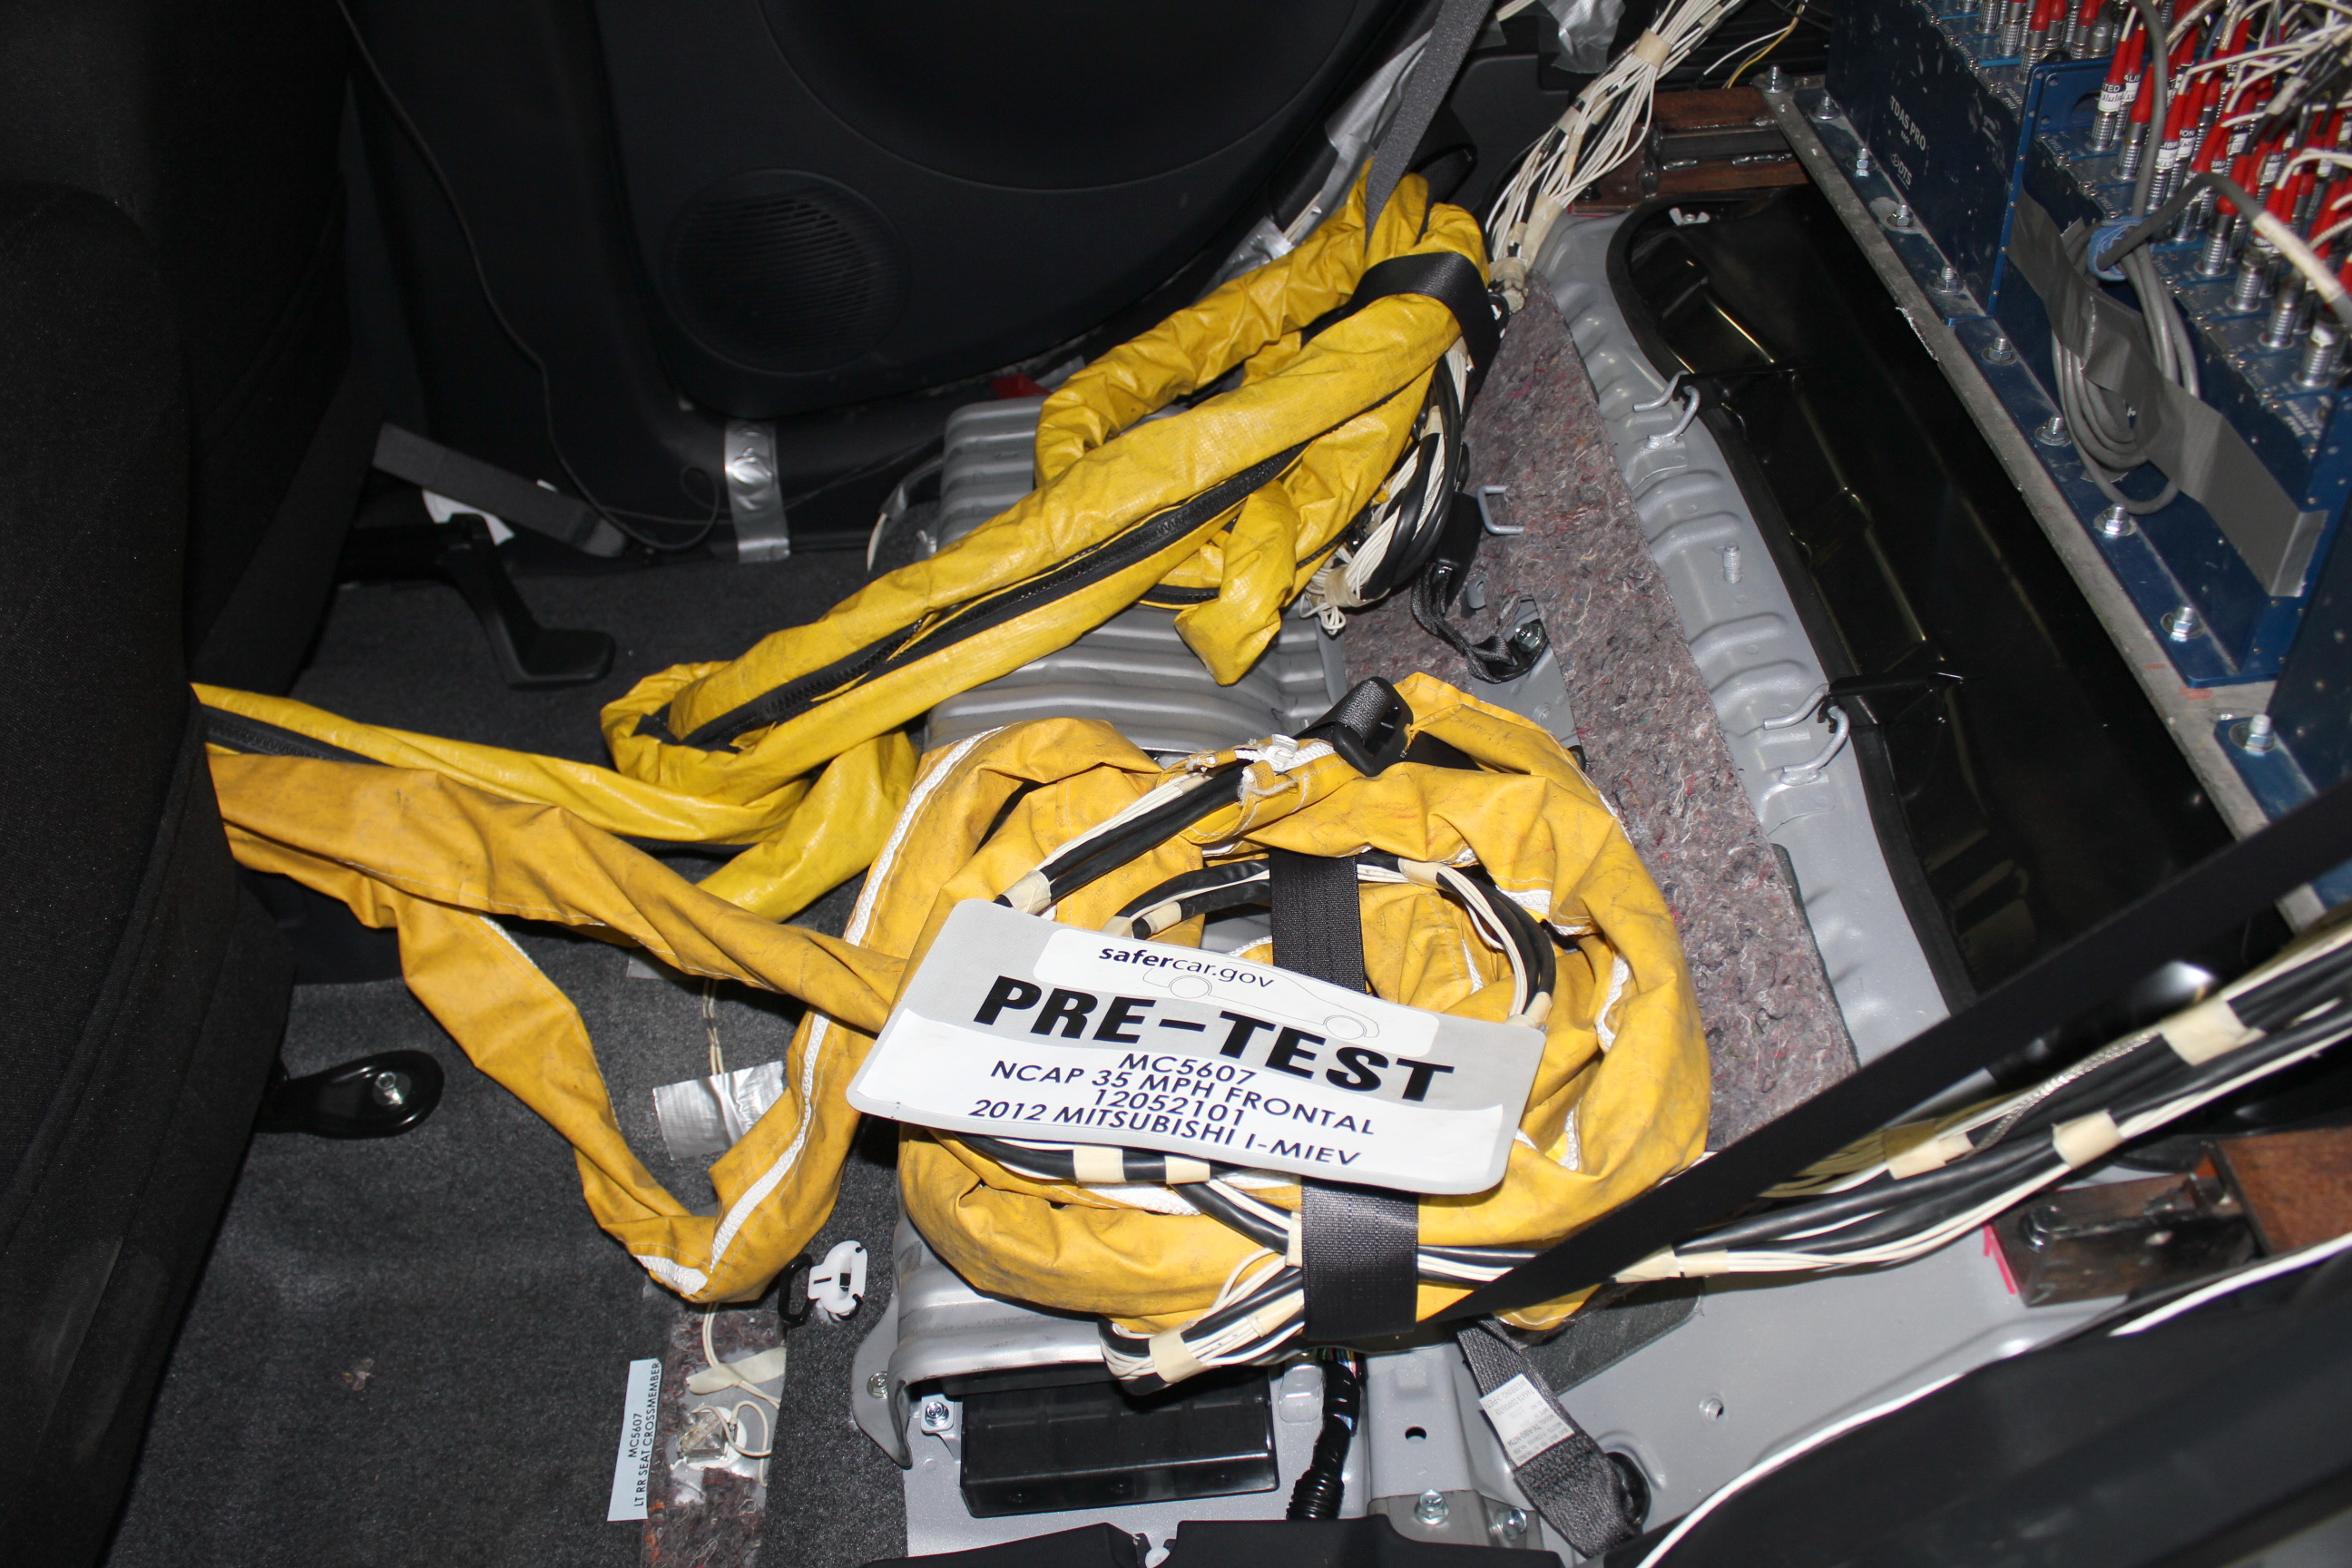
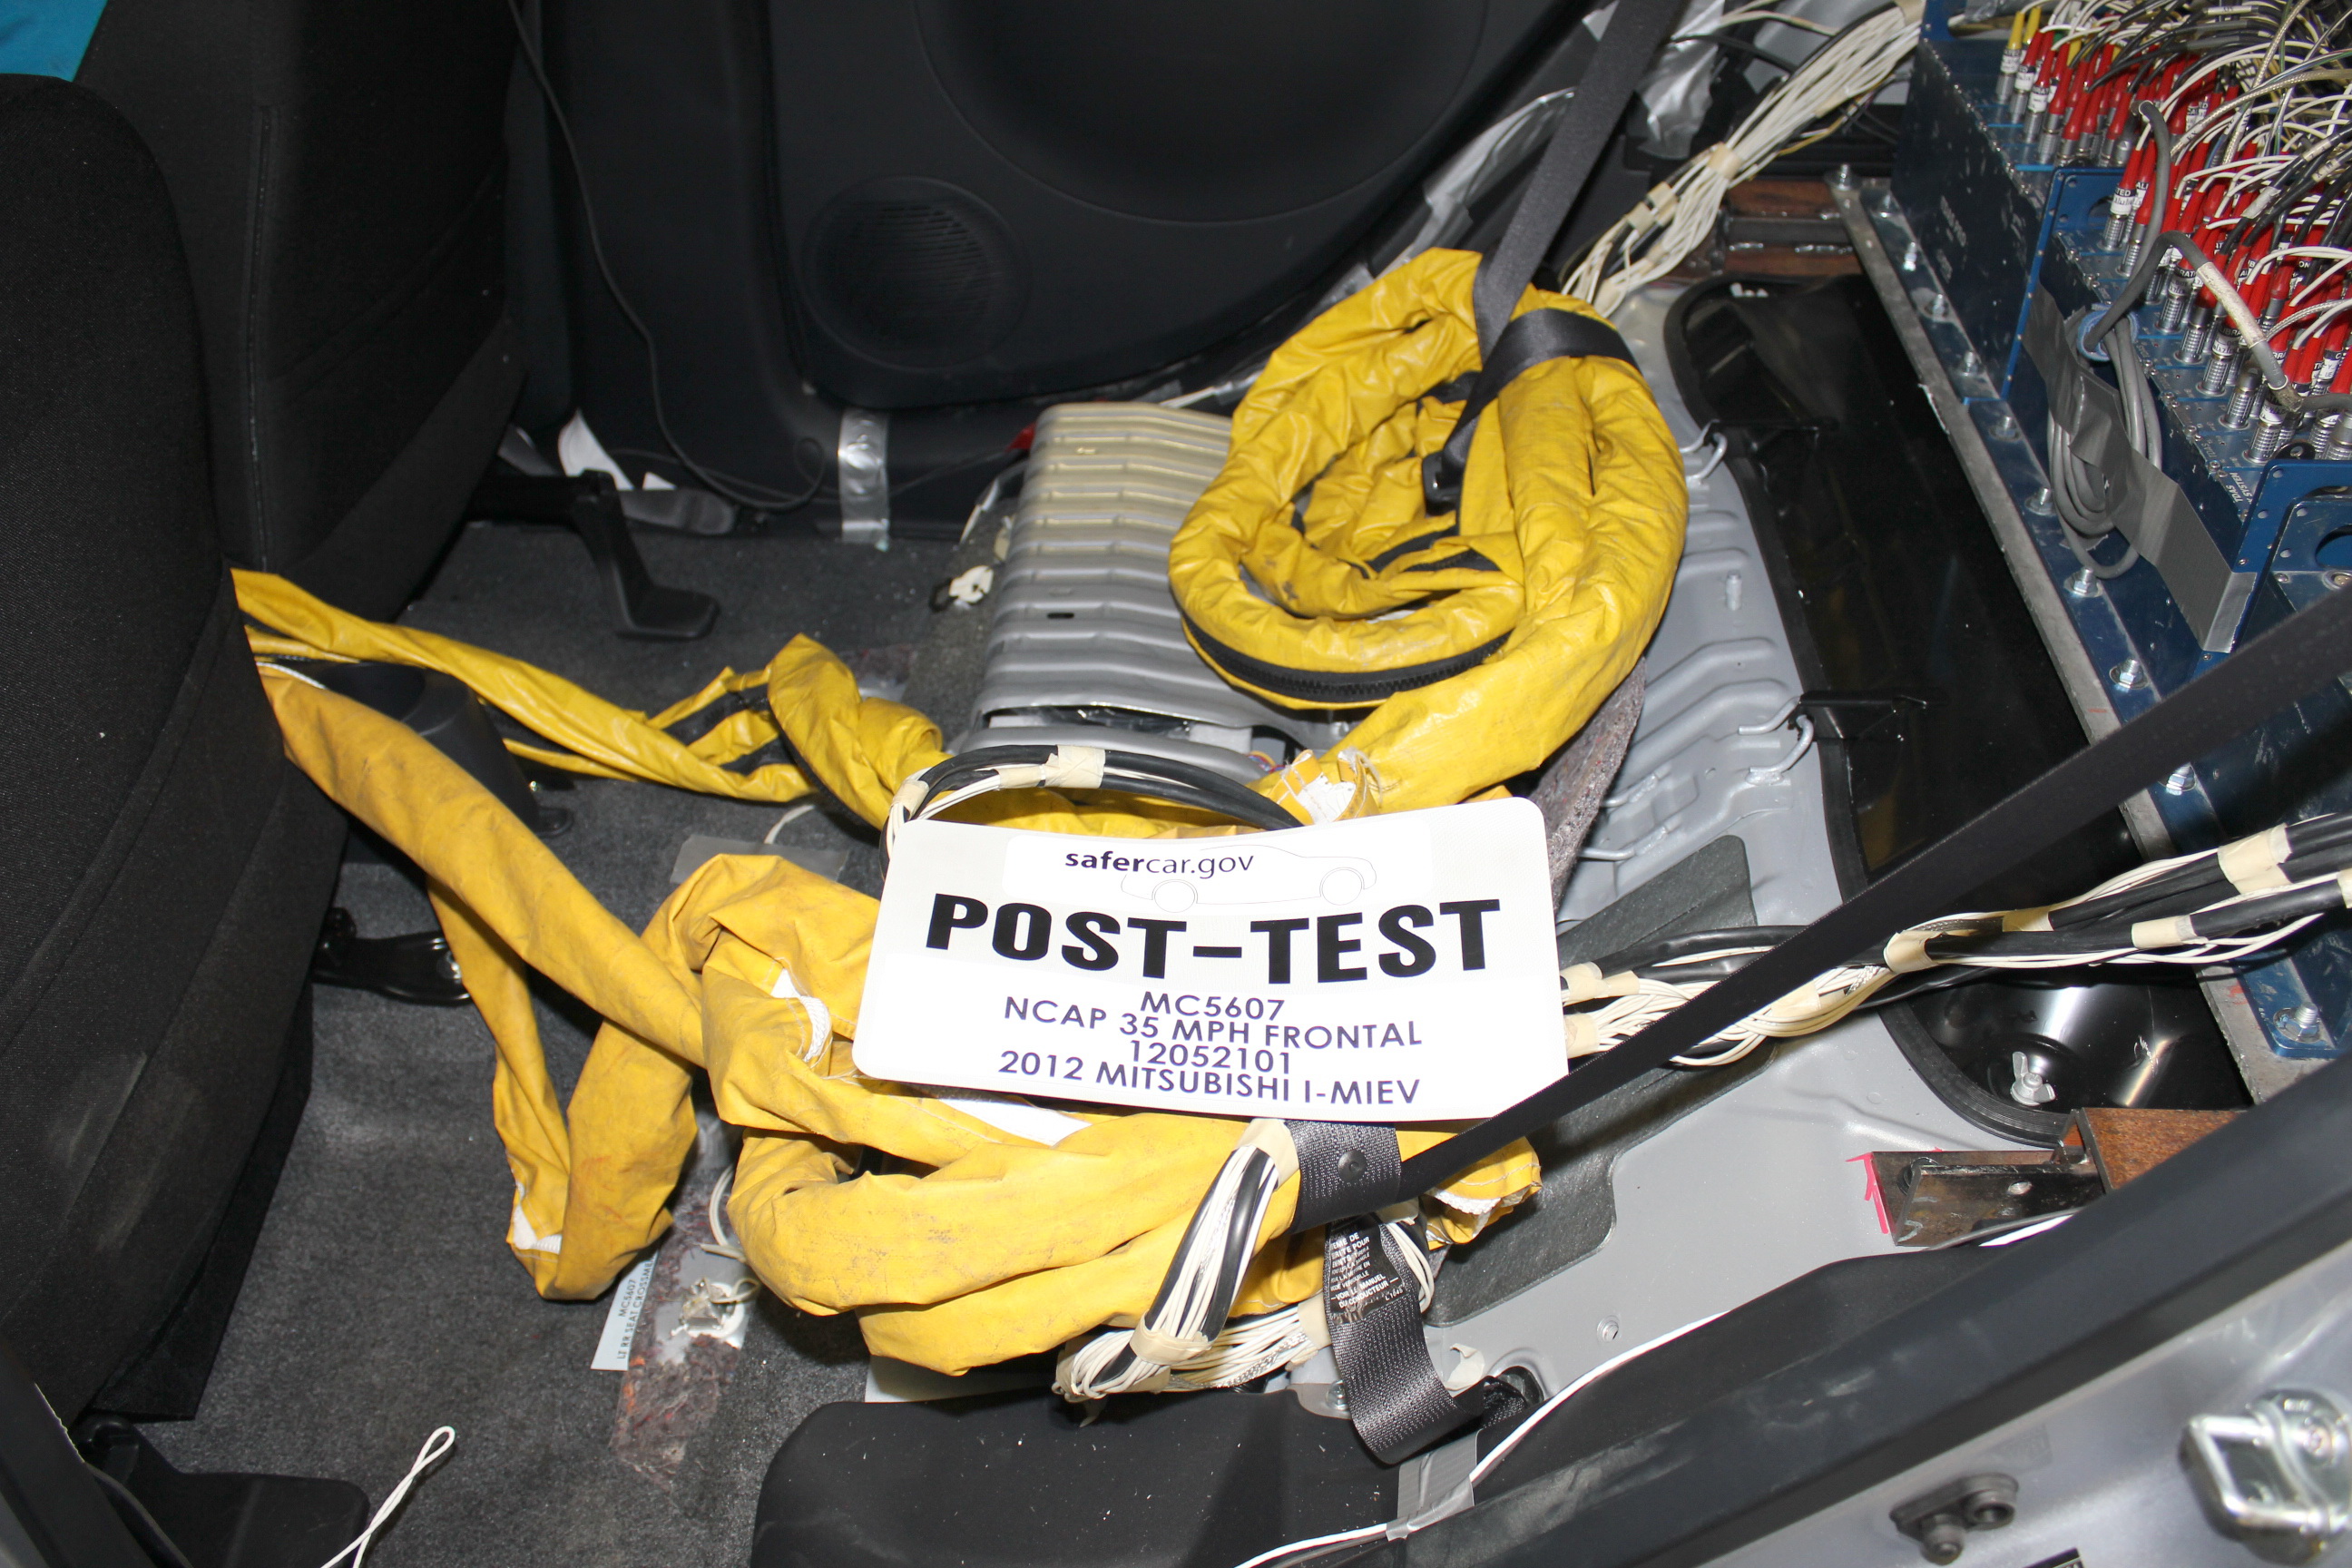
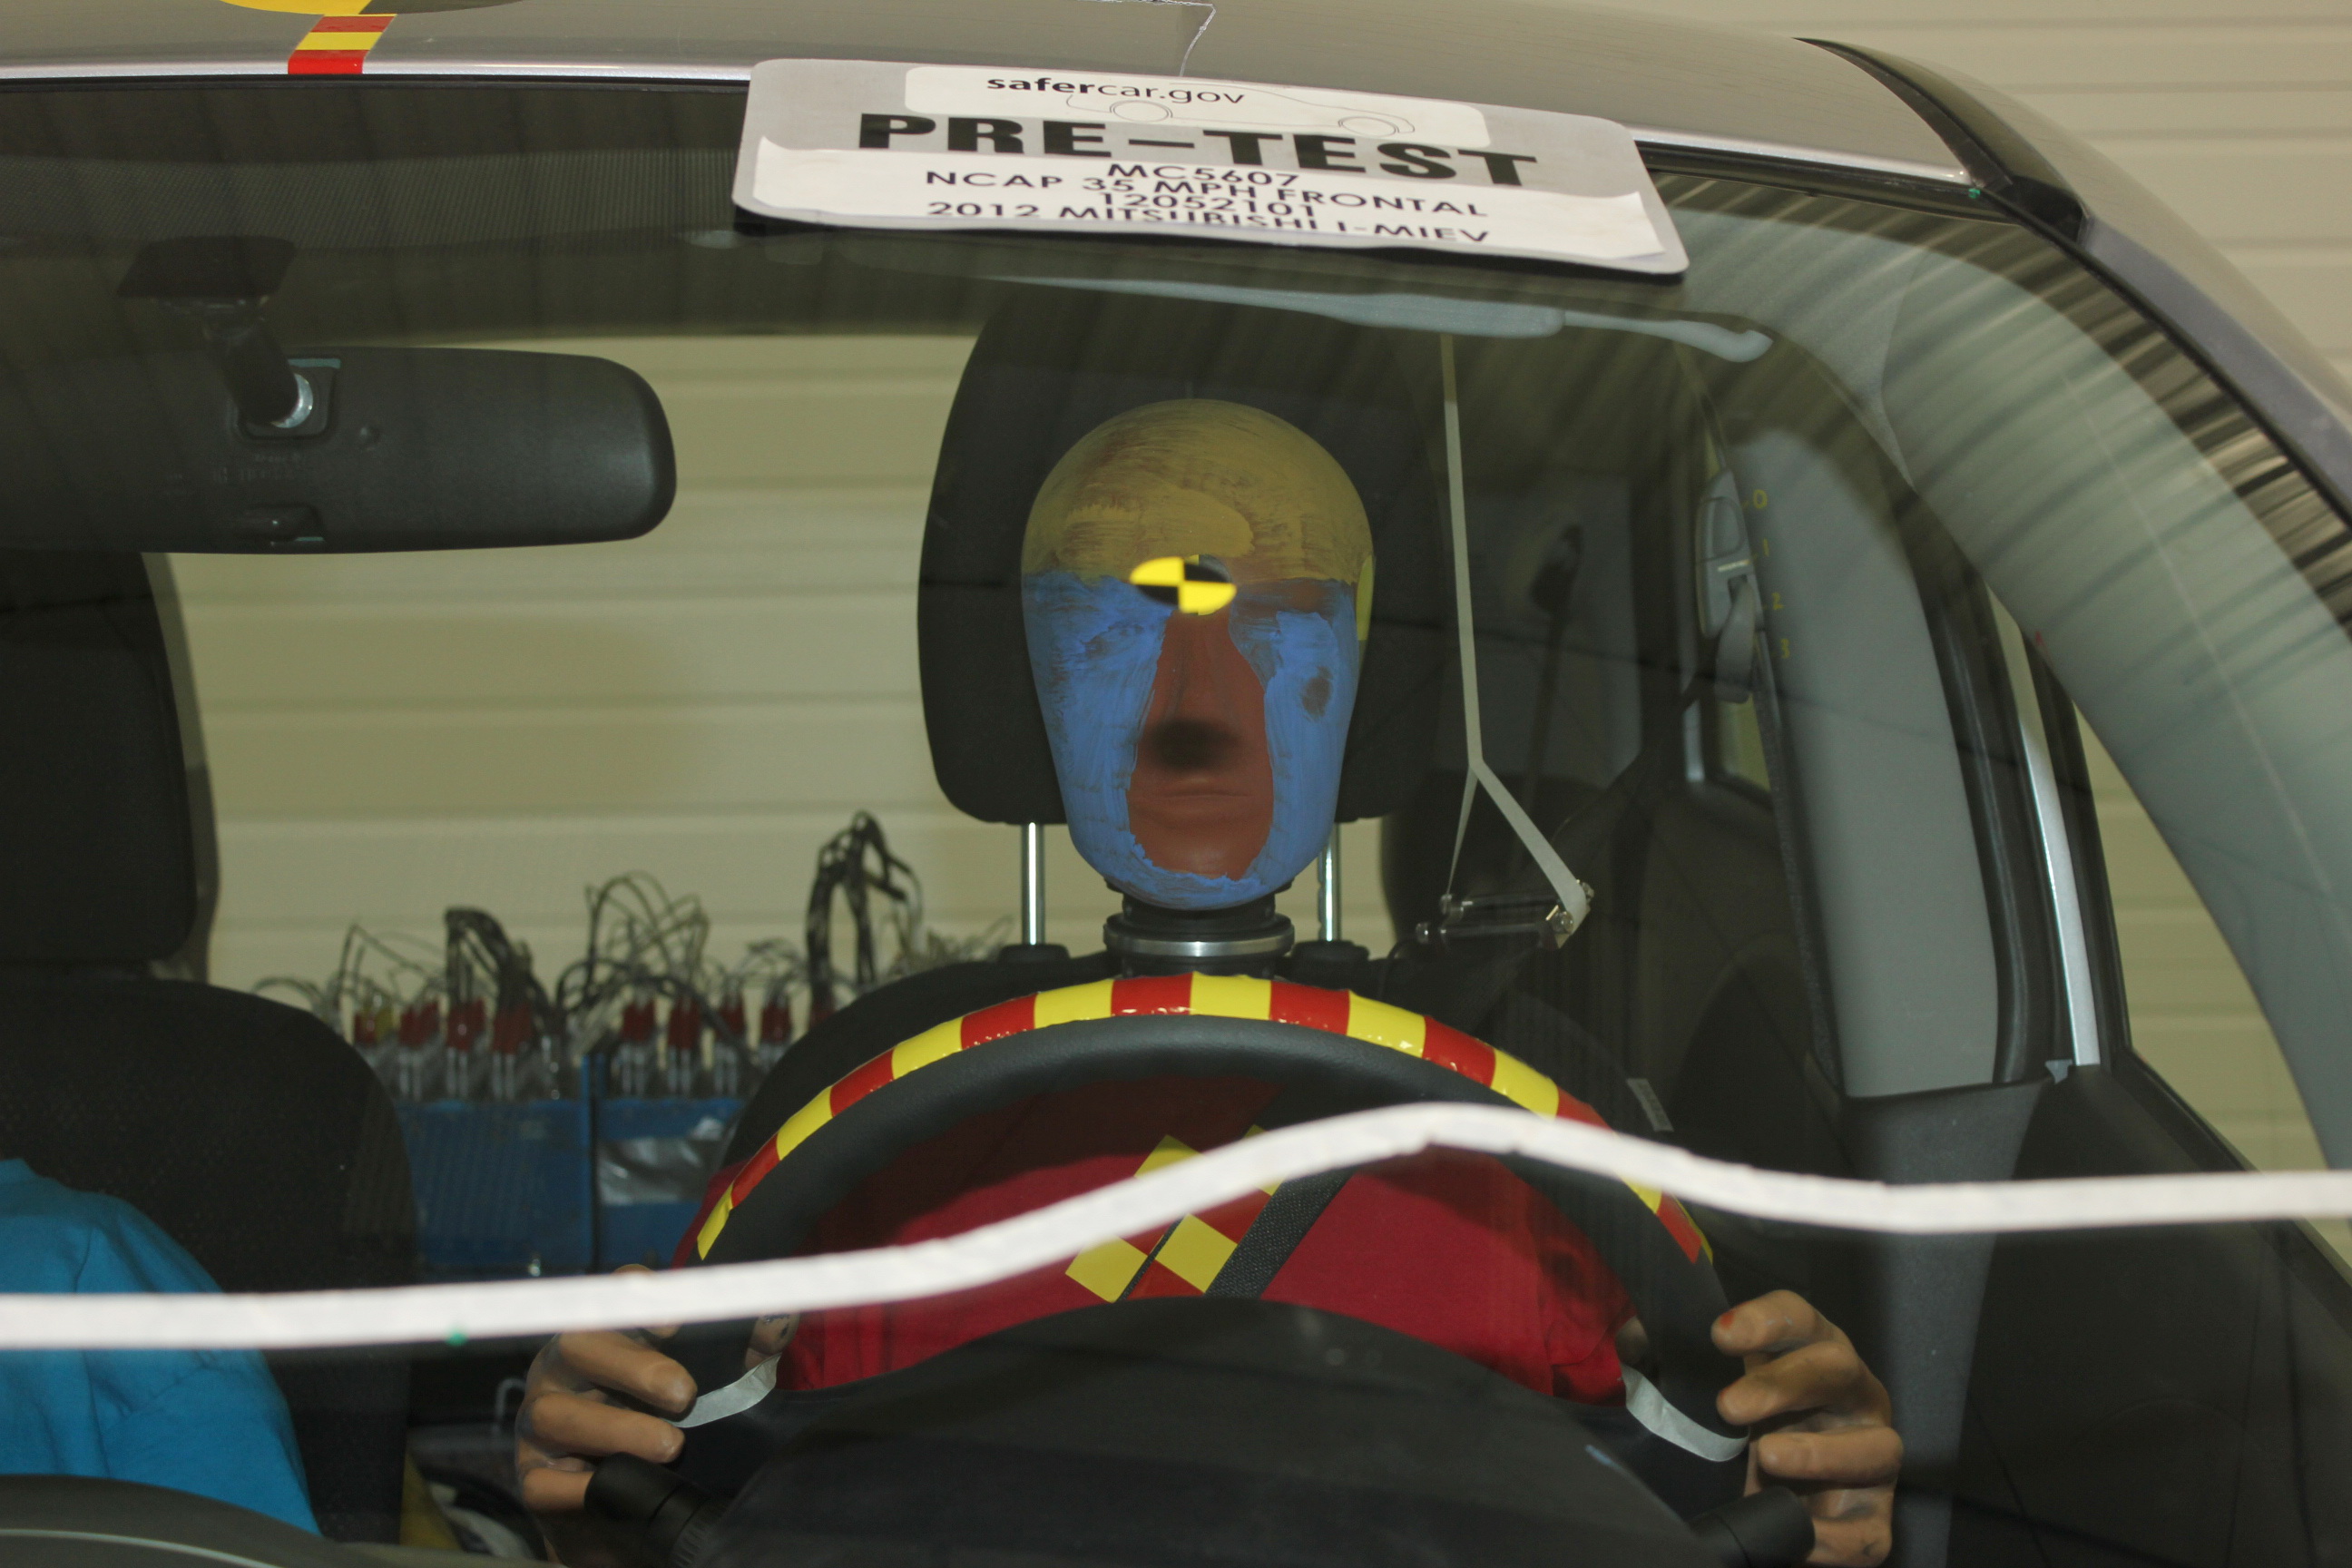
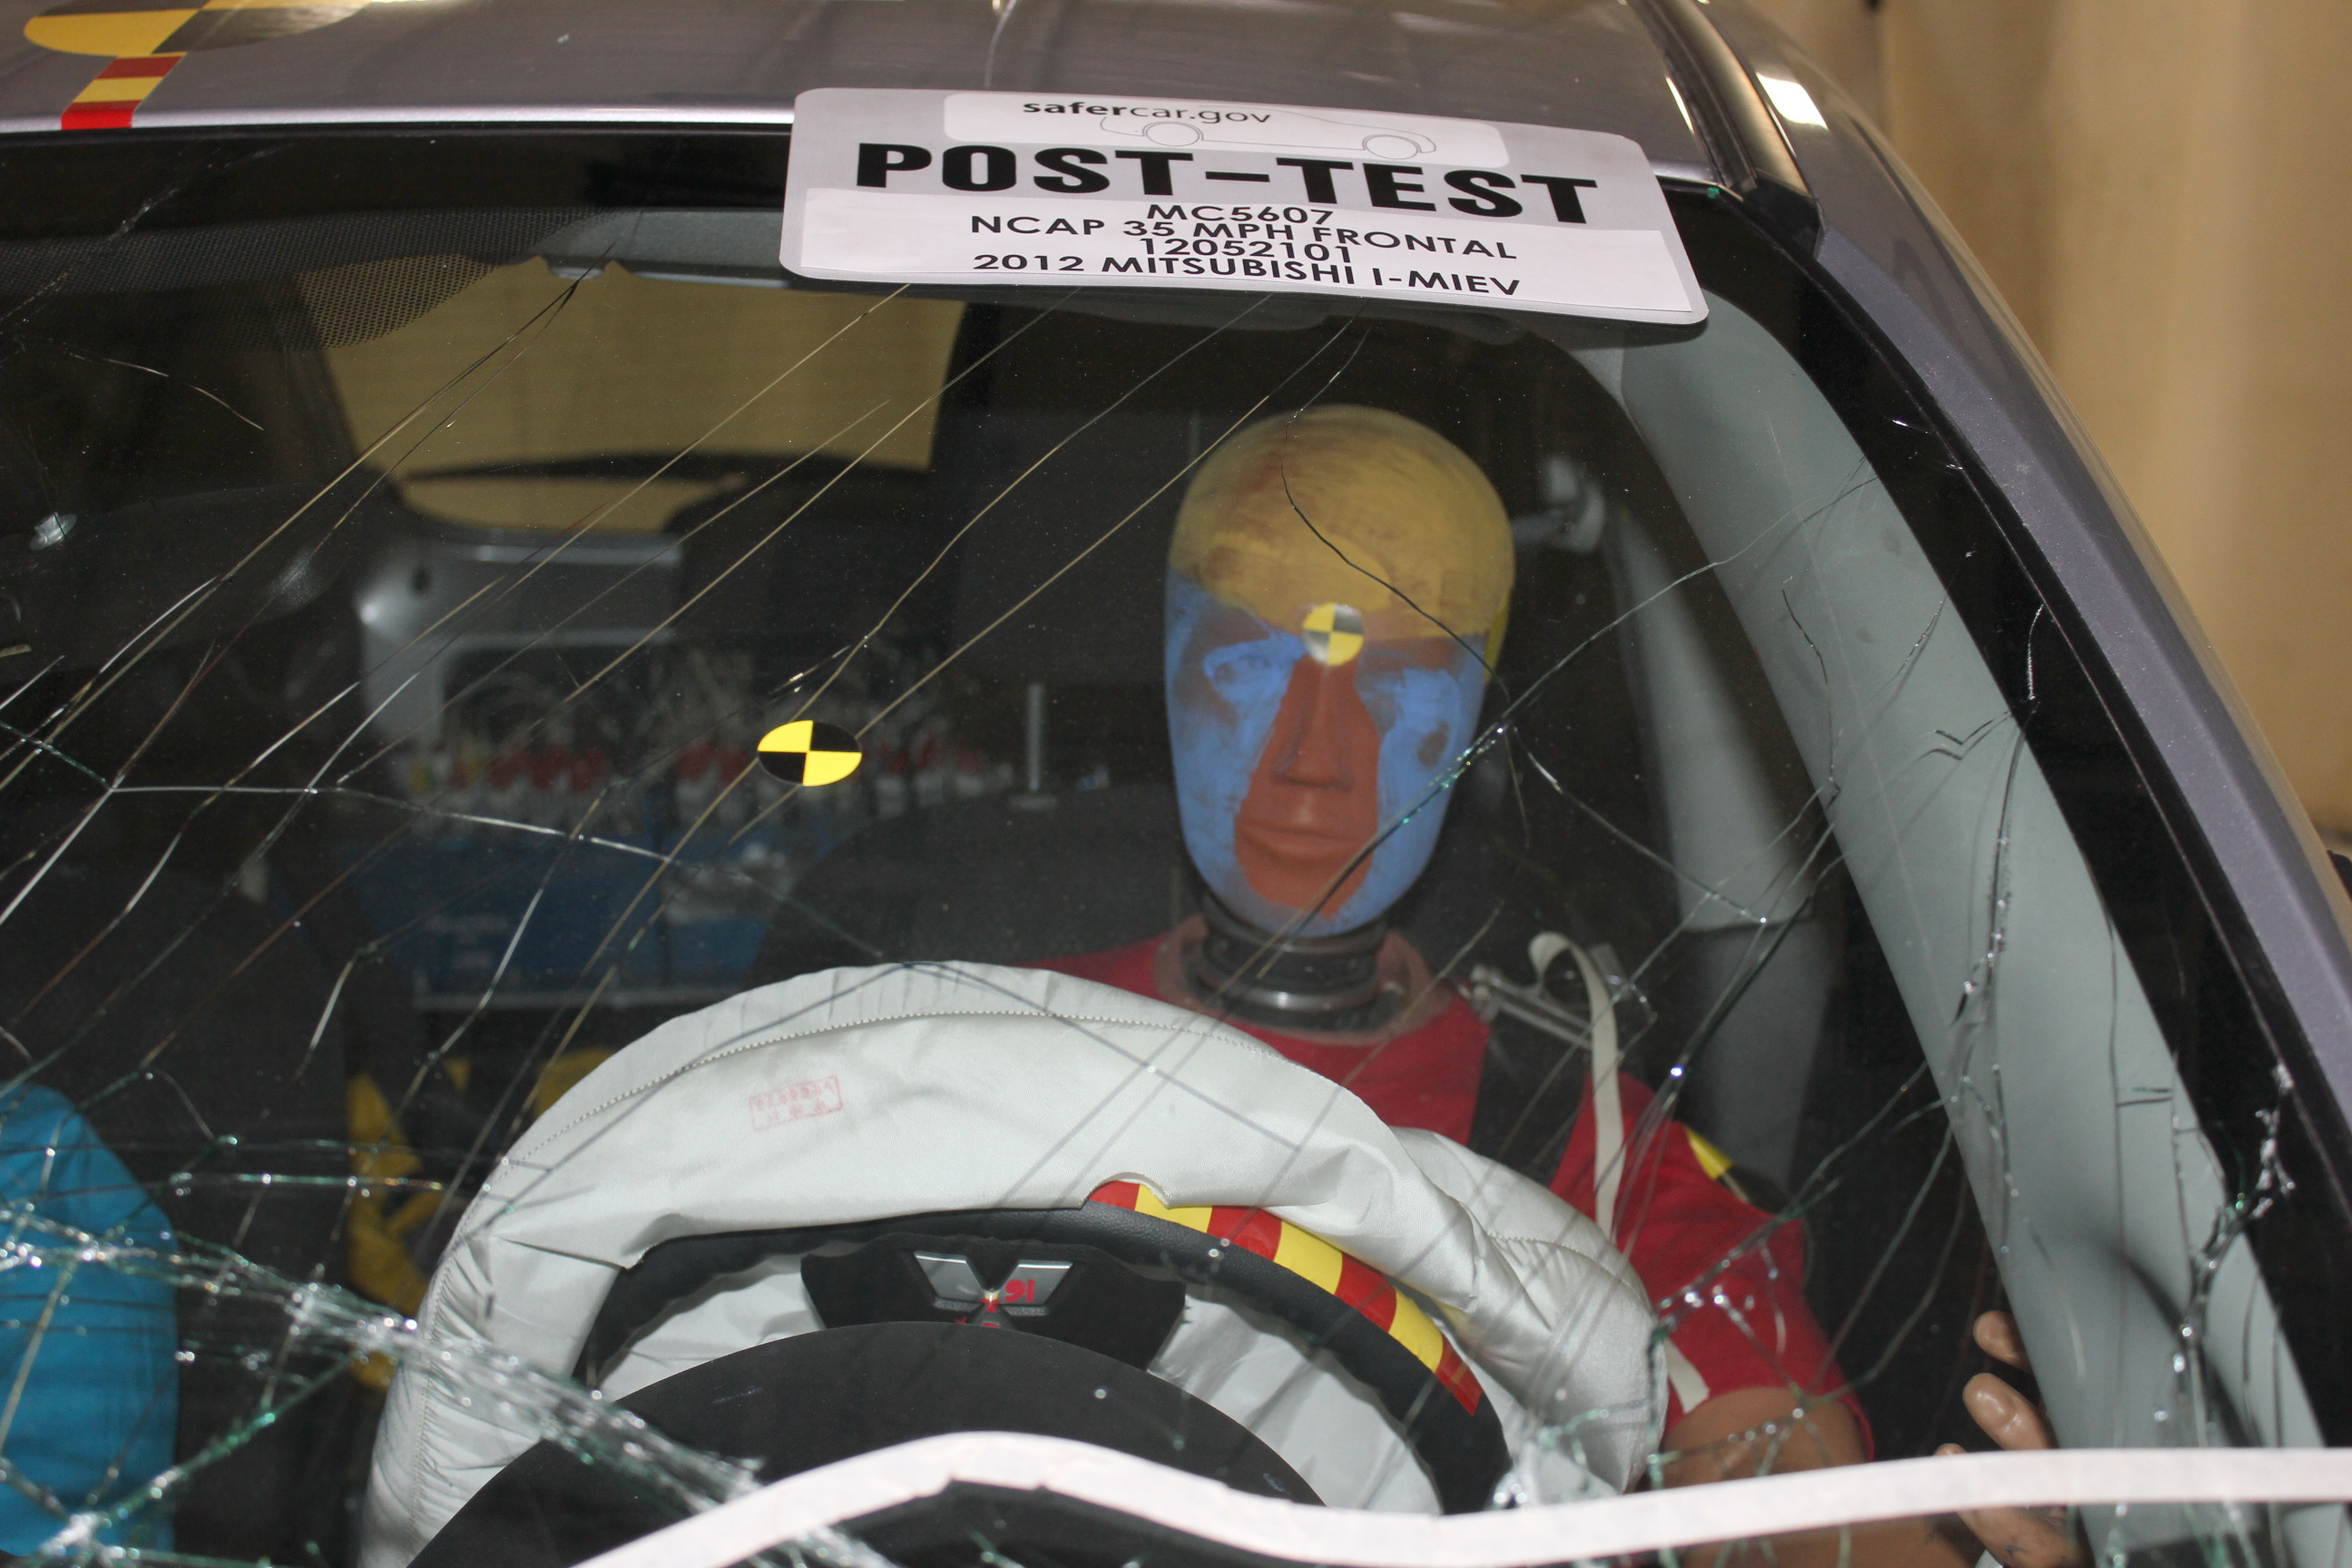
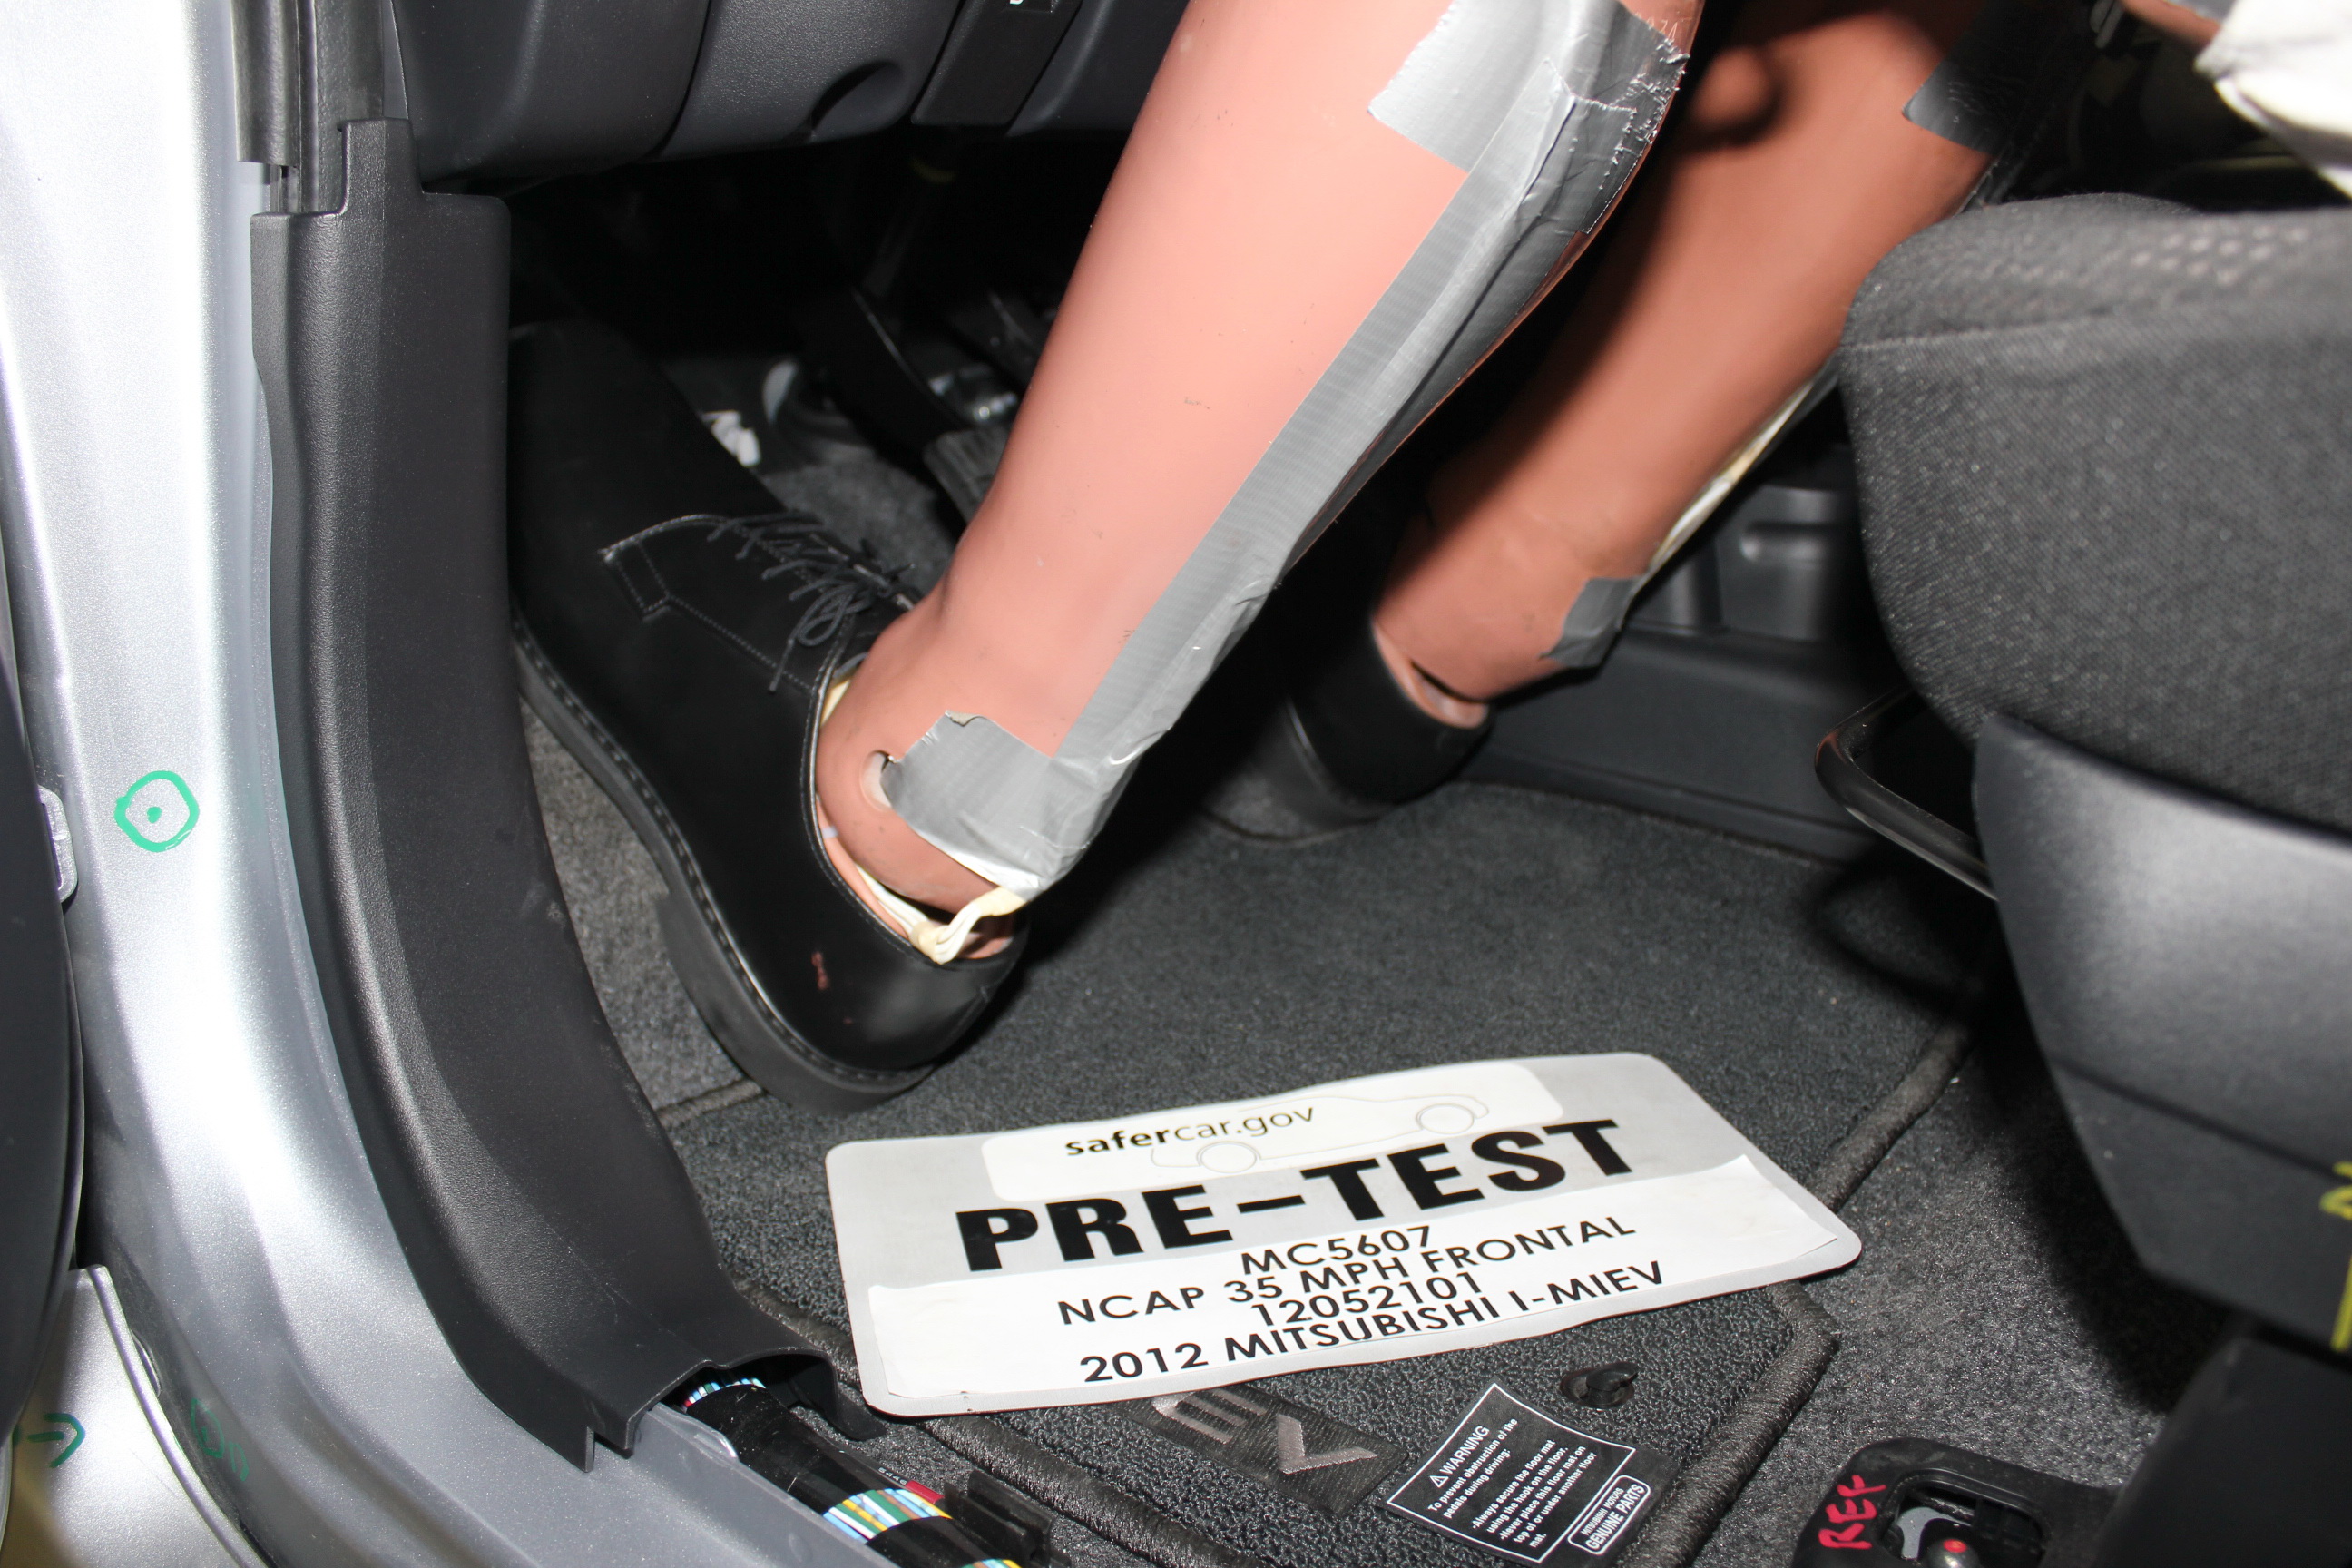
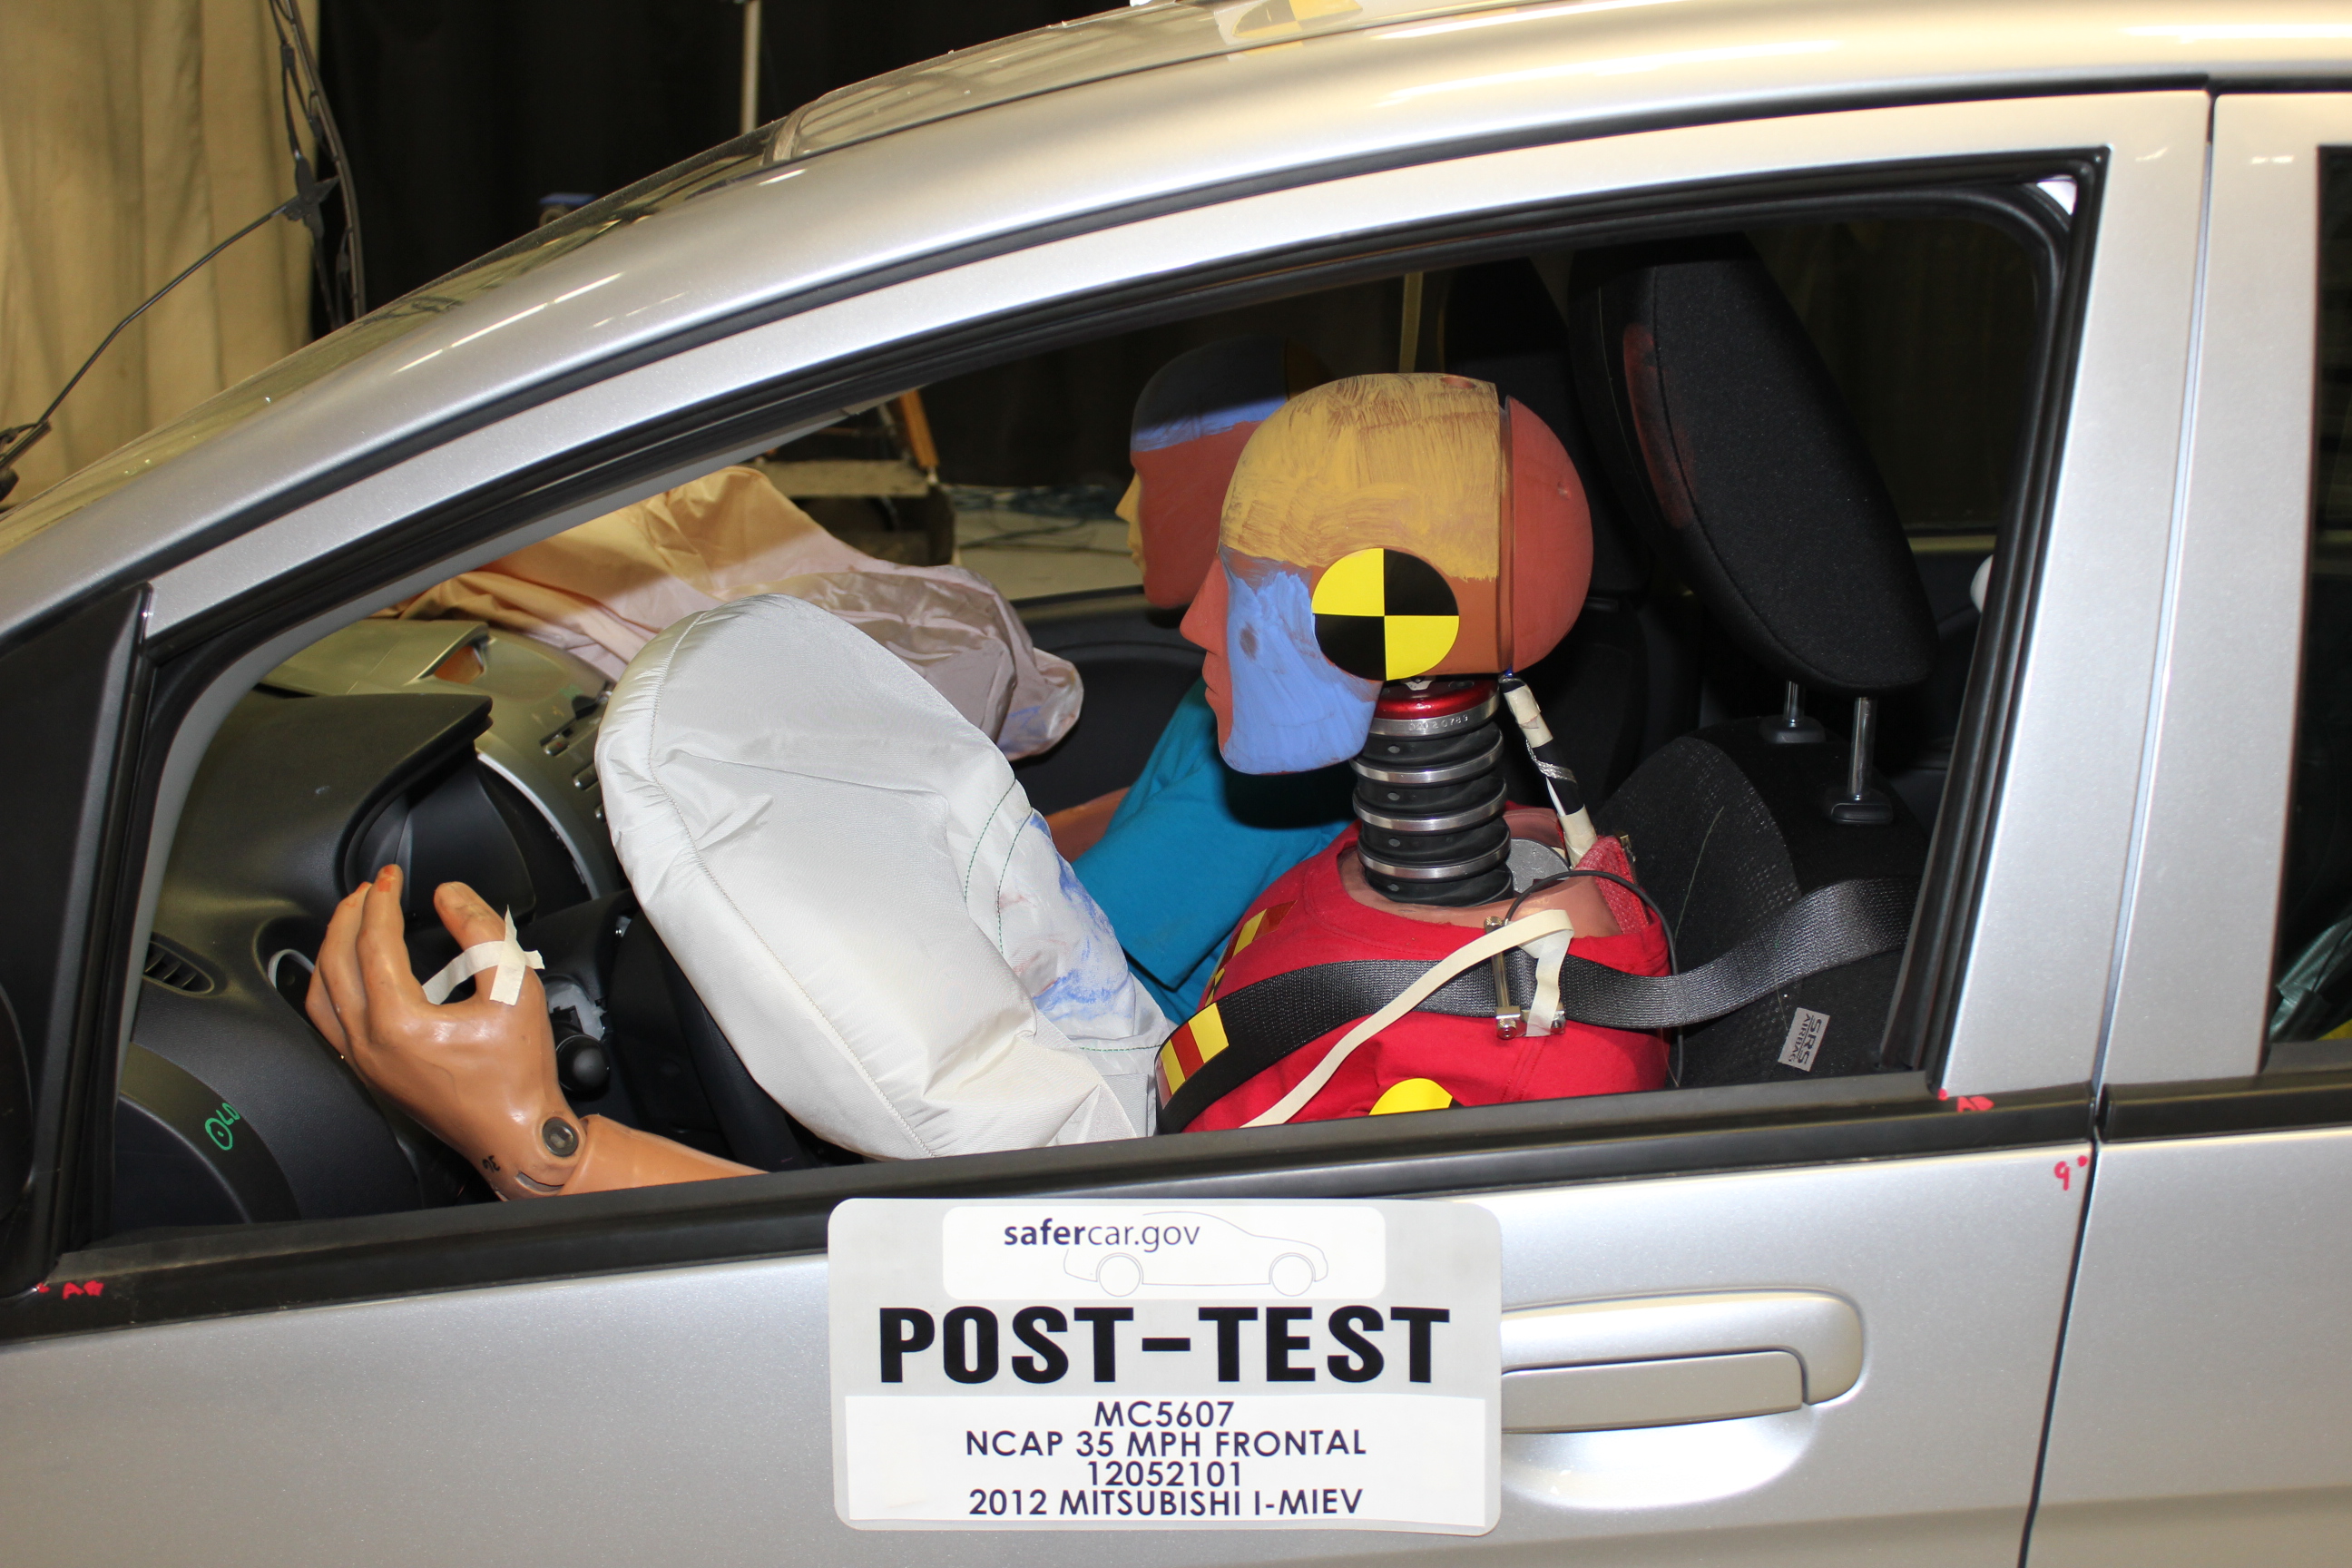
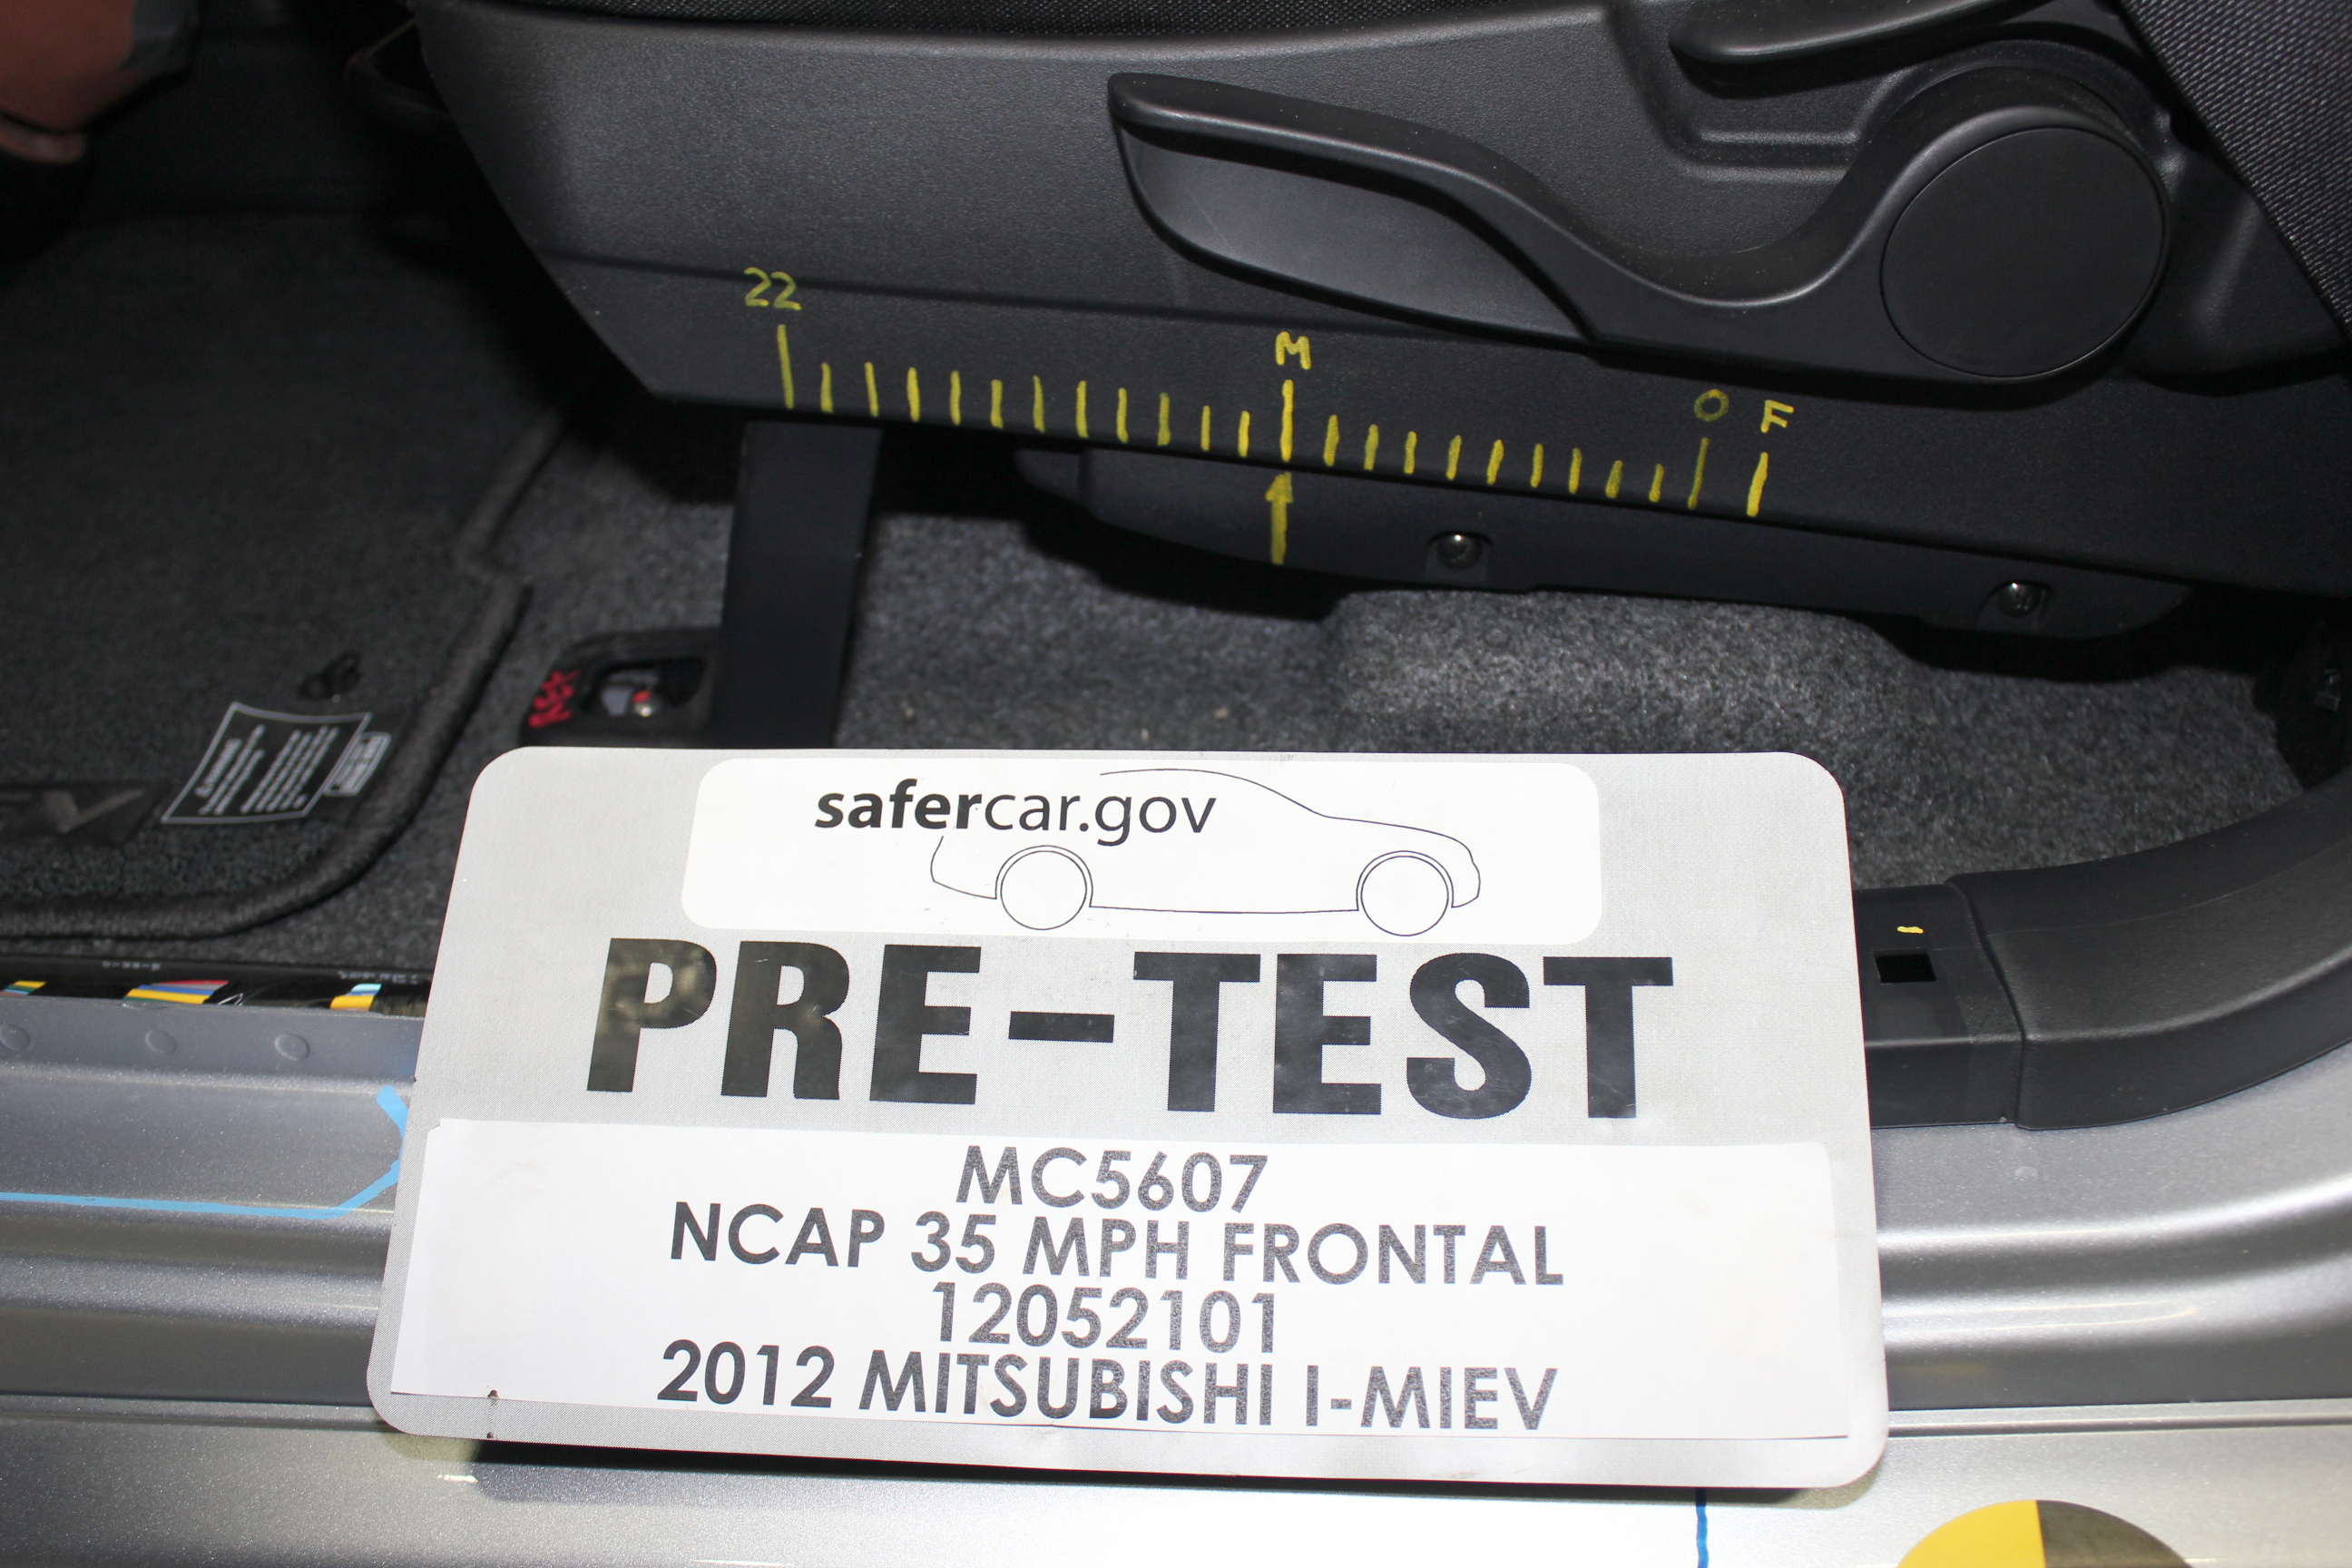
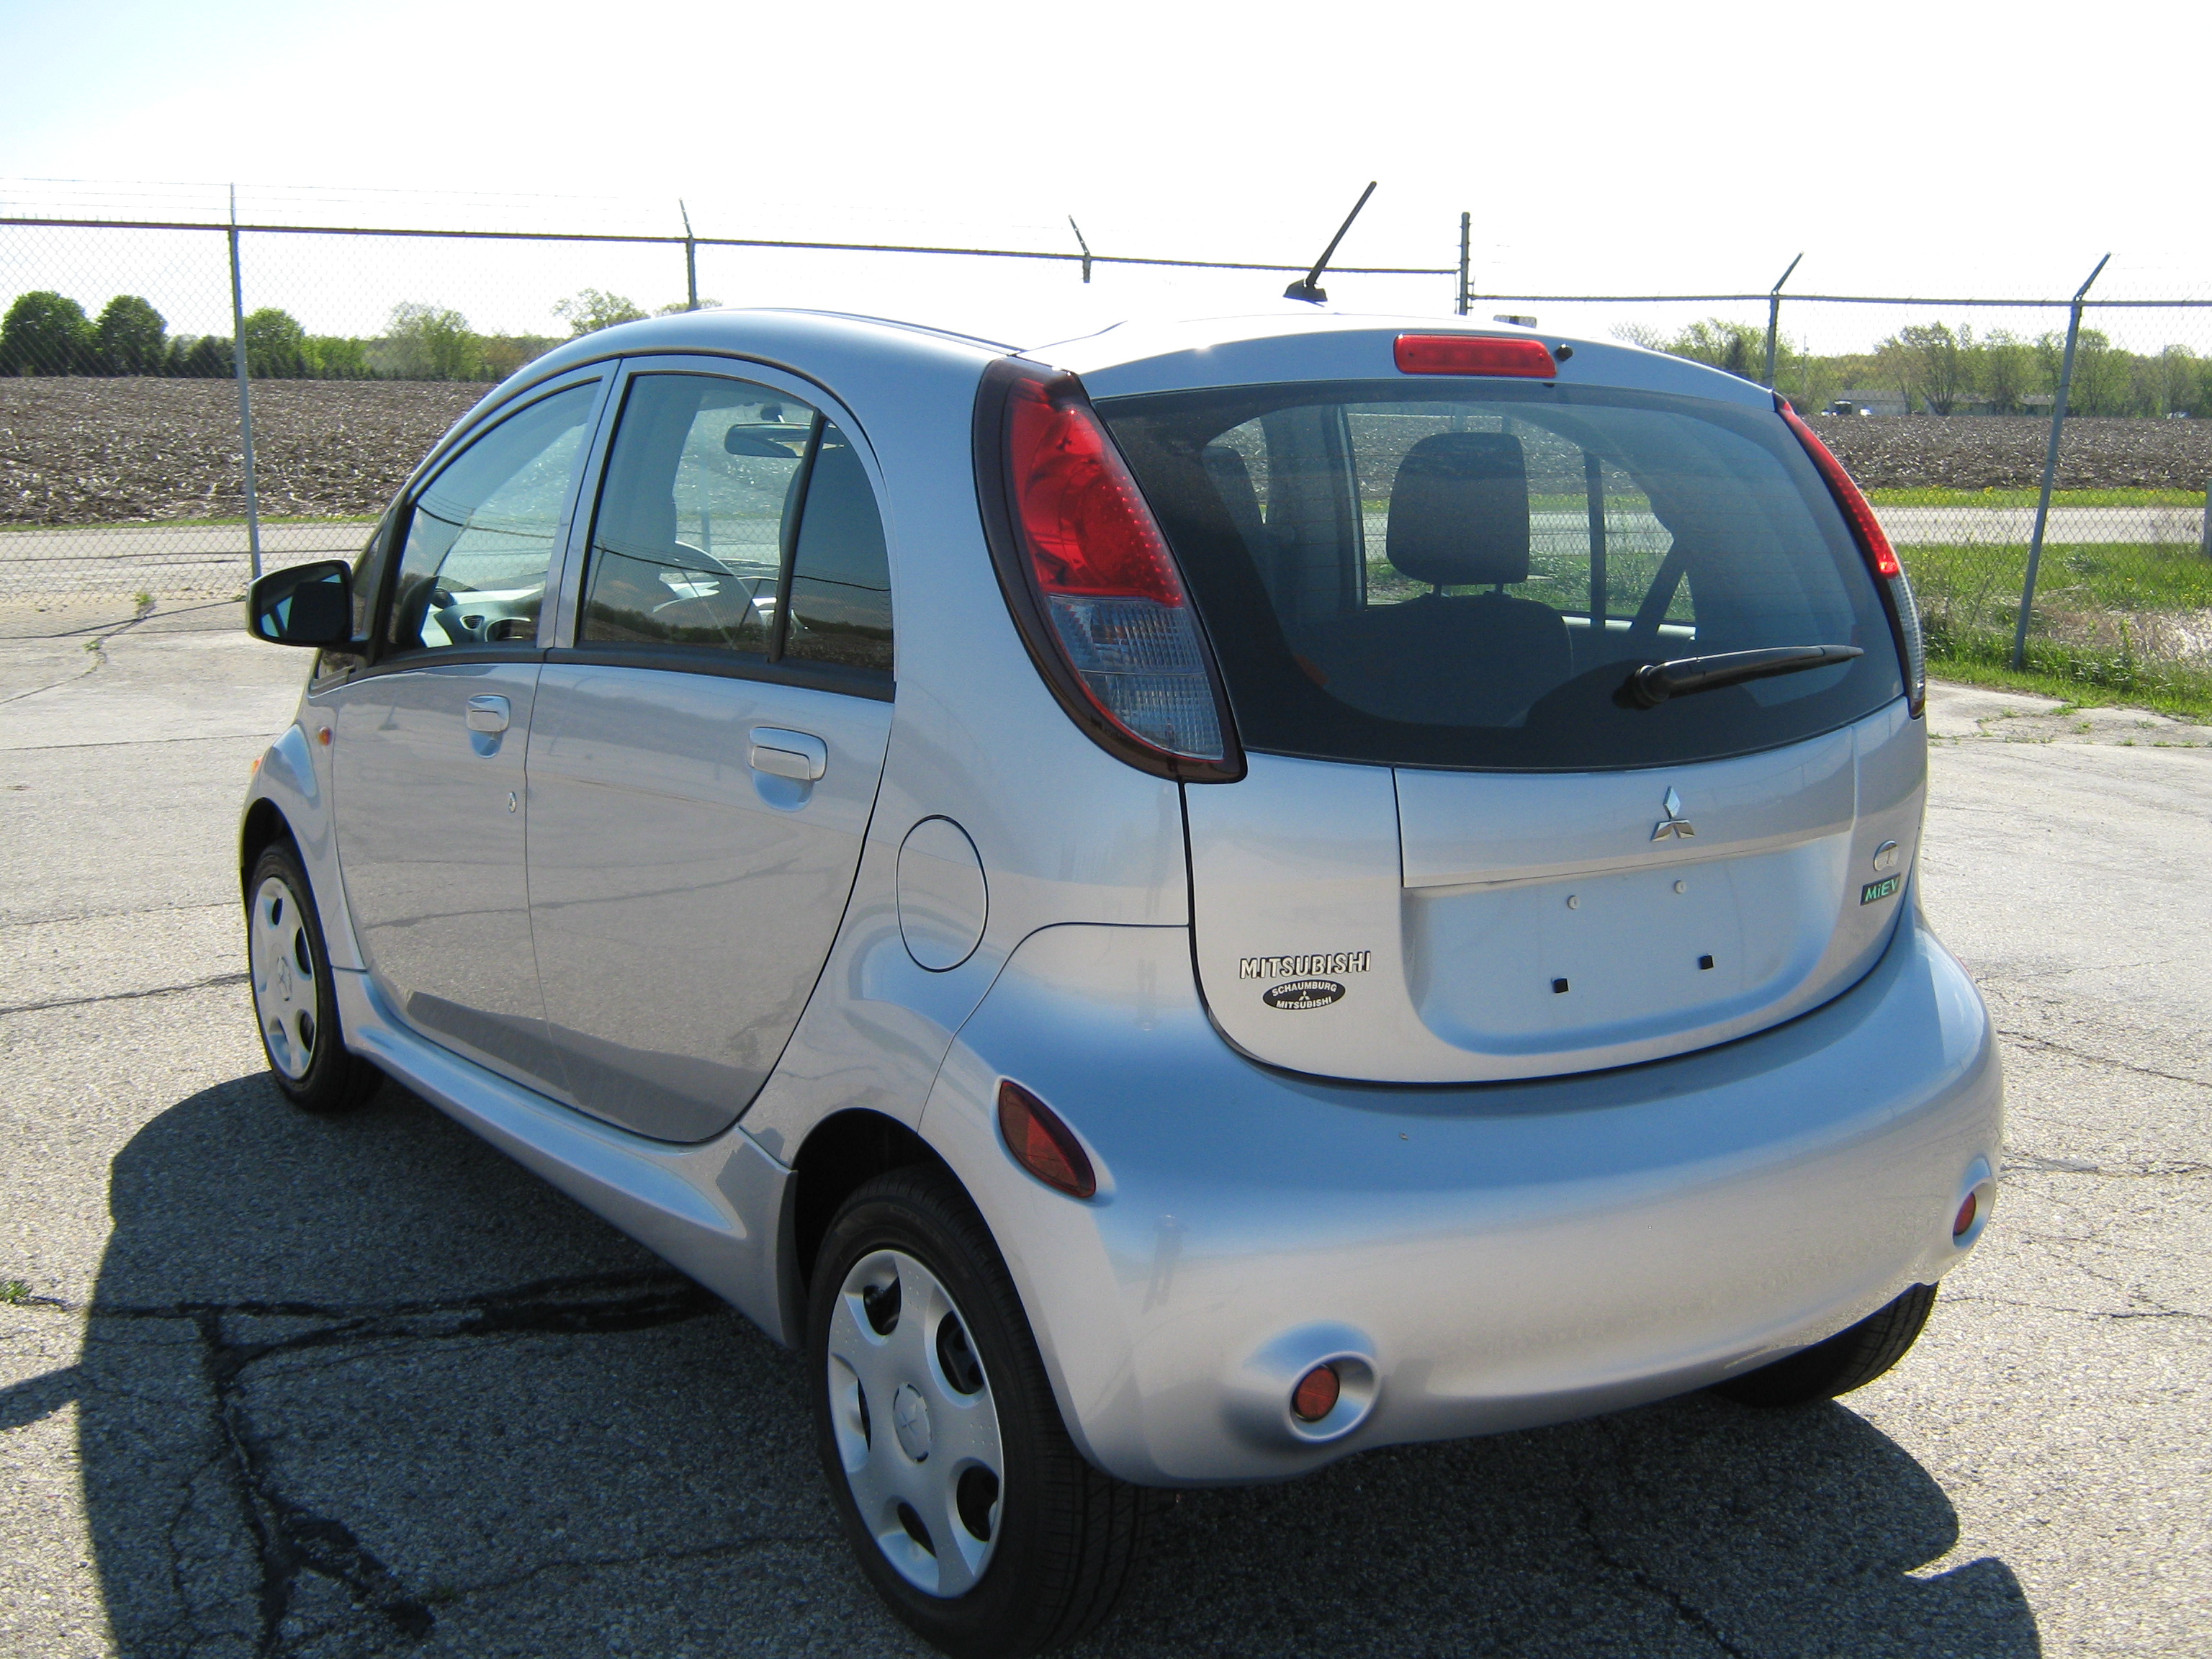
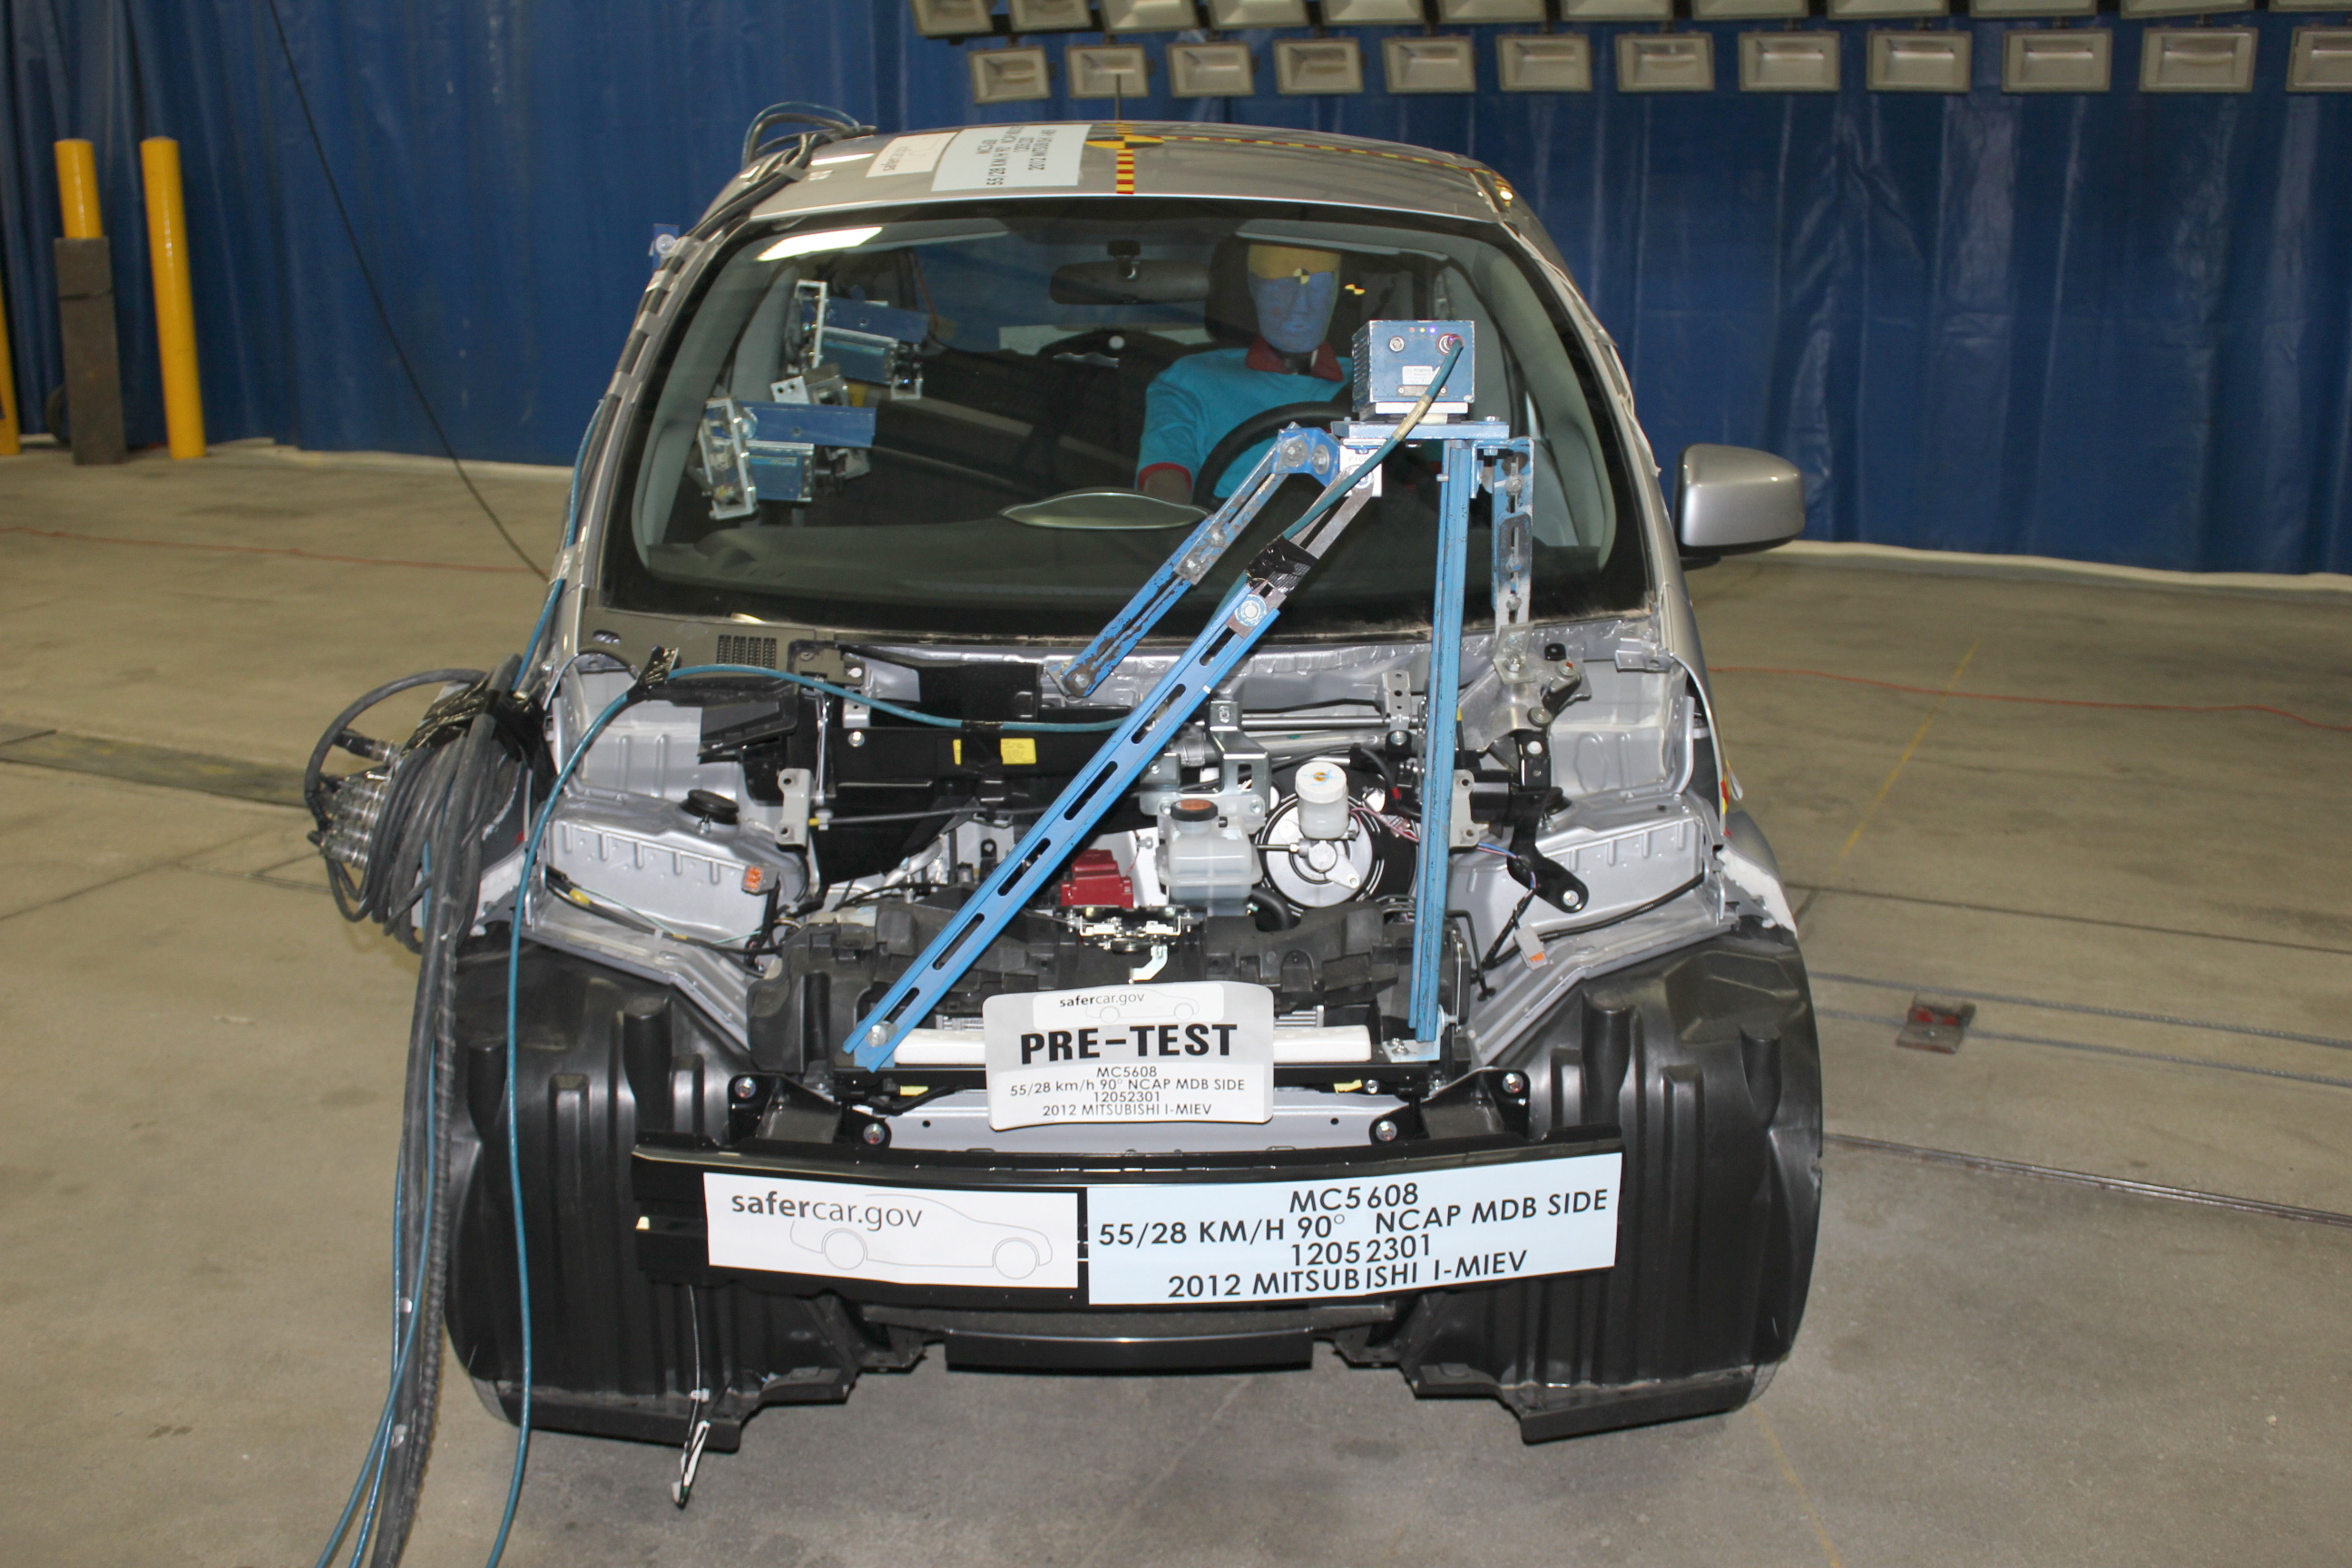
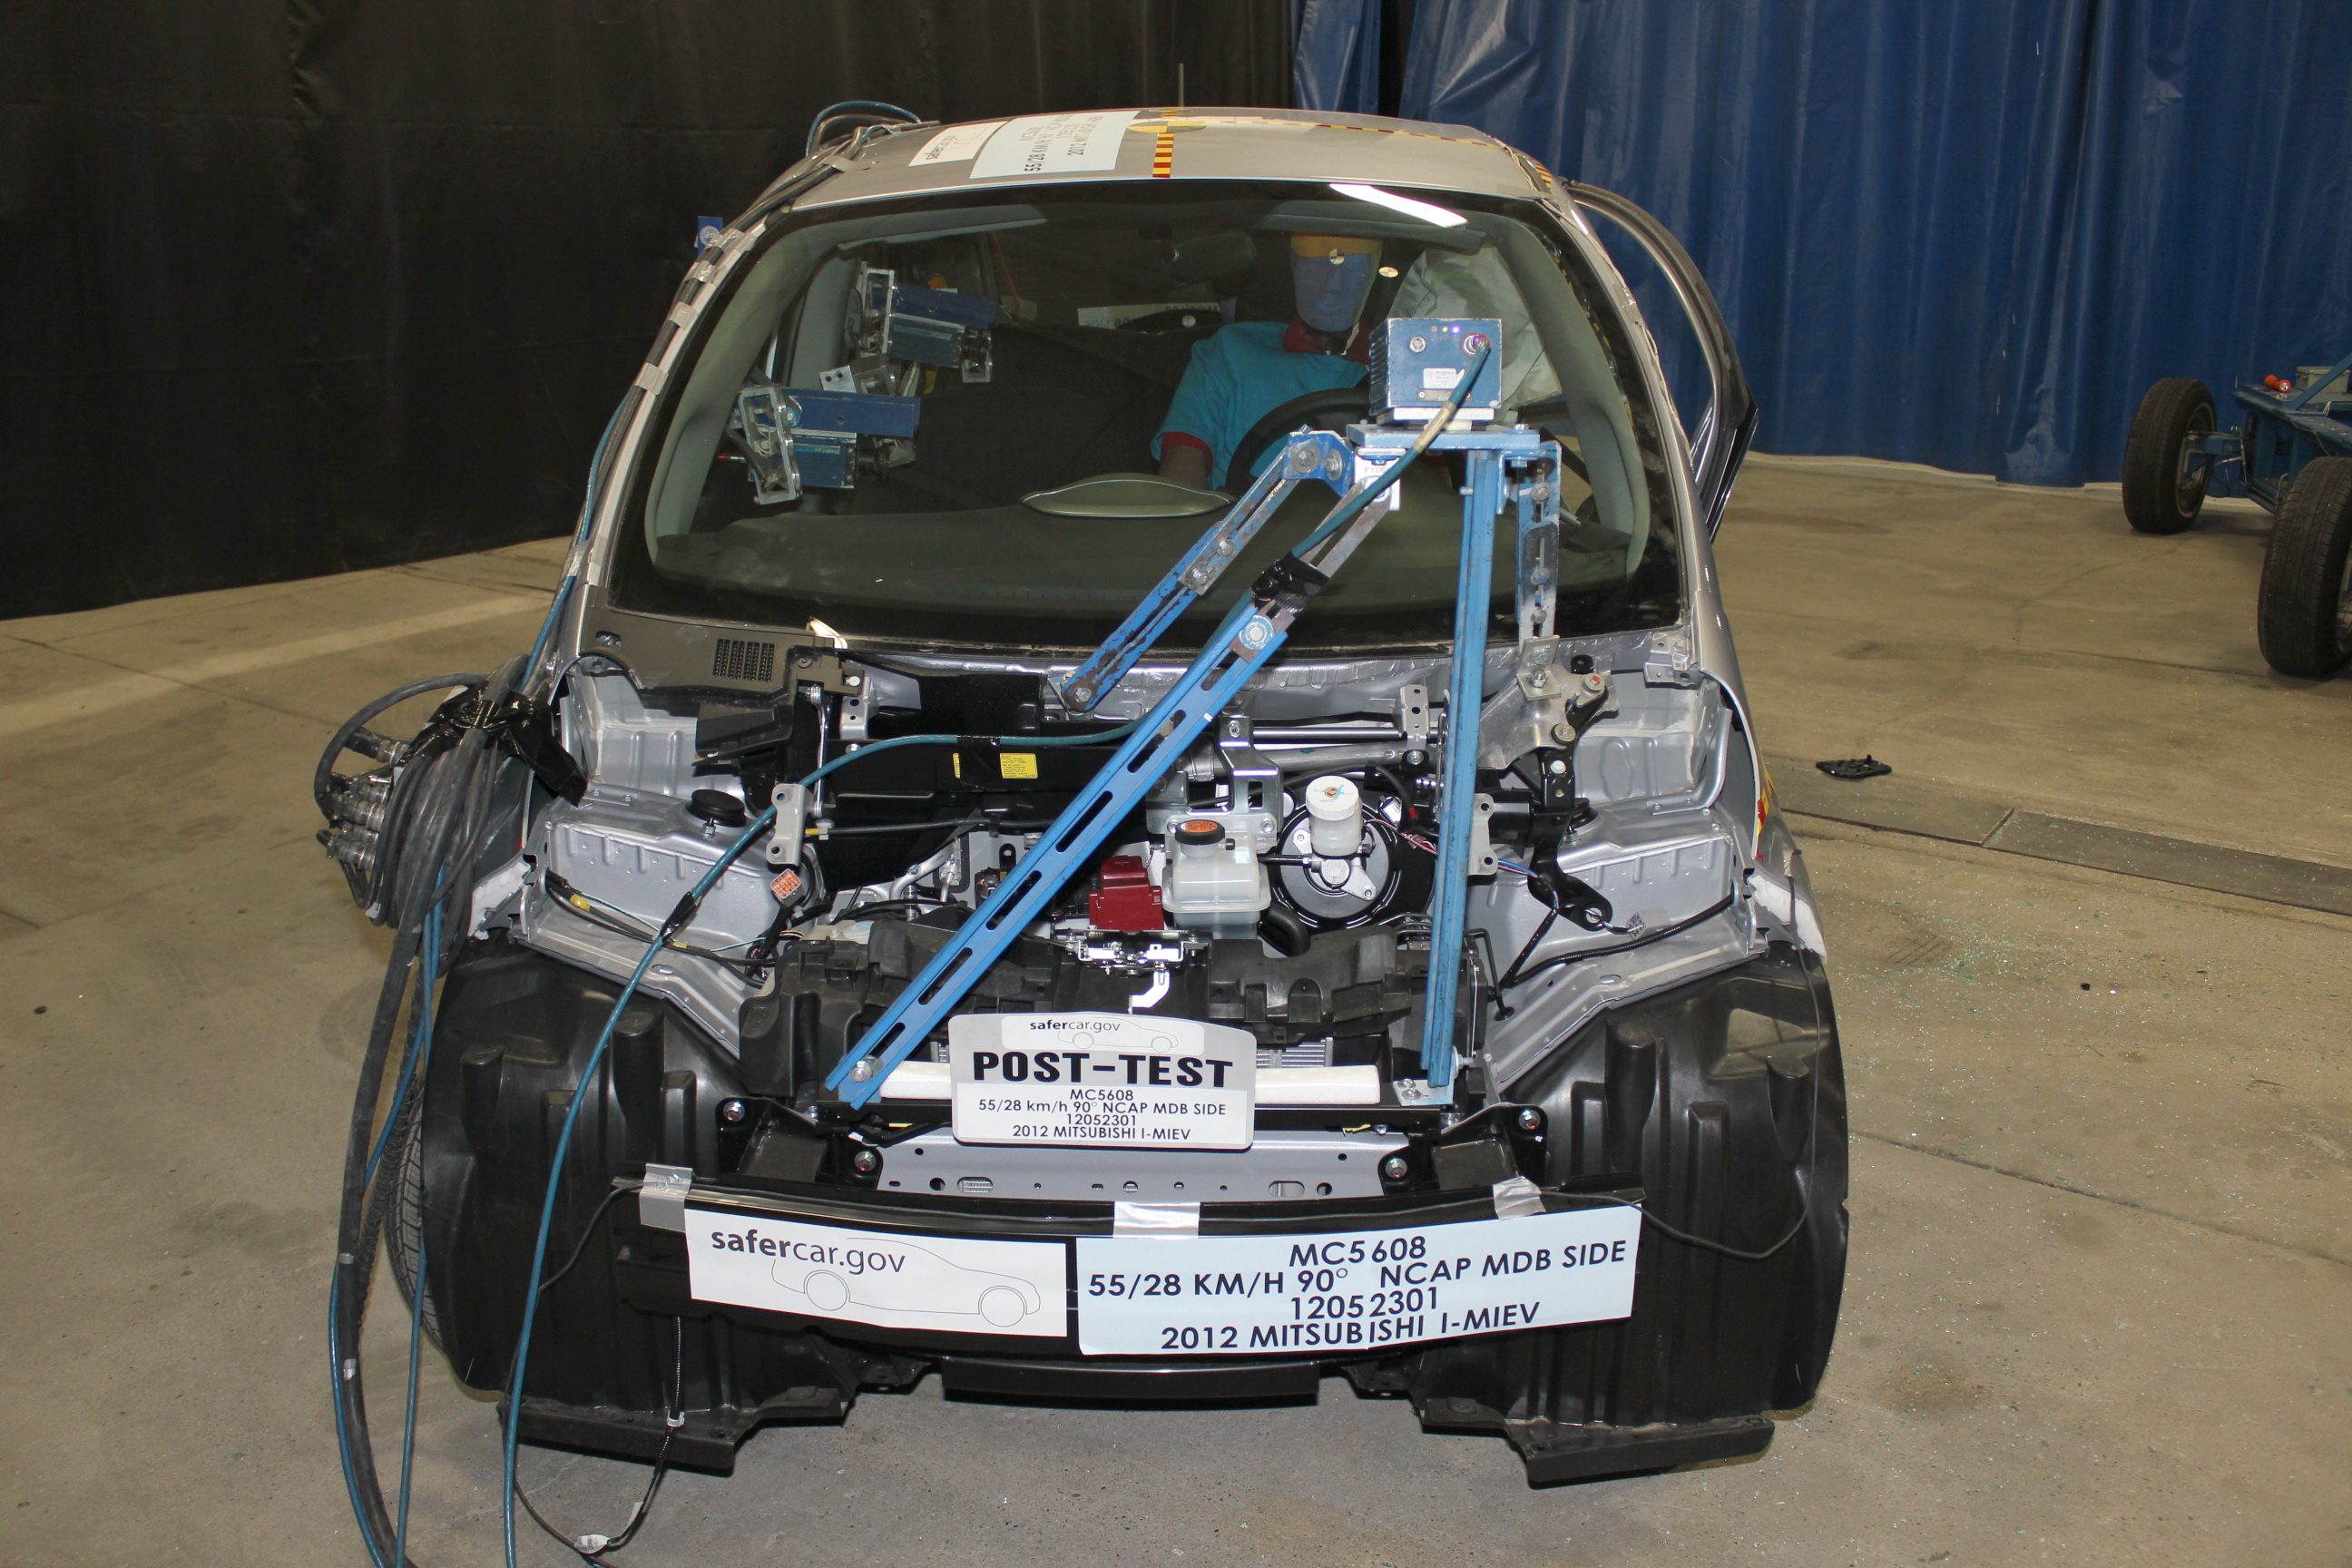
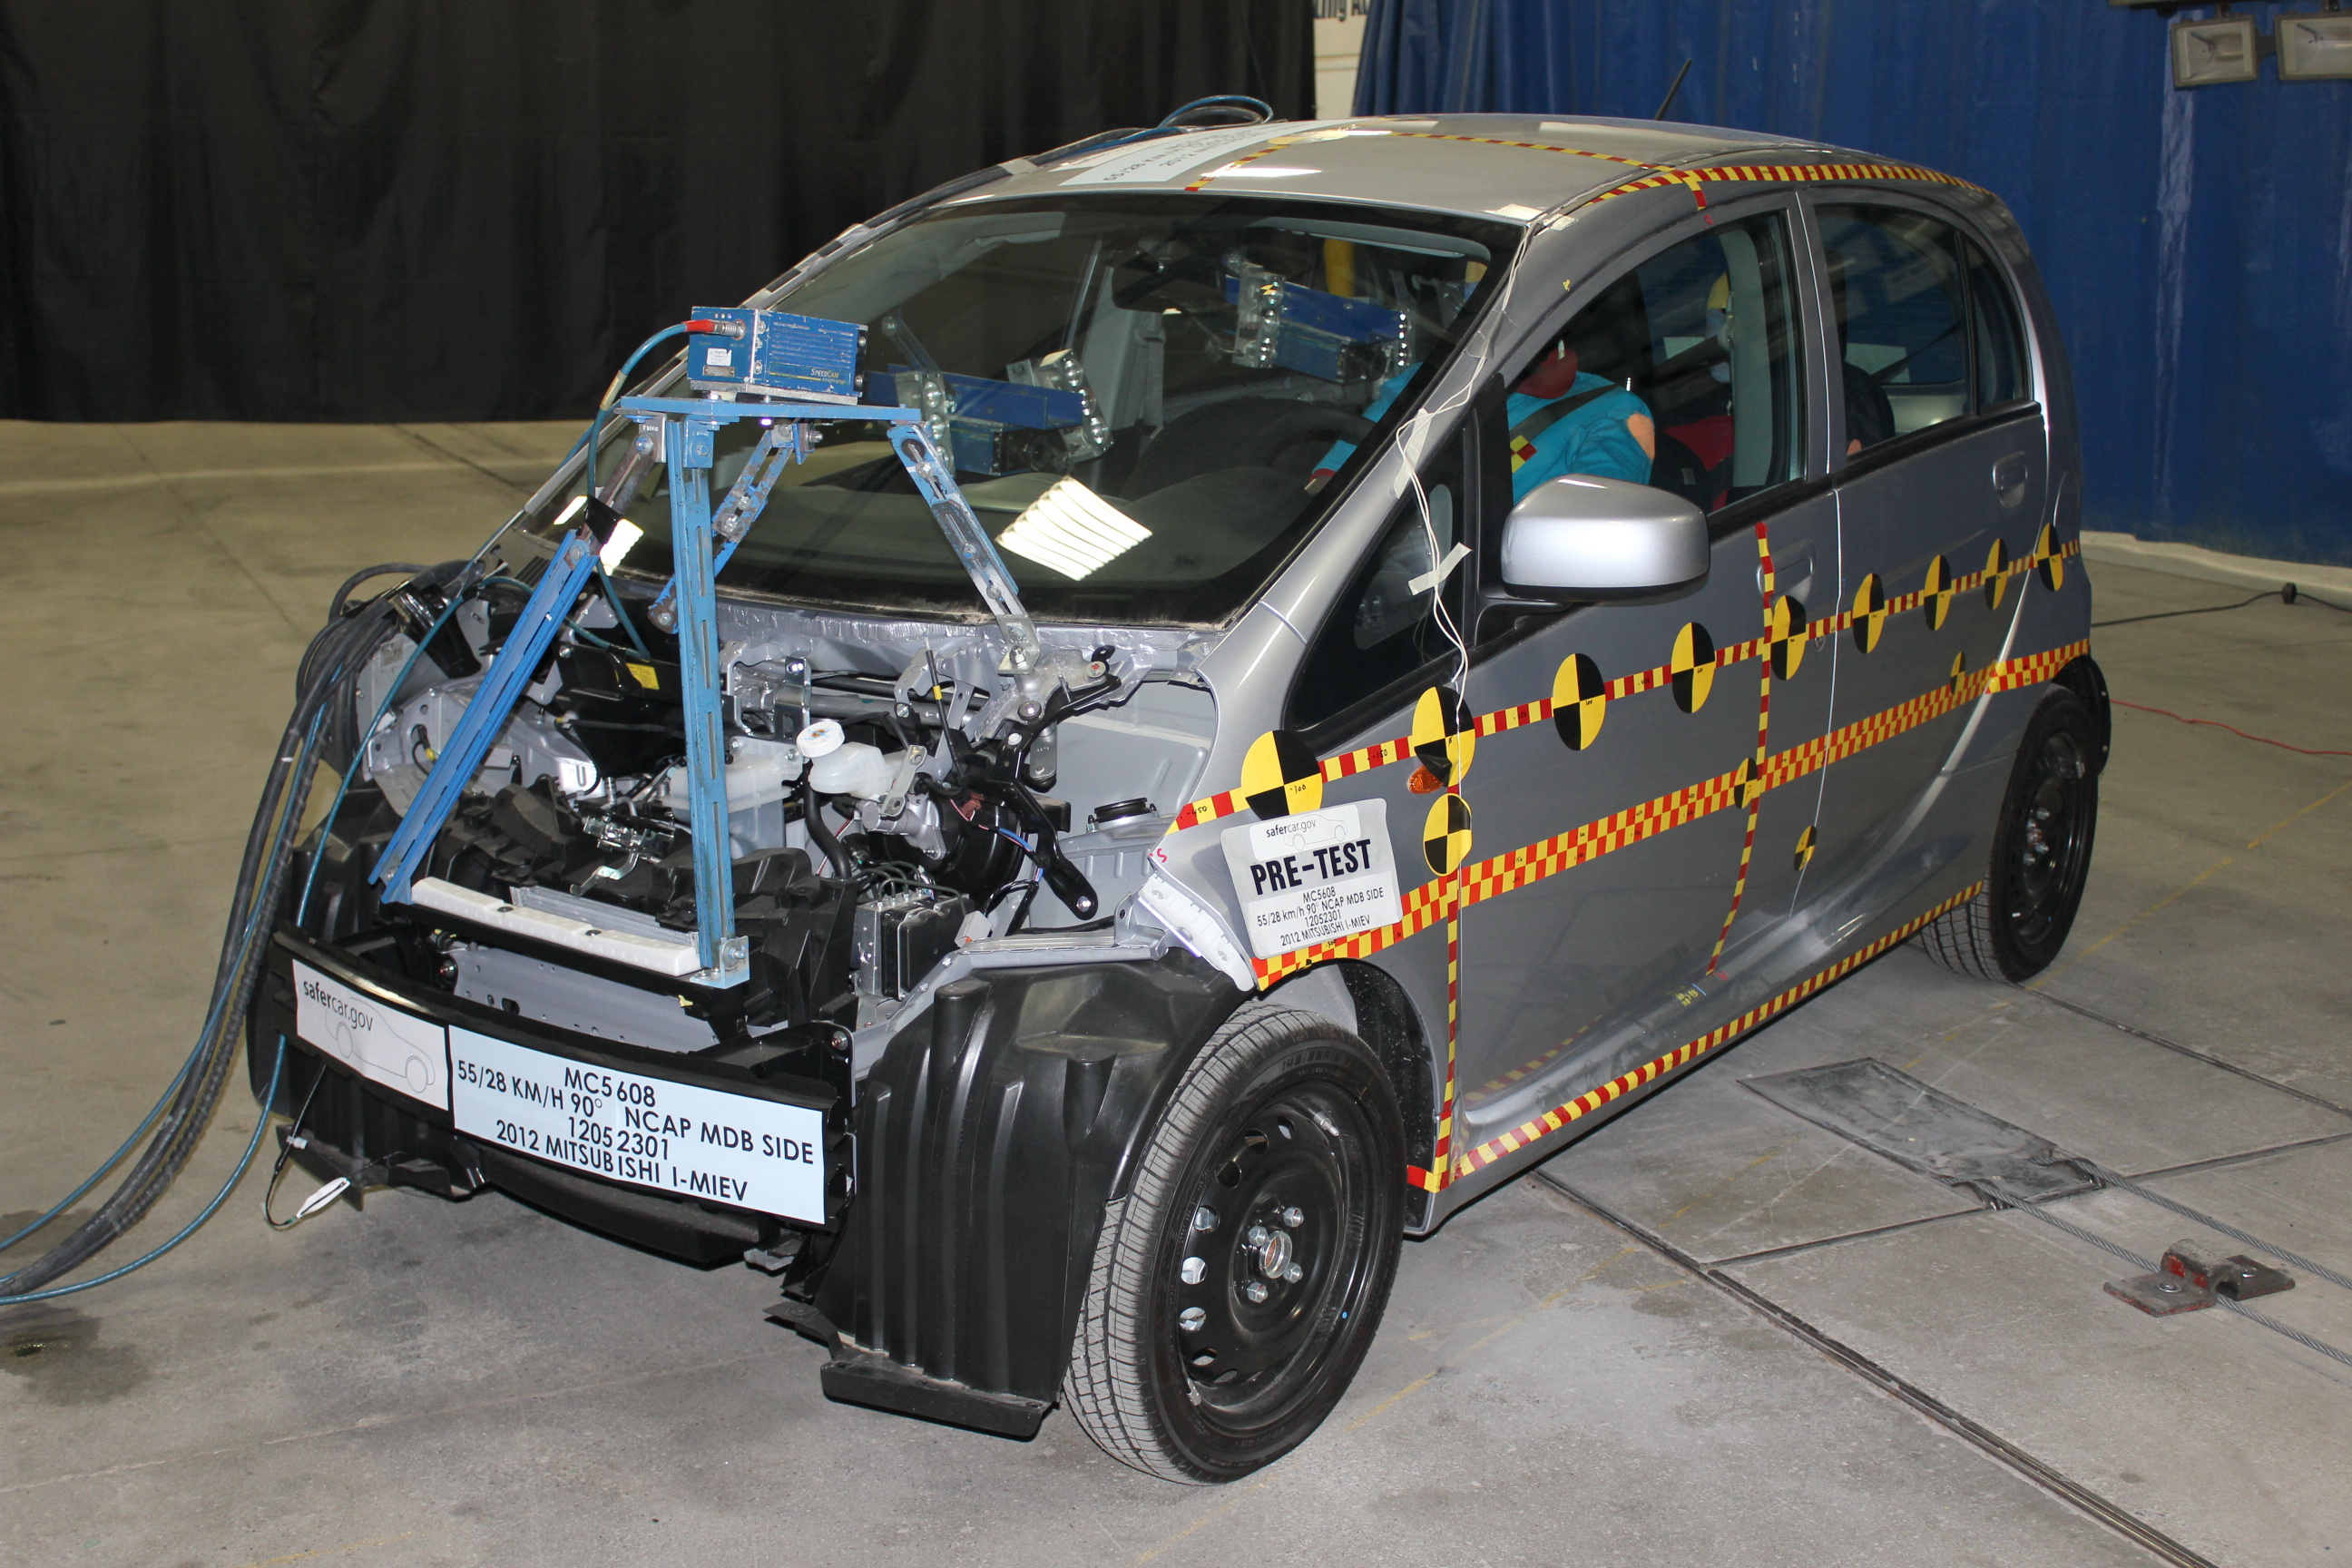
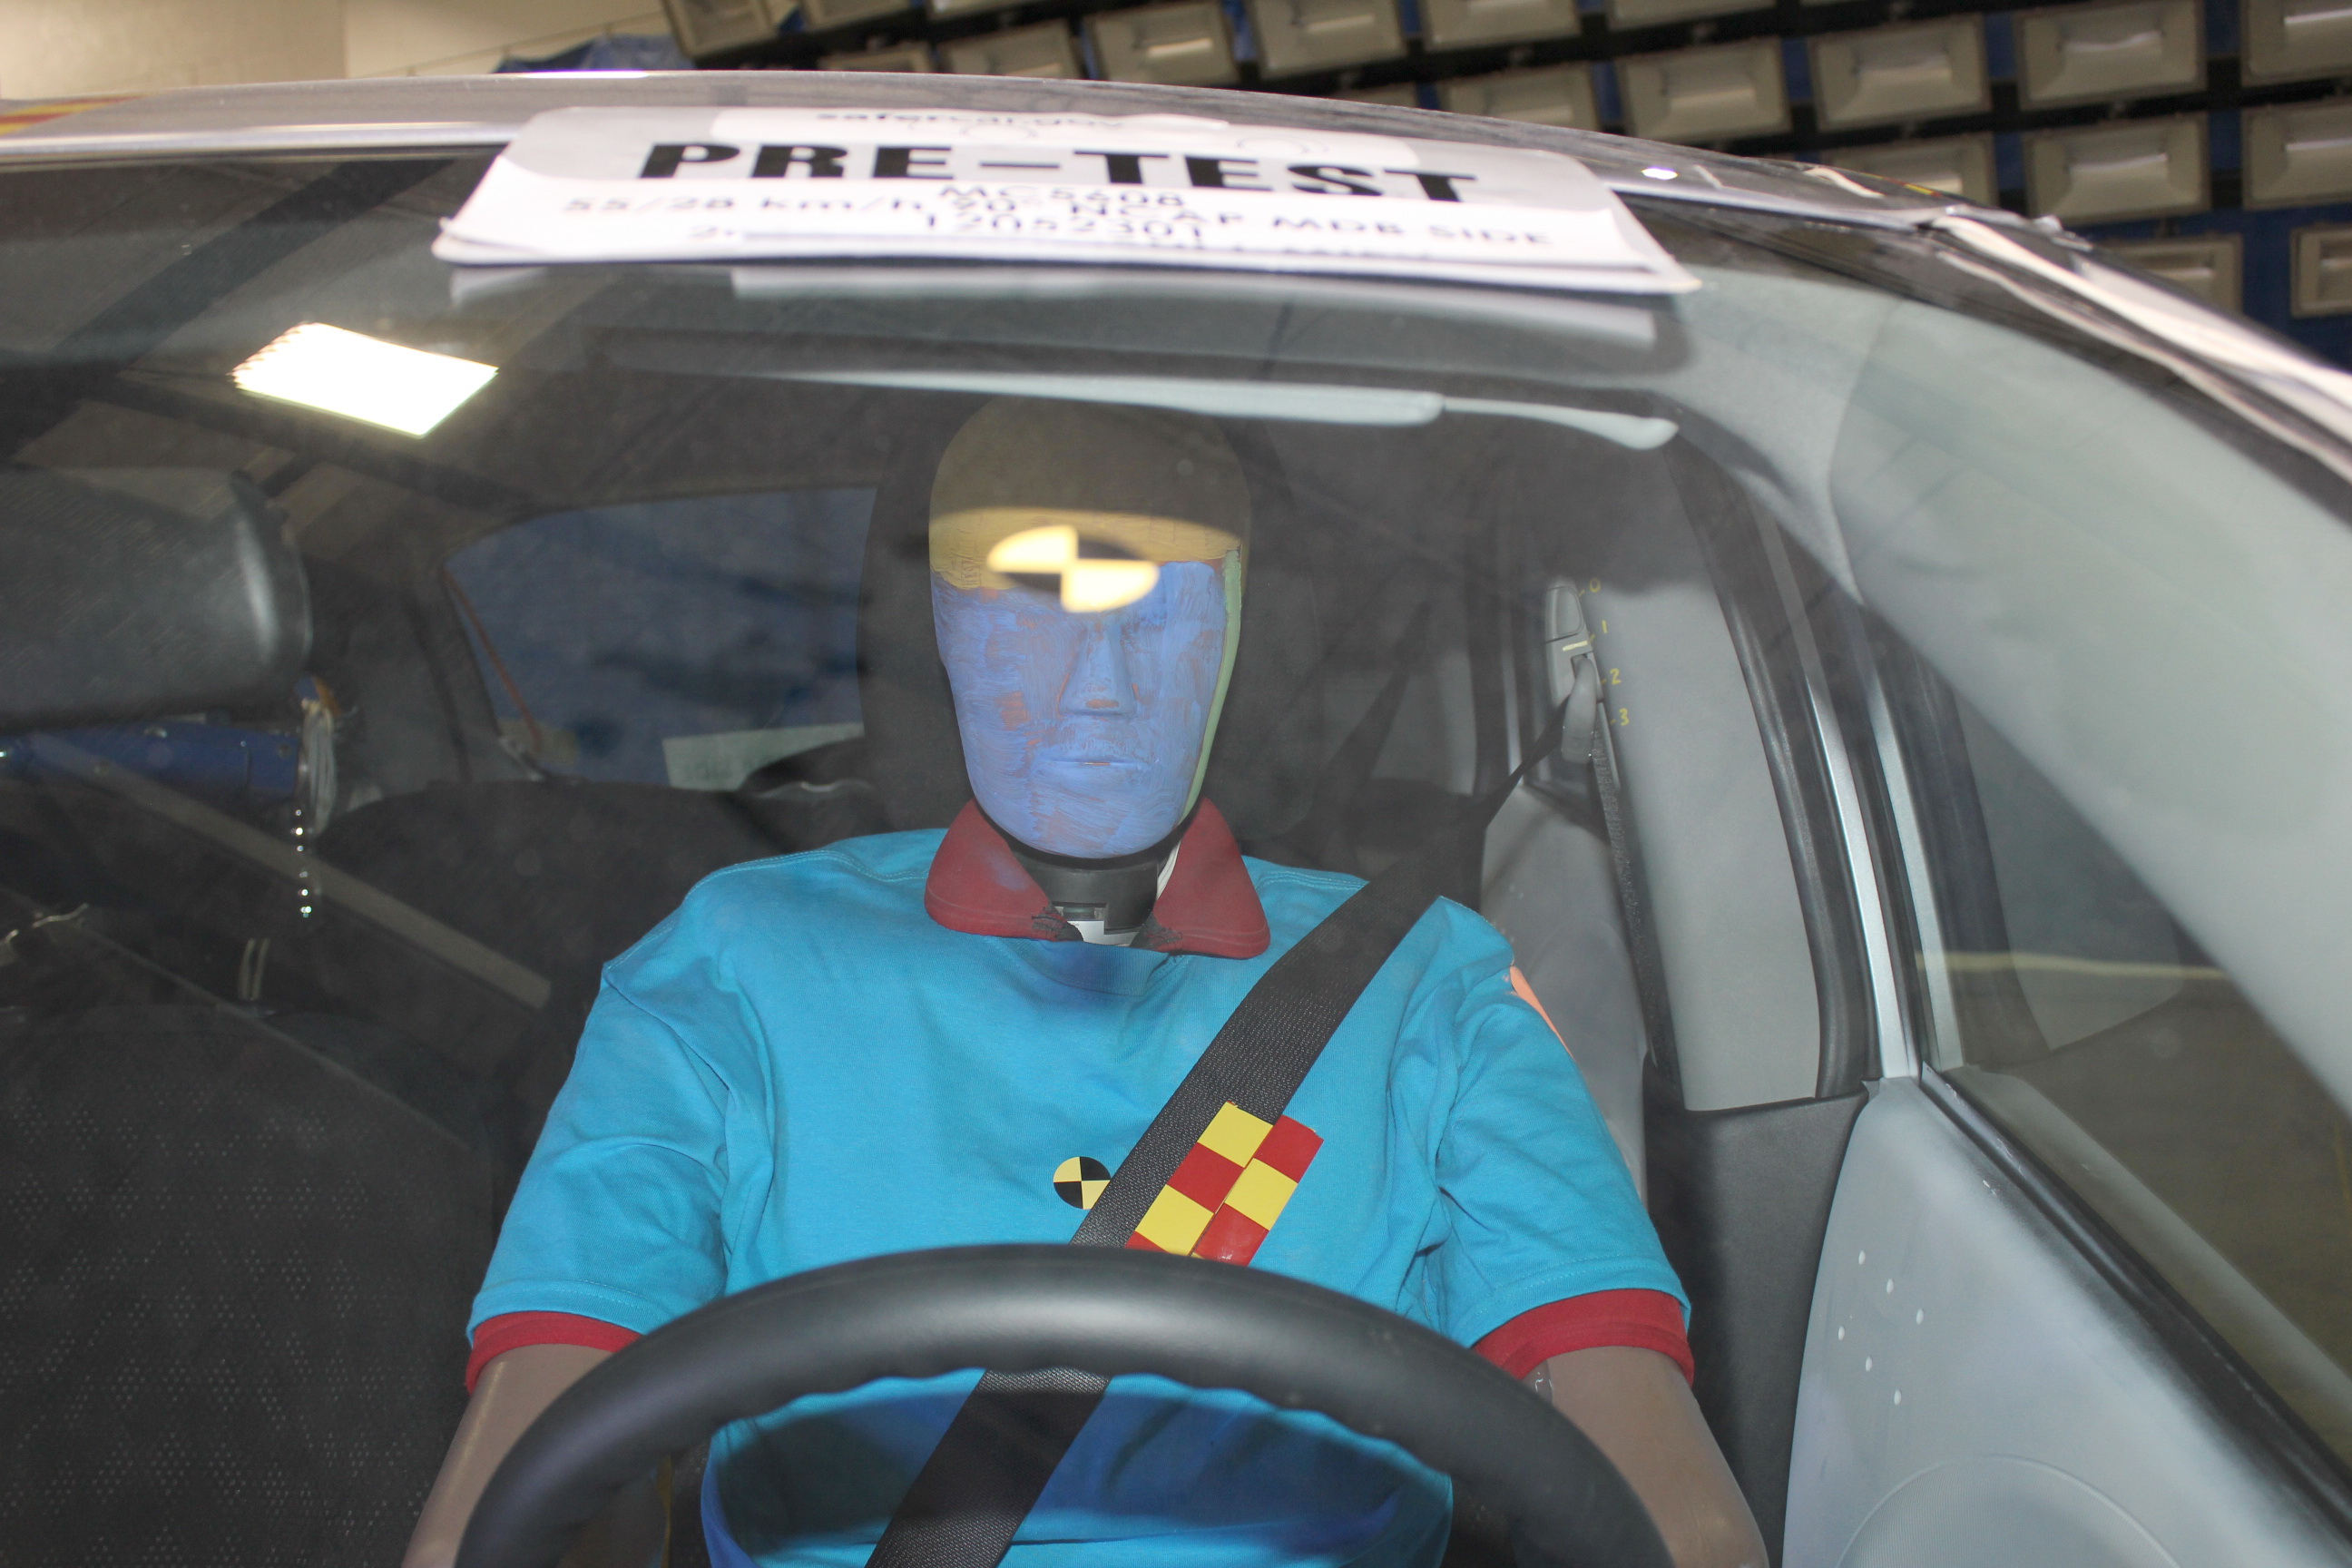
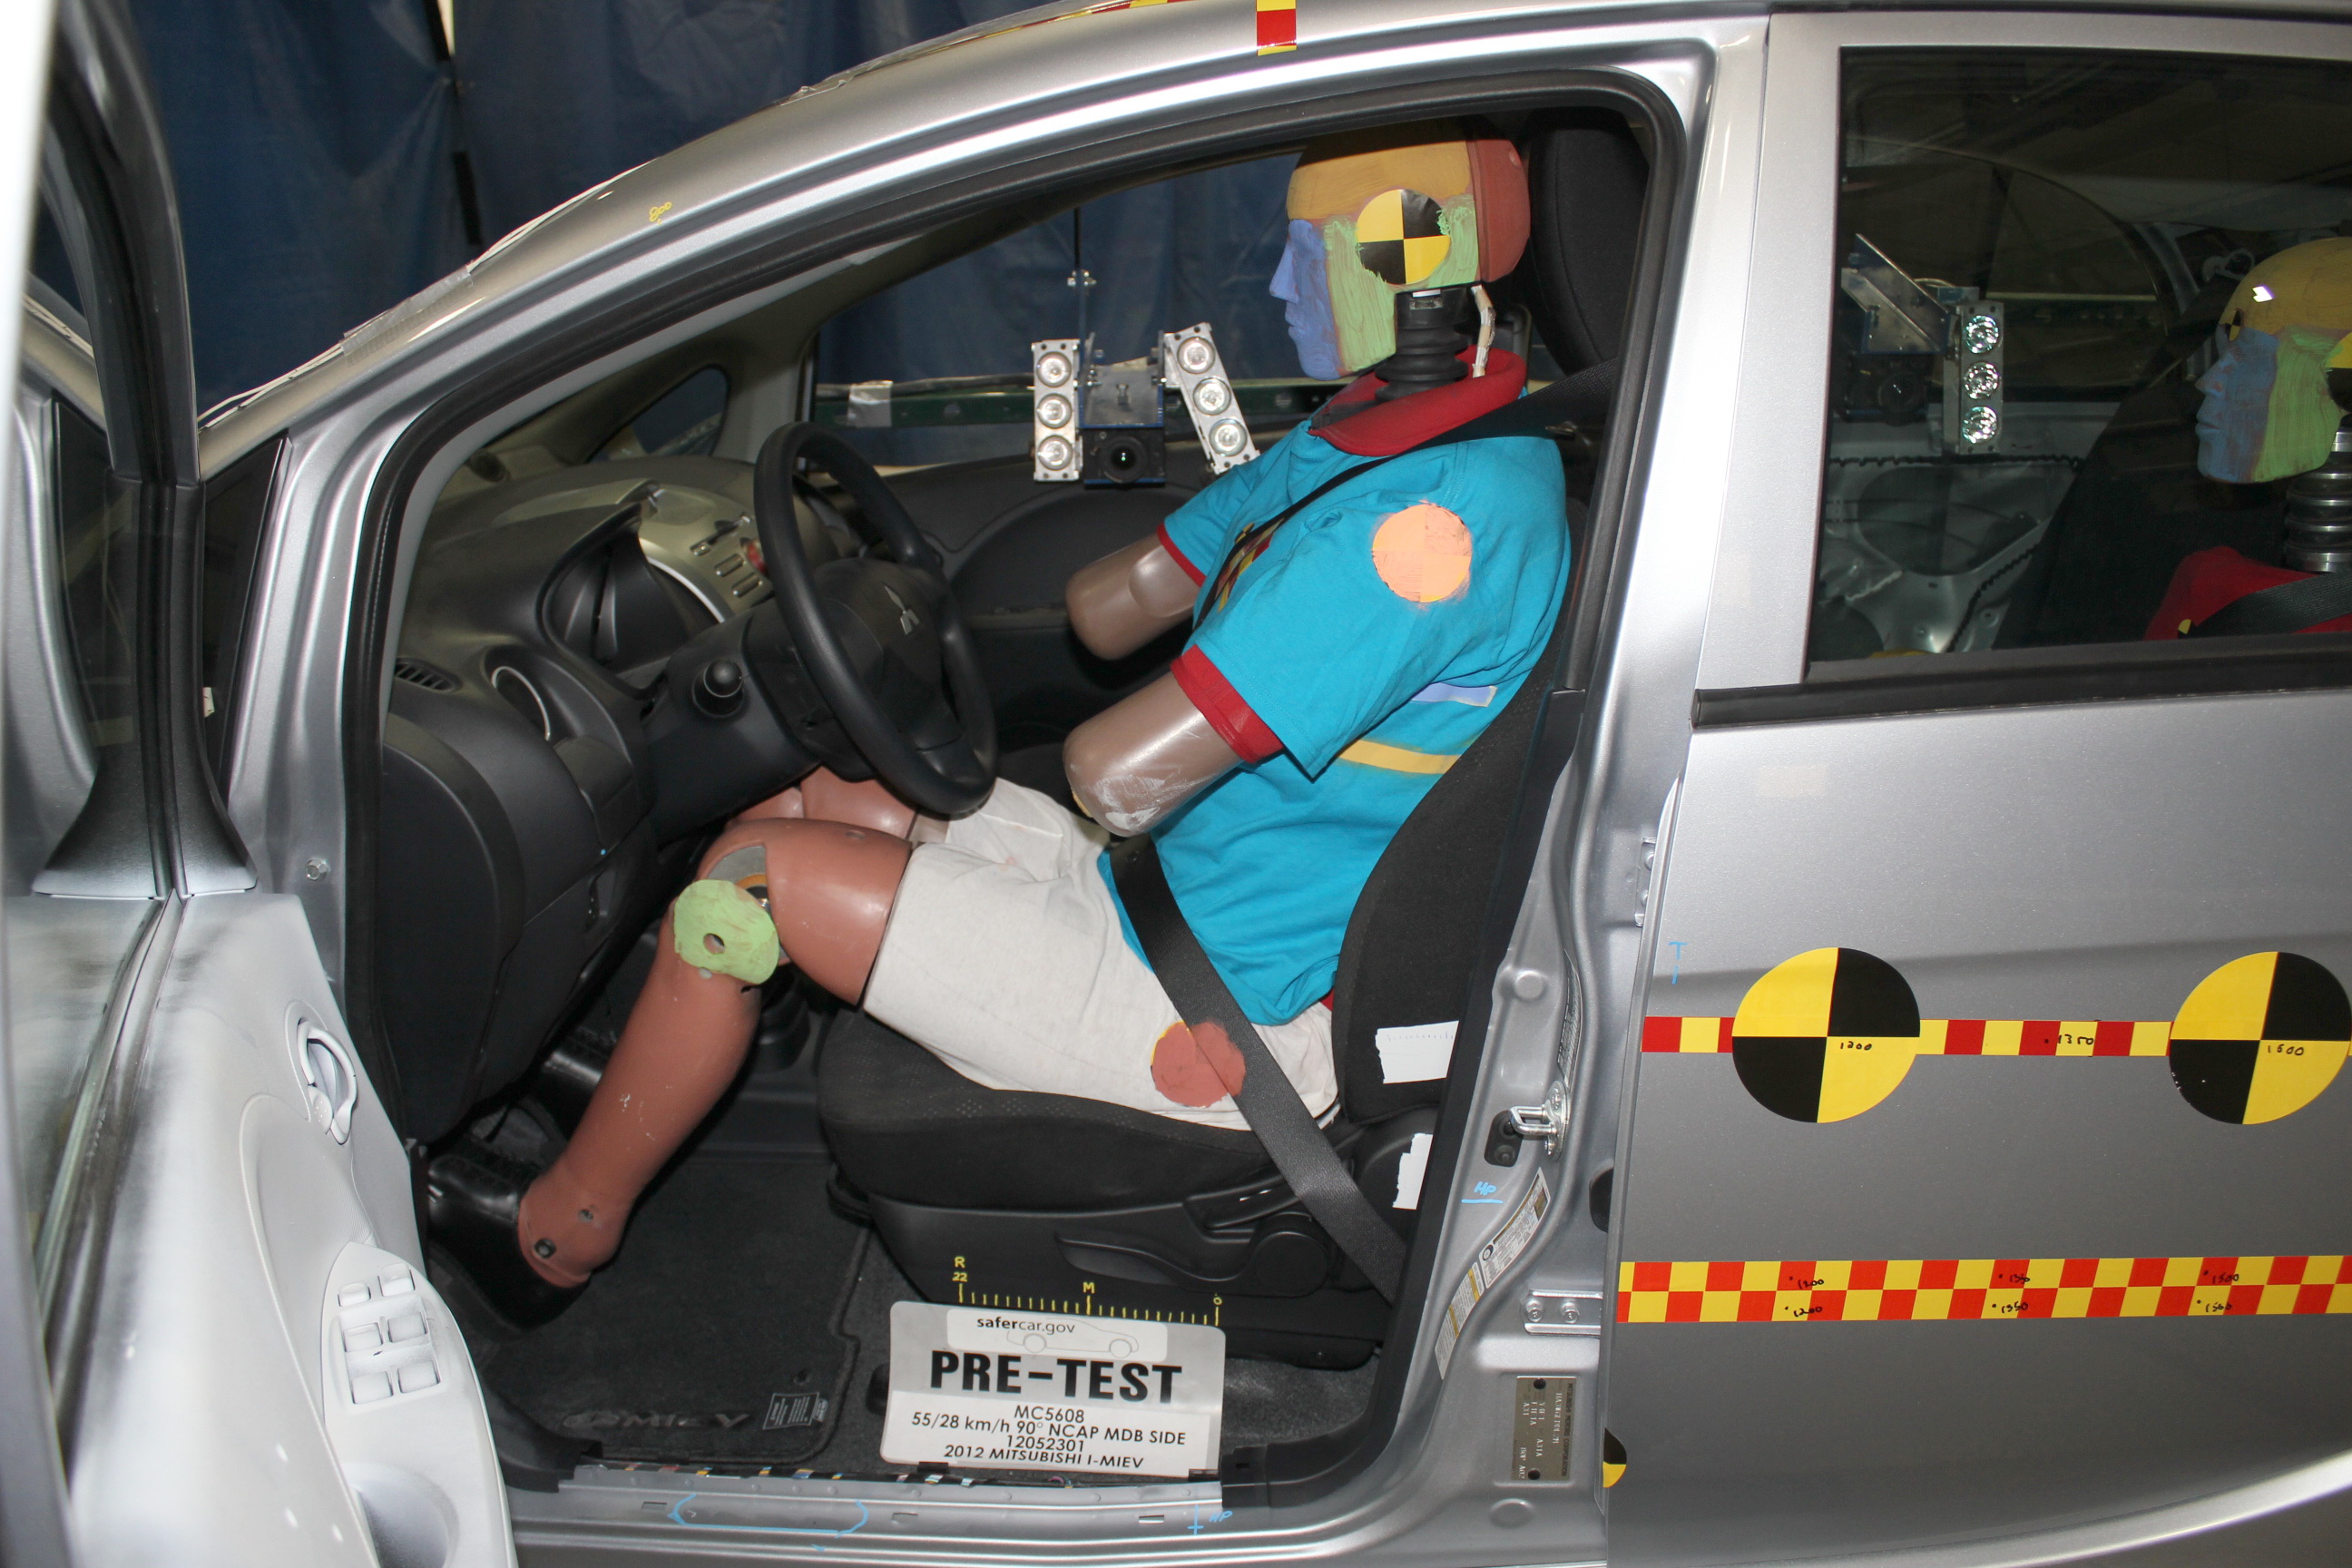
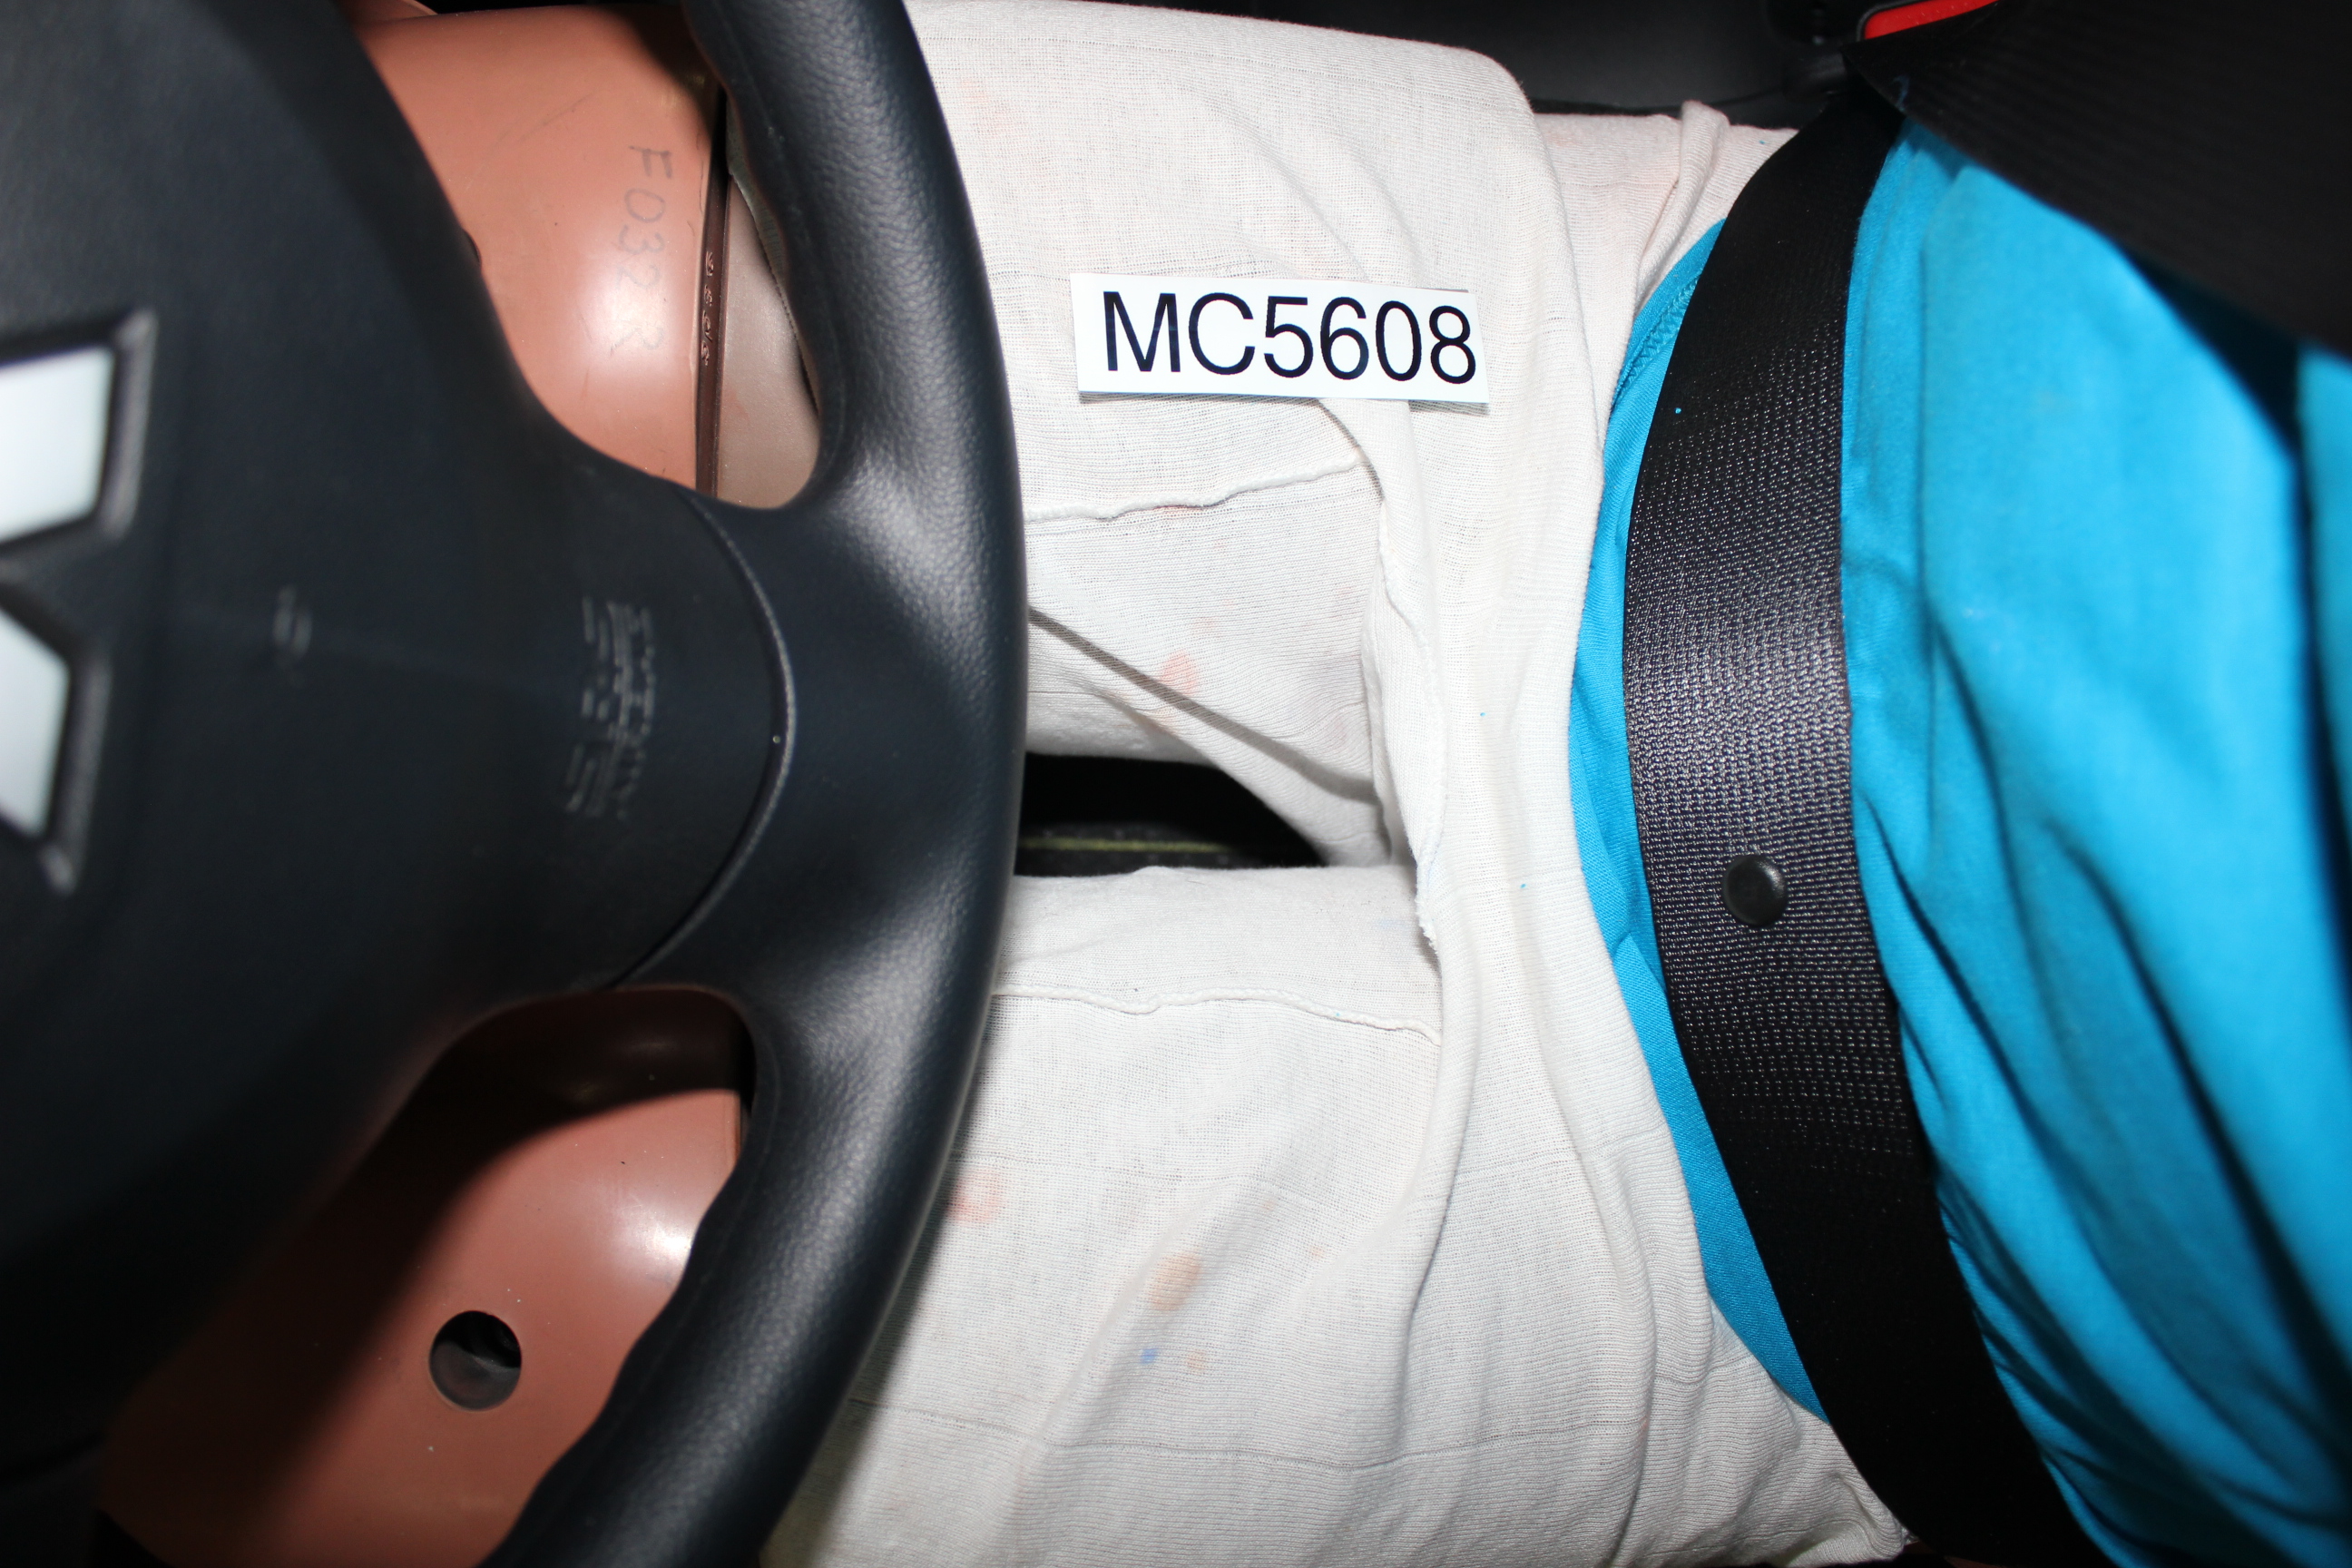
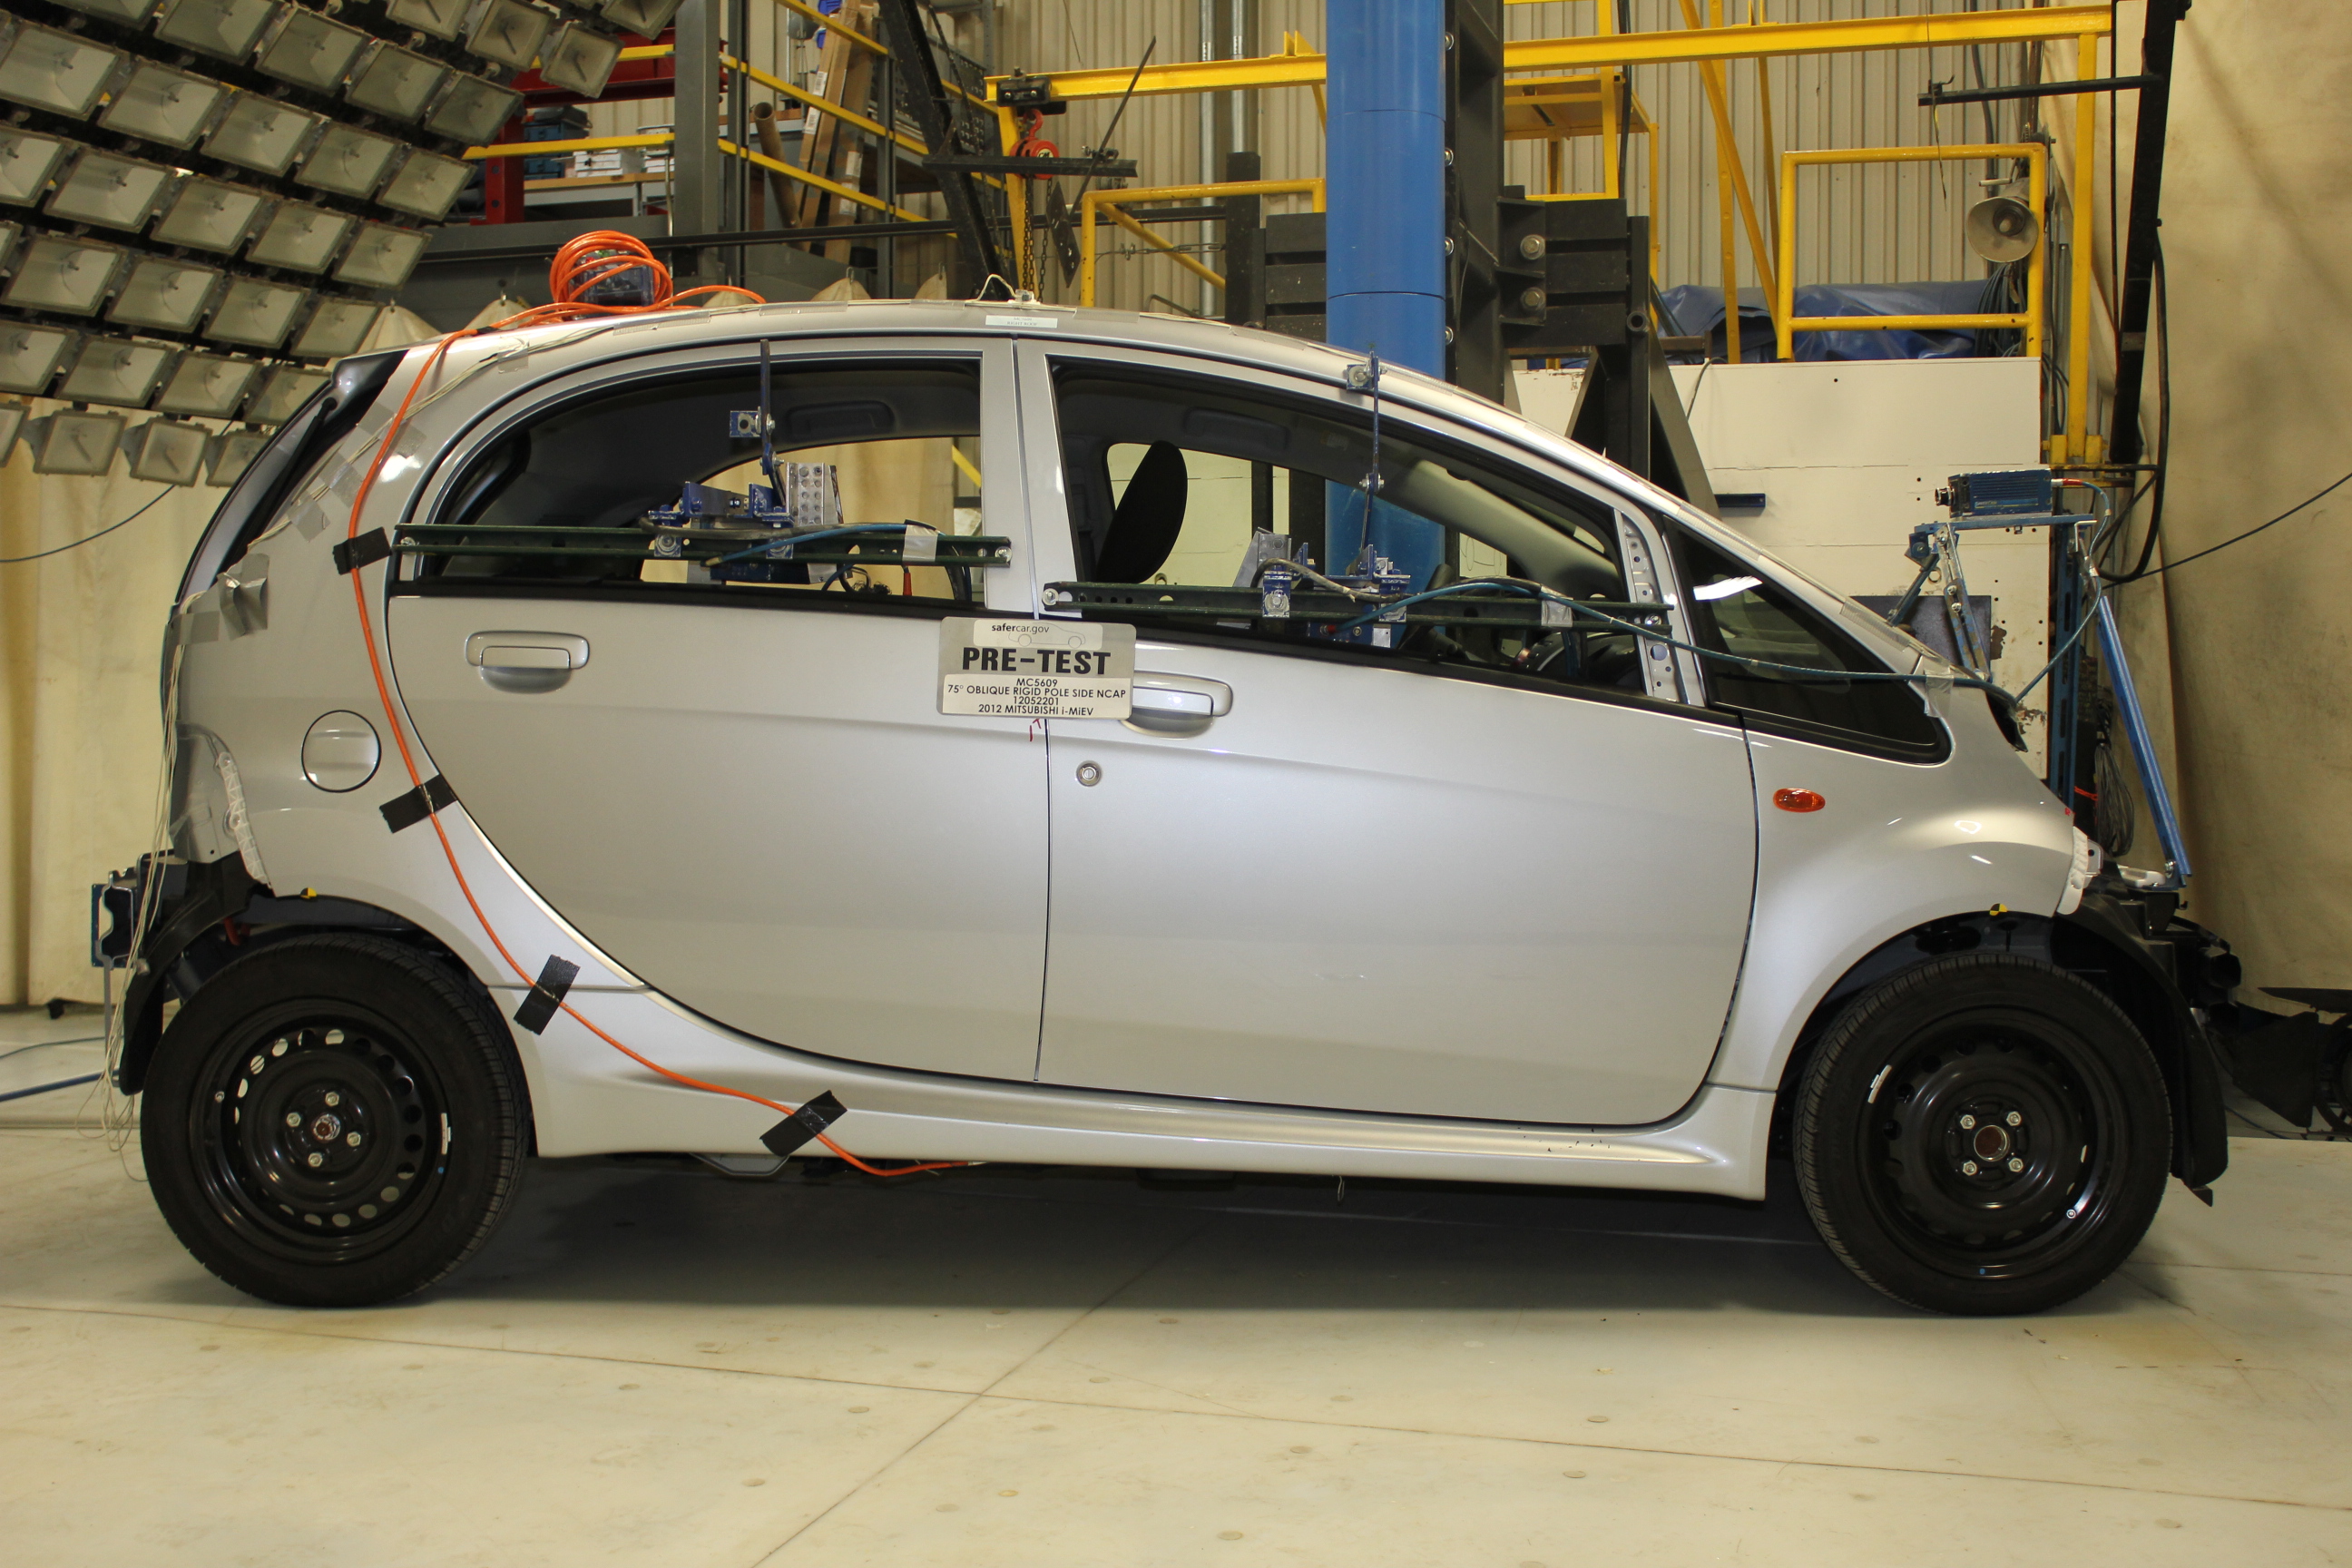
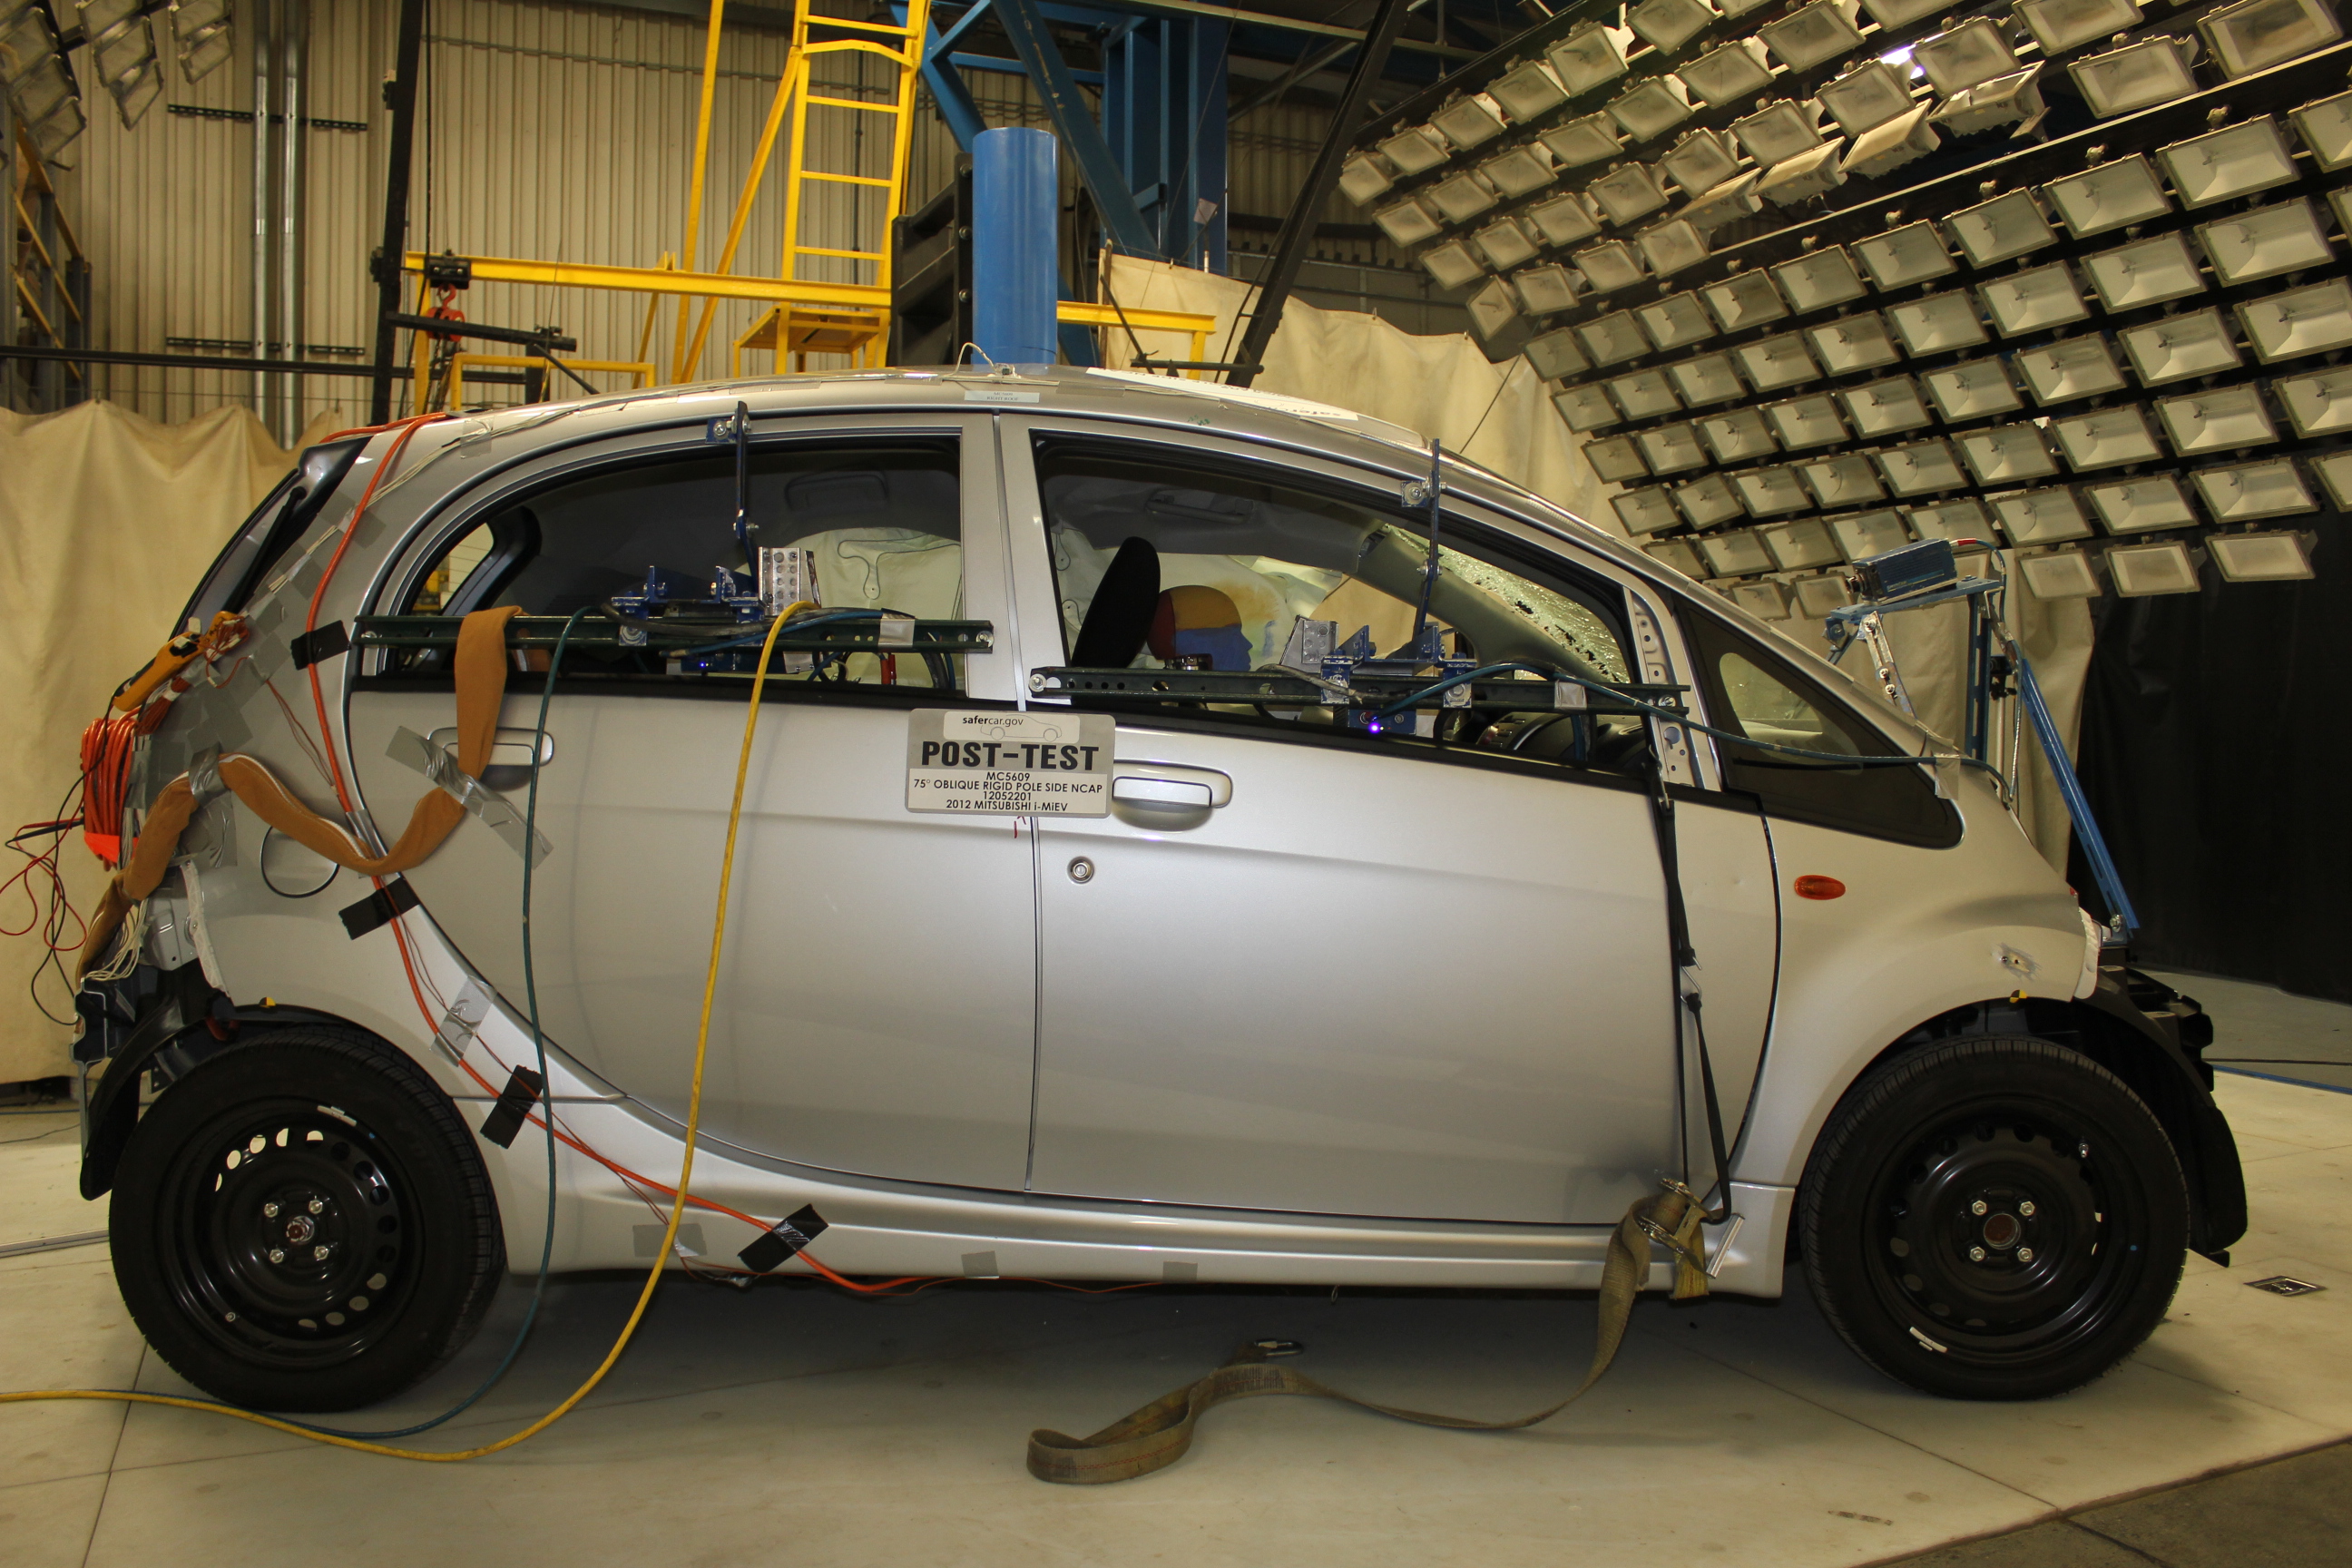
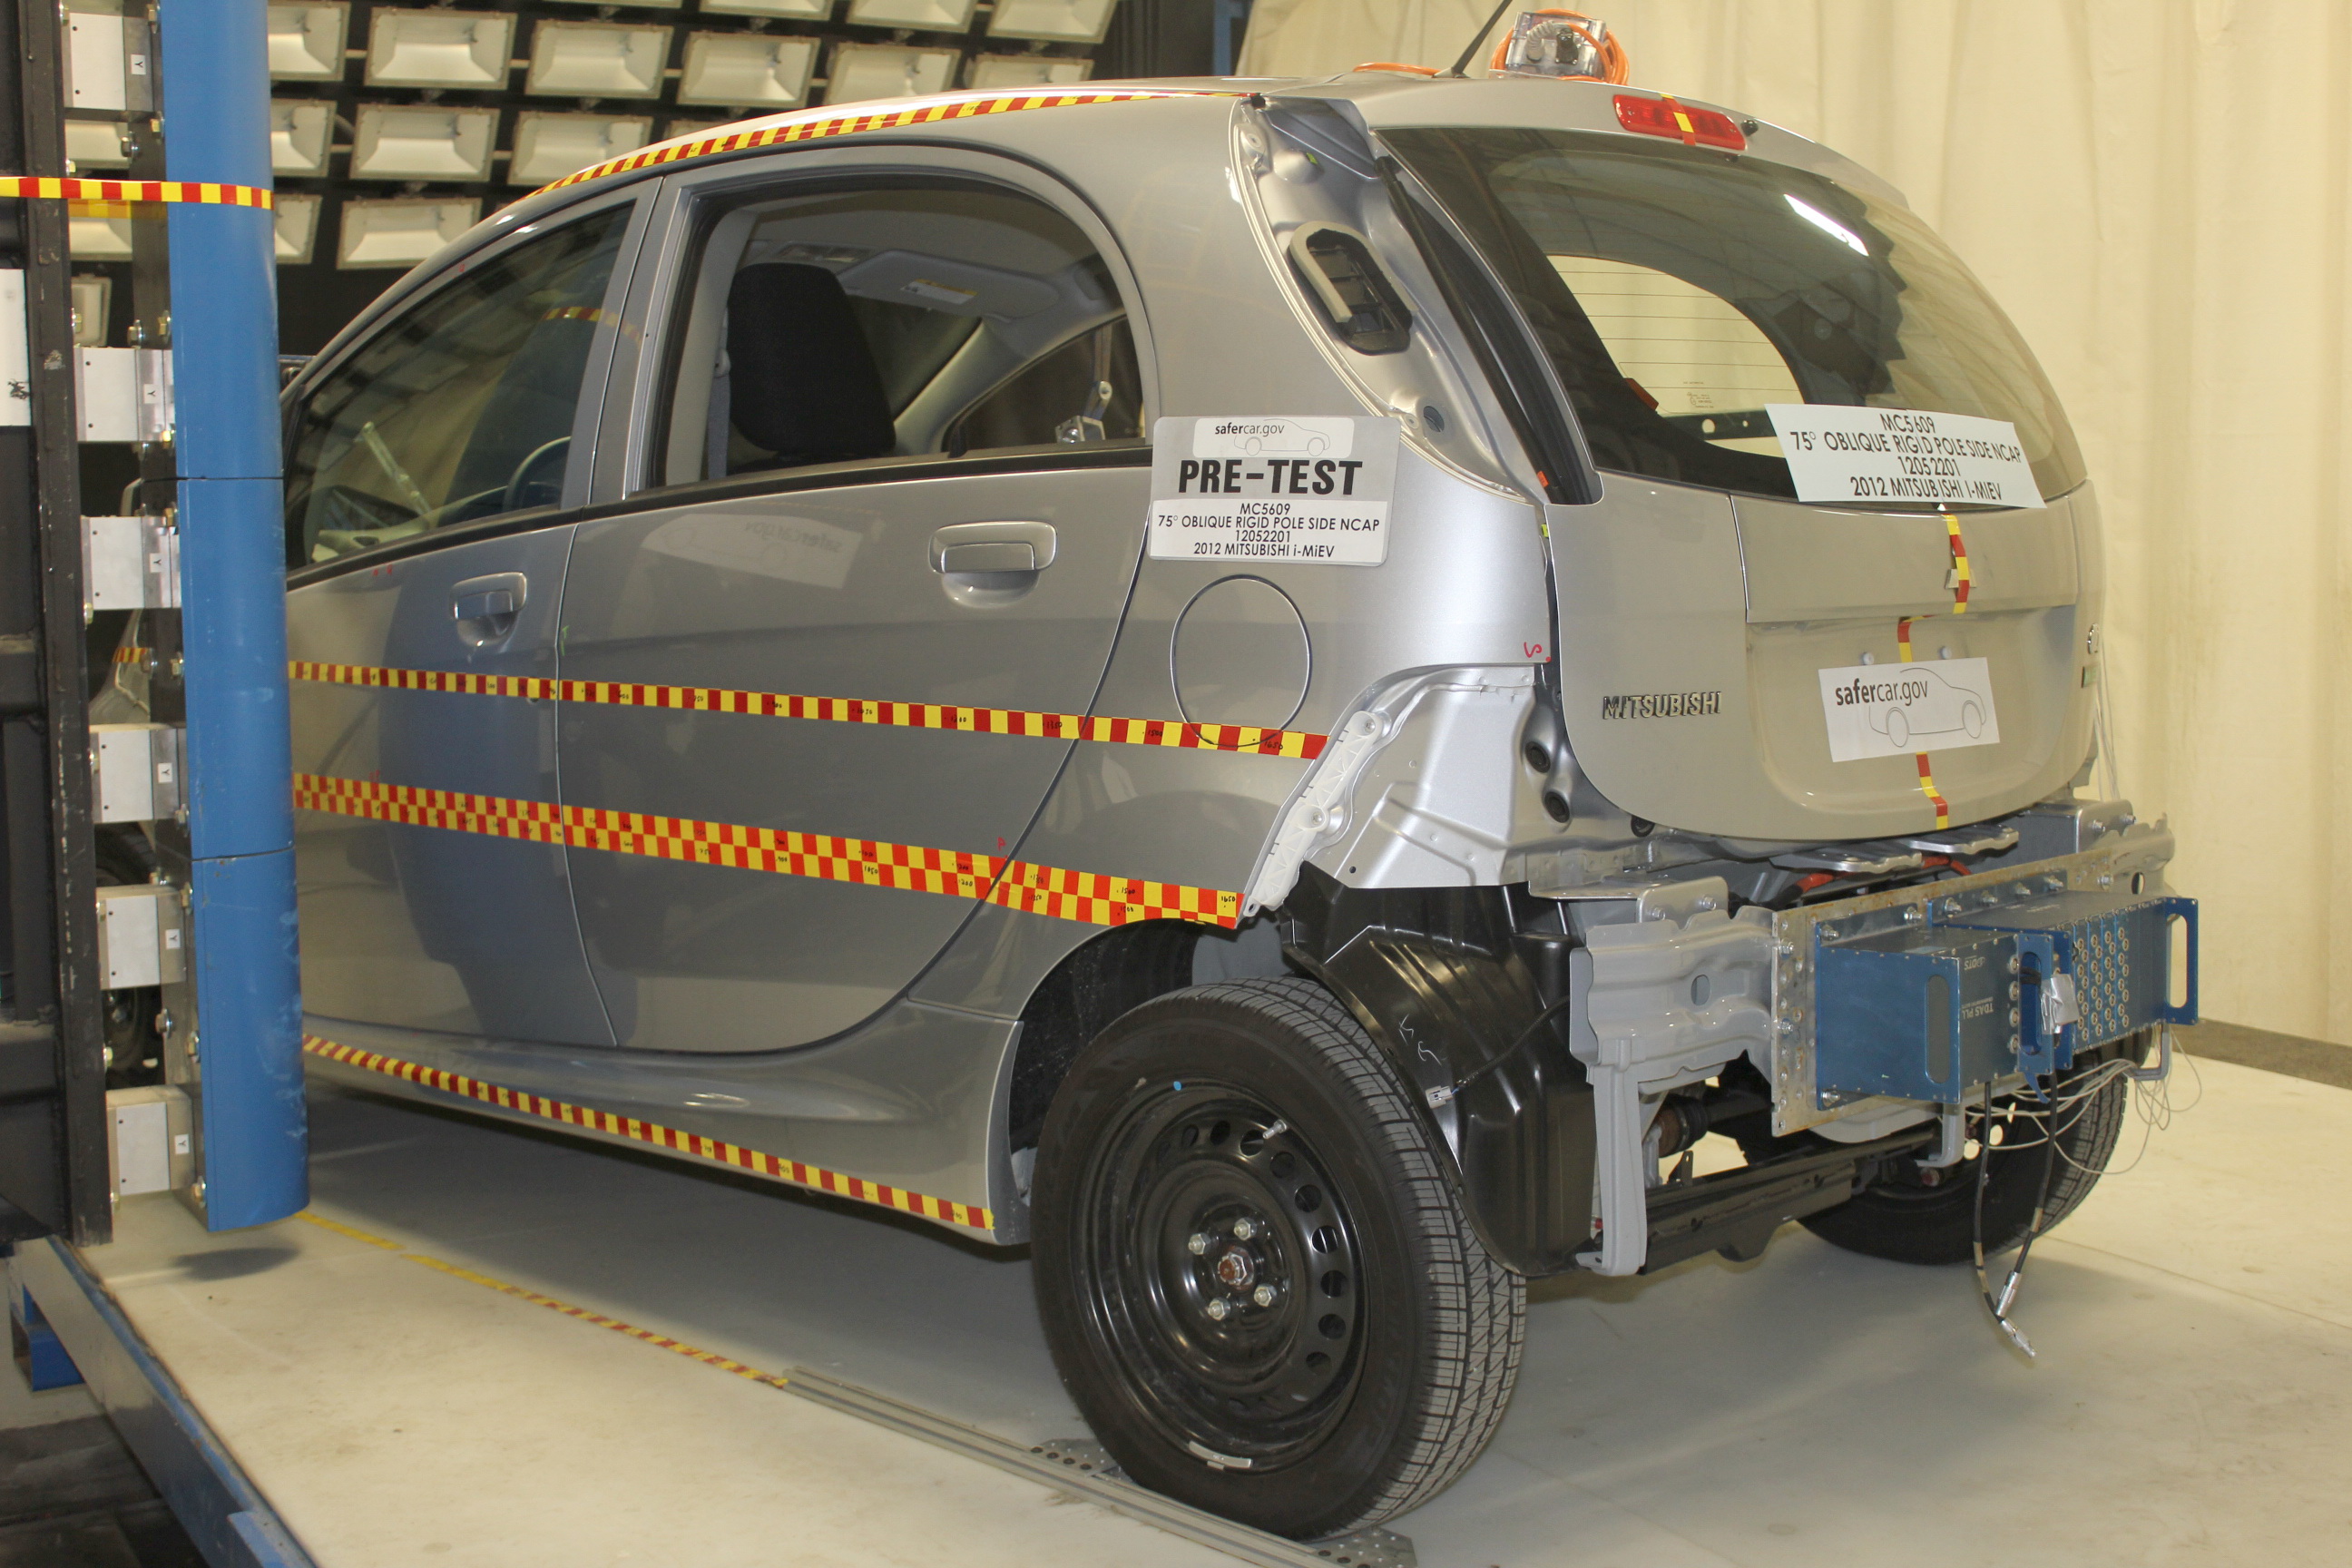
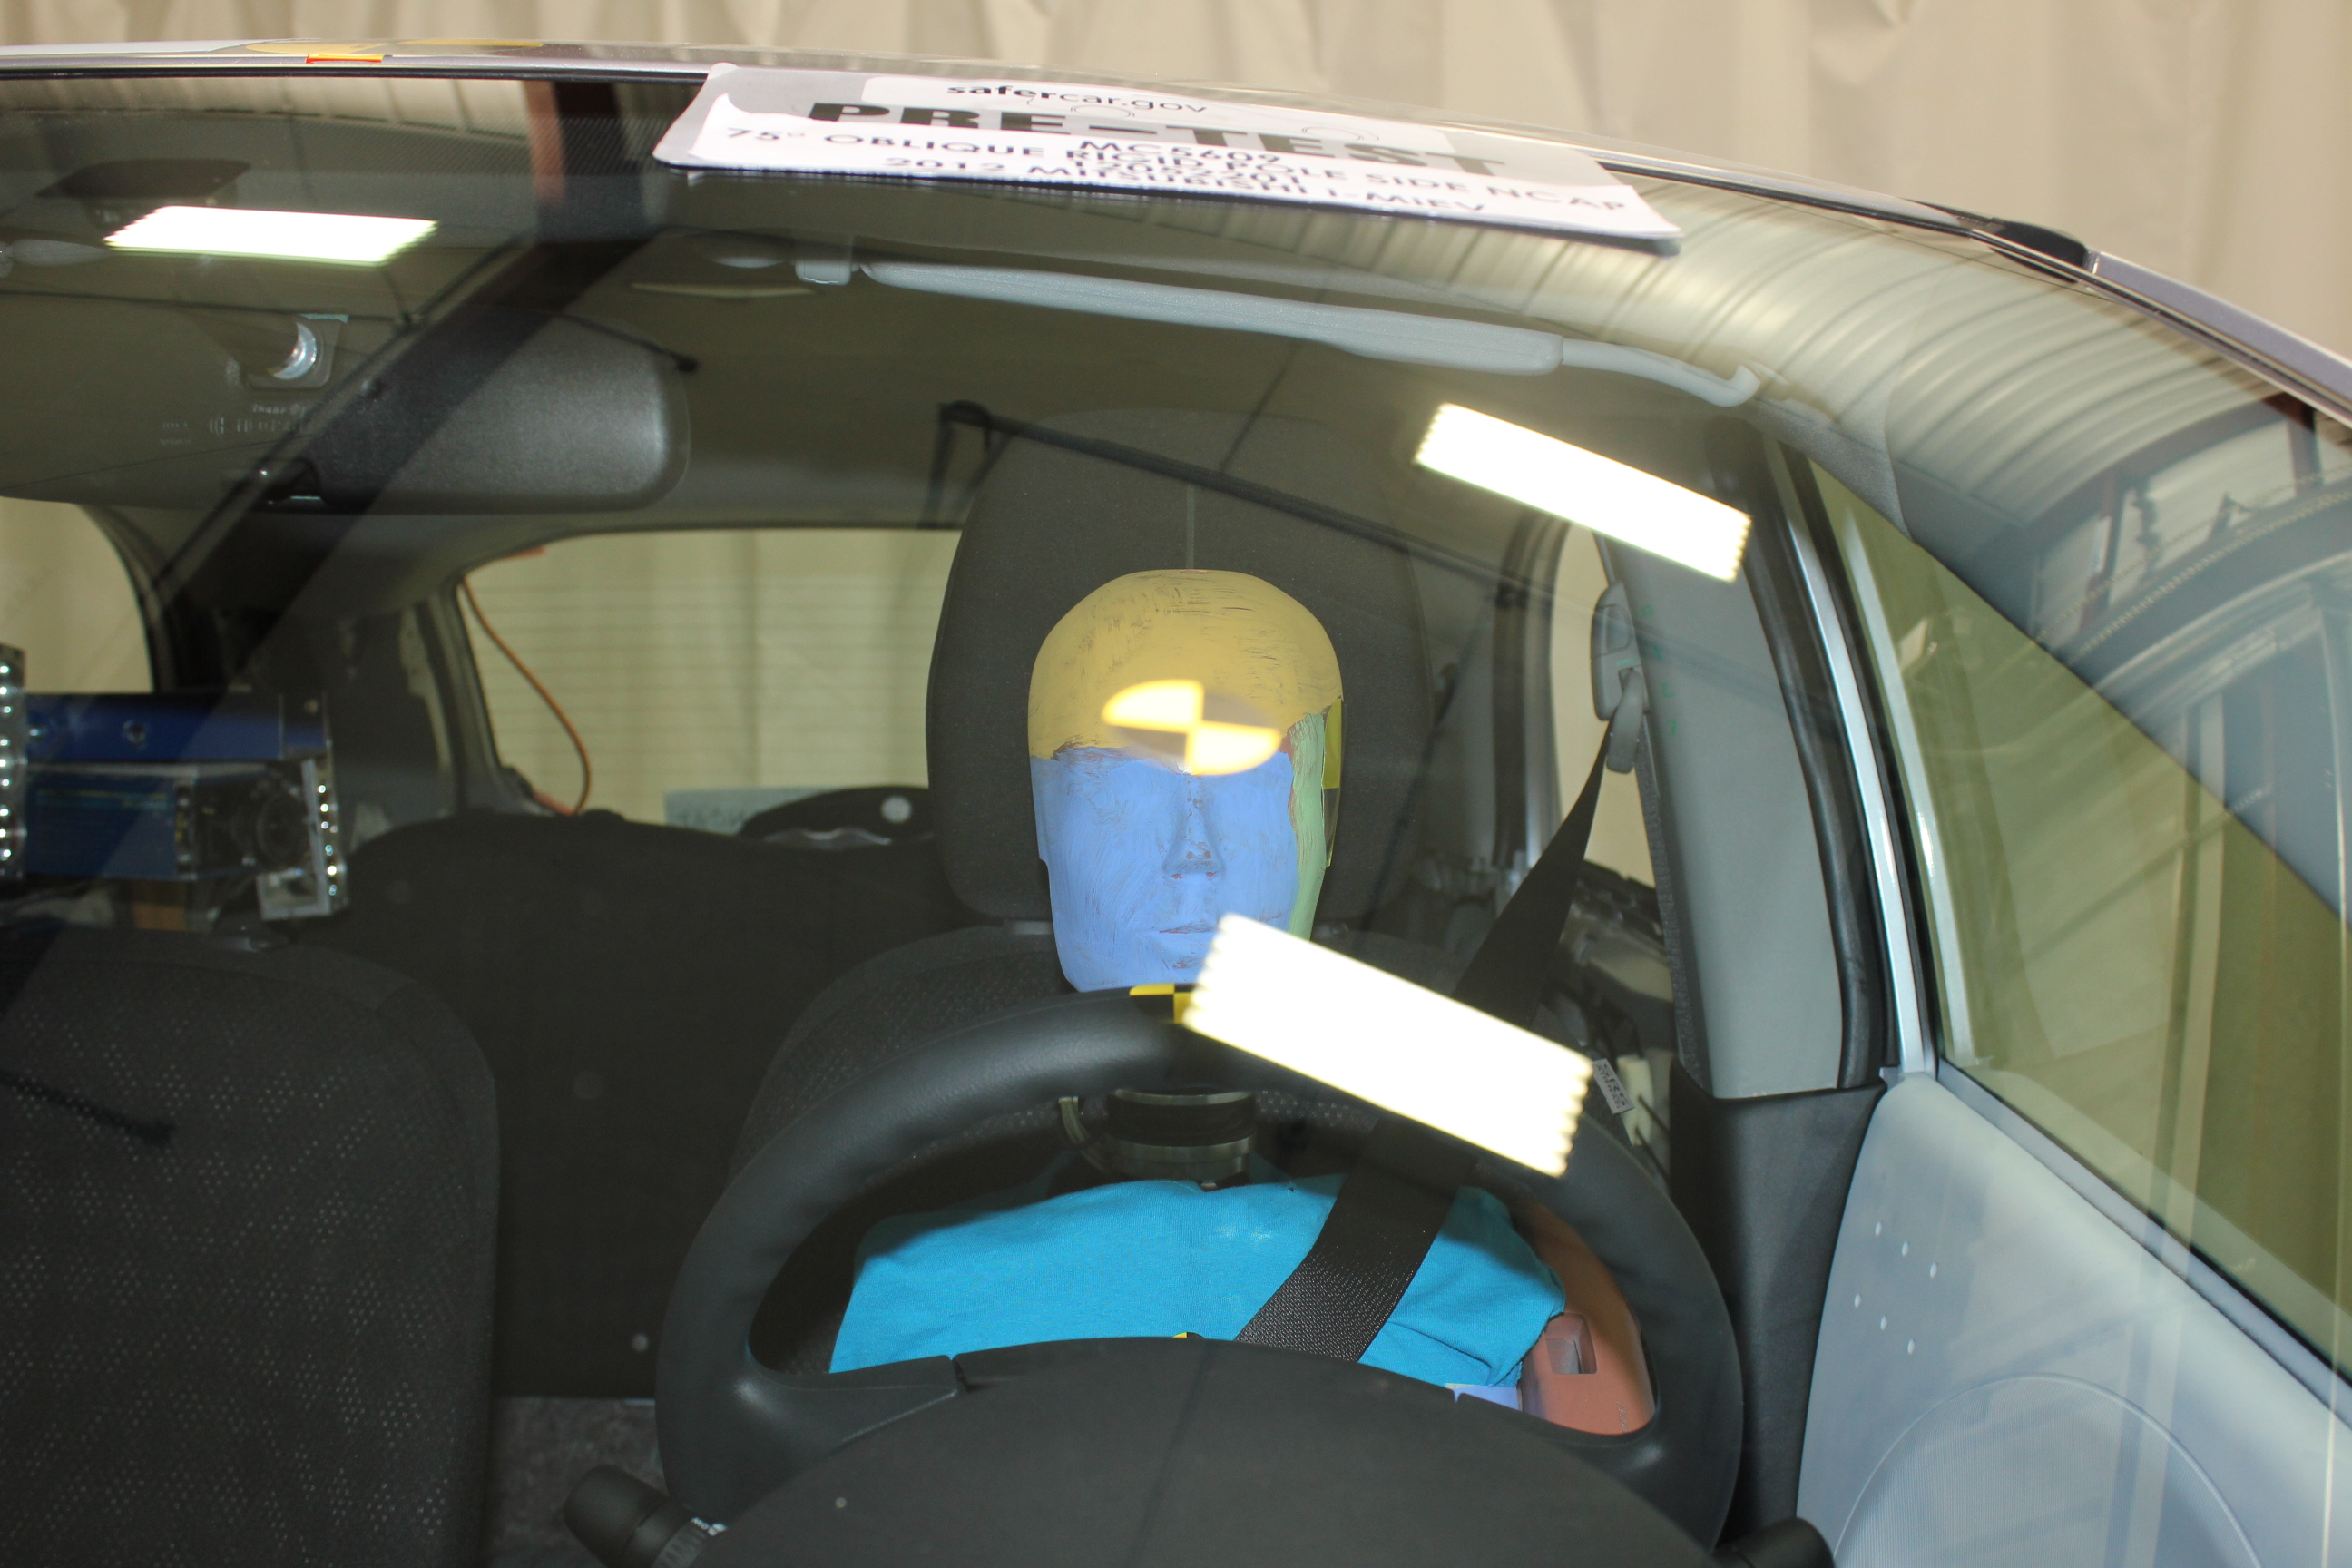
No. 001 Load Cell Location.jpgNo. 002 Load Cell Wall.jpgNo. 003 Manufacturer Label.jpgNo. 004 Tire Placard.jpgNo. 005 Vehicle Frontal As Delivered.jpgNo. 006 Left Rear 3-4 View, As Received.jpgNo. 007 Pre-Test Front View of Test Vehicle.jpgNo. 008 Post-Test Front View of Test Vehicle.jpgNo. 009 Pre-Test Left View of Test Vehicle.jpgNo. 010 Post-Test Left View of Test Vehicle.jpgNo. 011 Pre-Test Right View of Test Vehicle.jpgNo. 012 Post-Test Right View of Test Vehicle.jpgNo. 013 Pre-Test Right Front 3-4 View.jpgNo. 014 Post-Test Right Front 3-4 View.jpgNo. 015 Pre-Test Left Rear 3-4 View.jpgNo. 016 Post-Test Left Rear 3-4 View.jpgNo. 017 Pre-Test Windshield View.jpgNo. 018 Post-Test Windshield View.jpgNo. 019 Pre-Test Engine Compartment View.jpgNo. 020 Post-Test Engine Compartment View.jpgNo. 021 Pre-Test Fuel Filler Cap View.jpgNo. 022 Post-Test Fuel Filler Cap View.jpgNo. 023 Pre-Test Front Underbody View.jpgNo. 024 Post-Test Front Underbody View.jpgNo. 024a Pre-Test Mid Front Underbody View.jpgNo. 024b Post-Test Mid Underbody View.jpgNo. 024c Pre-Test Mid Rear Underbody View.jpgNo. 024d Post-Test Mid Rear Underbody View.jpgNo. 025 Pre-Test Rear Underbody View.jpgNo. 026 Post-Test Rear Underbody View.jpgNo. 027 Pre-Test Dummy Cable Routing.jpgNo. 028 Post-Test Dummy Cable Routing.jpgNo. 029 Pre-Test Driver Dummy Front View.jpgNo. 030 Post-Test Driver Dummy Front View.jpgNo. 031 Pre-Test Driver Dummy Window View.jpgNo. 037 Pre-Test Driver Dummy Feet.jpgNo. 032 Post-Test Driver Dummy Window View.jpgNo. 033 Pre-Test Driver Dummy and Vehicle Interior View.jpgNo. 034 Post-Test Driver Dummy and Vehicle Interior View.jpgNo. 035 Pre-Test Driver Seat Fore-Aft Markings.jpgNo. 039 Pre-Test Driver Side Knee Bolster.jpg

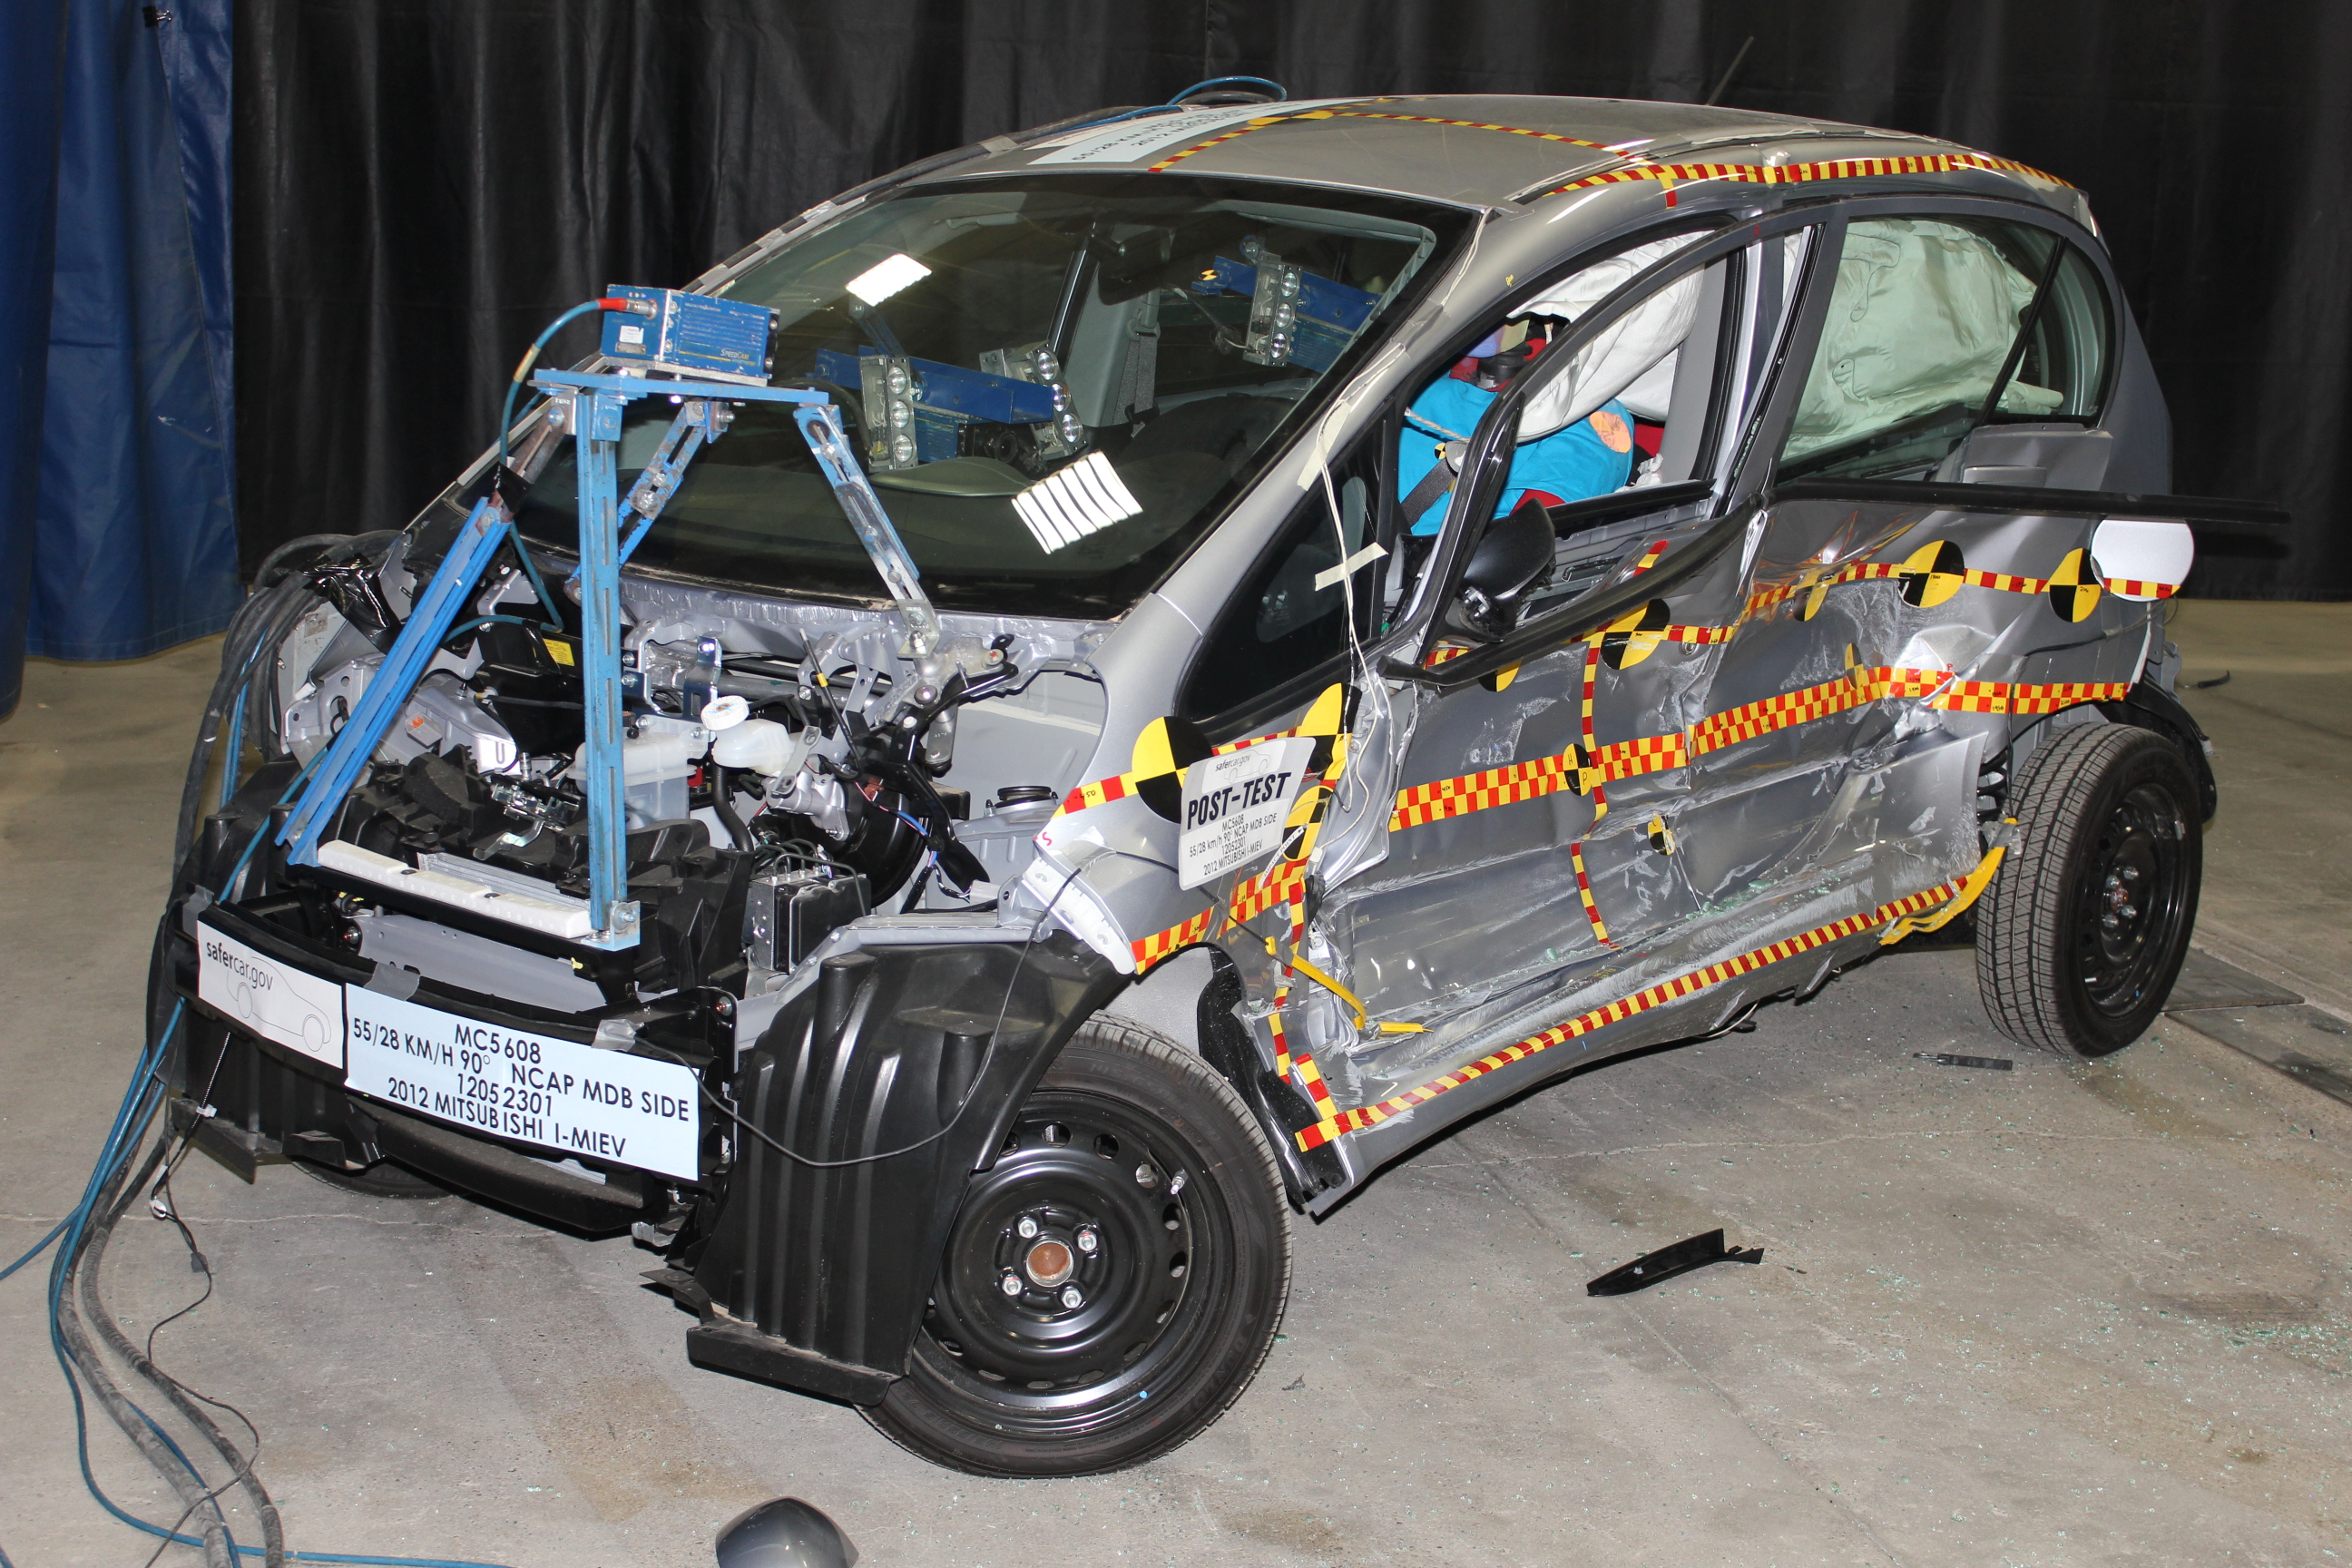
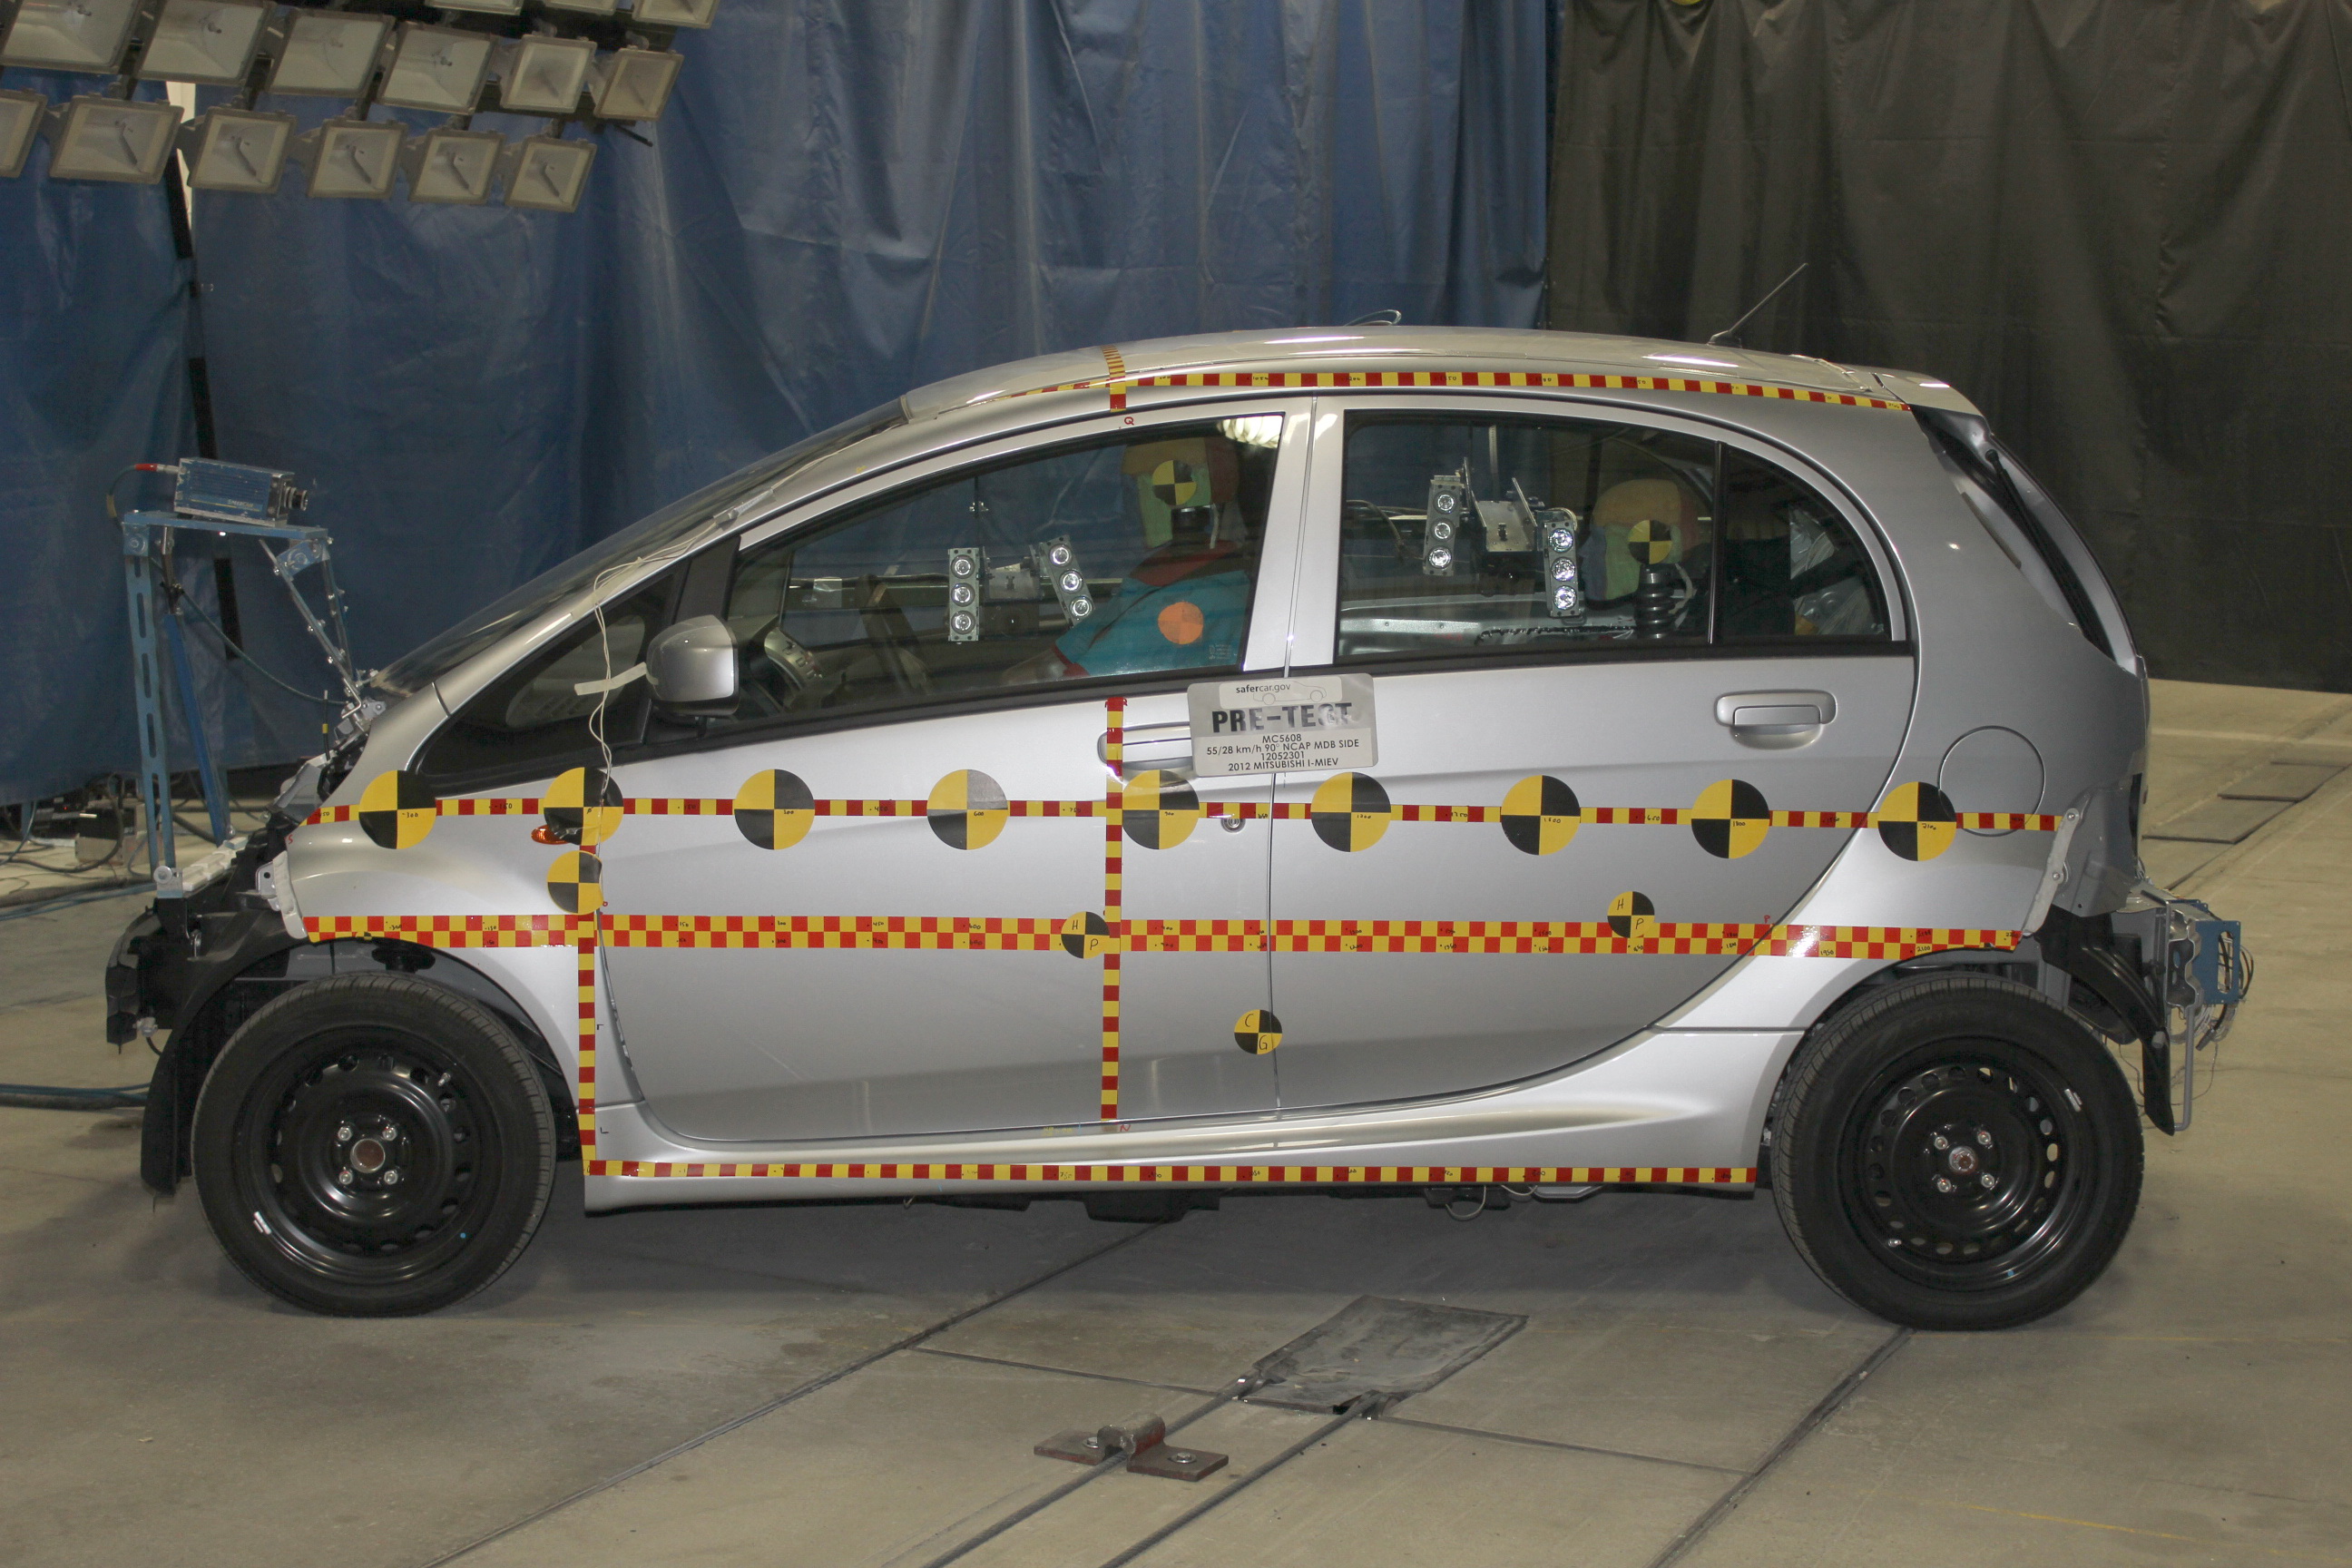
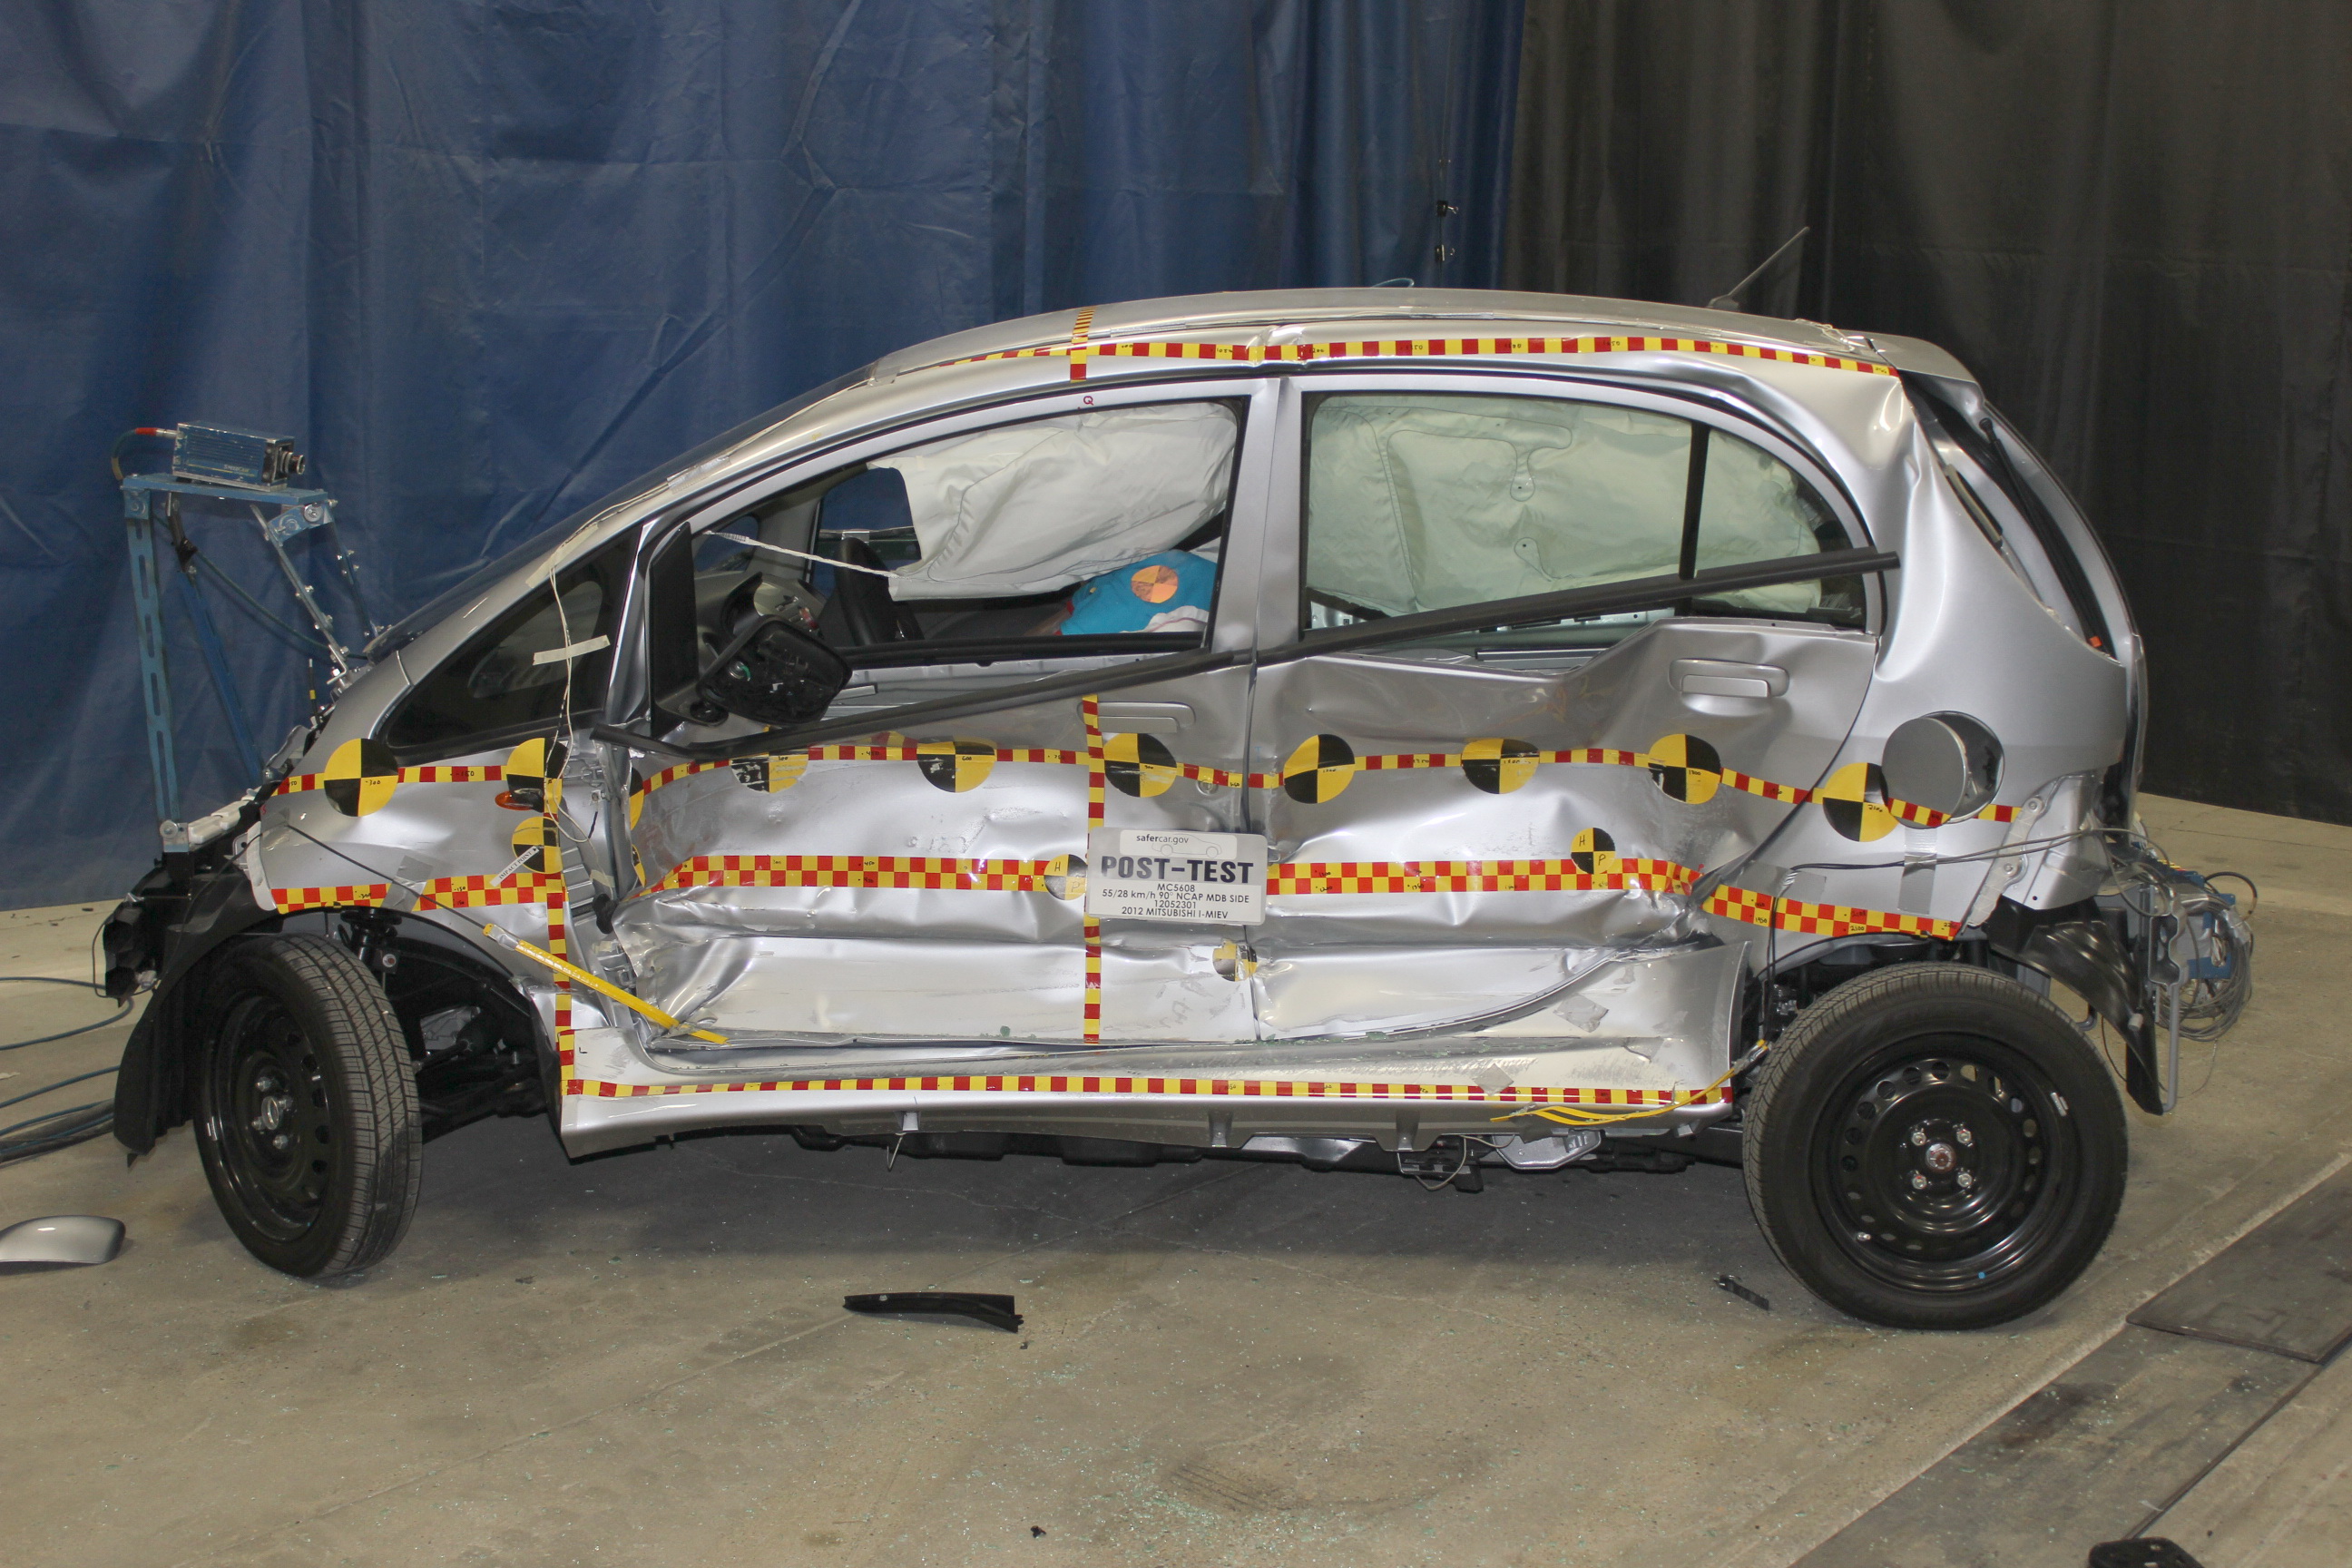
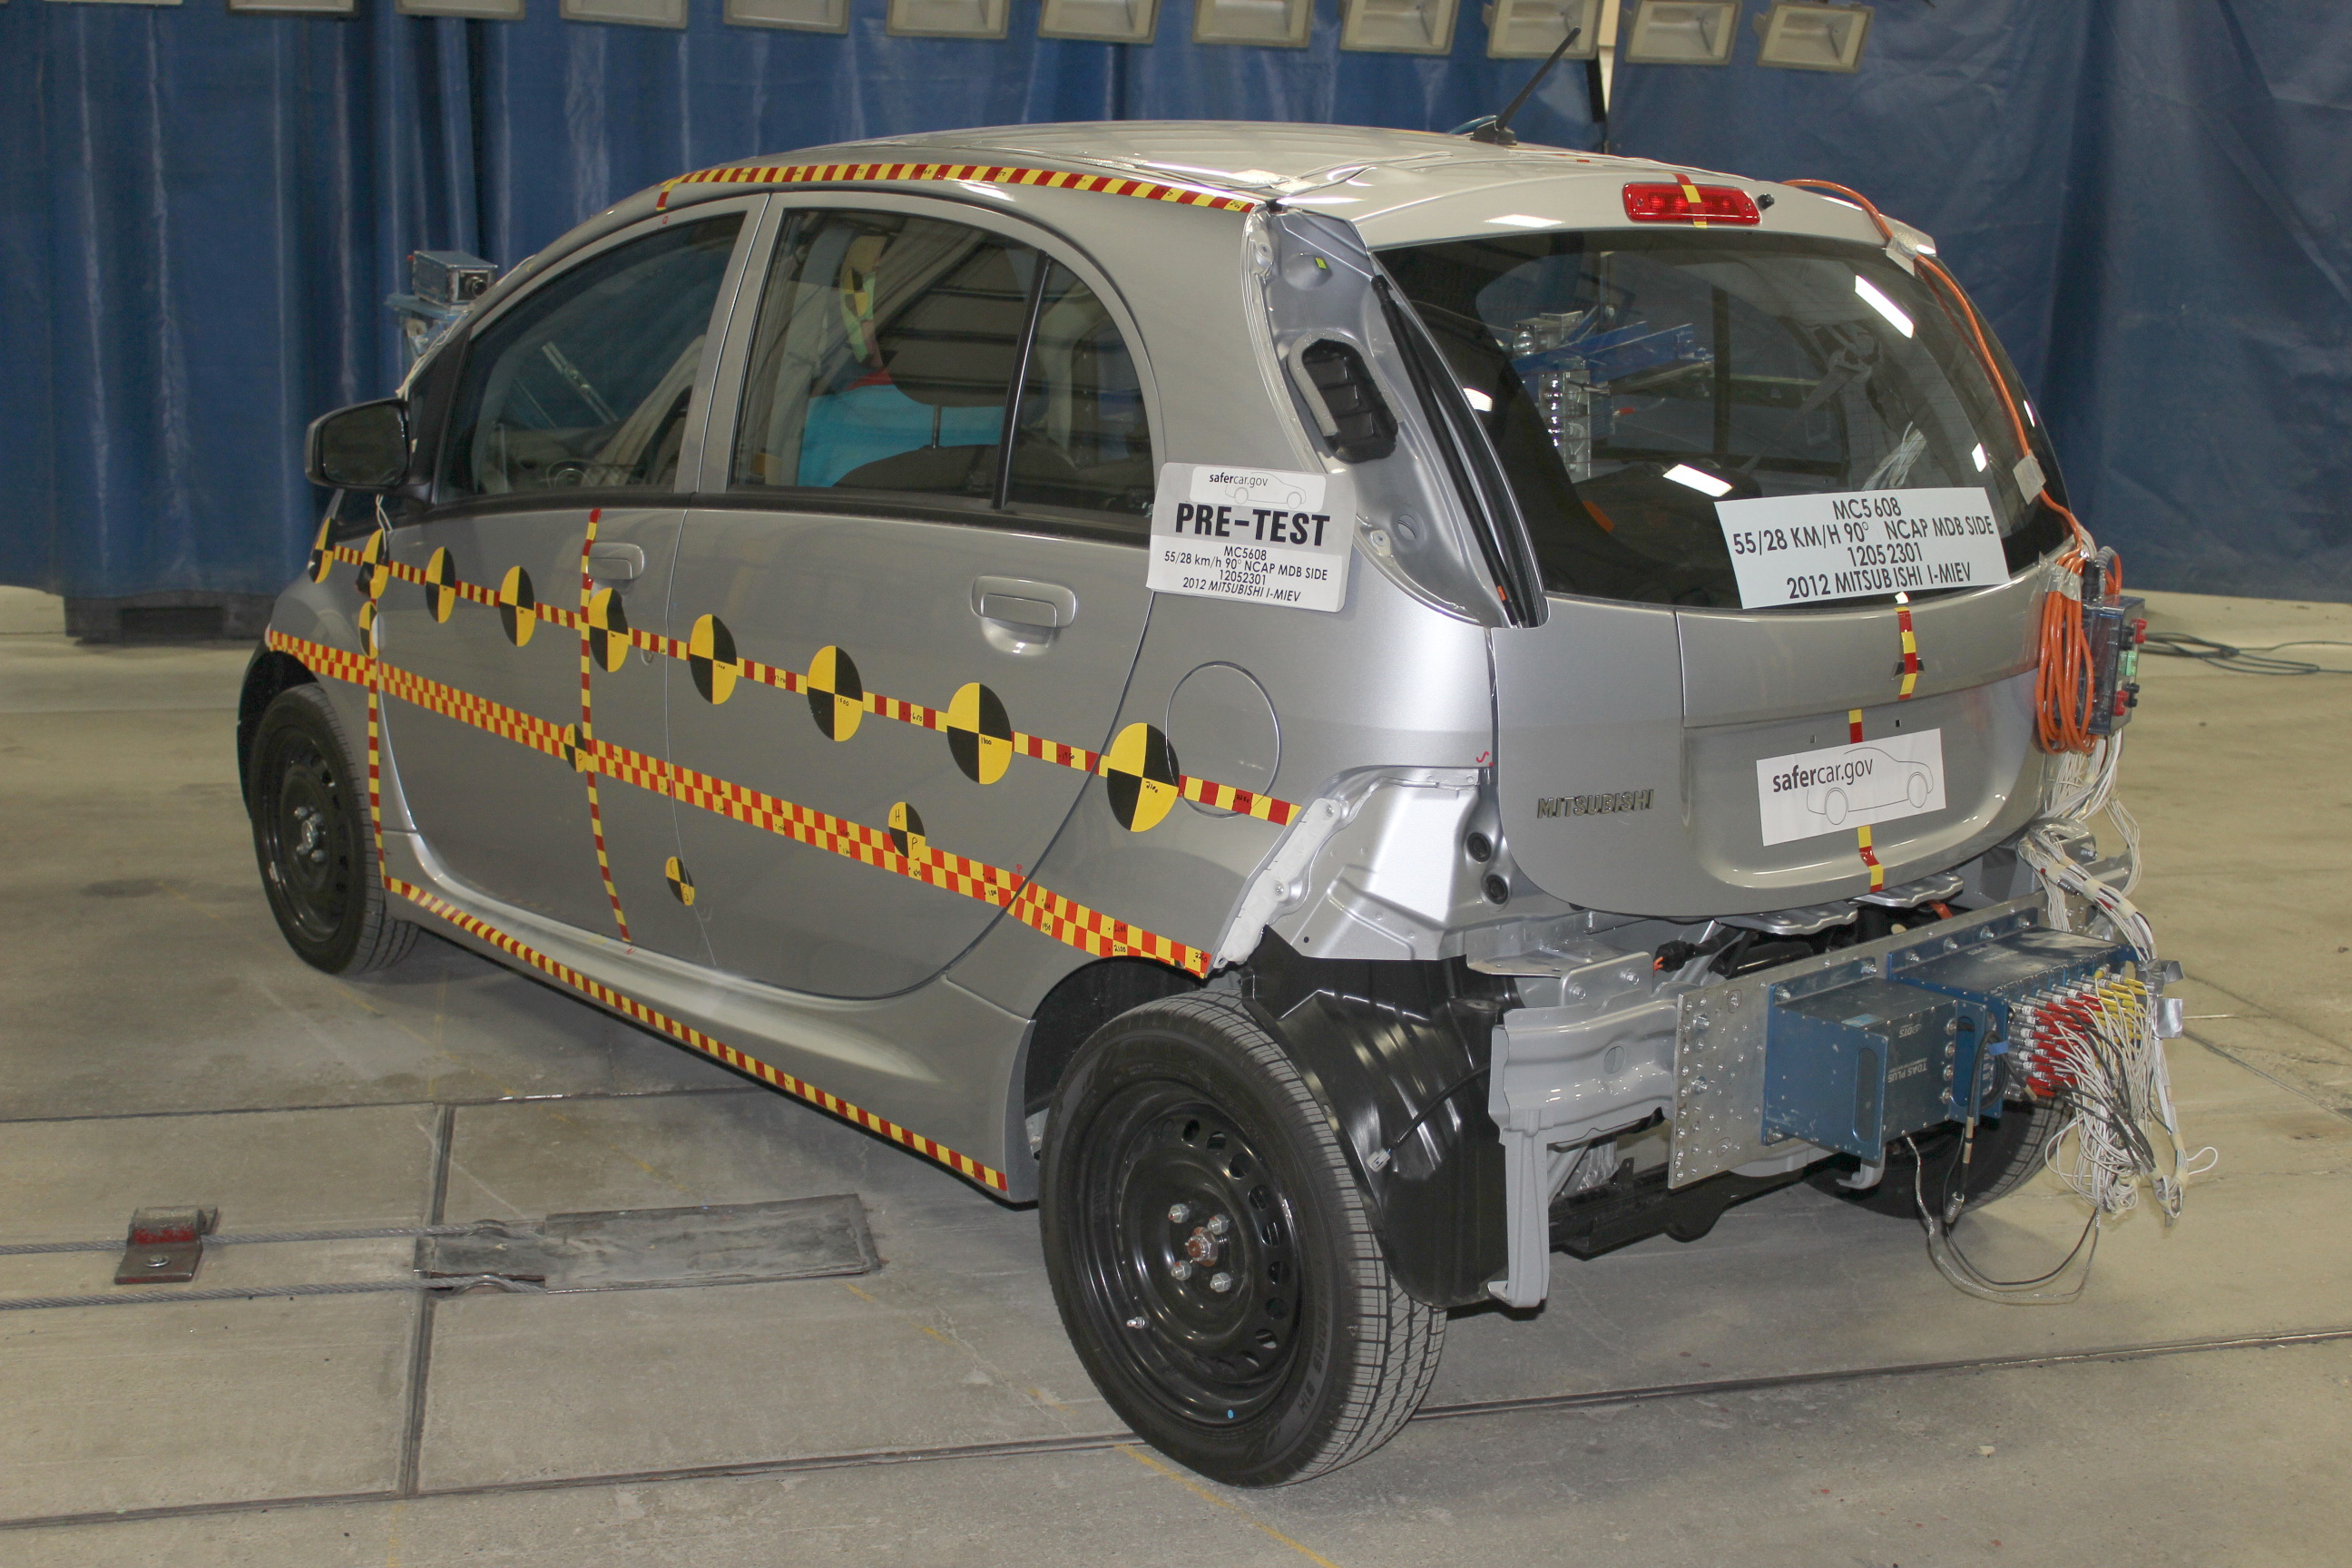
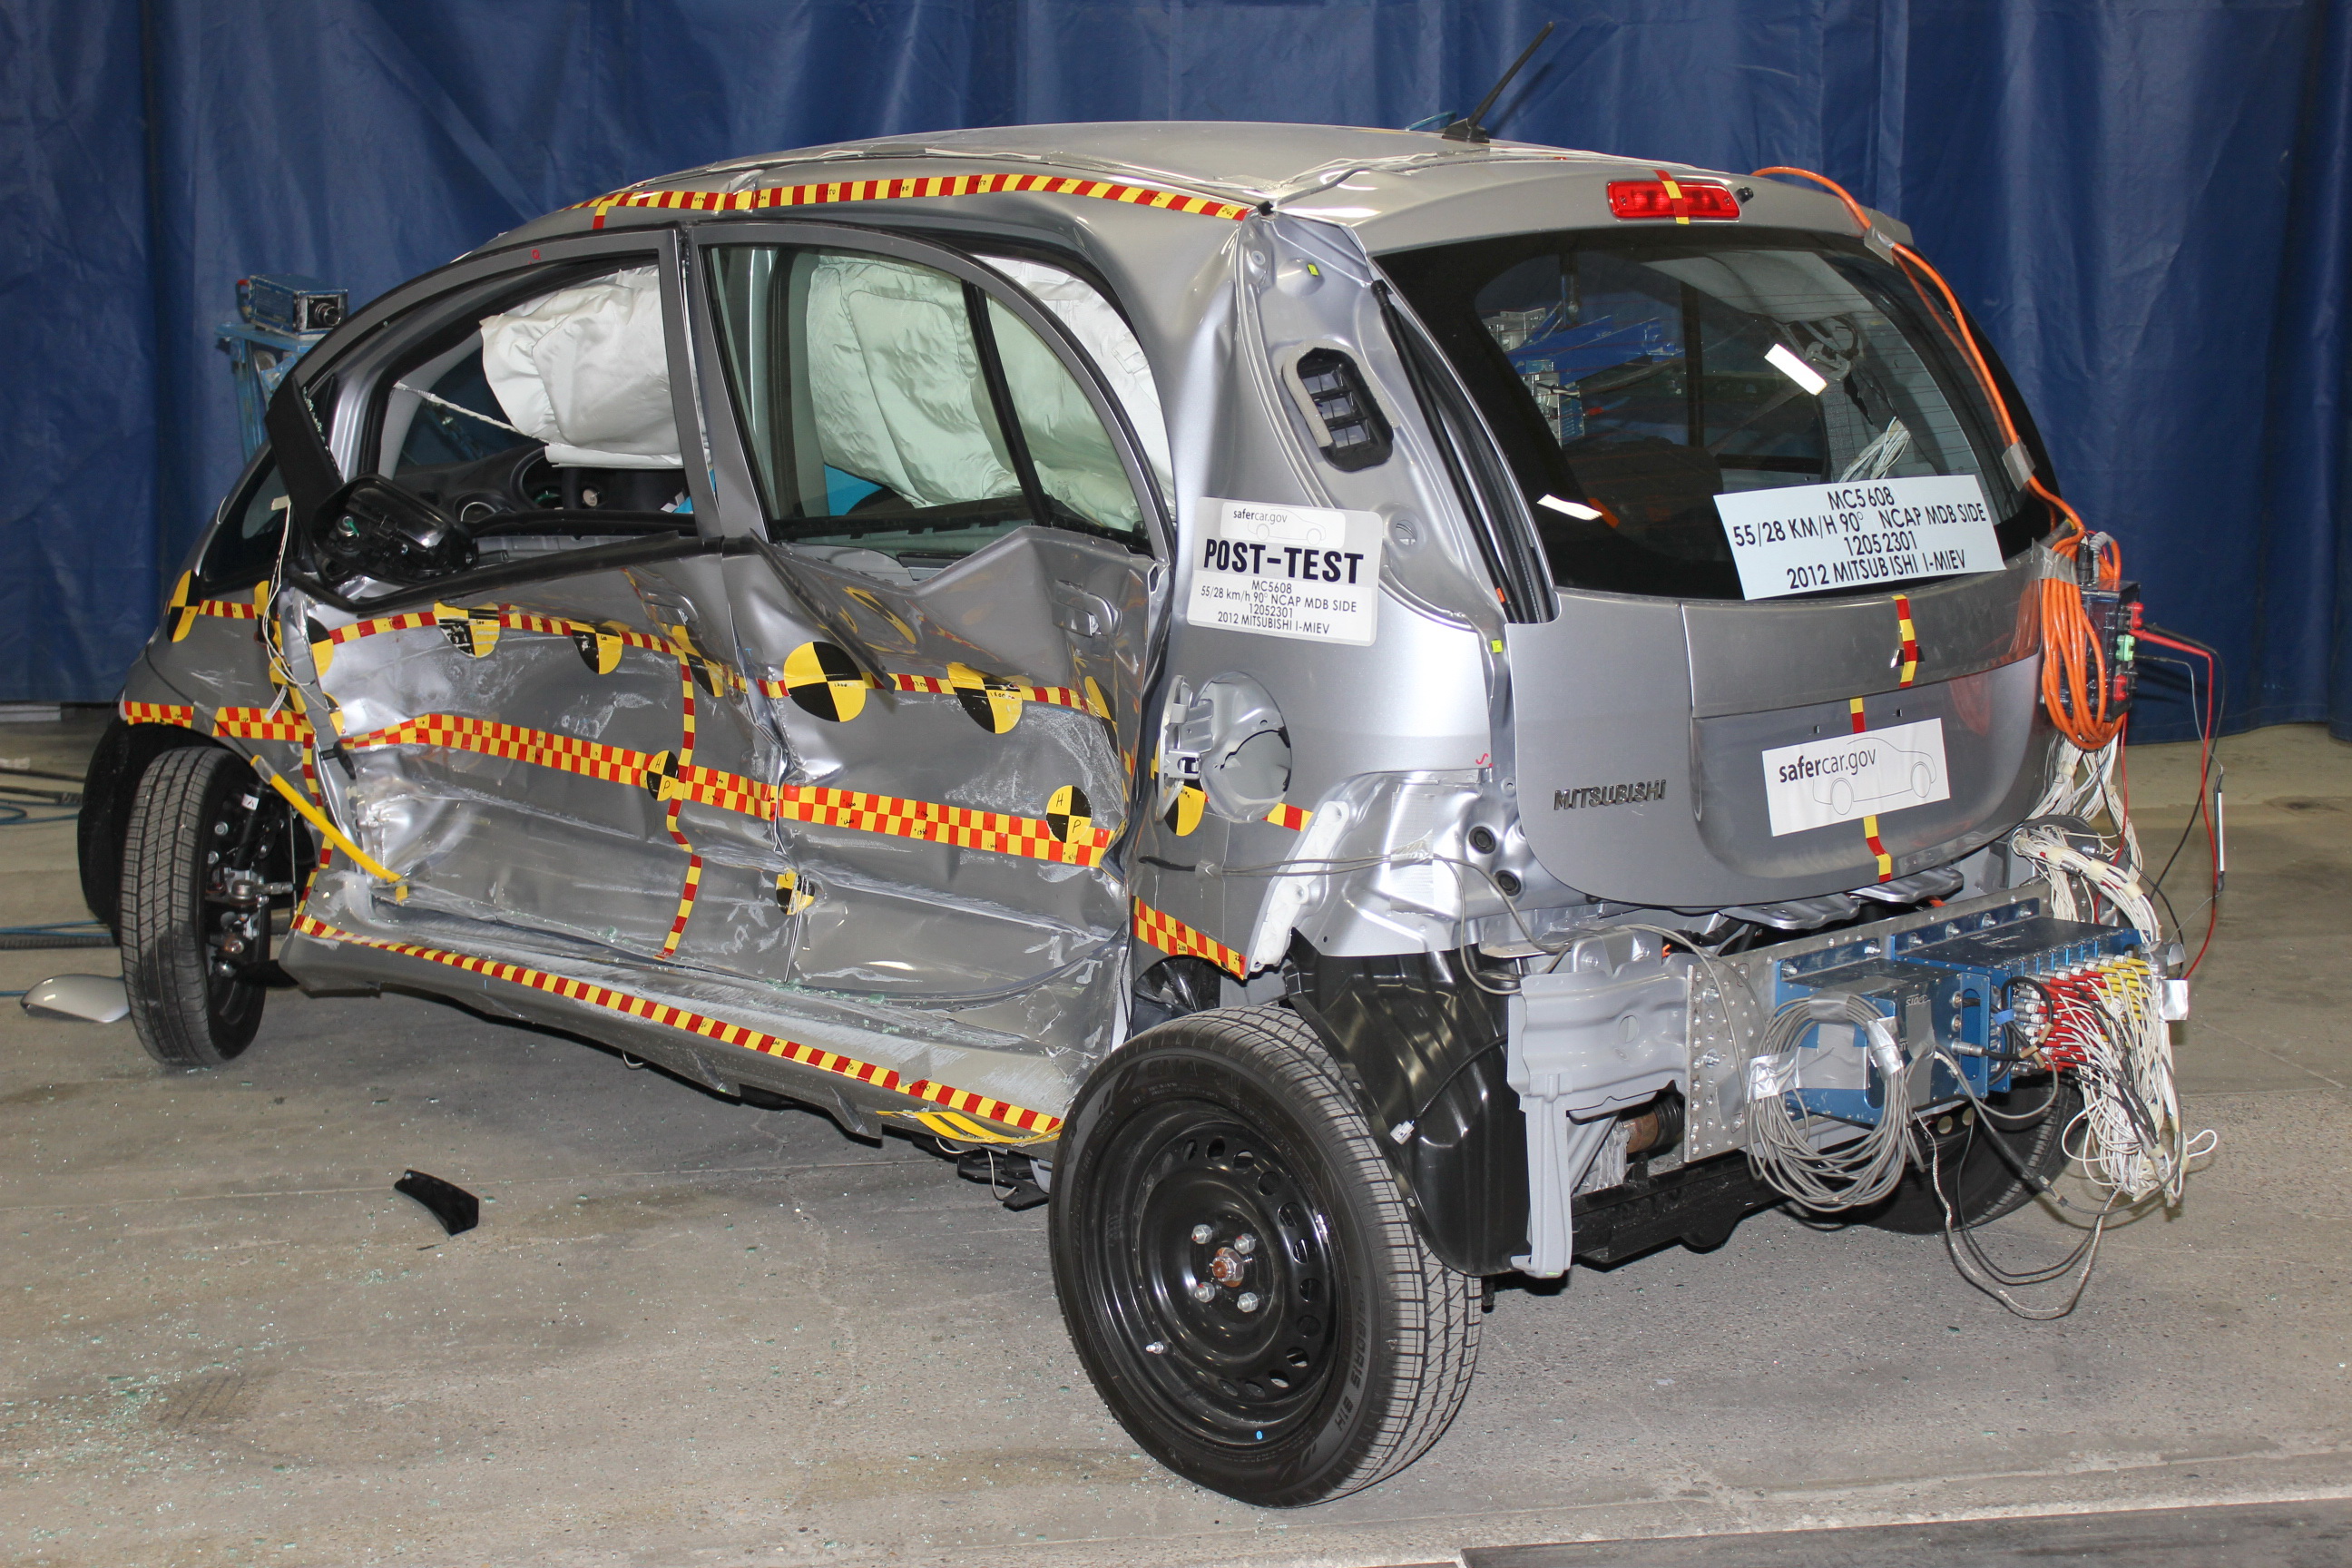
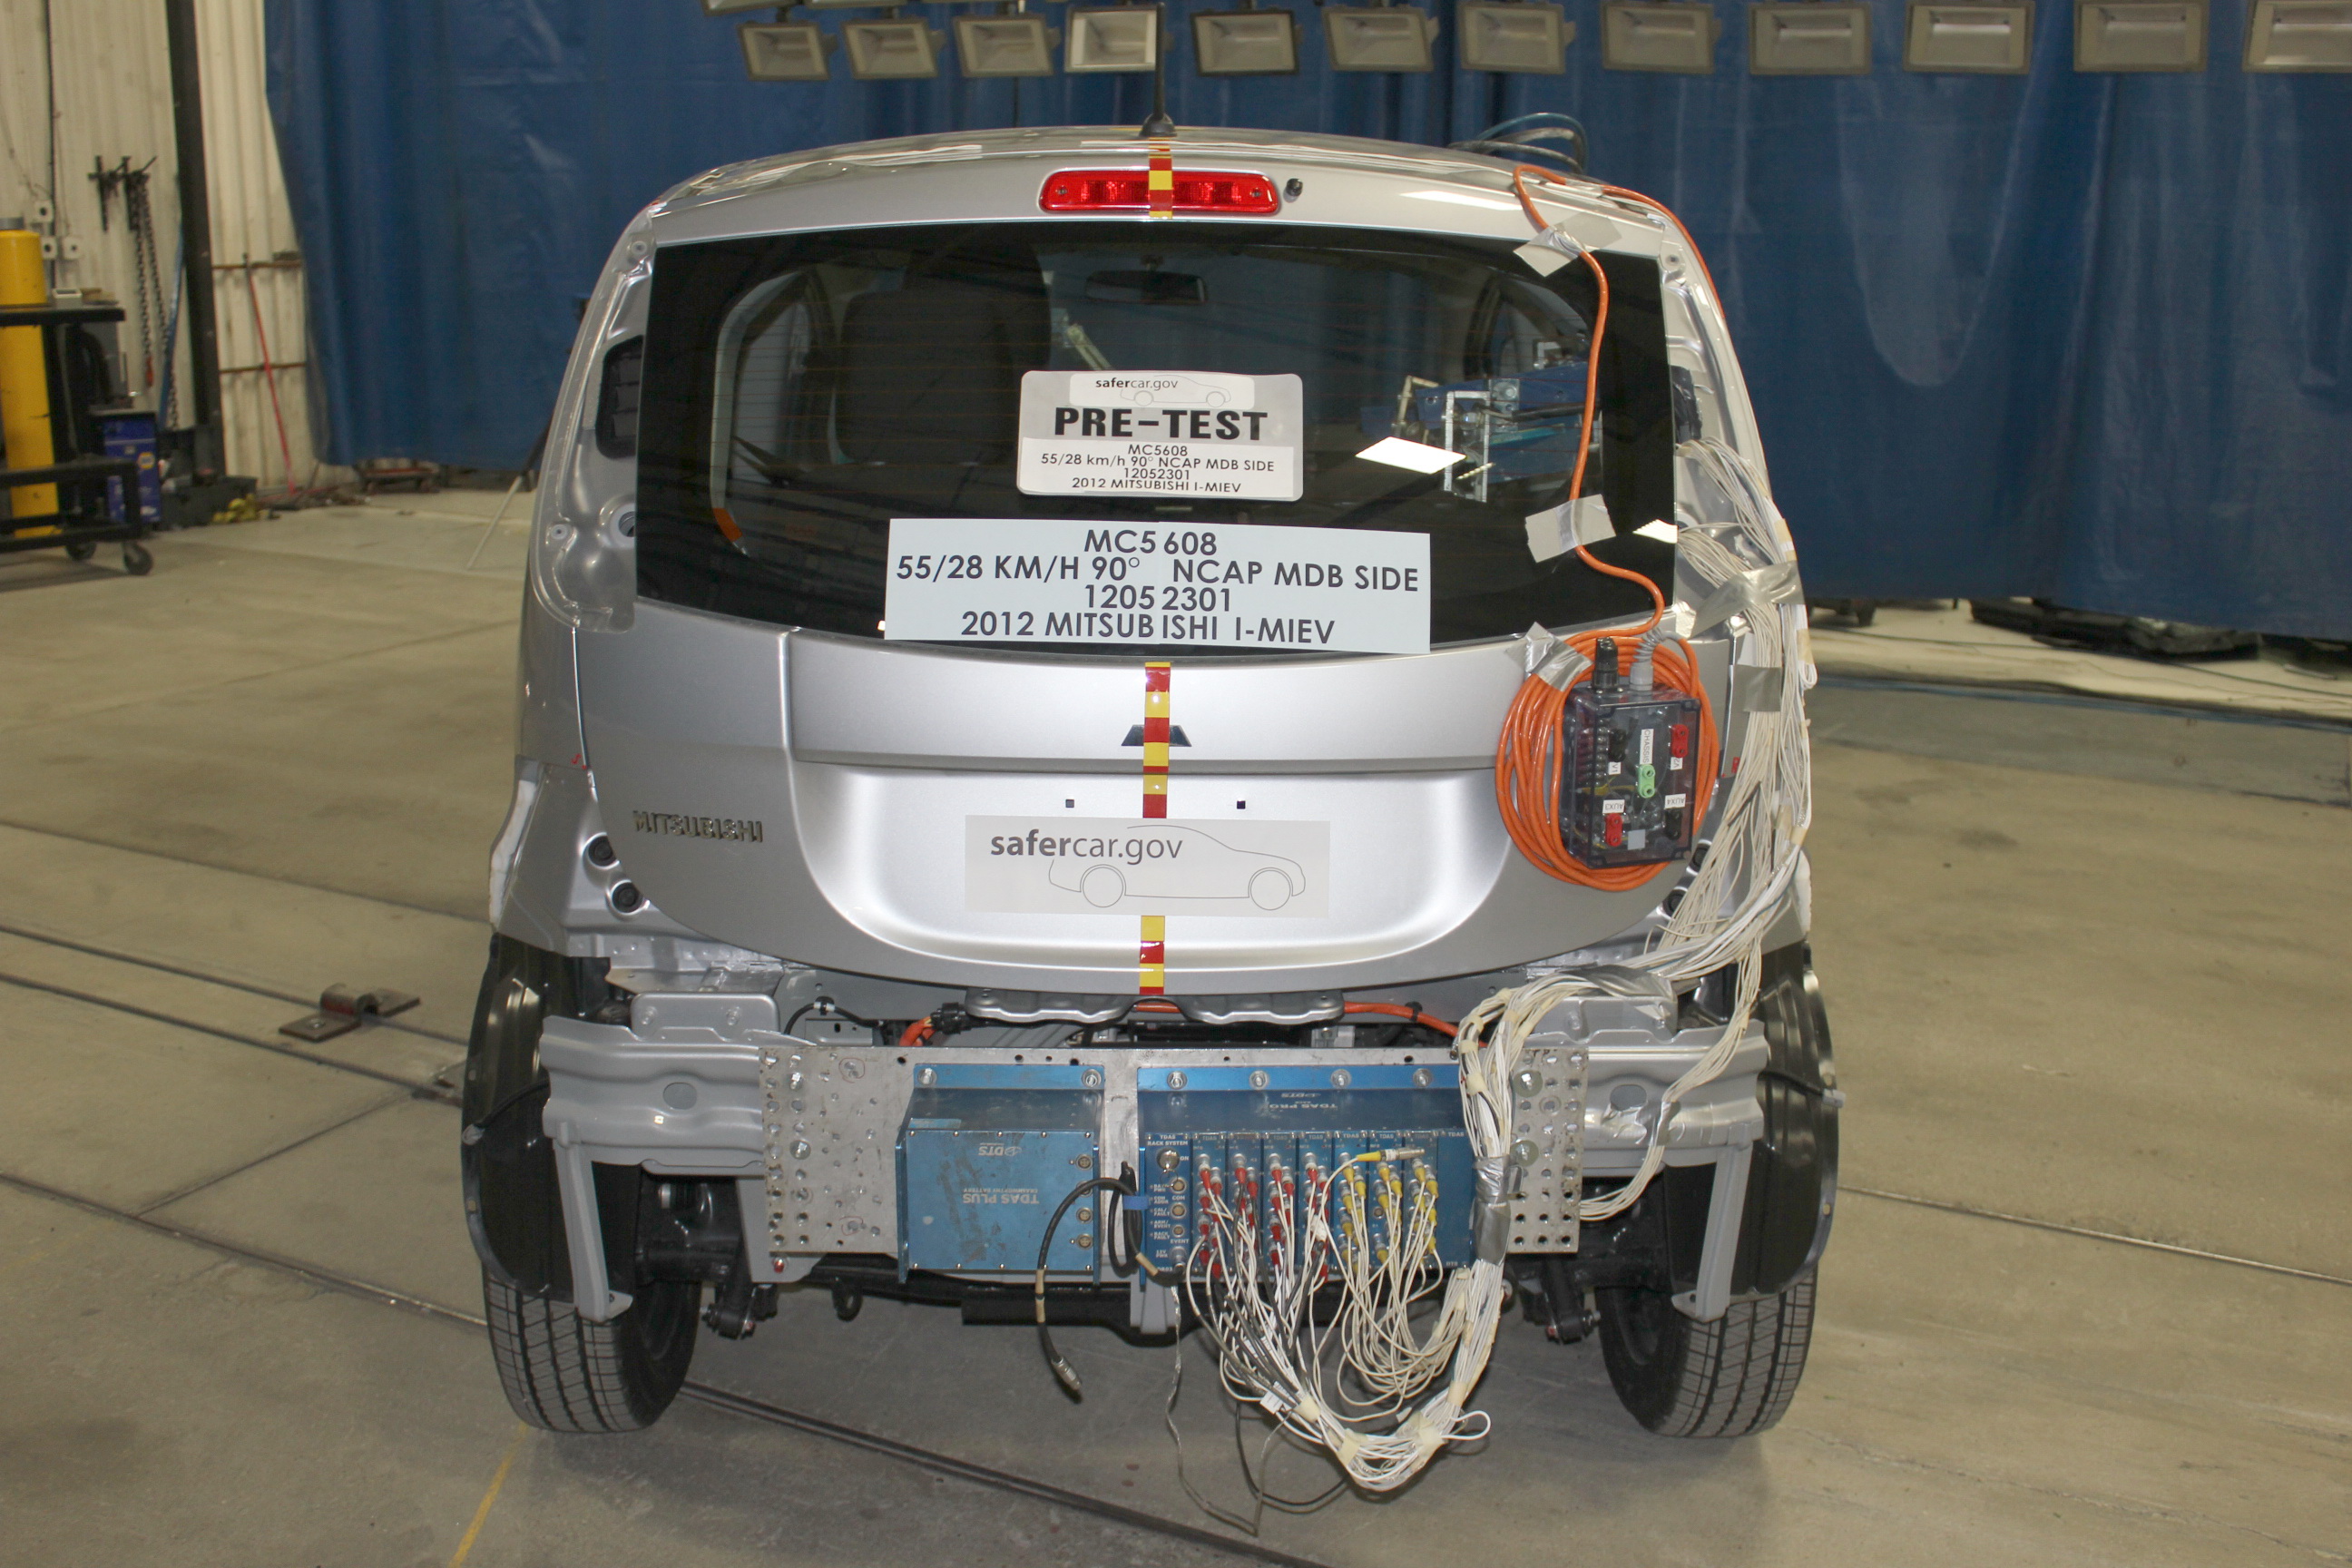
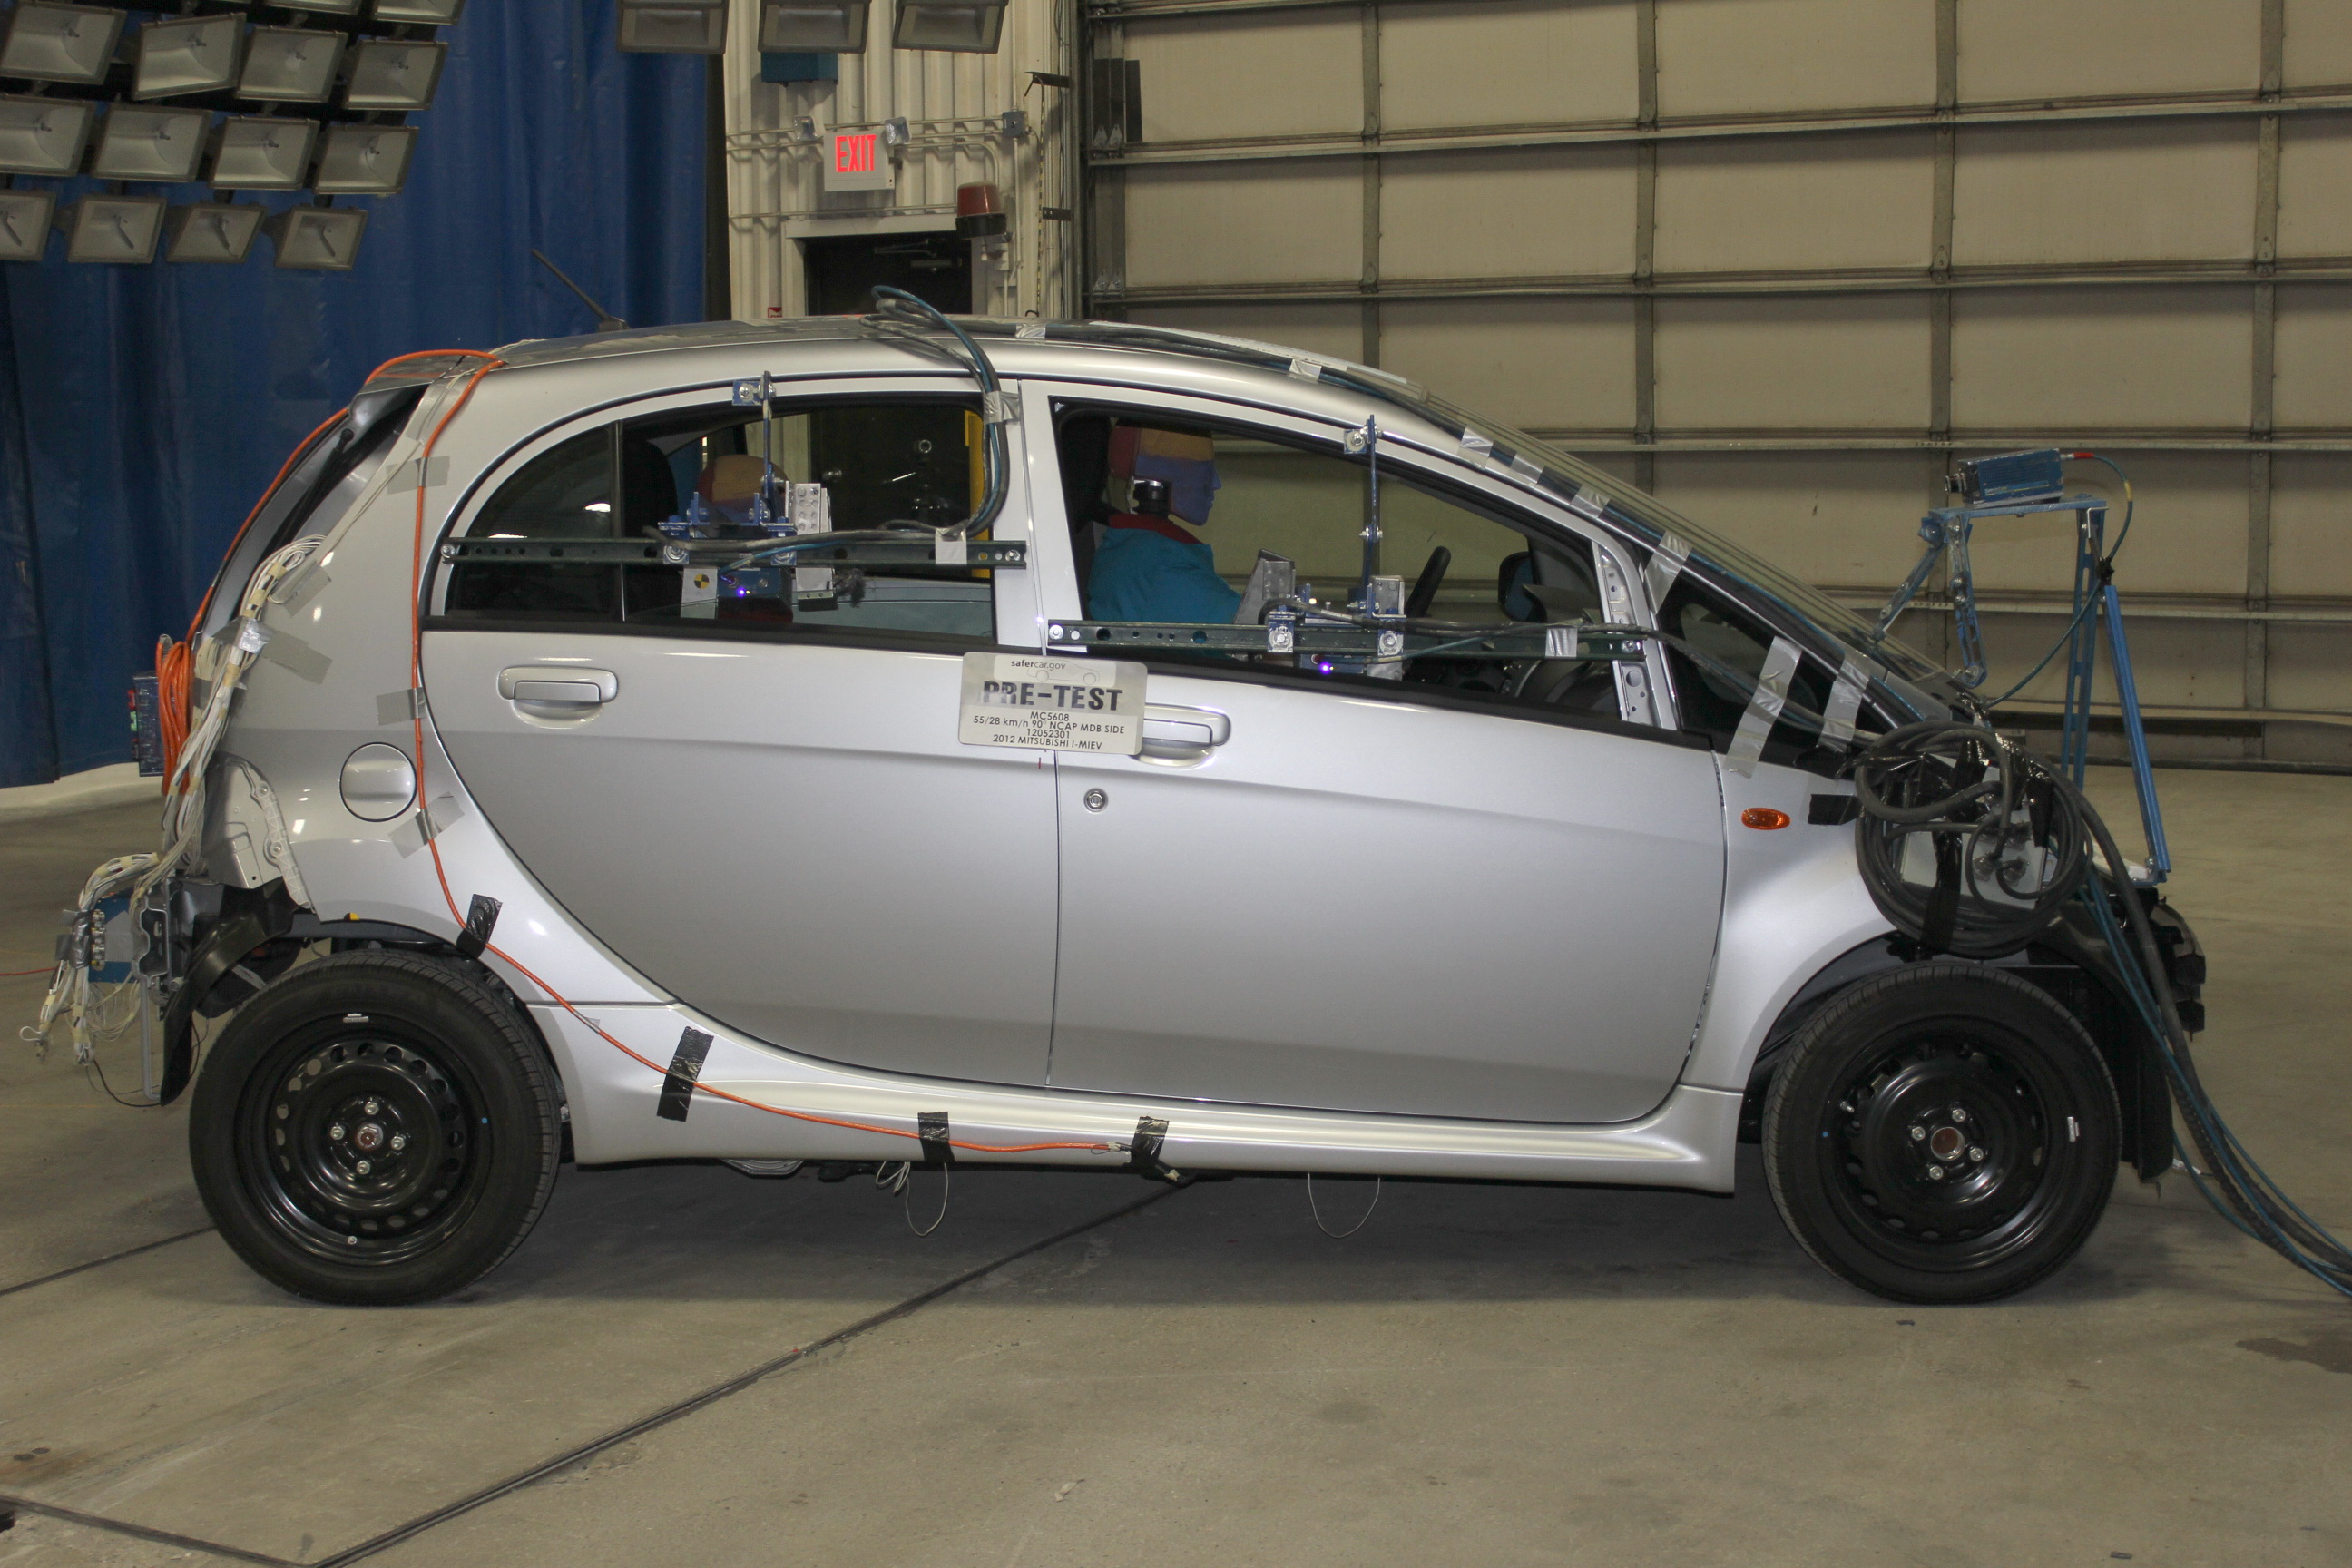
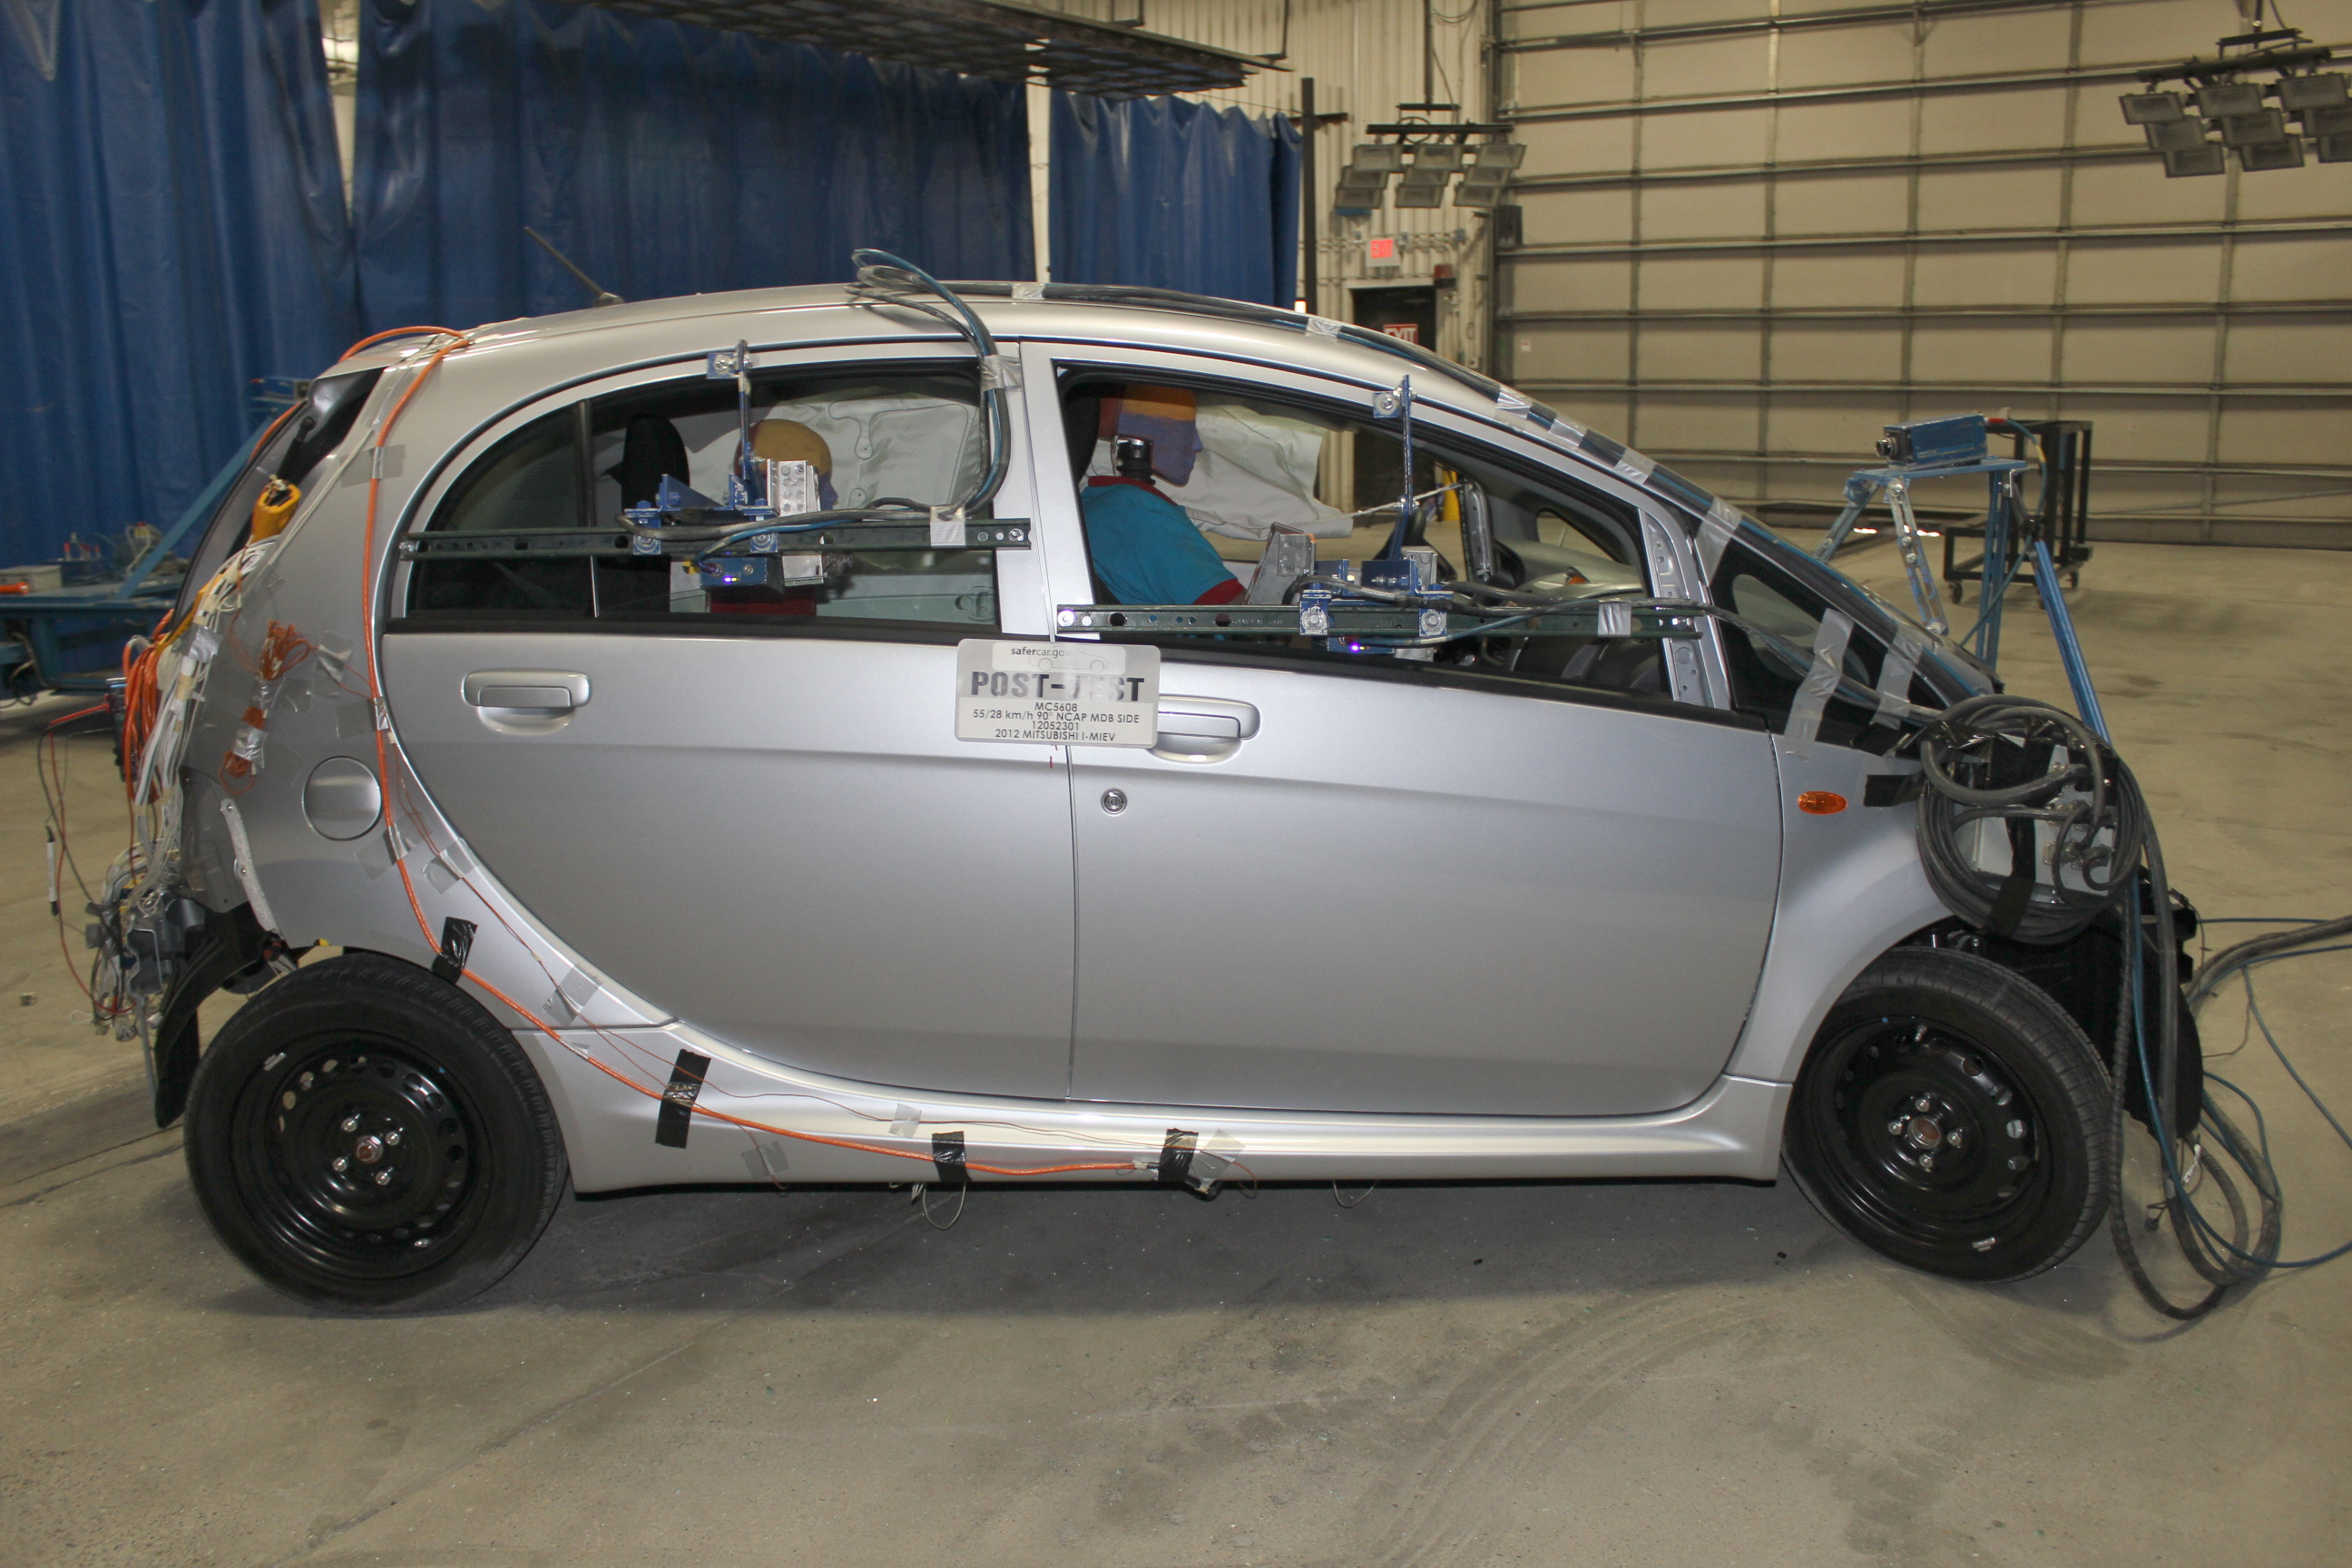
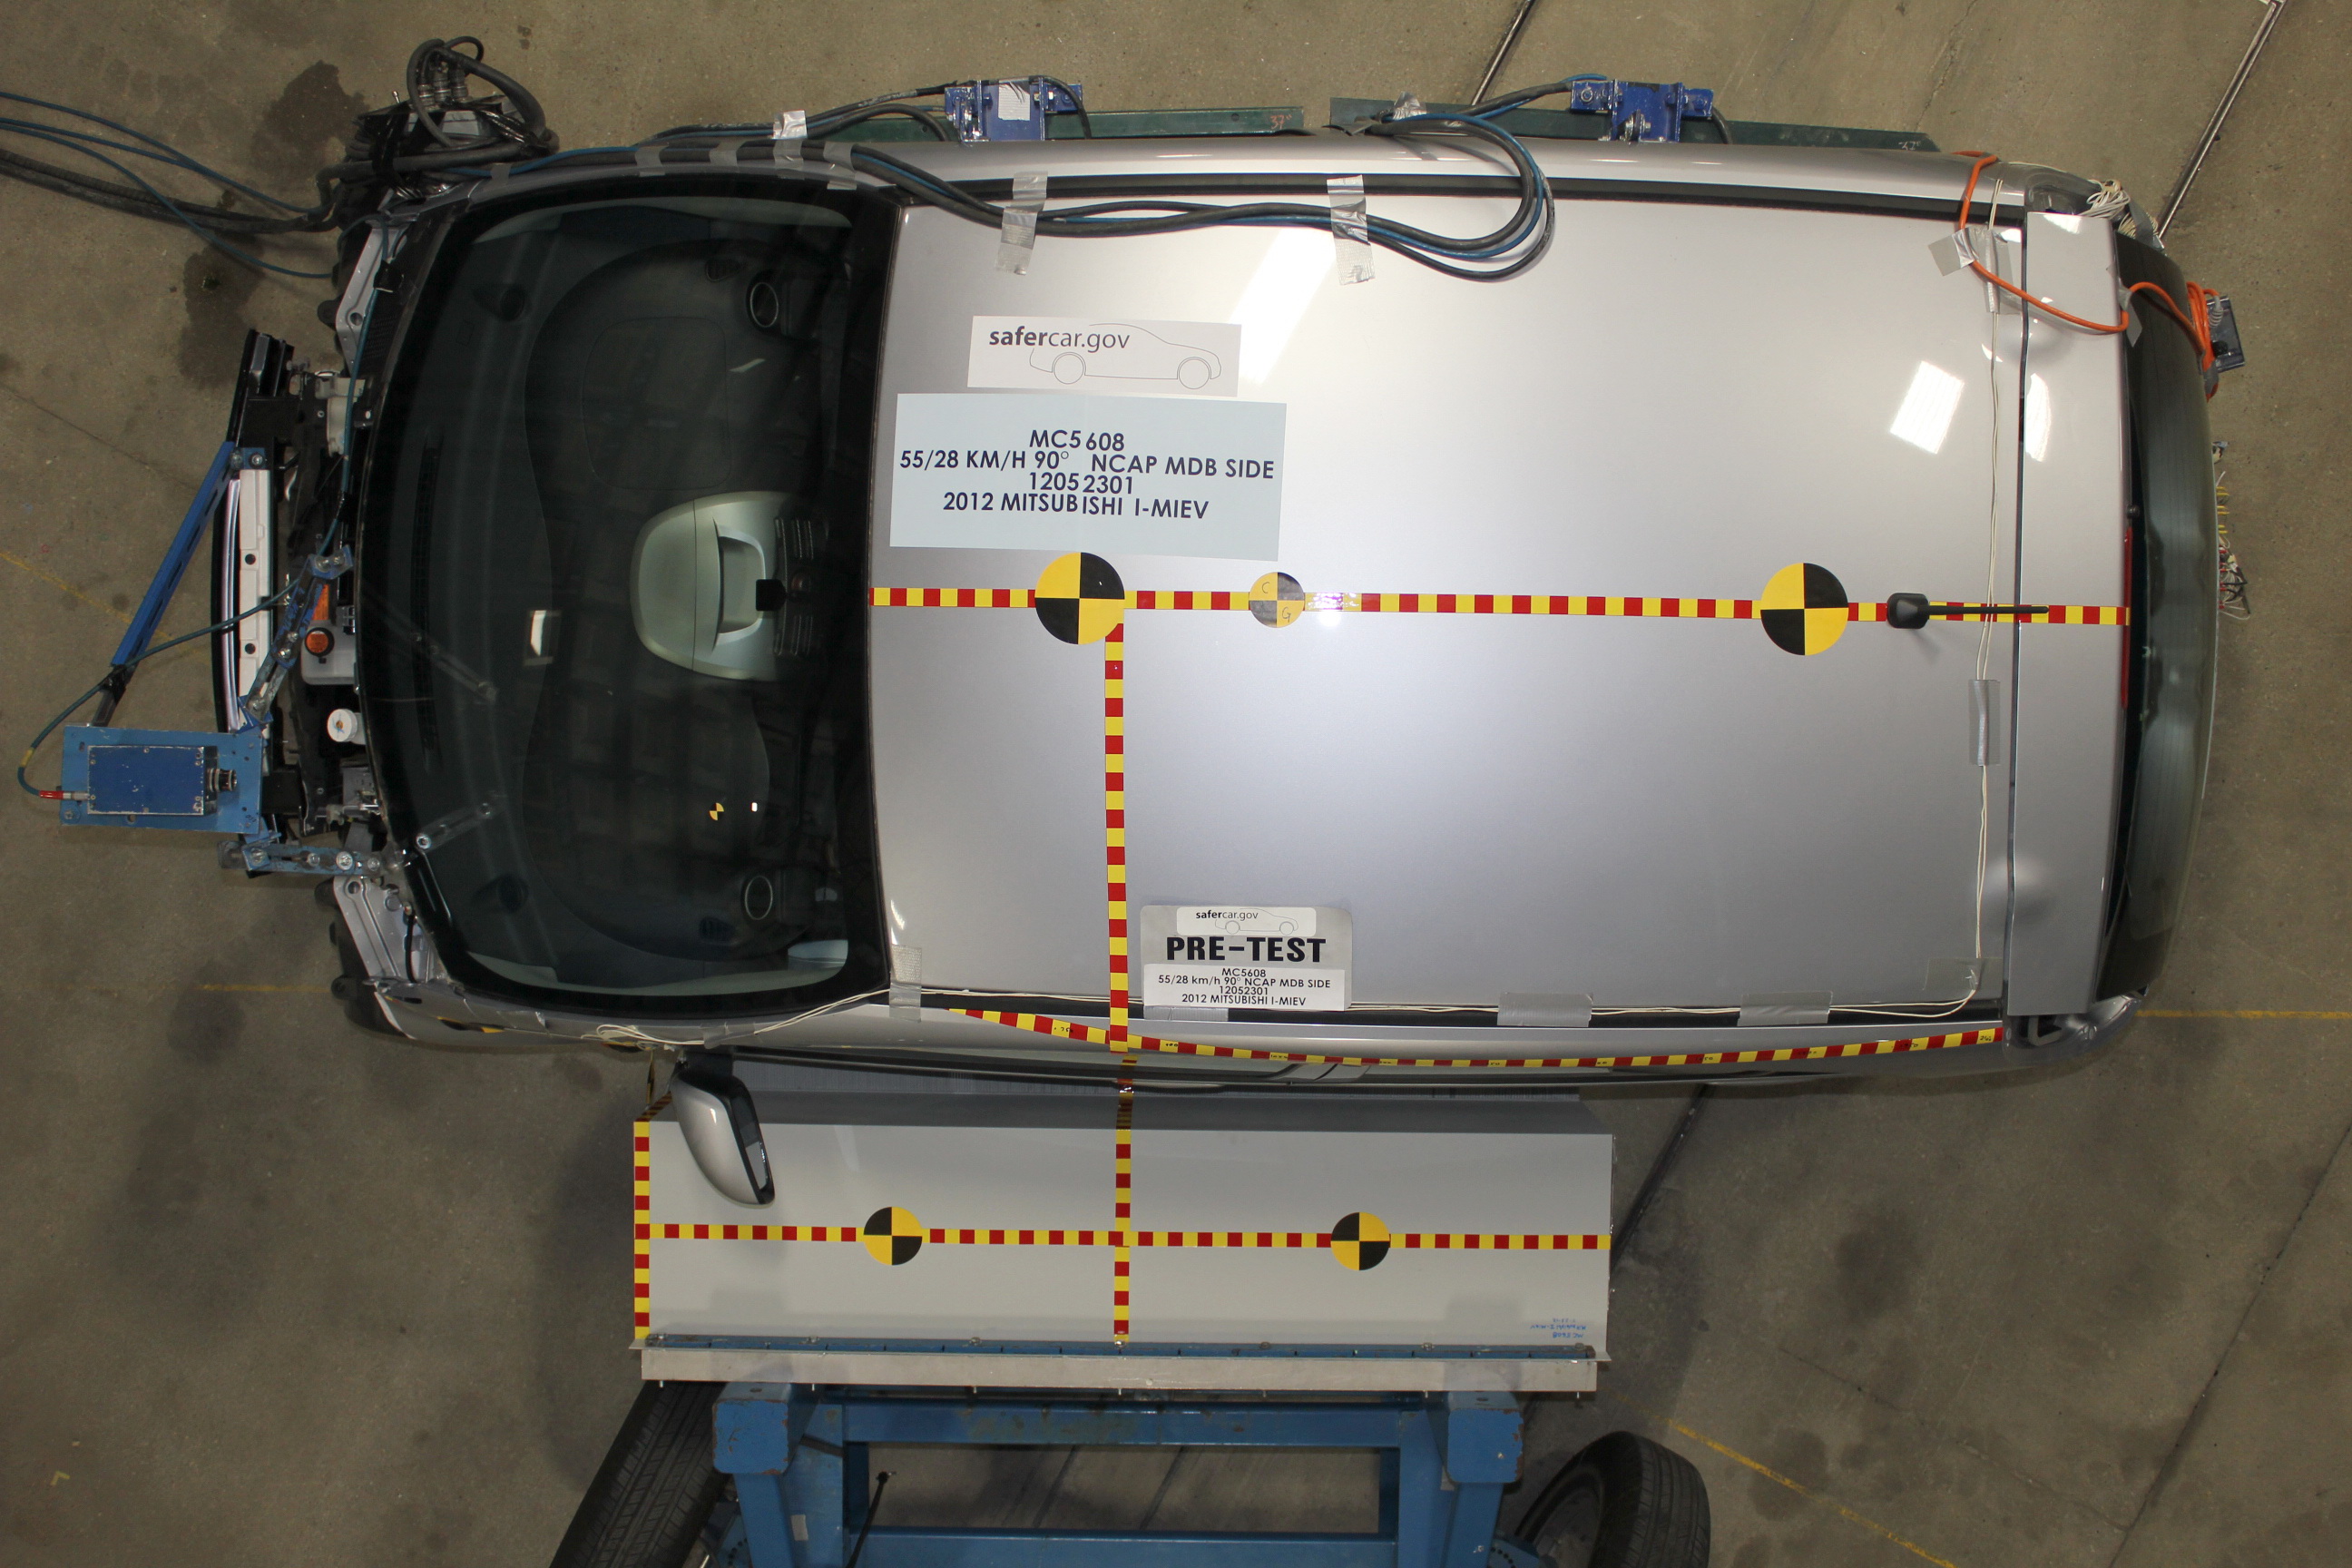
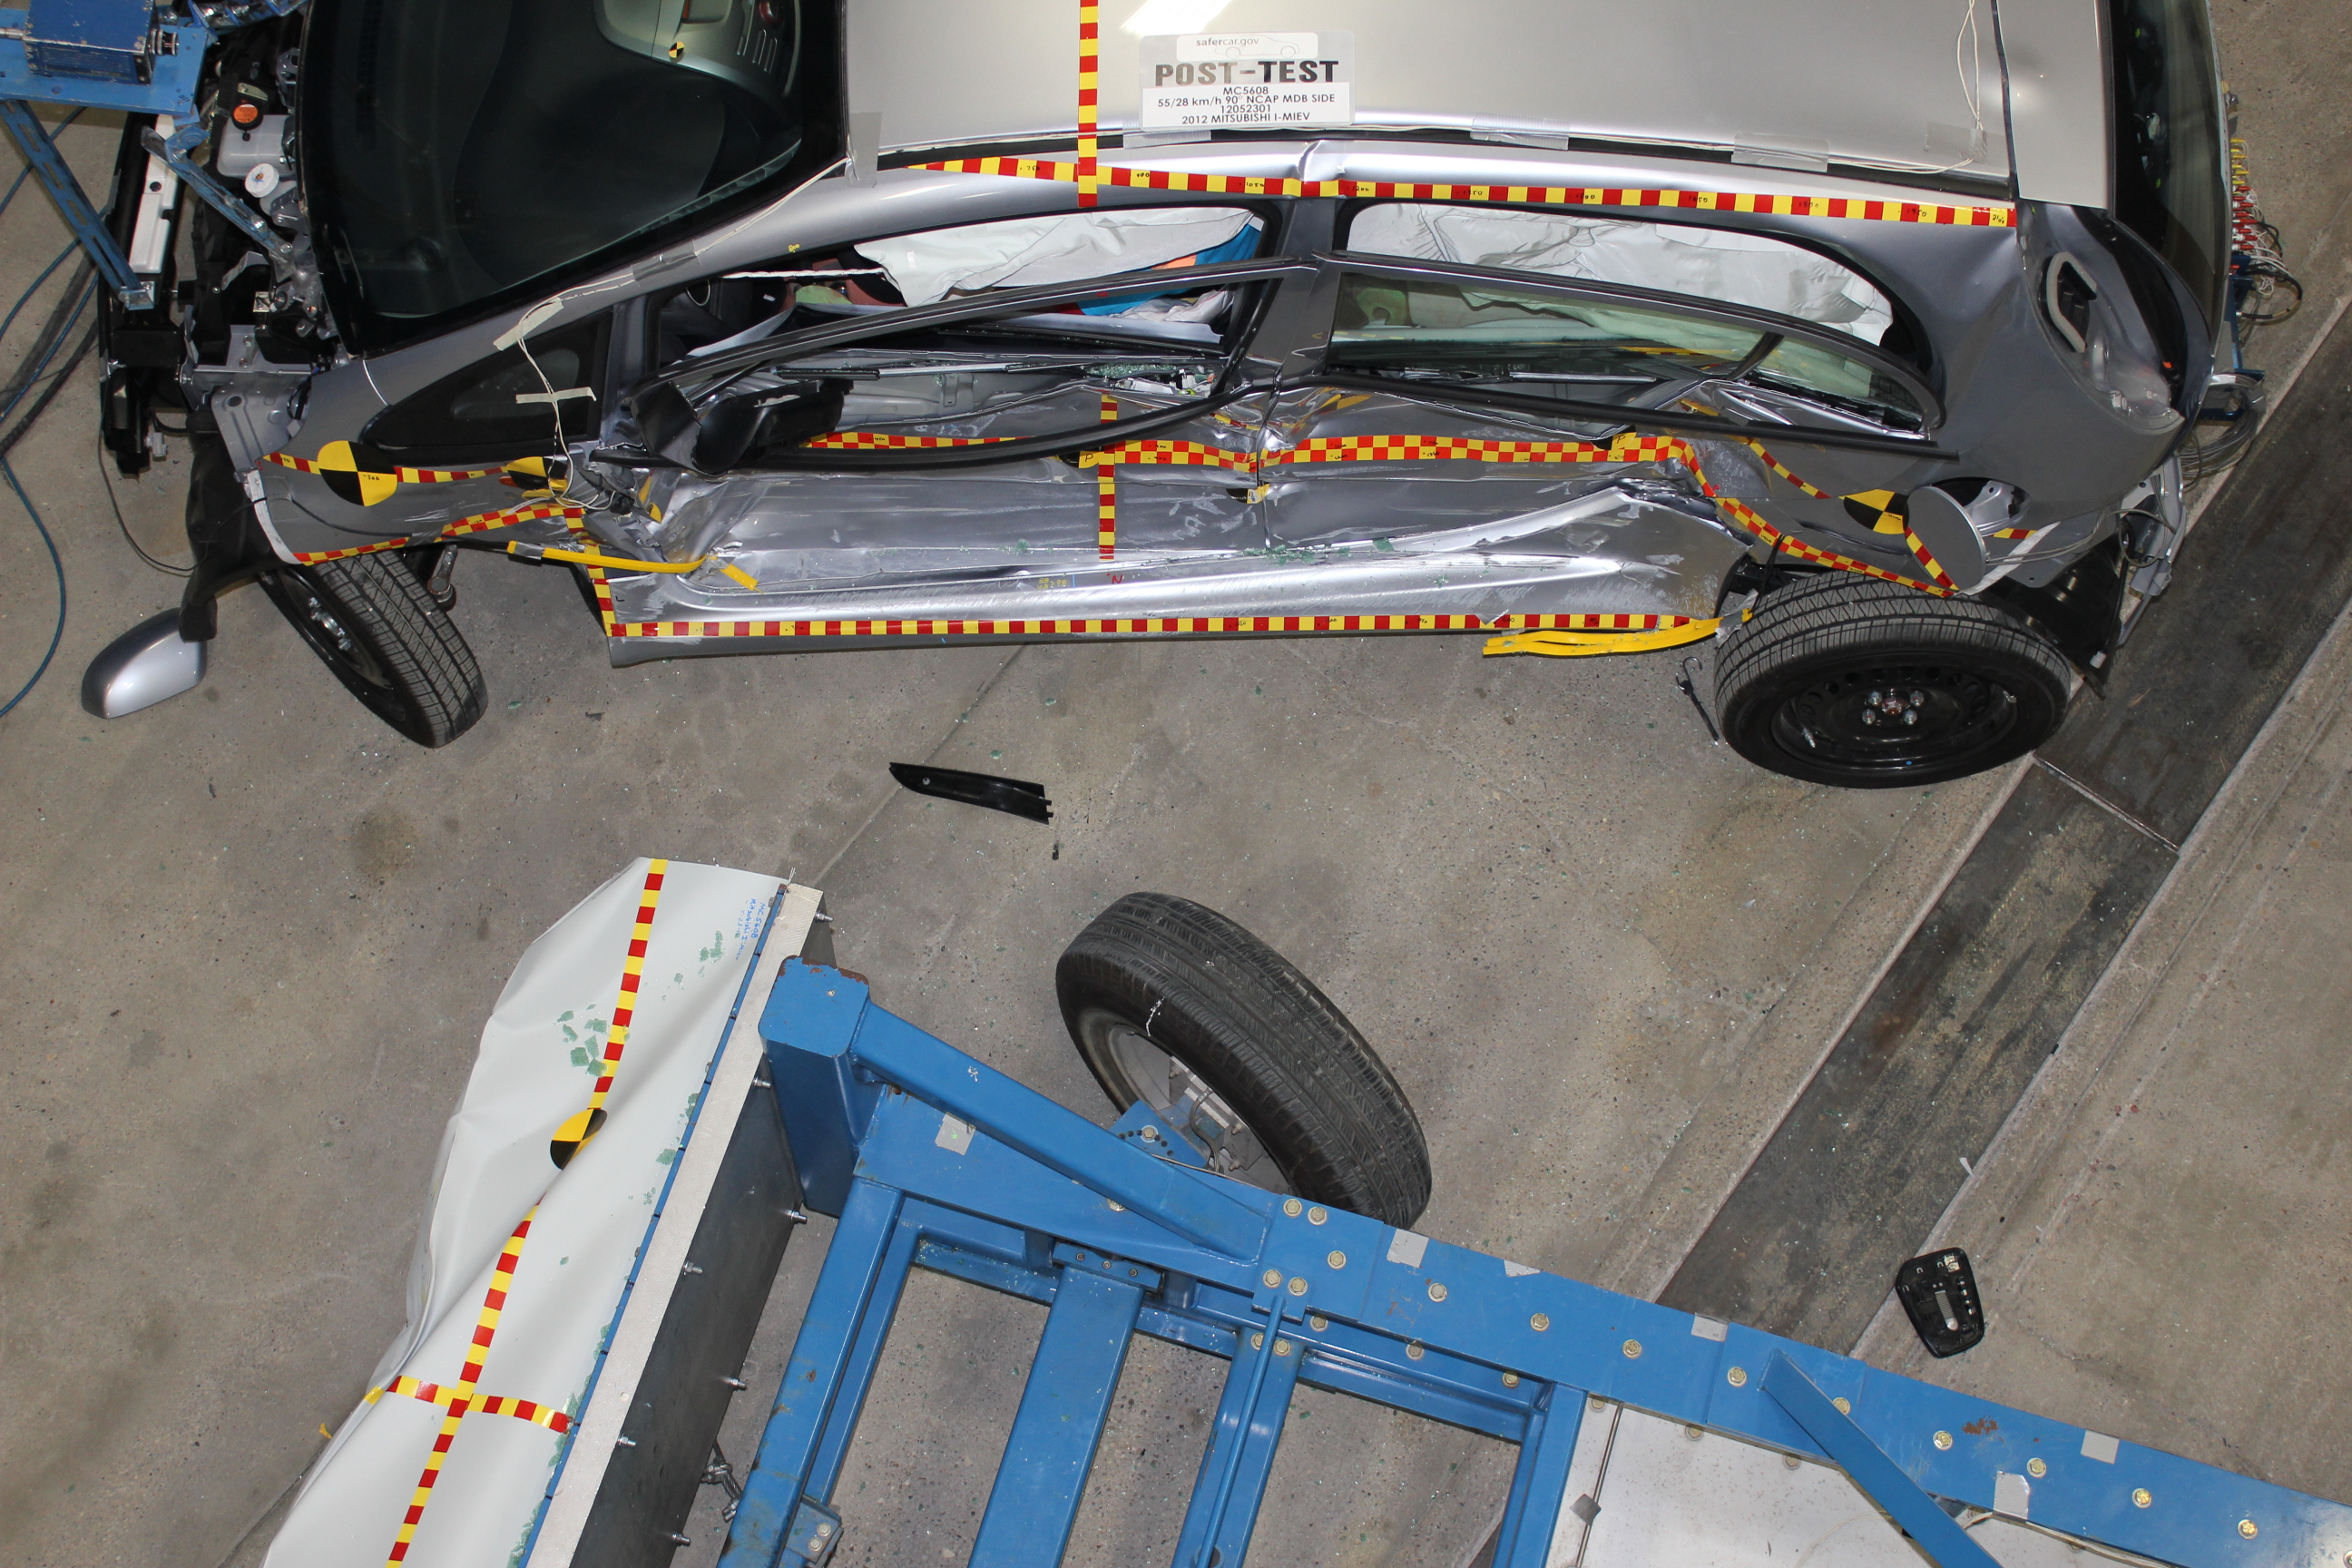
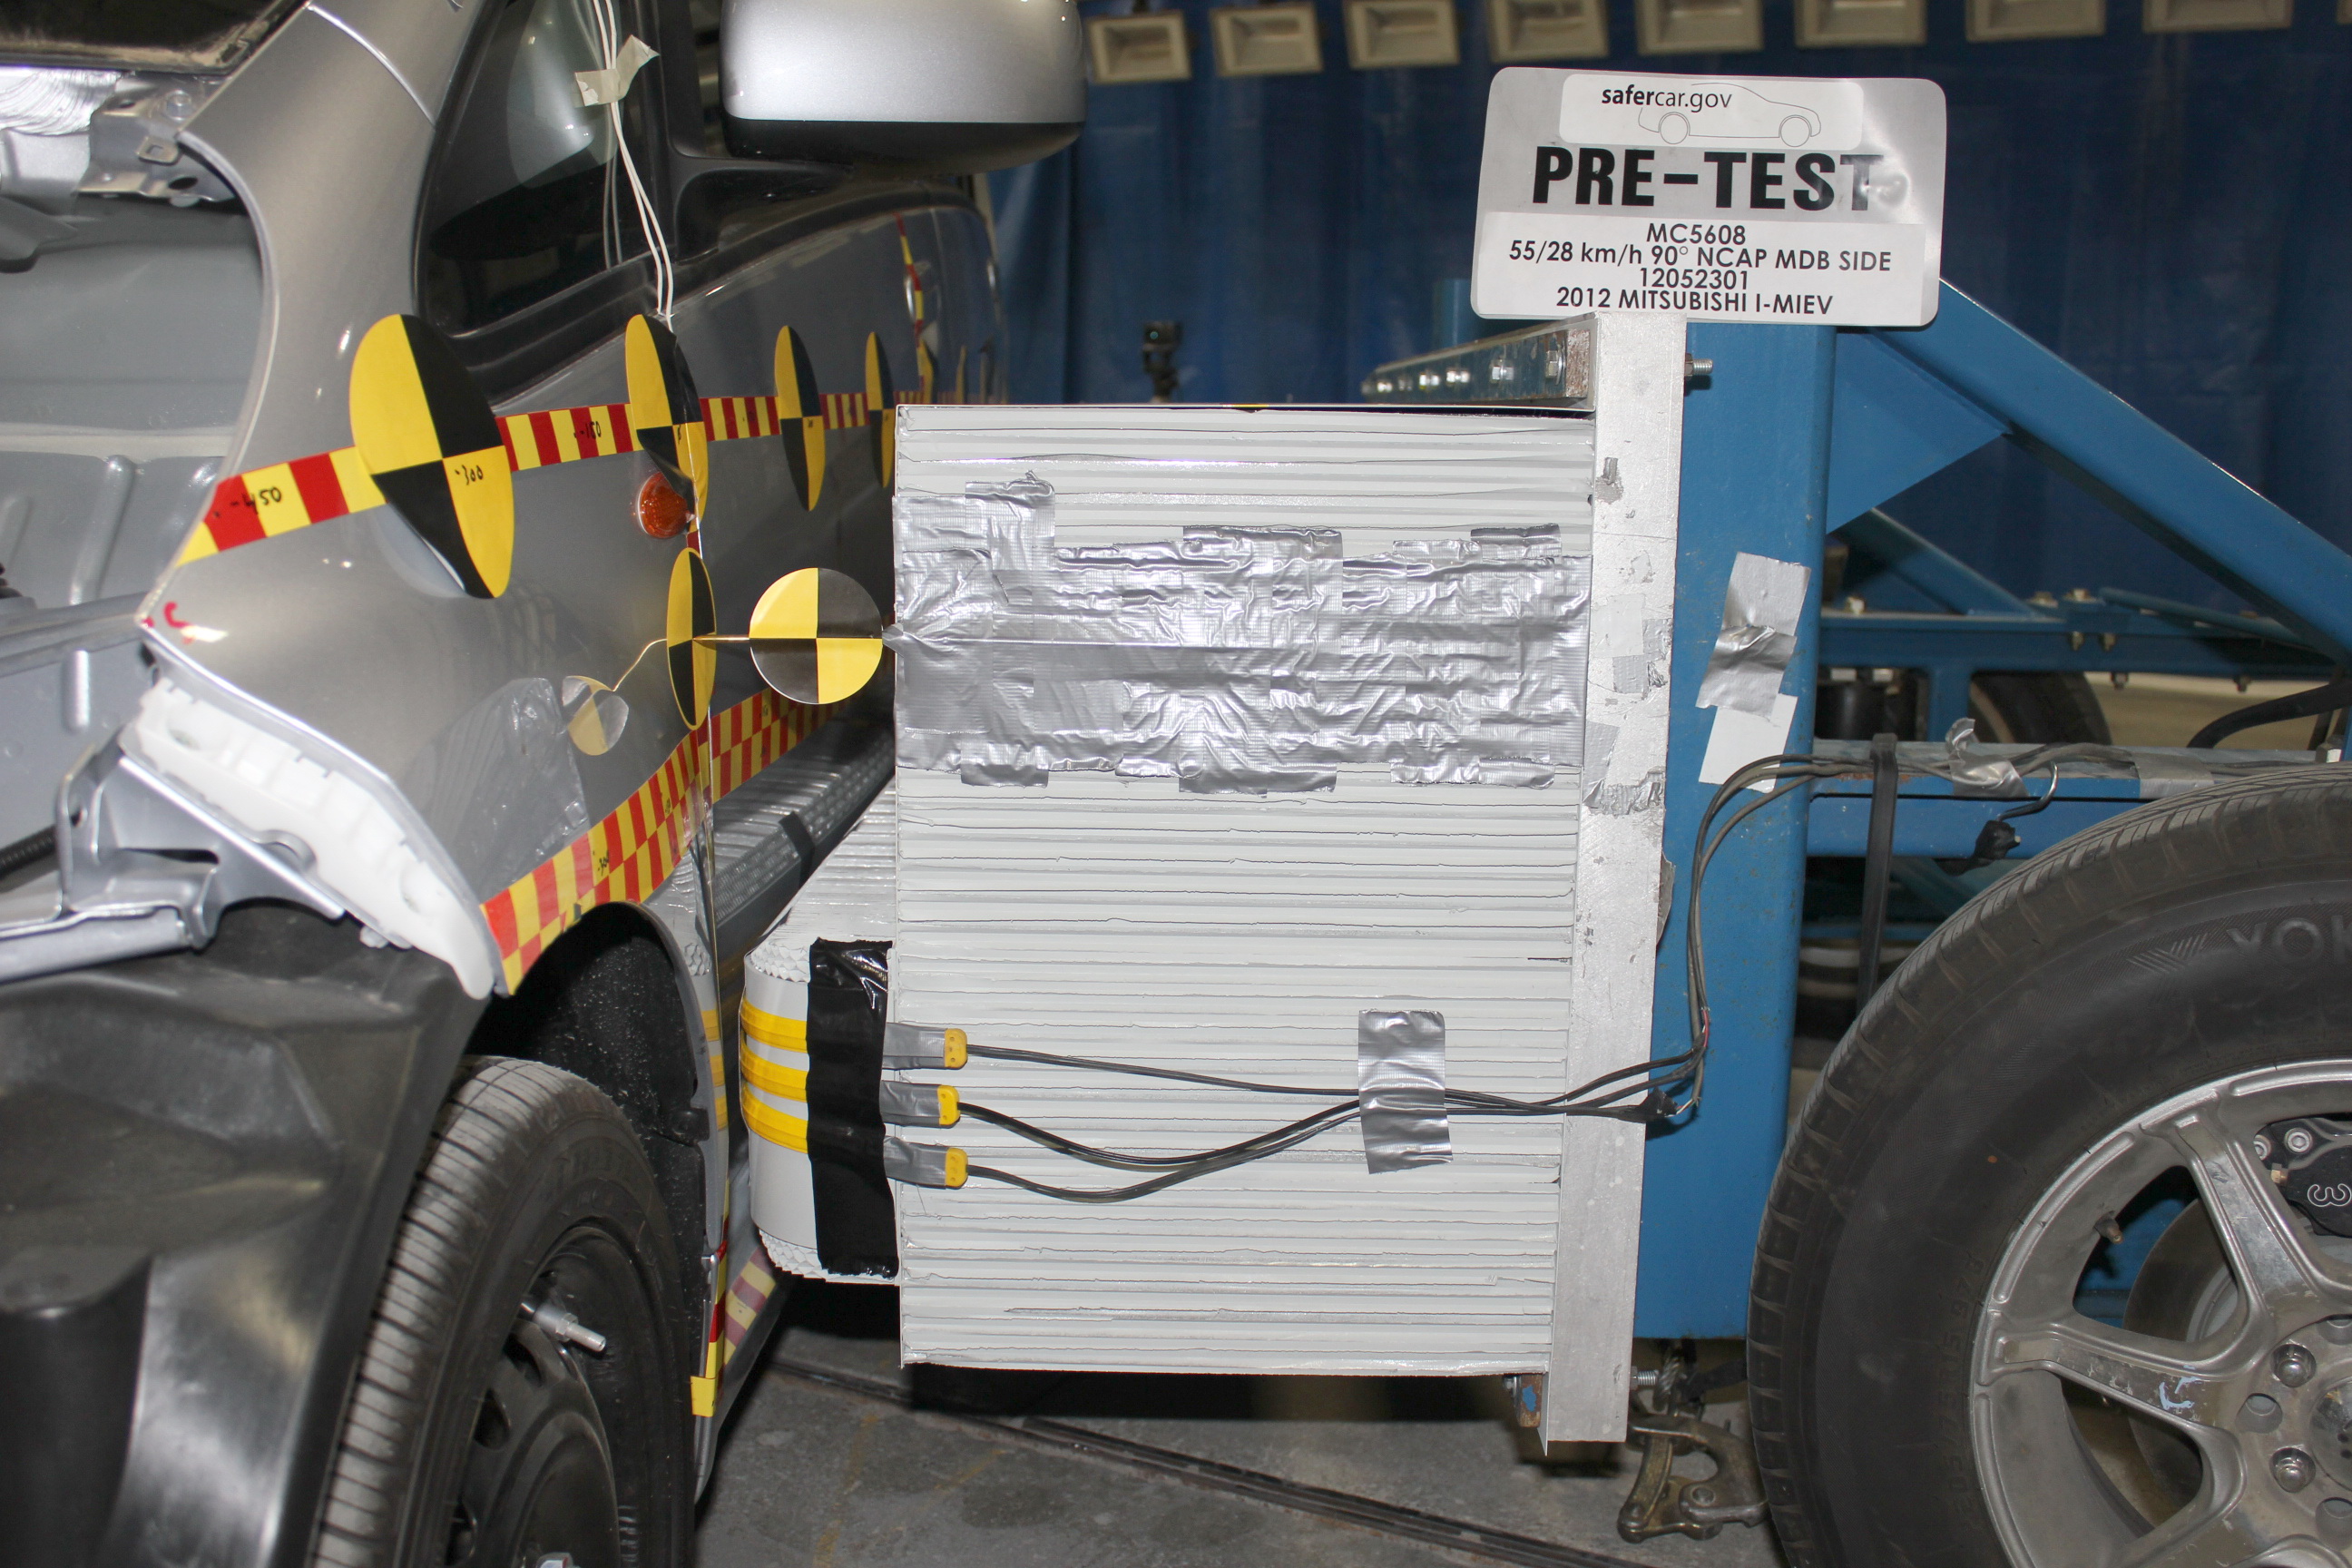
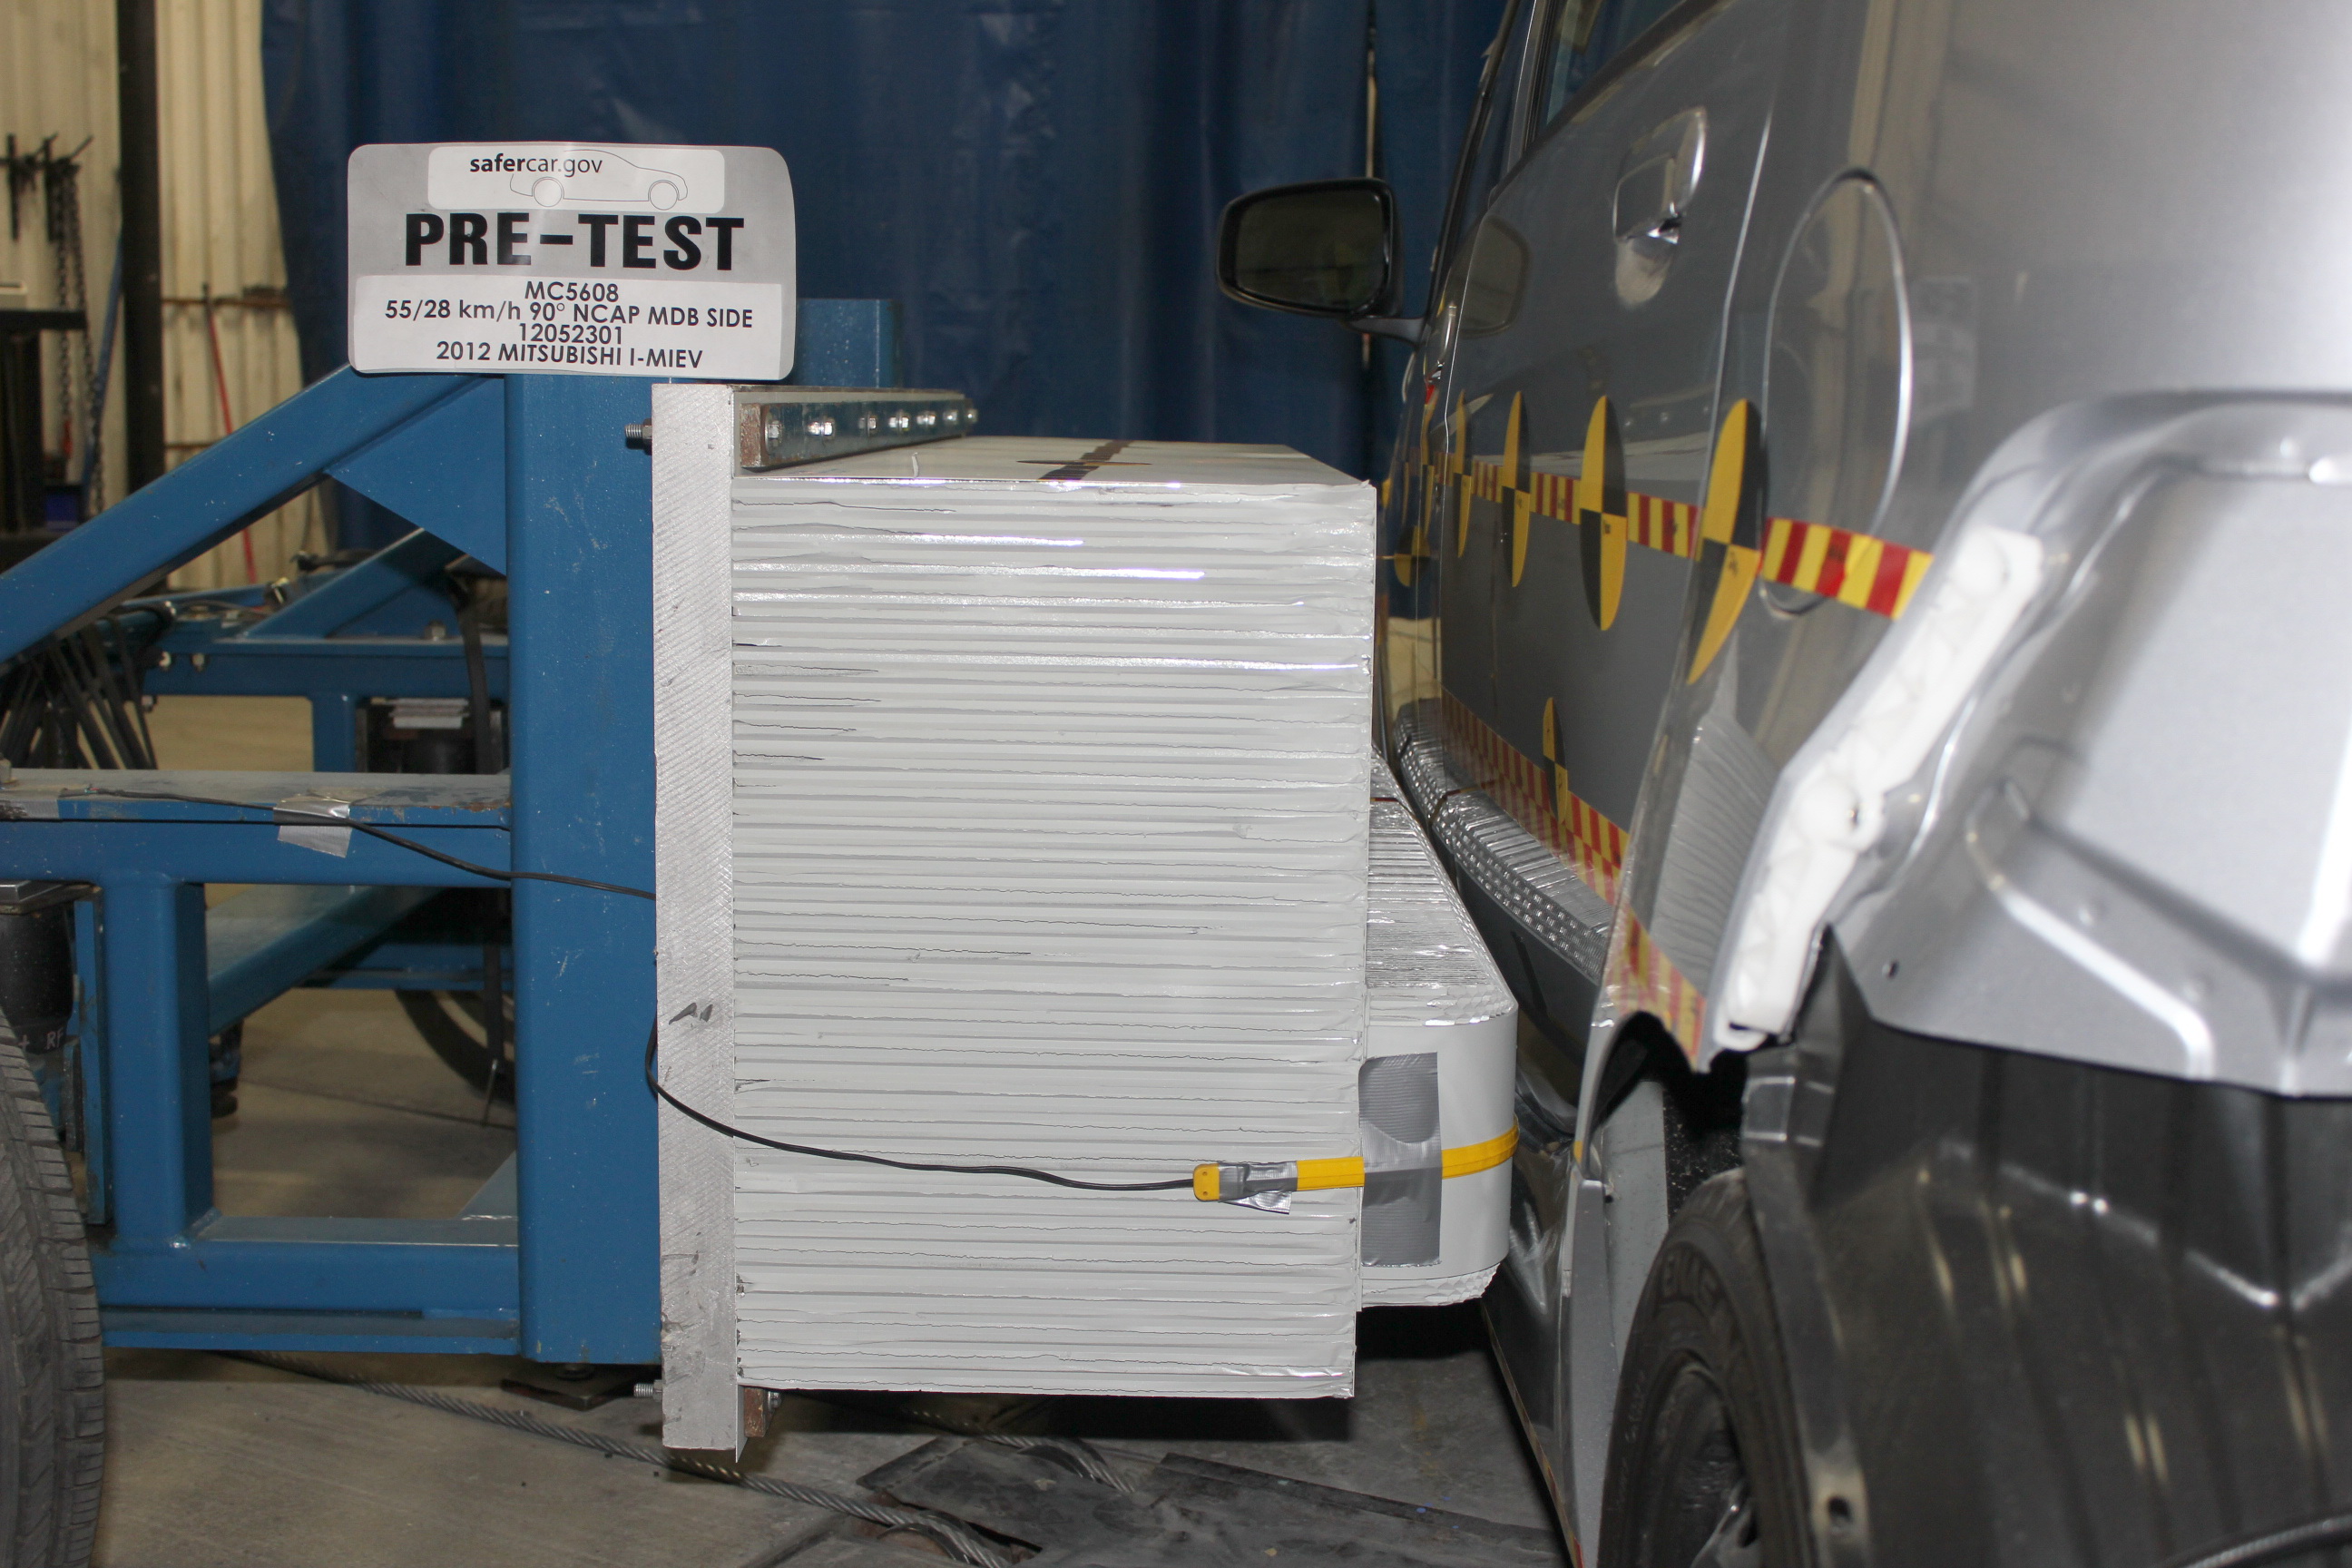
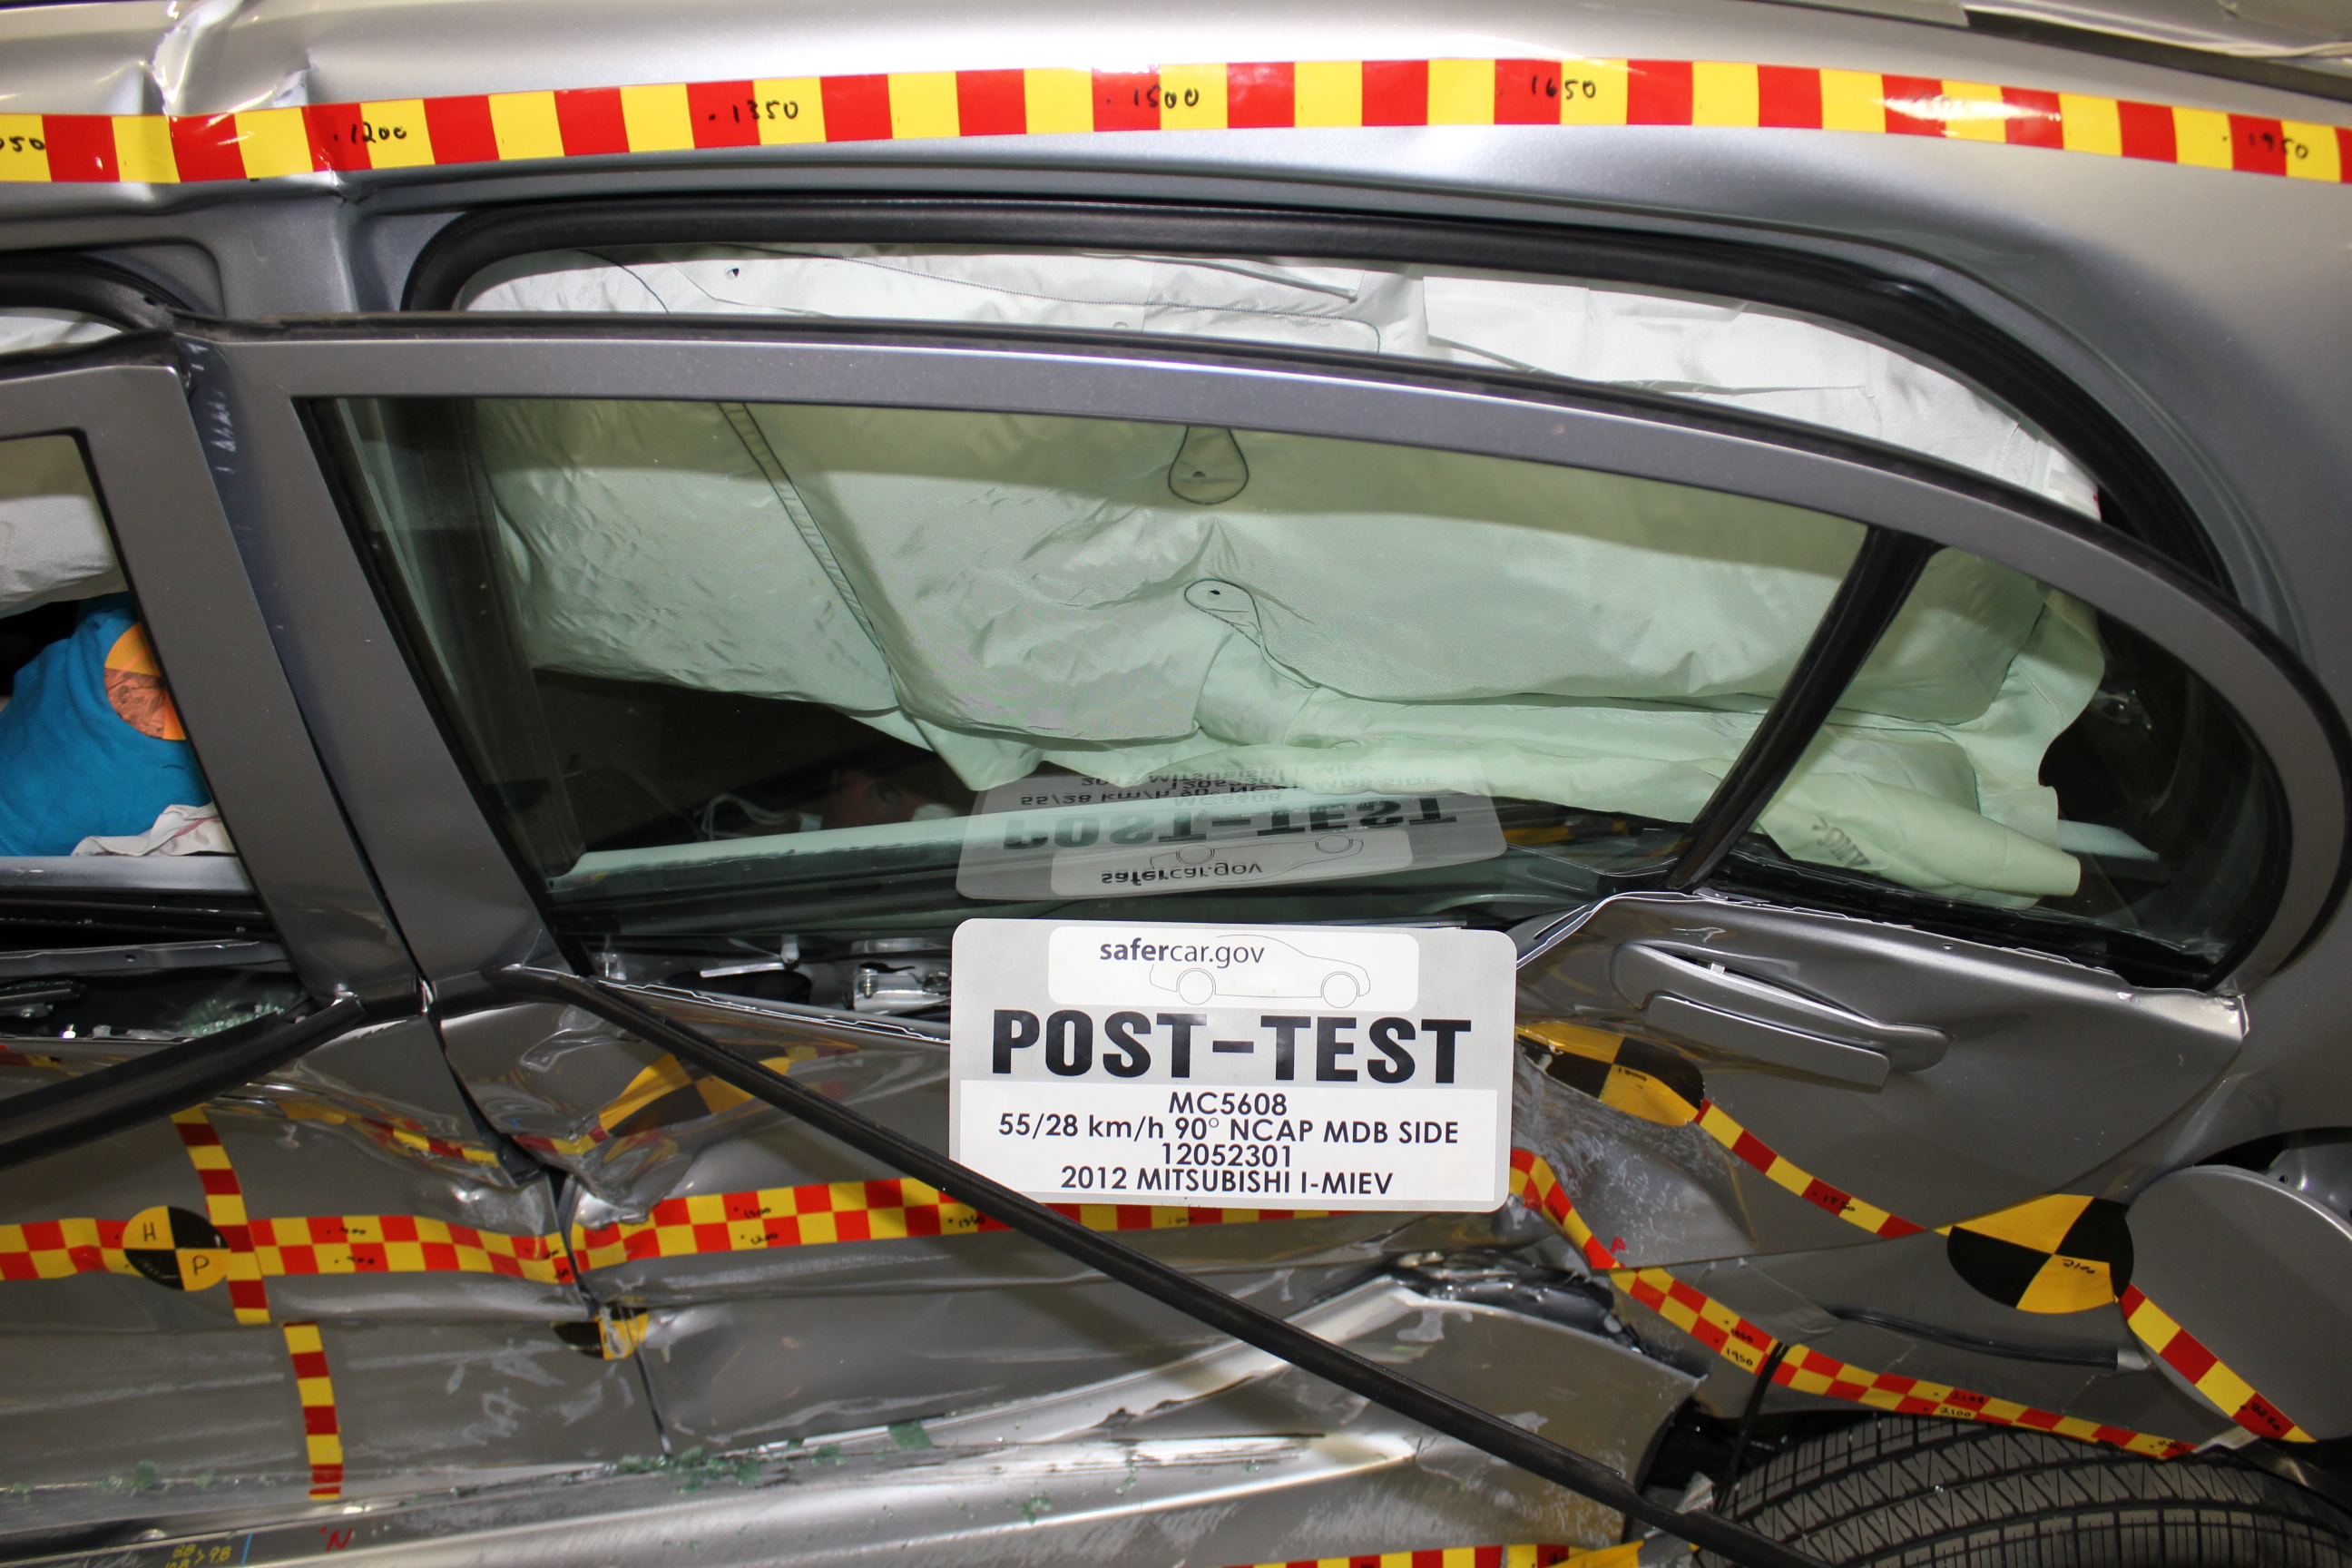
Crash test #2NHTSA test 7868

Full test report (PDF) ↗

Crash-test footage is converted for smooth playback the first time someone requests it — usually under a minute.
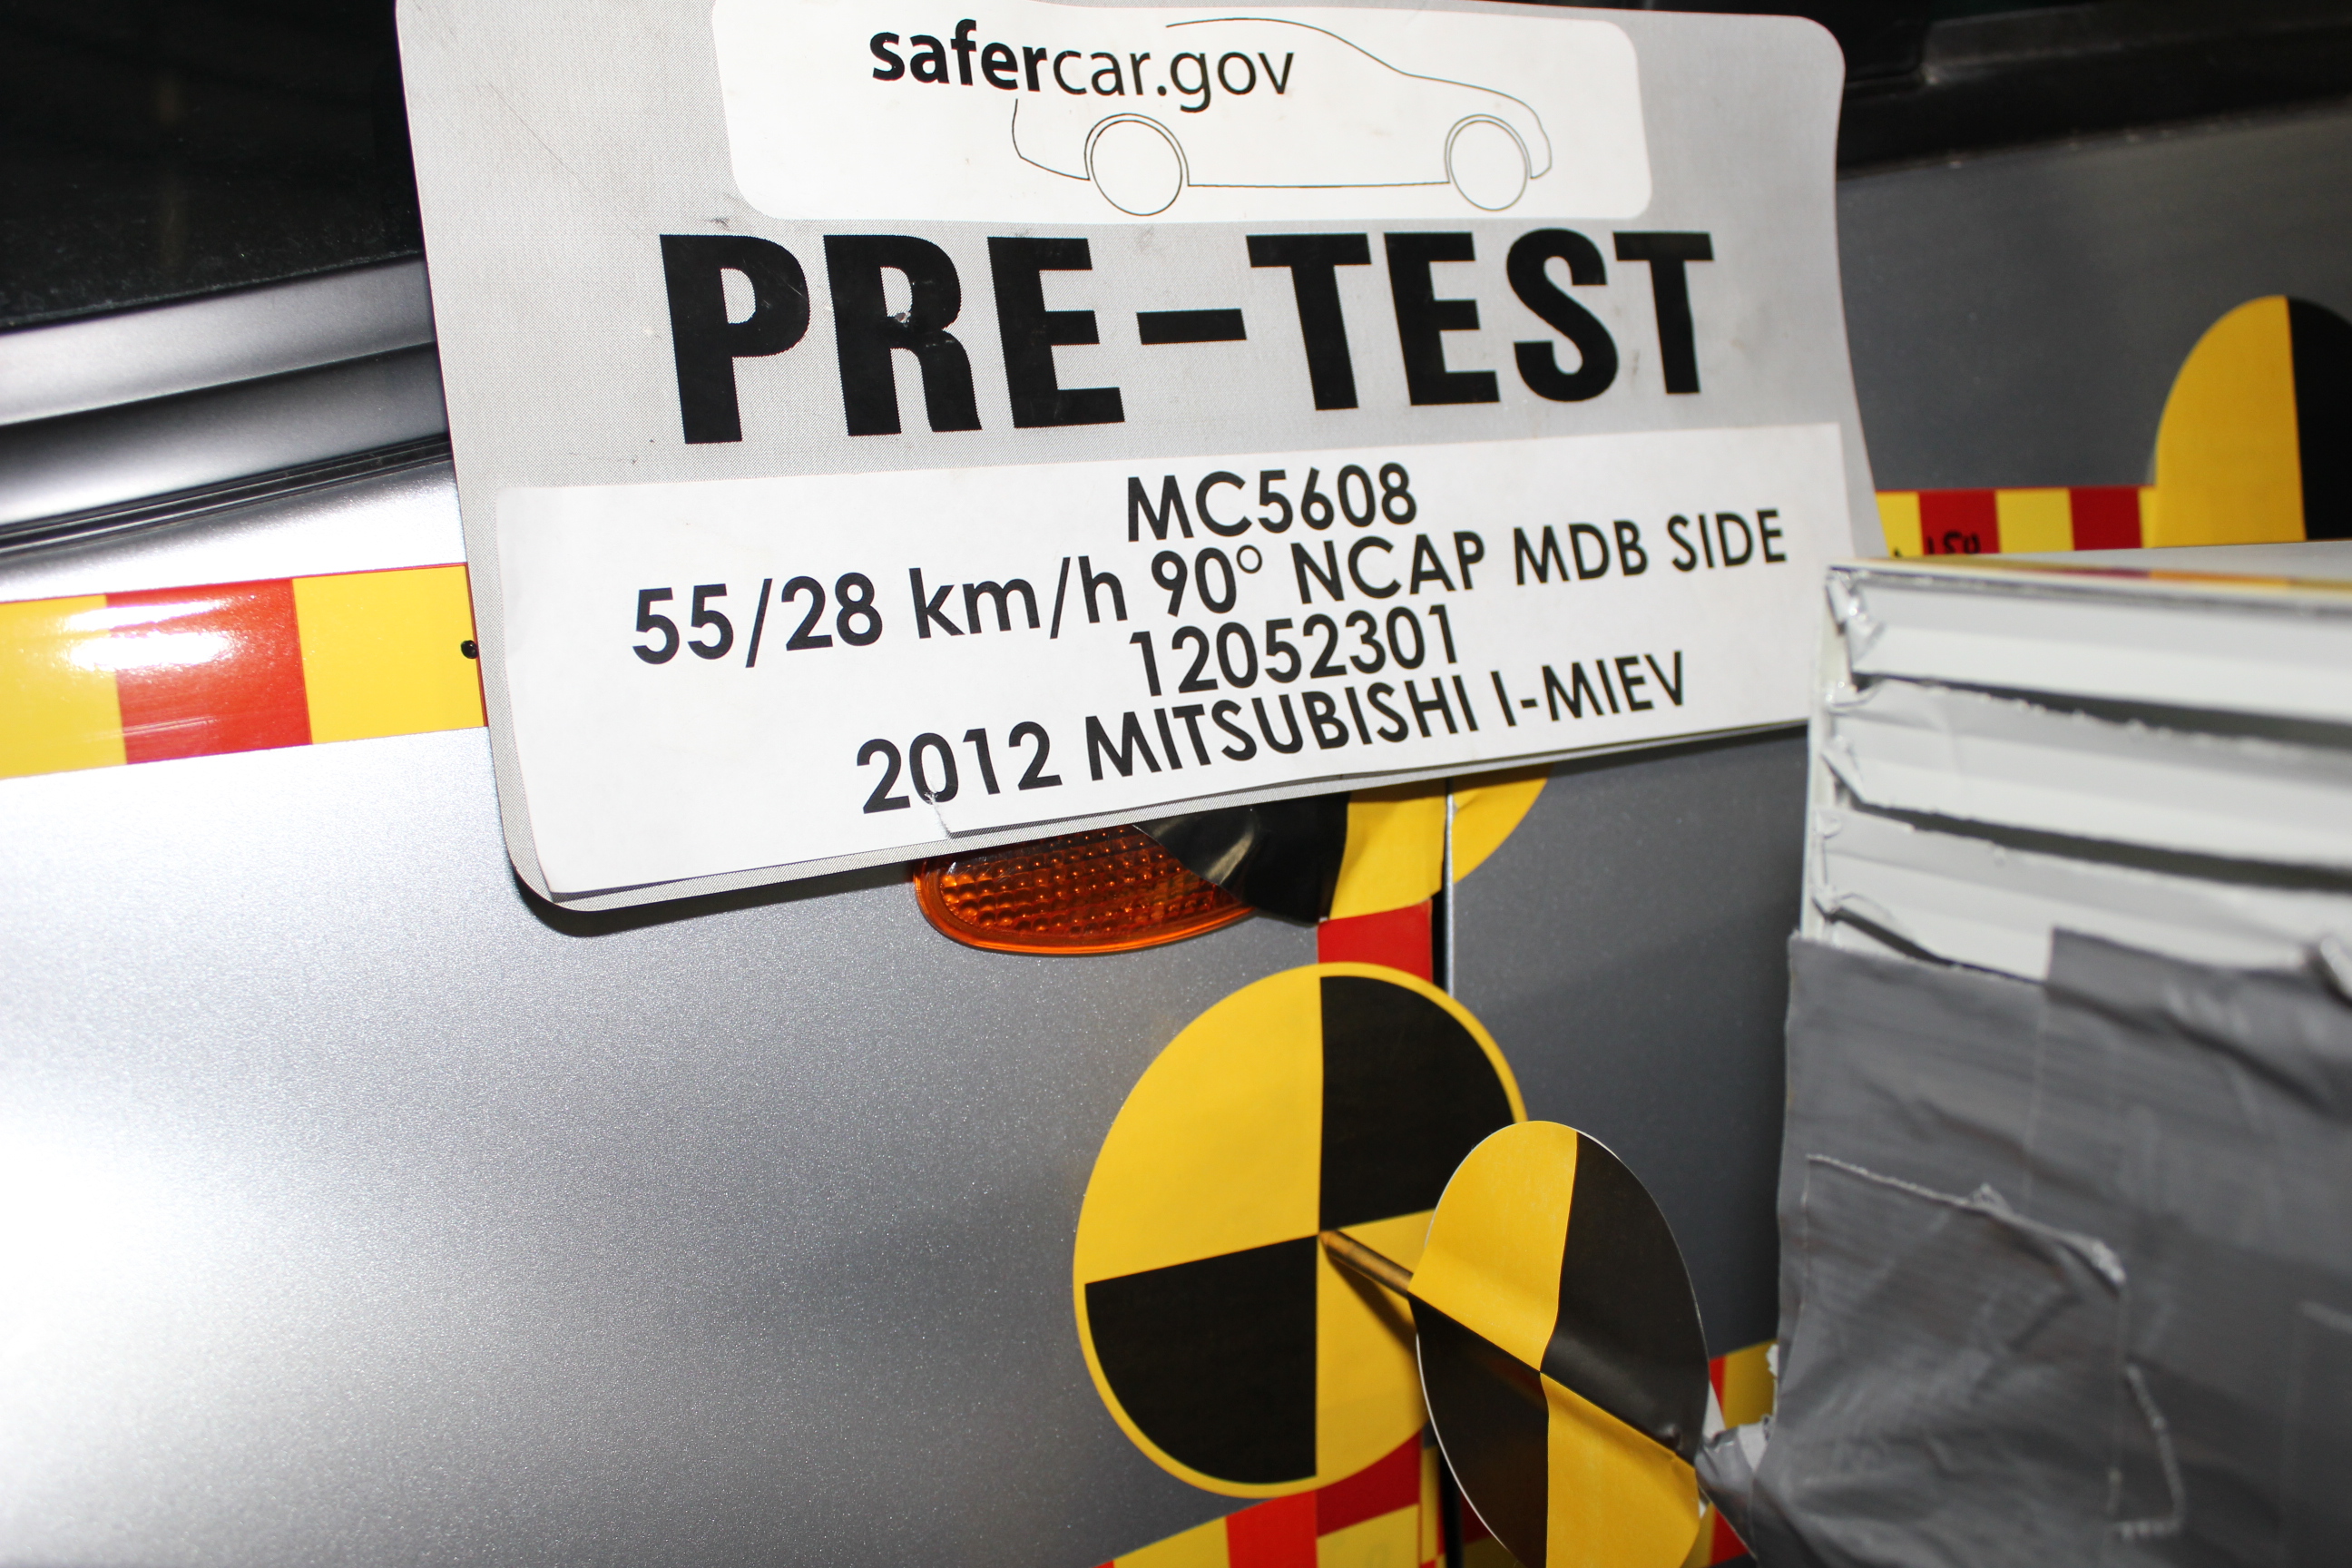
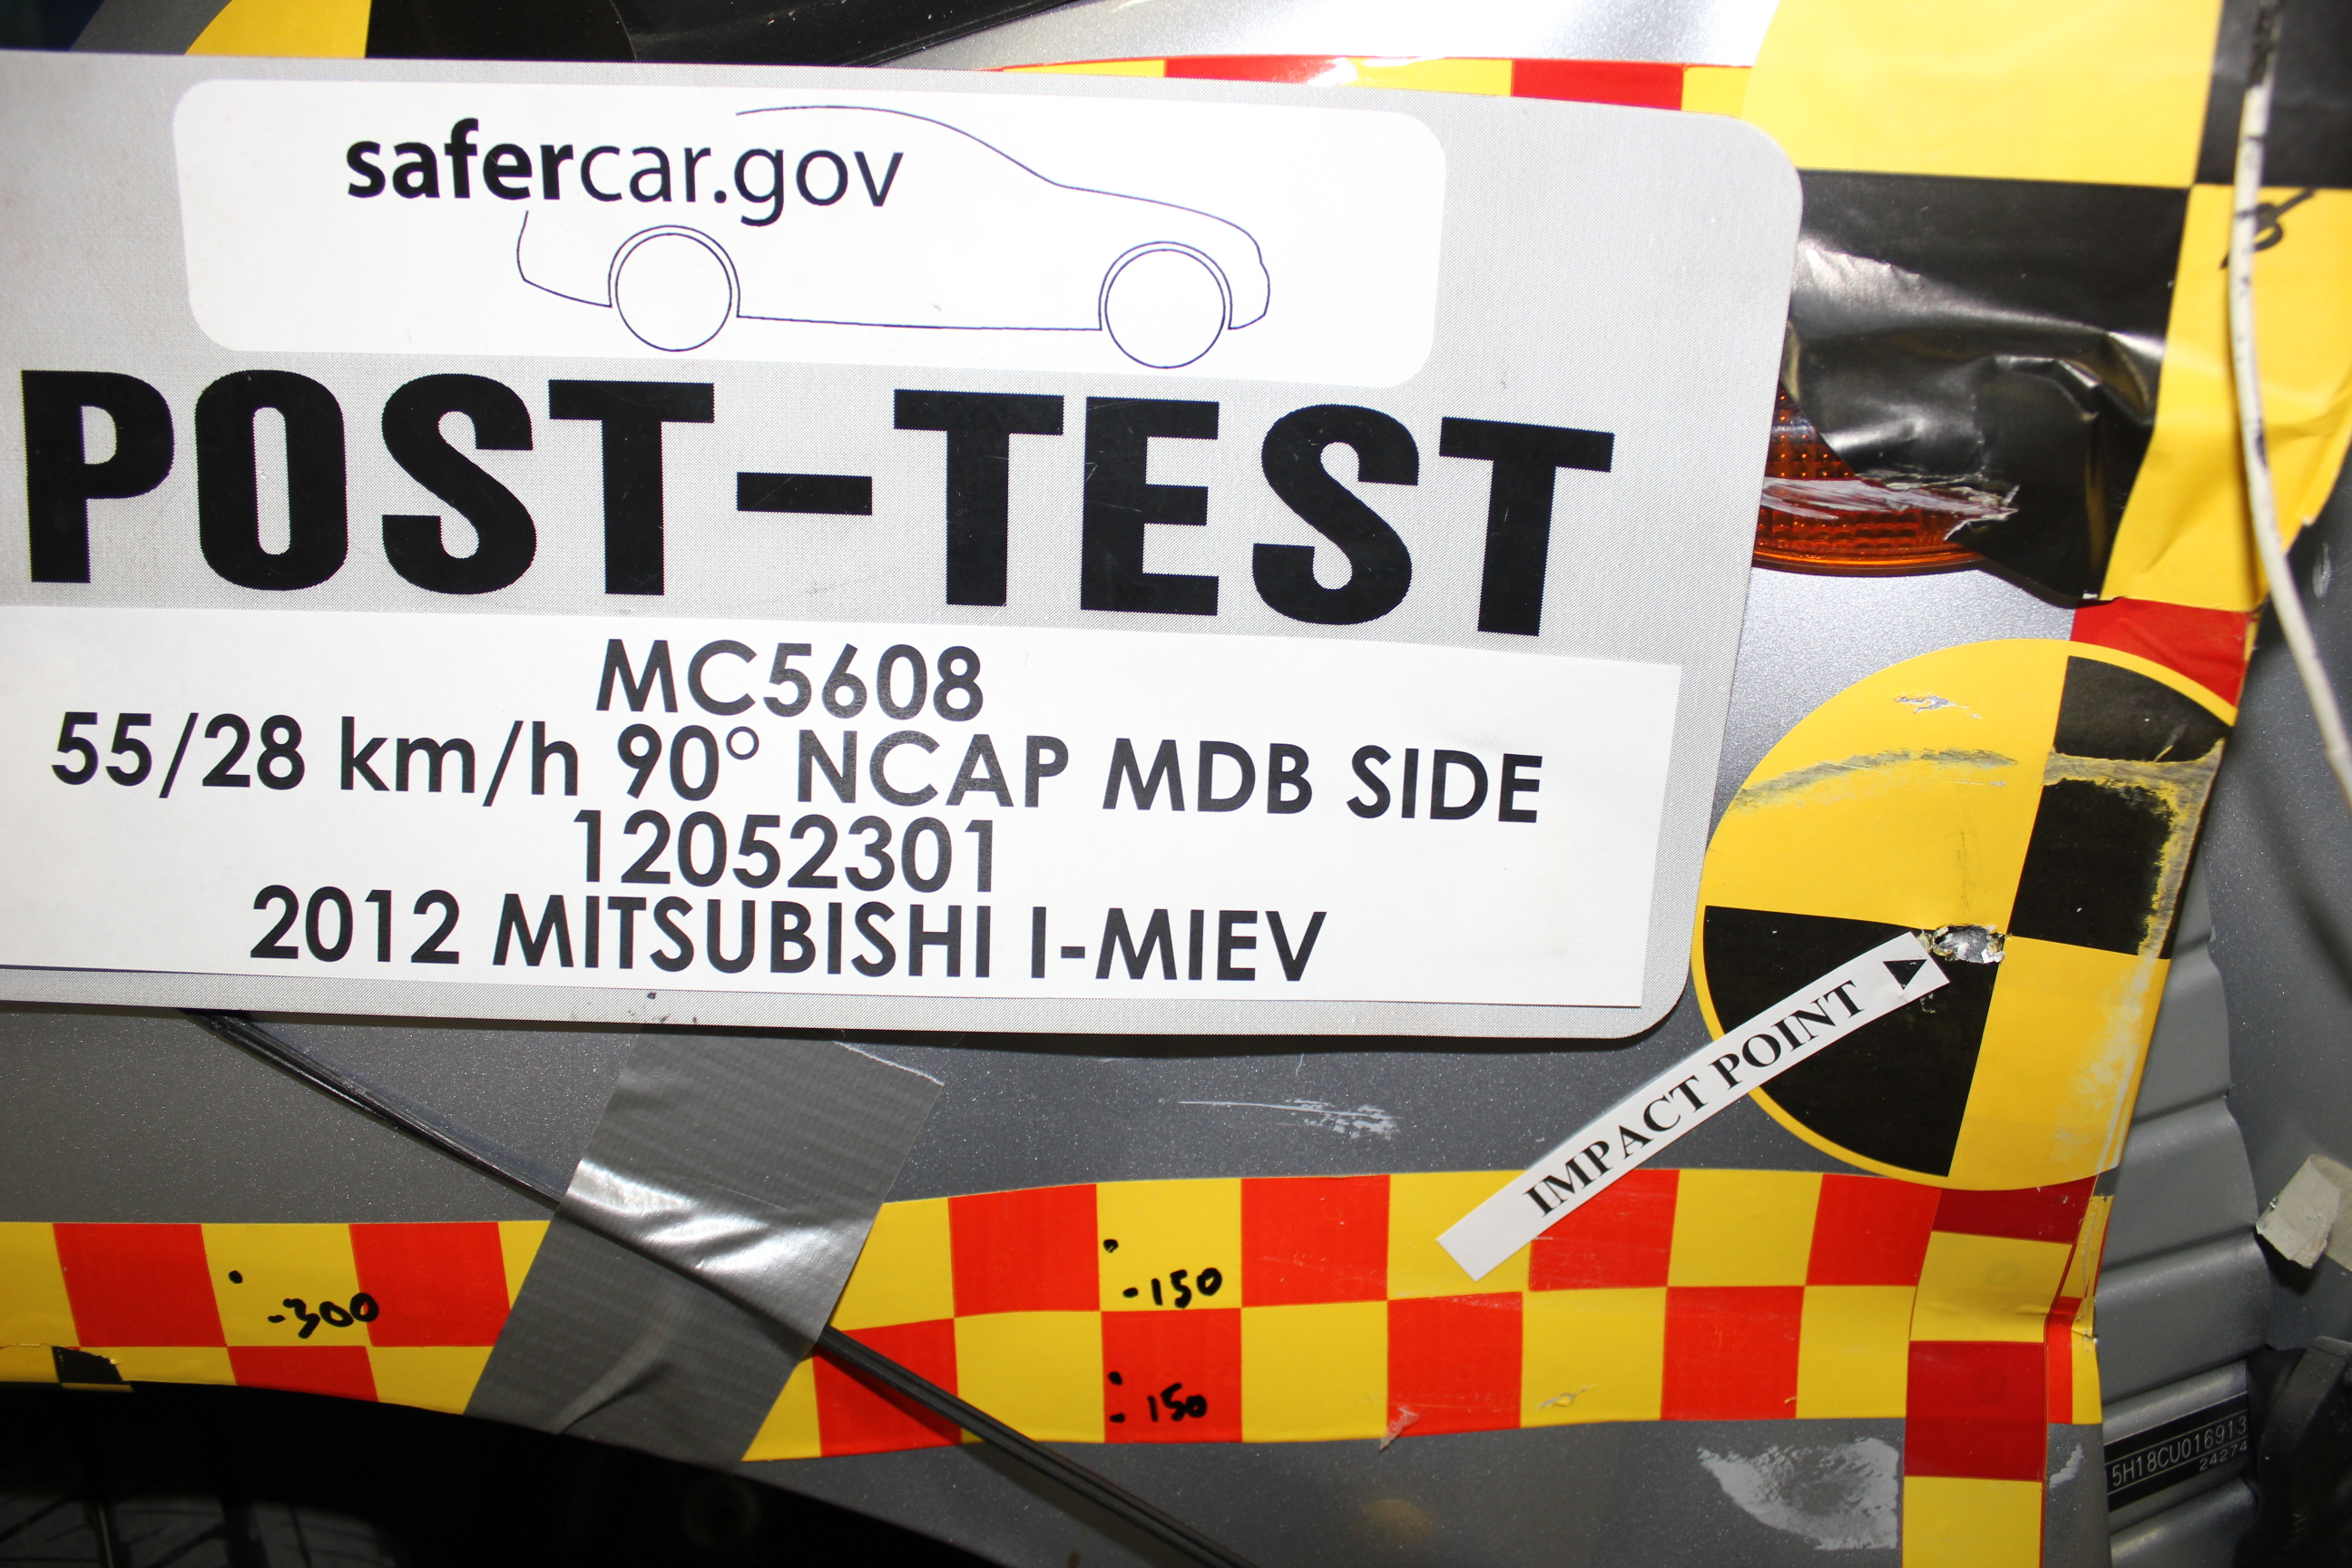
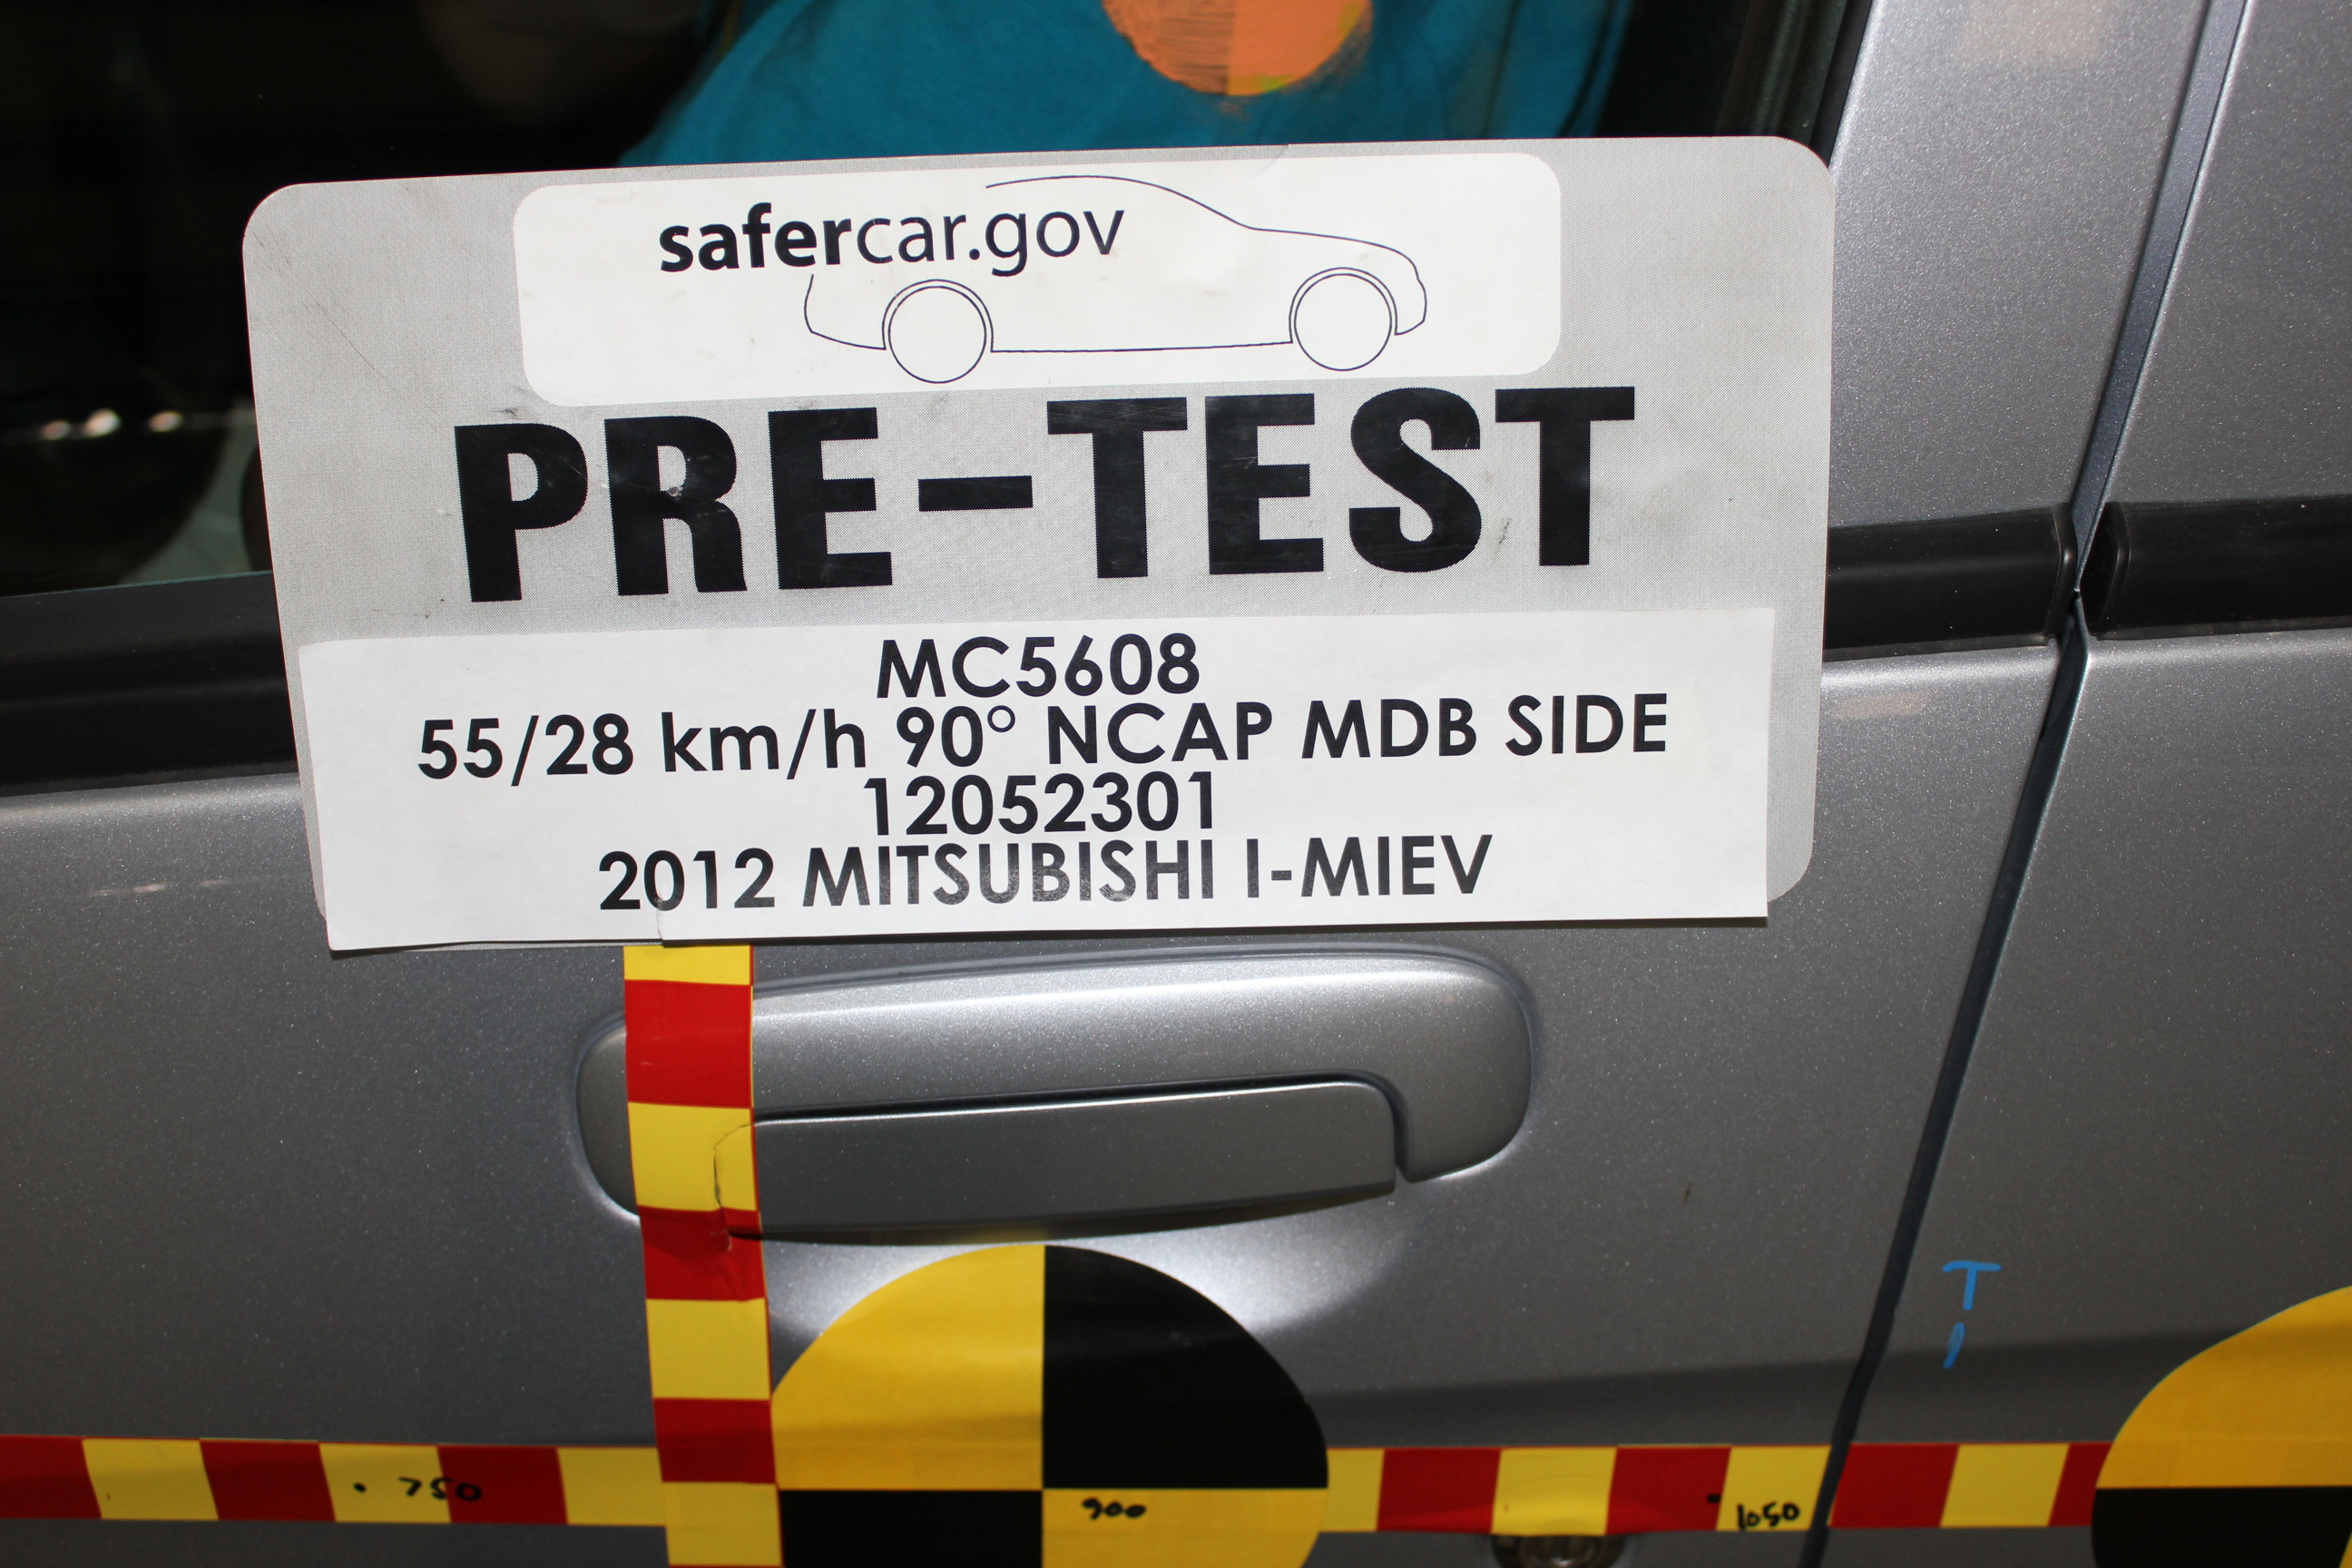
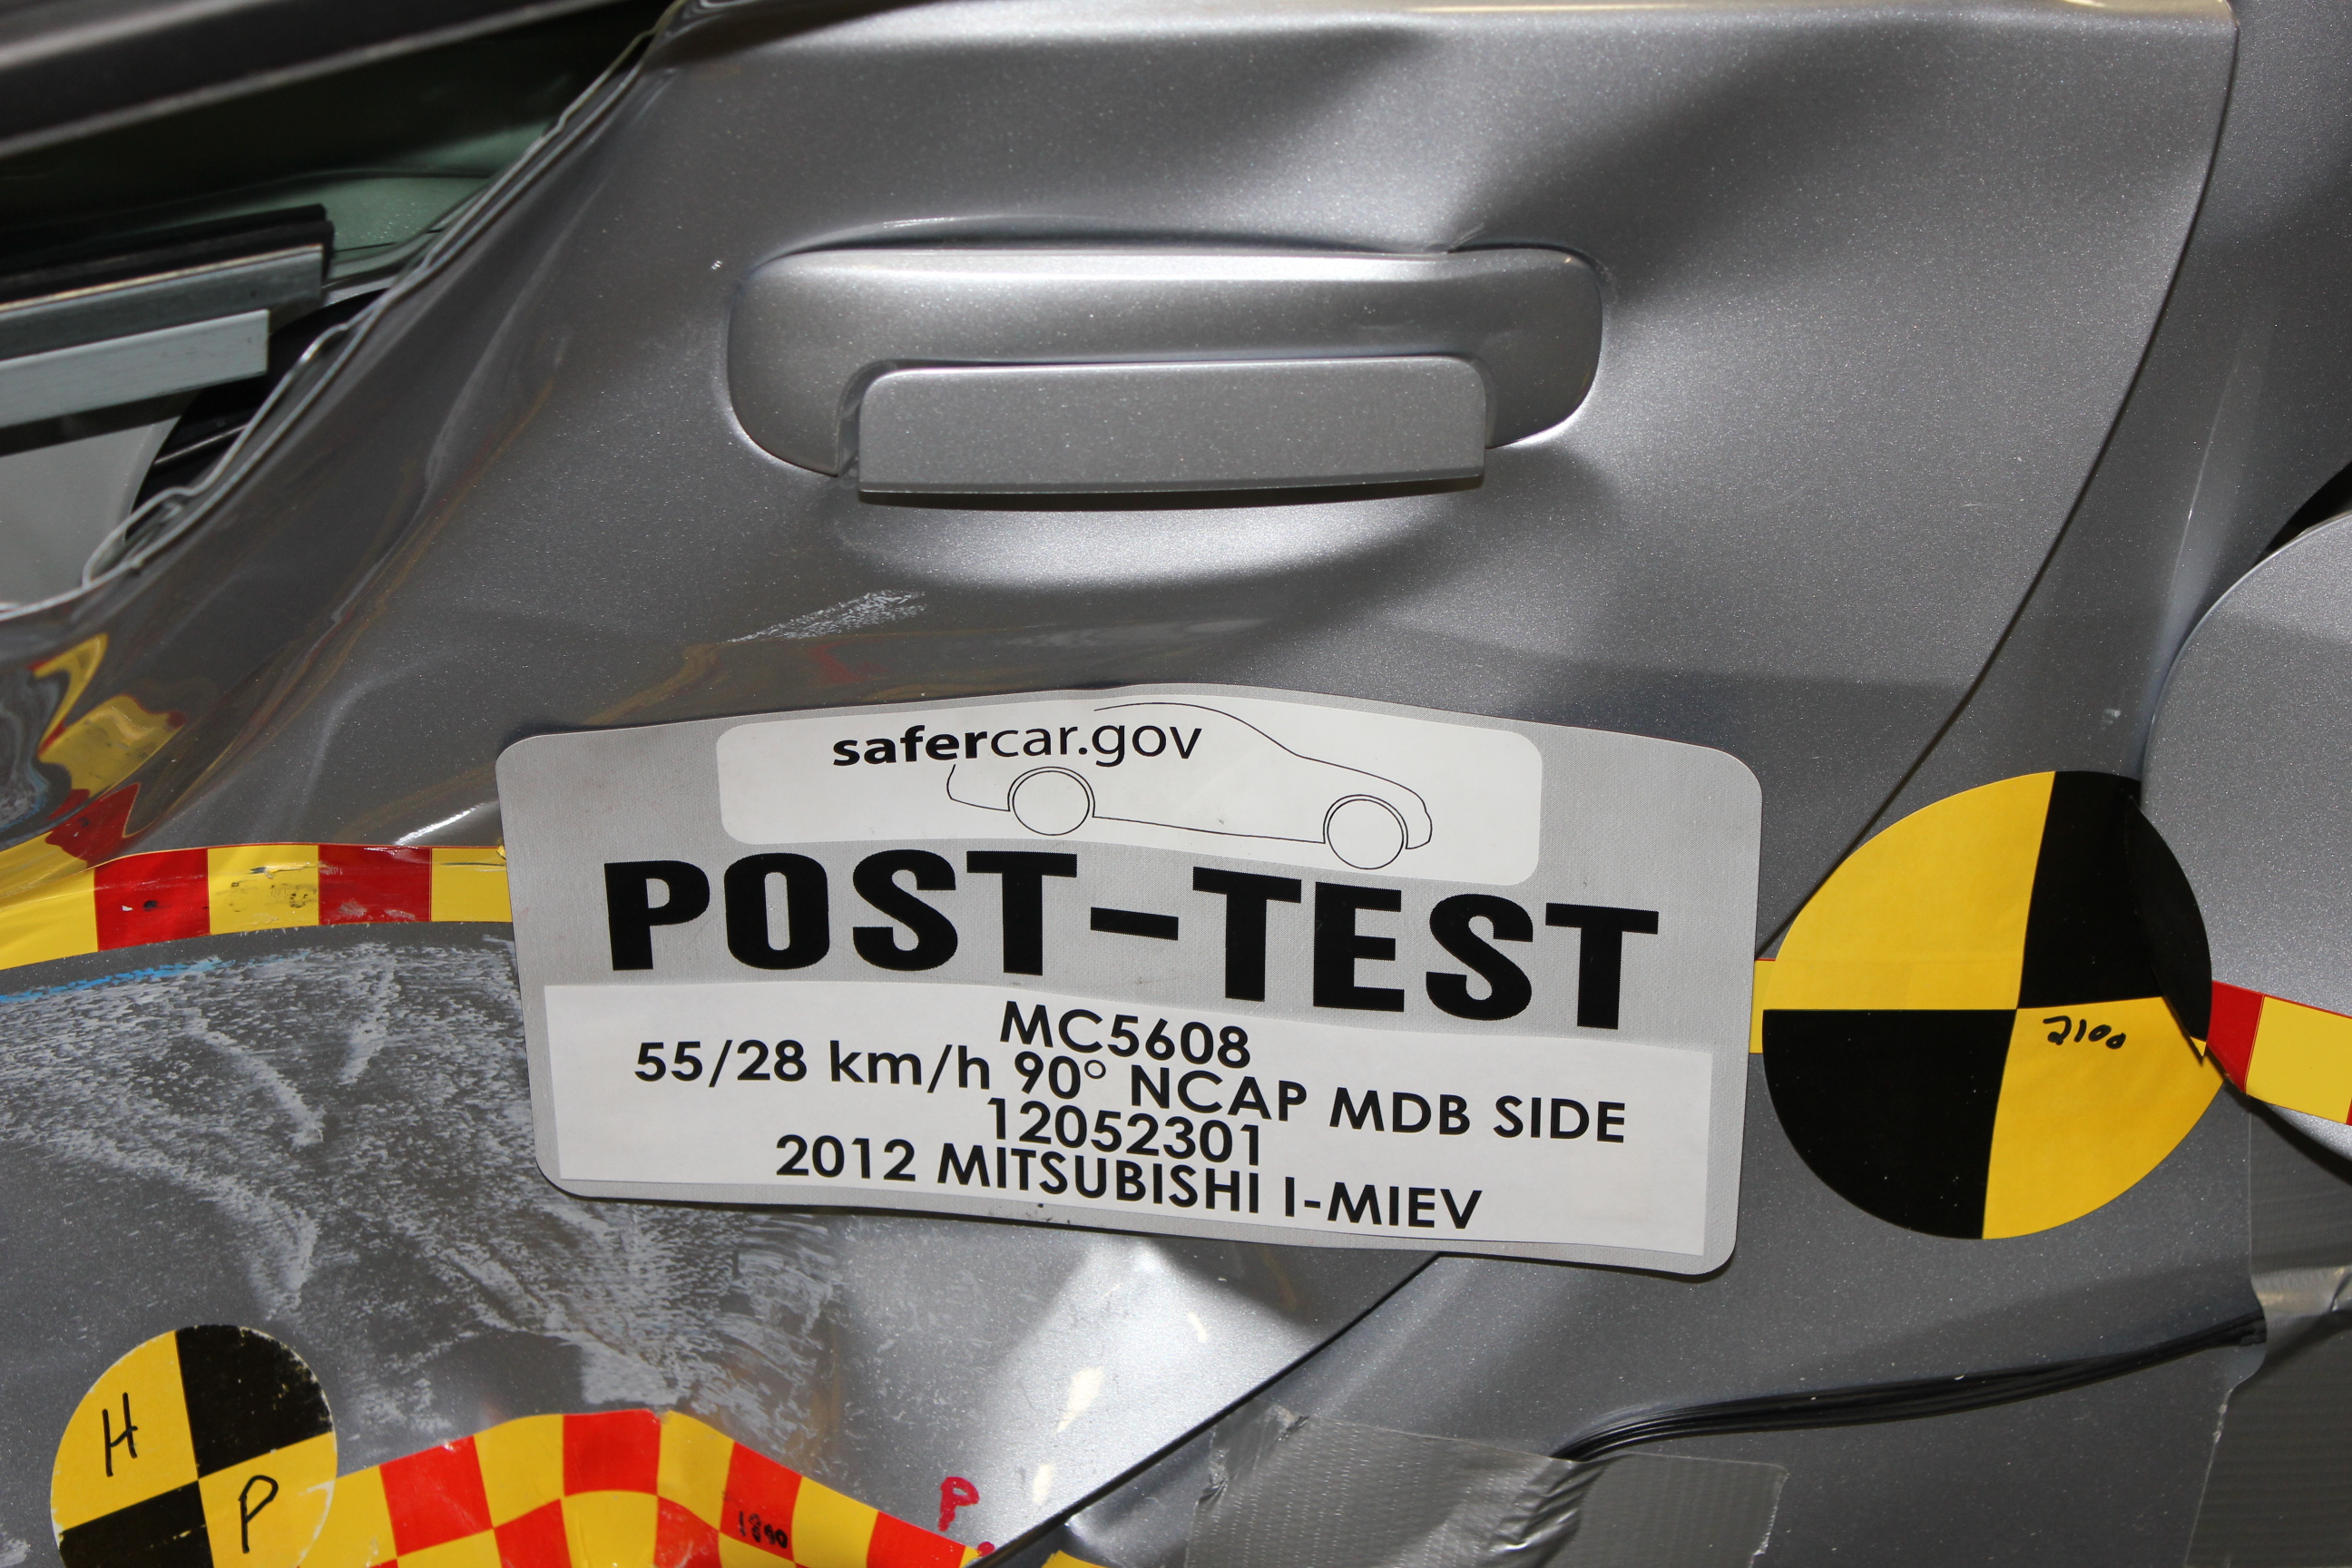
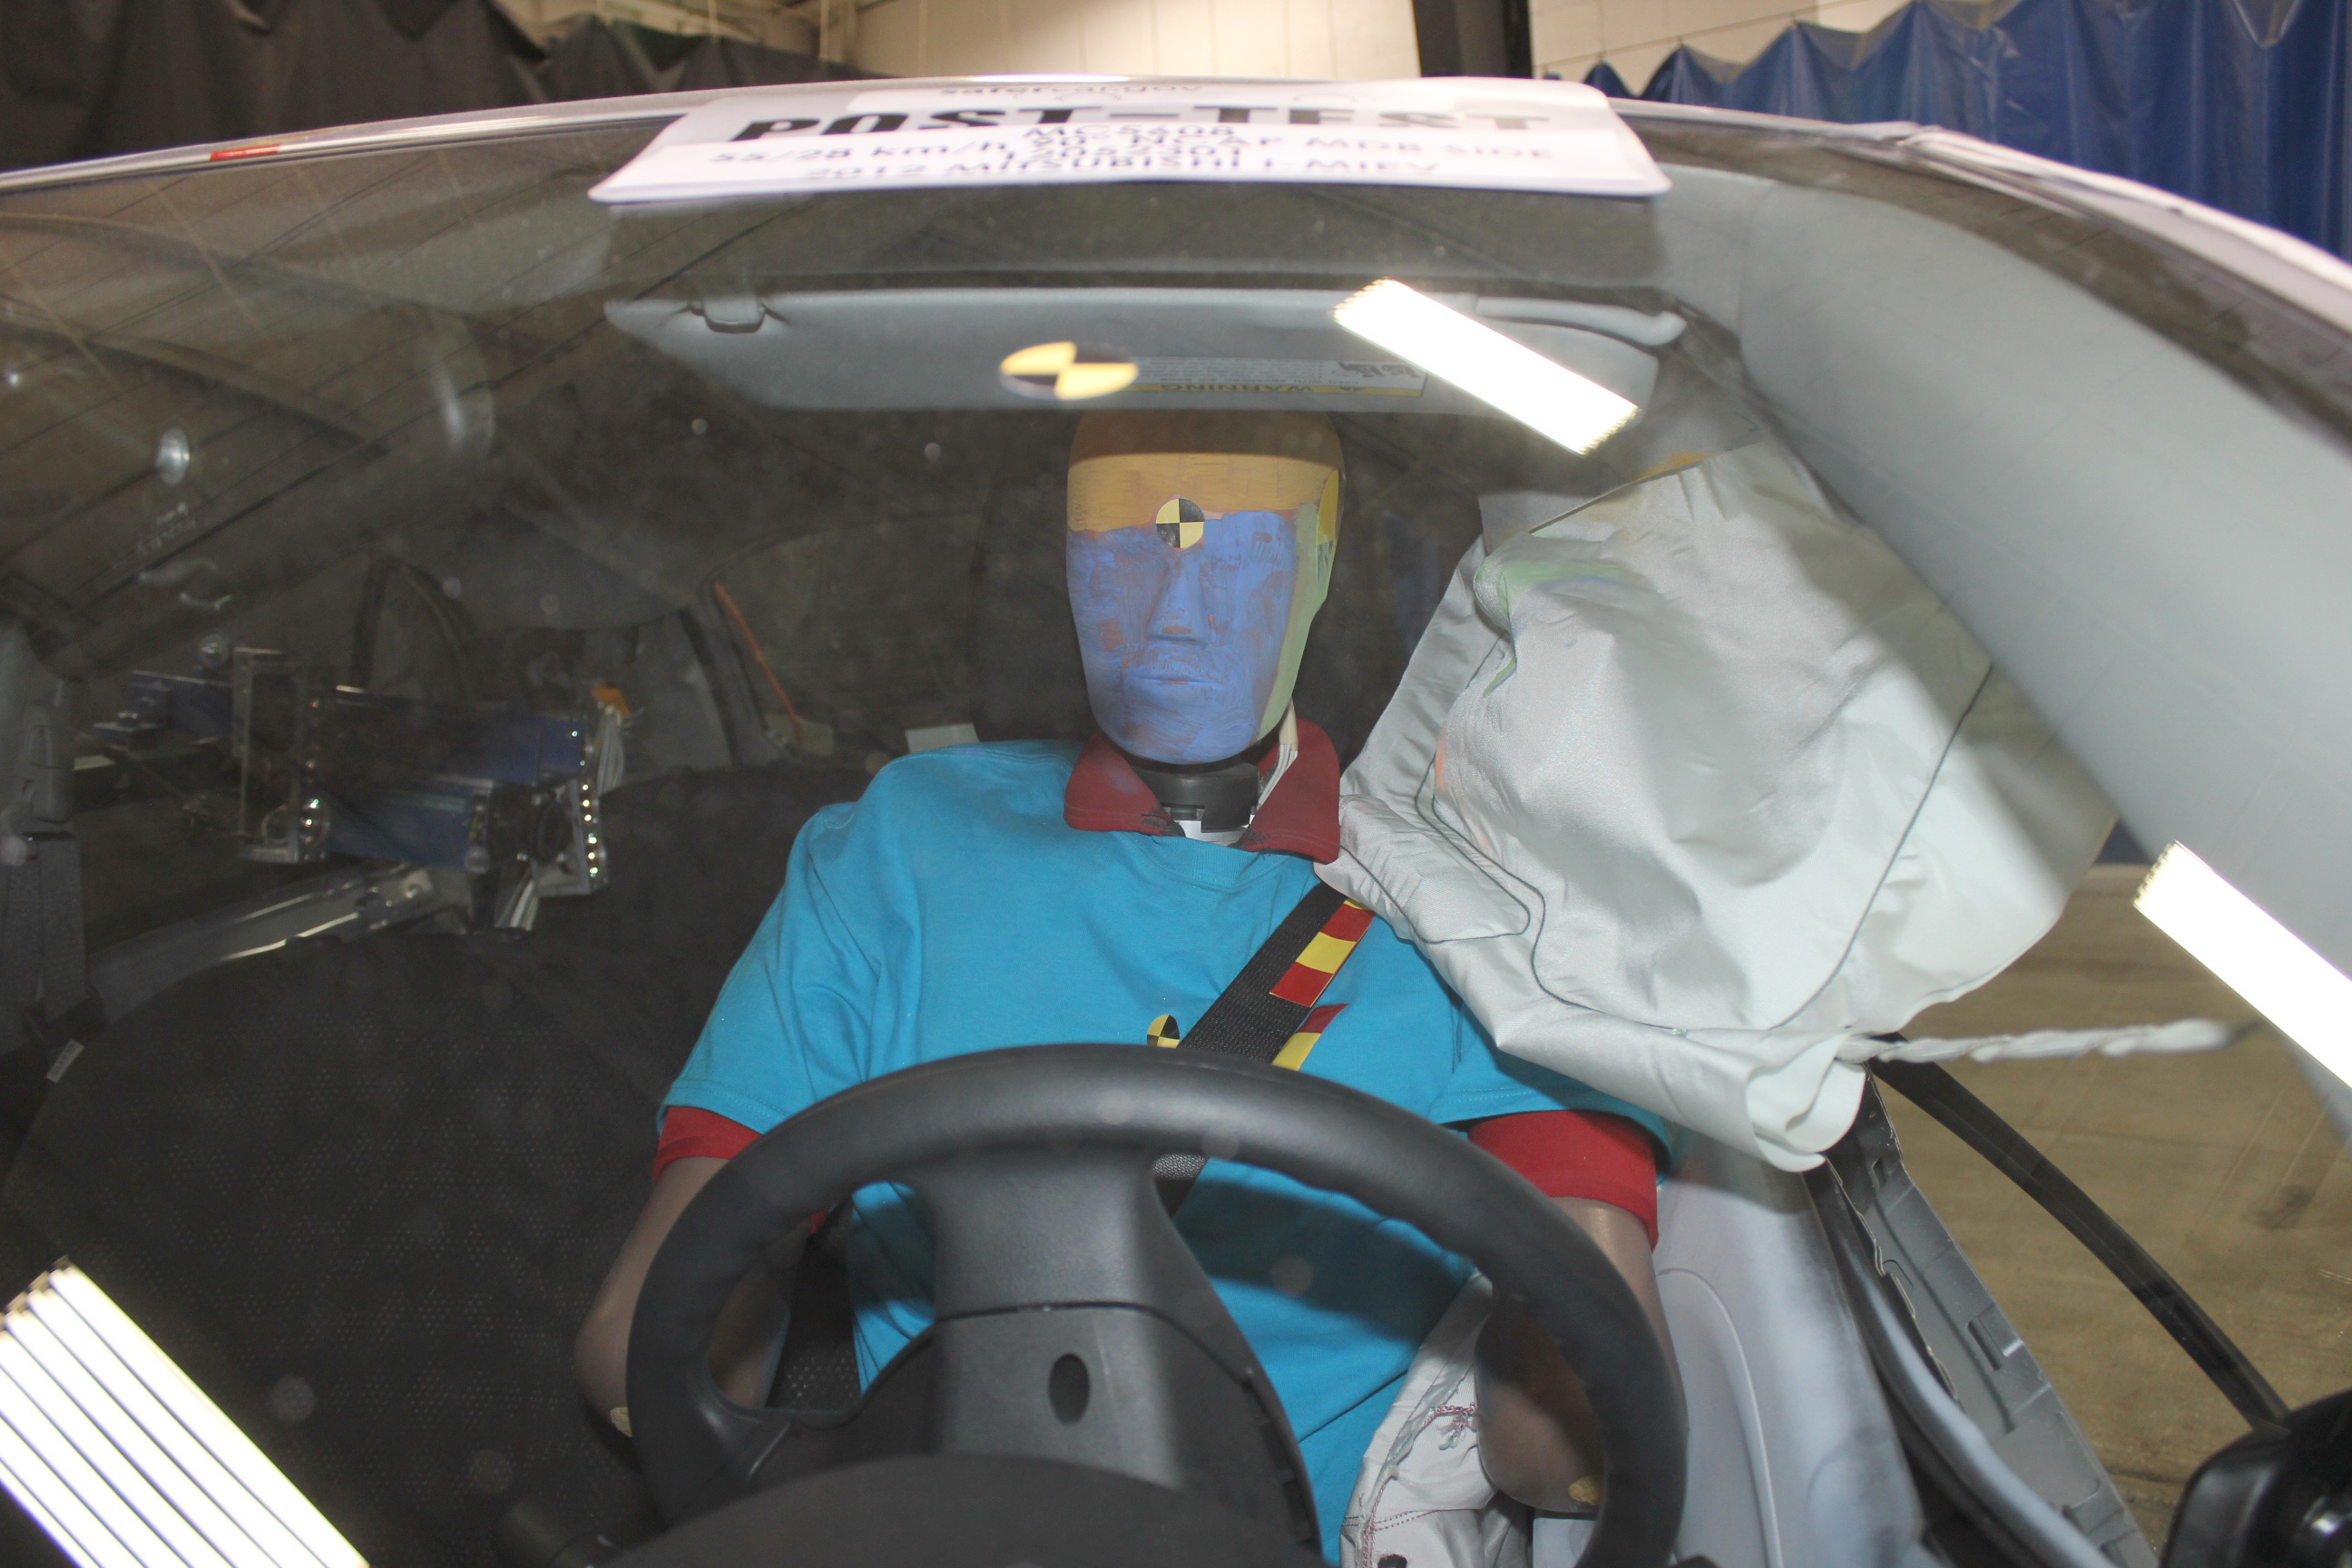
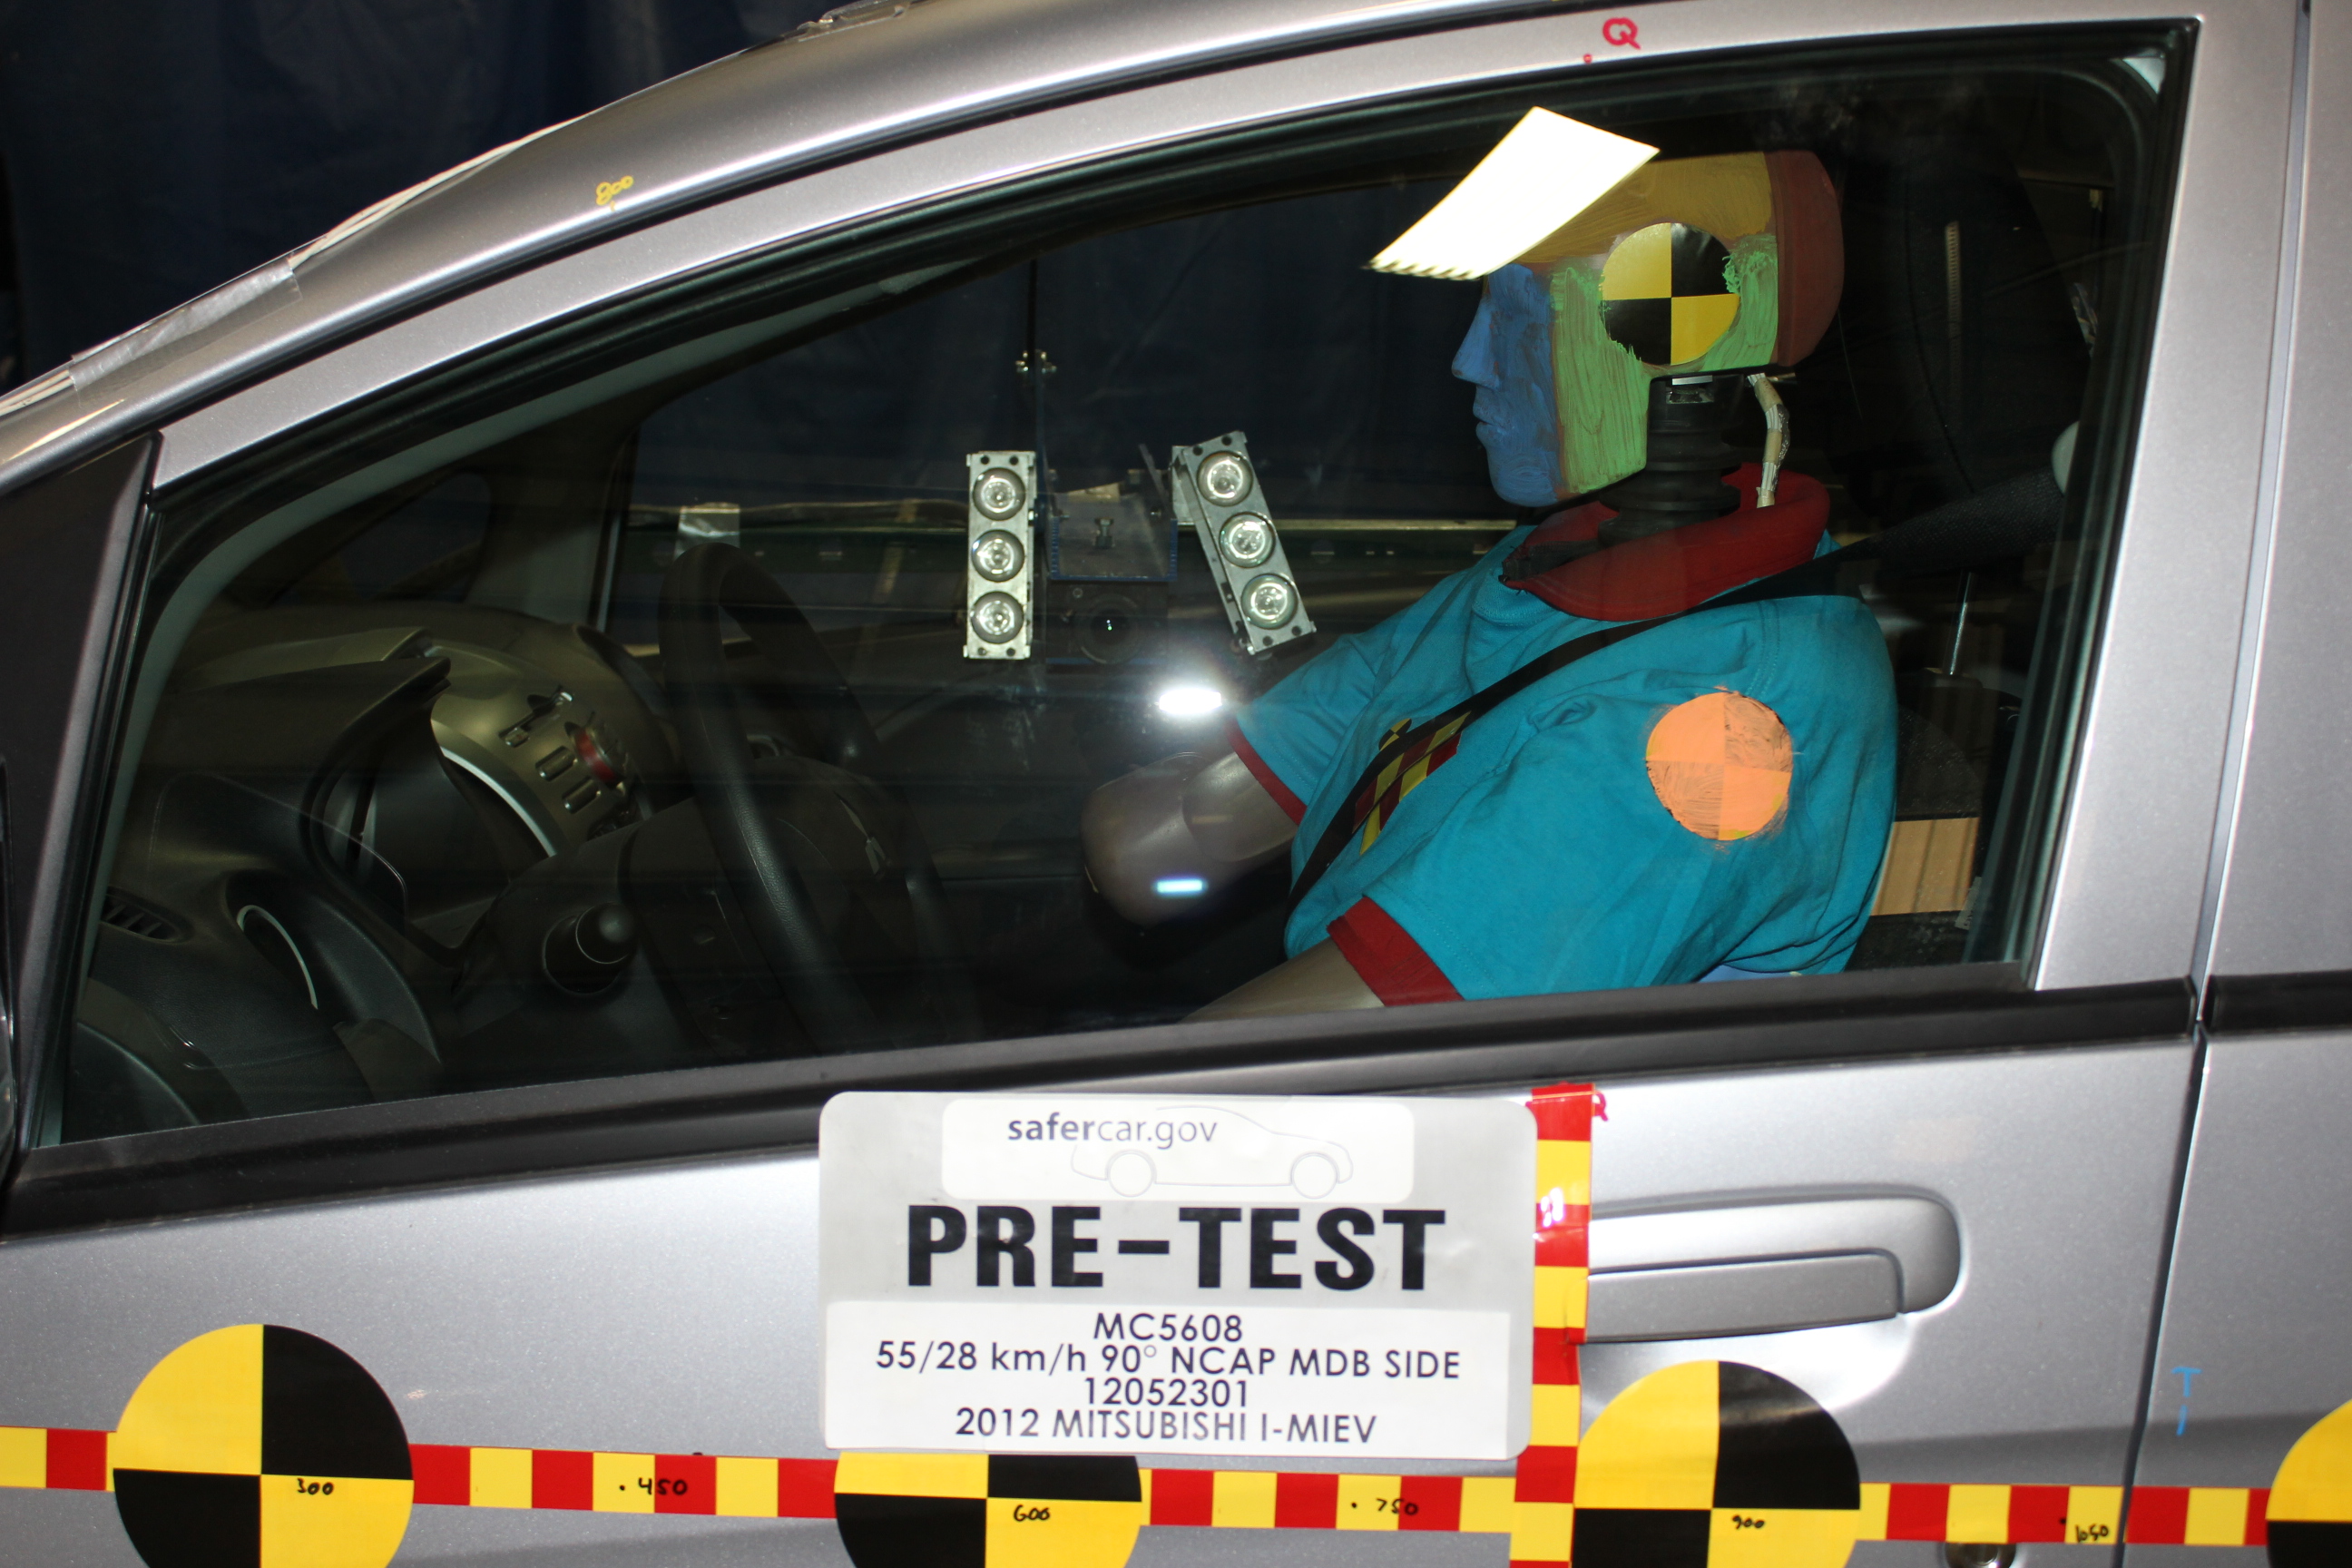
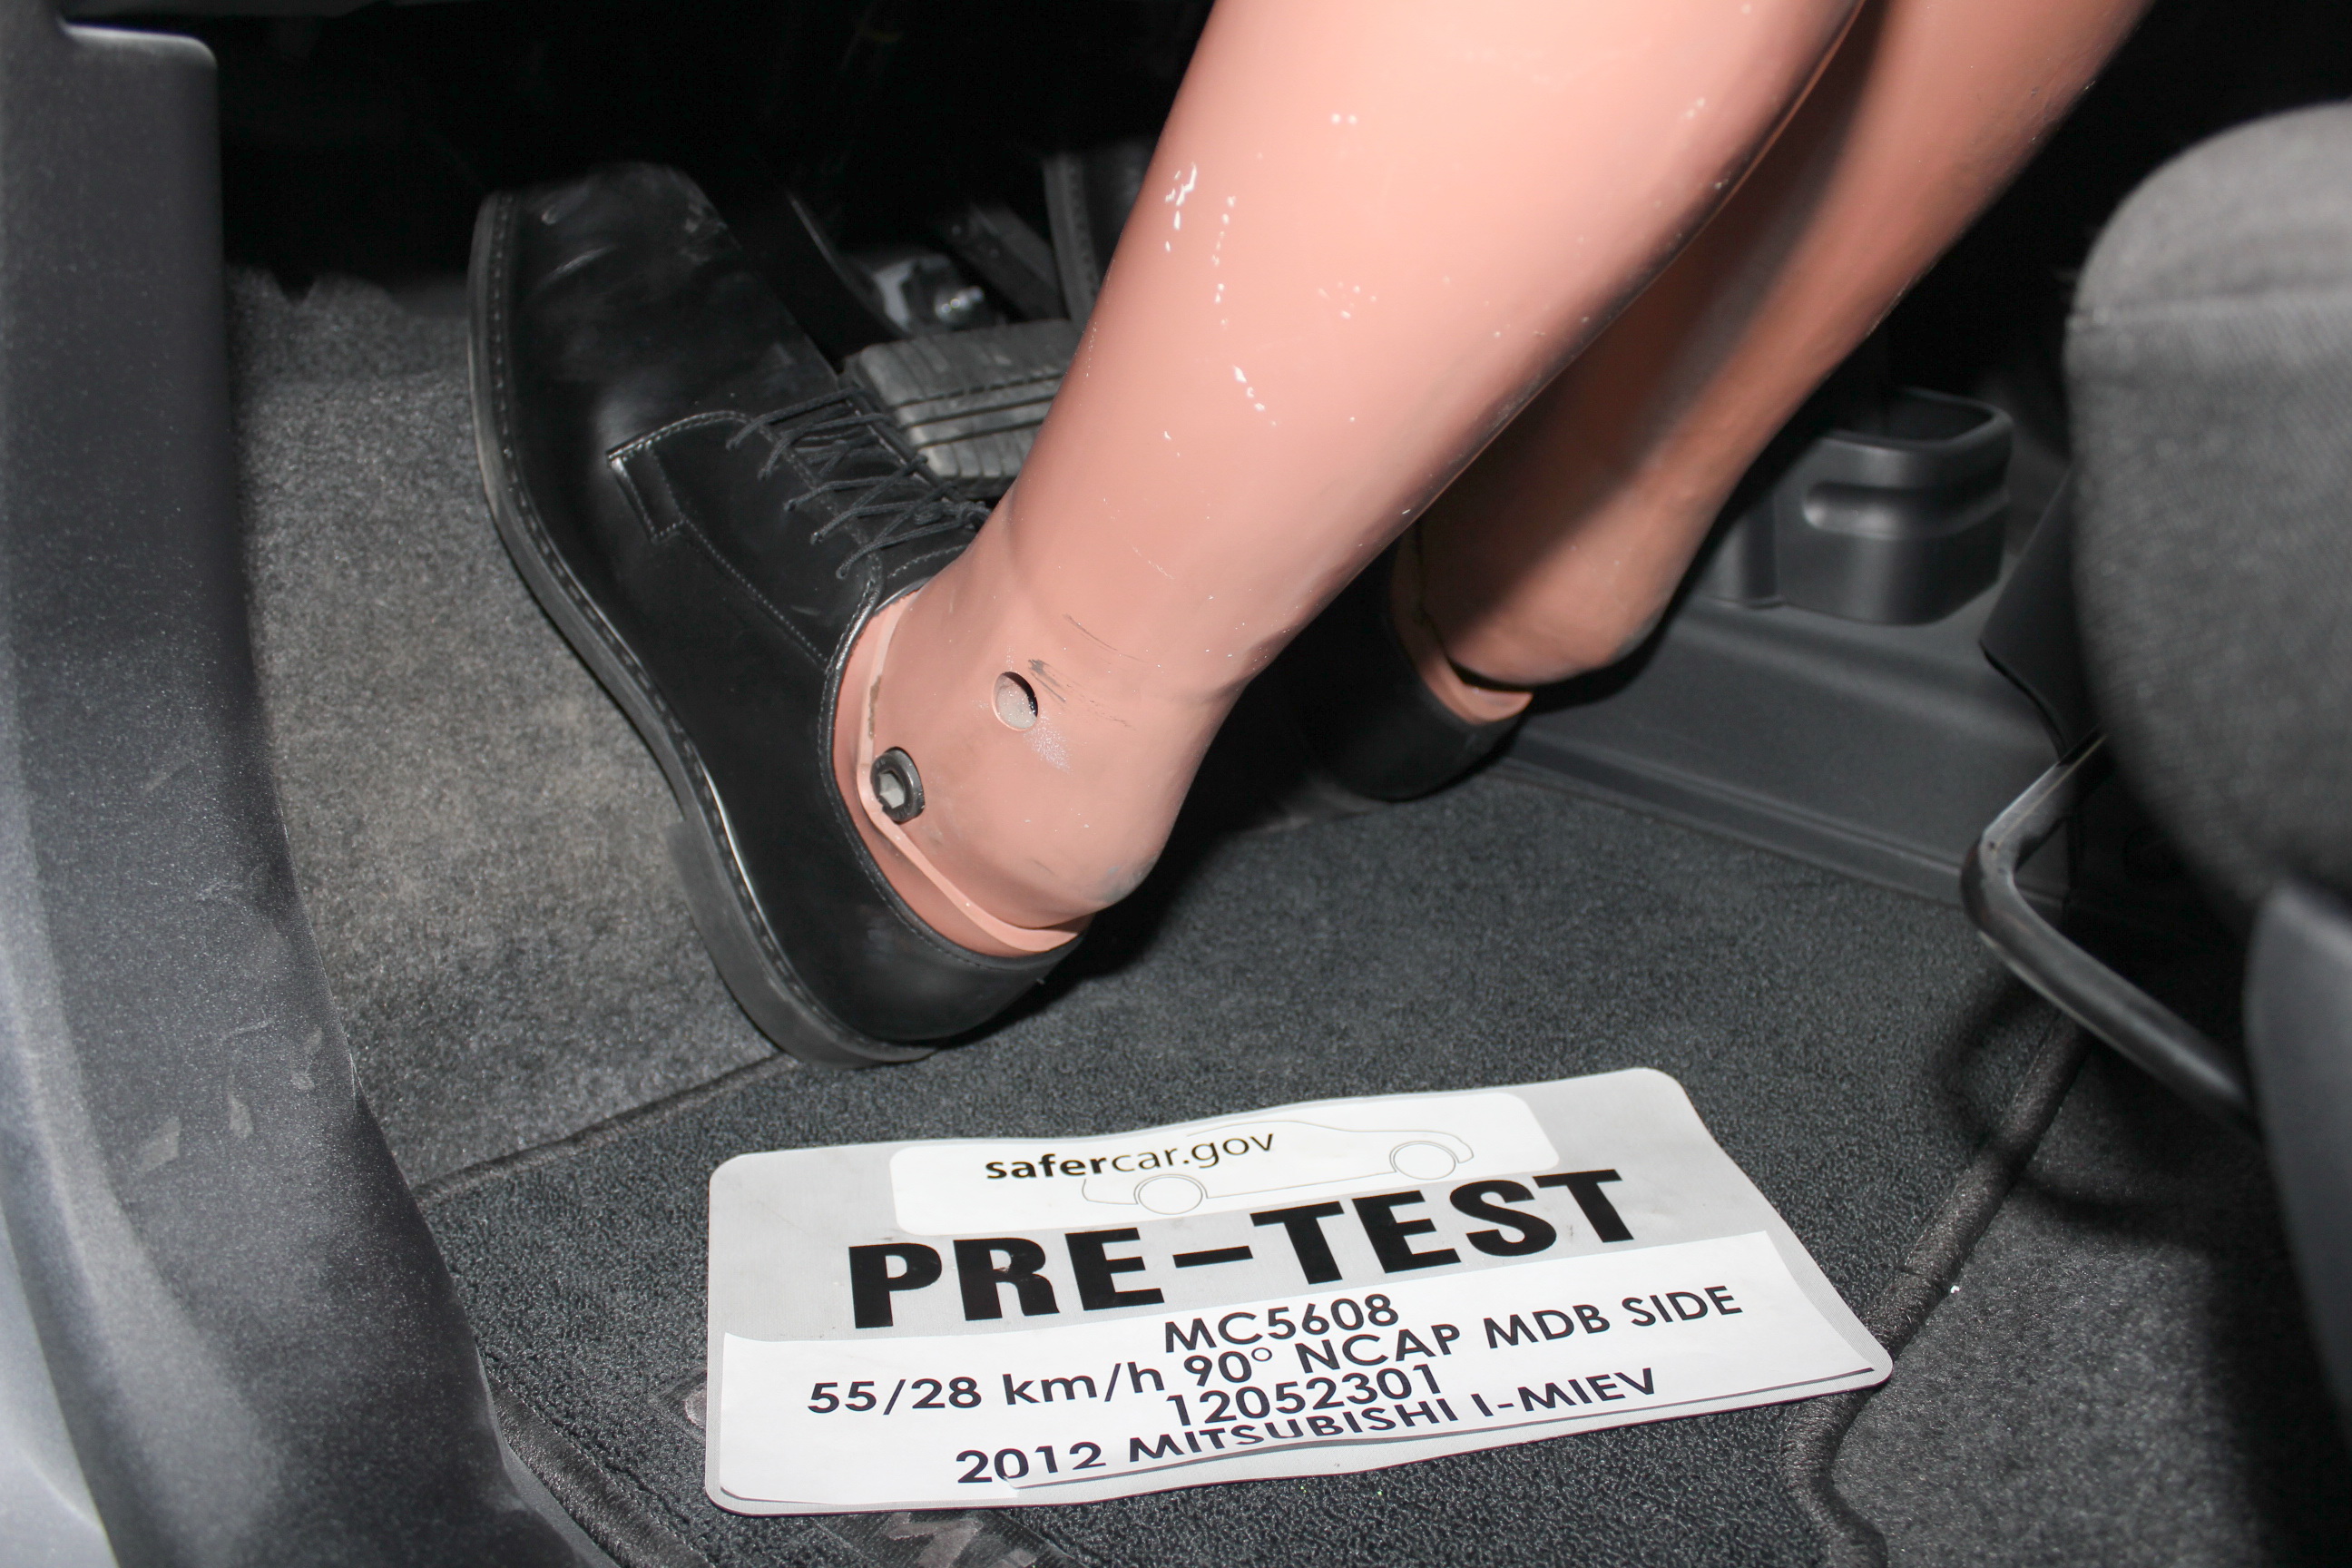
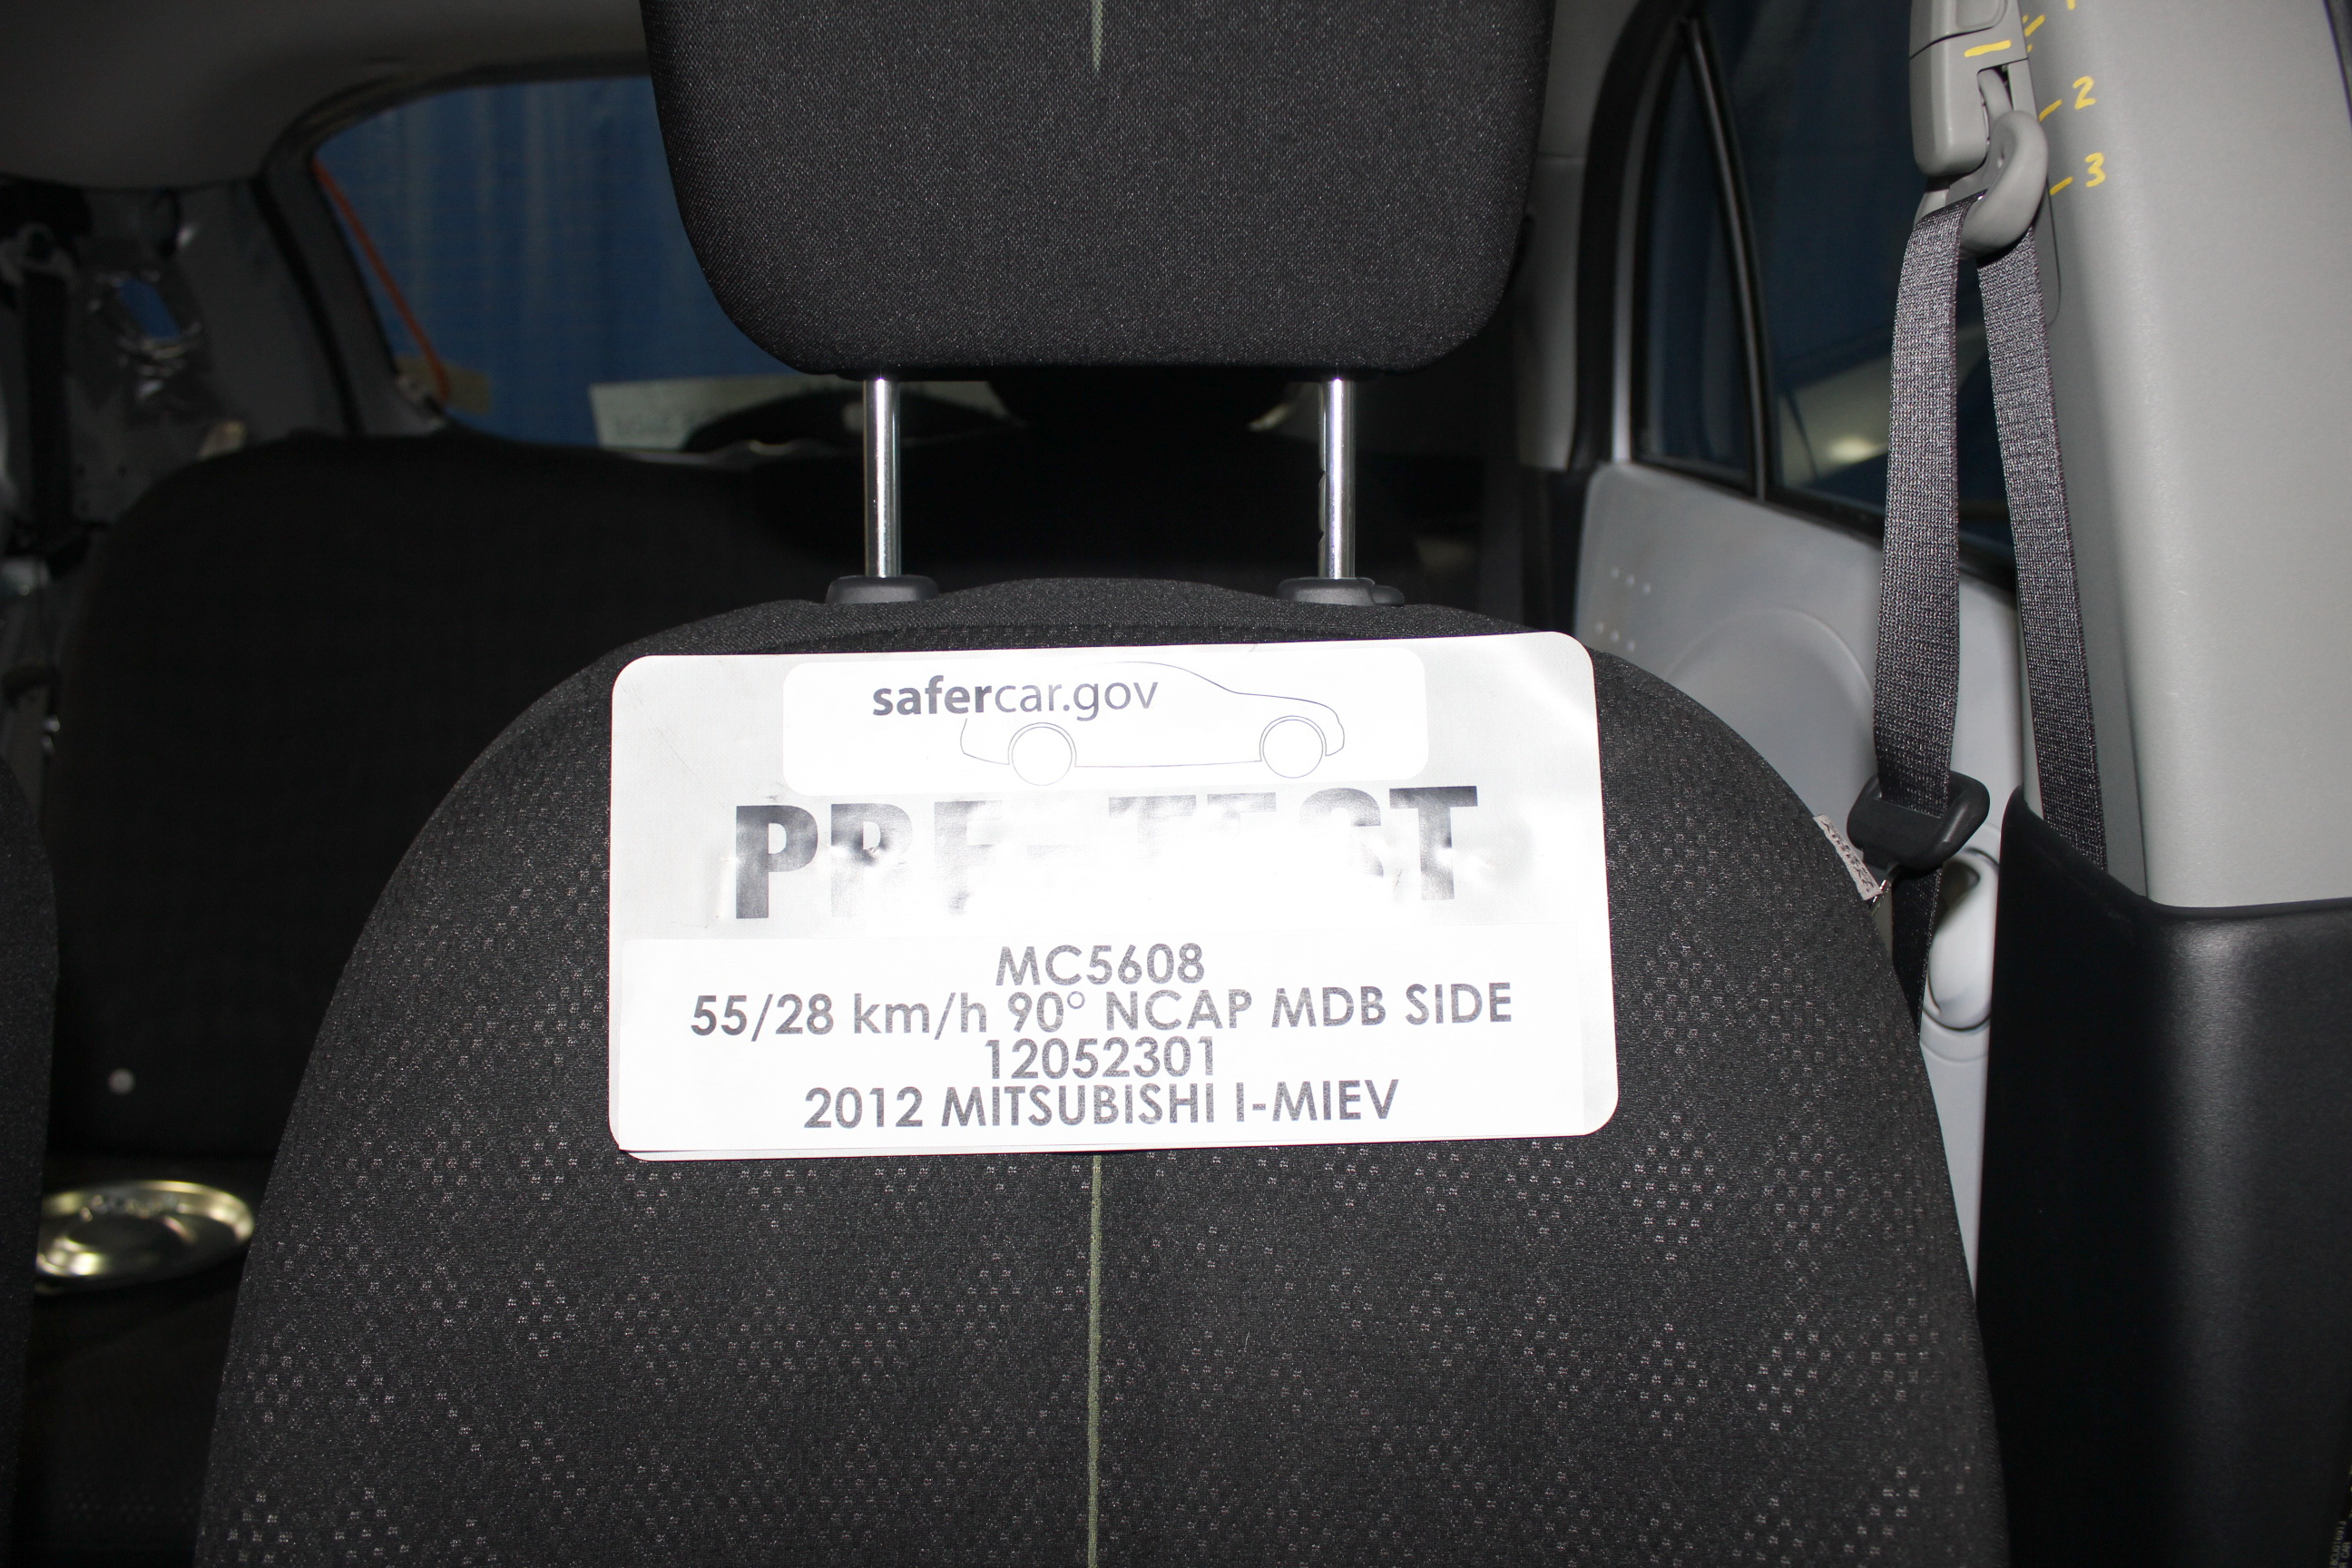
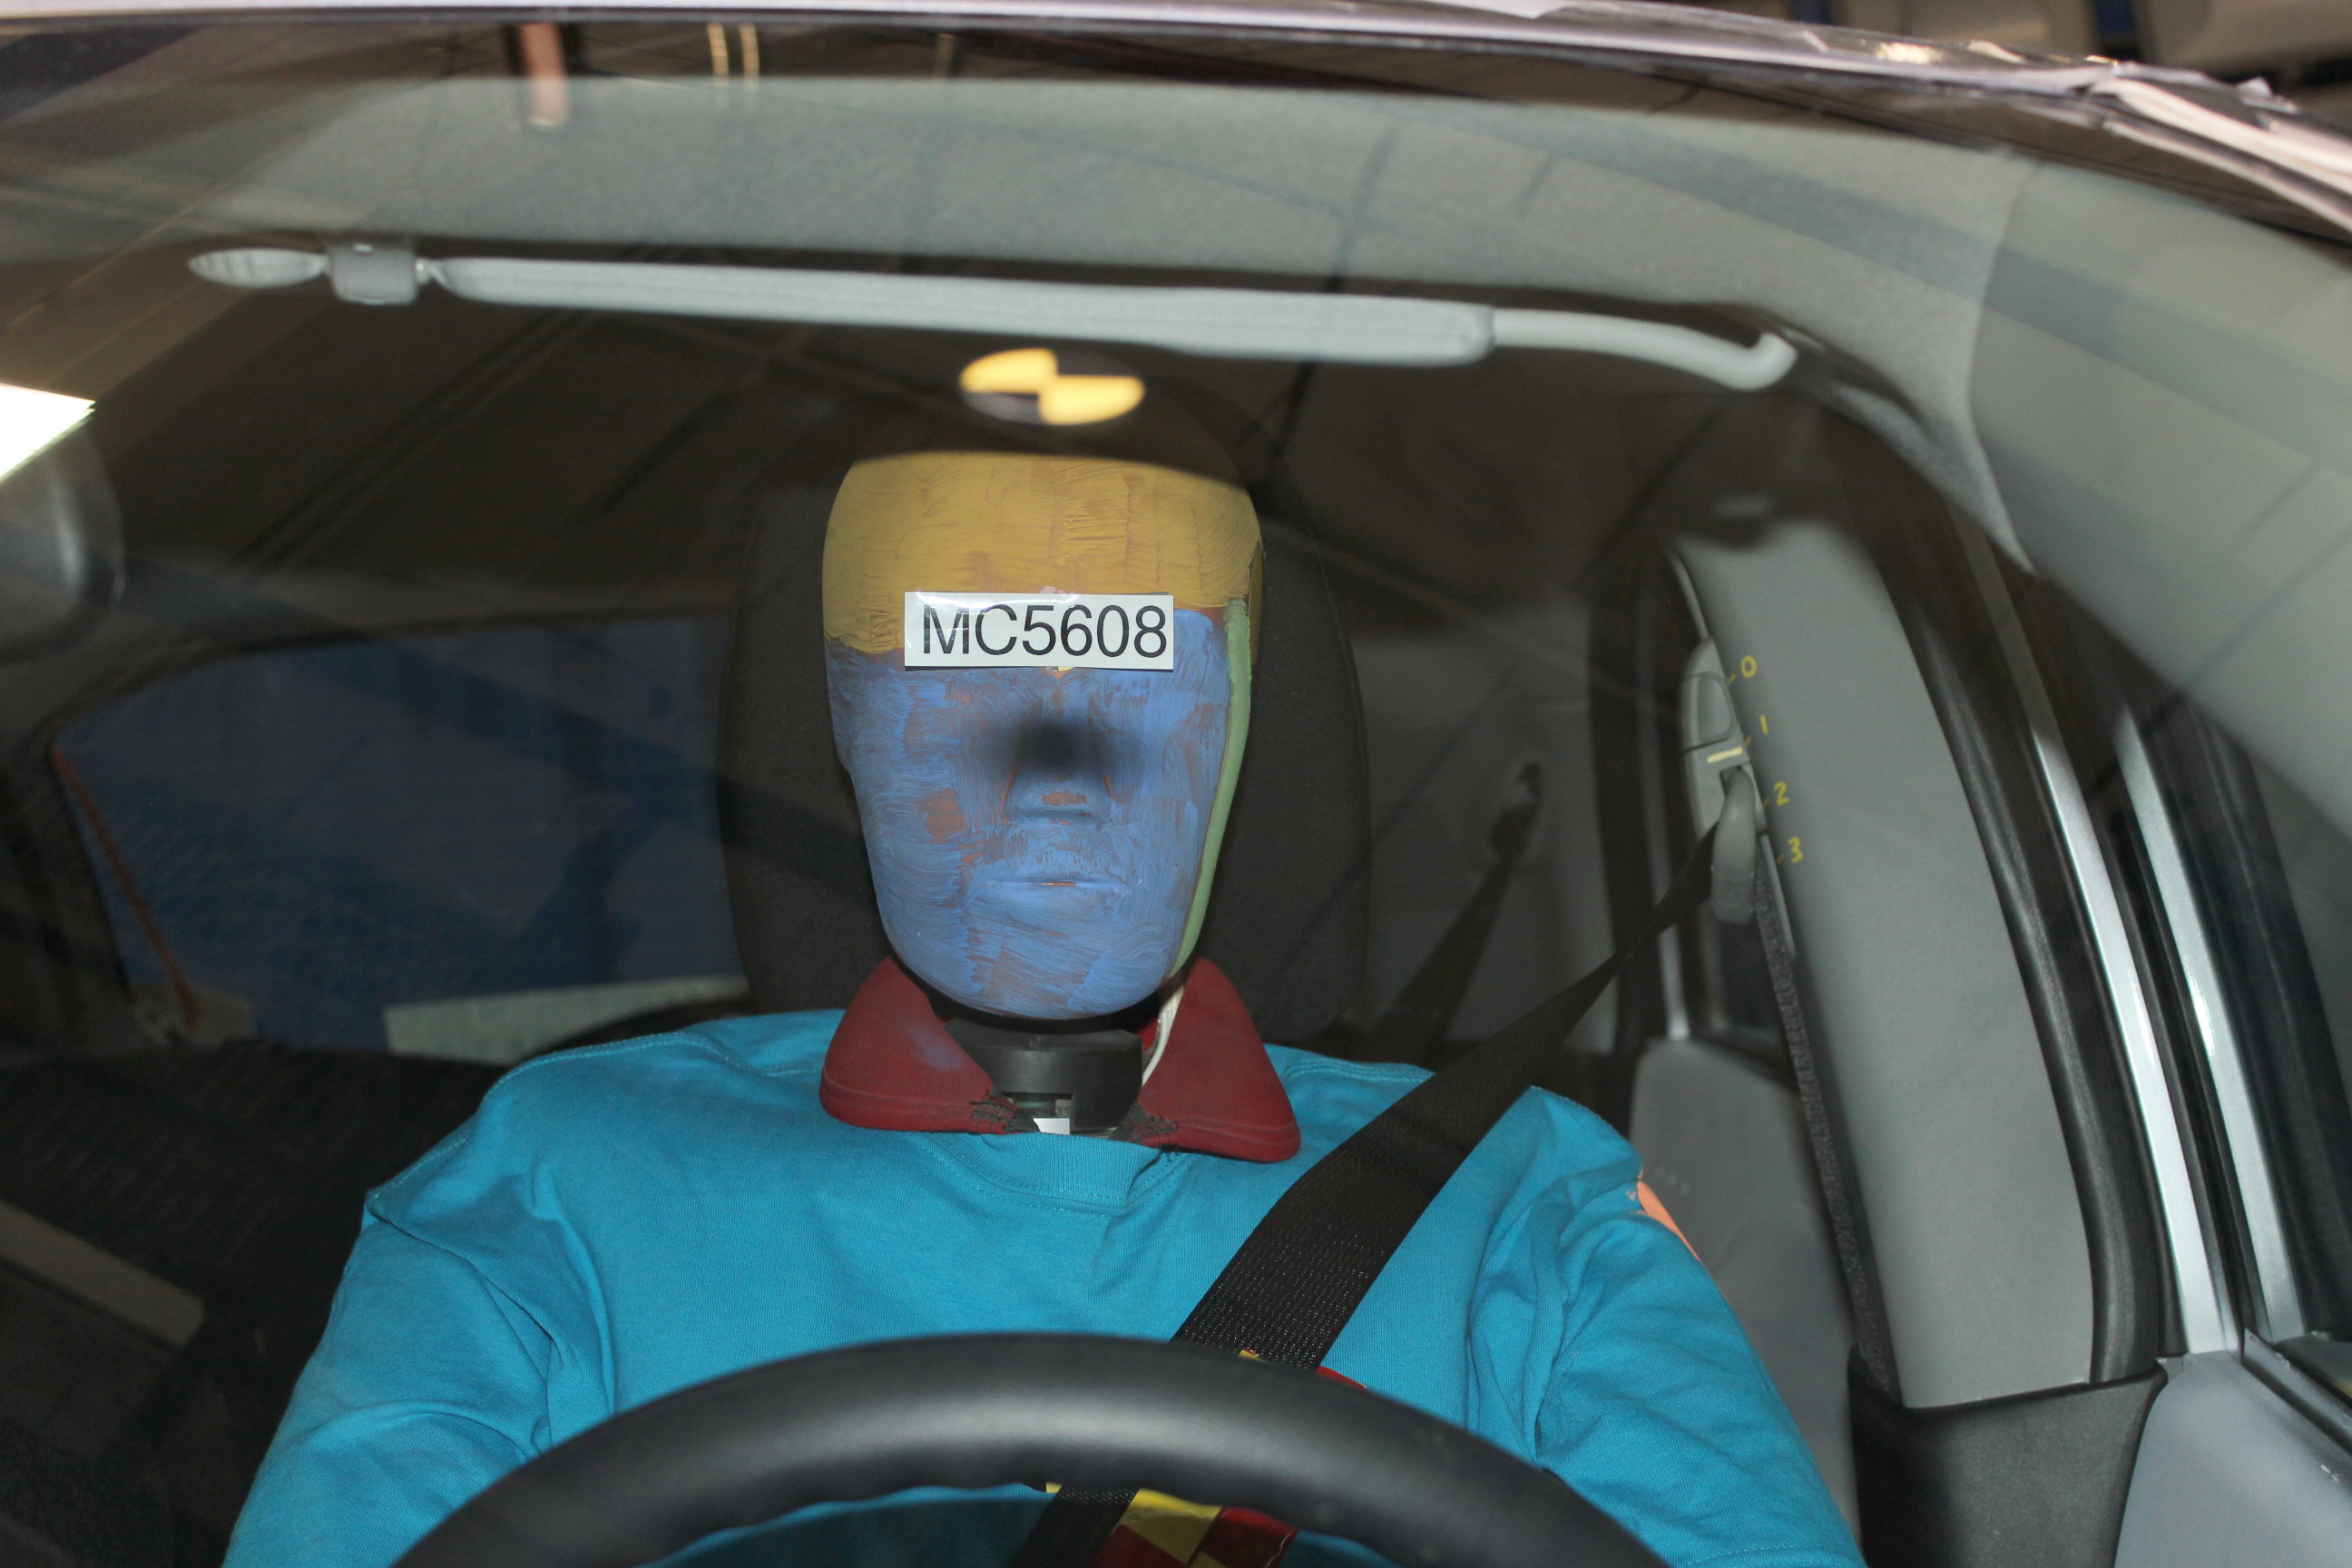
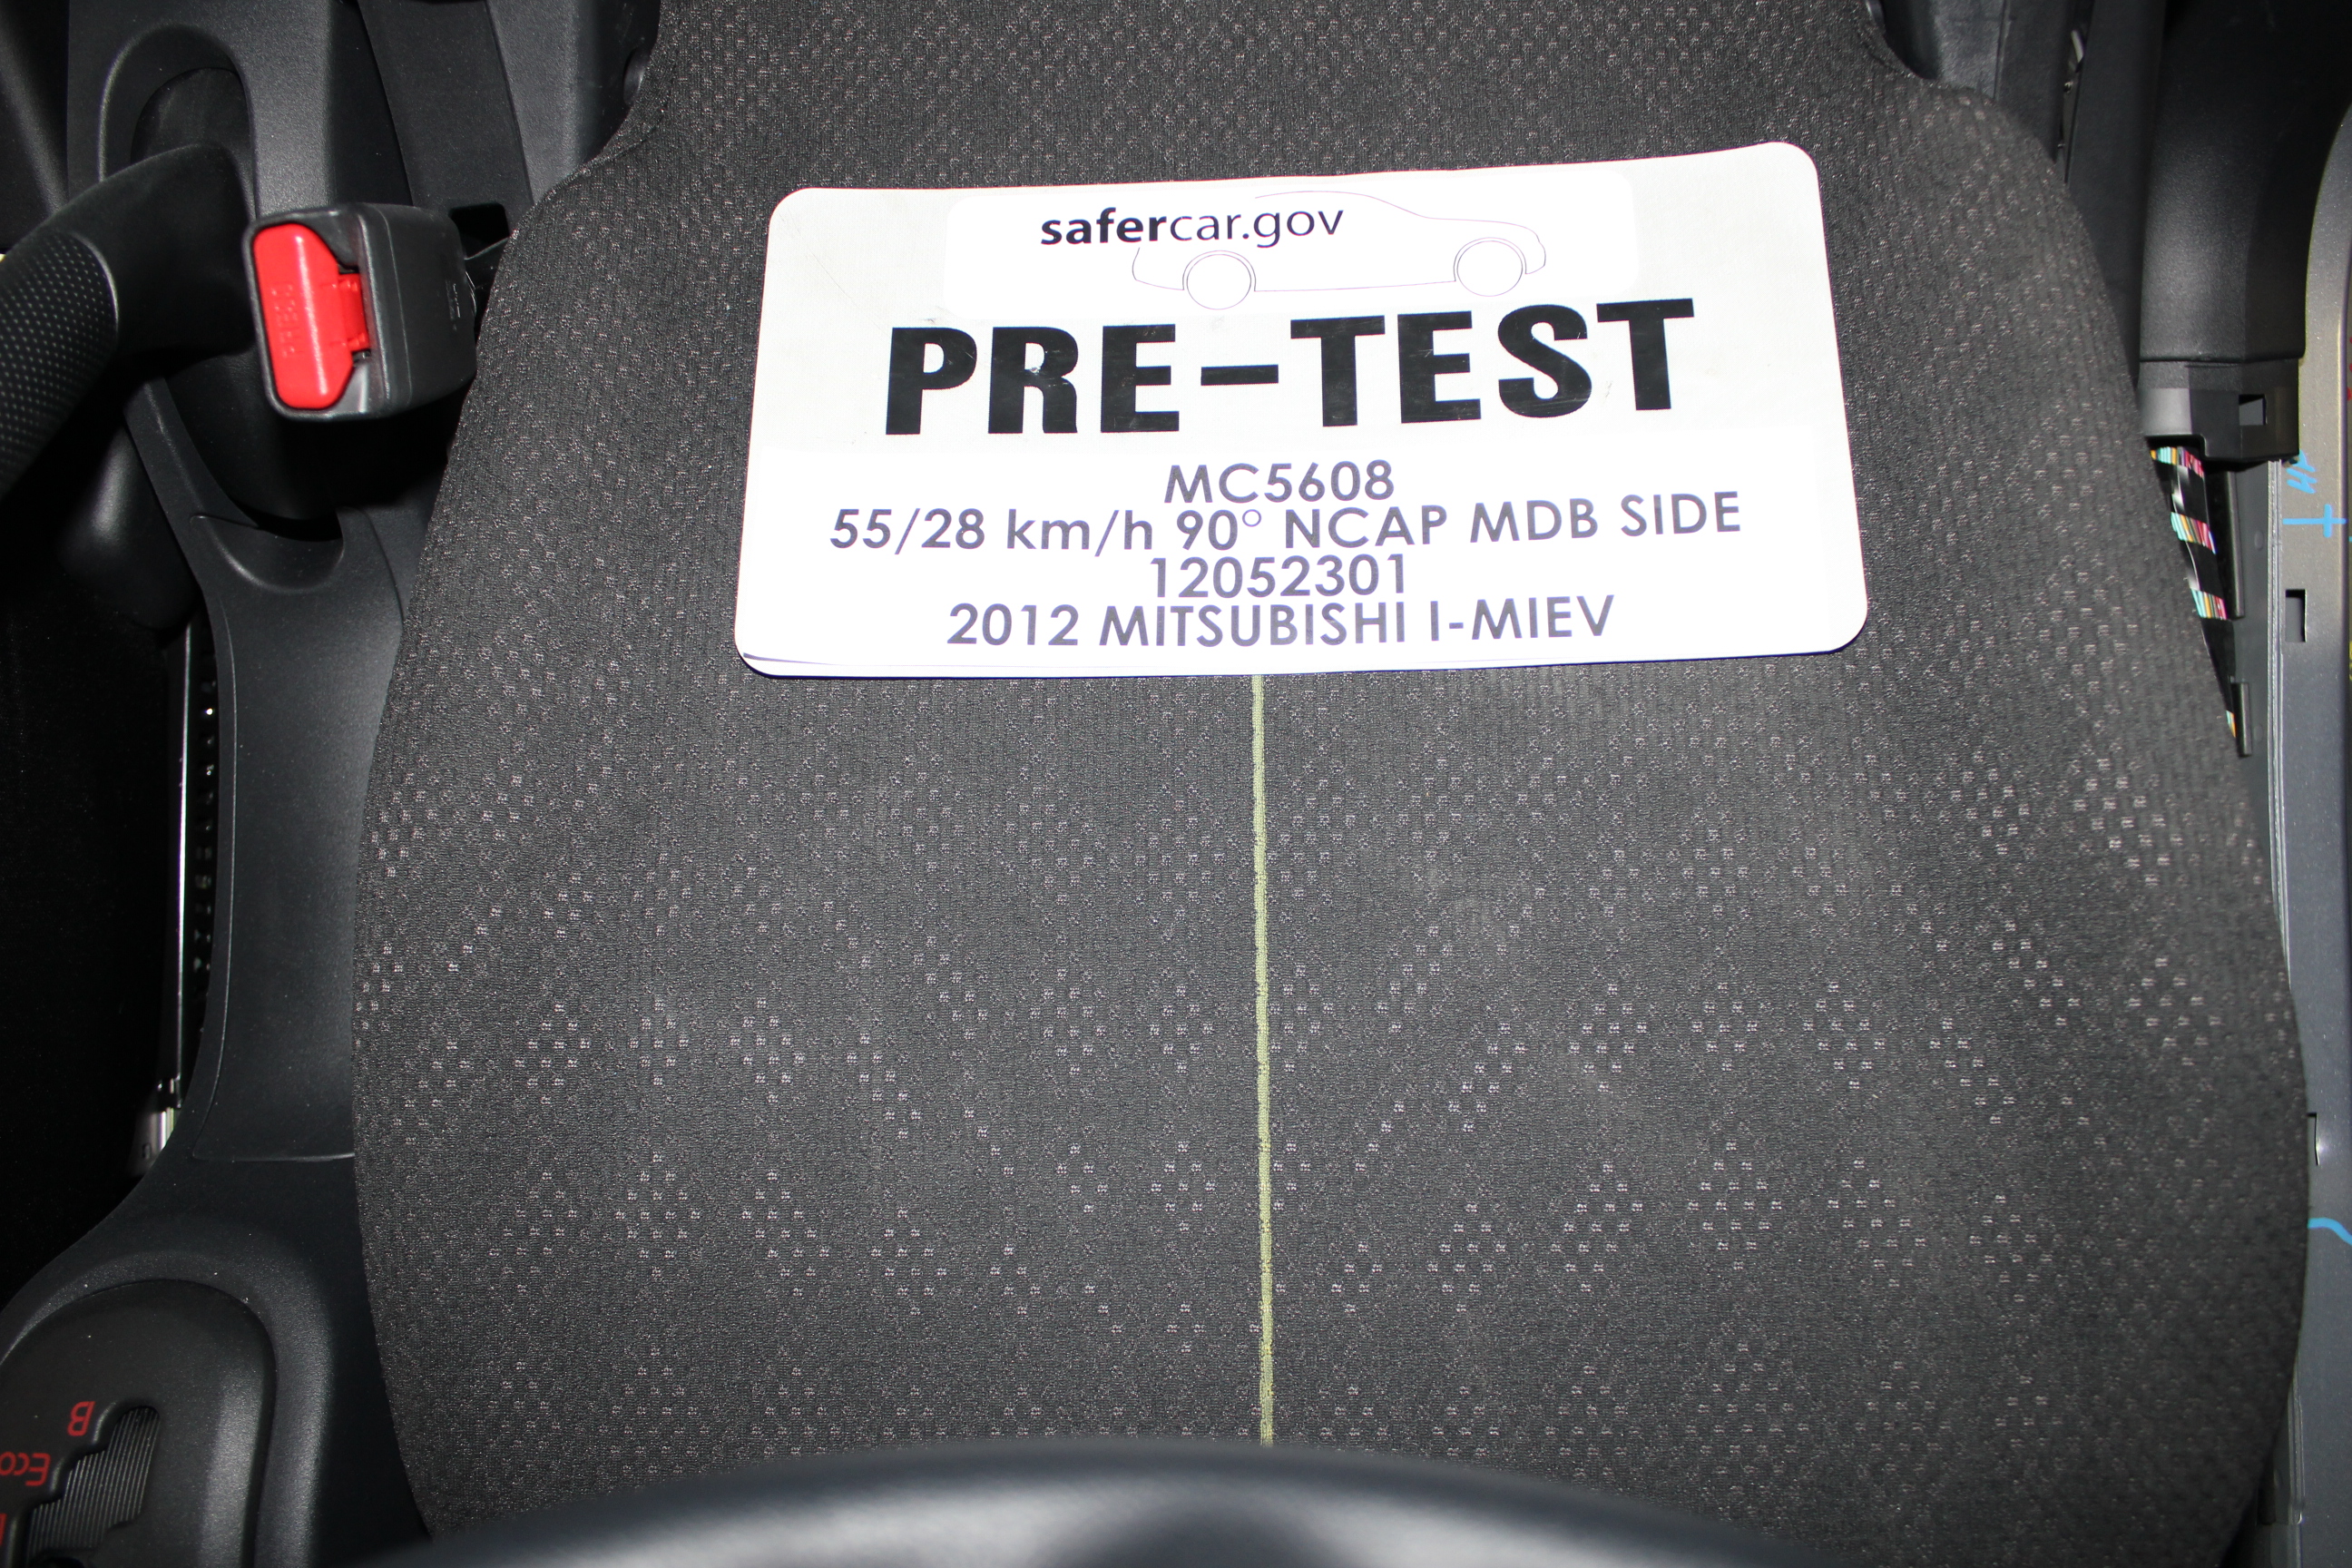
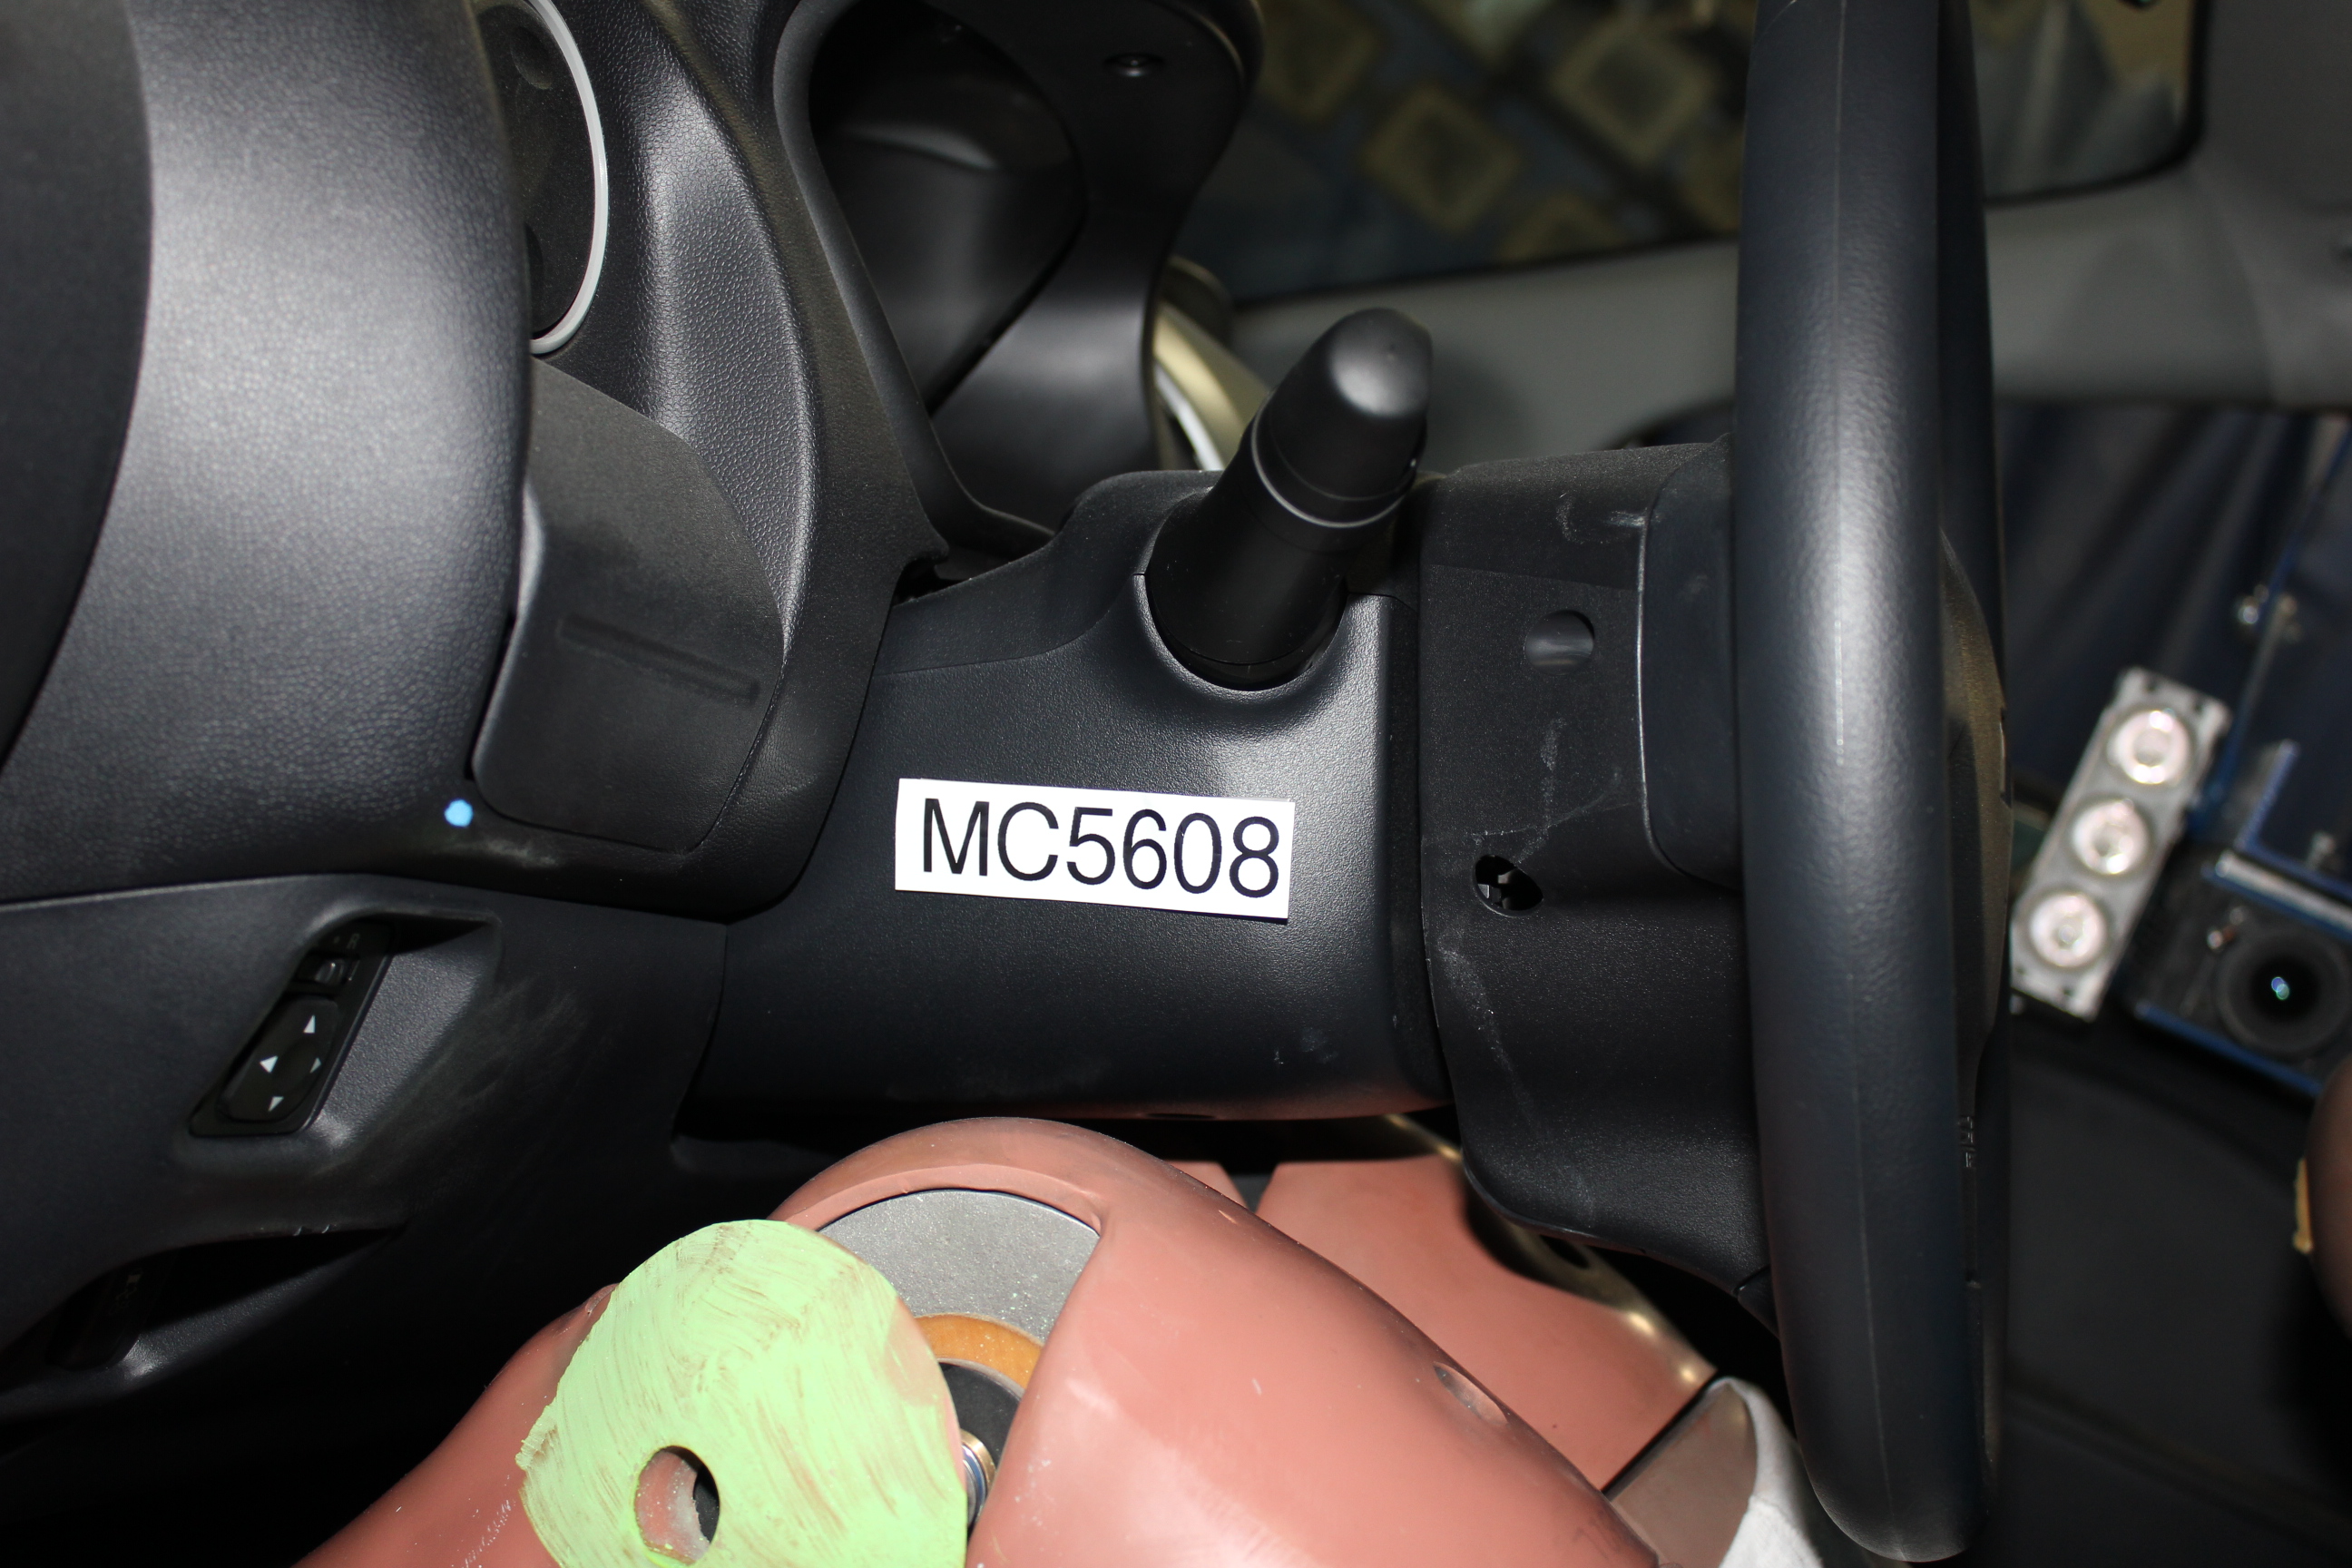
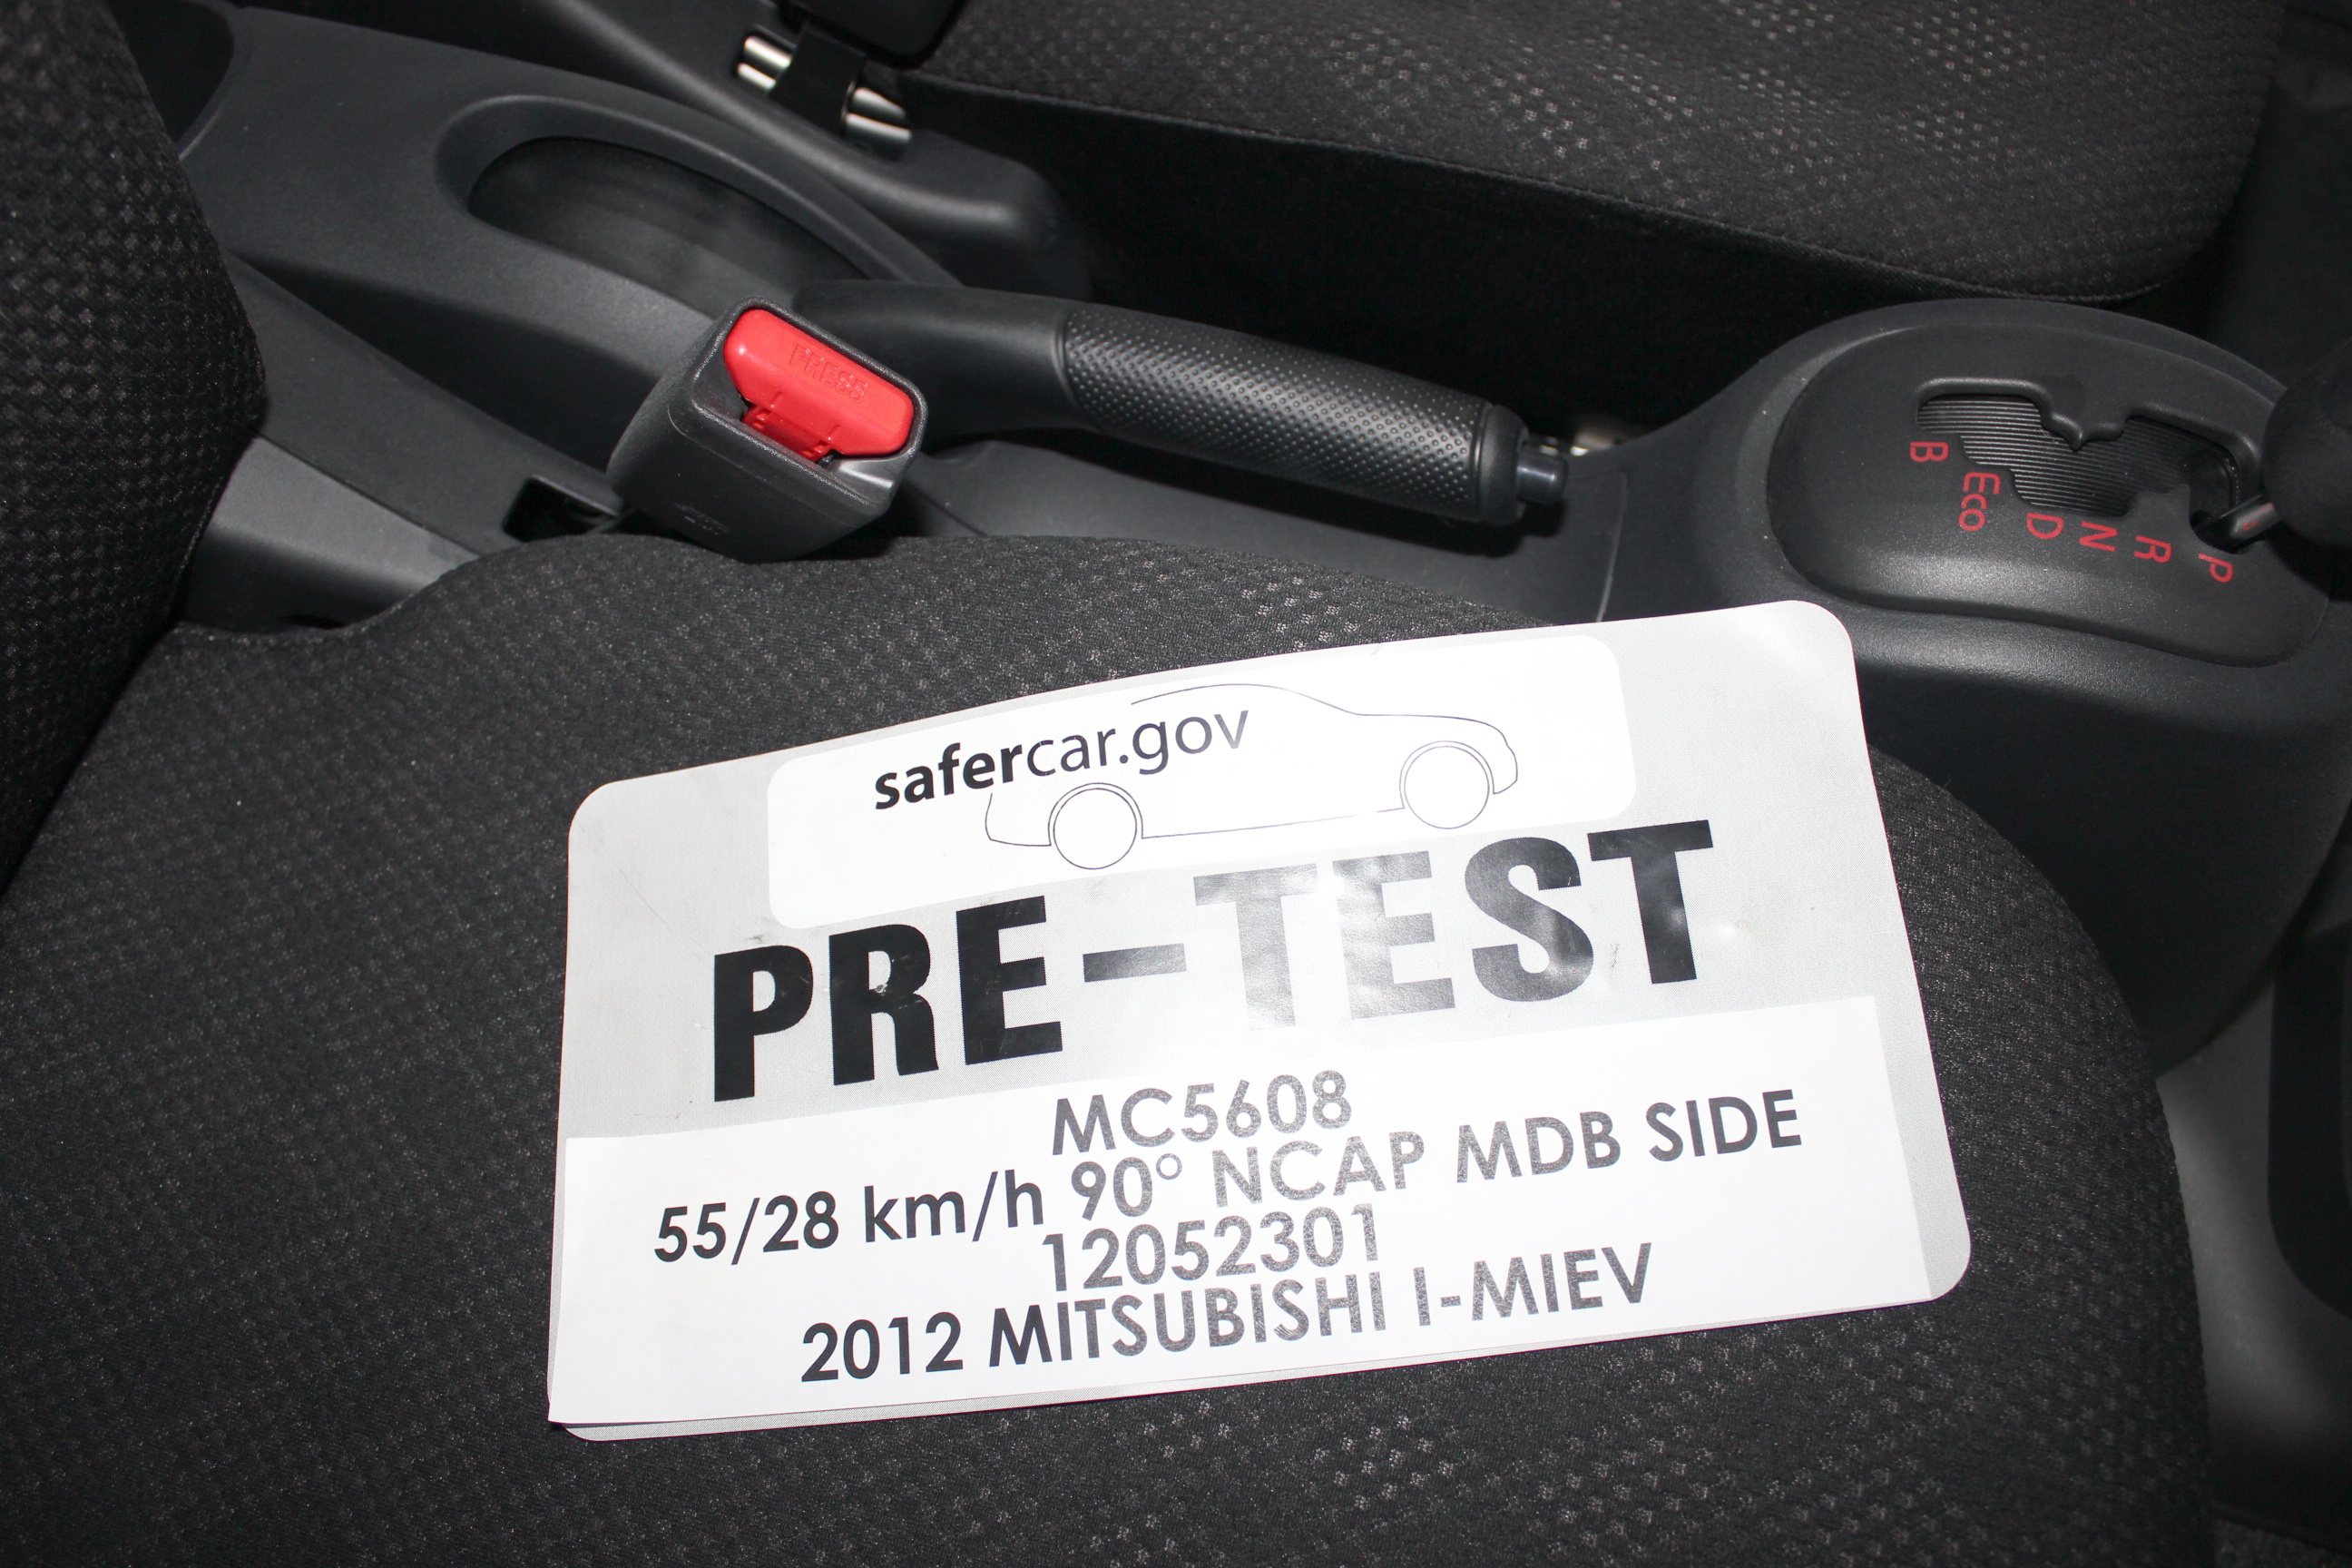
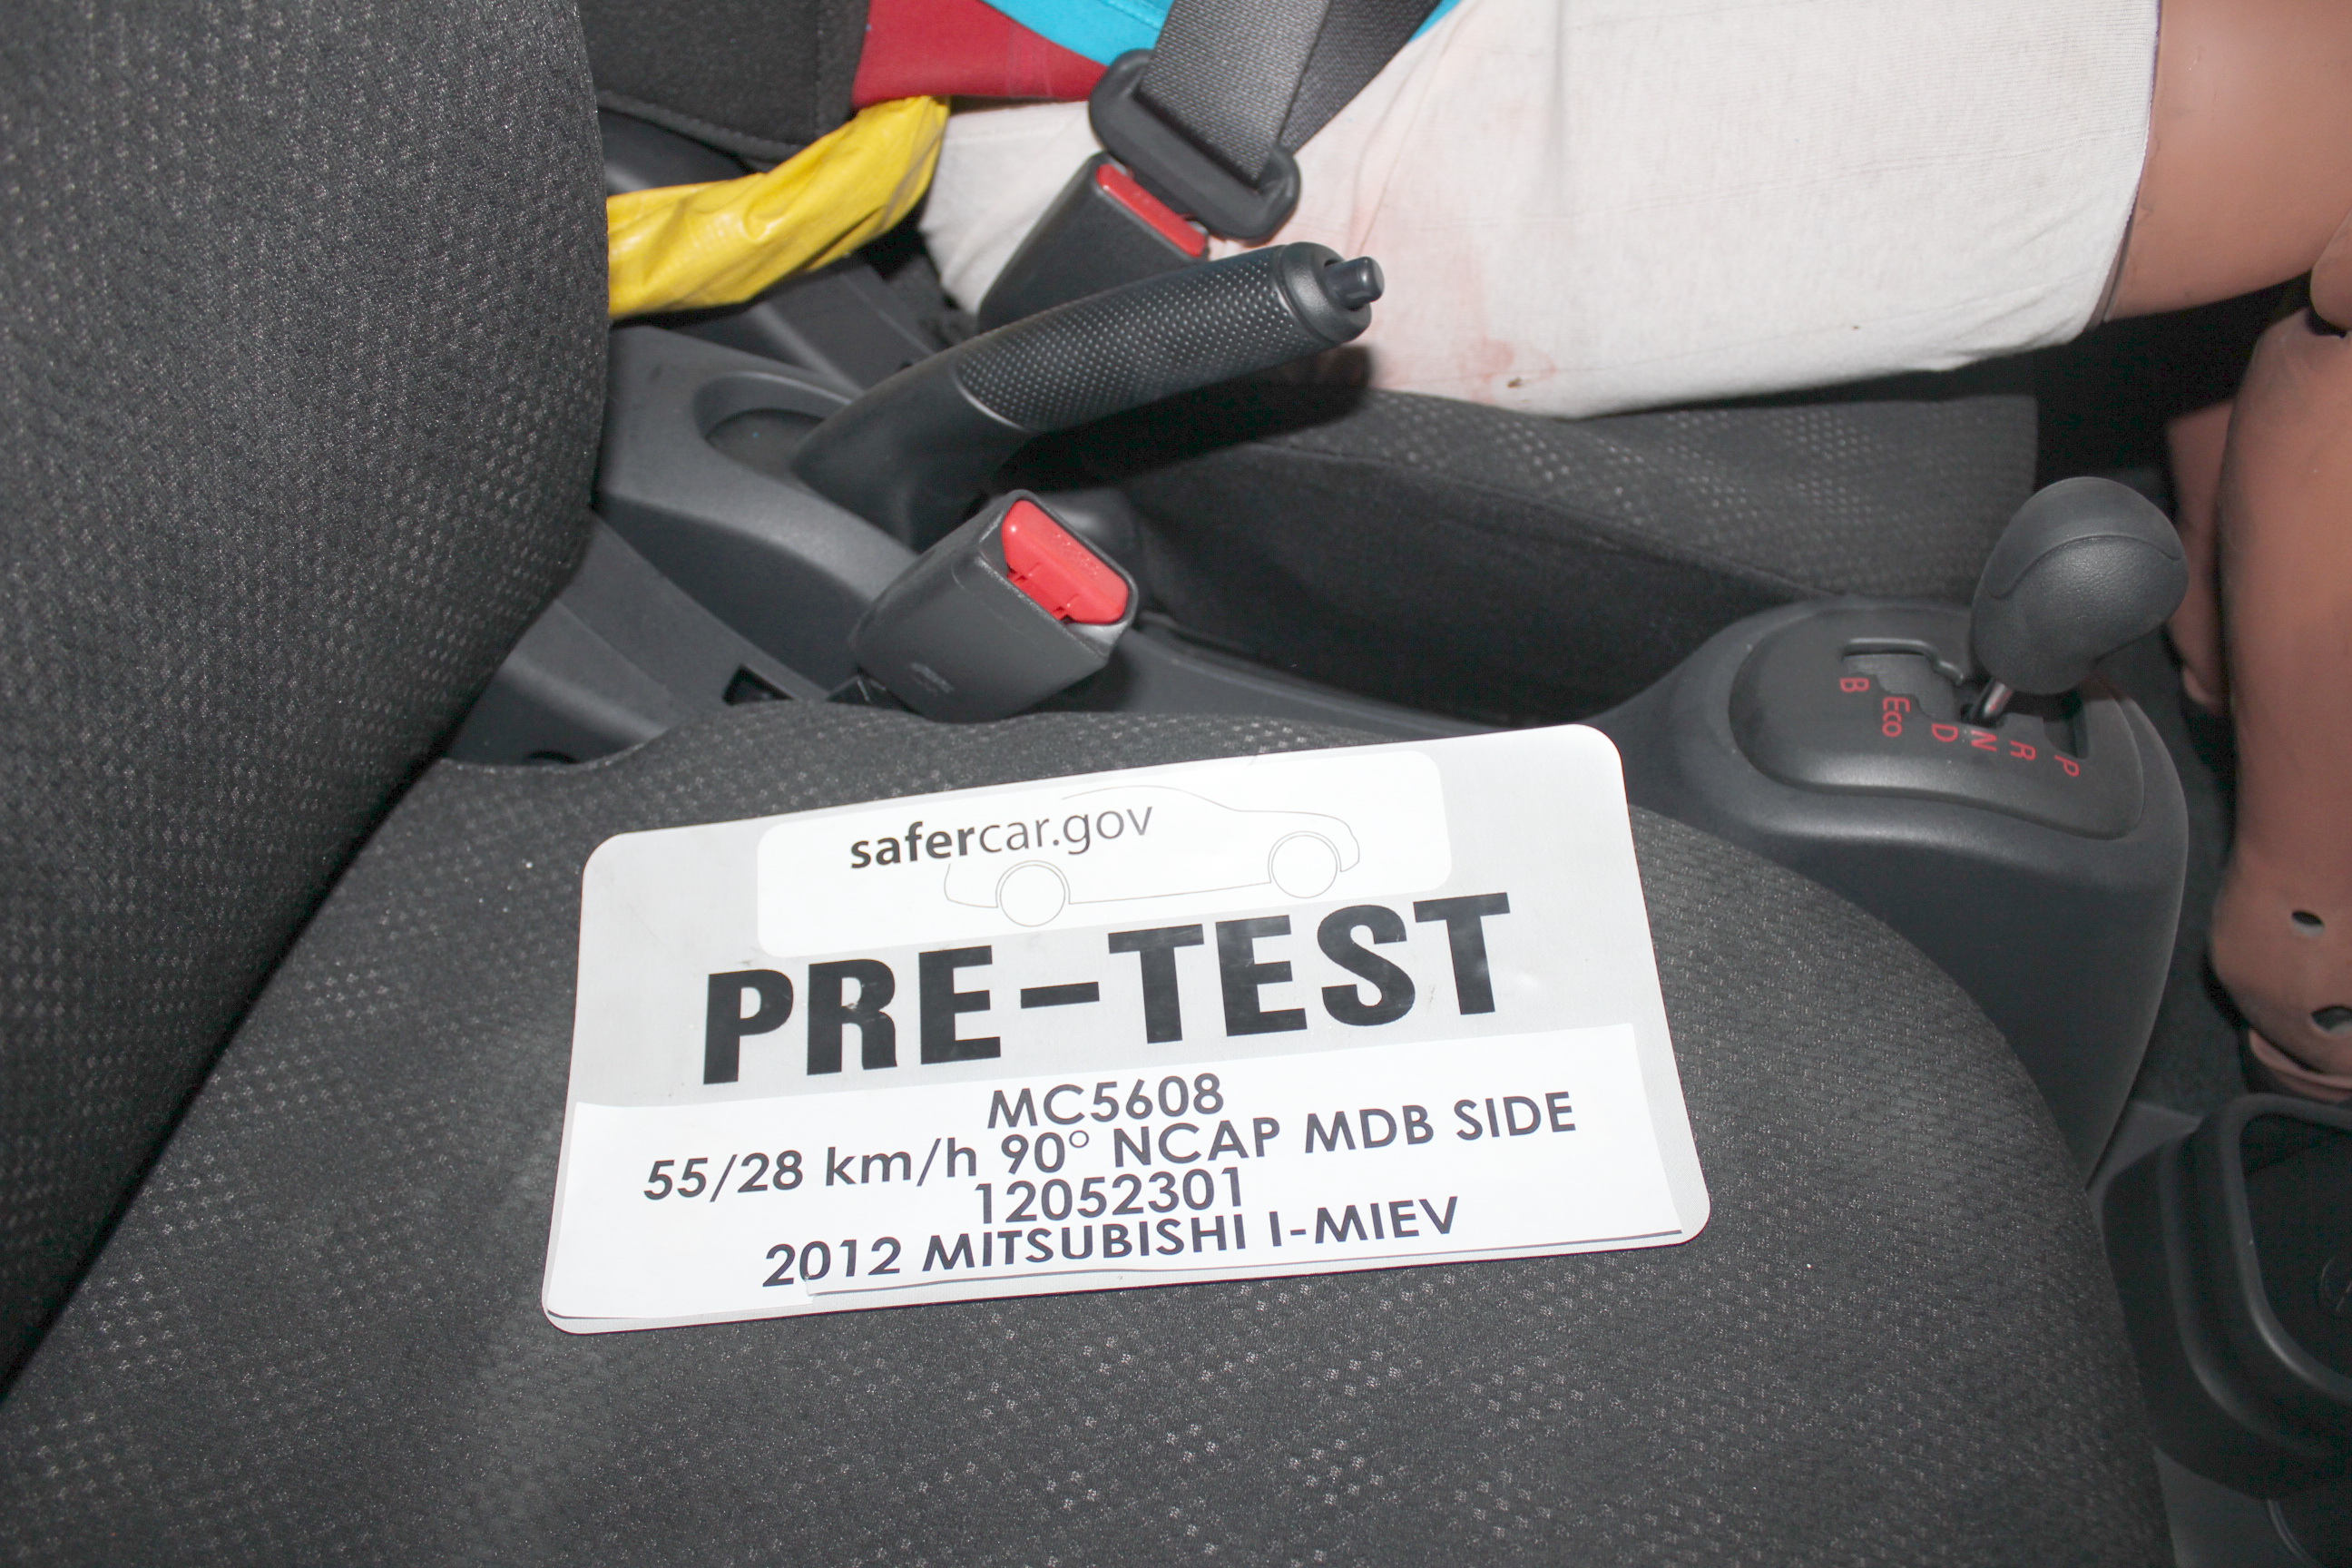
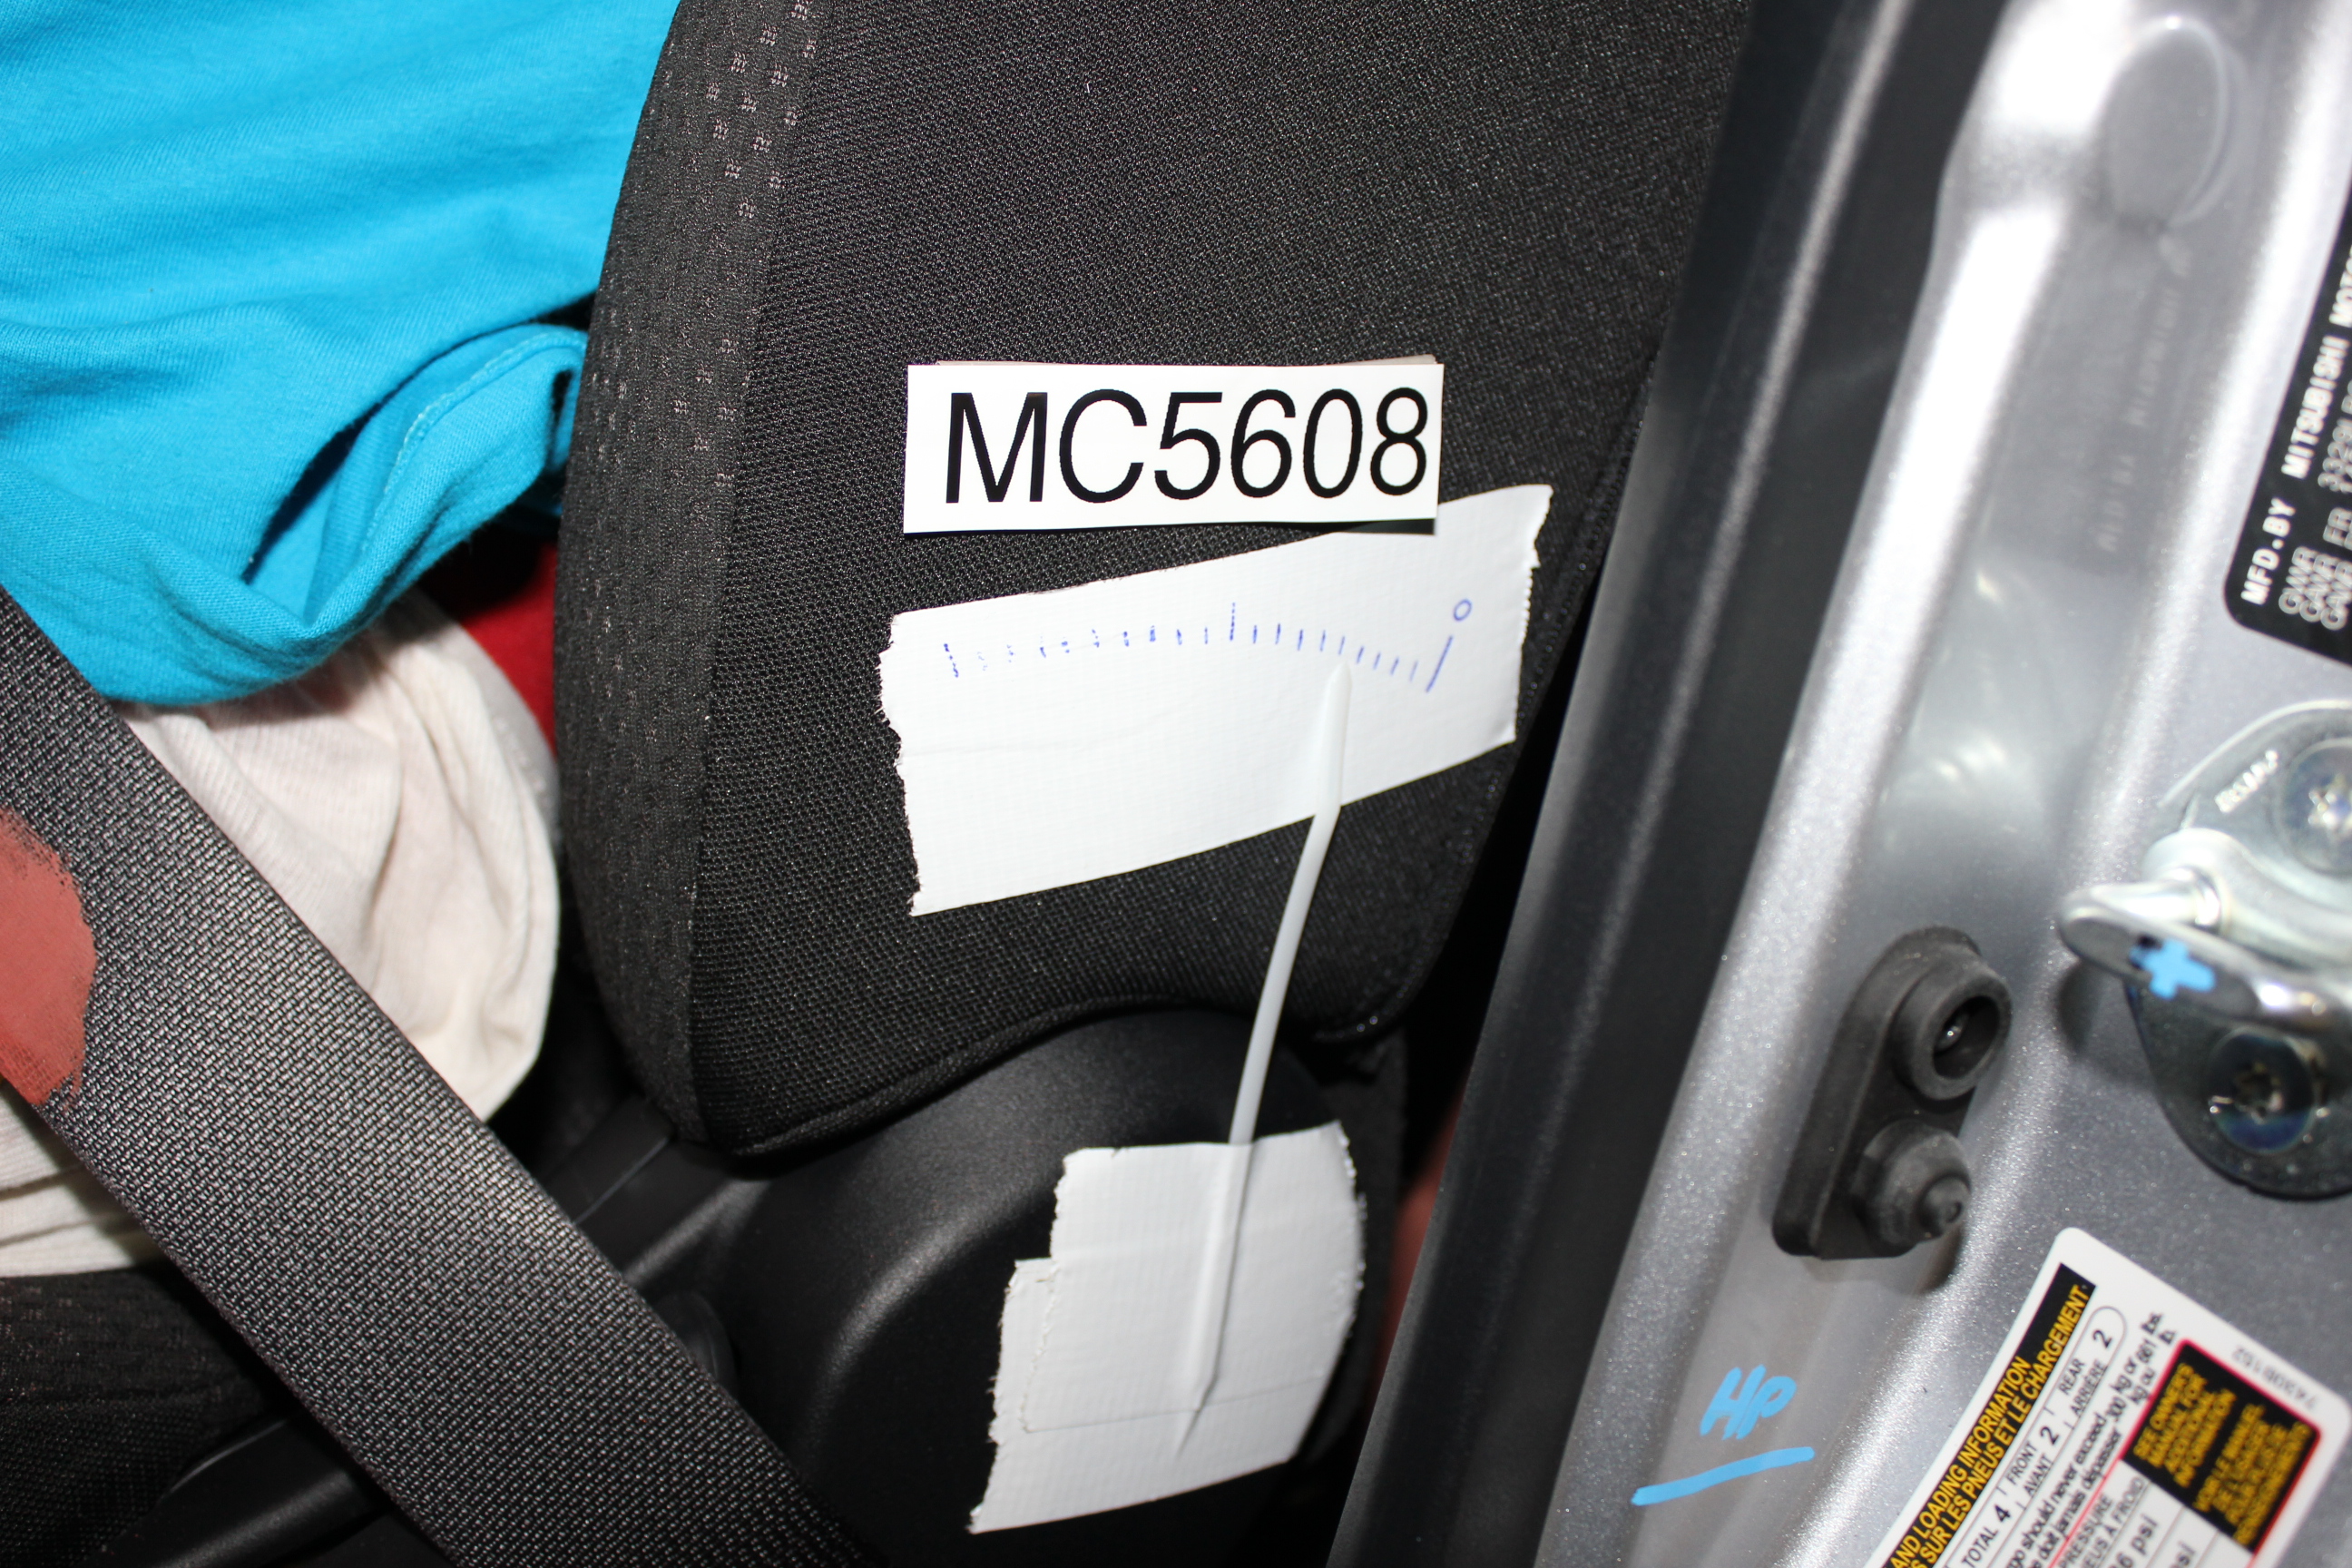
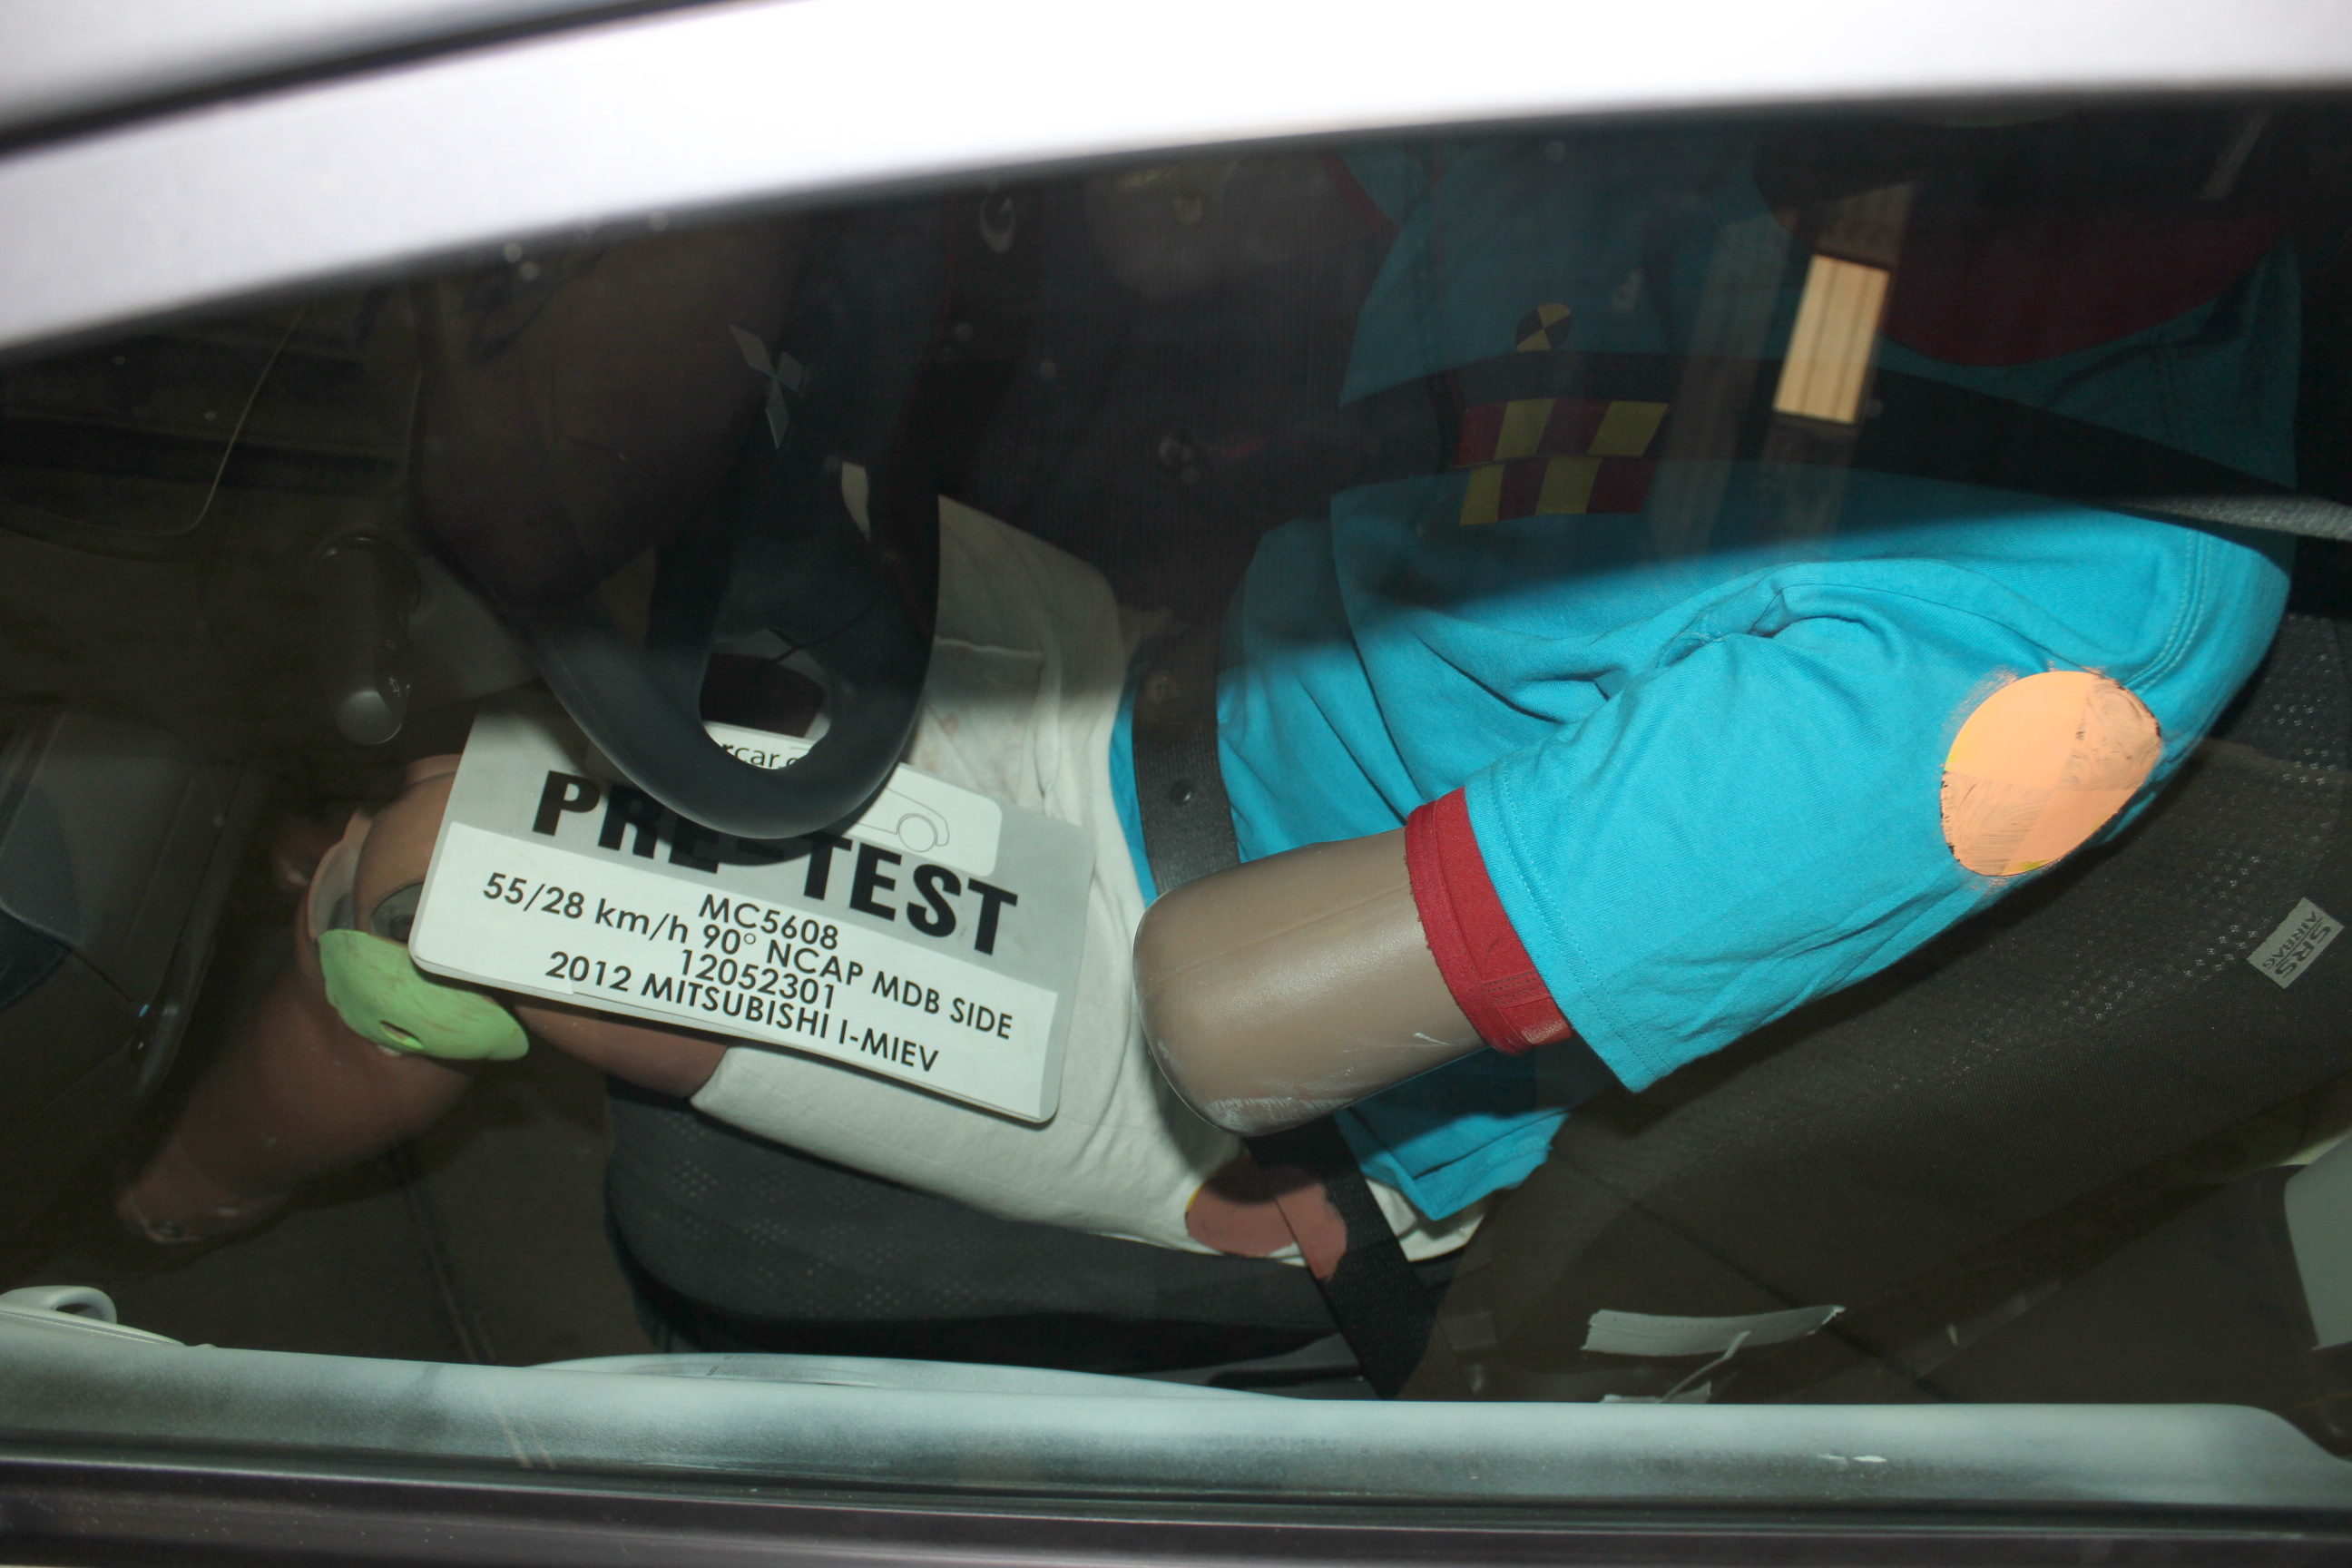
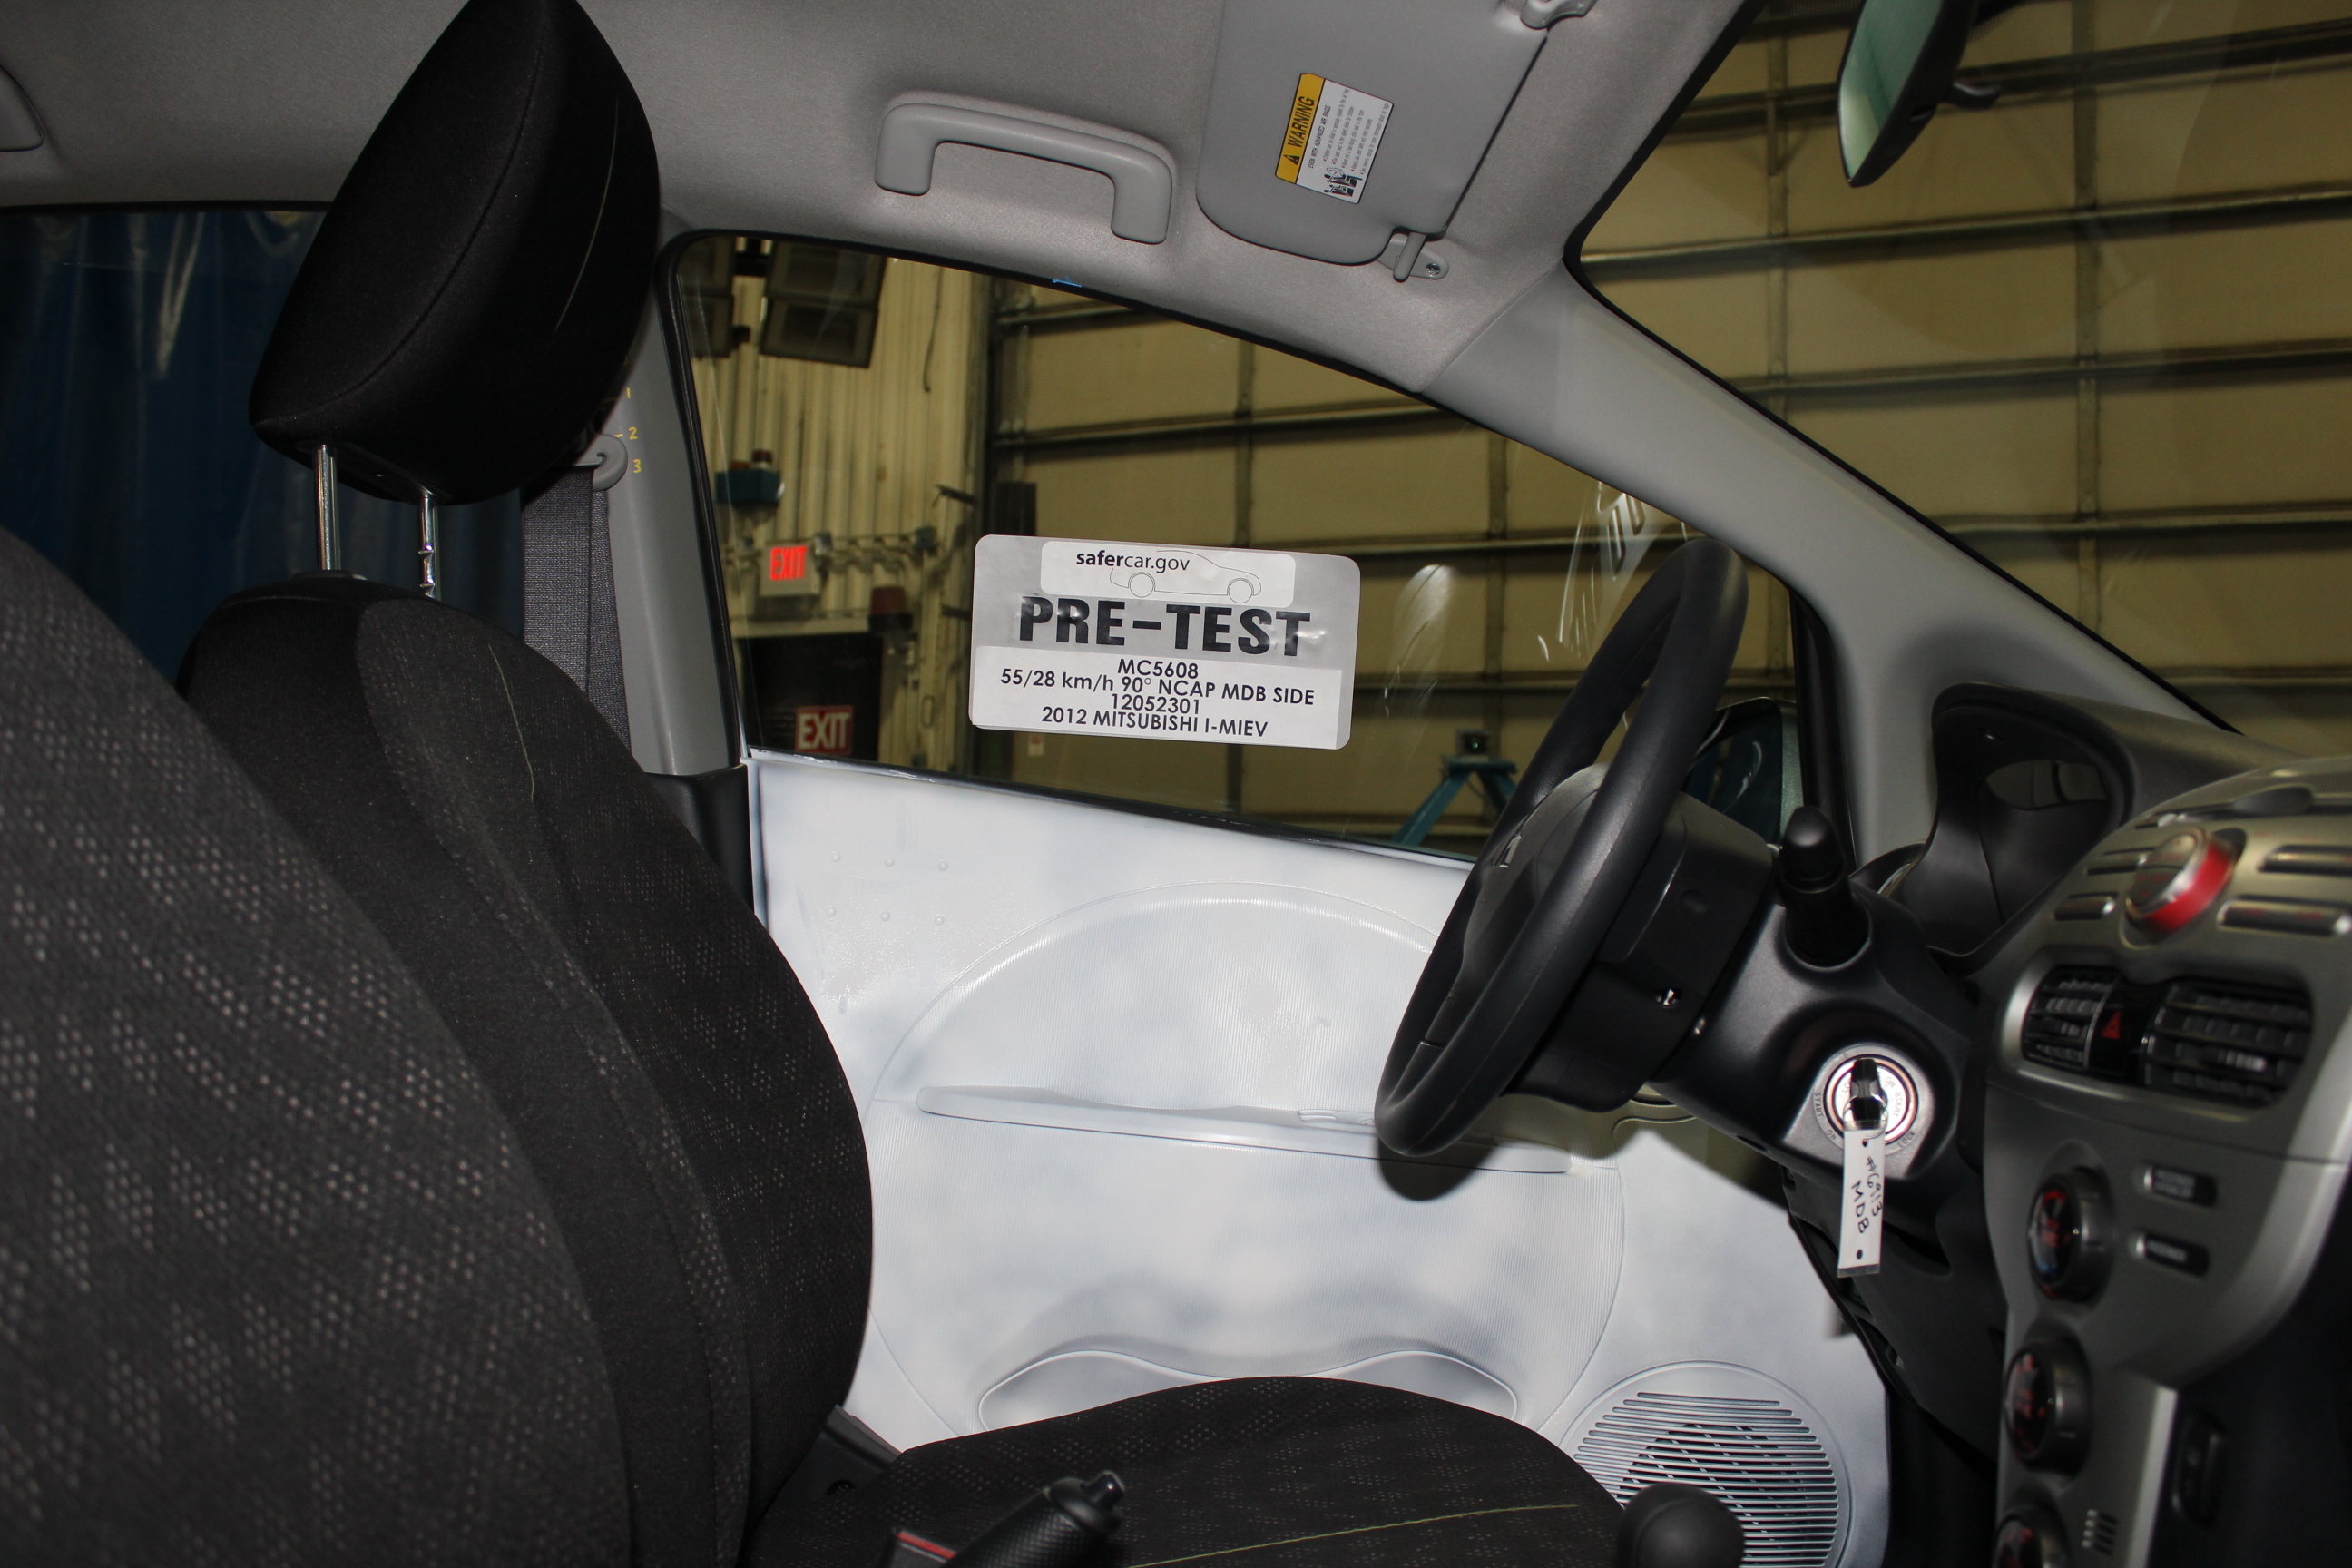
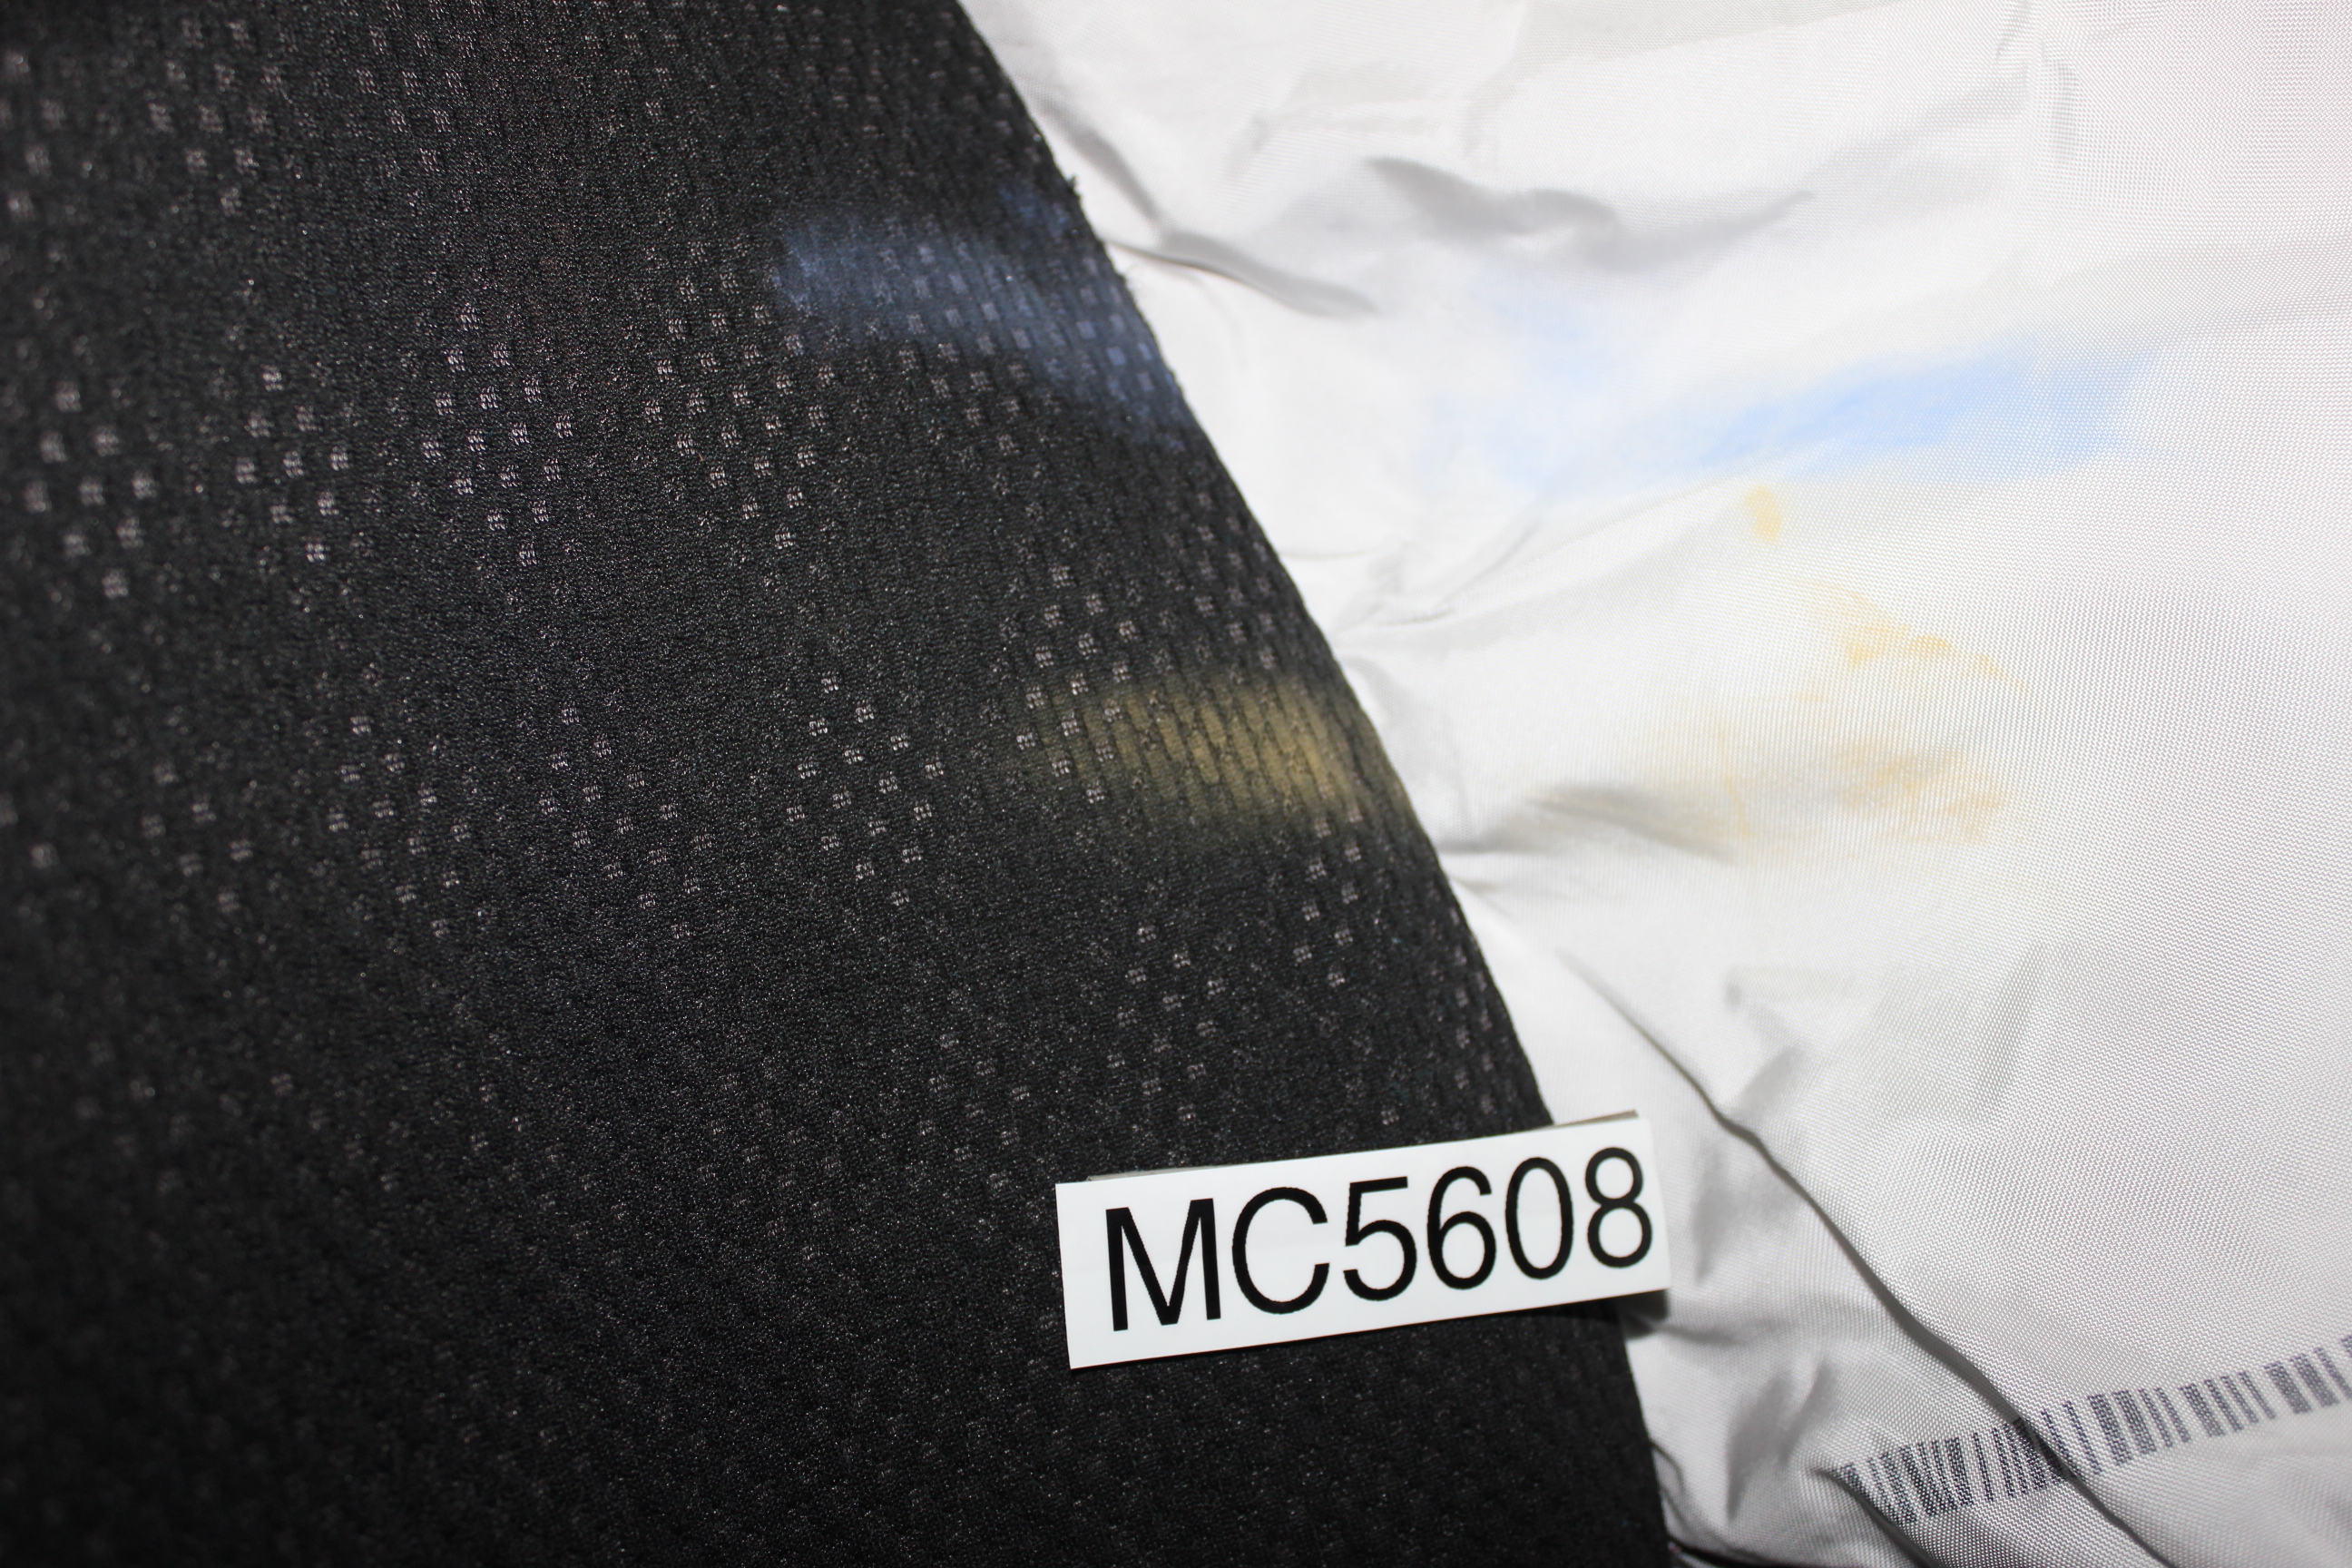
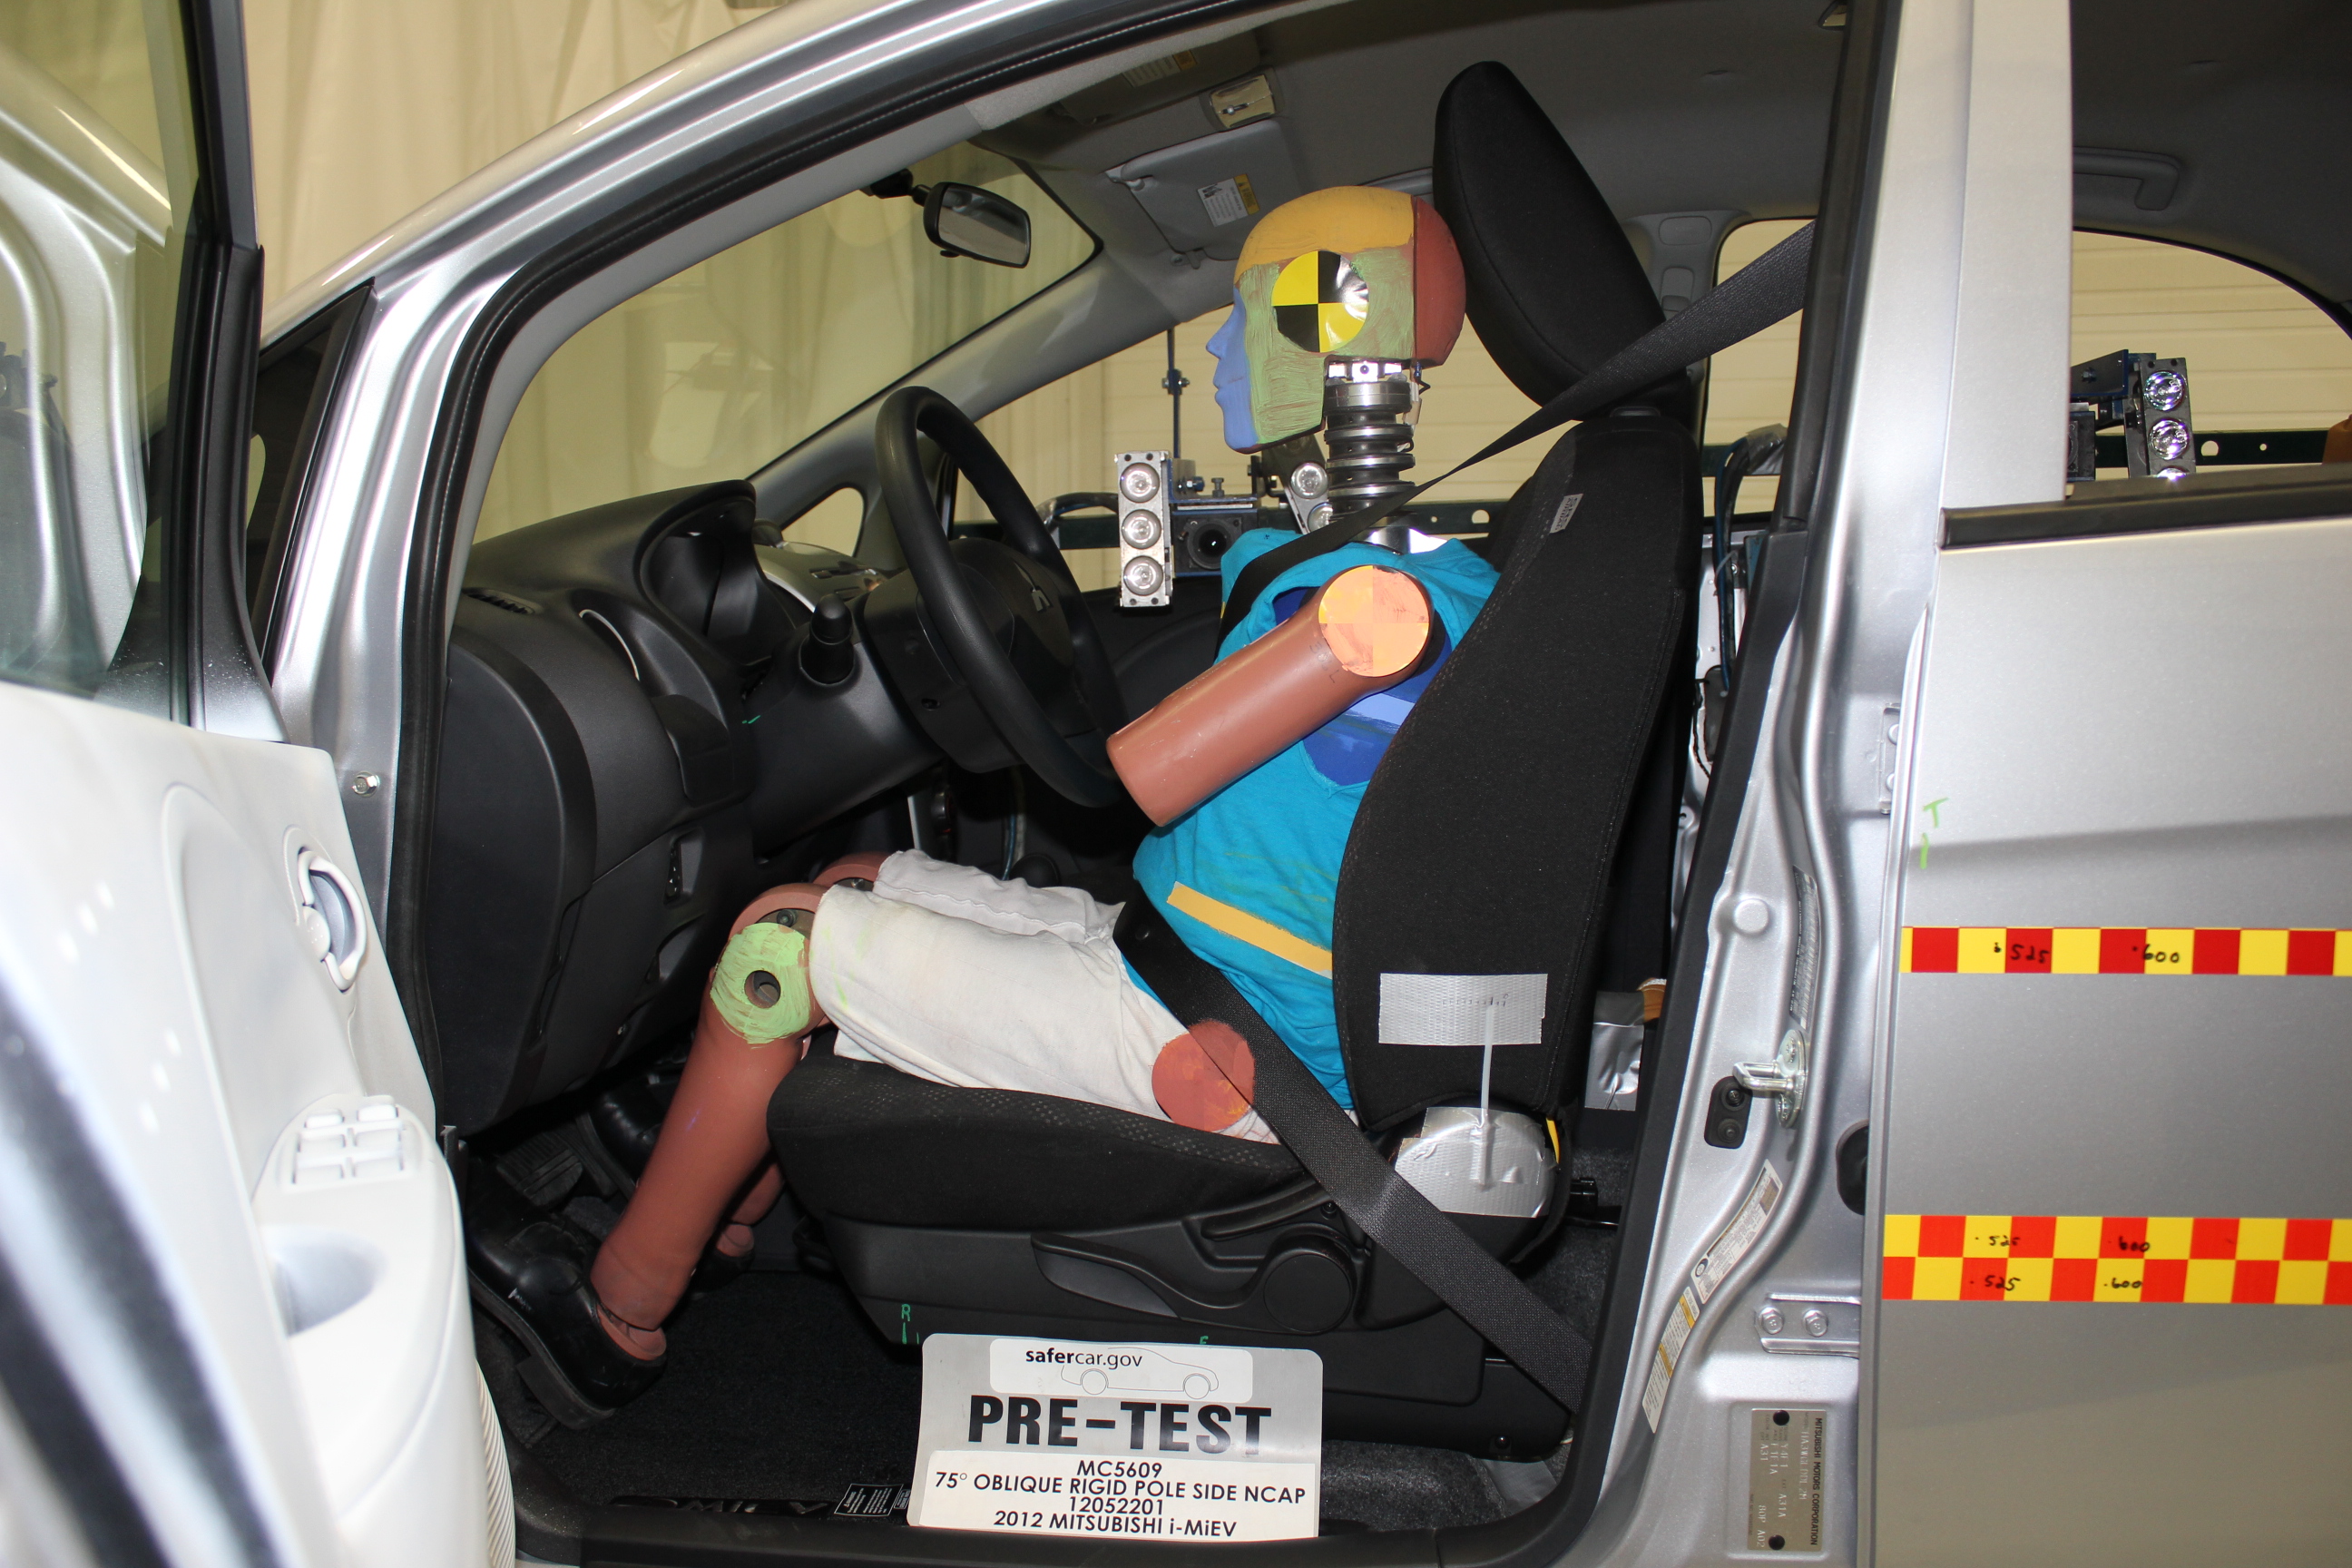
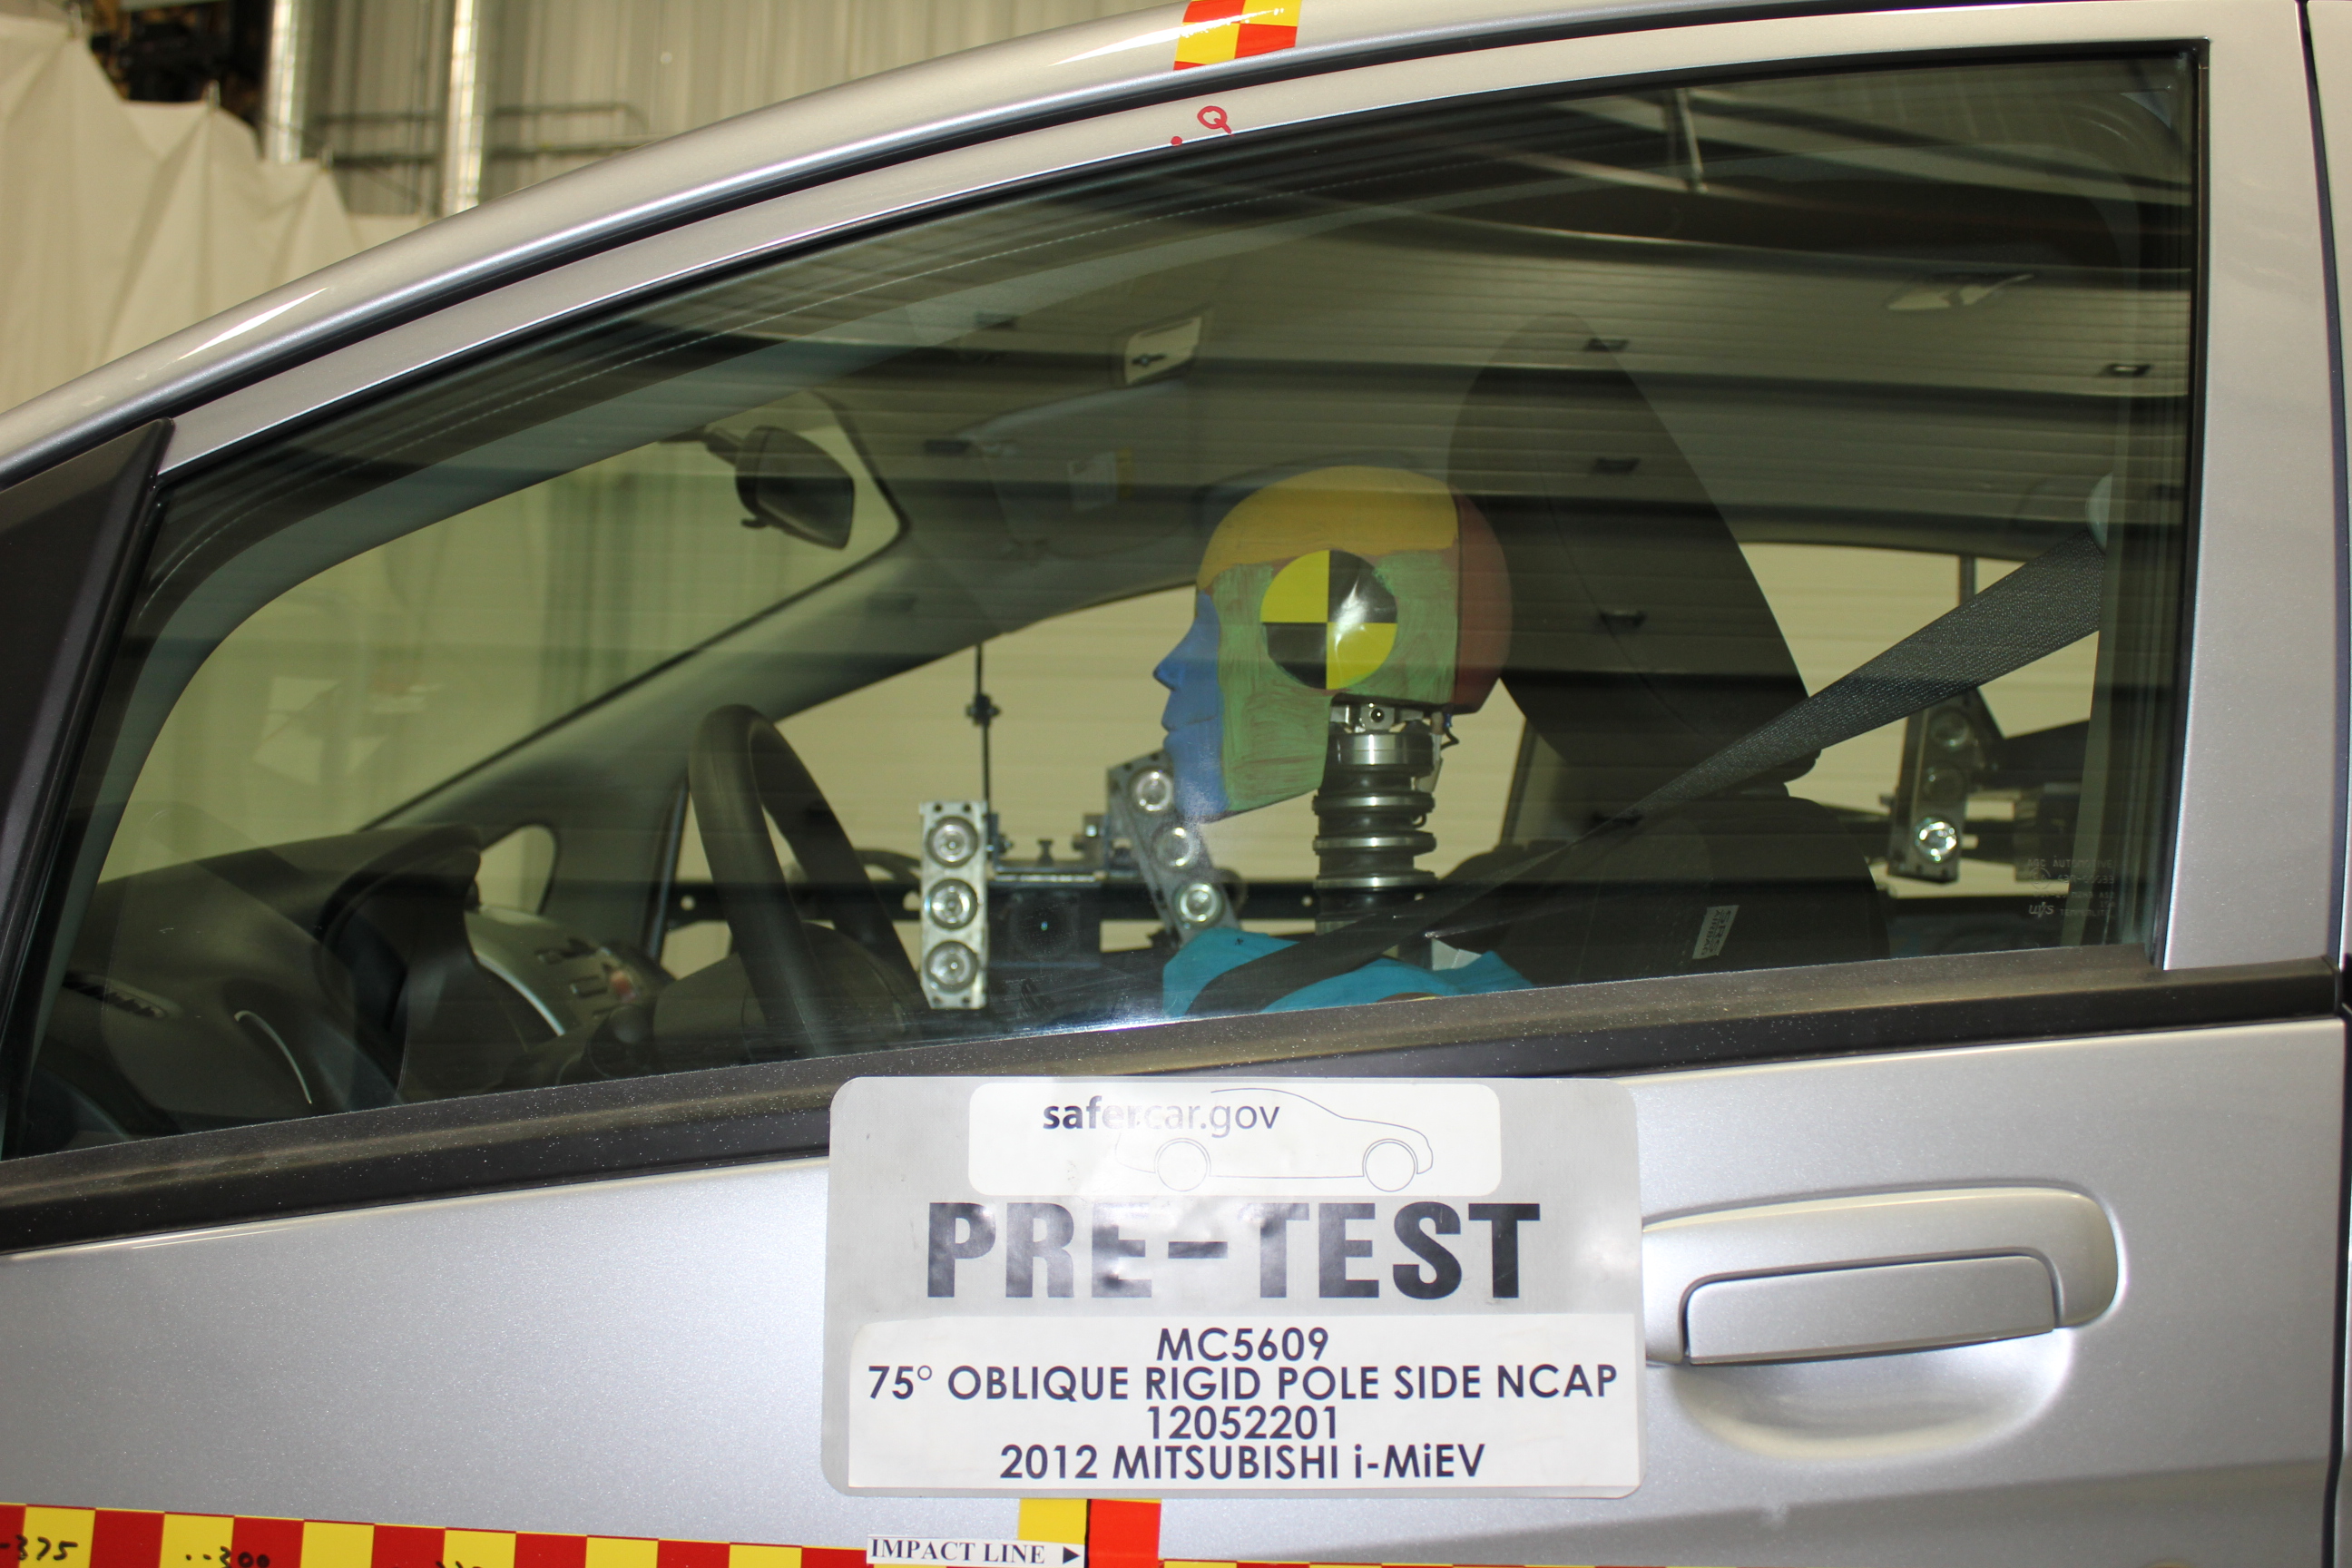
No. 001 As Delivered Right Front 3-4 View of Test Vehicle.jpgNo. 002 As Delivered Left Rear 3-4 View of Test Vehicle.jpgNo. 003 Pre-Test Frontal View of Test Vehicle.jpgNo. 004 Post-Test Frontal View of Test Vehicle.jpgNo. 005 Pre-Test Left Front 3-4 View of Test Vehicle.jpgNo. 006 Post-Test Left Front 3-4 View of Test Vehicle.jpgNo. 007 Pre-Test Left Side View of Test Vehicle.jpgNo. 008 Post-Test Left Side View of Test Vehicle.jpgNo. 009 Pre-Test Left Rear 3-4 View of Test Vehicle.jpgNo. 010 Post-Test Left Rear 3-4 View of Impact Zone.jpgNo. 011 Pre-Test Rear View of Test Vehicle.jpgNo. 012 Post-Test Rear View of Test Vehicle.jpgNo. 013 Pre-Test Right Side View of Test Vehicle.jpgNo. 014 Post-Test Right Side View of Test Vehicle.jpgNo. 015 Pre-Test Overhead View of Test Area.jpgNo. 016 Post-Test Overhead View of Test Area.jpgNo. 017 Pre-Test Left Side View of MDB Positioned Against Side of Test Vehicle.jpgNo. 018 Pre-Test Right Side View of MDB Positioned Against Side of Test Vehicle.jpgNo. 019 Pre-Test Close-up View of Impact Point Target.jpgNo. 020 Post-Test Close-up View of Impact Point Target.jpgNo. 021 Pre-Test Left Front Door Latch Close-up.jpgNo. 022 Post-Test Left Front Door Latch Close-up.jpgNo. 023 Pre-Test Left Rear Door Latch Close-up.jpgNo. 024 Post-Test Left Rear Door Latch Close-up.jpgNo. 025 Pre-Test Front Close-up View of Driver Dummy.jpgNo. 026 Post-Test Front Close-up View of Driver Dummy.jpgNo. 027 Pre-Test Left Side View of Driver Dummy Showing Belt and Chalking.jpgNo. 028 Pre-Test Left Side View of Driver Dummy Shoulder and Door Top View.jpgNo. 029 Post-Test Left Side View of Driver Dummy Shoulder and Door Top View.jpgNo. 034 Pre-Test Placement of Driver Dummy Feet.jpgNo. 030 Pre-Test Frontal View of Driver Seat Back Prior to Dummy Positioning.jpgNo. 031 Pre-Test Frontal View of Driver Dummy Head and Shoulders in Relation to Head Restraint.jpgNo. 032 Pre-Test Frontal View of Driver Seat Pan Prior to Dummy Positioning.jpgNo. 033 Pre-Test Overhead View of Driver Dummy Thighs on Seat Pan.jpgNo. 035 Pre-Test View of Belt Anchorage for Driver Dummy.jpgNo. 036 Pre-Test Left Side View of Steering Wheel.jpgNo. 037 Pre-Test View of Disengaged Parking Brake.jpgNo. 038 Pre-Test View of Parking Brake.jpgNo. 039 Pre-Test Close-up Left Side View of Driver Seat Track.jpgNo. 040 Pre-Test Close-up Left Side View of Driver Seat Back.jpgNo. 042 Pre-Test Driver Dummy and Door Clearance View.jpgNo. 046 Pre-Test Driver Inner Door Panel View.jpgNo. 050 Post-Test Driver Dummy Close-up Torso Contact with Vehicle Interior View.jpgNo. 061 Pre-Test View of Rear Passenger Dummy Neck Showing Position of Adjustable Neck Bracket.jpgNo. 068 Pre-Test Rear Passenger Dummy and Door Clearance View.jpgNo. 069 Post-Test Rear Passenger Dummy and Door Clearance View.jpg

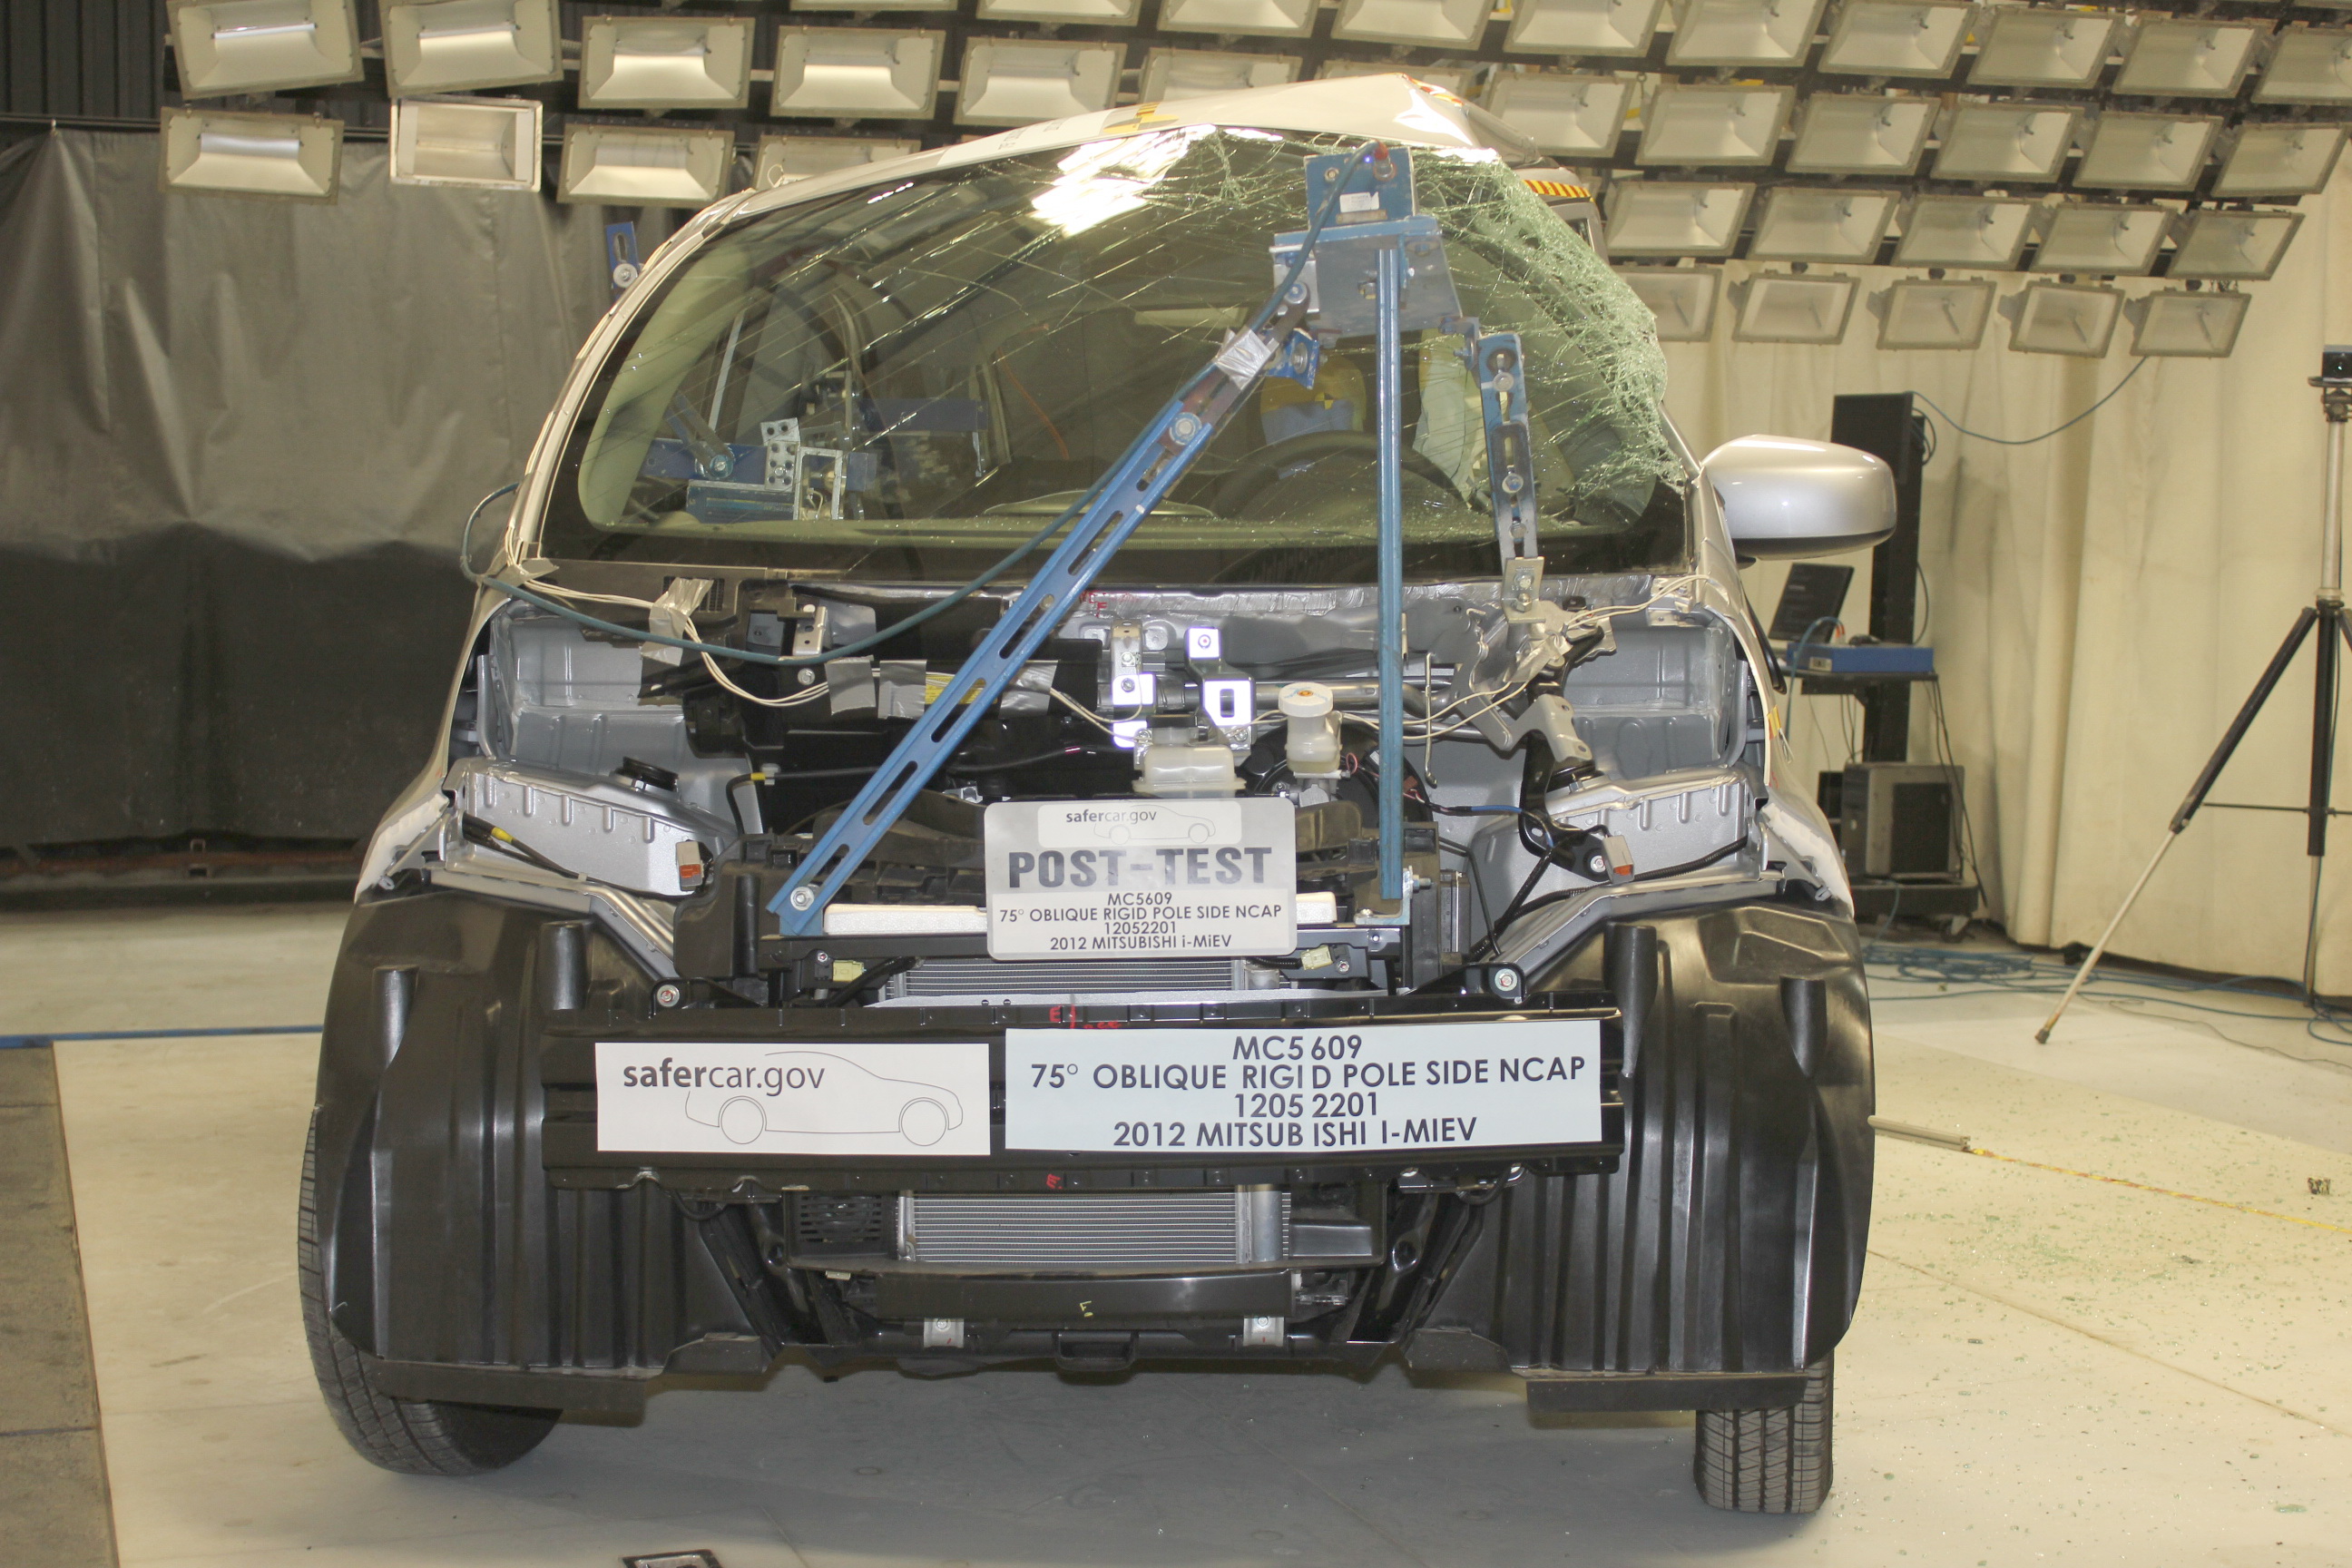
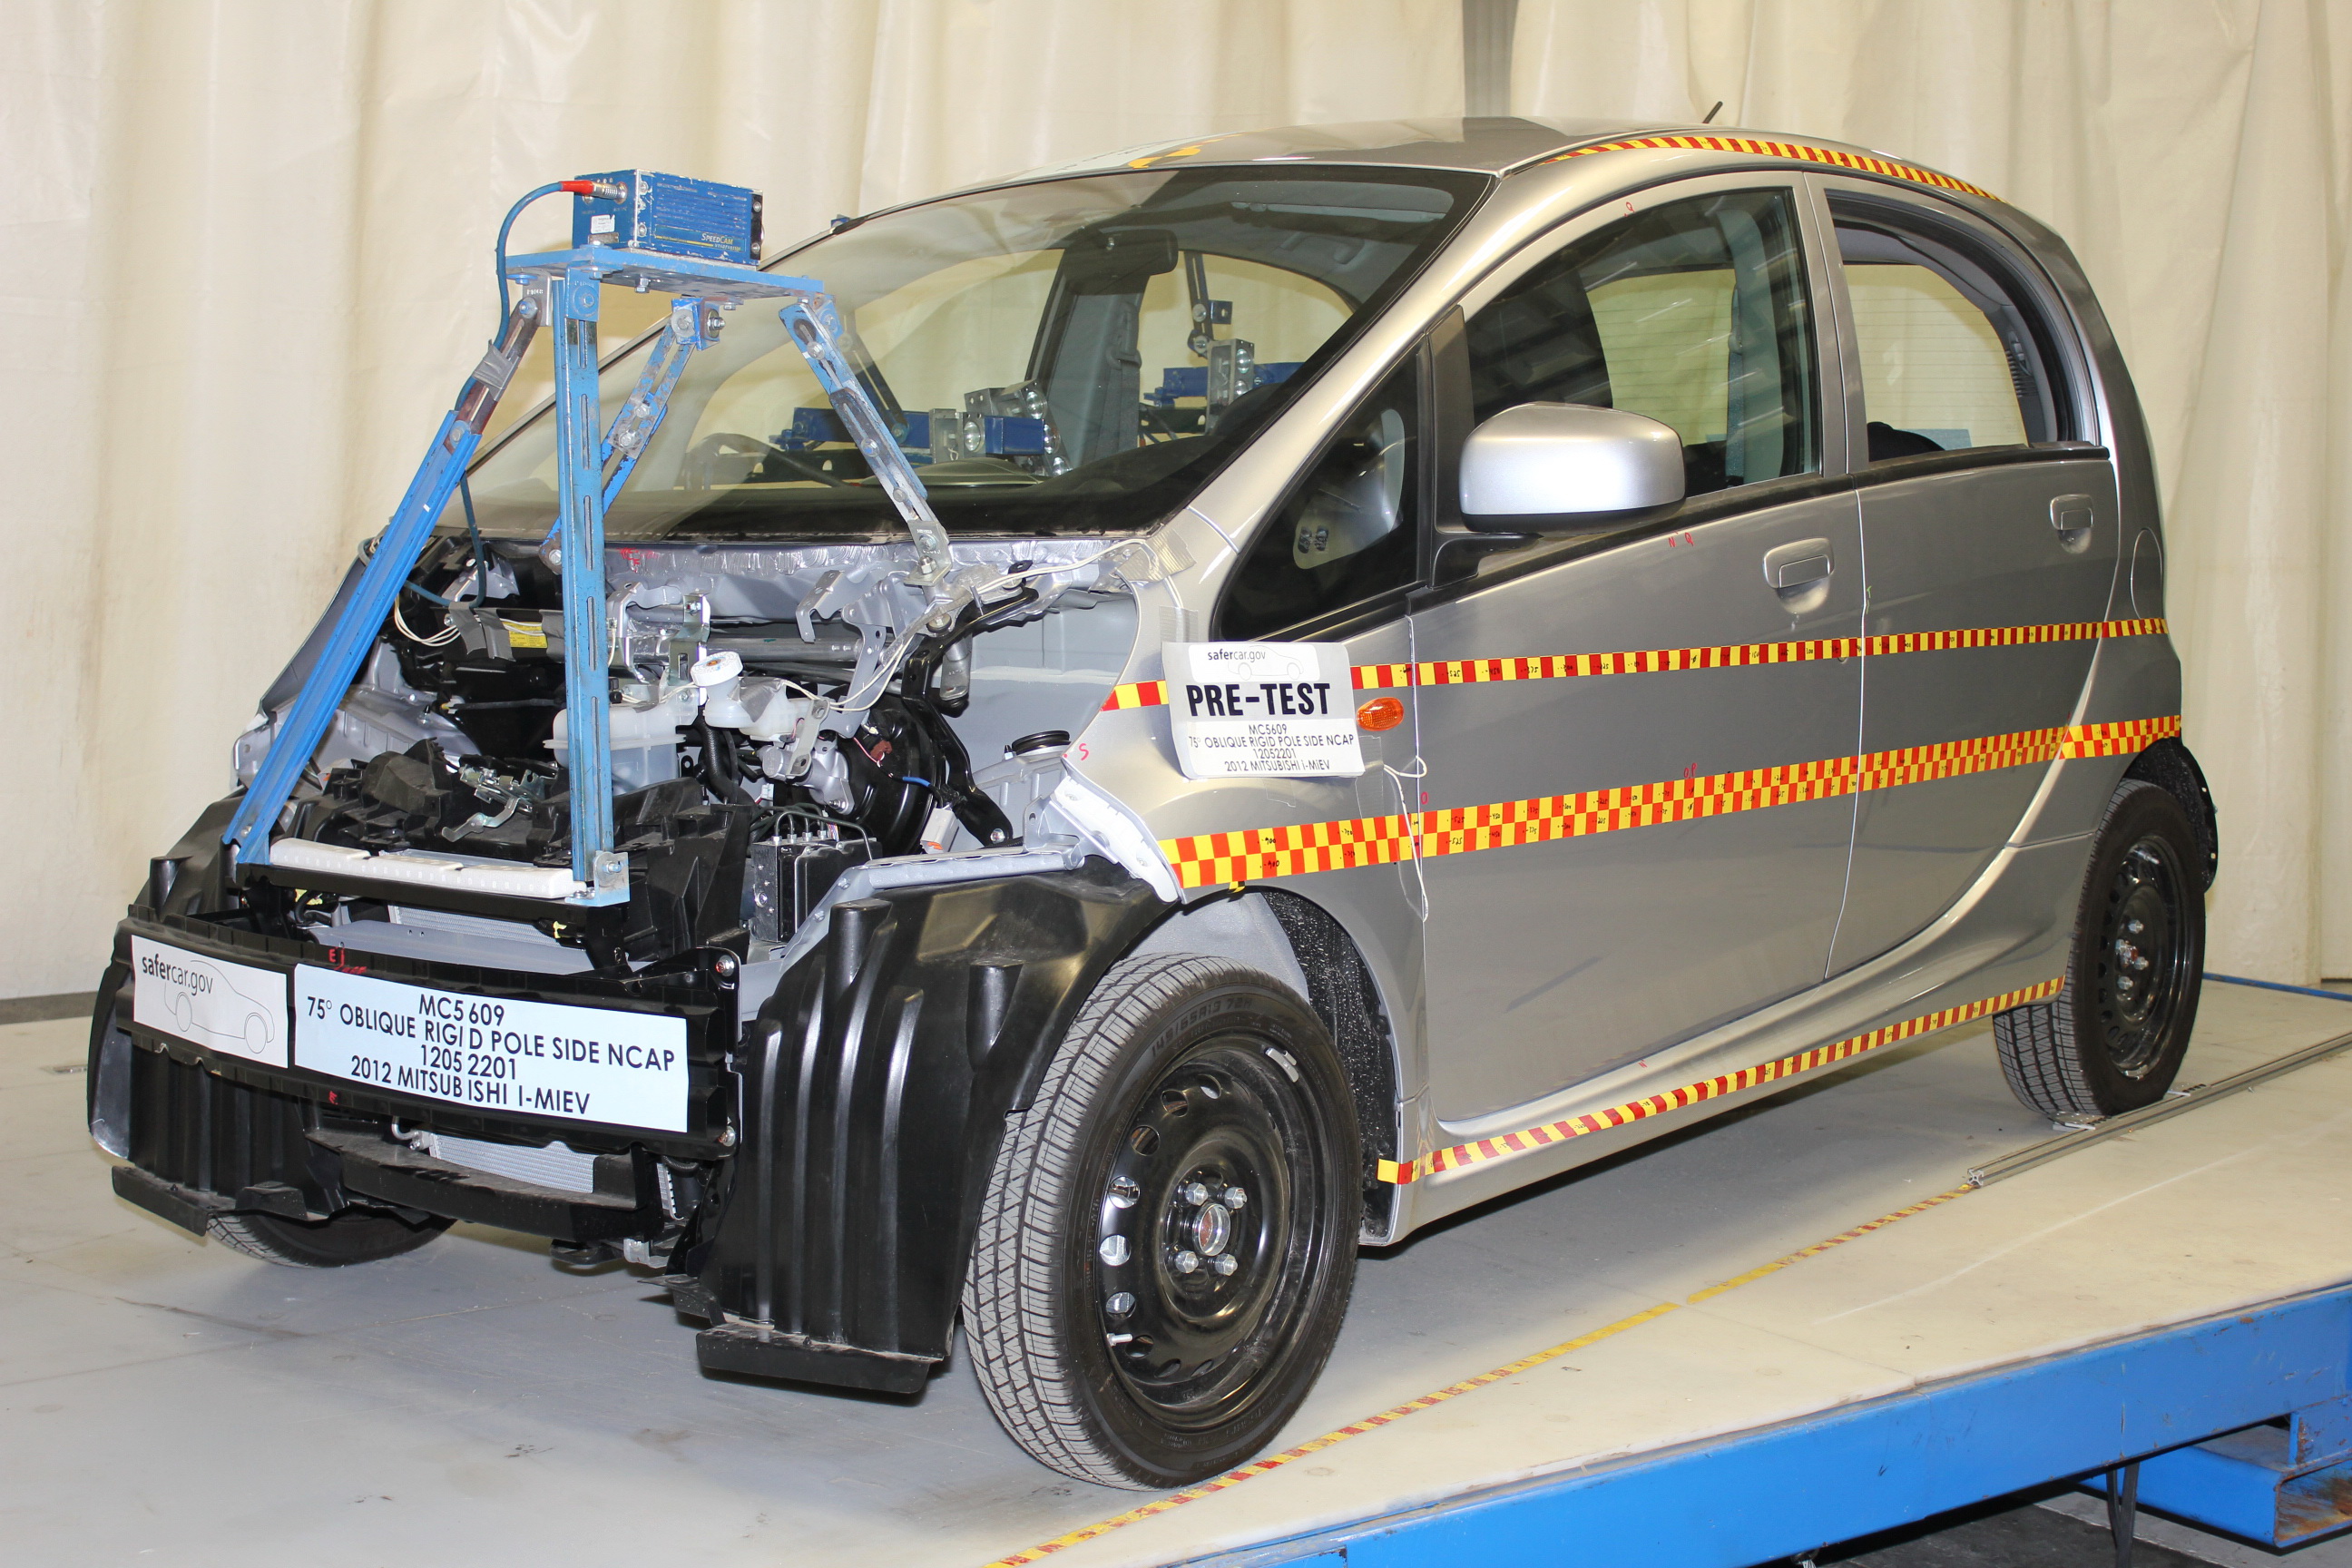
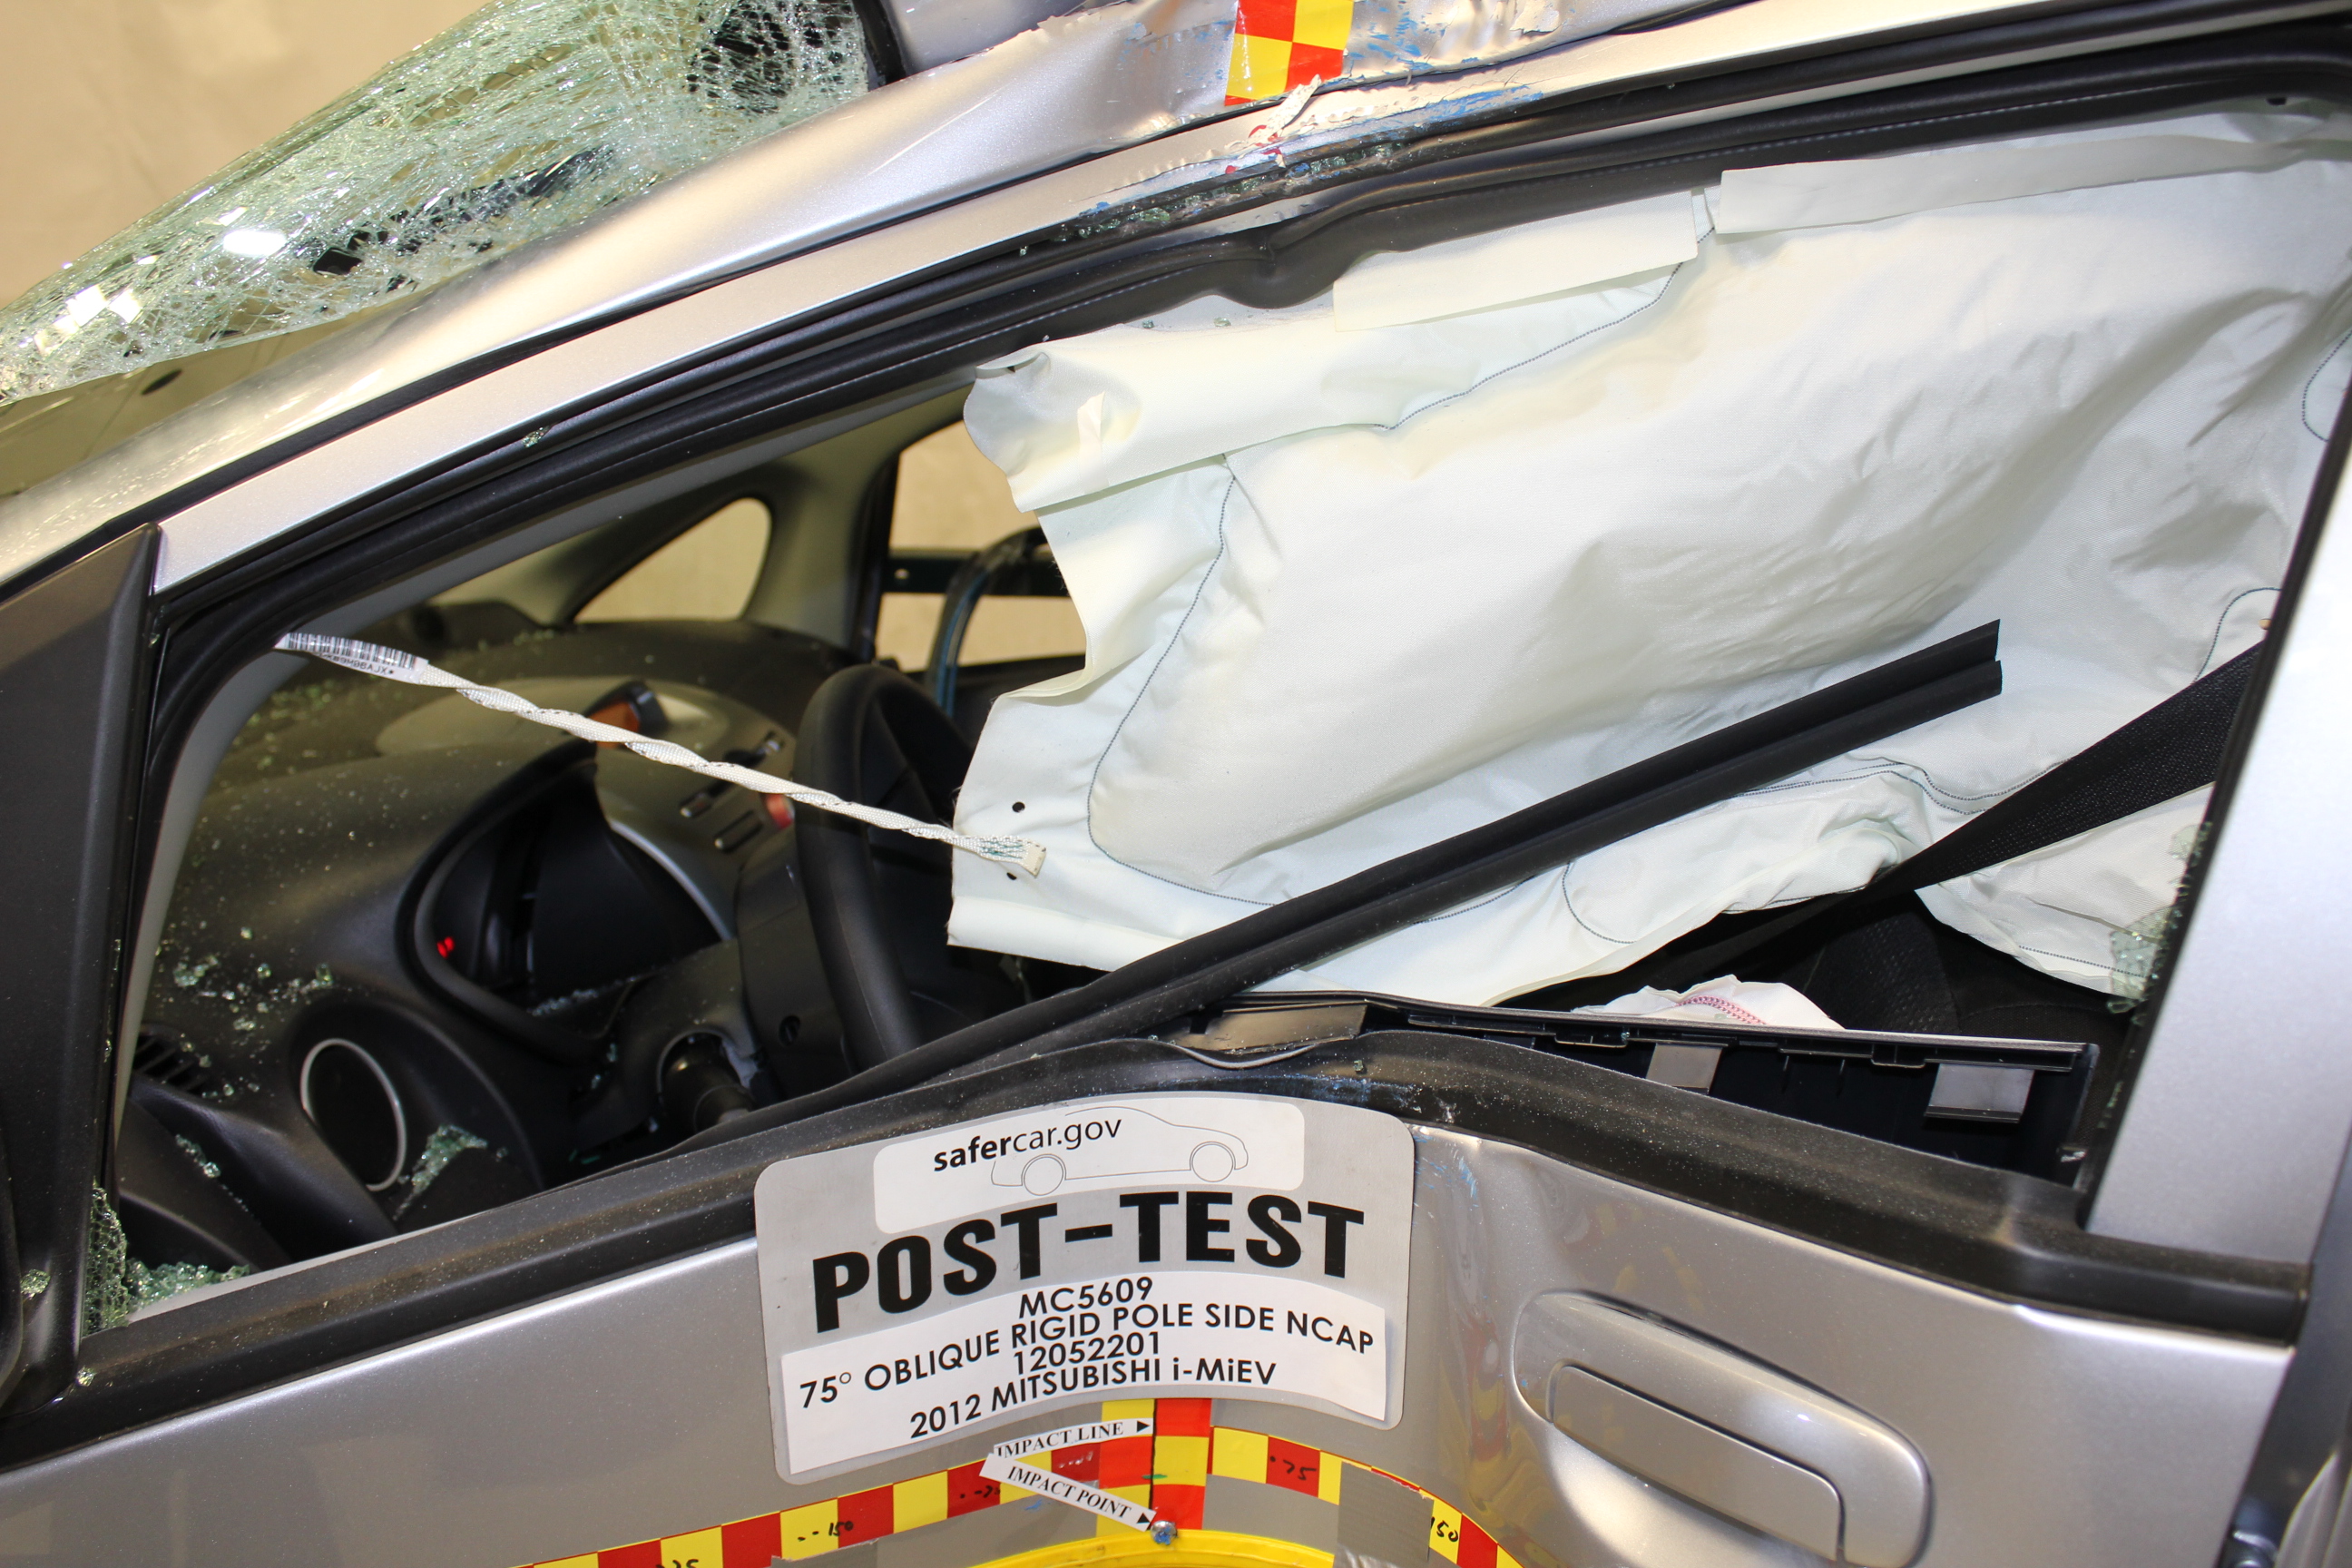
Crash test #3NHTSA test 7870

Full test report (PDF) ↗

Crash-test footage is converted for smooth playback the first time someone requests it — usually under a minute.
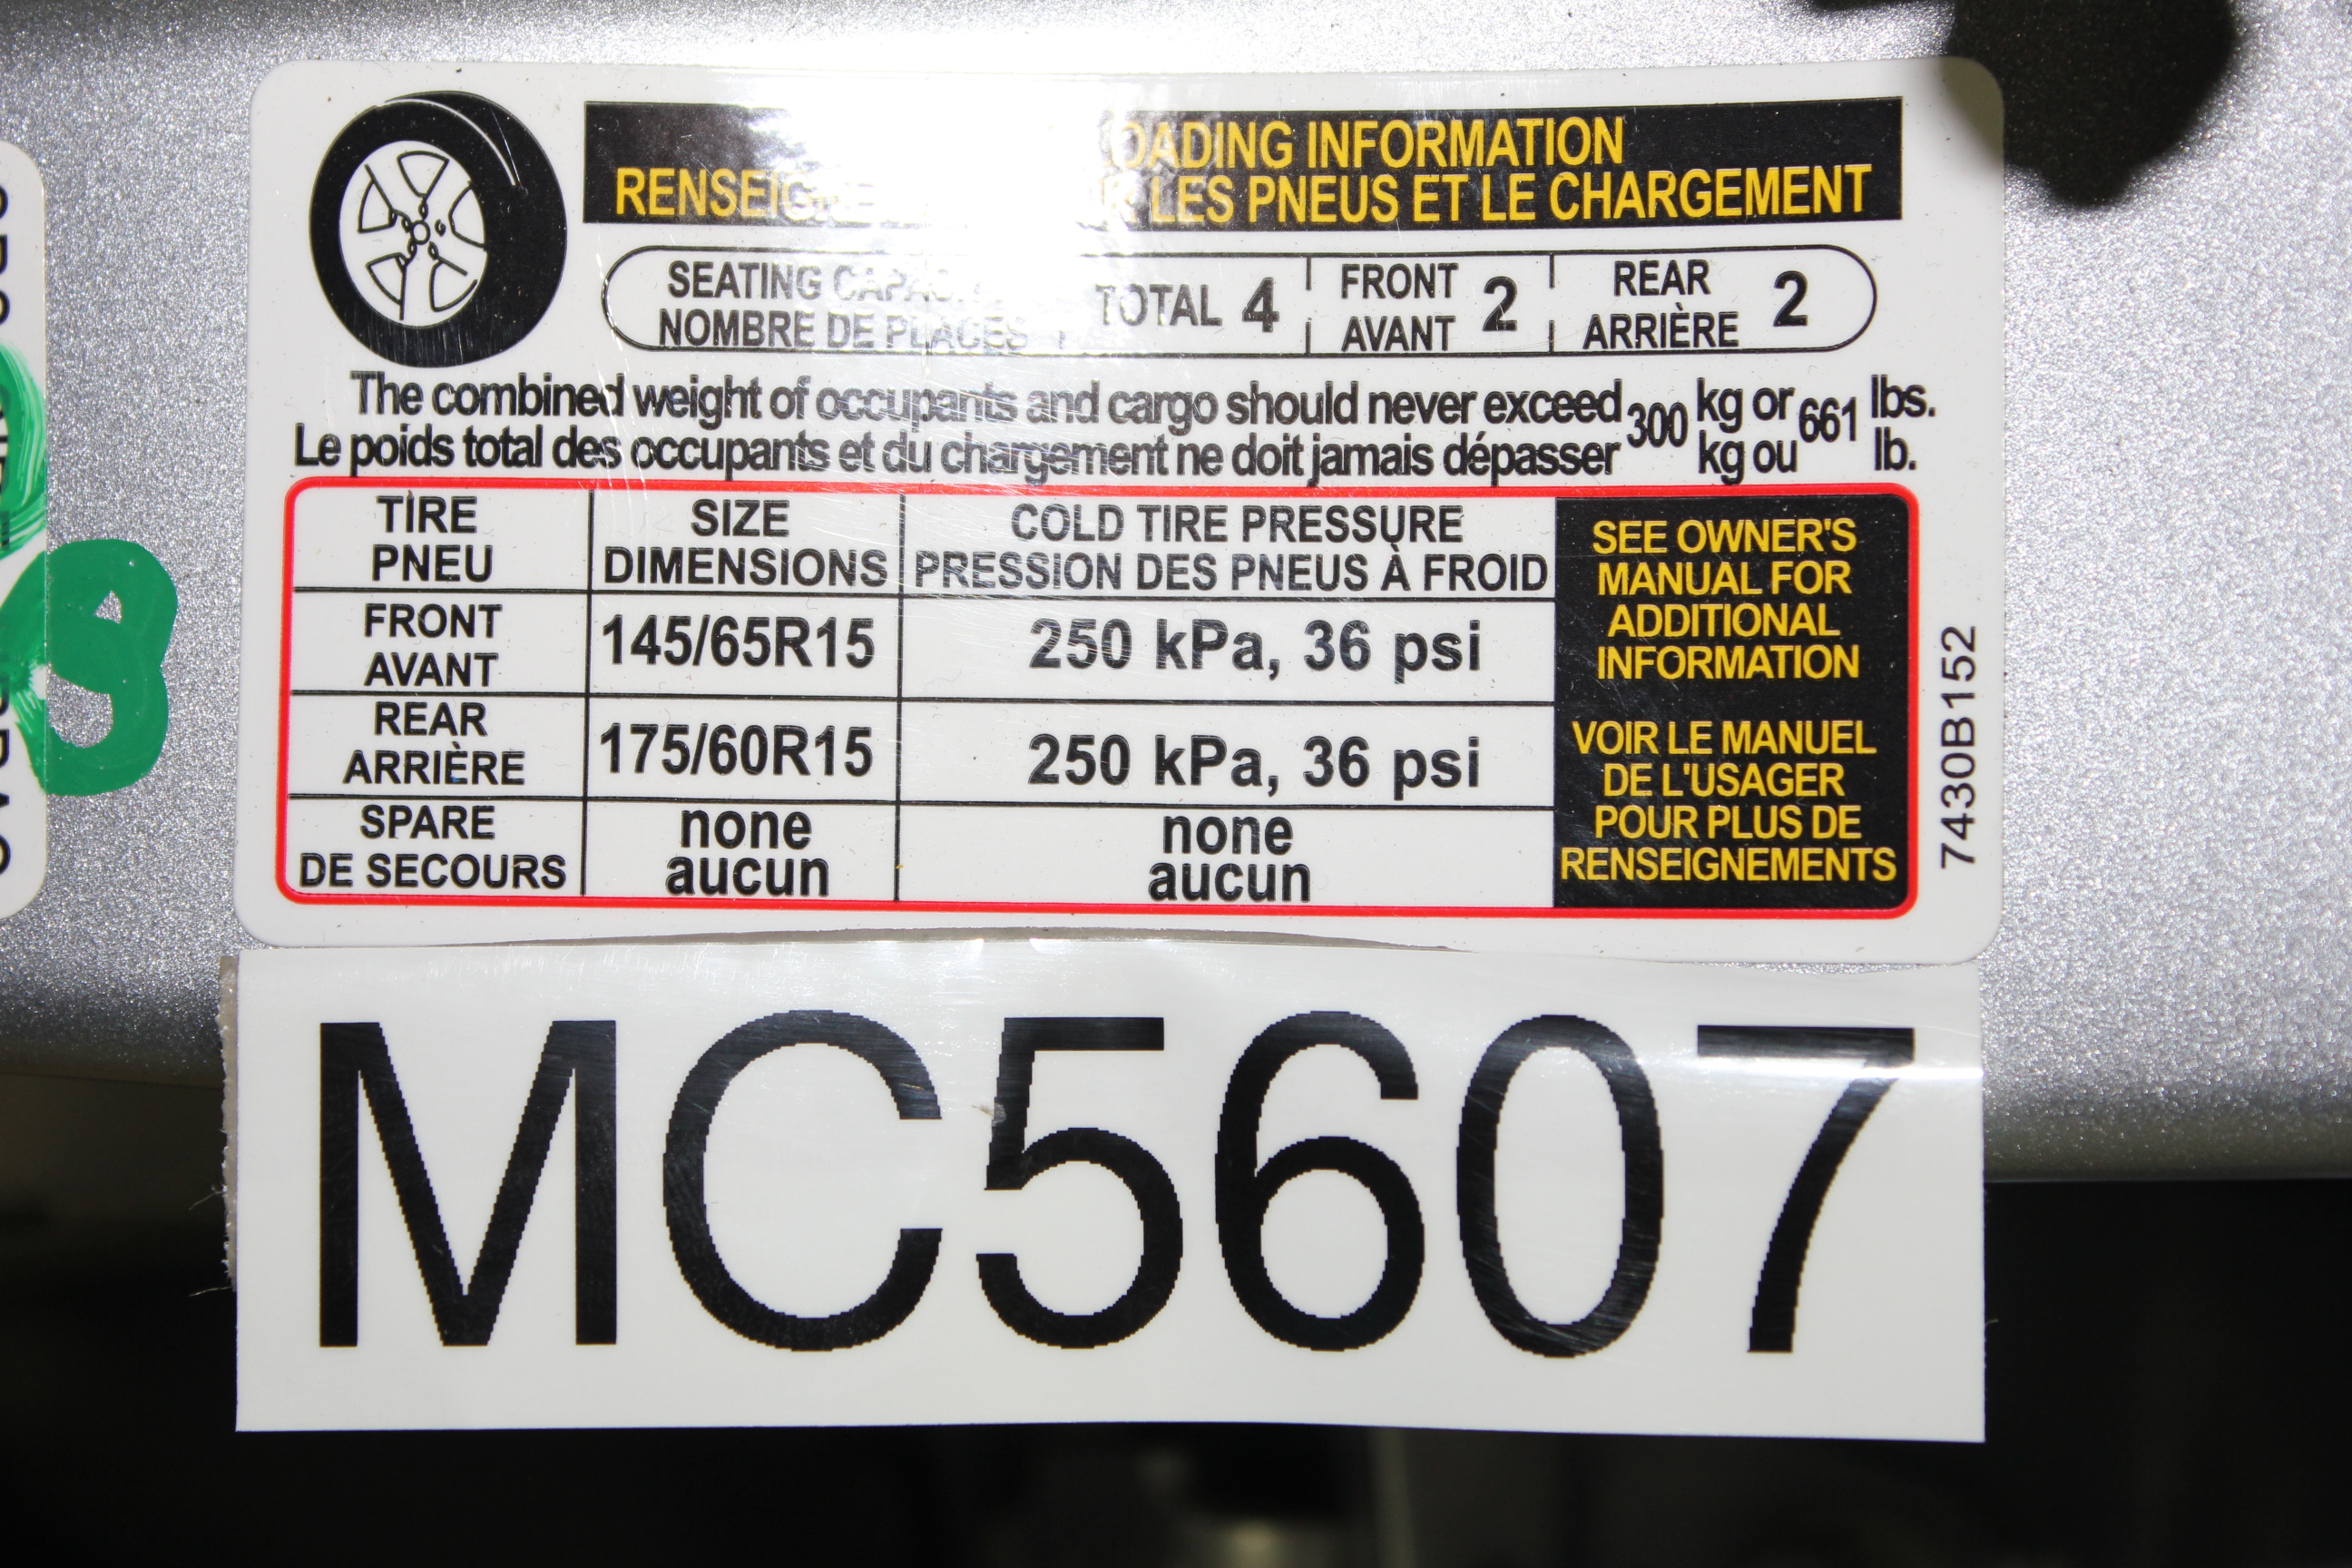
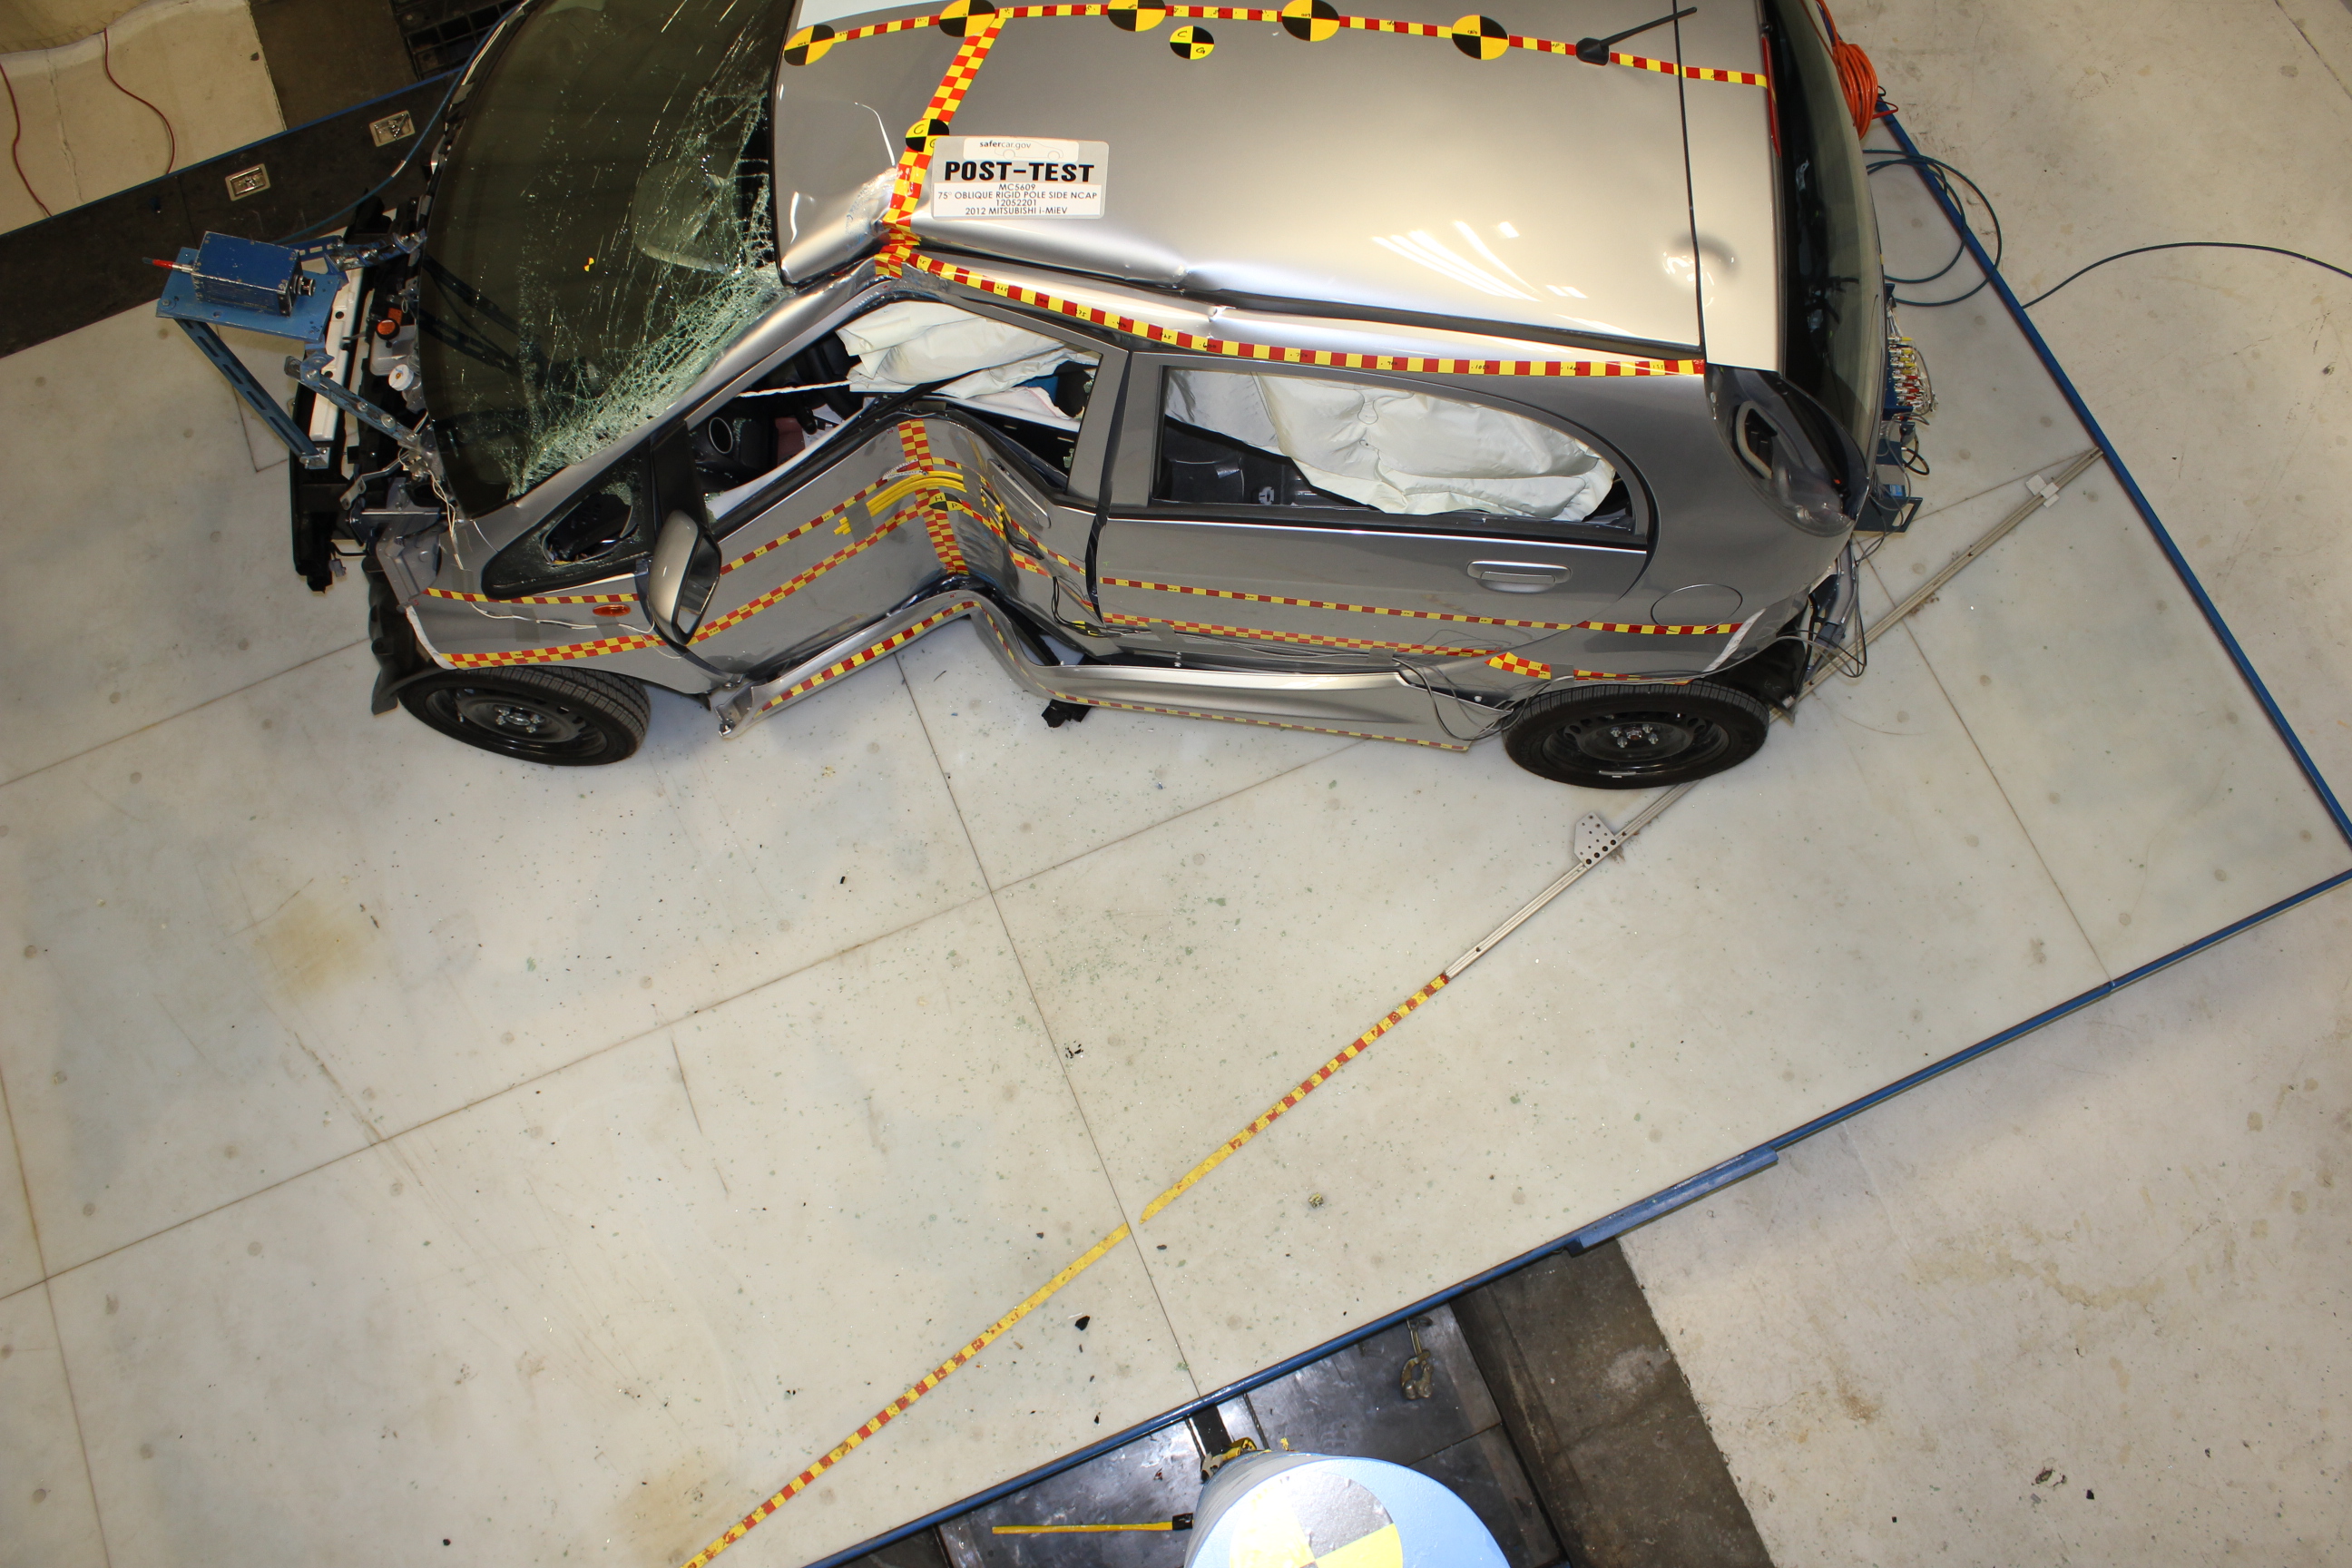
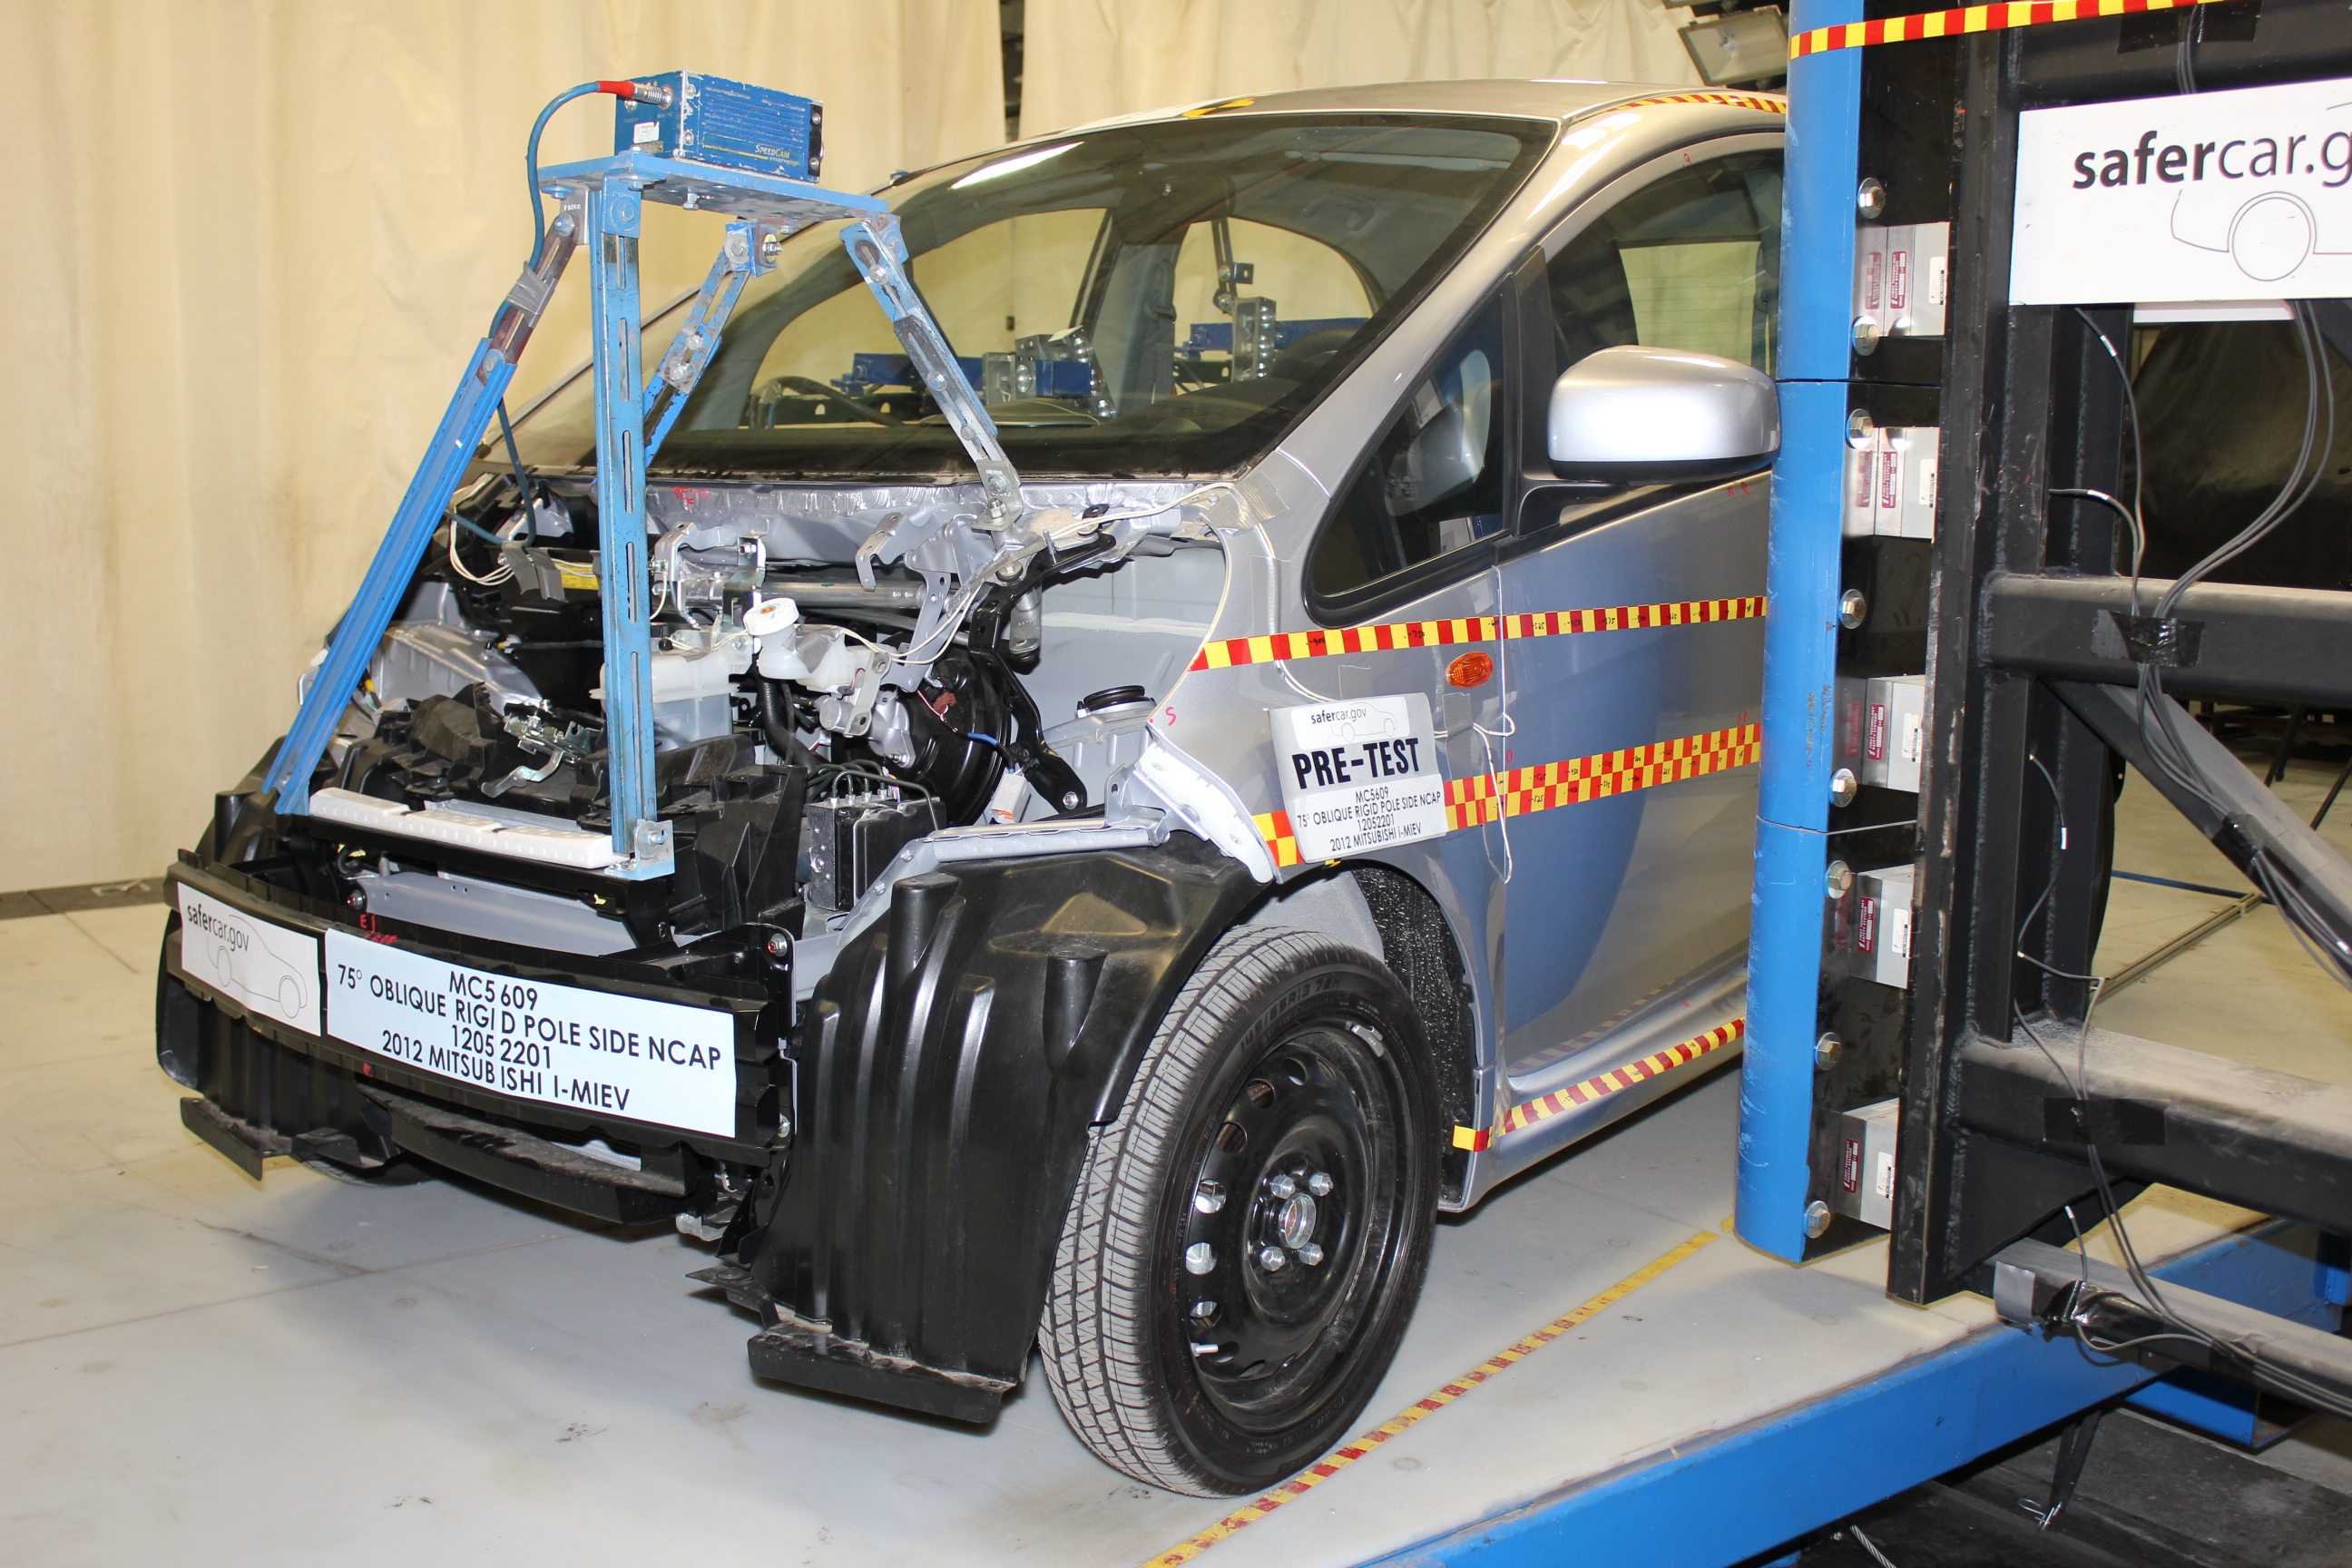
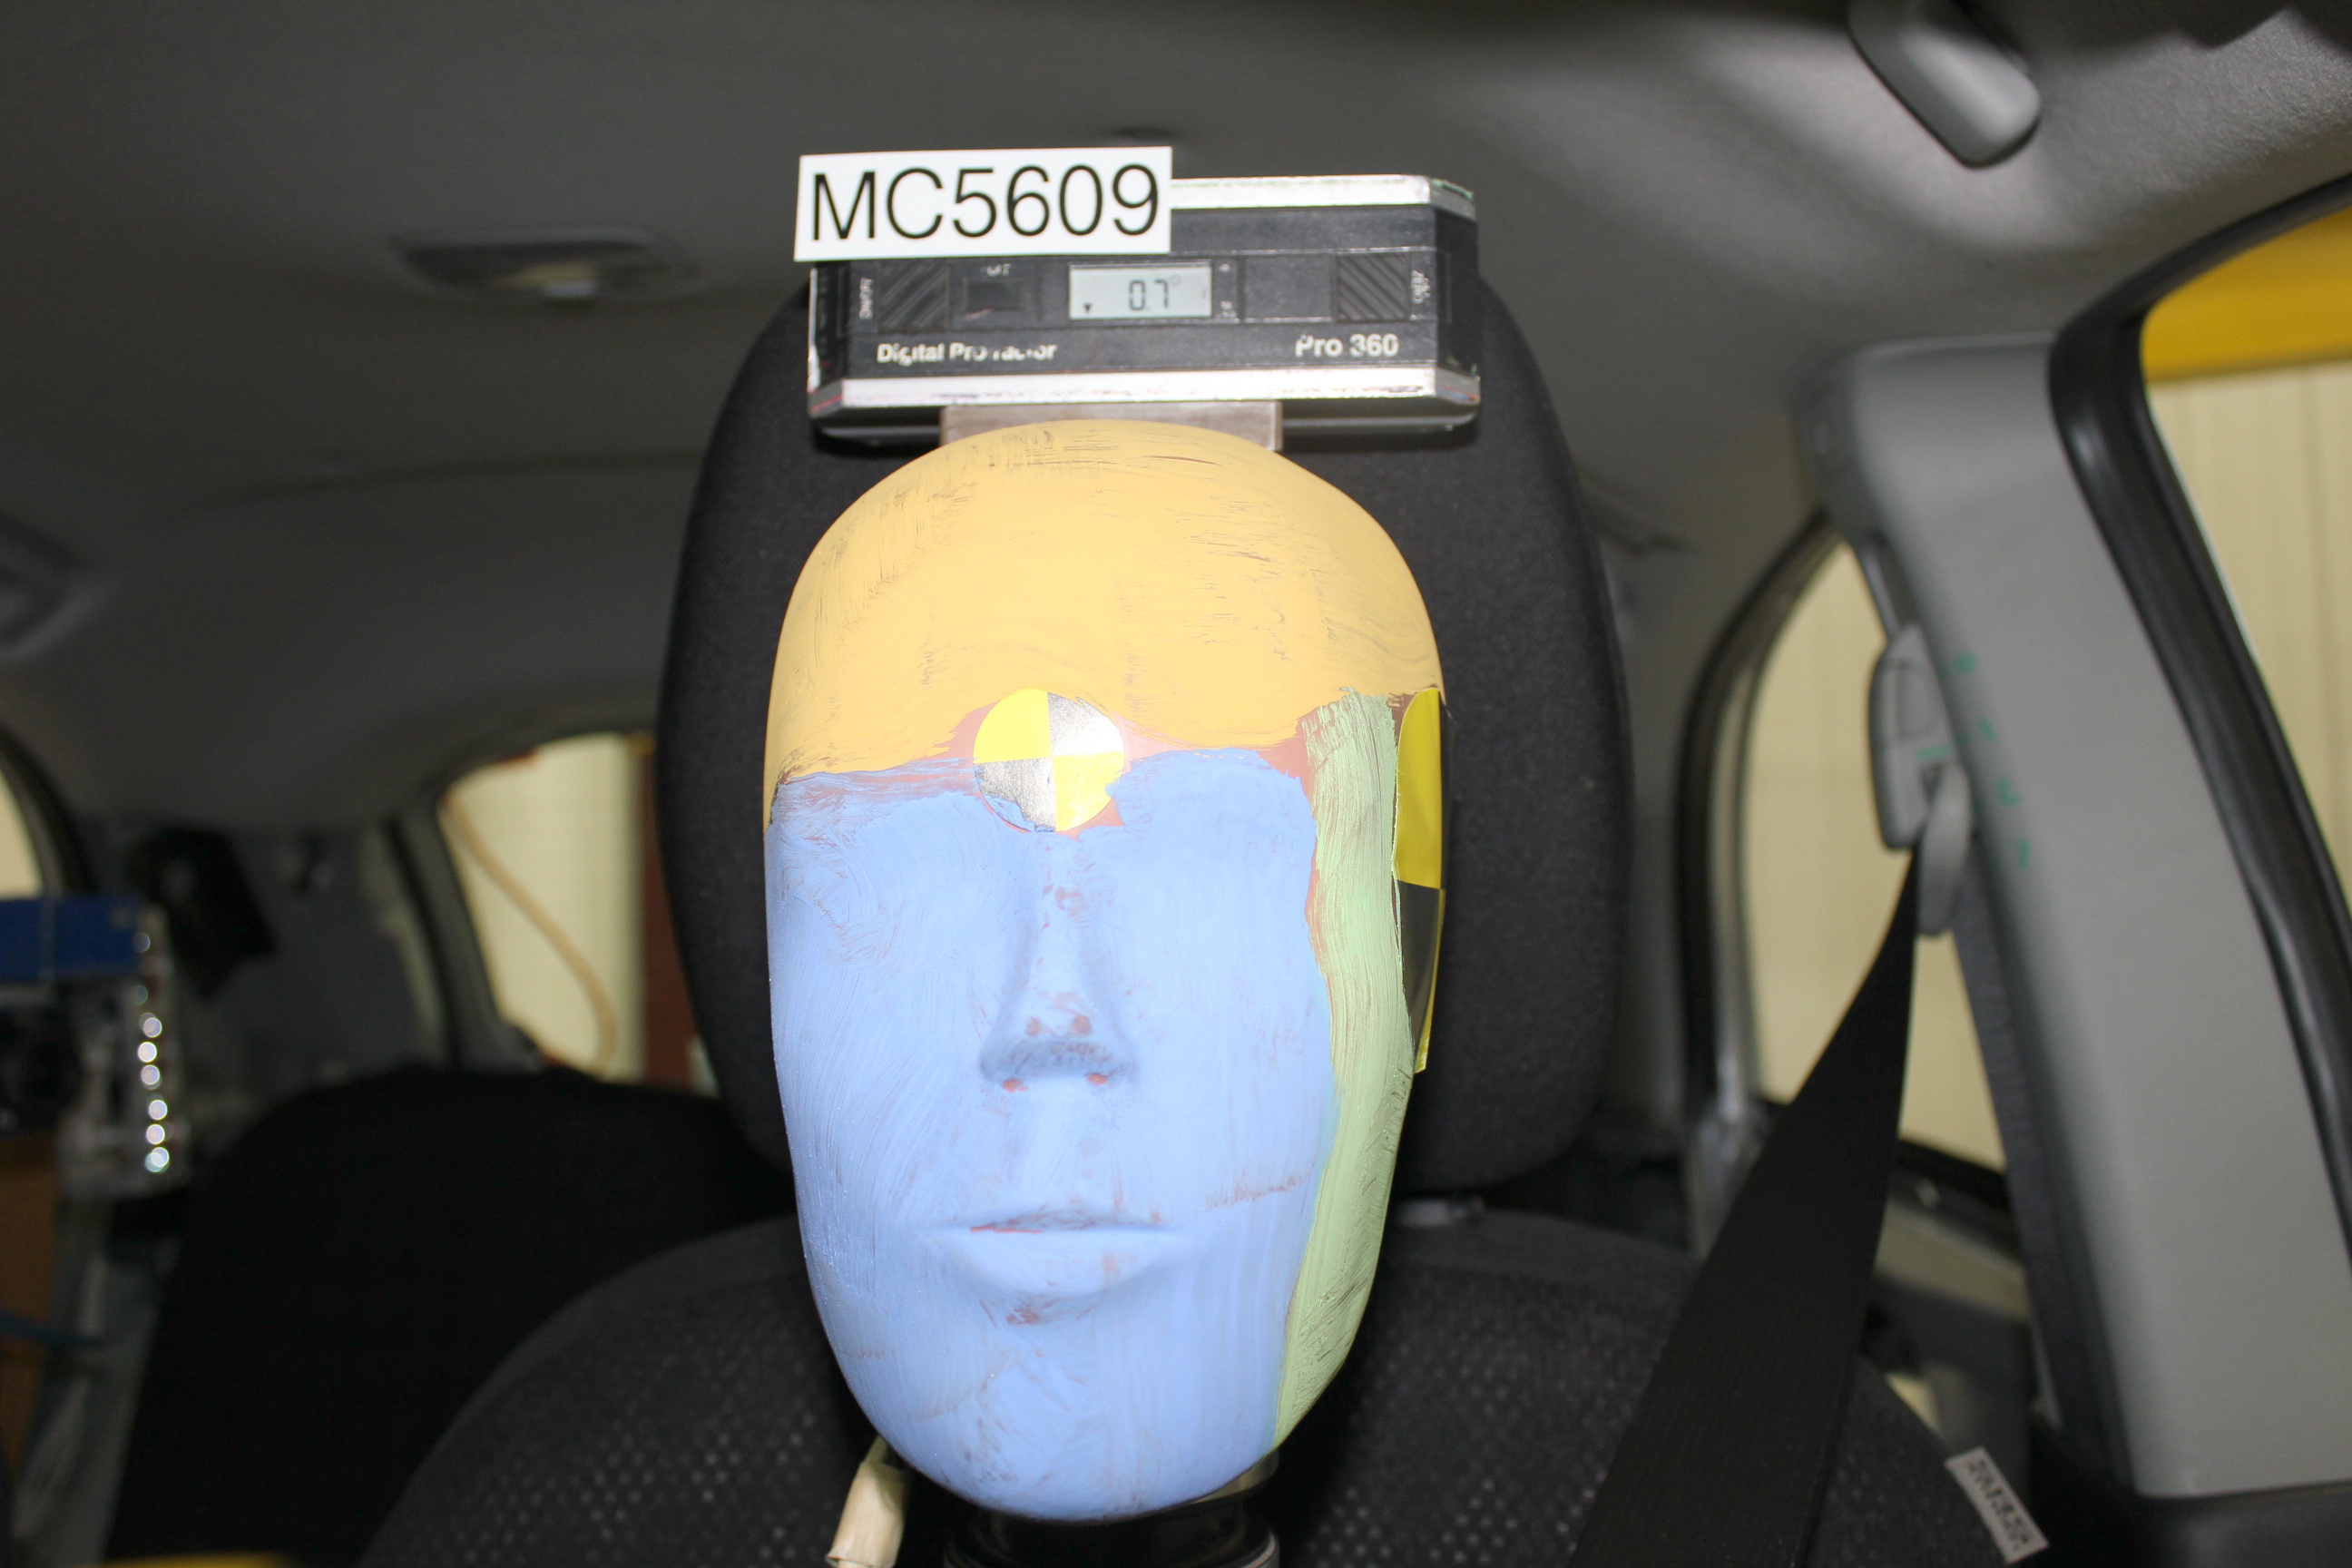
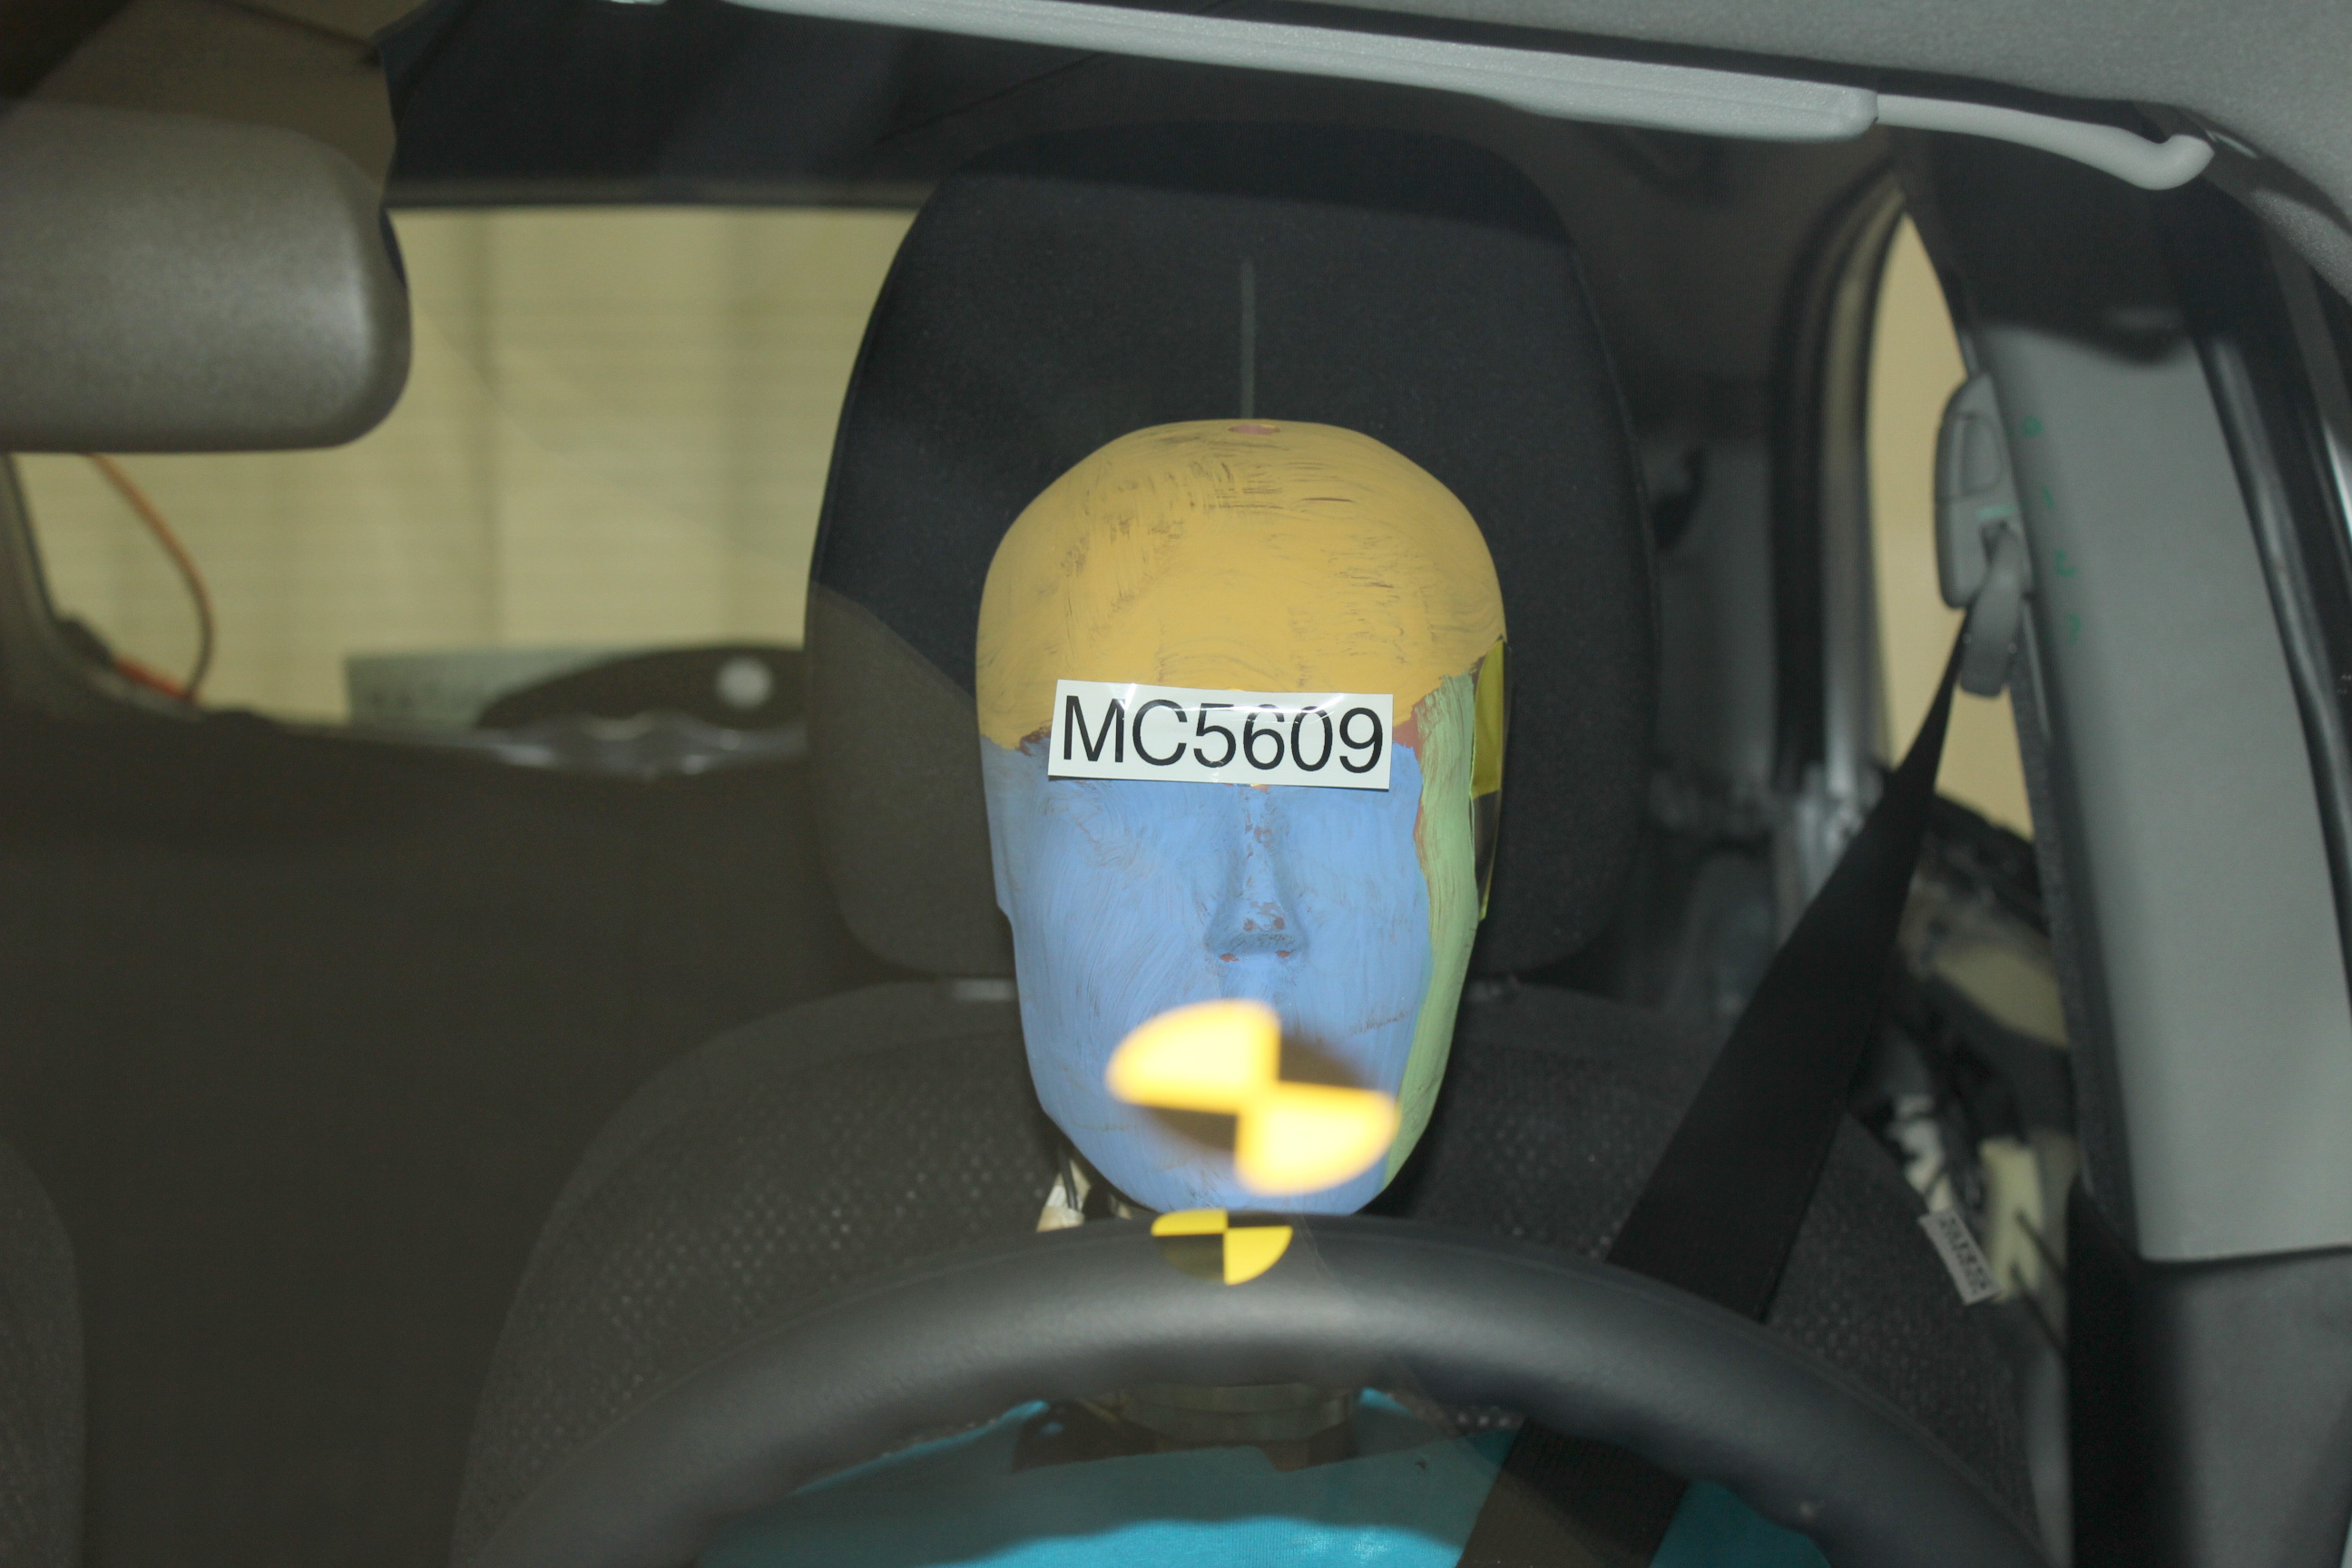
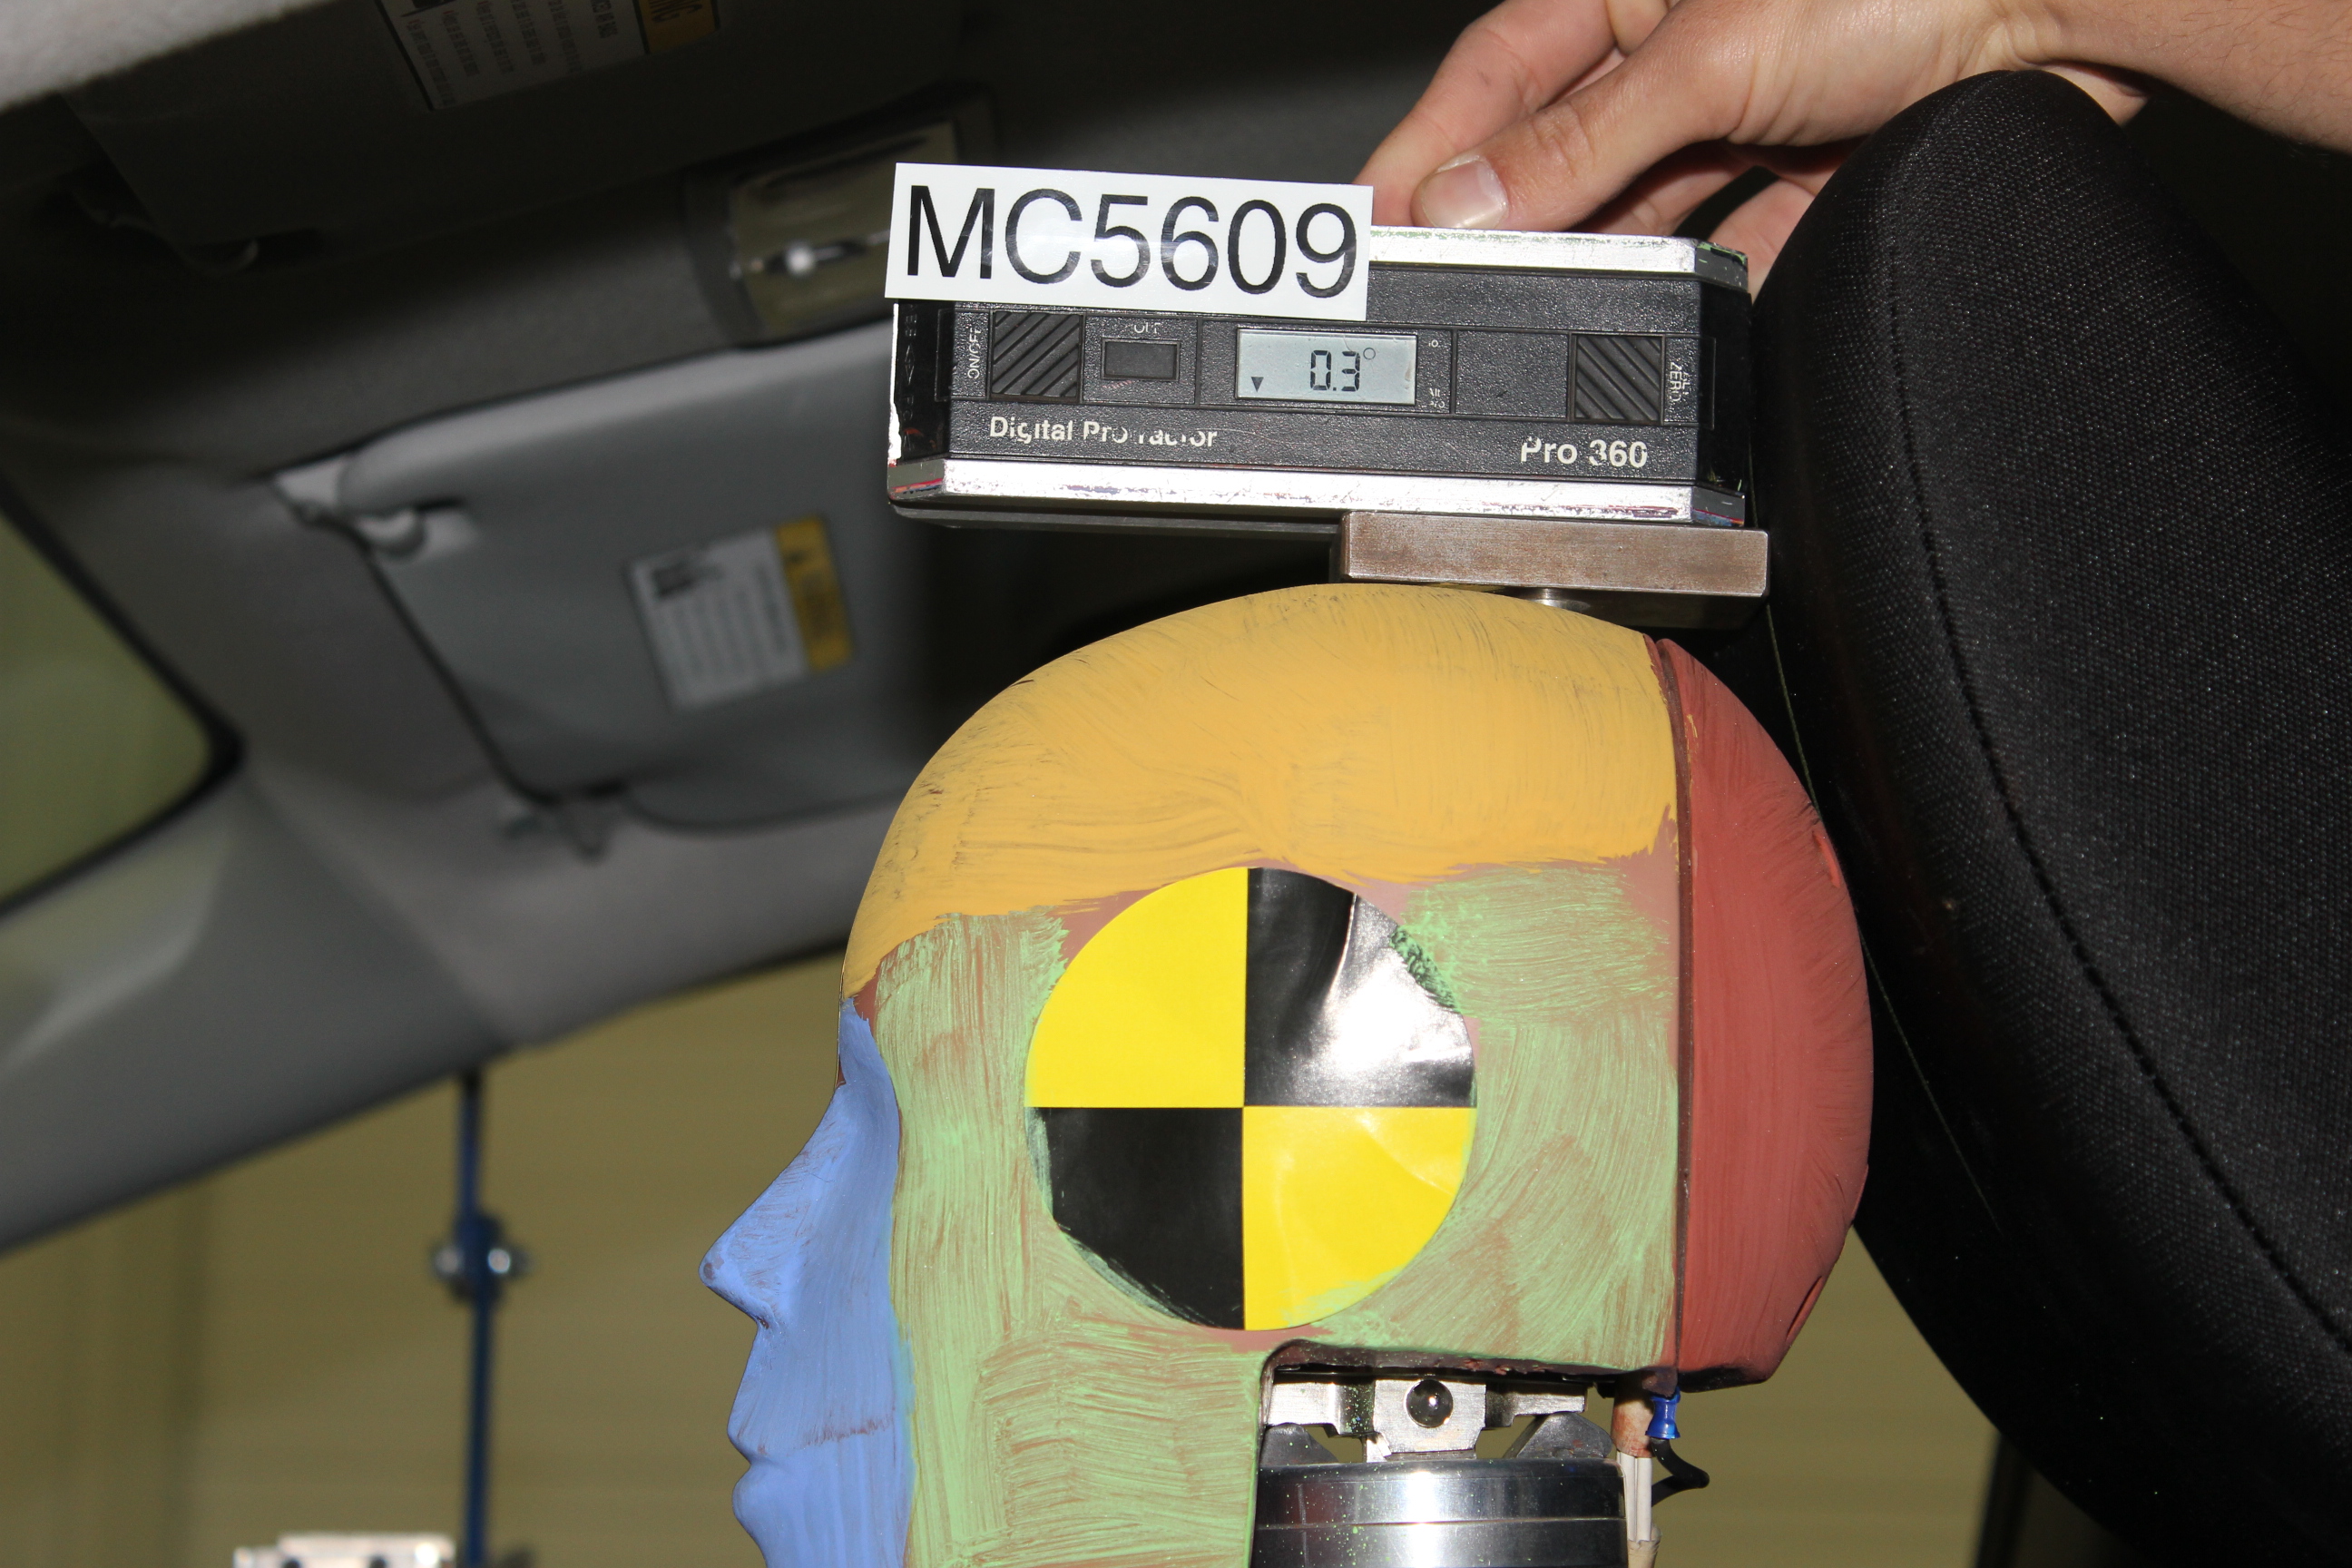
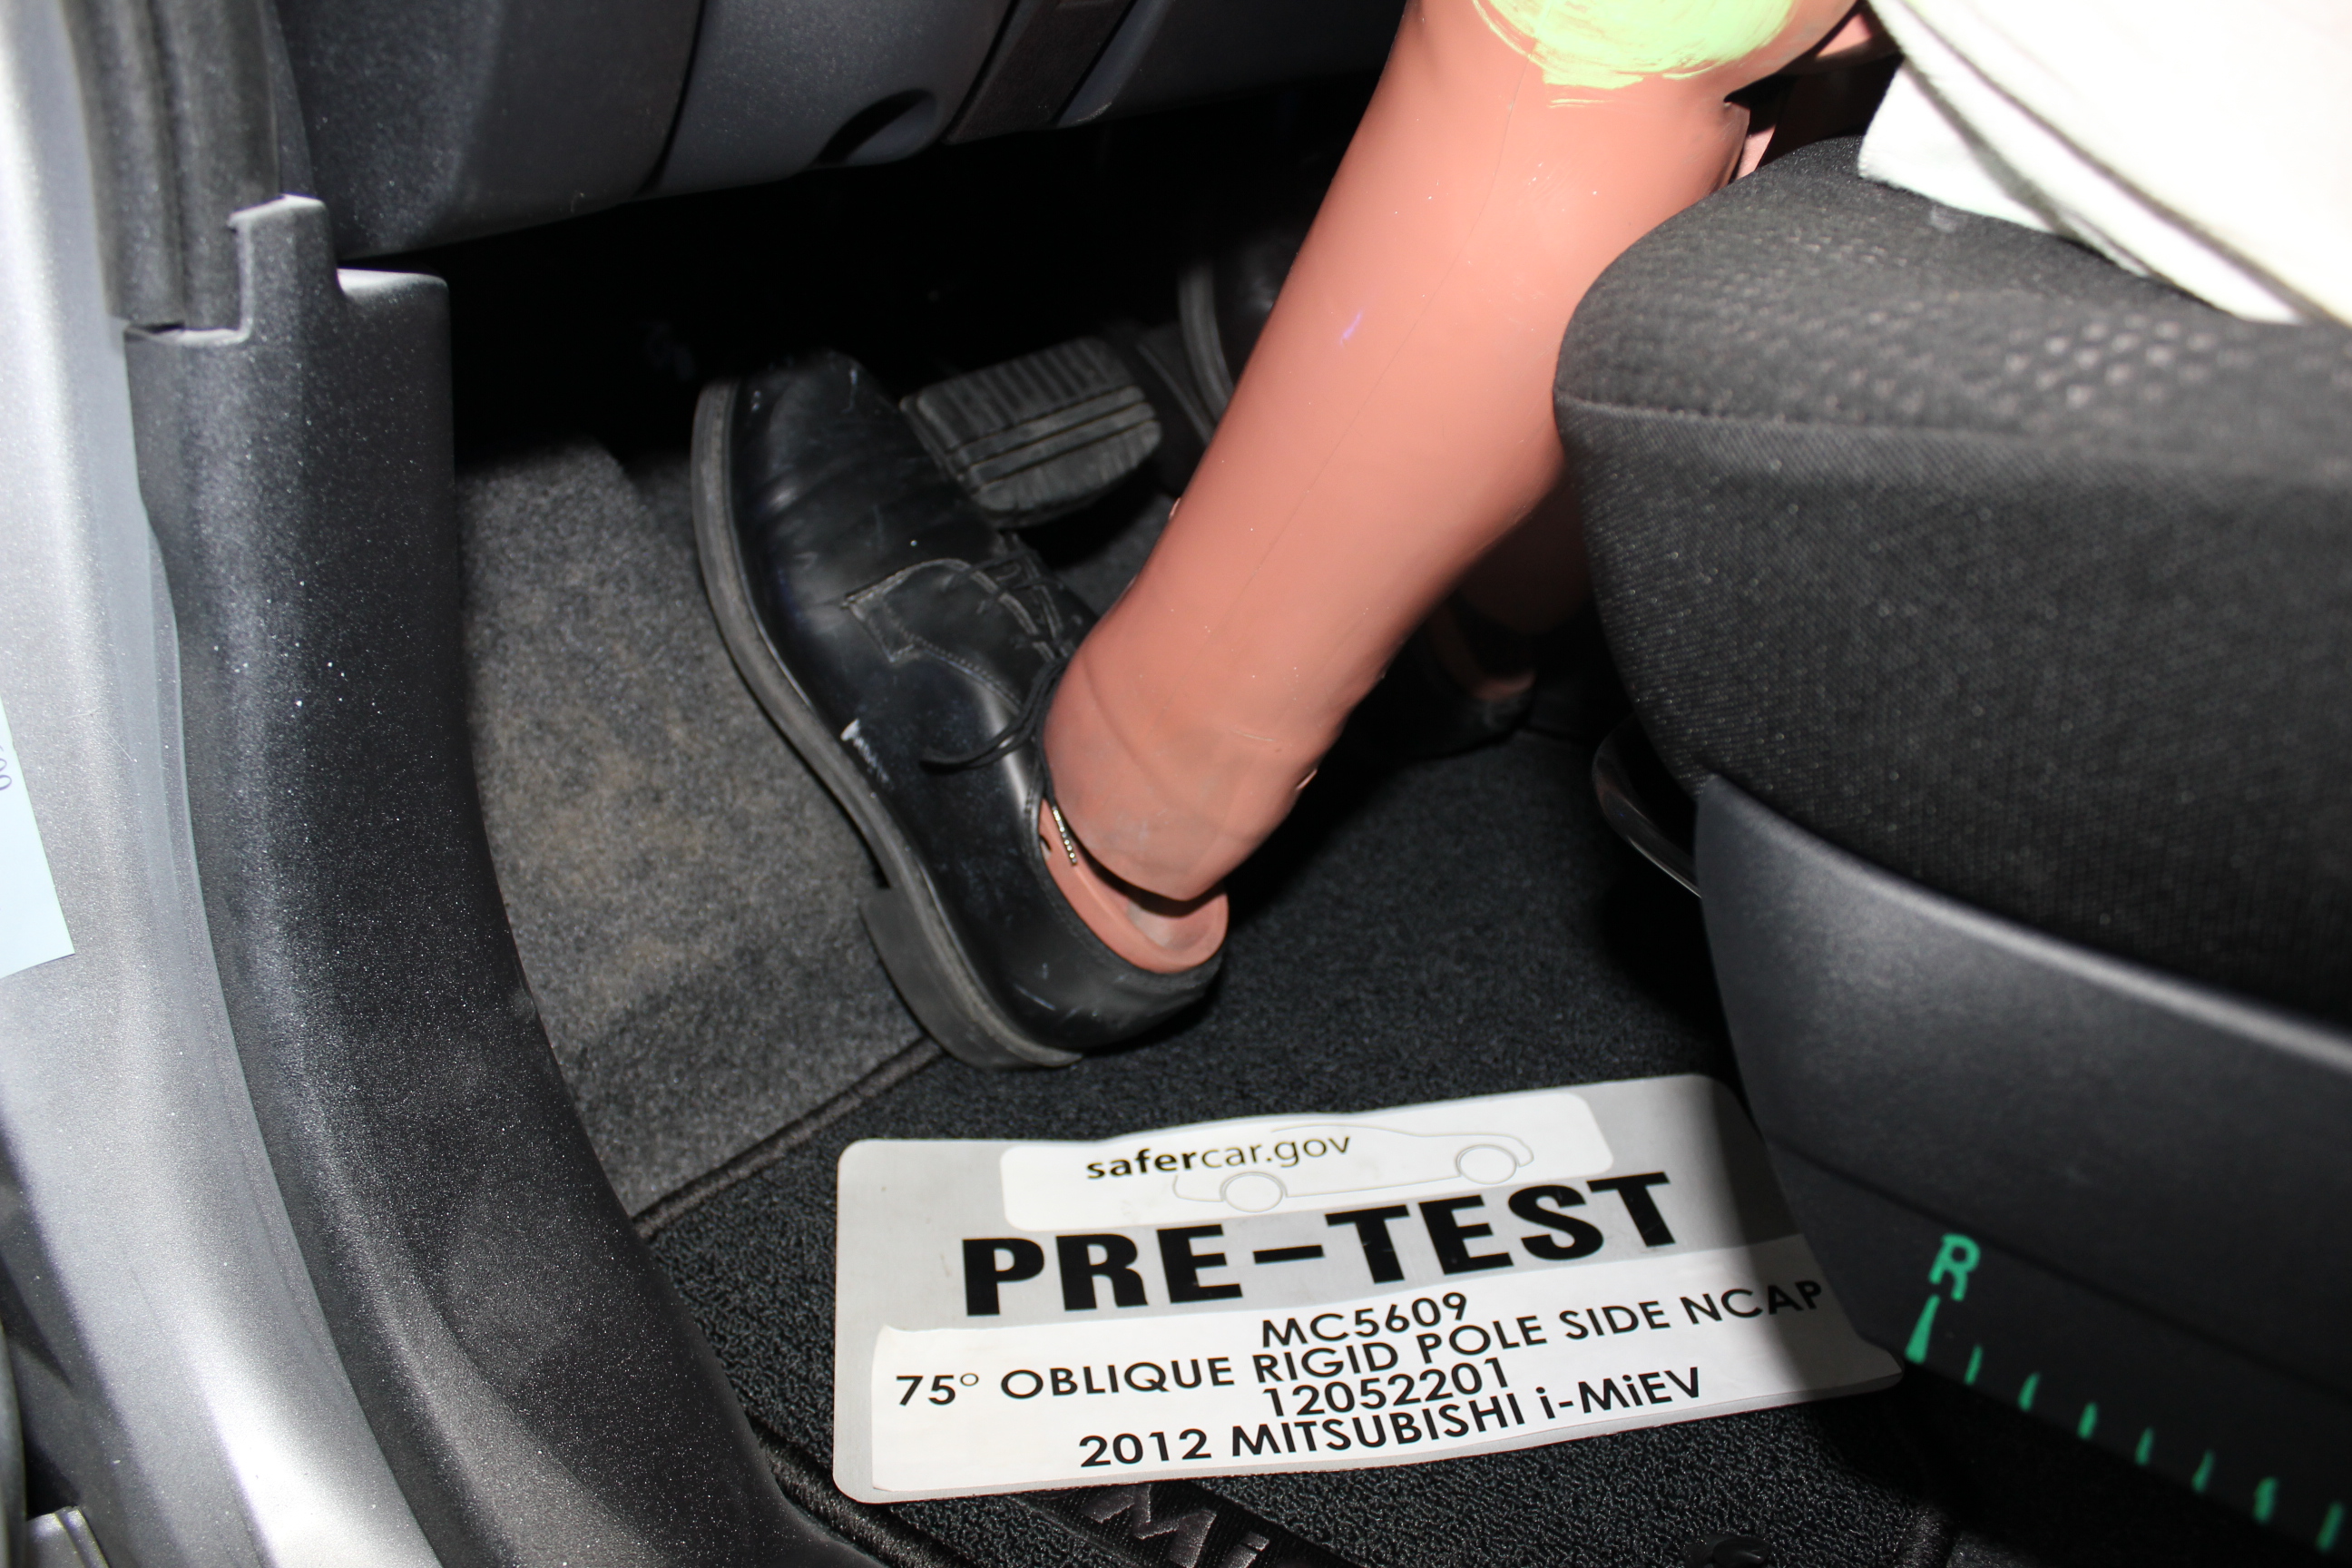
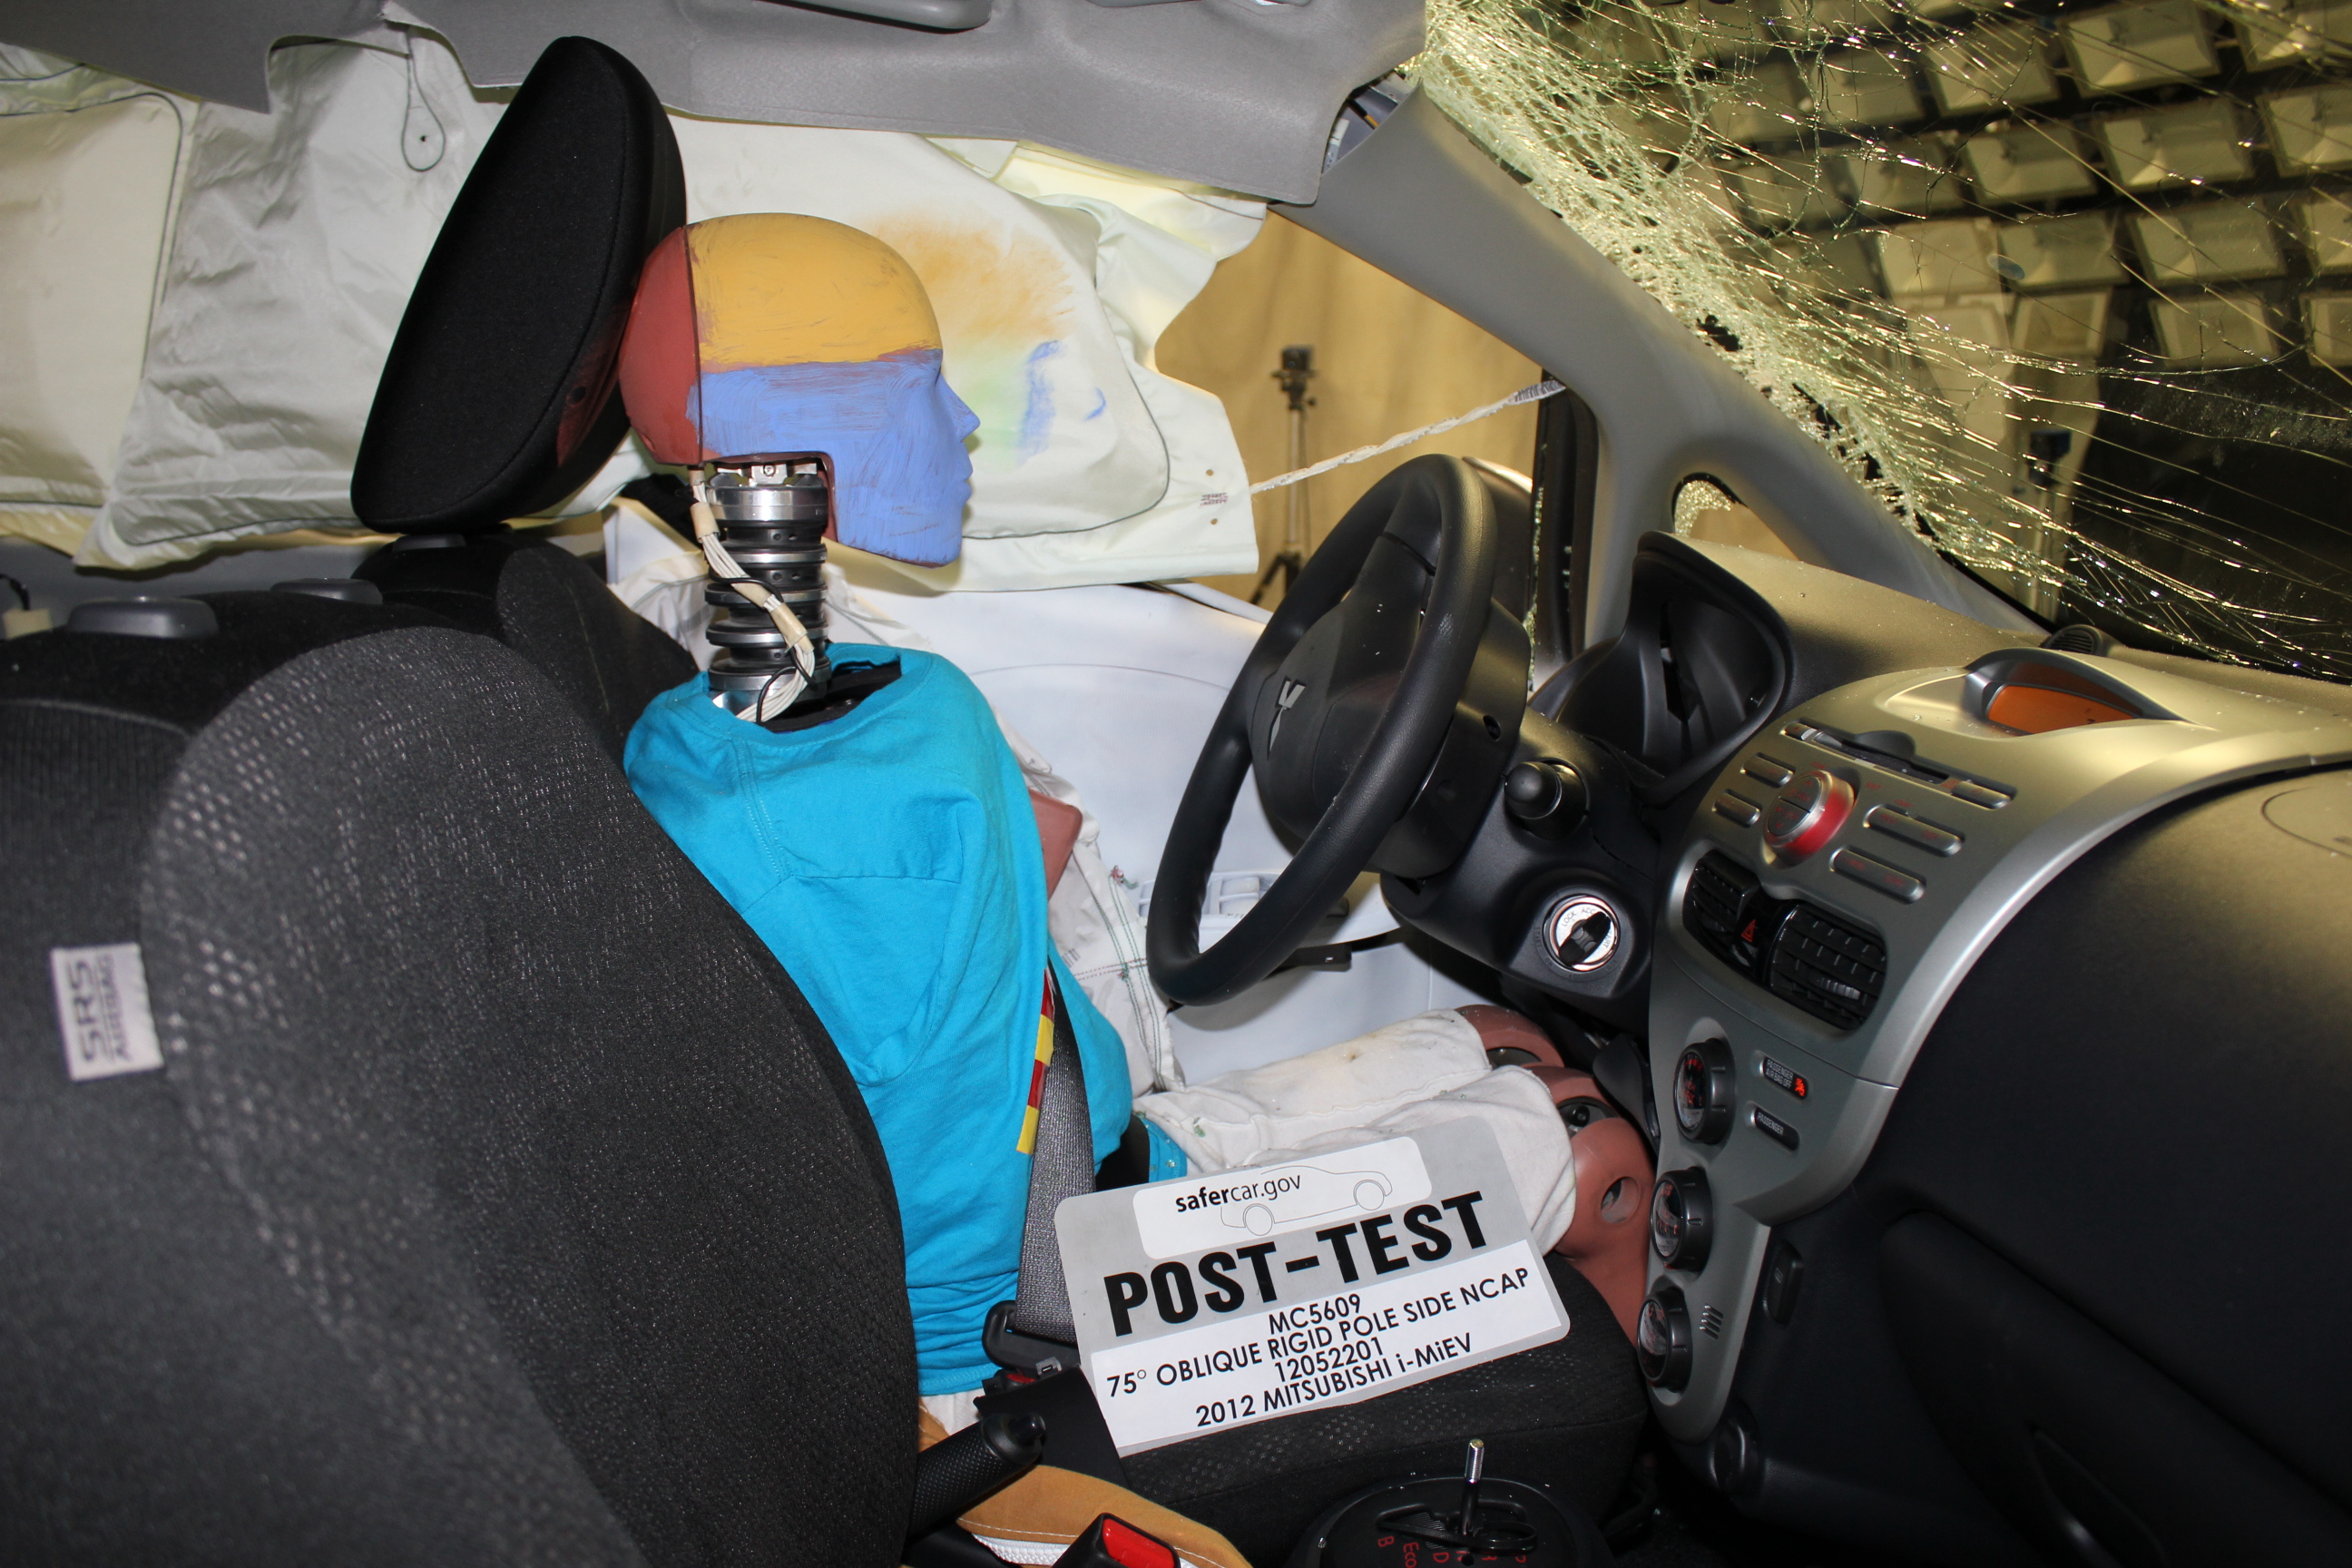
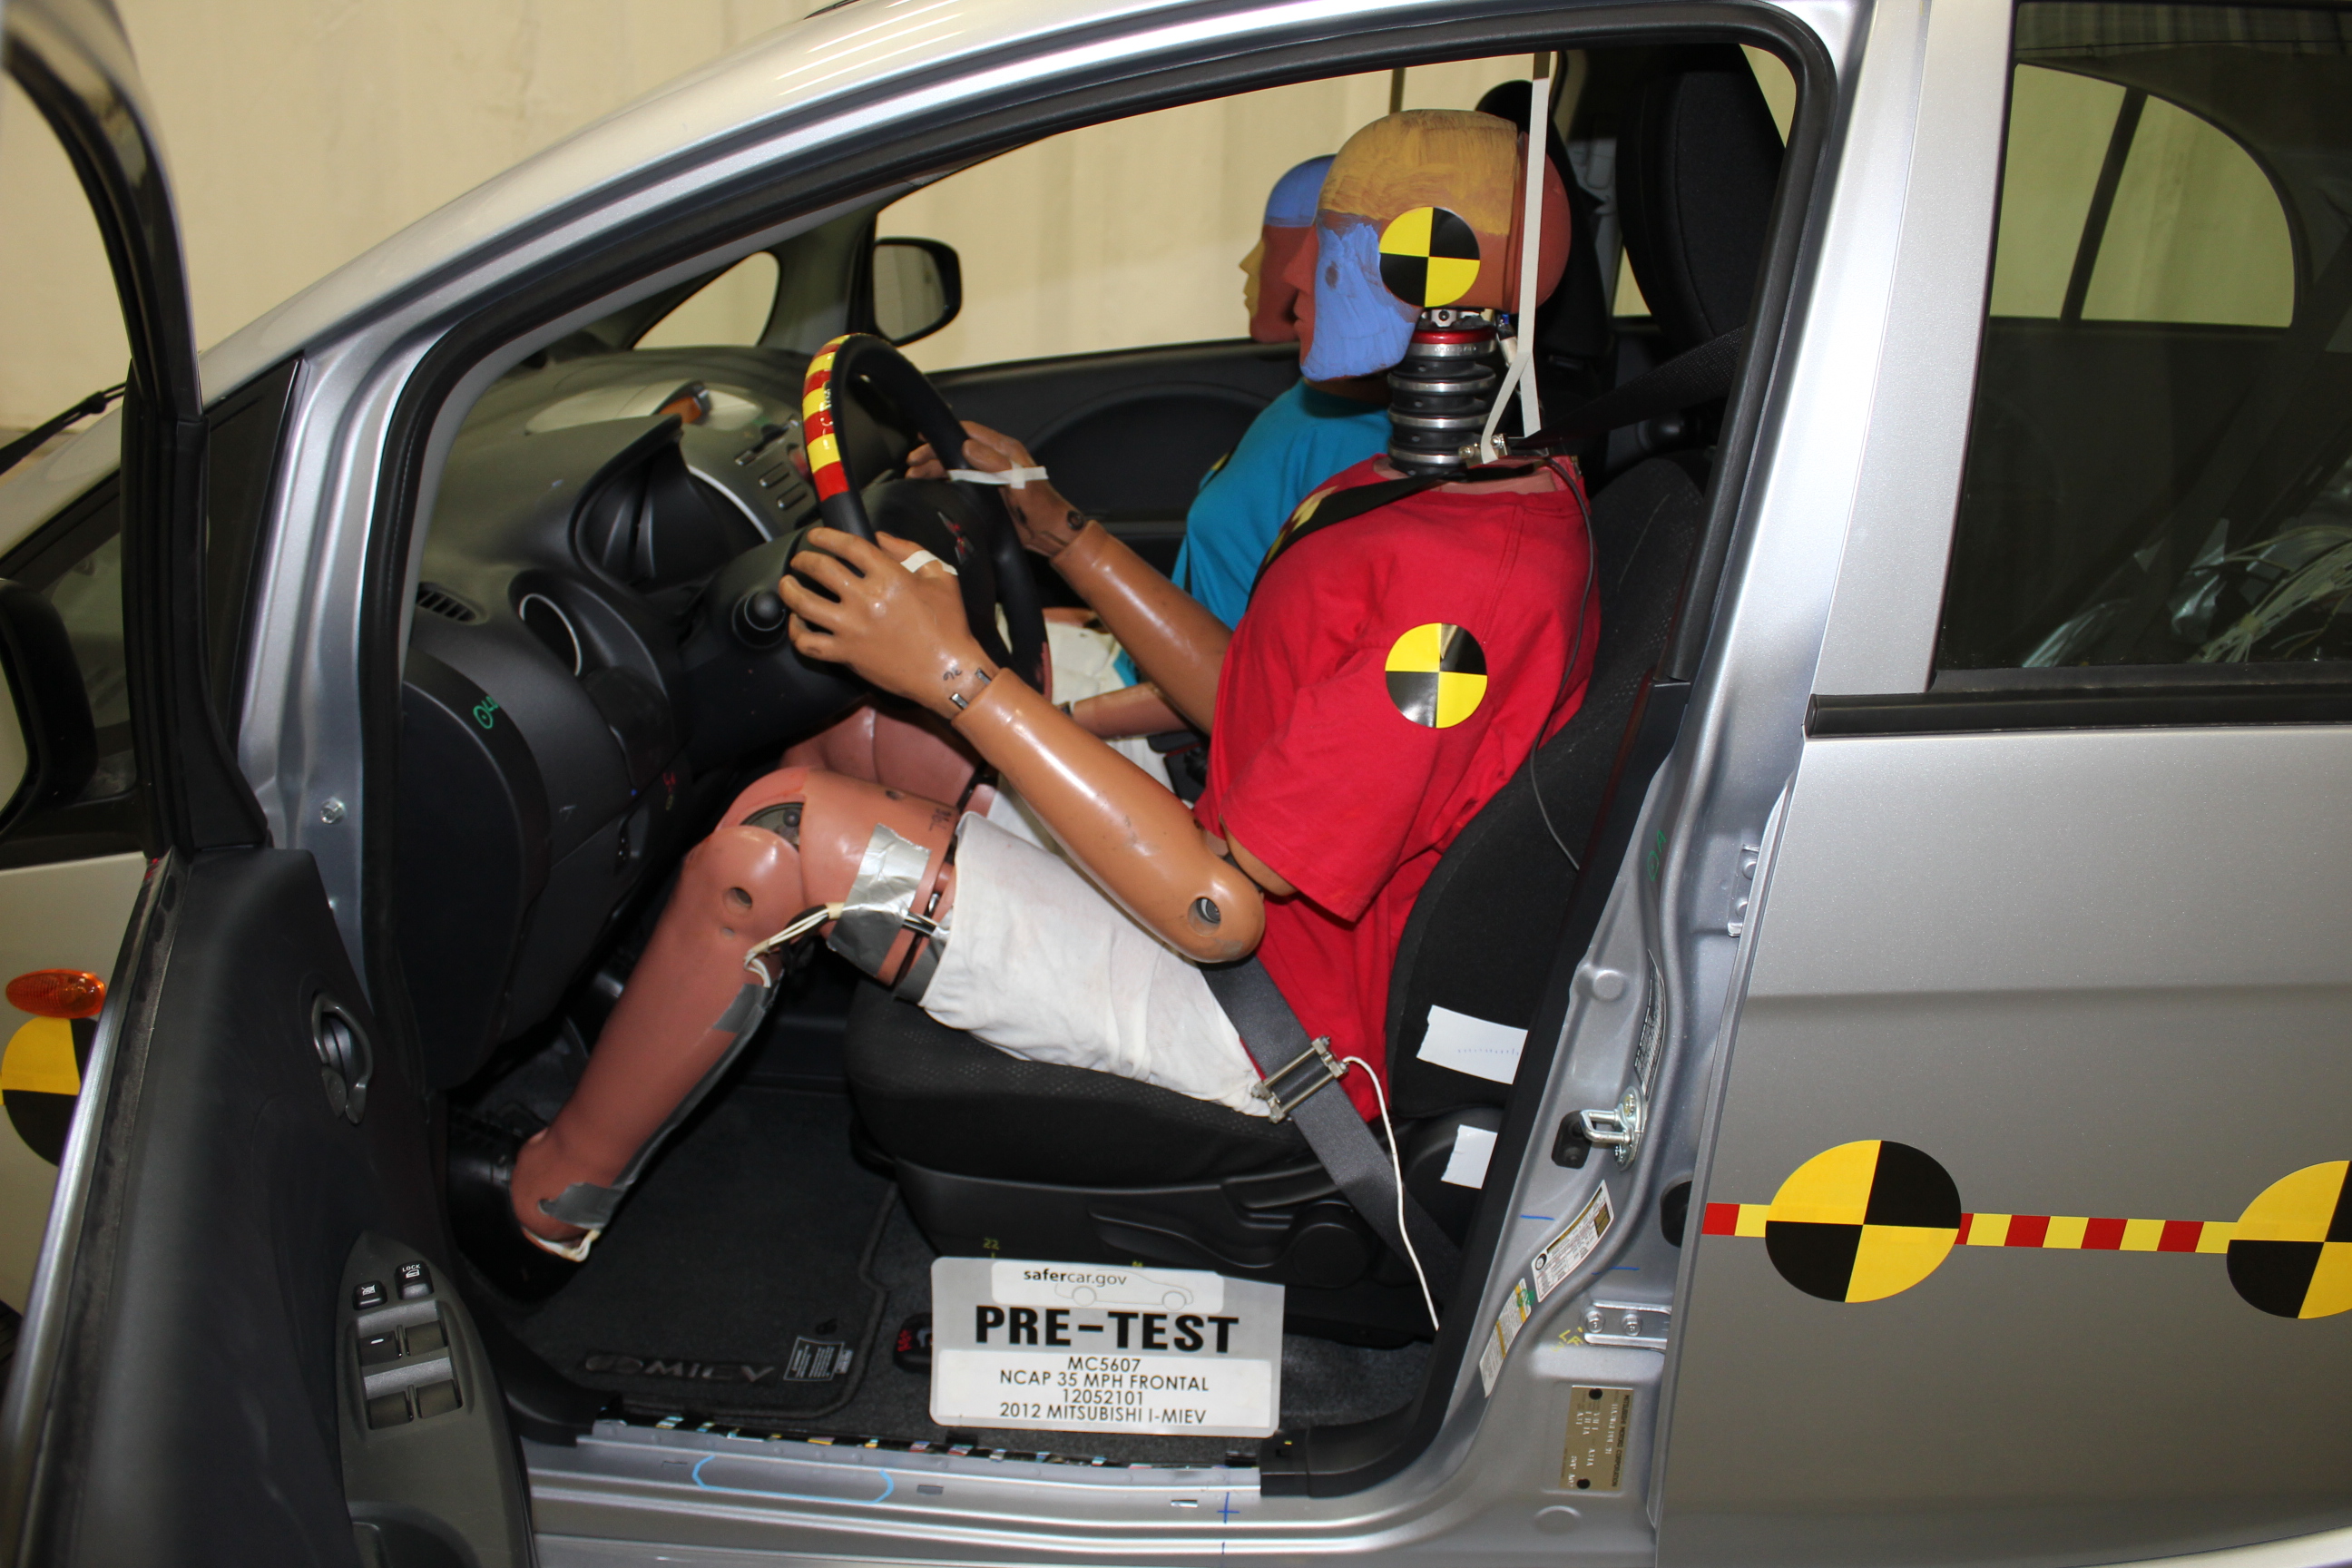
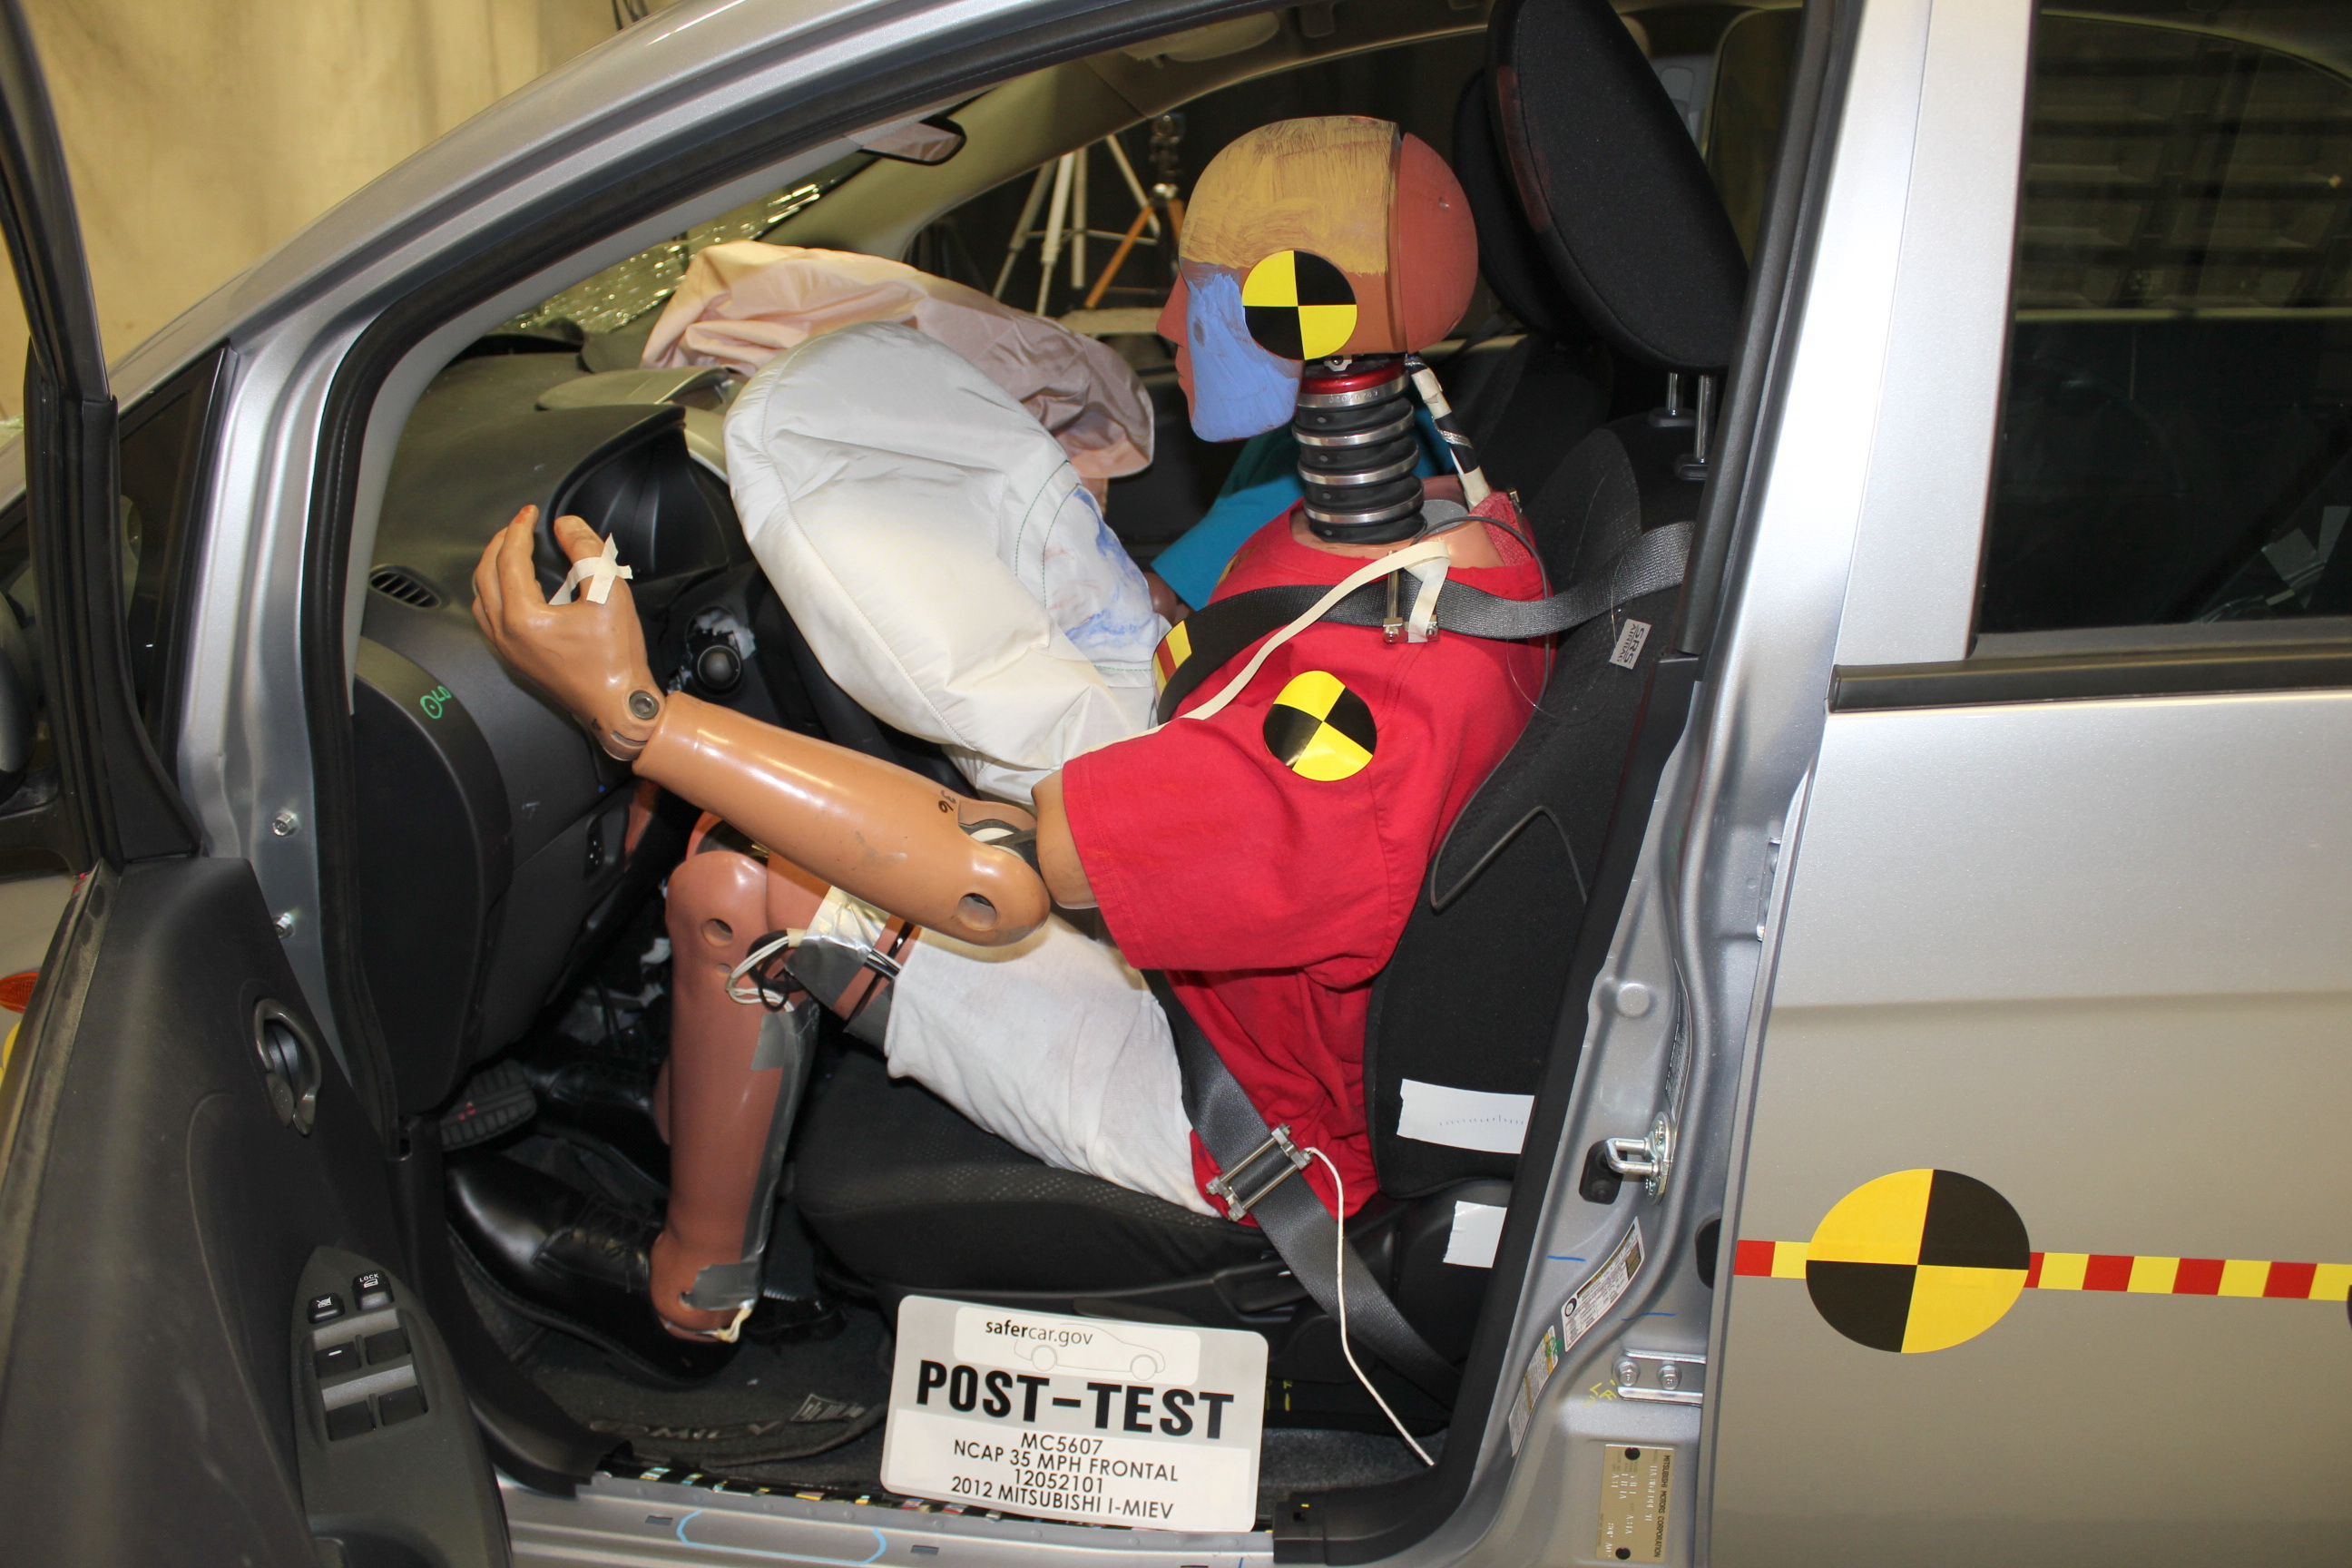
No. 001 As Delivered Right Front 3-4 View of Test Vehicle.jpgNo. 002 As Delivered Left Rear 3-4 View of Test Vehicle.jpgNo. 003 Pre-Test Frontal View of Test Vehicle.jpgNo. 004 Post-Test Frontal View of Test Vehicle.jpgNo. 005 Pre-Test Left Front 3-4 View of Test Vehicle.jpgNo. 006 Post-Test Left Front 3-4 View of Test Vehicle.jpgNo. 007 Pre-Test Left Side View of Test Vehicle.jpgNo. 008 Post-Test Left Side View of Test Vehicle.jpgNo. 009 Pre-Test Left Rear 3-4 View of Test Vehicle.jpgNo. 010 Post-Test Left Rear 3-4 View of Test Vehicle.jpgNo. 011 Pre-Test Rear View of Test Vehicle.jpgNo. 012 Post-Test Rear View of Test Vehicle.jpgNo. 013 Pre-Test Right Side View of Test Vehicle.jpgNo. 014 Post-Test Right Side View of Test Vehicle.jpgNo. 015 Pre-Test Overhead View of Test Area.jpgNo. 016 Post-Test Overhead View of Test Area.jpgNo. 016a Post-Test Overhead View of Test Area.jpgNo. 017 Pre-Test Left Side View of Pole Positioned Against Side of Vehicle.jpgNo. 018 Pre-Test Right Side View of Pole Positioned Against Side of Vehicle.jpgNo. 019 Pre-Test Close-Up View of Impact Point Target.jpgNo. 020 Post-Test Close-Up View of Impact Point Target Showing Impact Location.jpgNo. 021 Pre-Test Front Close-Up View of Dummy Head and Chest.jpgNo. 022 Post-Test Front Close-Up View of Dummy.jpgNo. 023 Pre-Test Left Side View of Dummy Showing Belt and Chalking.jpgNo. 024 Pre-Test Left Side View of Dummy Shoulder and Door Top View.jpgNo. 025 Post-Test Left Side View of Dummy Shoulder and Door Top View.jpgNo. 026 Pre-Test Frontal View of Seat Back Prior to Dummy Positioning.jpgNo. 027 Pre-Test Frontal Close-Up View of Dummy Head and Shoulders in Relation to Head Restraint.jpgNo. 029 Pre-Test Overhead View of Dummy Thighs on Seat Pan.jpgNo. 027a Pre-Test Frontal Close-Up View of Dummy Head and Shoulders in Relation to Head Restraint.jpgNo. 028 Pre-Test Frontal View of Seat Pan Prior to Dummy Positioning.jpgNo. 030 Pre-Test Left Side View of Dummy Neck Showing Position of Adjustable Neck Bracket.jpgNo. 031 Pre-Test Left Side View of Dummy Head Showing Dummy Head is Level.jpgNo. 032 Pre-Test Placement of Dummy Feet.jpgNo. 033 Pre-Test View of Belt Anchorage for Dummy.jpgNo. 034 Pre-Test Left Side View of Steering Wheel.jpgNo. 035 Pre-Test View of Disengaged Parking Brake.jpgNo. 036 Pre-Test View of Parking Brake.jpgNo. 037 Pre-Test Close-Up Left Side View of Driver Seat Track.jpgNo. 038 Pre-Test Close-Up Left Side View of Driver Seat Back.jpgNo. 043 Post-Test Right Side View of Dummy and Front Seat of Occupant Compartment.jpgNo. 049 Post-Test Dummy Close-Up Torso Contact with Side Air Bag View.jpgNo. 067 Impact Event.jpg2012 Mitsubishi i-MiEV 5-Dr Hatchback POLE IMPACT FOR WEB.jpg

Recalls

No recalls on record for this vehicle.
Owner complaints

1
Complaints
0
Crashes reported
0
Fires reported
0
Injuries
0
Deaths

Most-reported areas

  • SERVICE BRAKES1
Read individual complaints (1 most recent)

These are unverified consumer reports filed with NHTSA, shown as submitted.
  • 02/19/2020· SERVICE BRAKES

    THIS IS PART OF AN EXISTING RECALL NHTSA #19V-804, MANUFACTURER #SR-19-002 REGARDING A VACUUM BRAKE PUMP. RECALL WAS ISSUED IN NOVEMBER 8, 2019, WITH NOTICES SENT TO OWNERS ON JANUARY 7, 2020. MULTIPLE CALLS TO DEALER TO SCHEDULE THE REPAIR REBUFFED AS DEALER CLAIMS THEY CANNOT GET THE PART FROM MANUFACTURER TO PERFORM REPLACEMENT. CALLS TO MANUFACTURER, DURING ADVERTISED BUSINESS HOURS, REJECTED BY AUTOMATIC CALL SYSTEM. IT HAS BEEN 14 WEEKS (OVER 3 MONTHS) SINCE RECALL WAS ANNOUNCED BY MANUFACTURER AND 6 WEEKS SINCE THE RECALL NOTICE WAS SENT TO OWNERS. MANUFACTURER IS NON-RESPONSIVE AND NOT FULFILLING THEIR AGREED TO OBLIGATIONS. MITSUBISHI HAS SAID THEY WILL COMPLY WITH THIS RECALL, BUT ARE DRAGGING THEIR FEET AND WILL NOT OBTAIN OR DISTRIBUTE PARTS TO DEALERSHIPS. MITSUBISHI IS ALLOWING A KNOWN SAFETY DEFECT TO FESTER ON THEIR PRODUCT BY NOT FULFILLING THEIR OBLIGATIONS. PLEASE FORCE THIS COMPANY TO COMPLY WITH THEIR OWN DIRECTIVES AND NOT JUST PAY LIP SERVICE TO THIS ISSUE.