crashtest

2015 / Honda

2015 Honda CR Z

4/5

Overall rating (best variant)

Safety ratings

2015 Honda CR-Z 3 HB FWD

4/5Overall
4/5Frontal crash
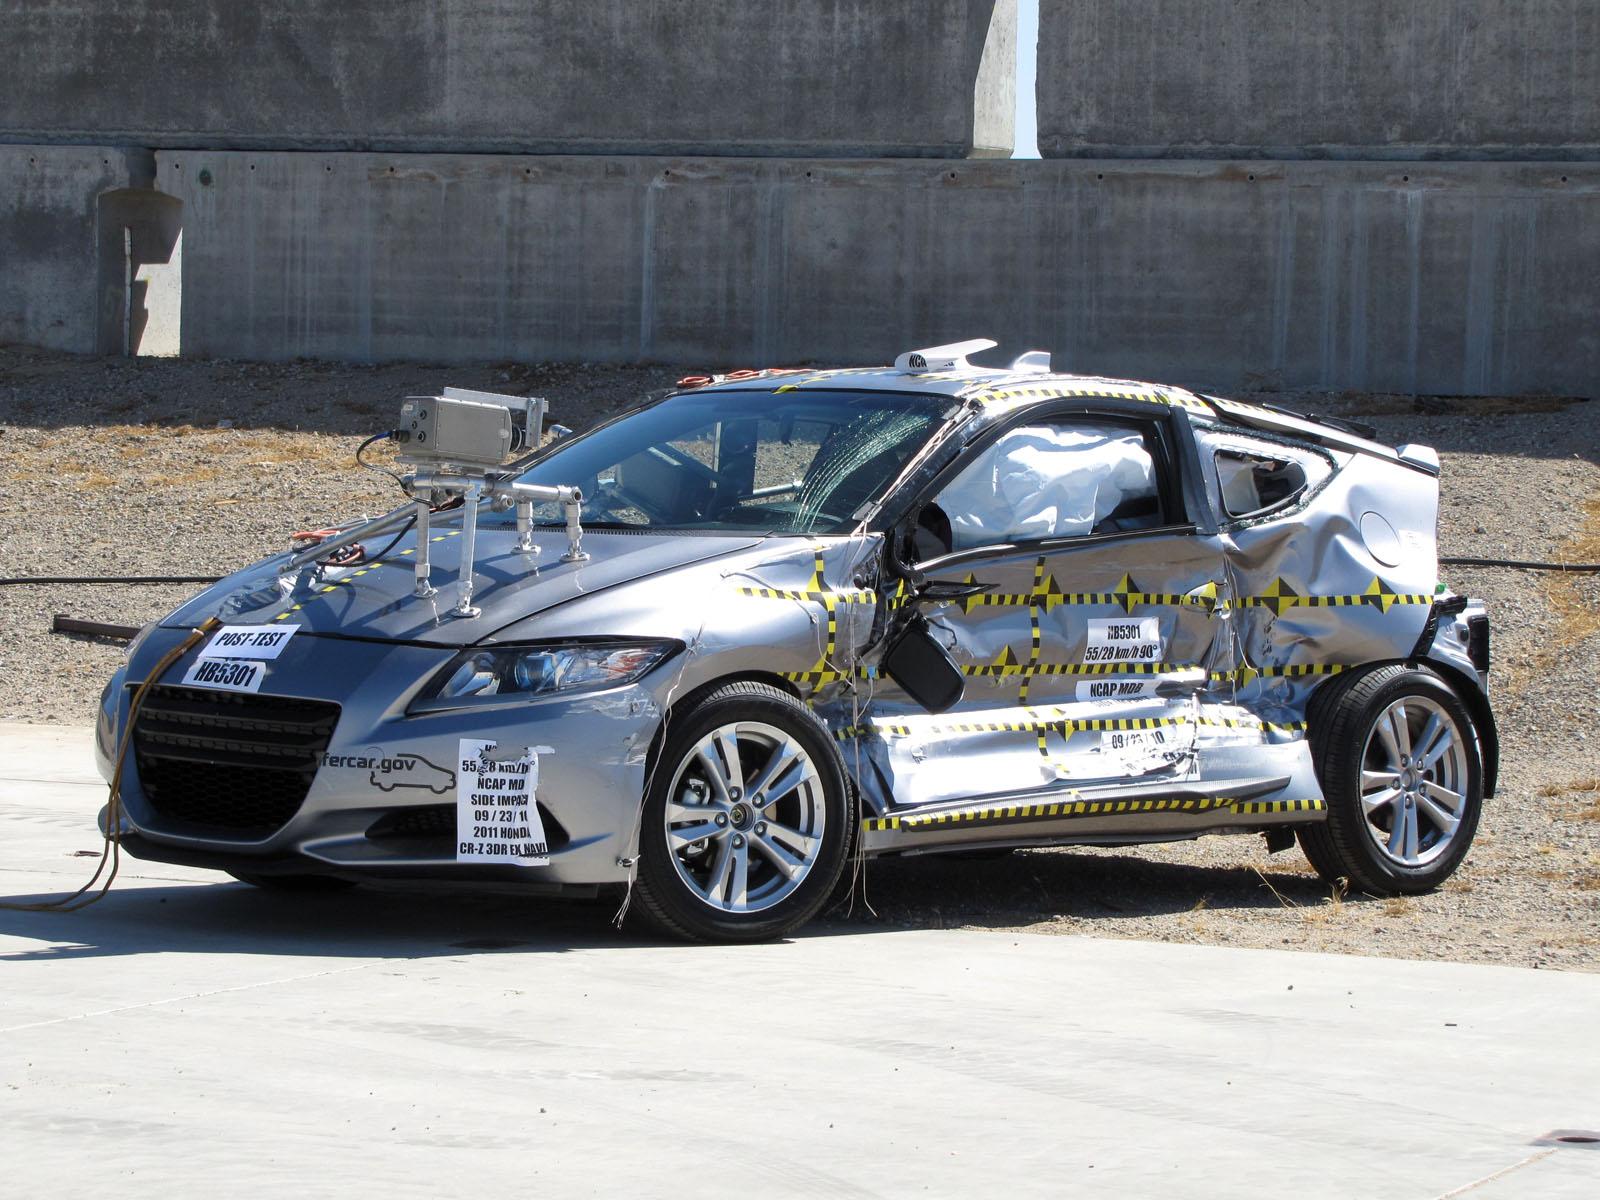
3/5Side crash
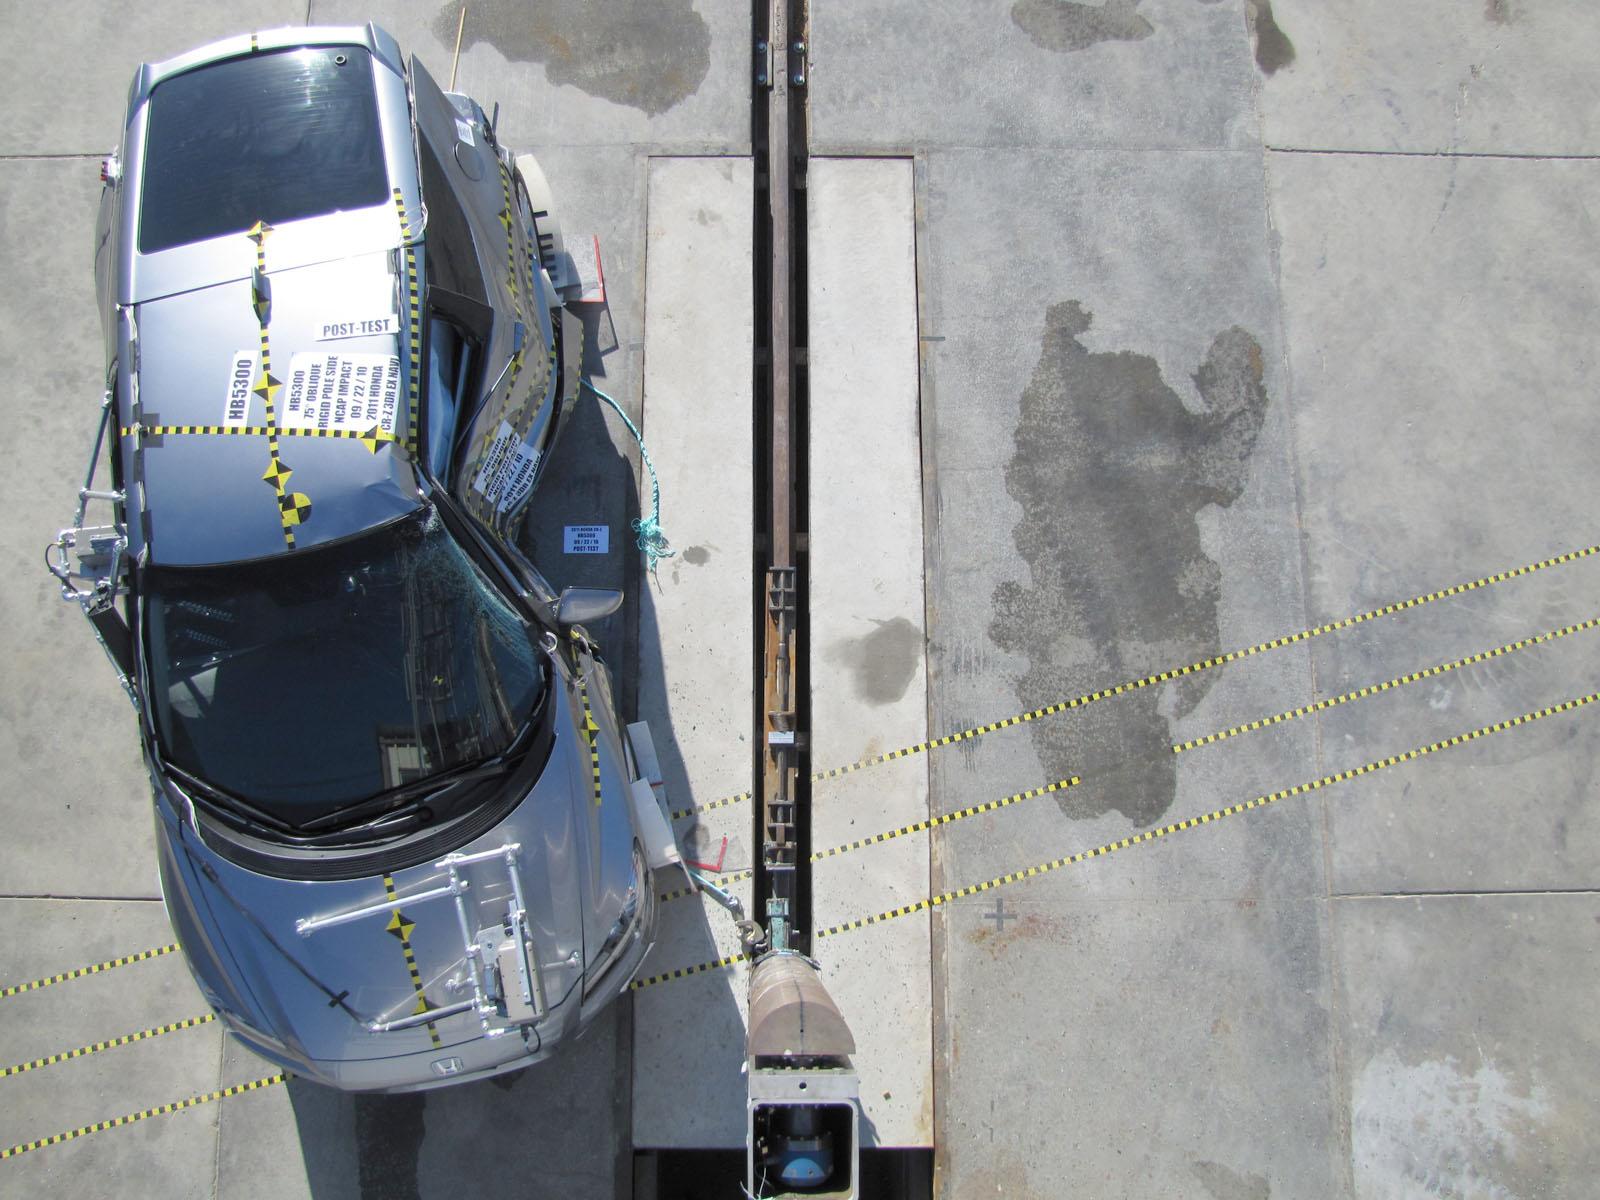
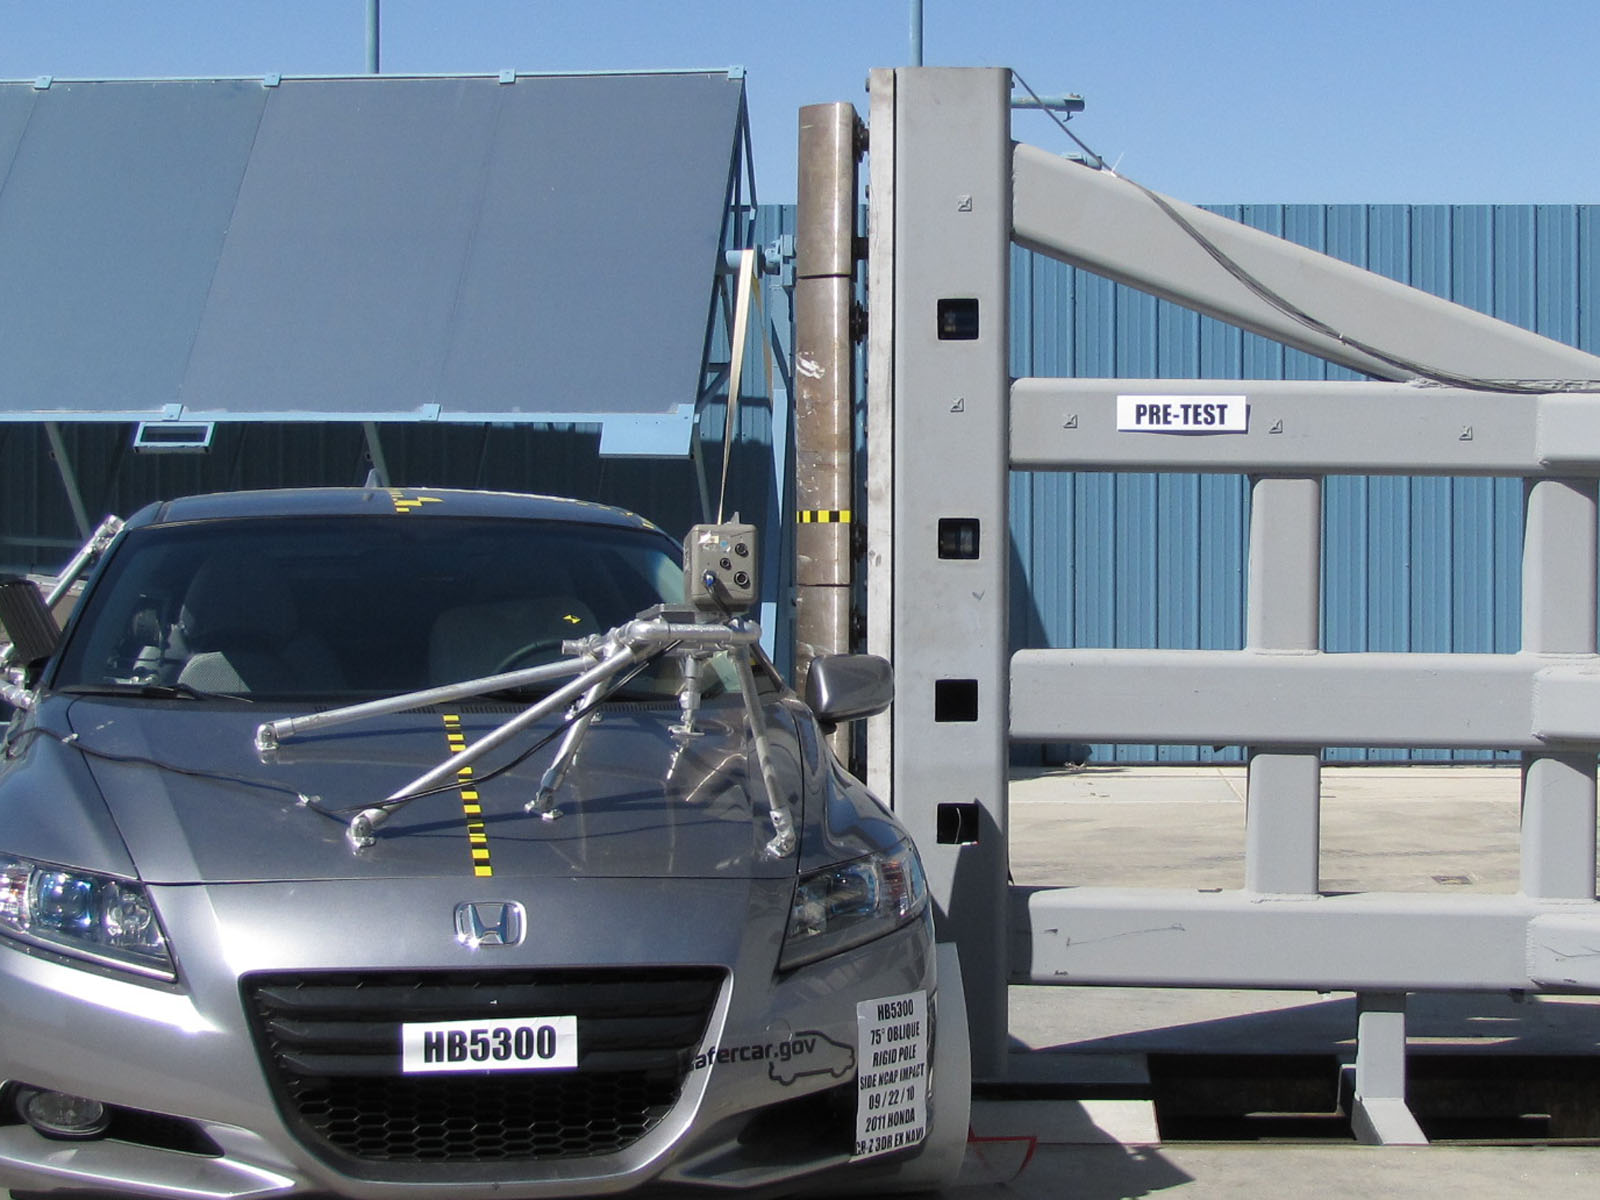
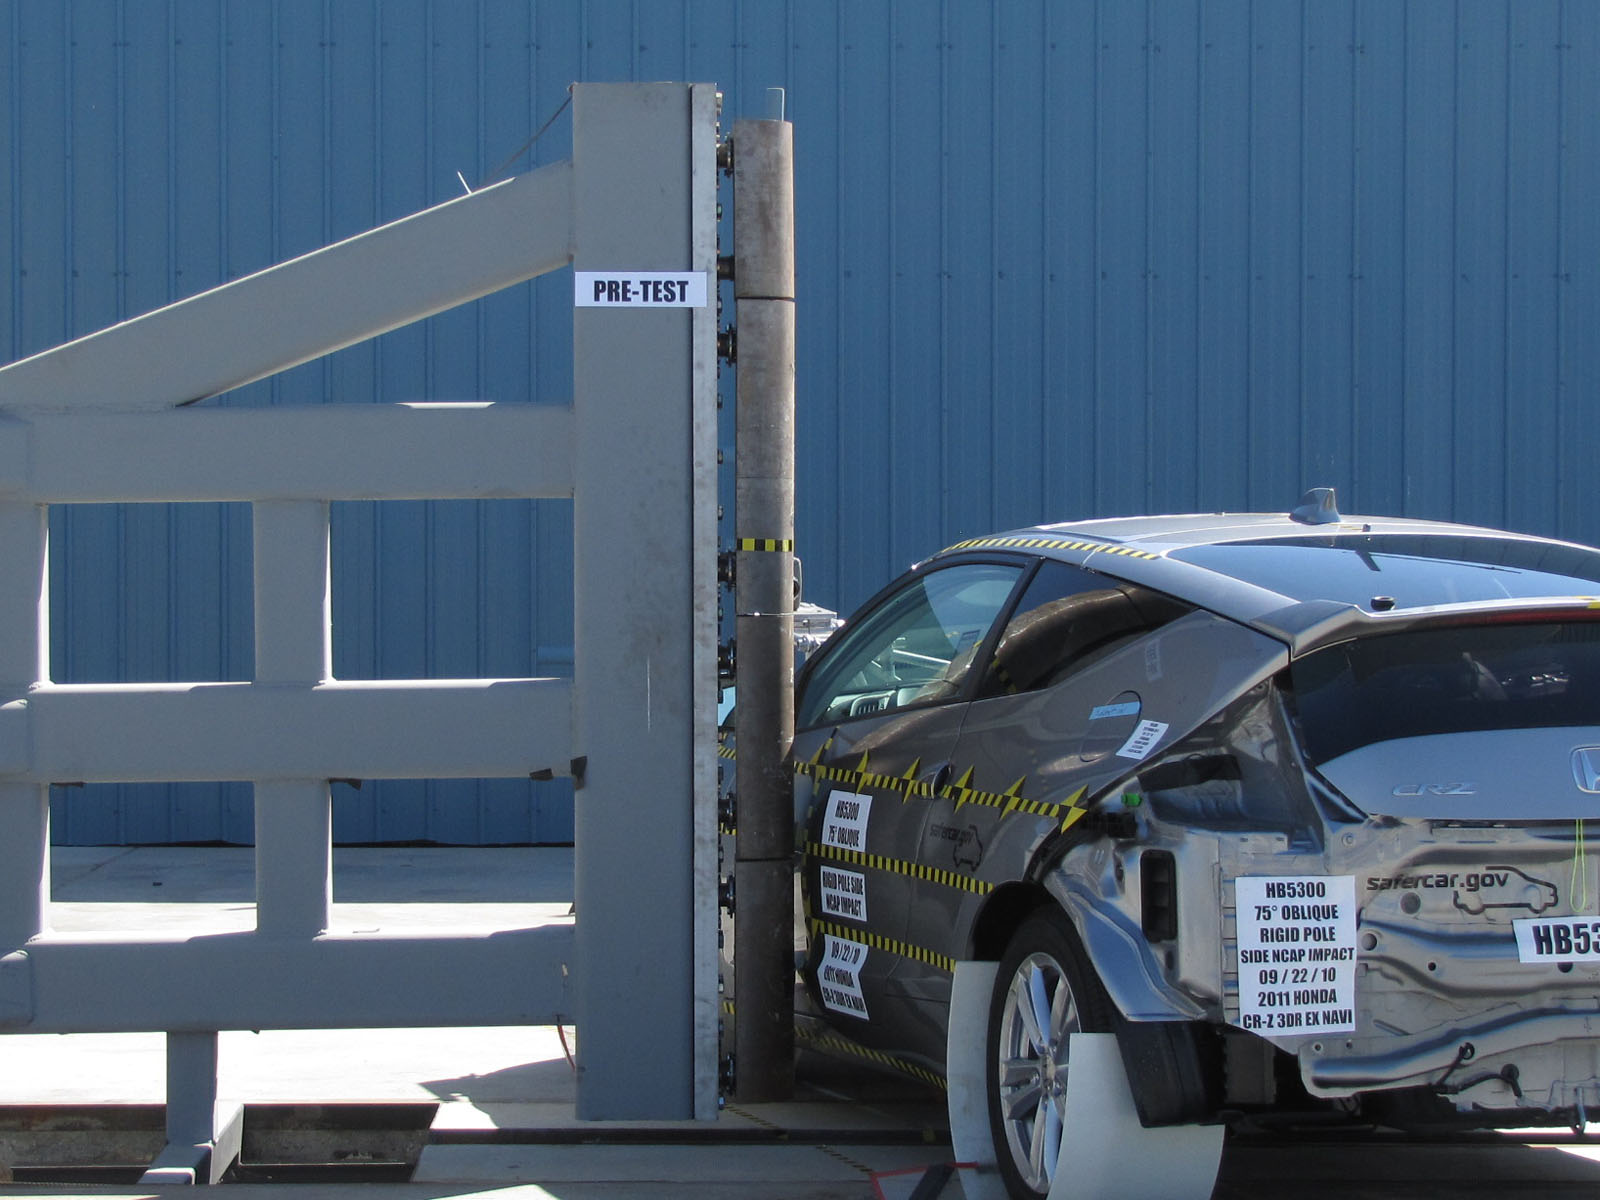
5/5Side pole
5/5Rollover
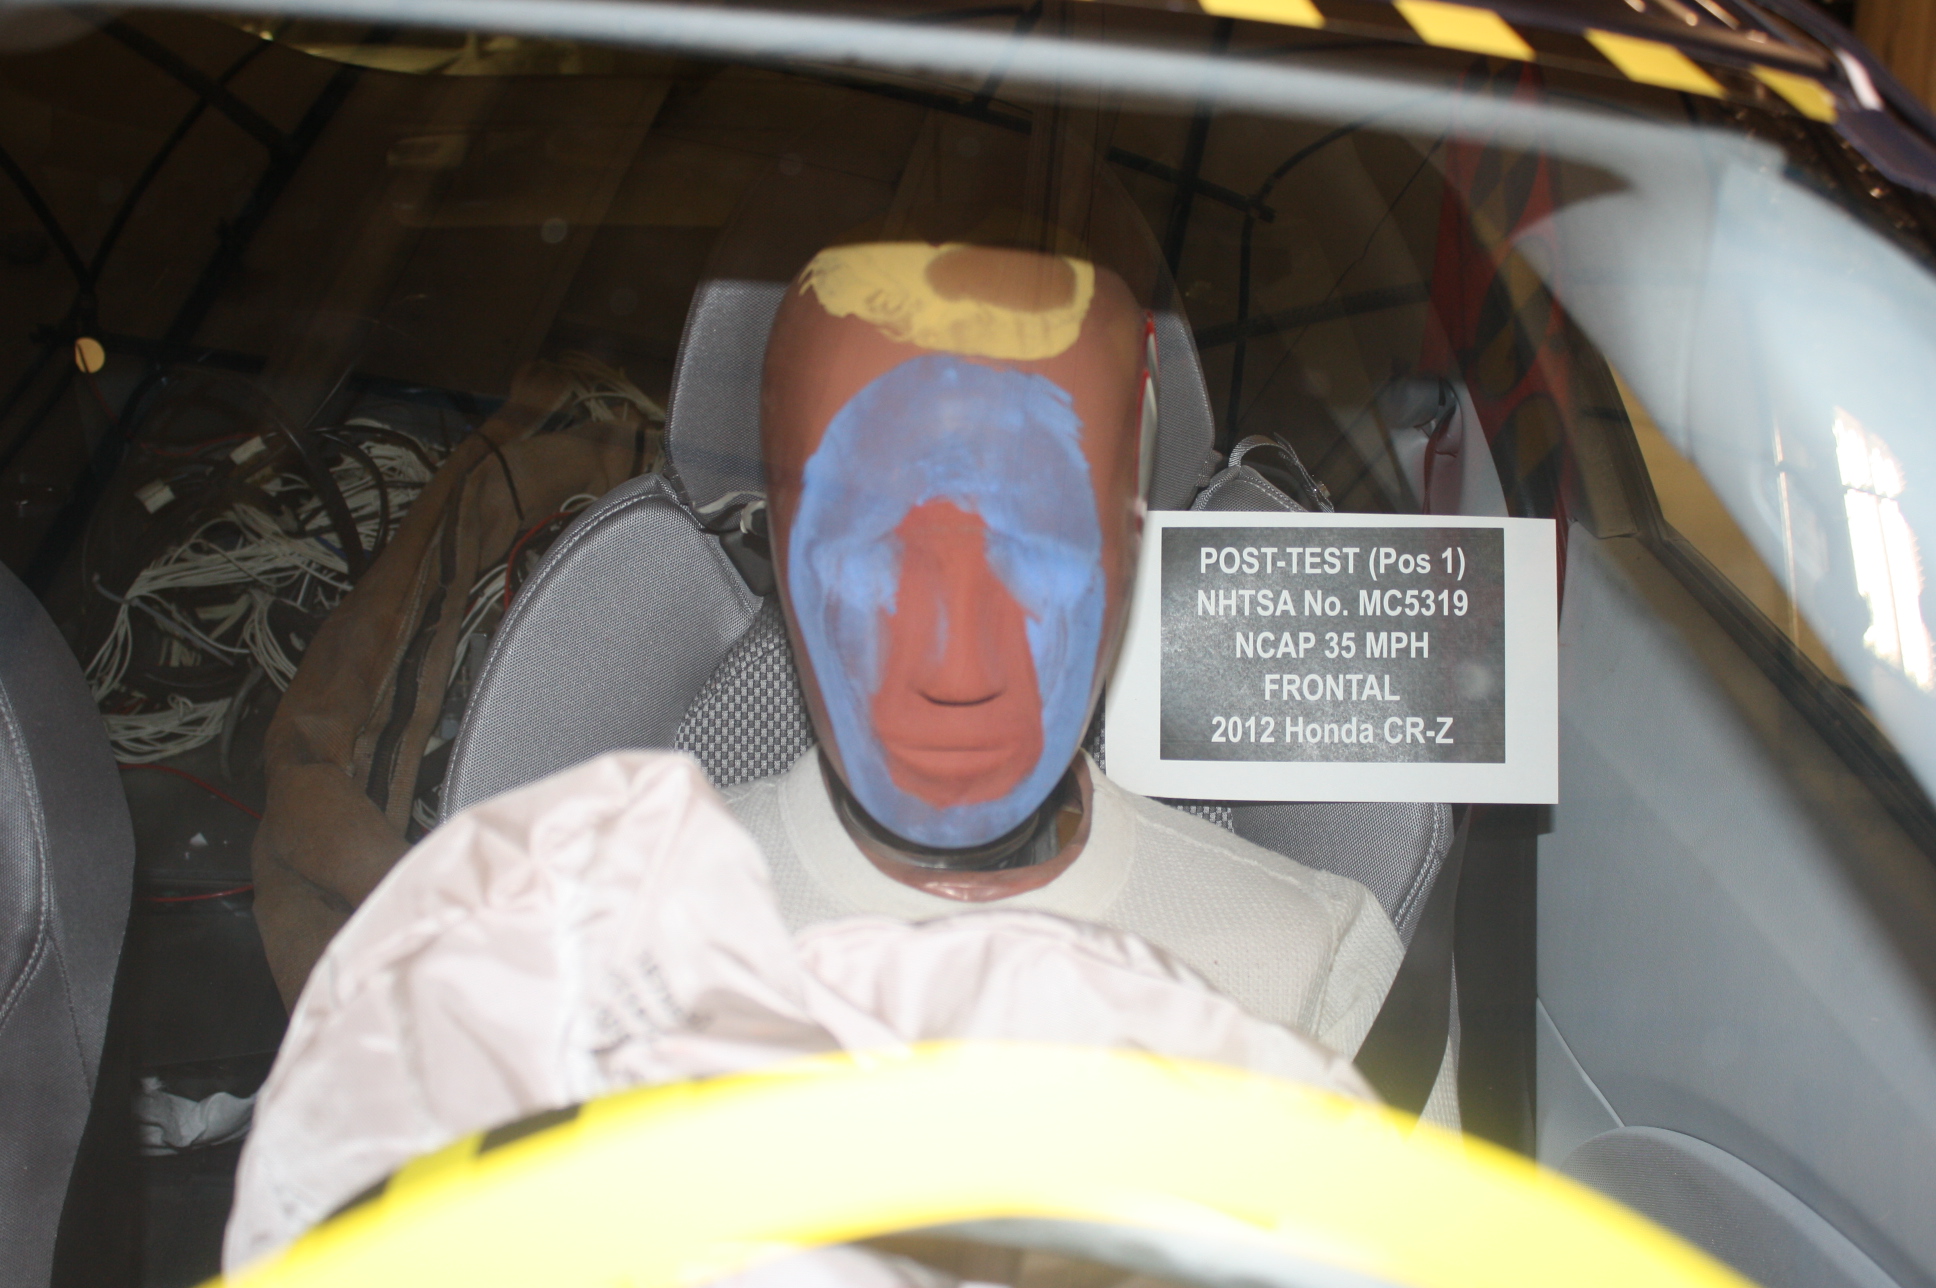
Frontal, driver: 4★Frontal, passenger: 3★Side, driver: 3★Rollover risk: 9.5%
  • Lane departure warningNo
  • Forward collision warningNo
  • Electronic stability controlStandard

Crash test videos & photos

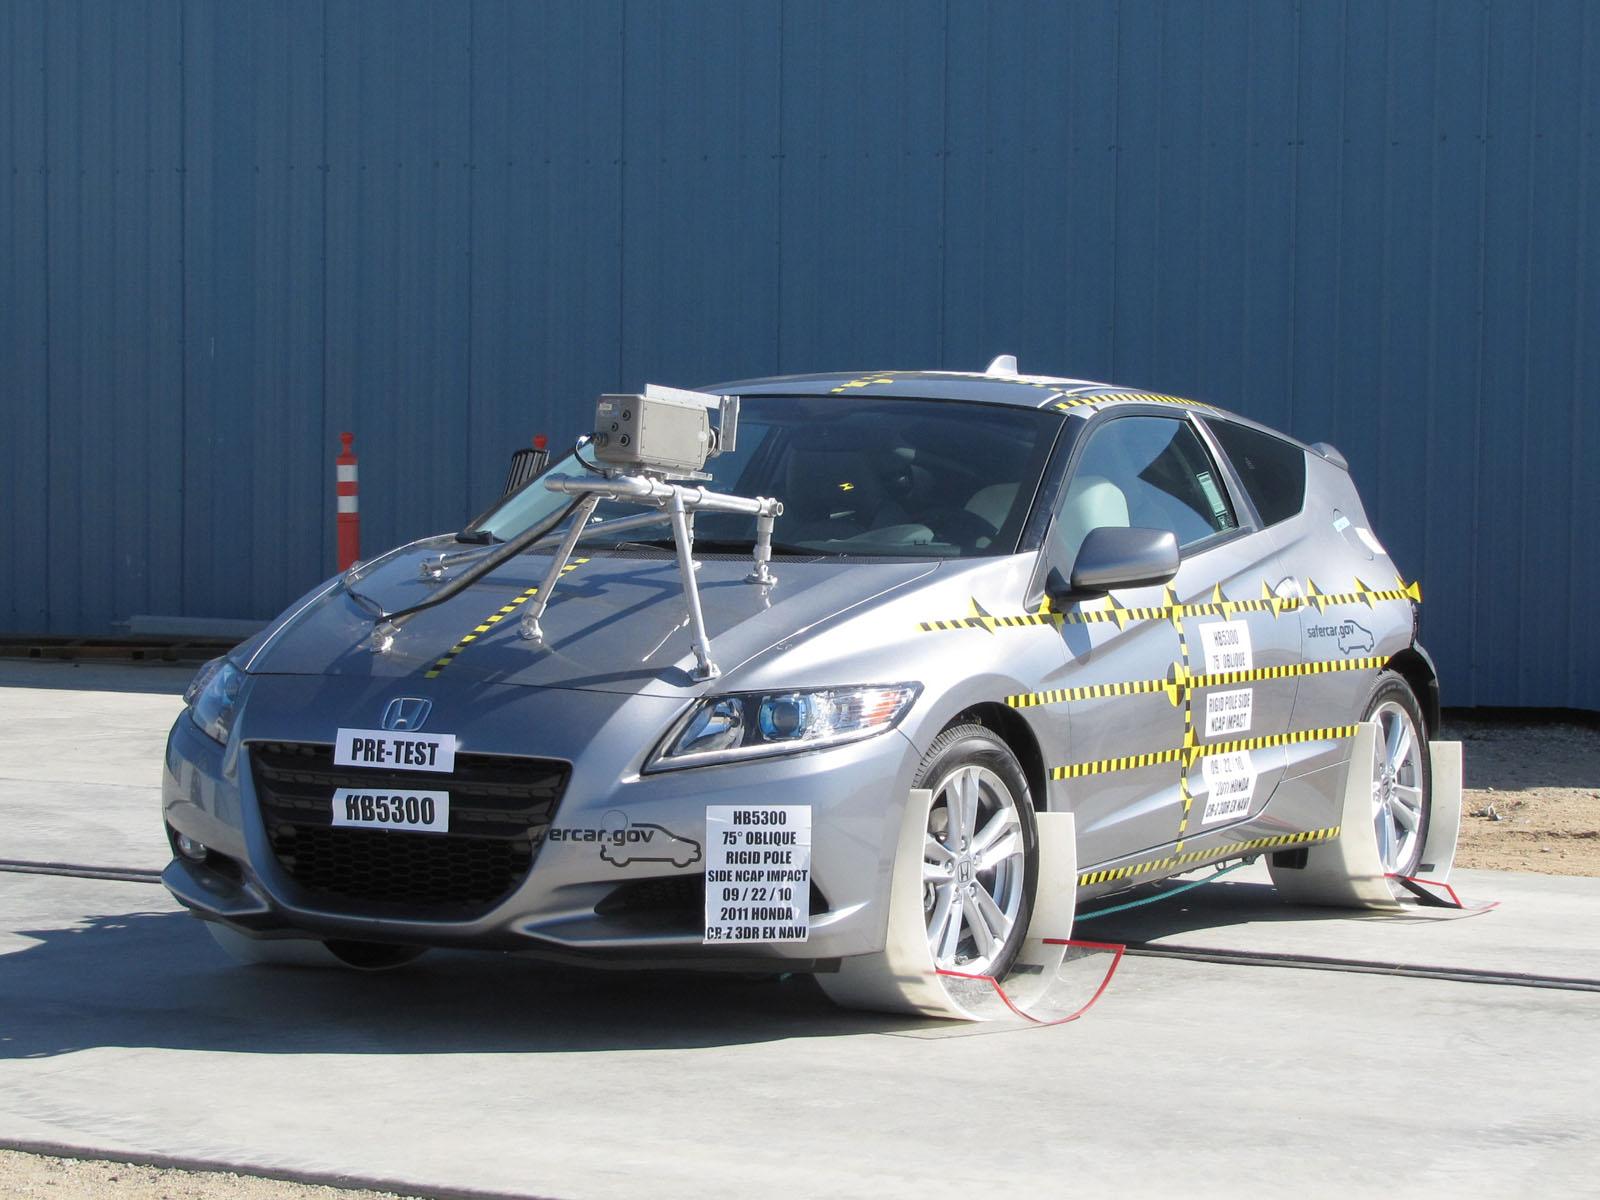
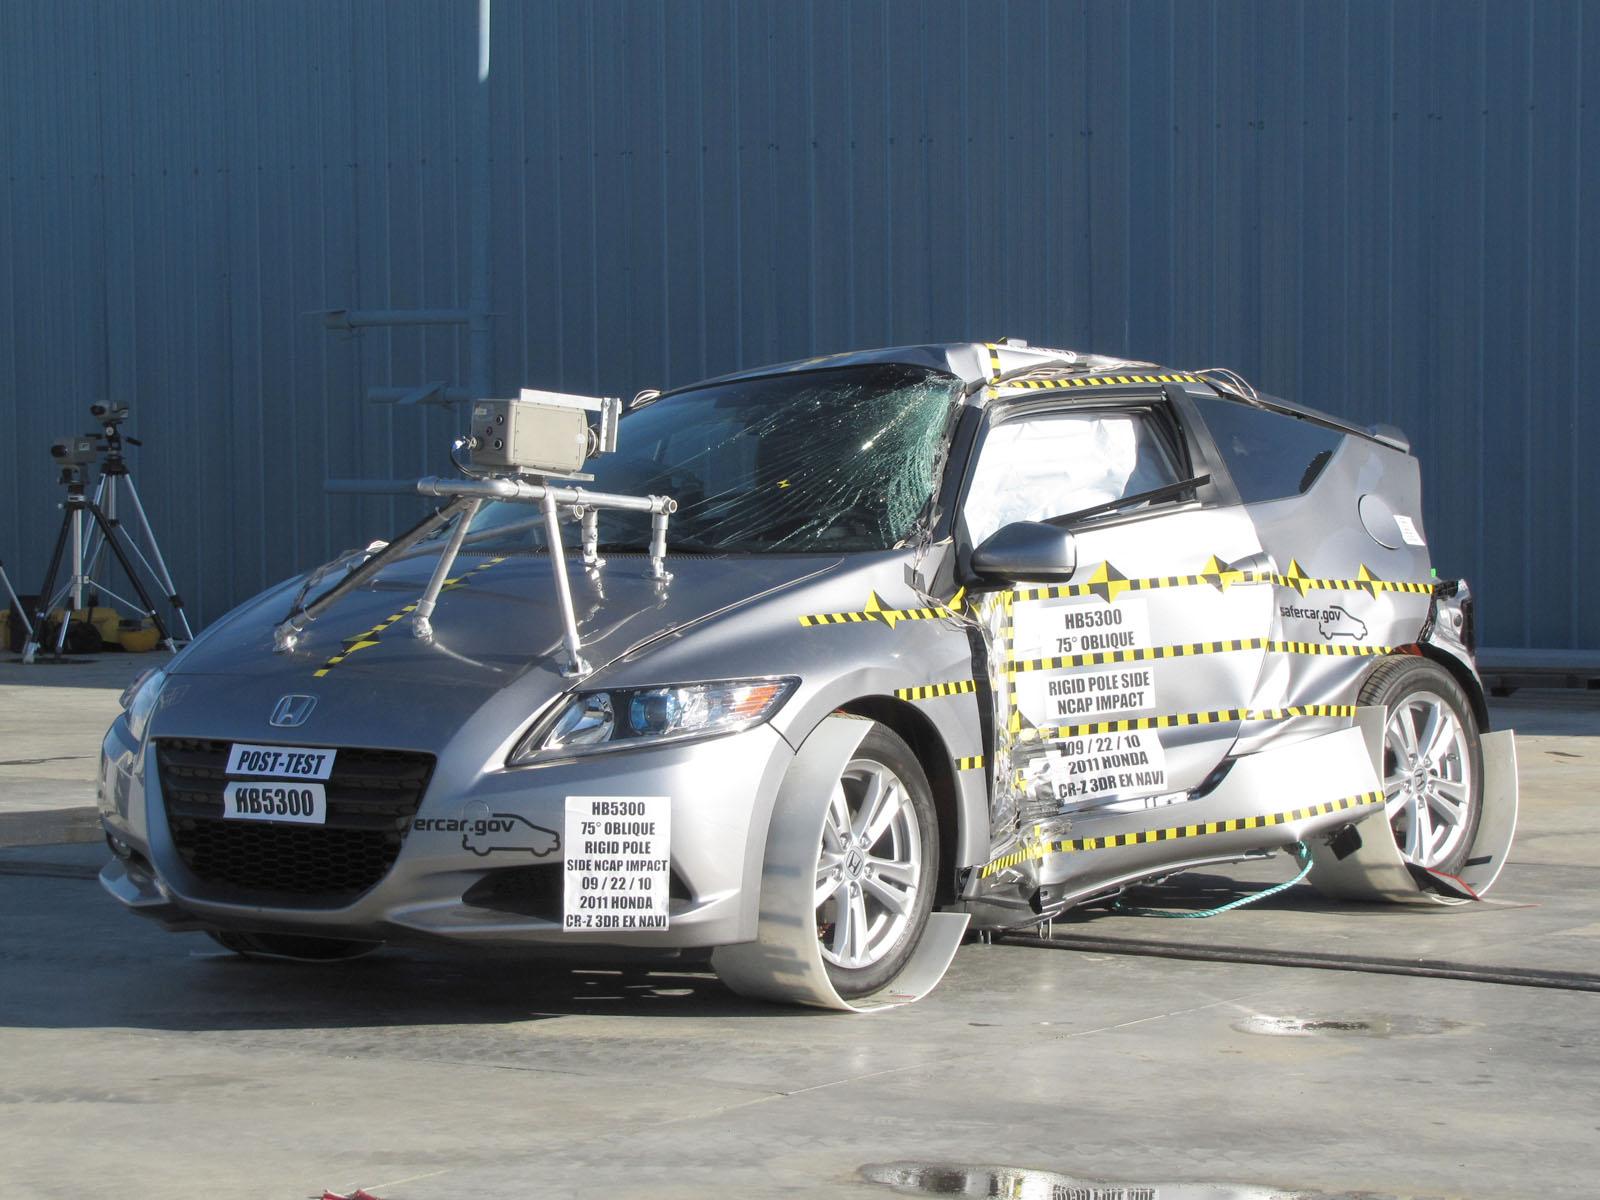
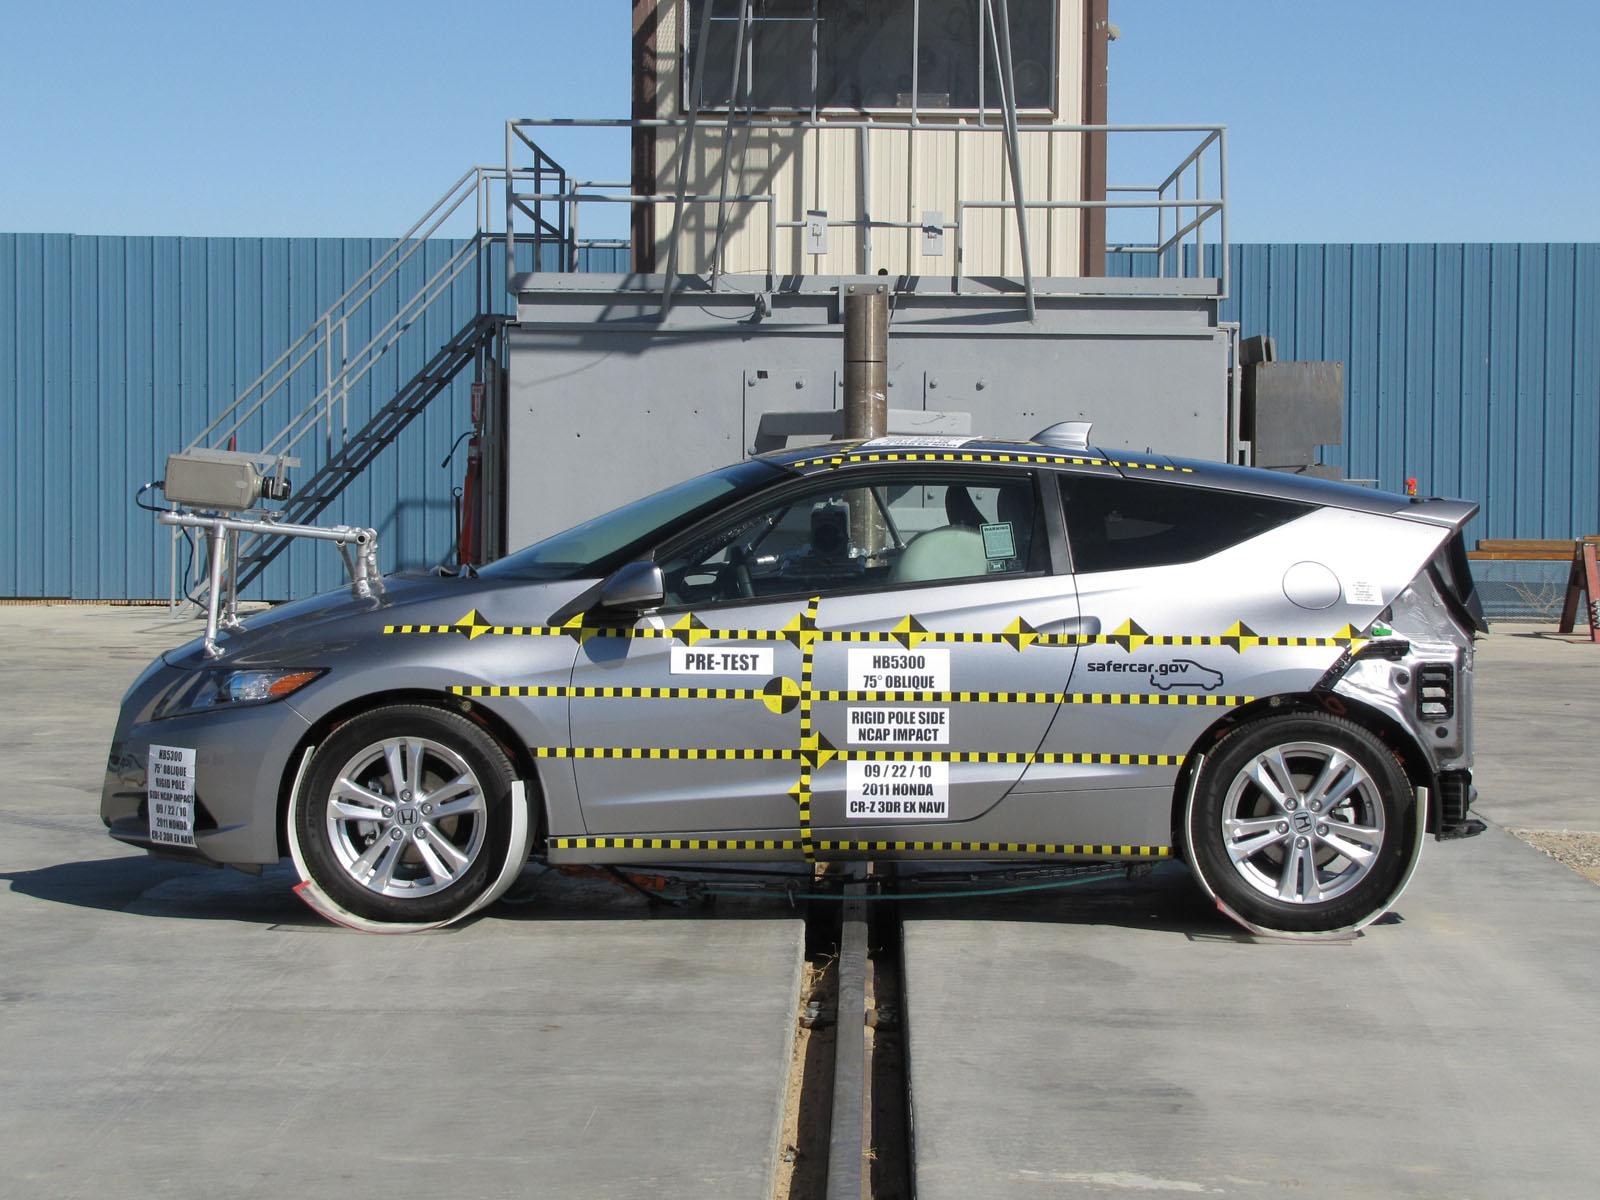
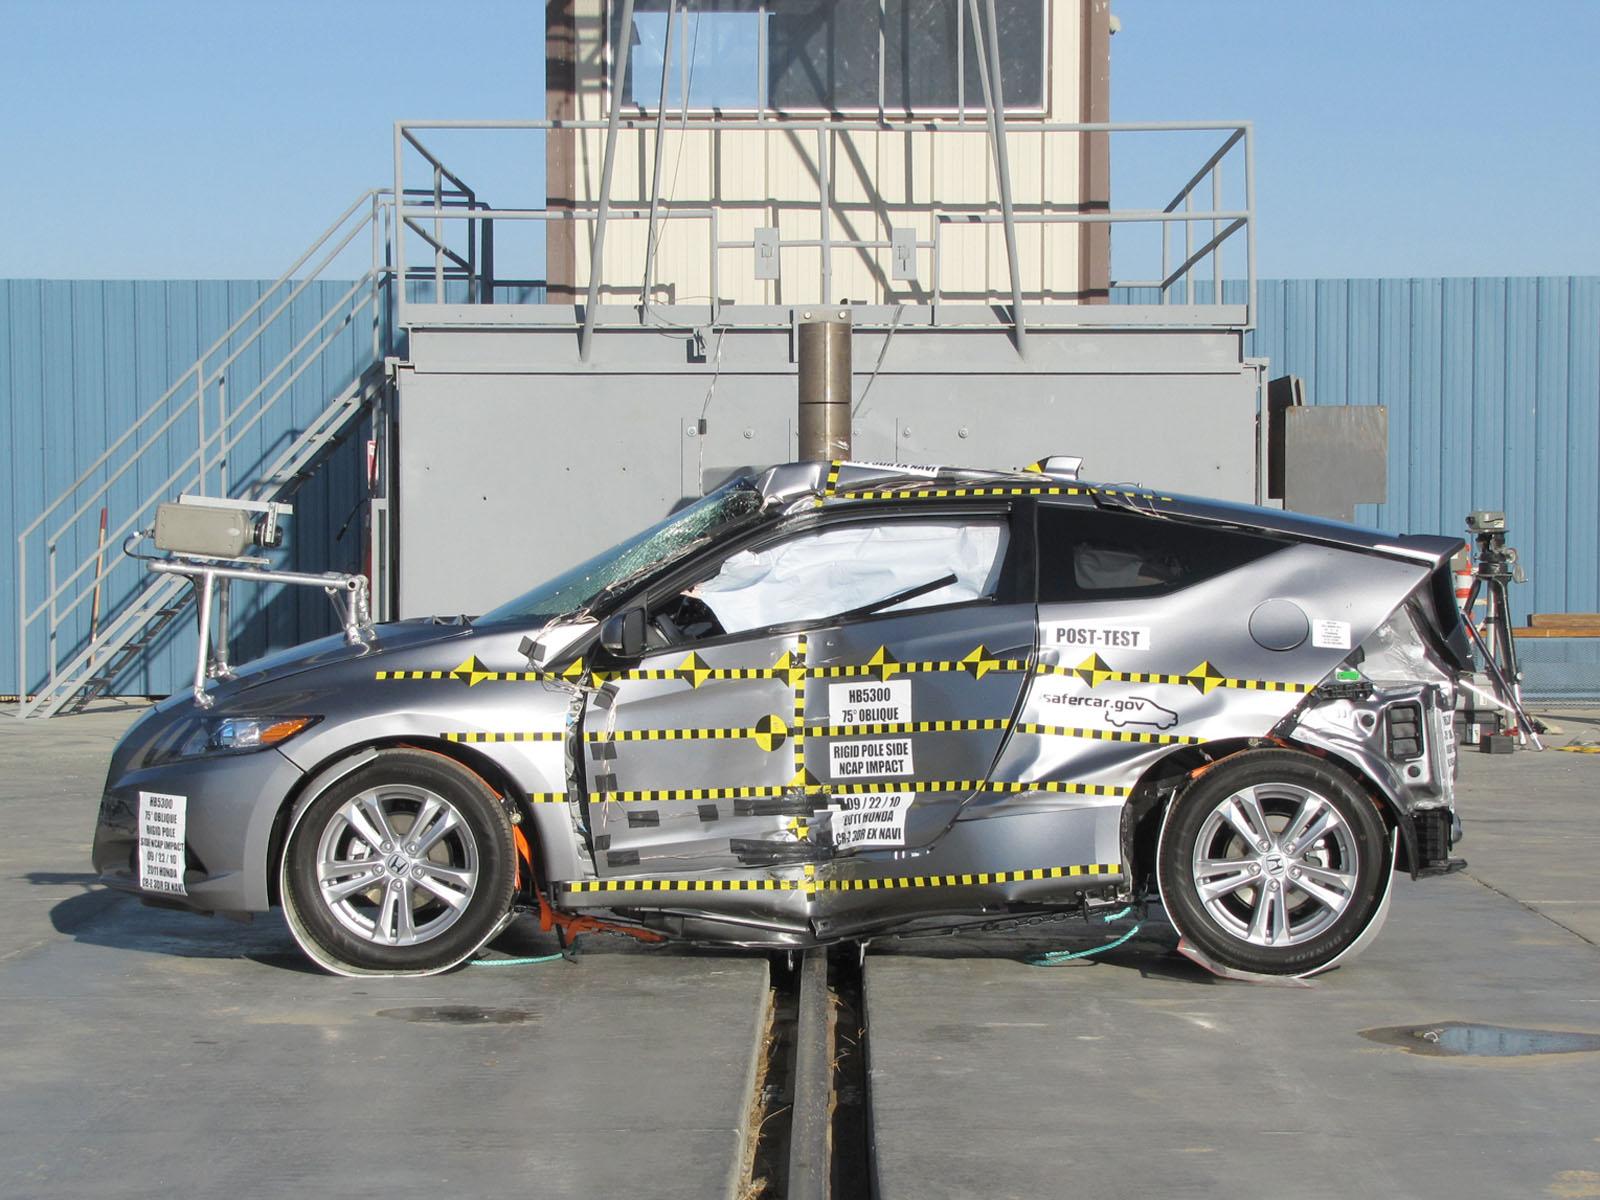
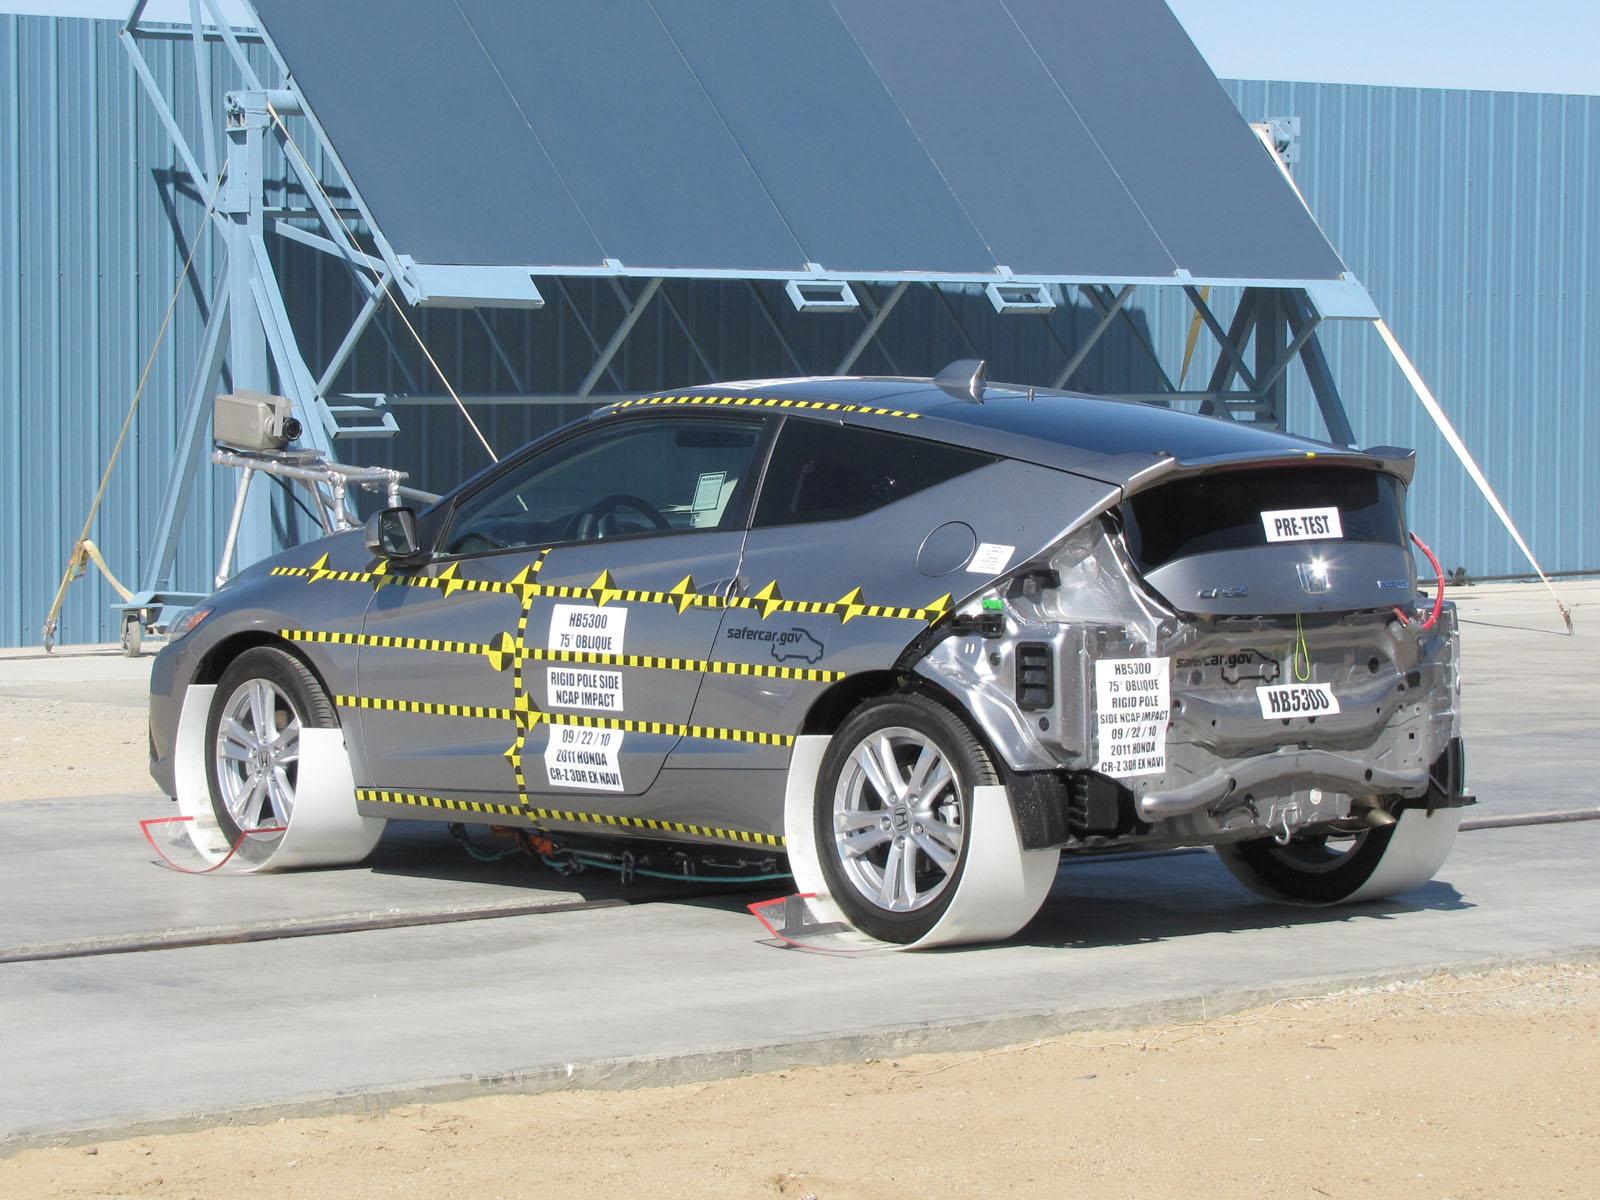
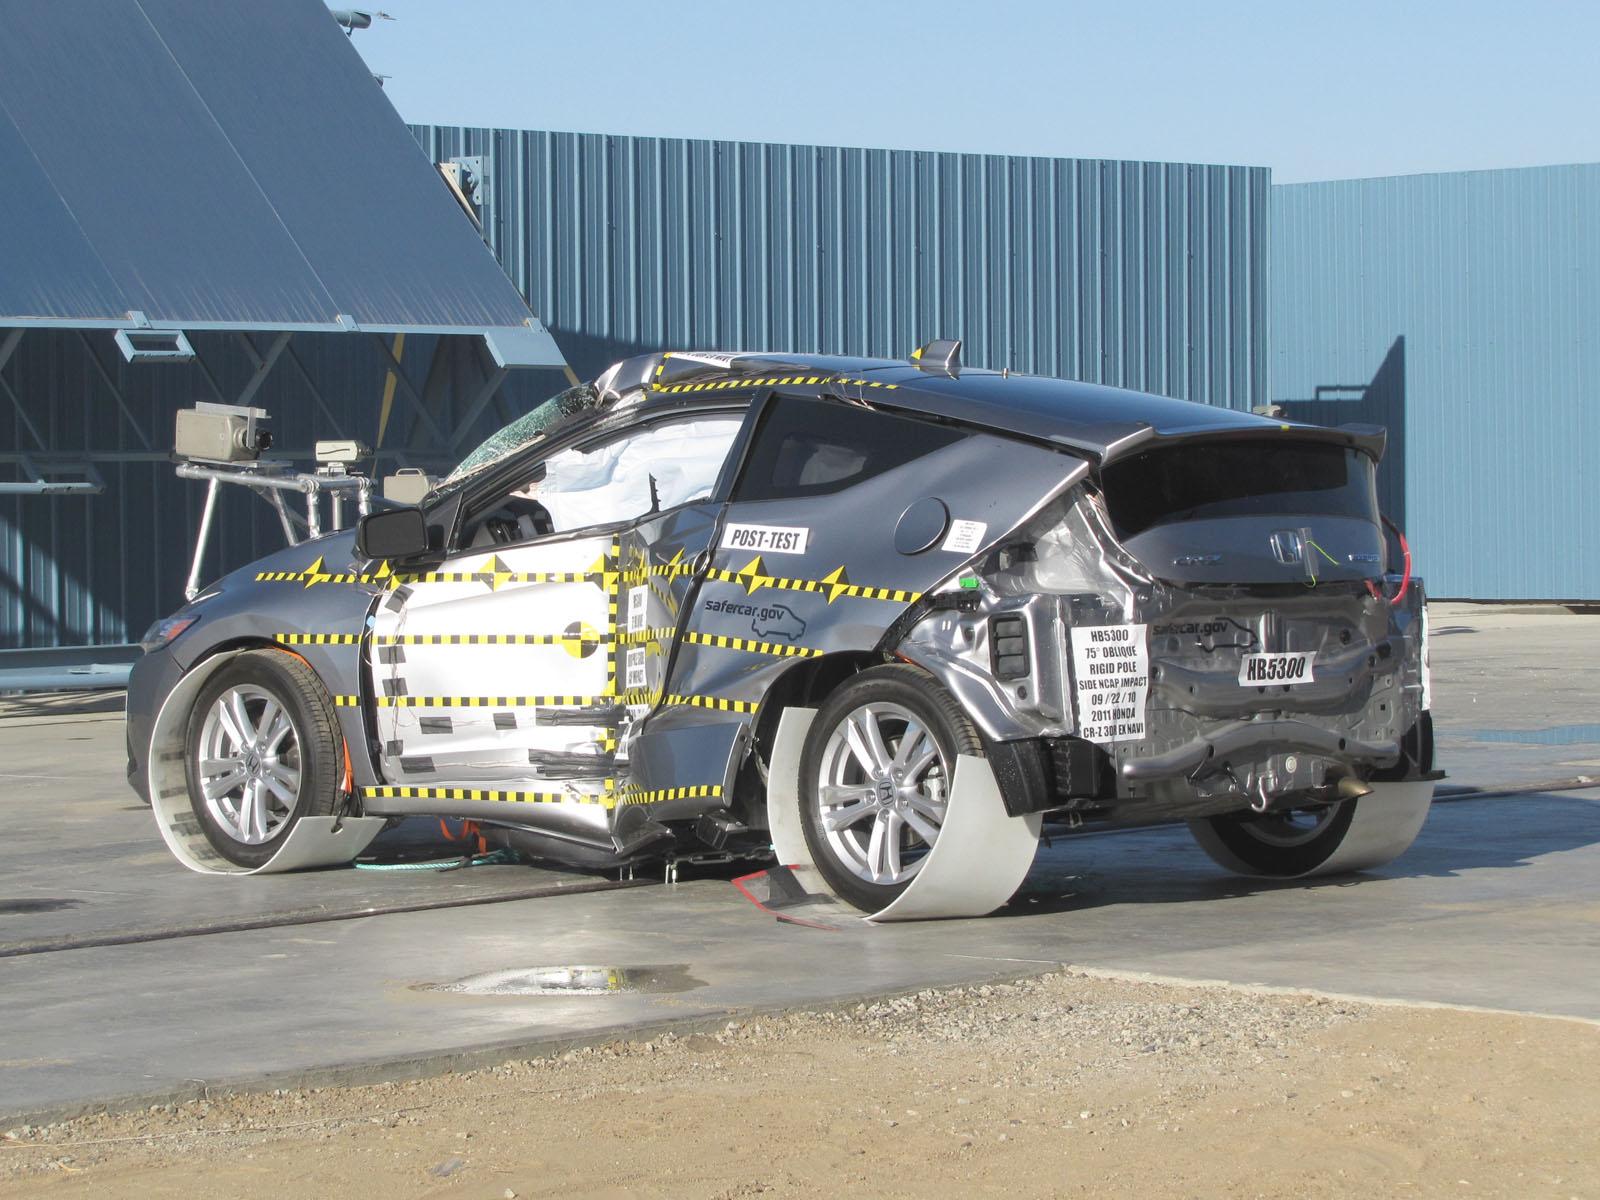
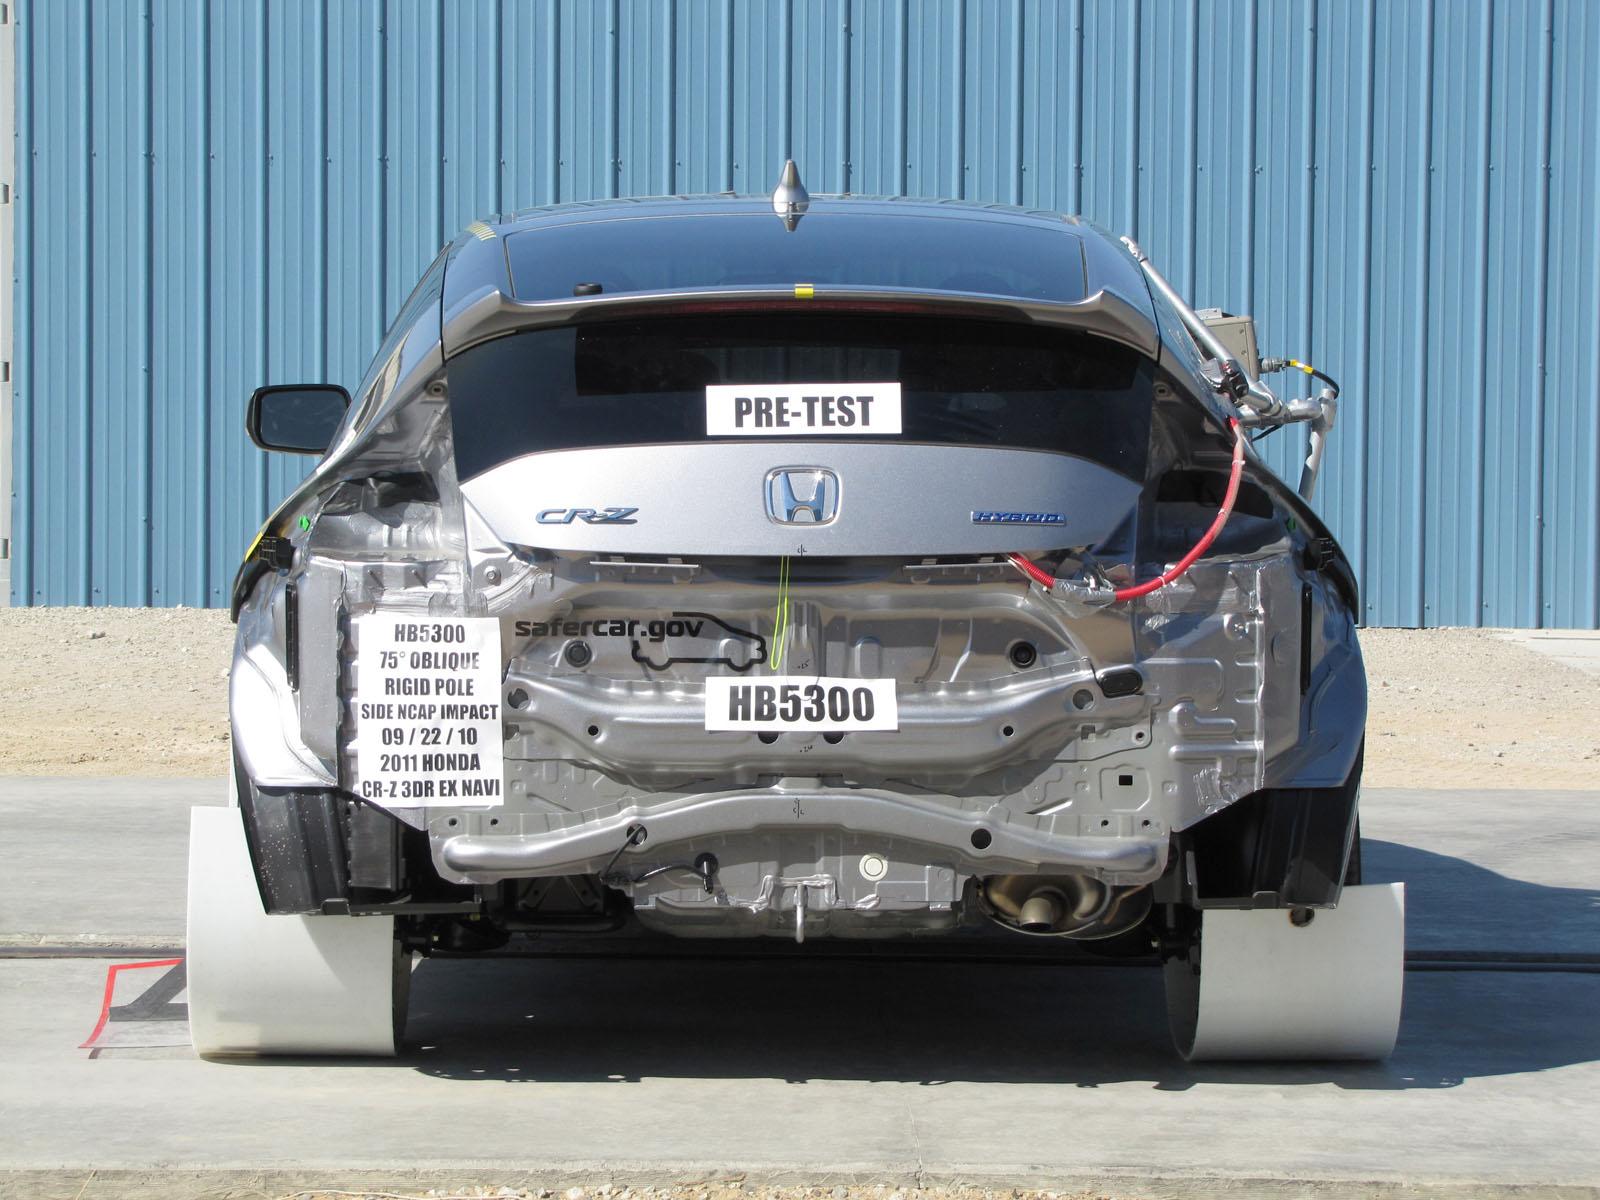
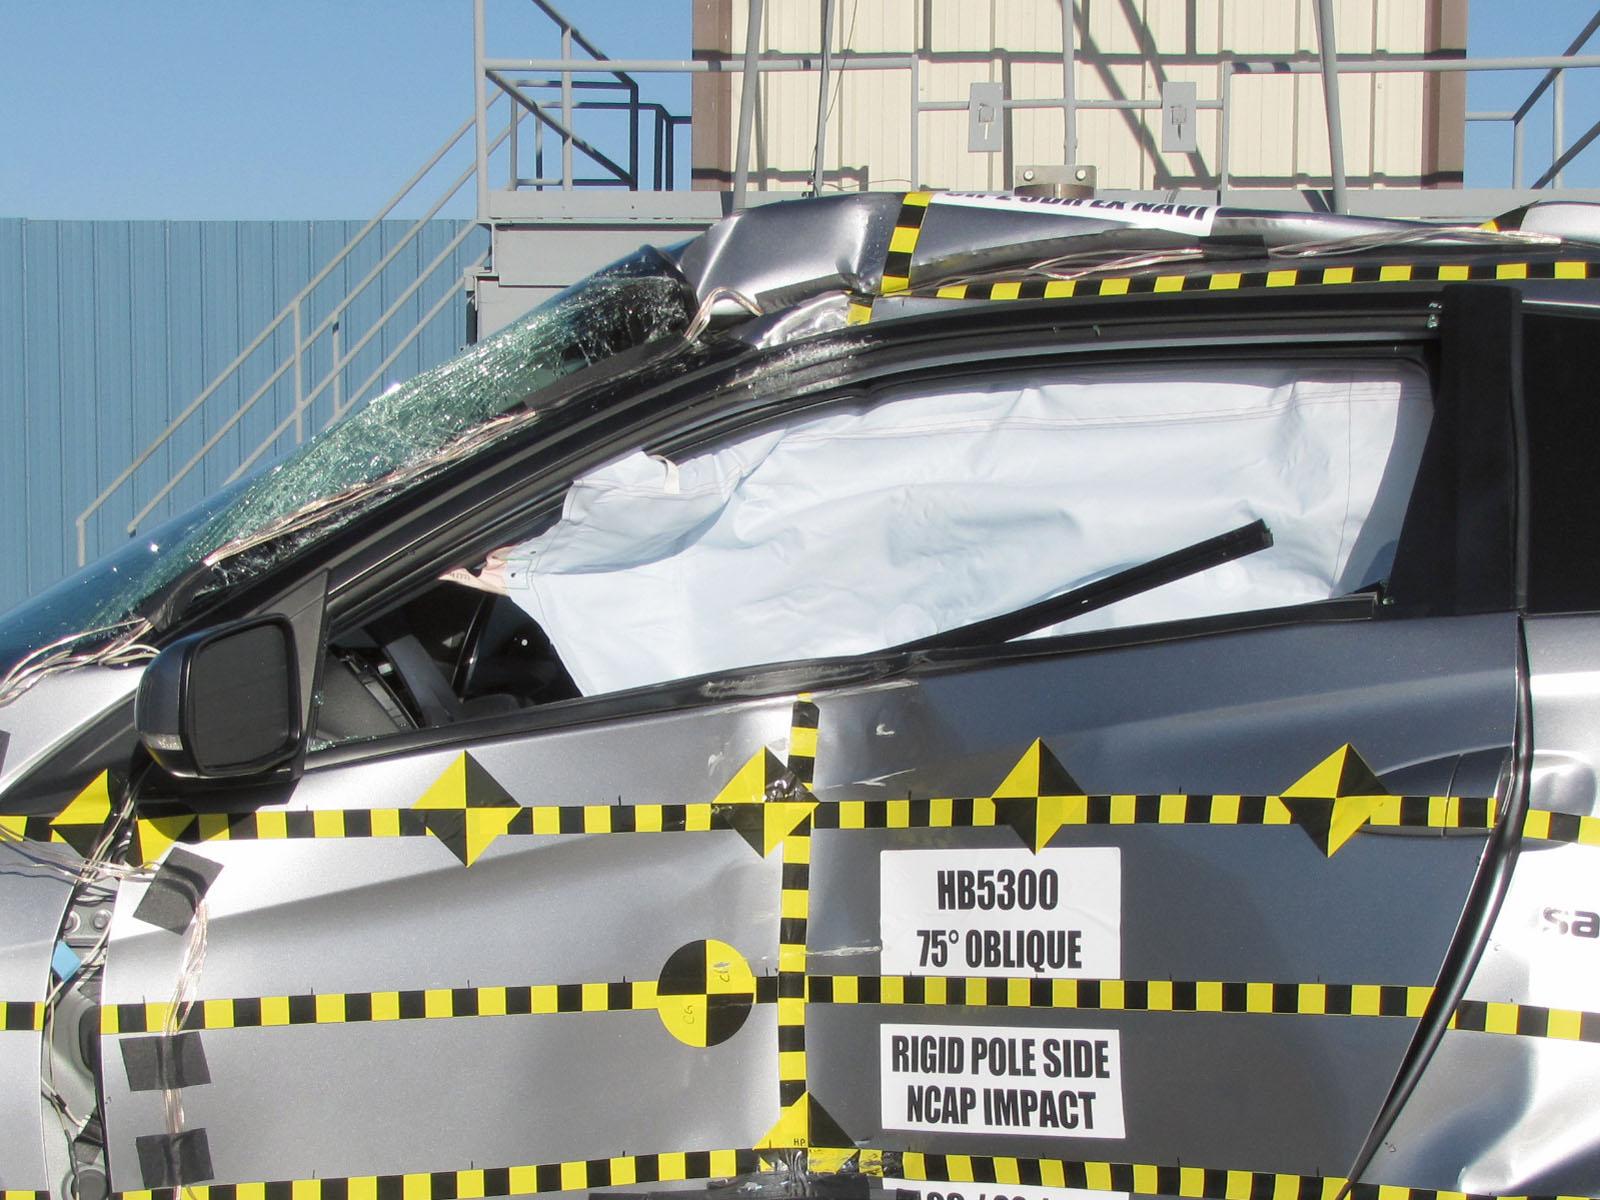
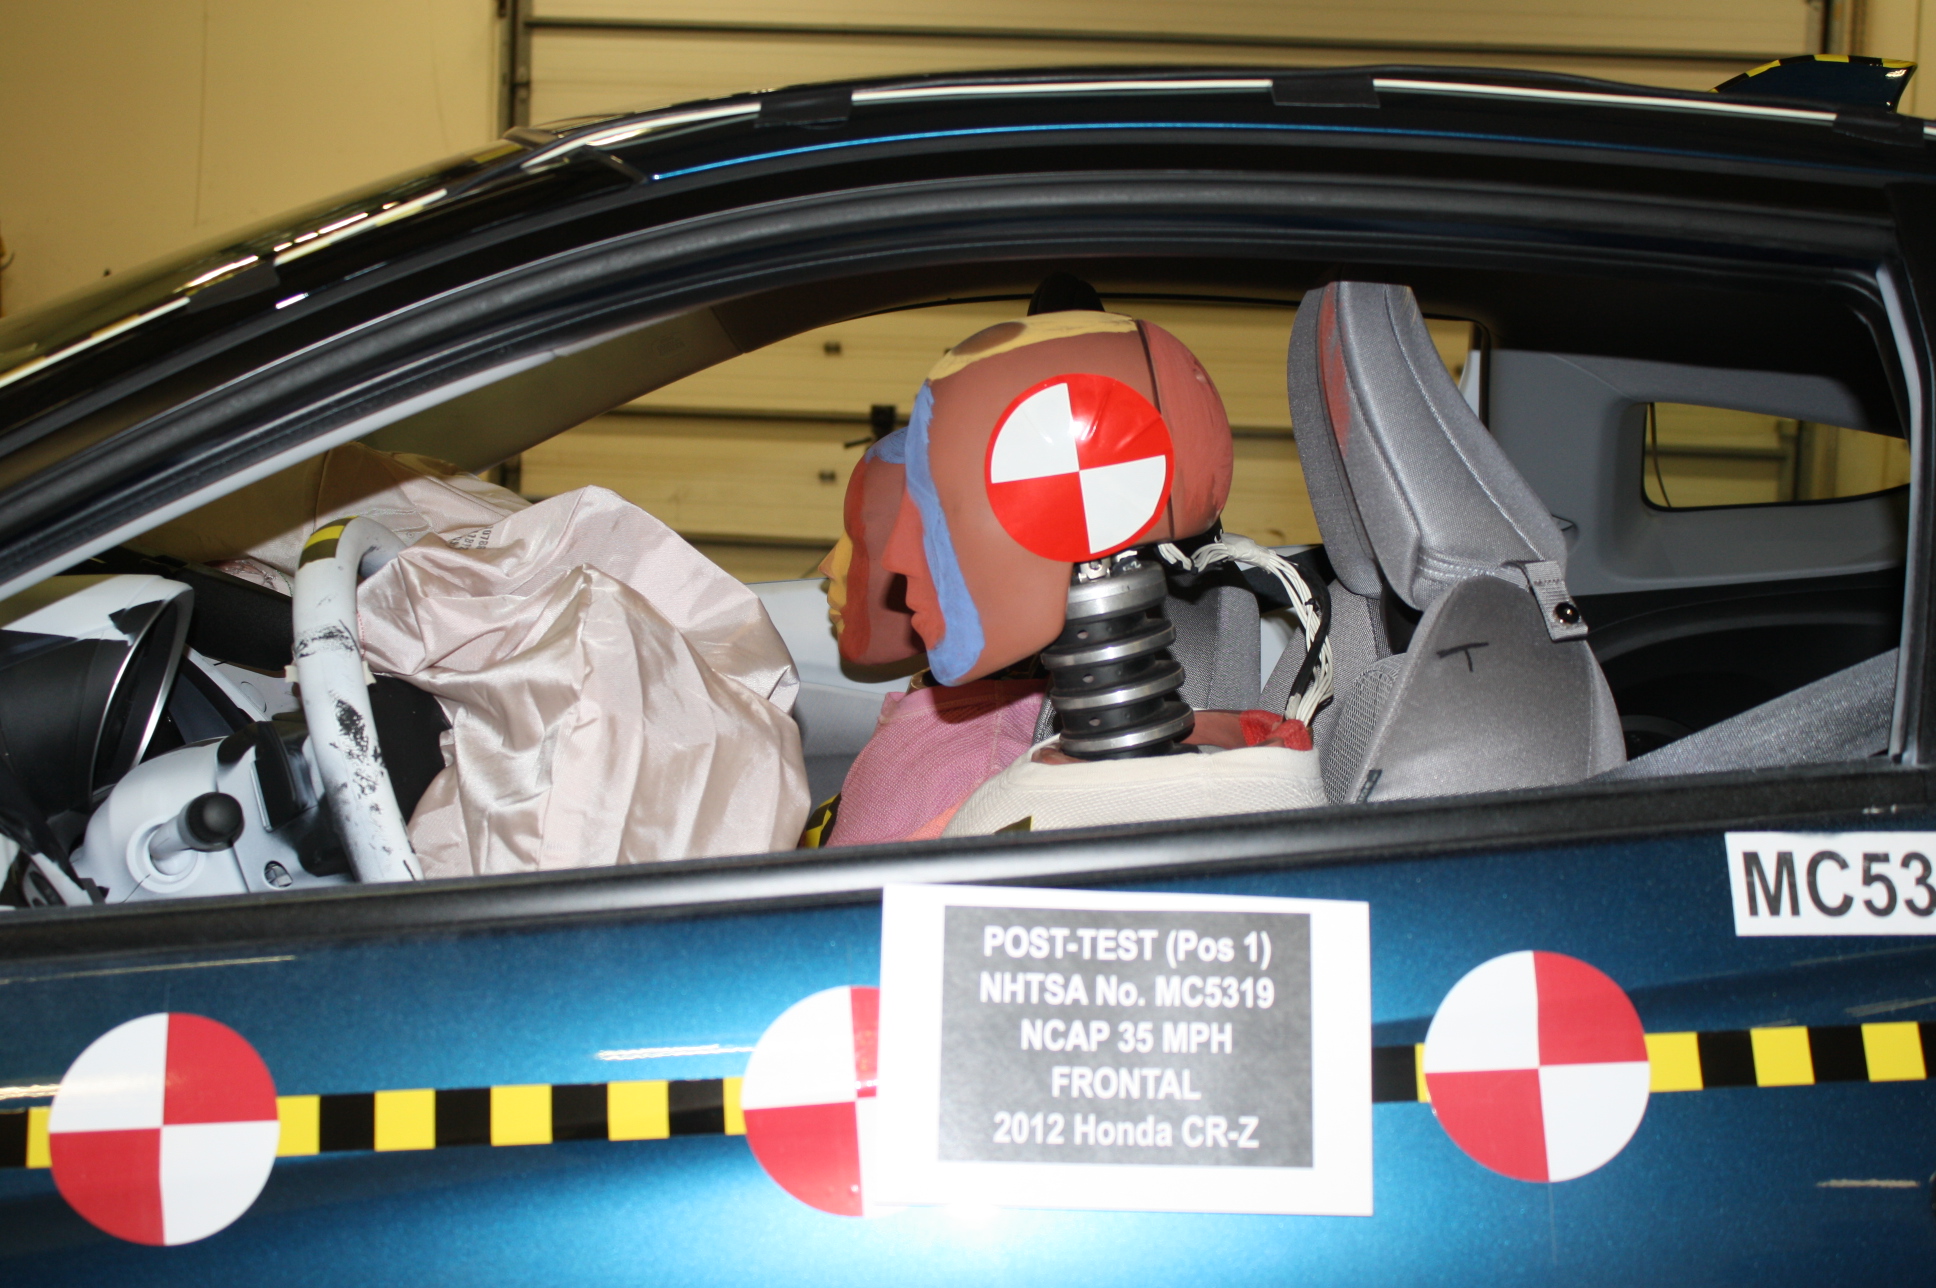
Crash test #1NHTSA test 7069

Full test report (PDF) ↗

Crash-test footage is converted for smooth playback the first time someone requests it — usually under a minute.

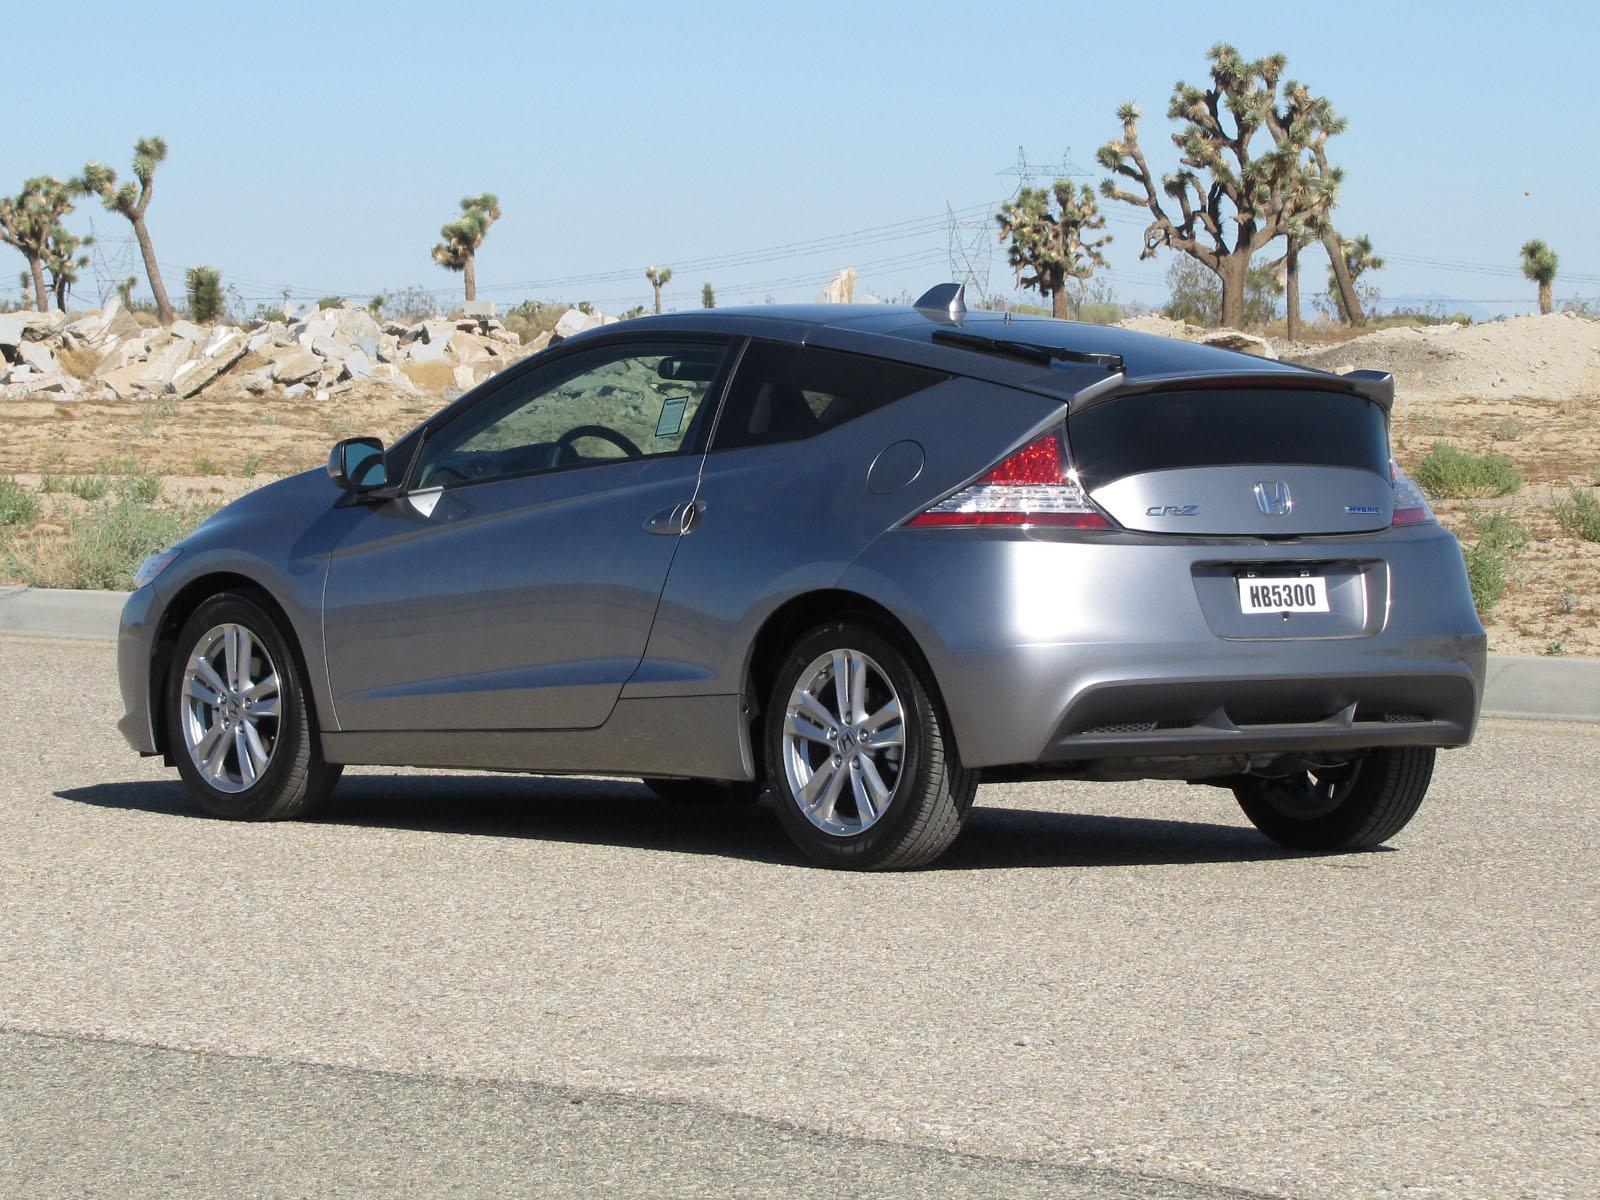
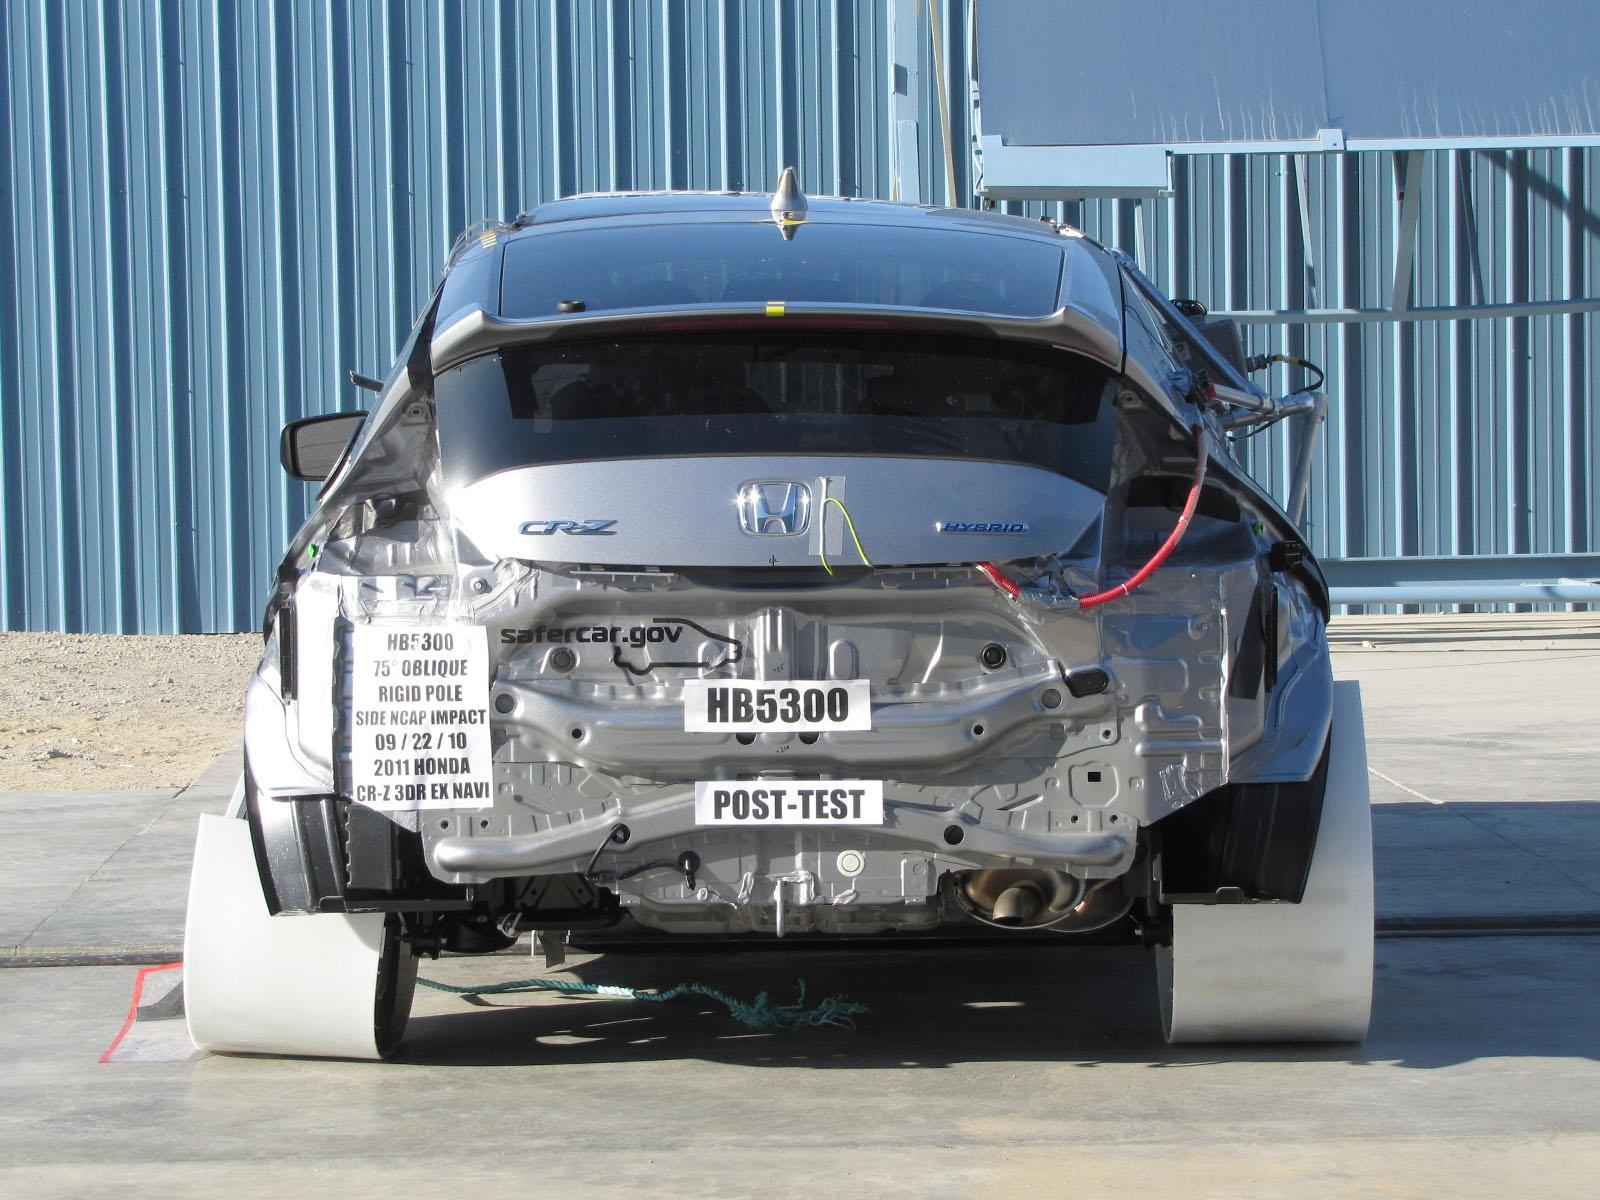
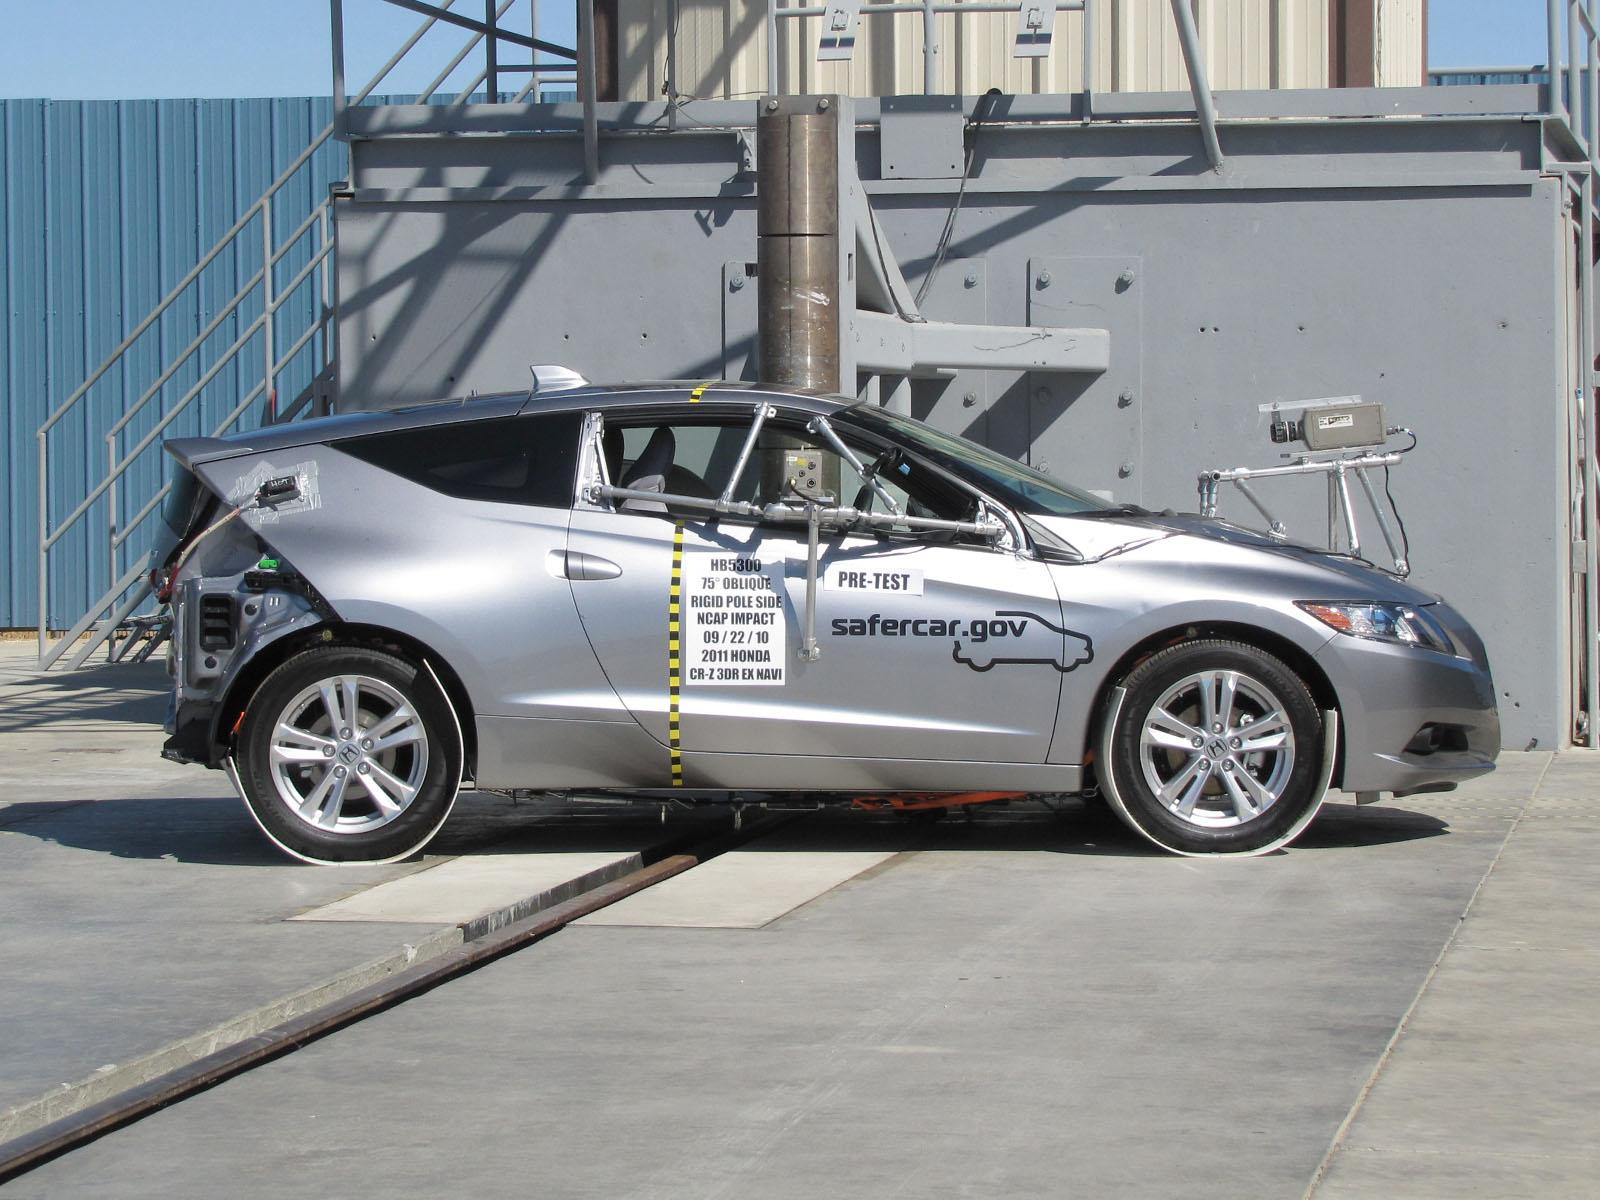
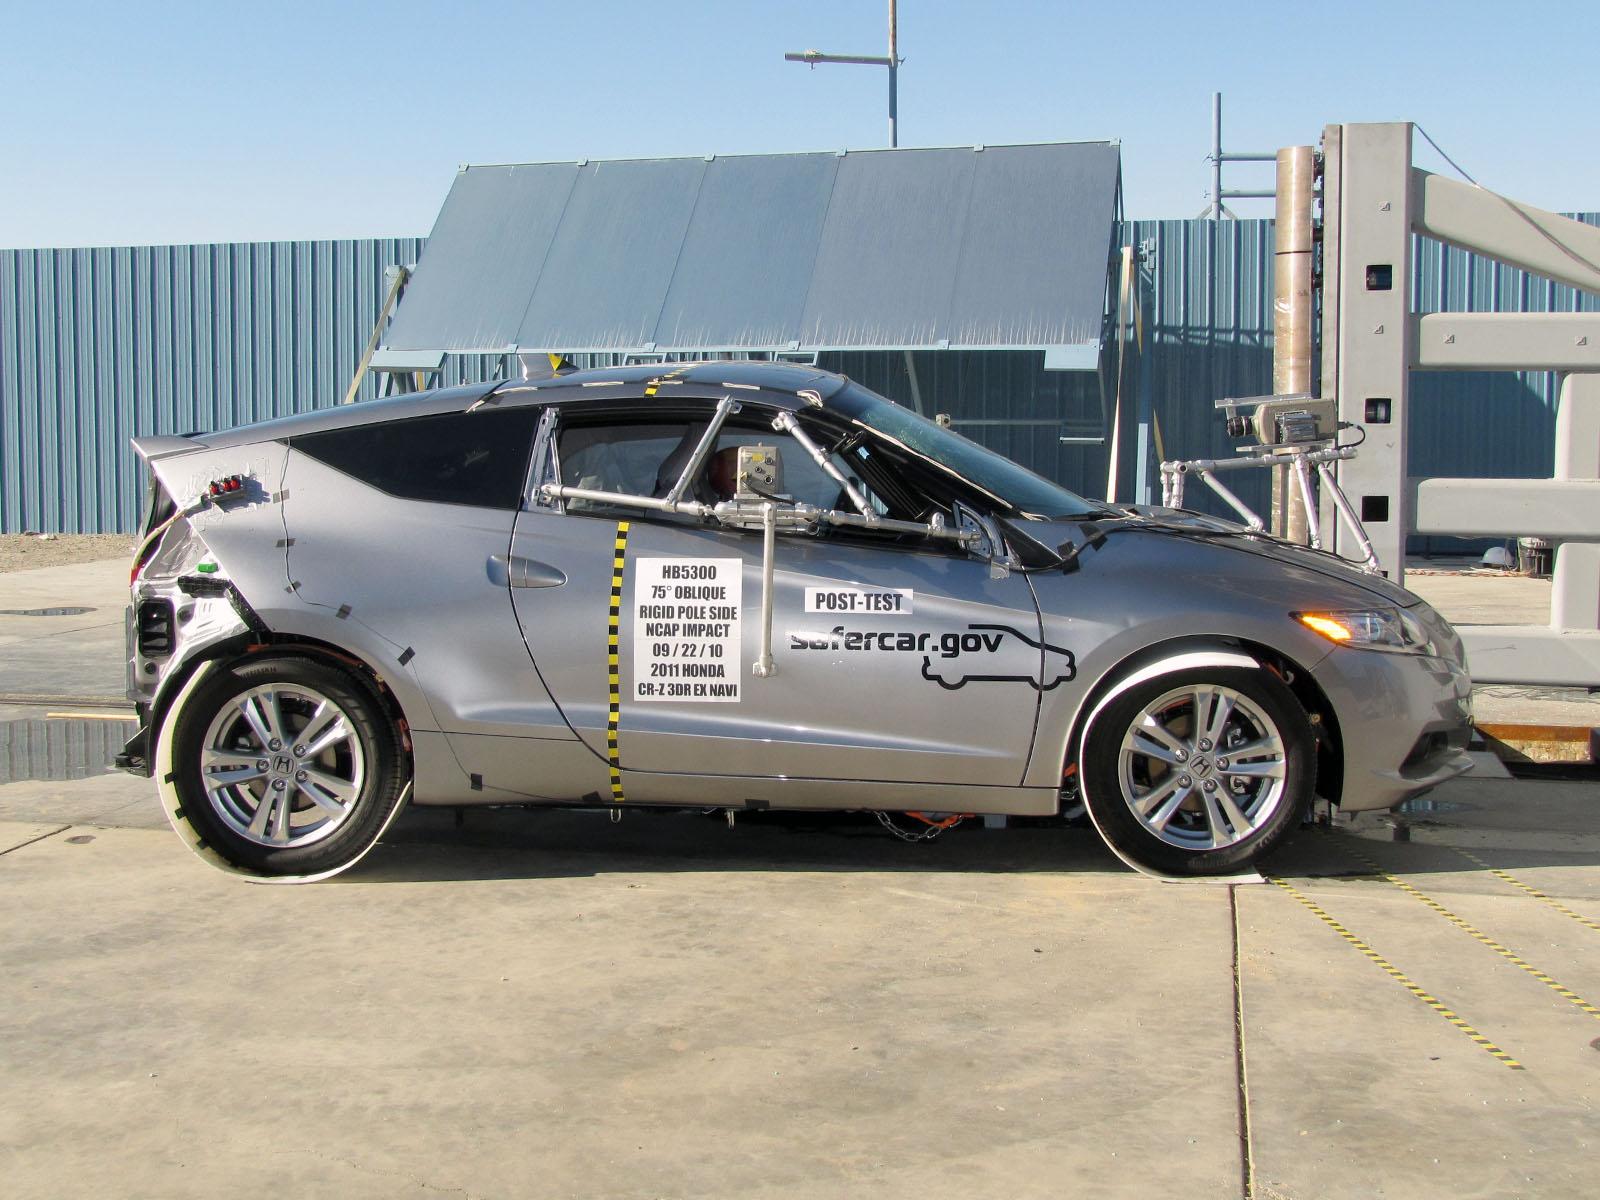
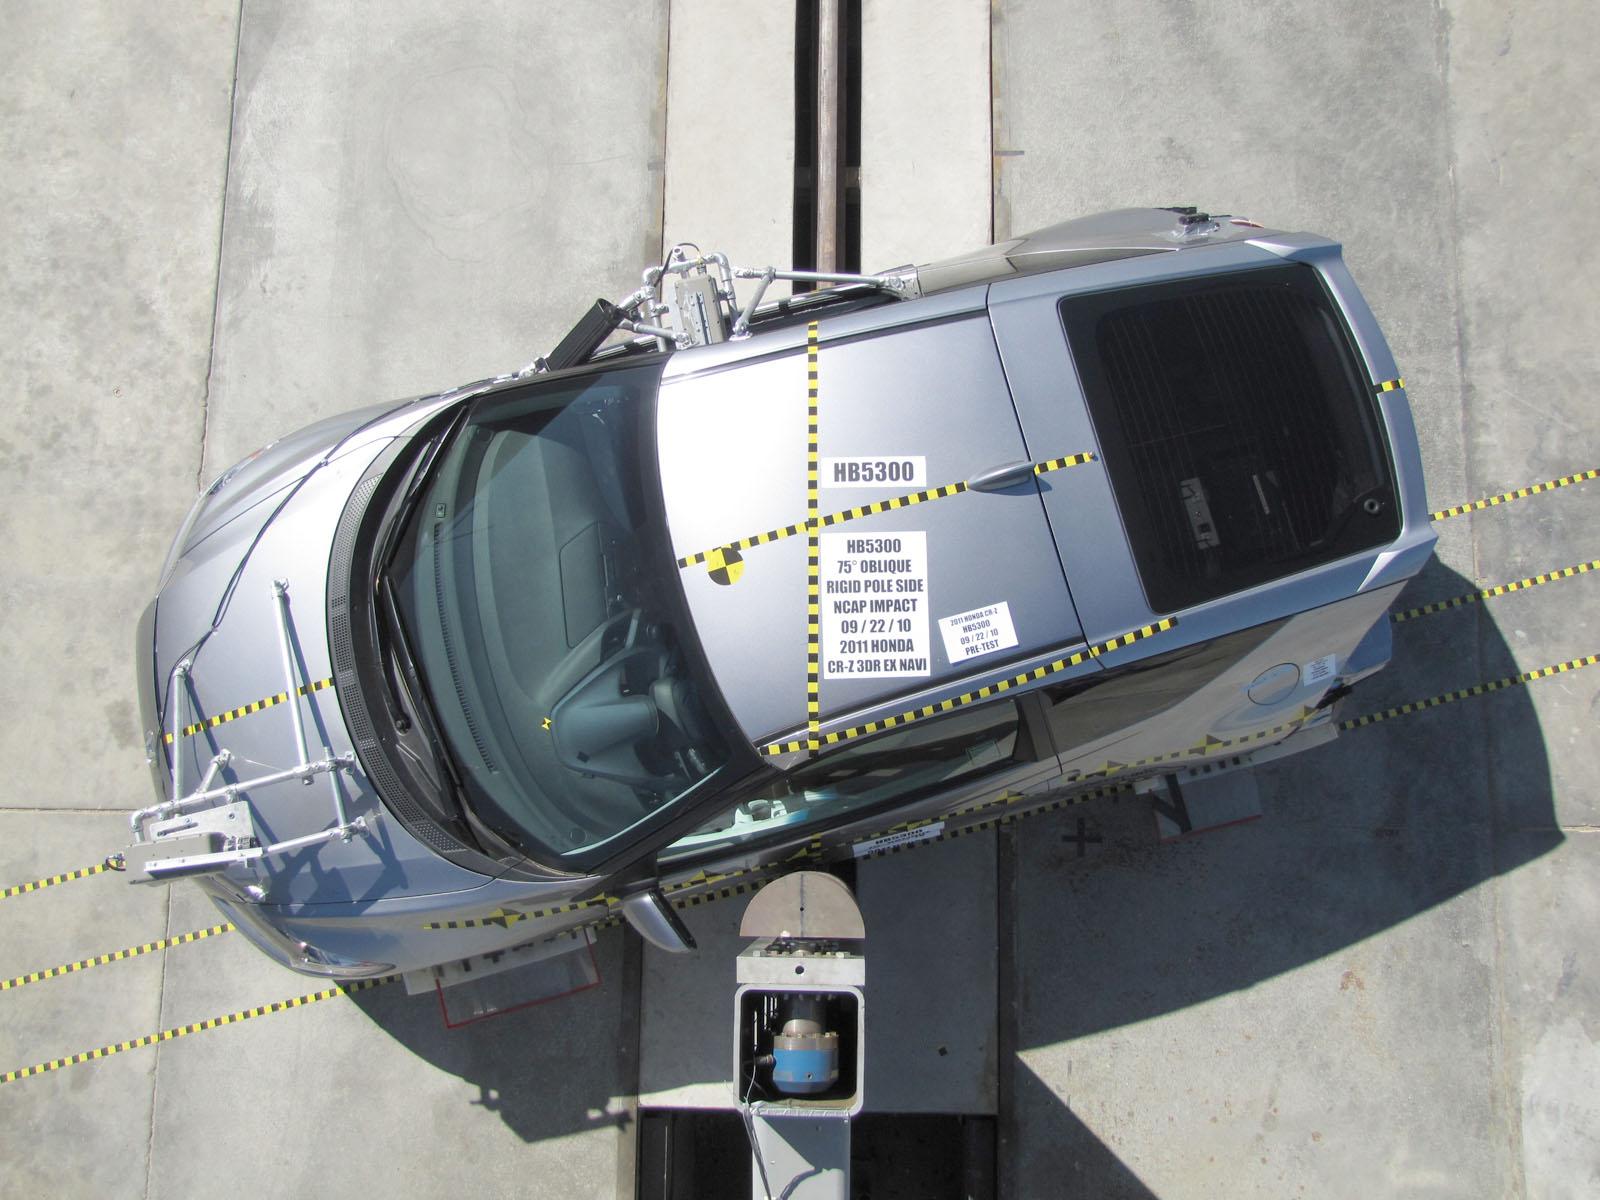
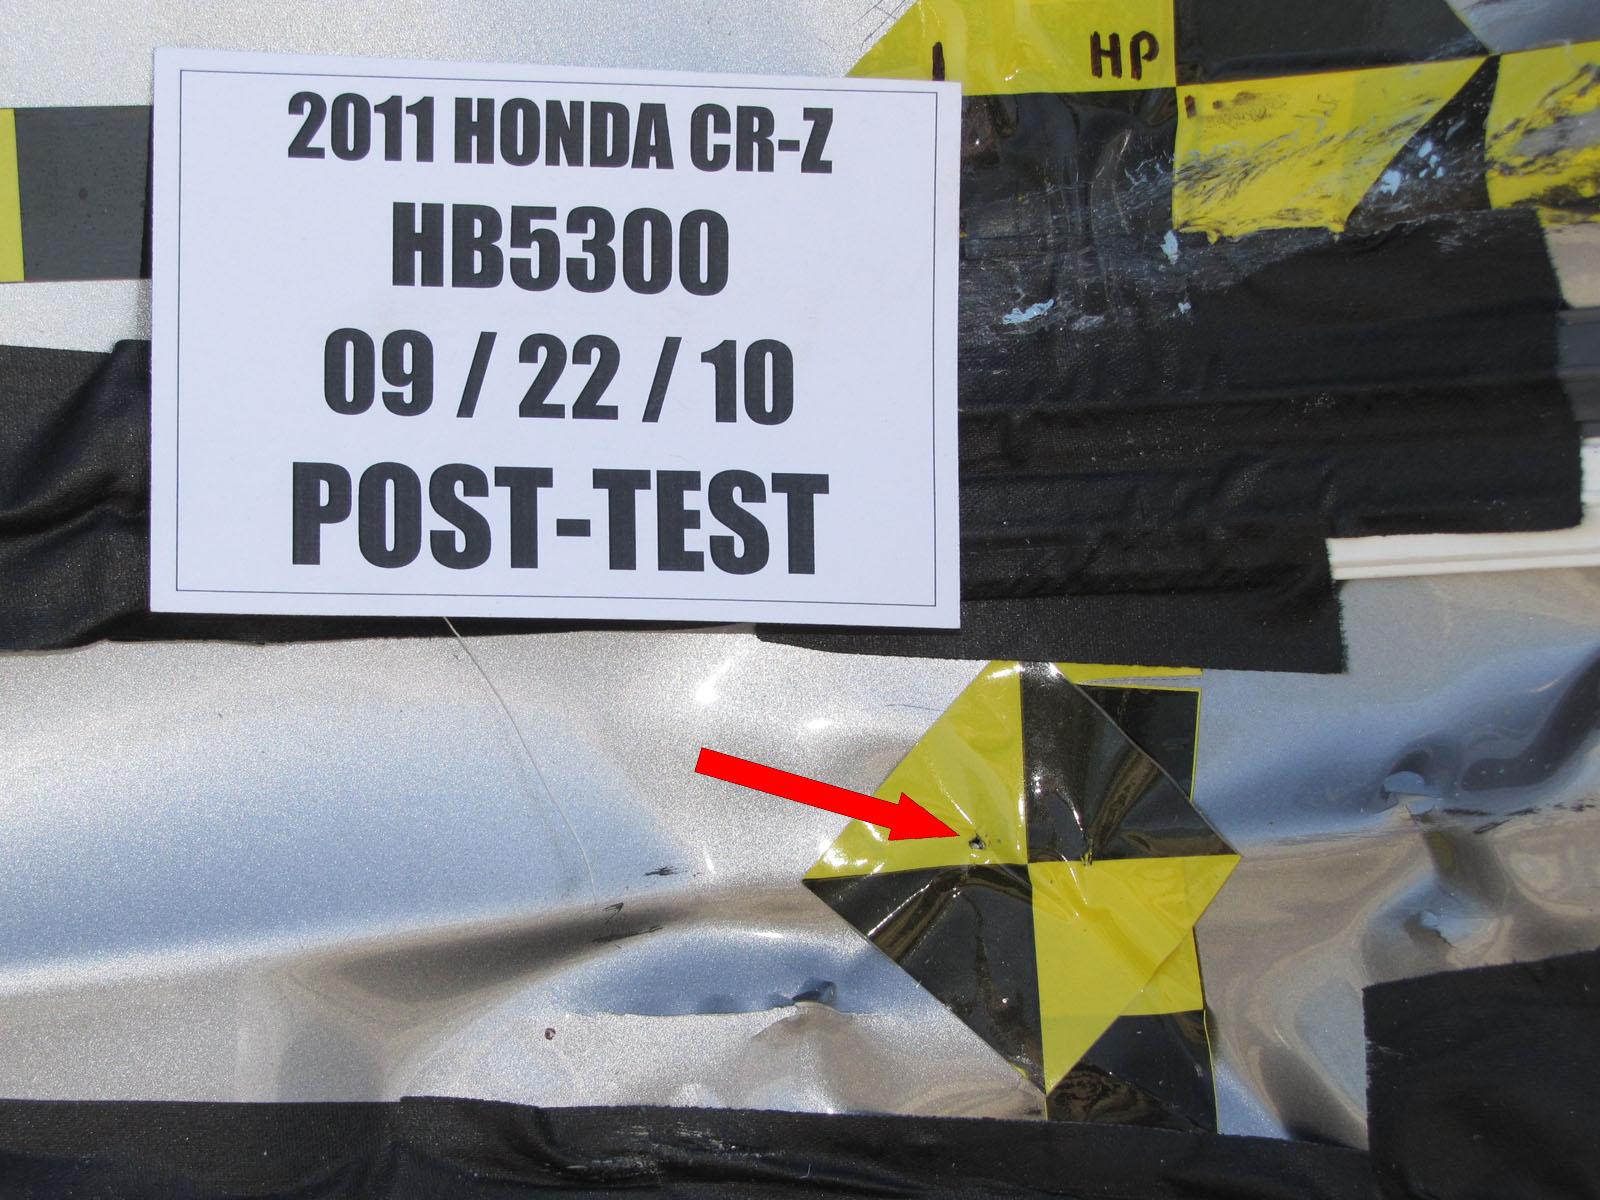
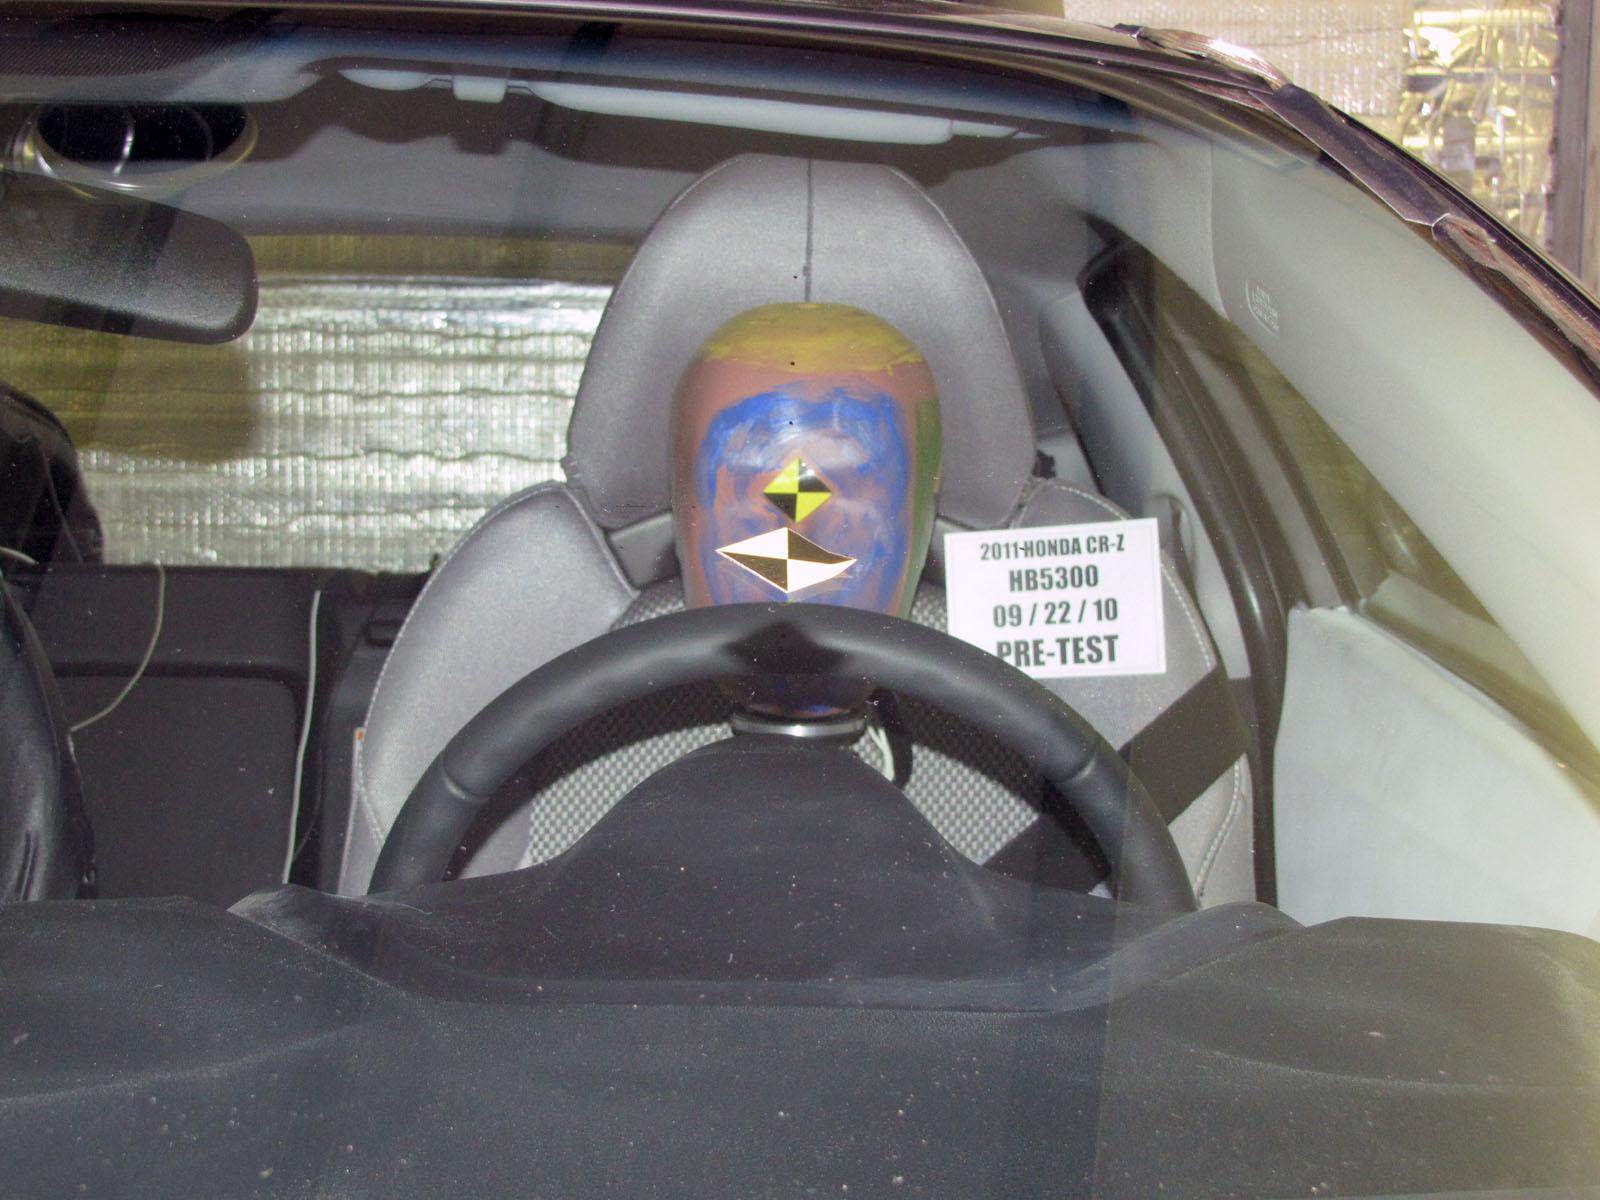
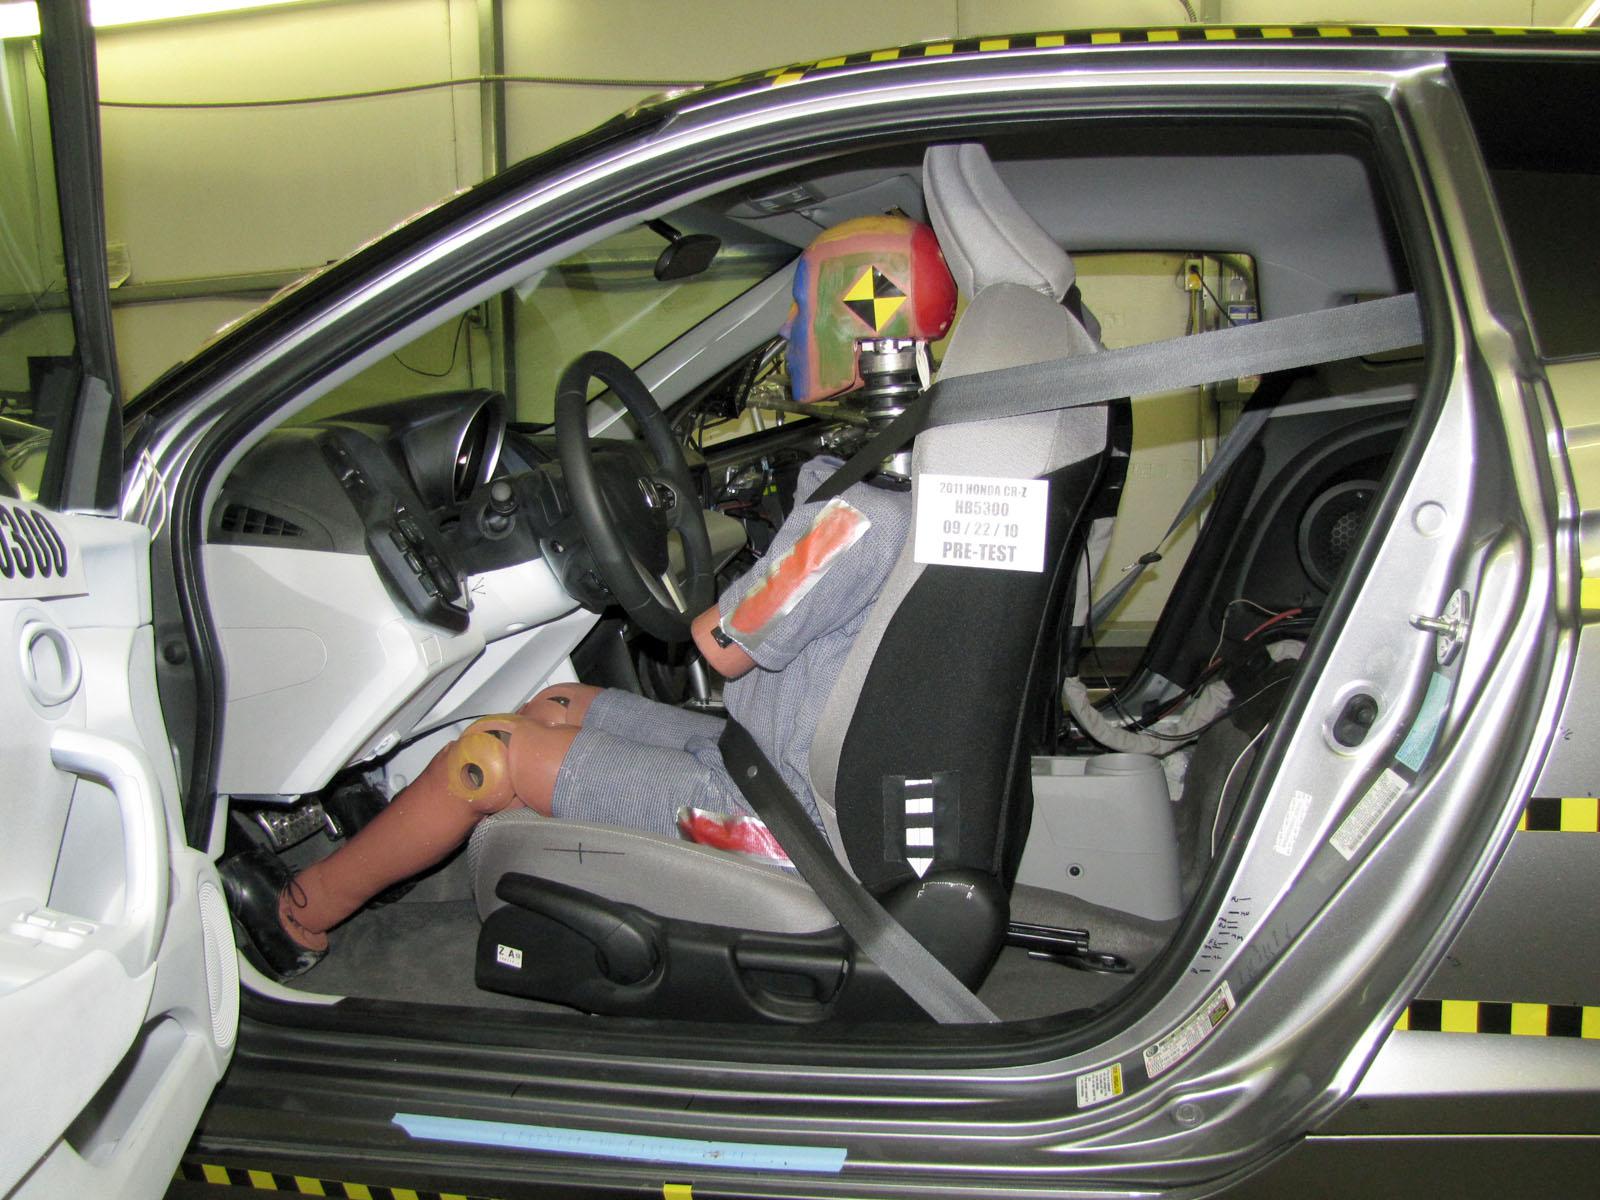
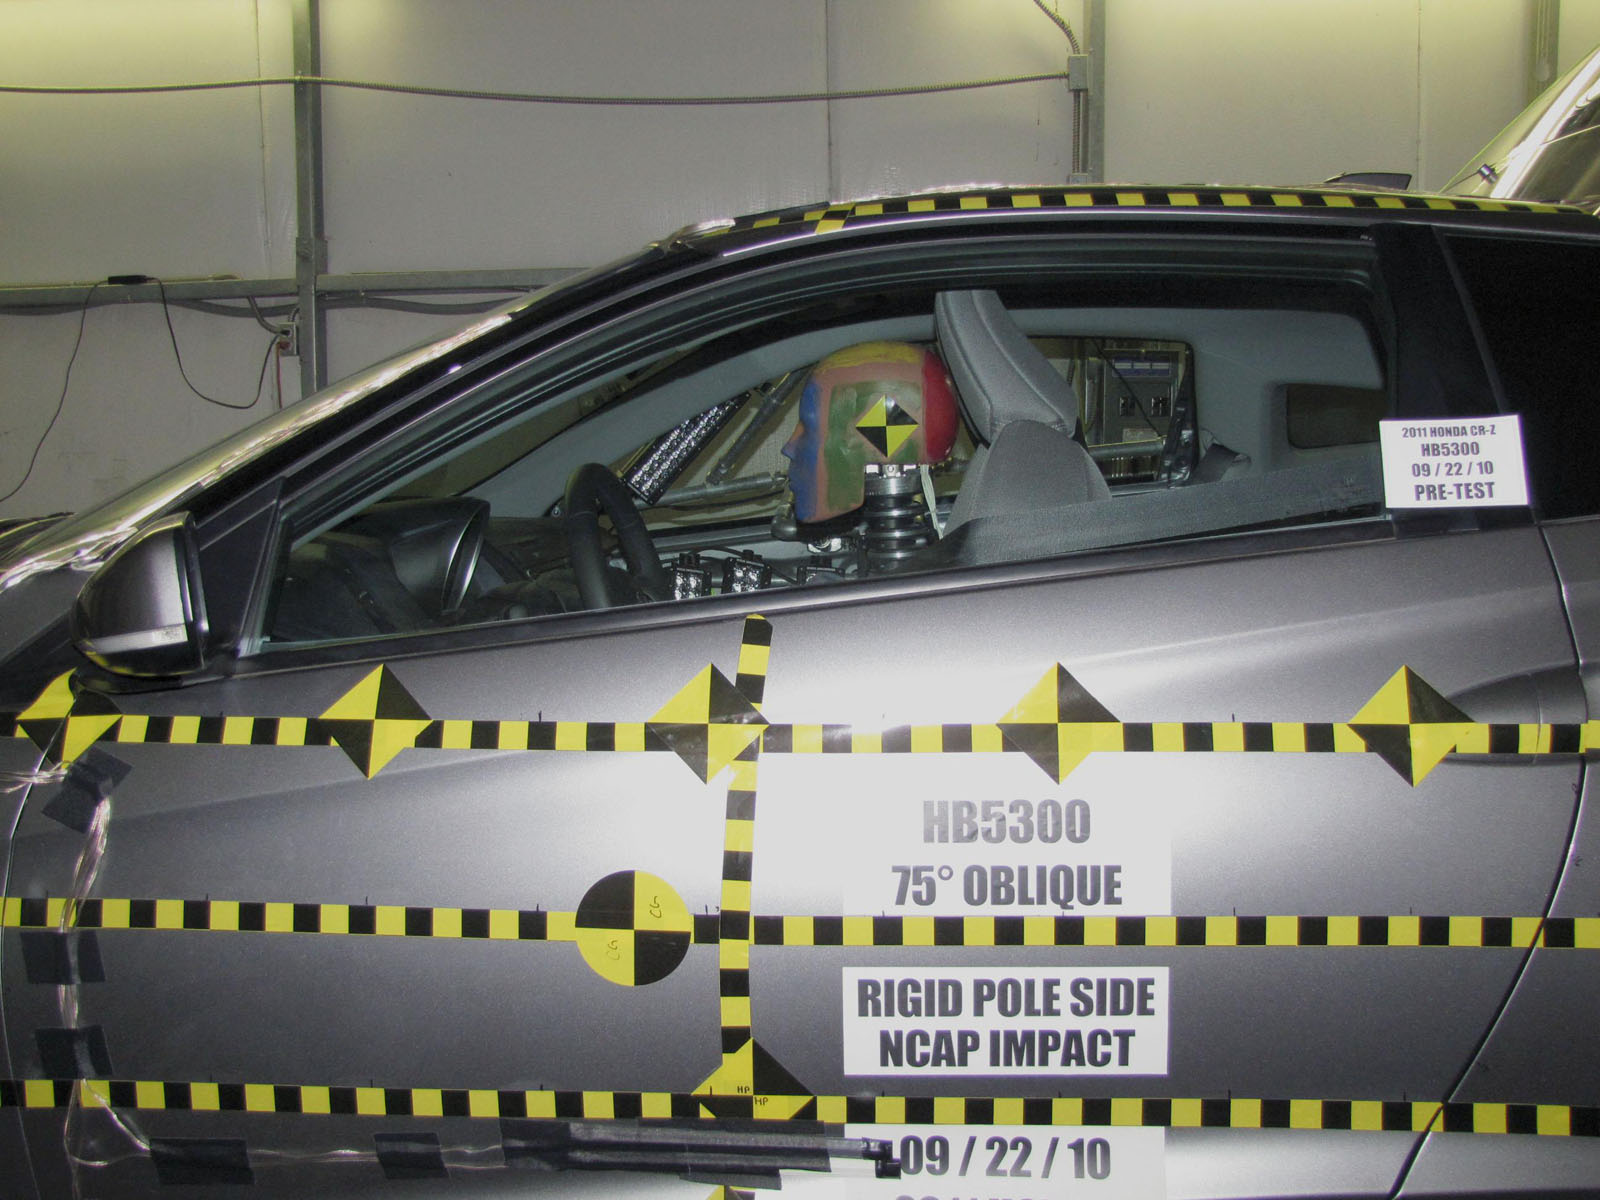
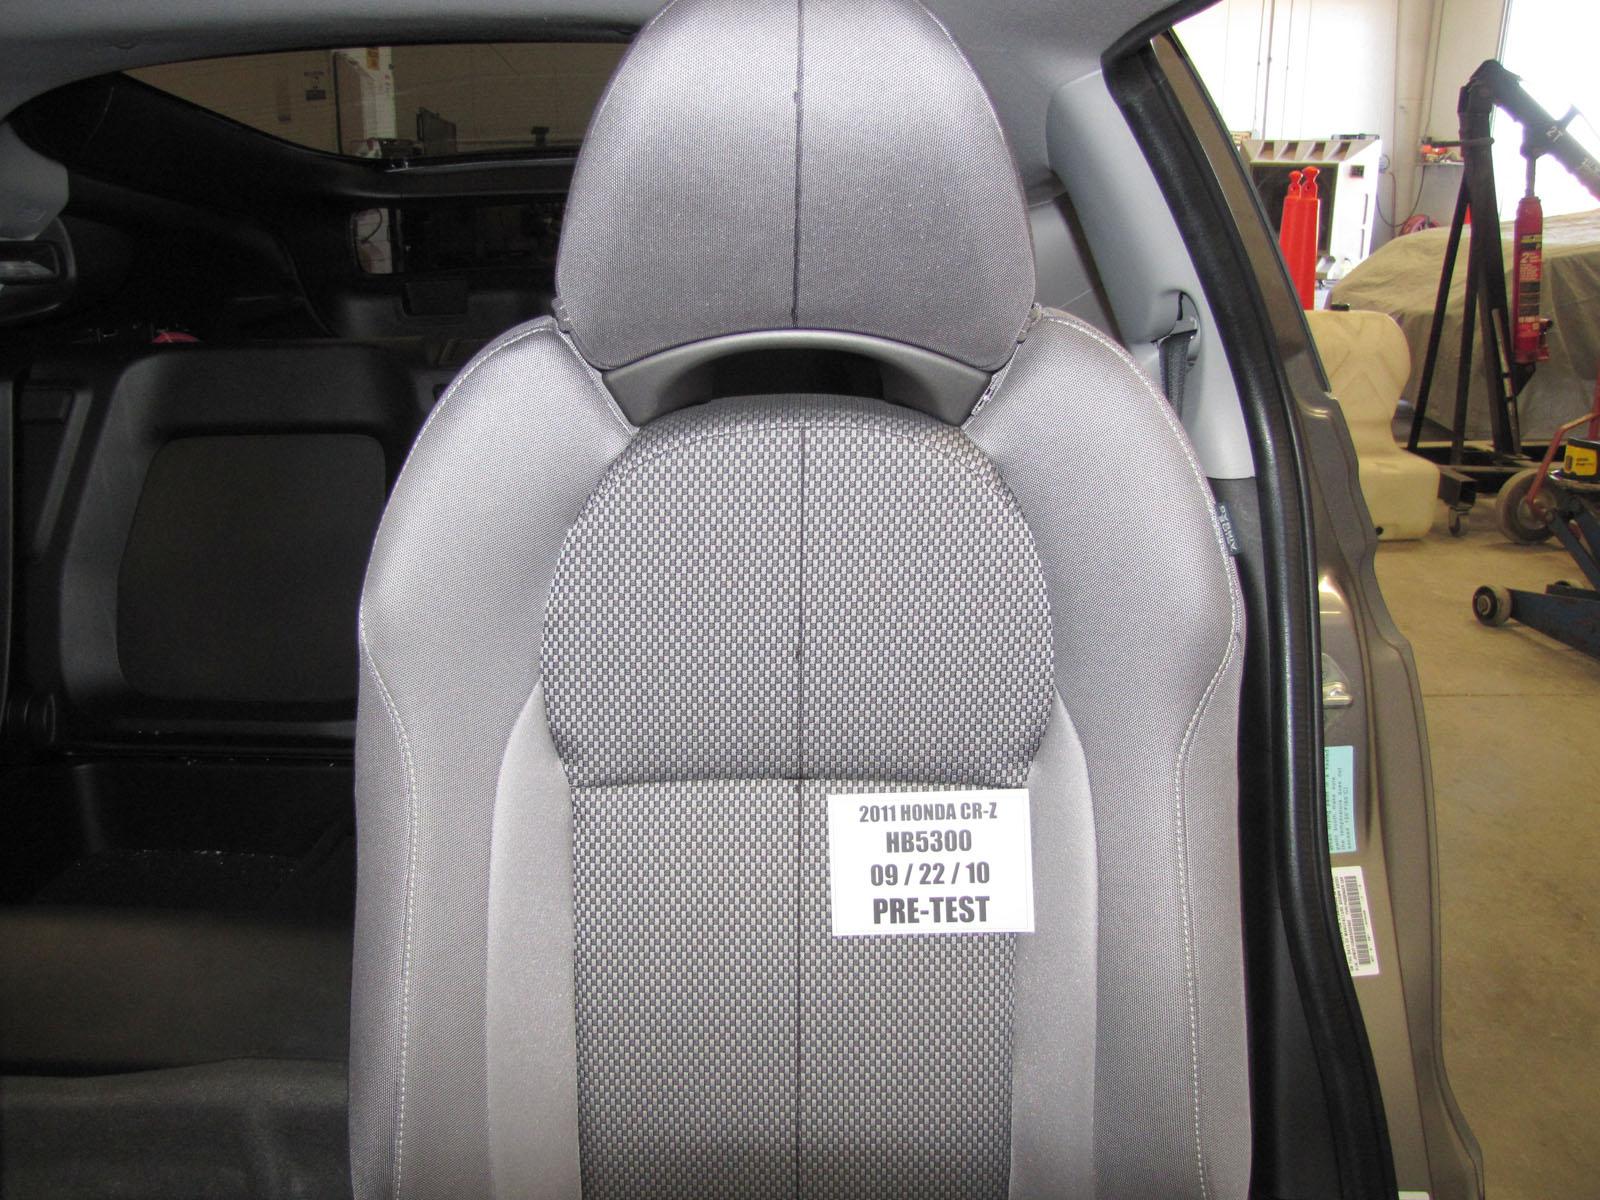
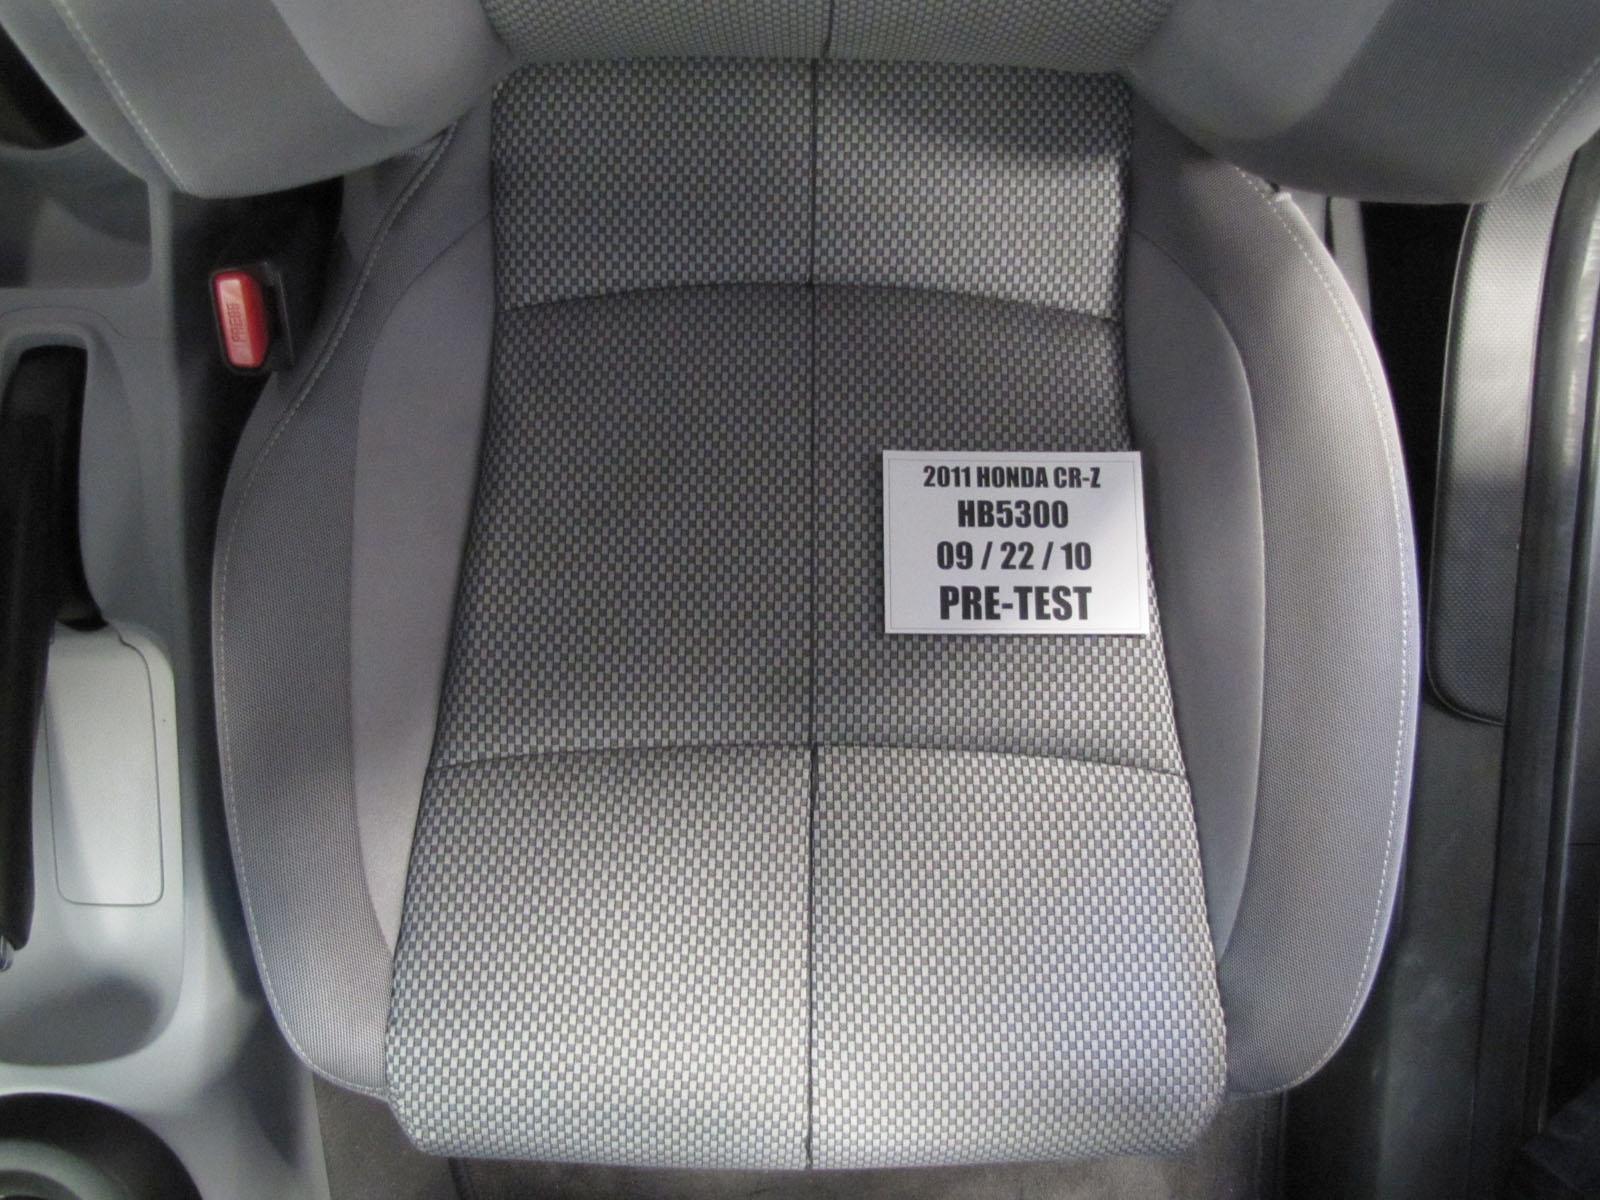
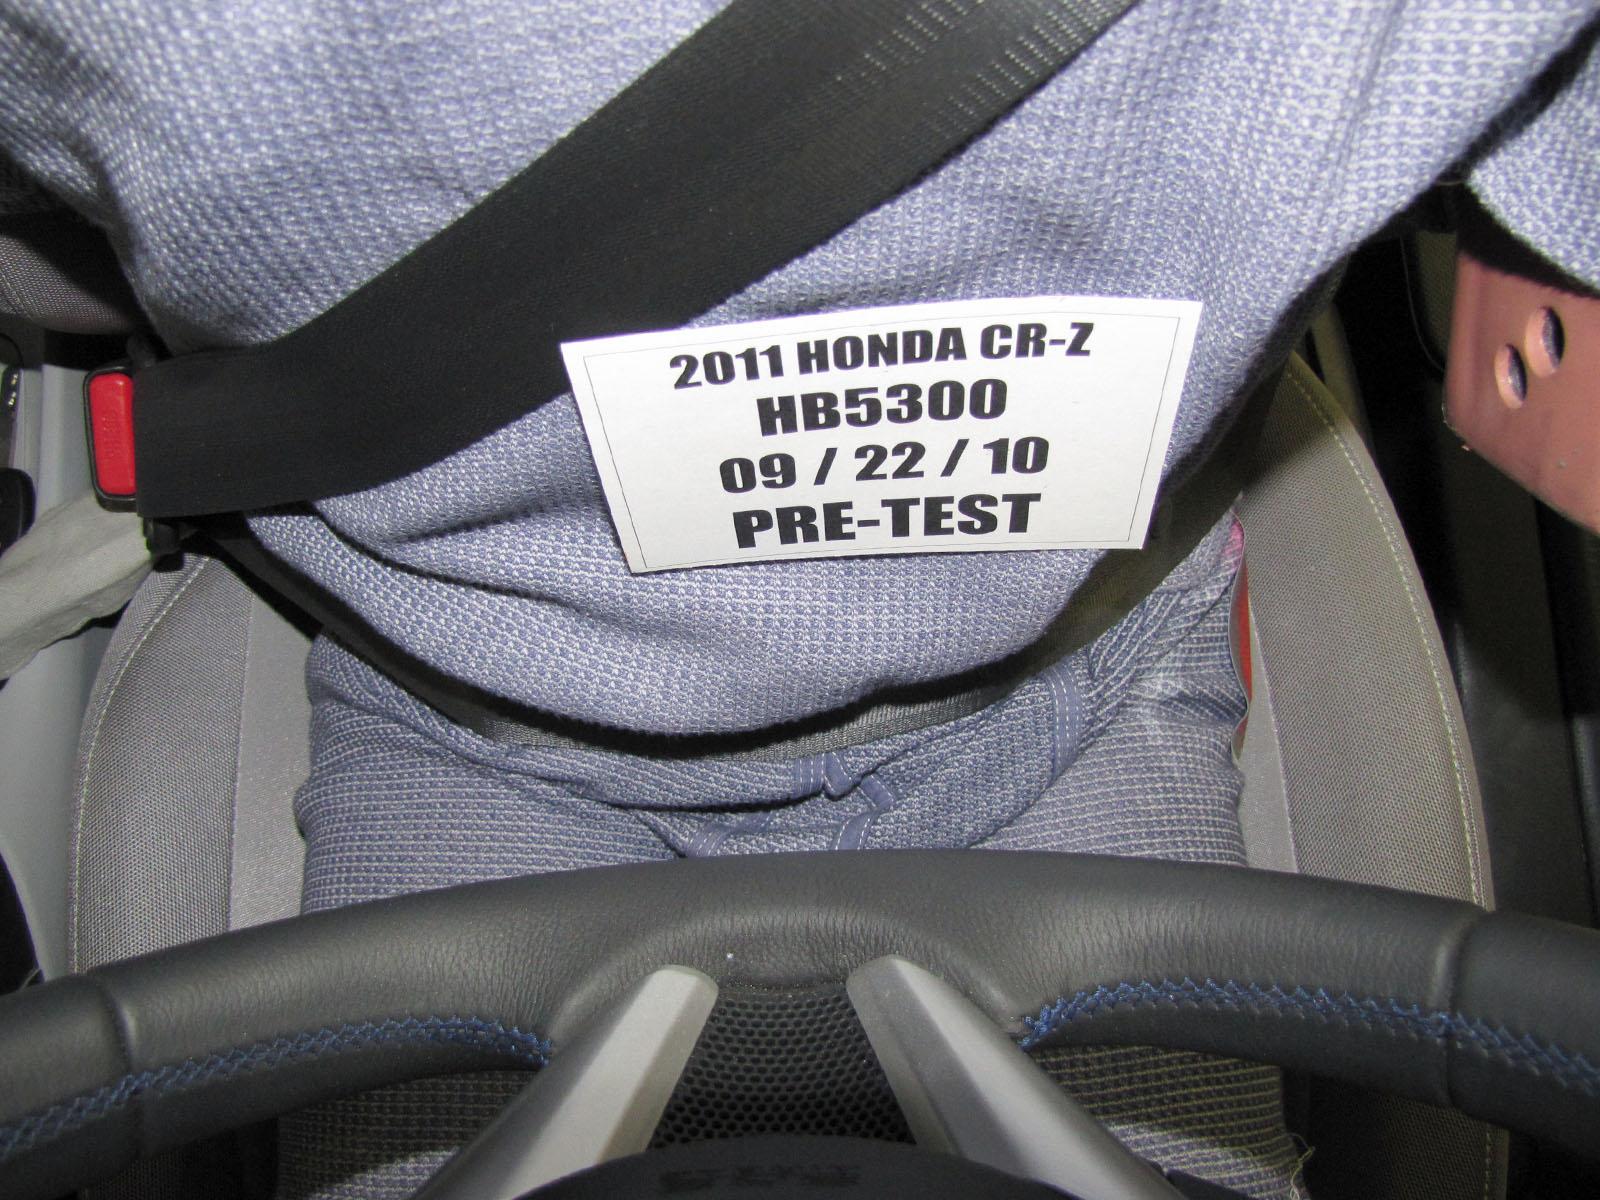
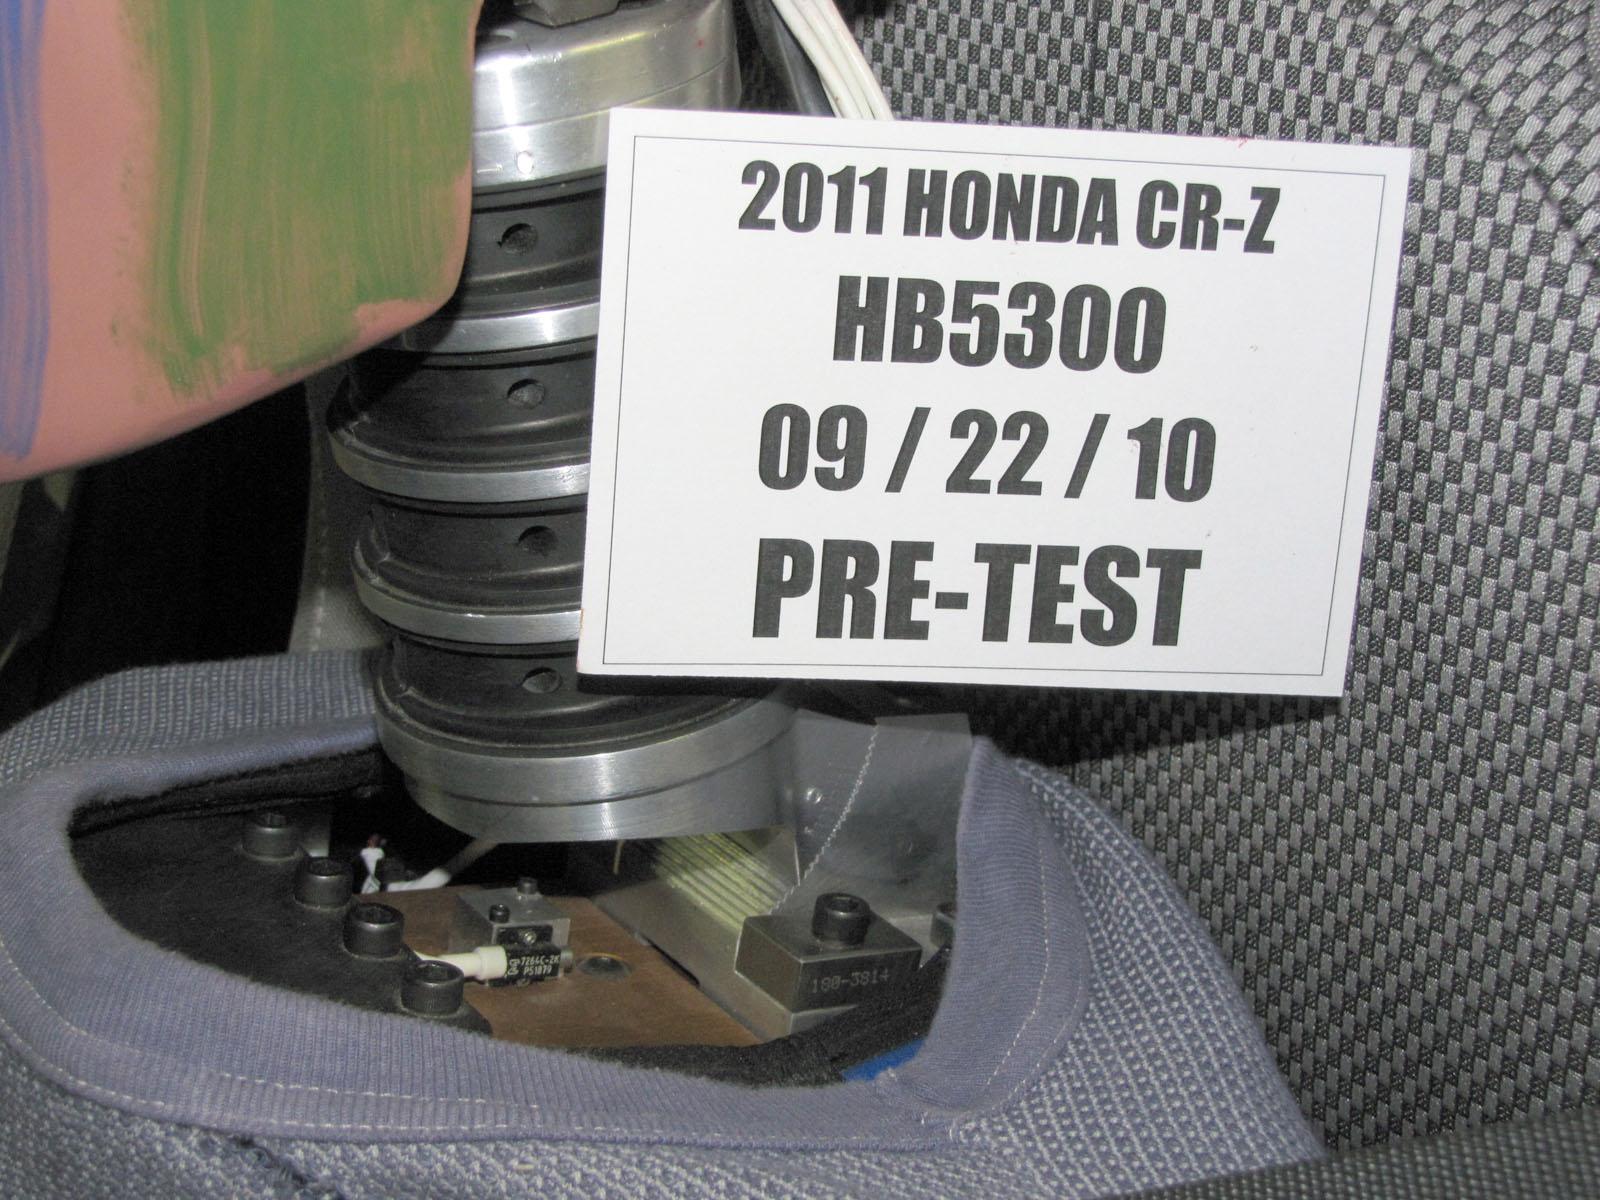
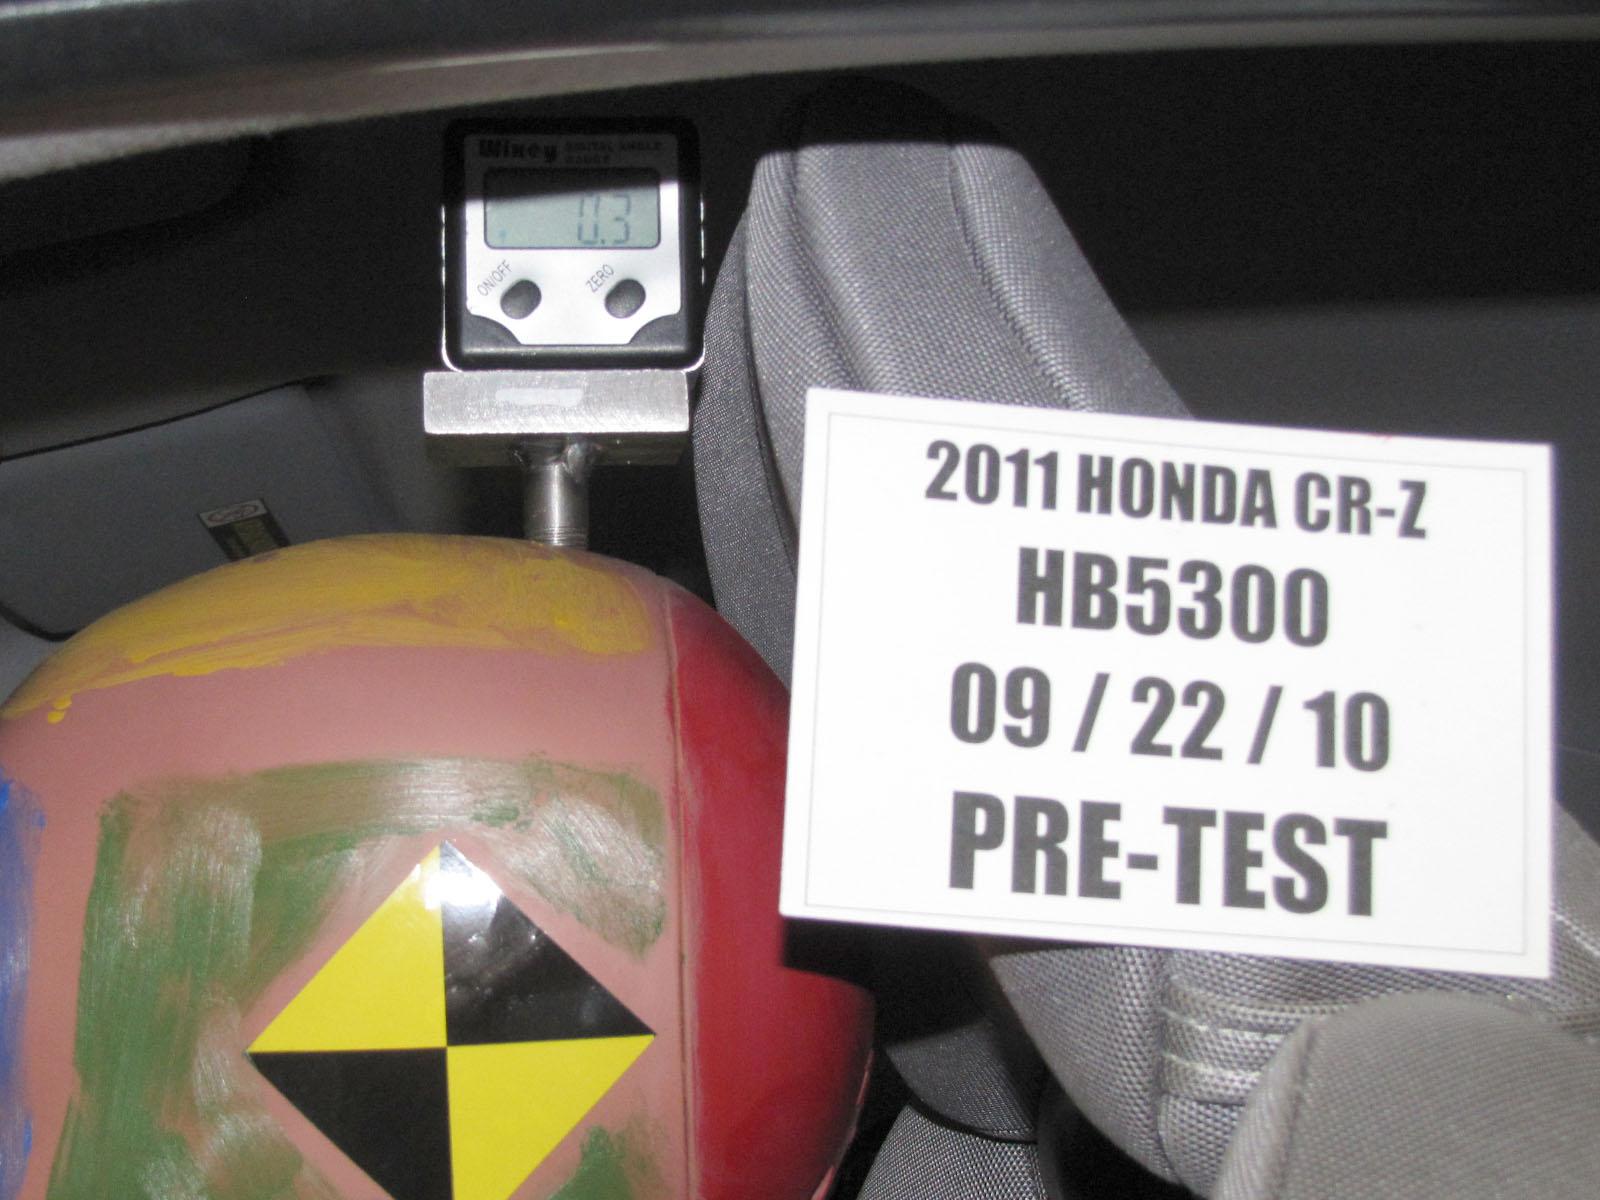
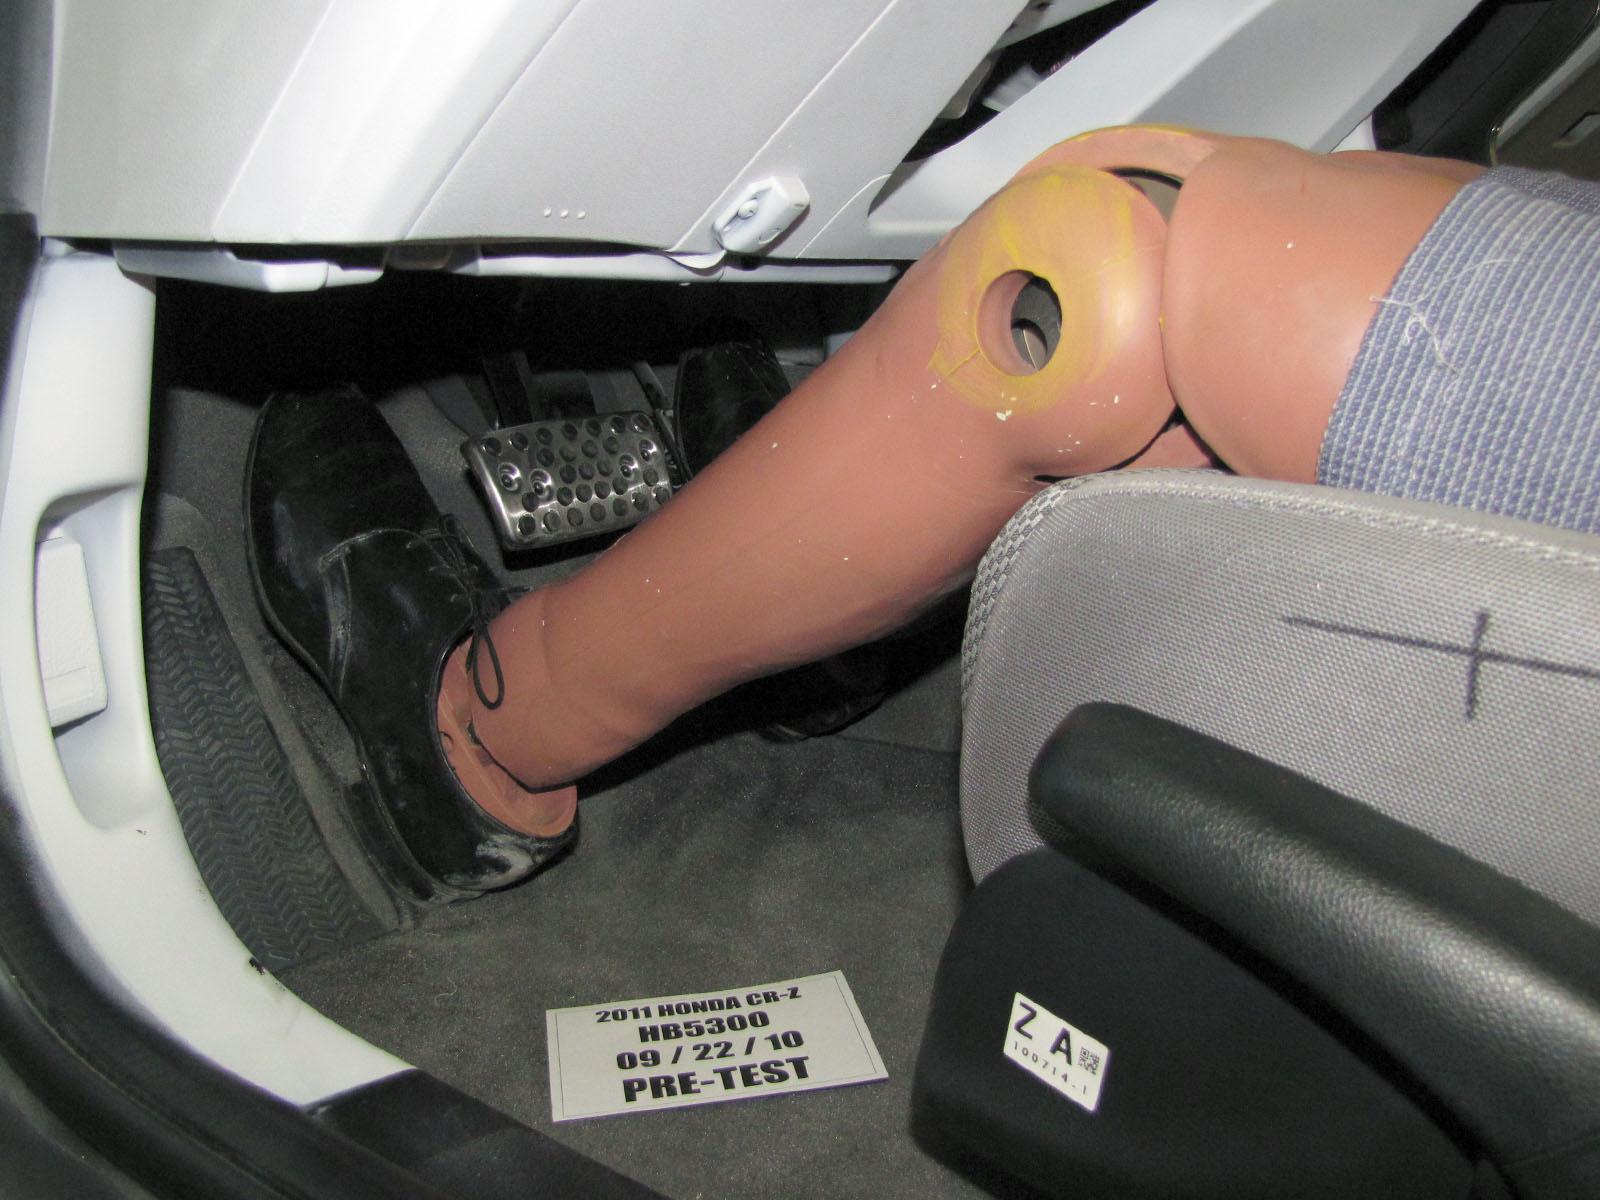
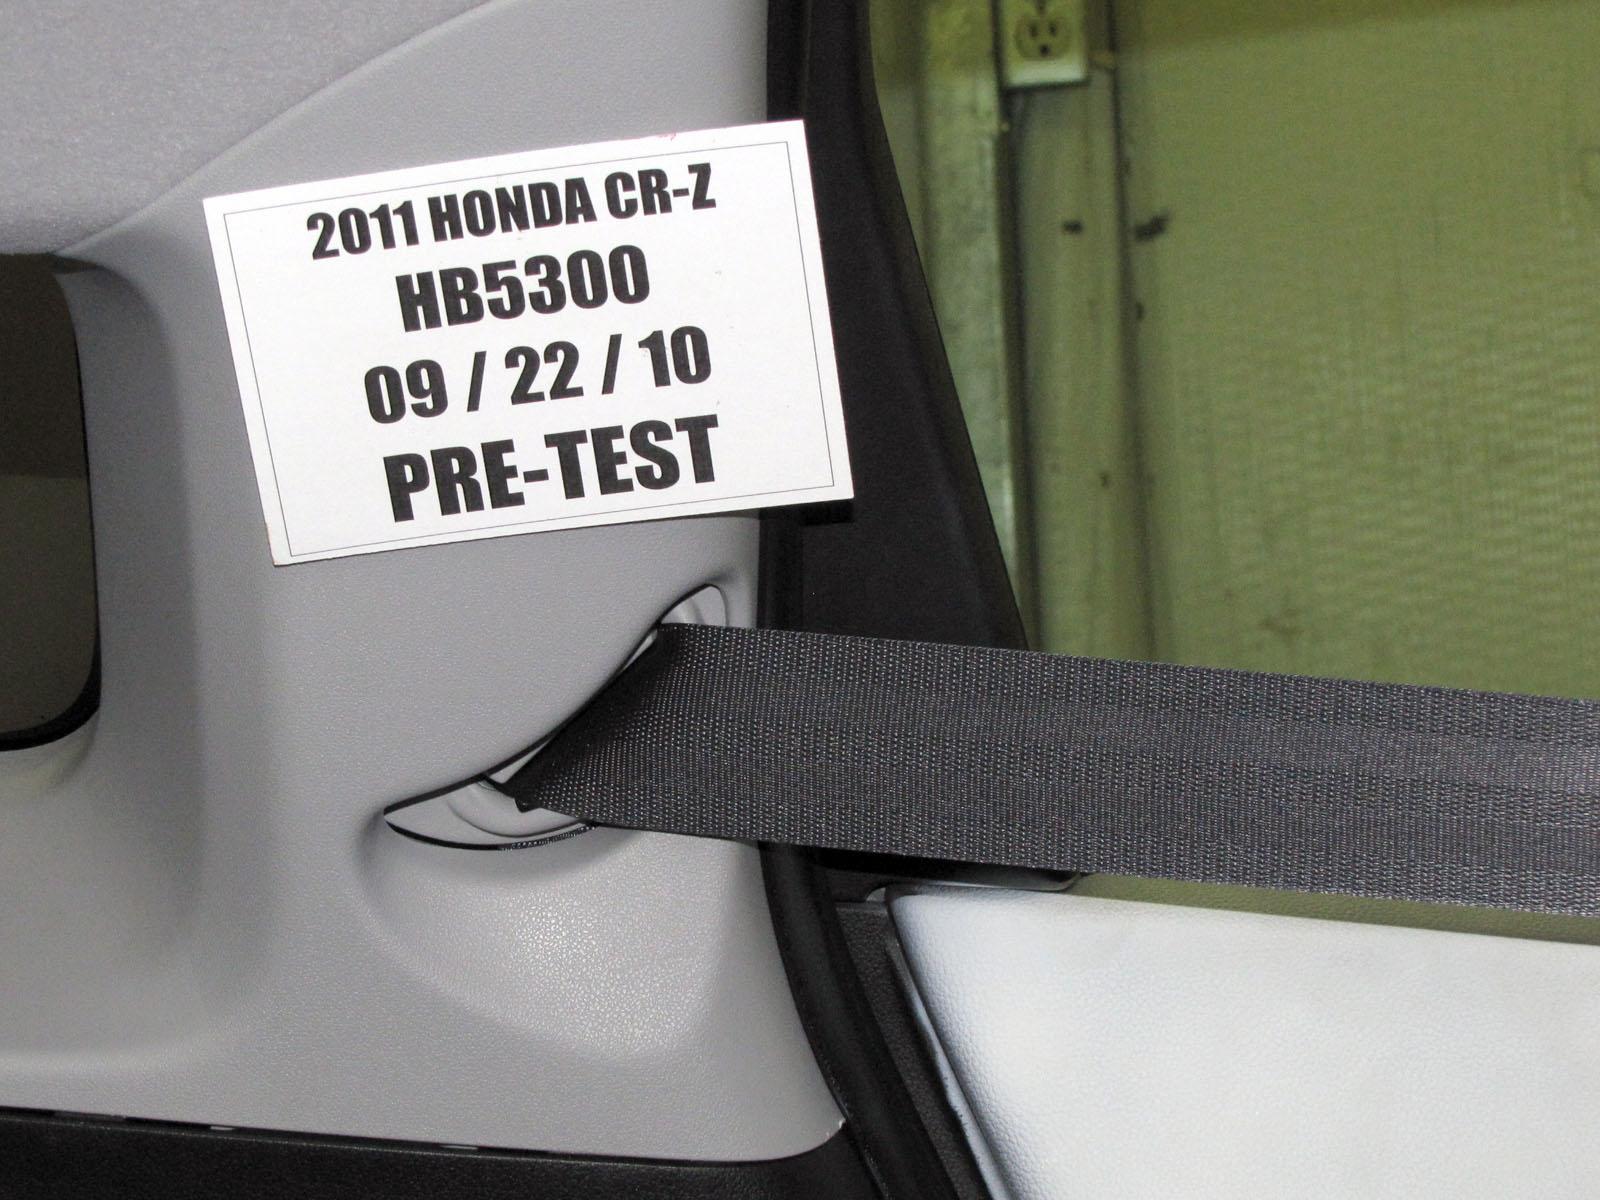
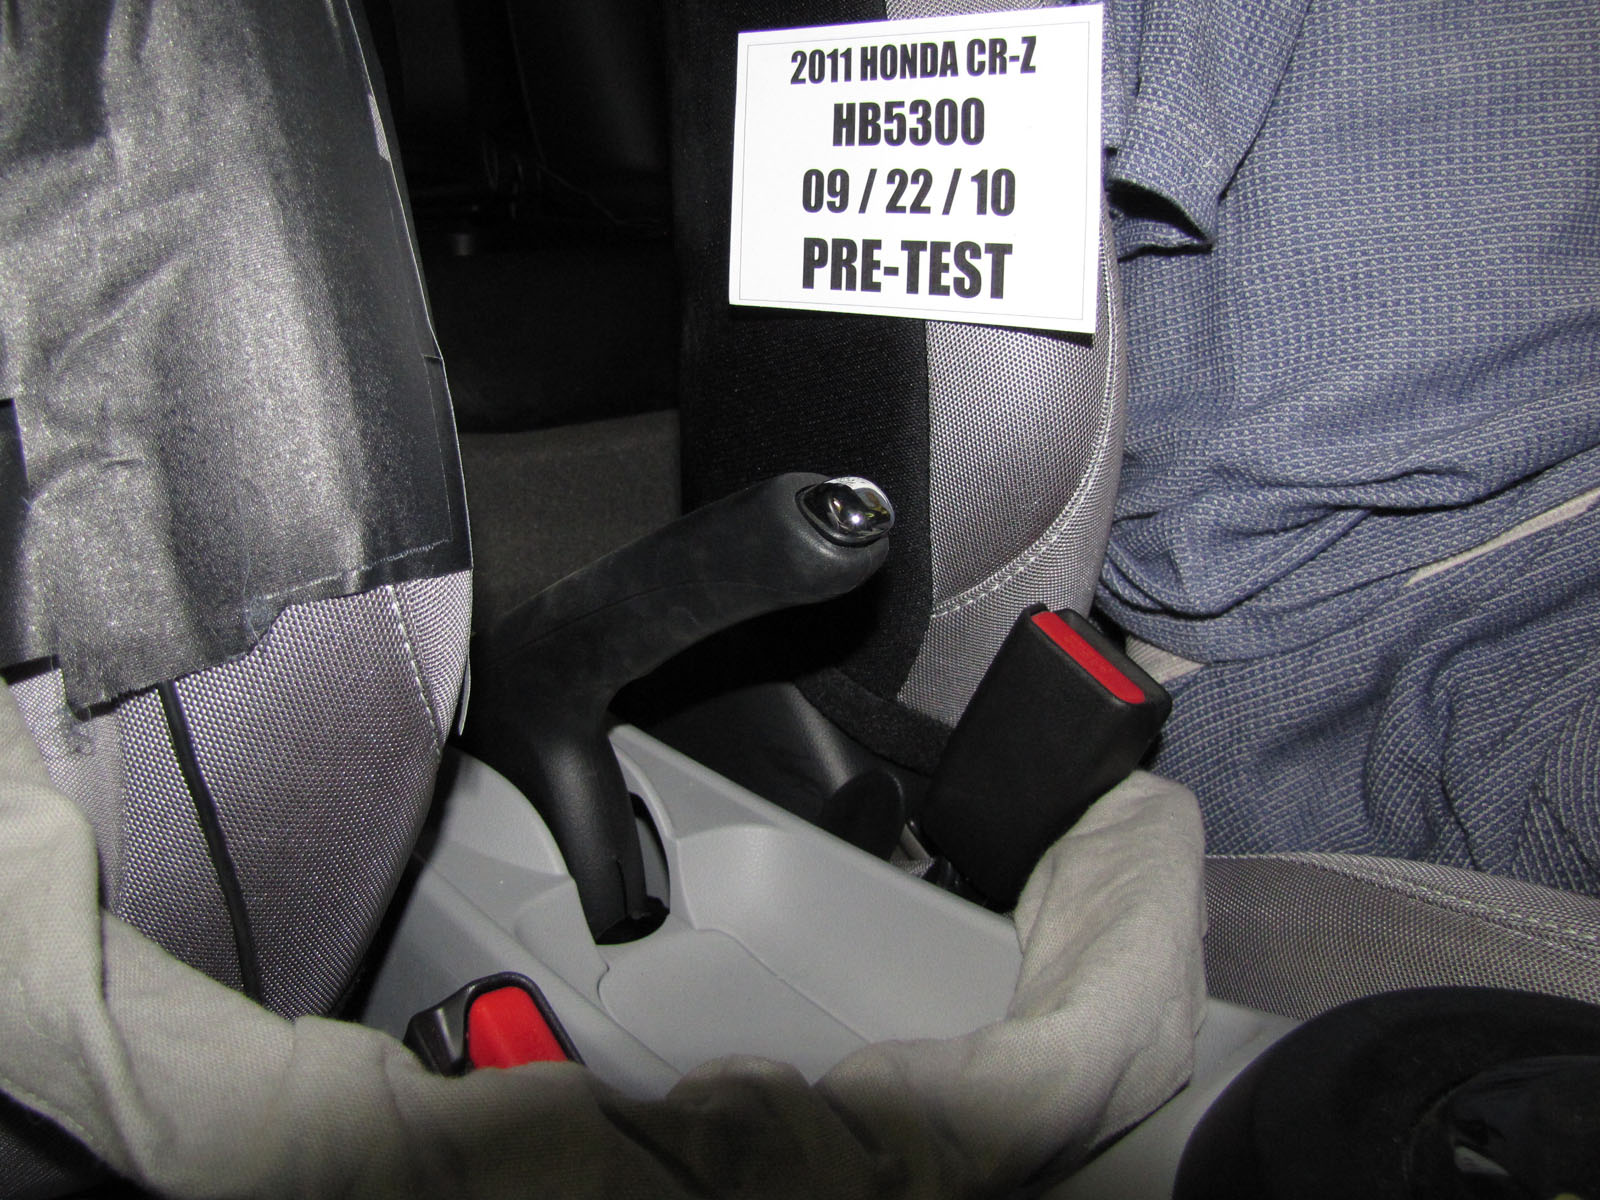
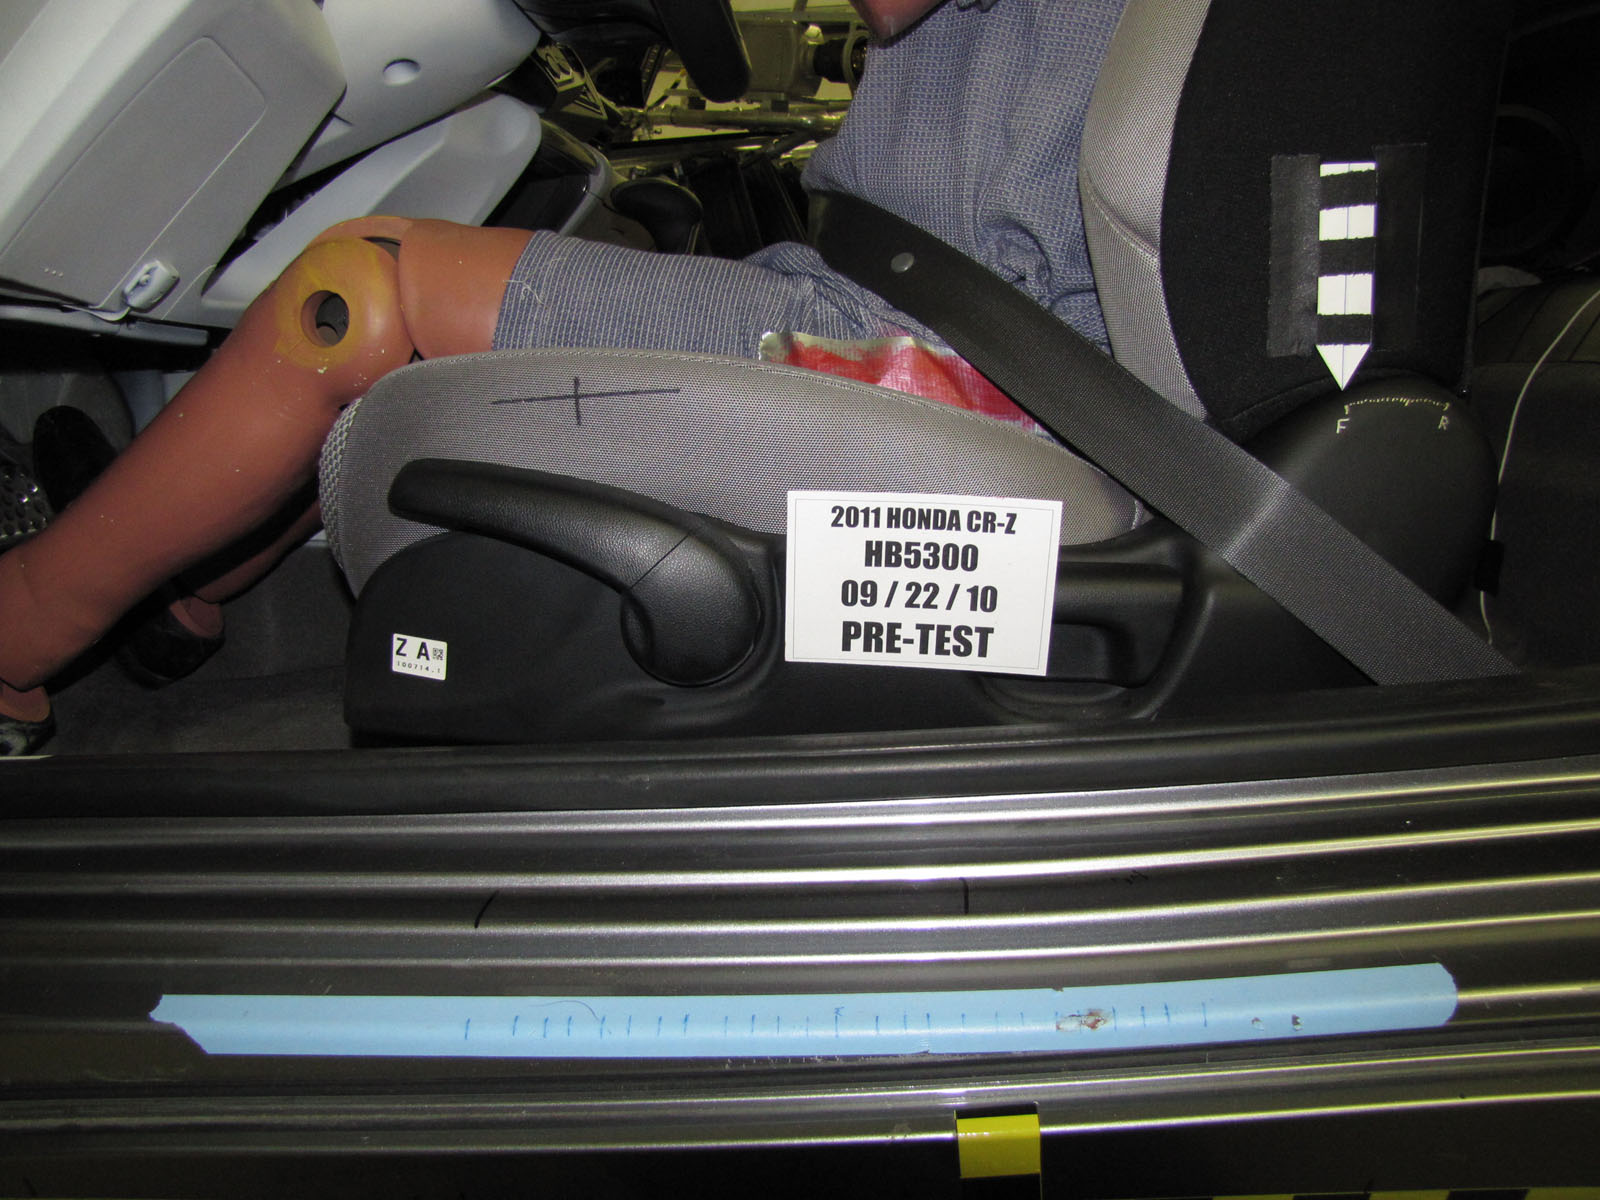
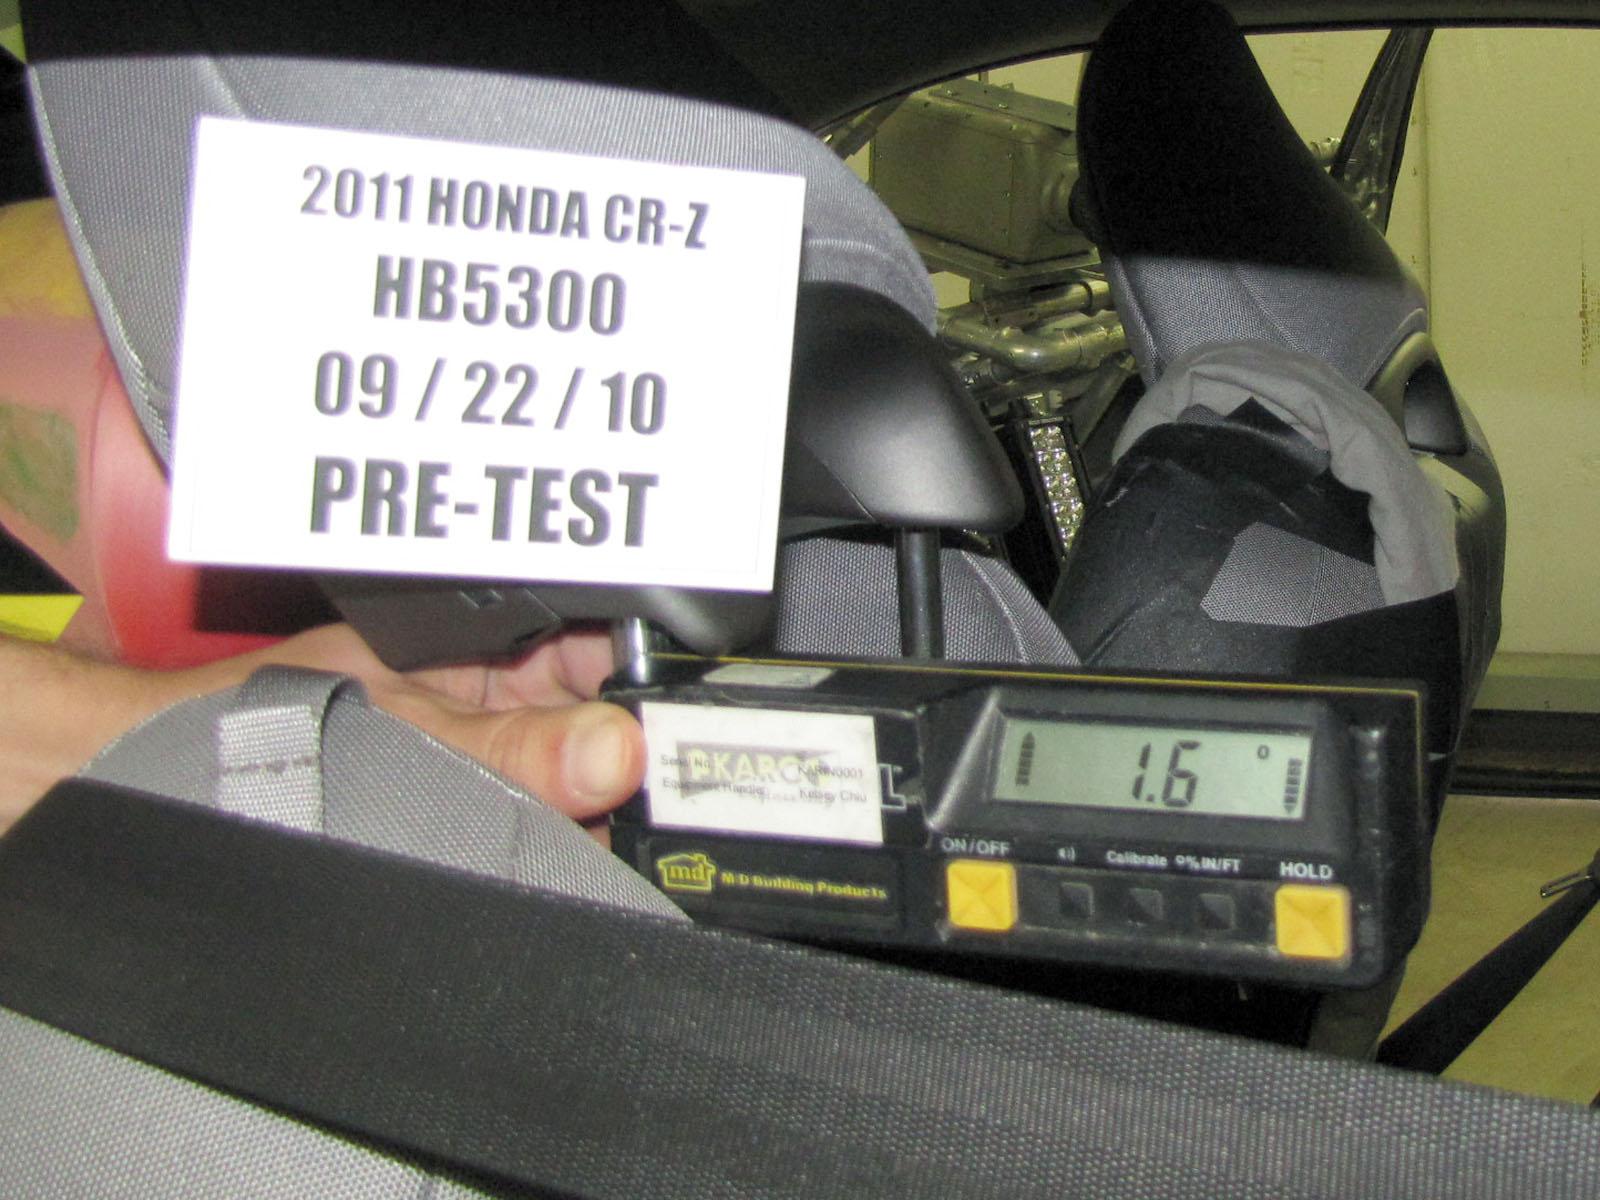
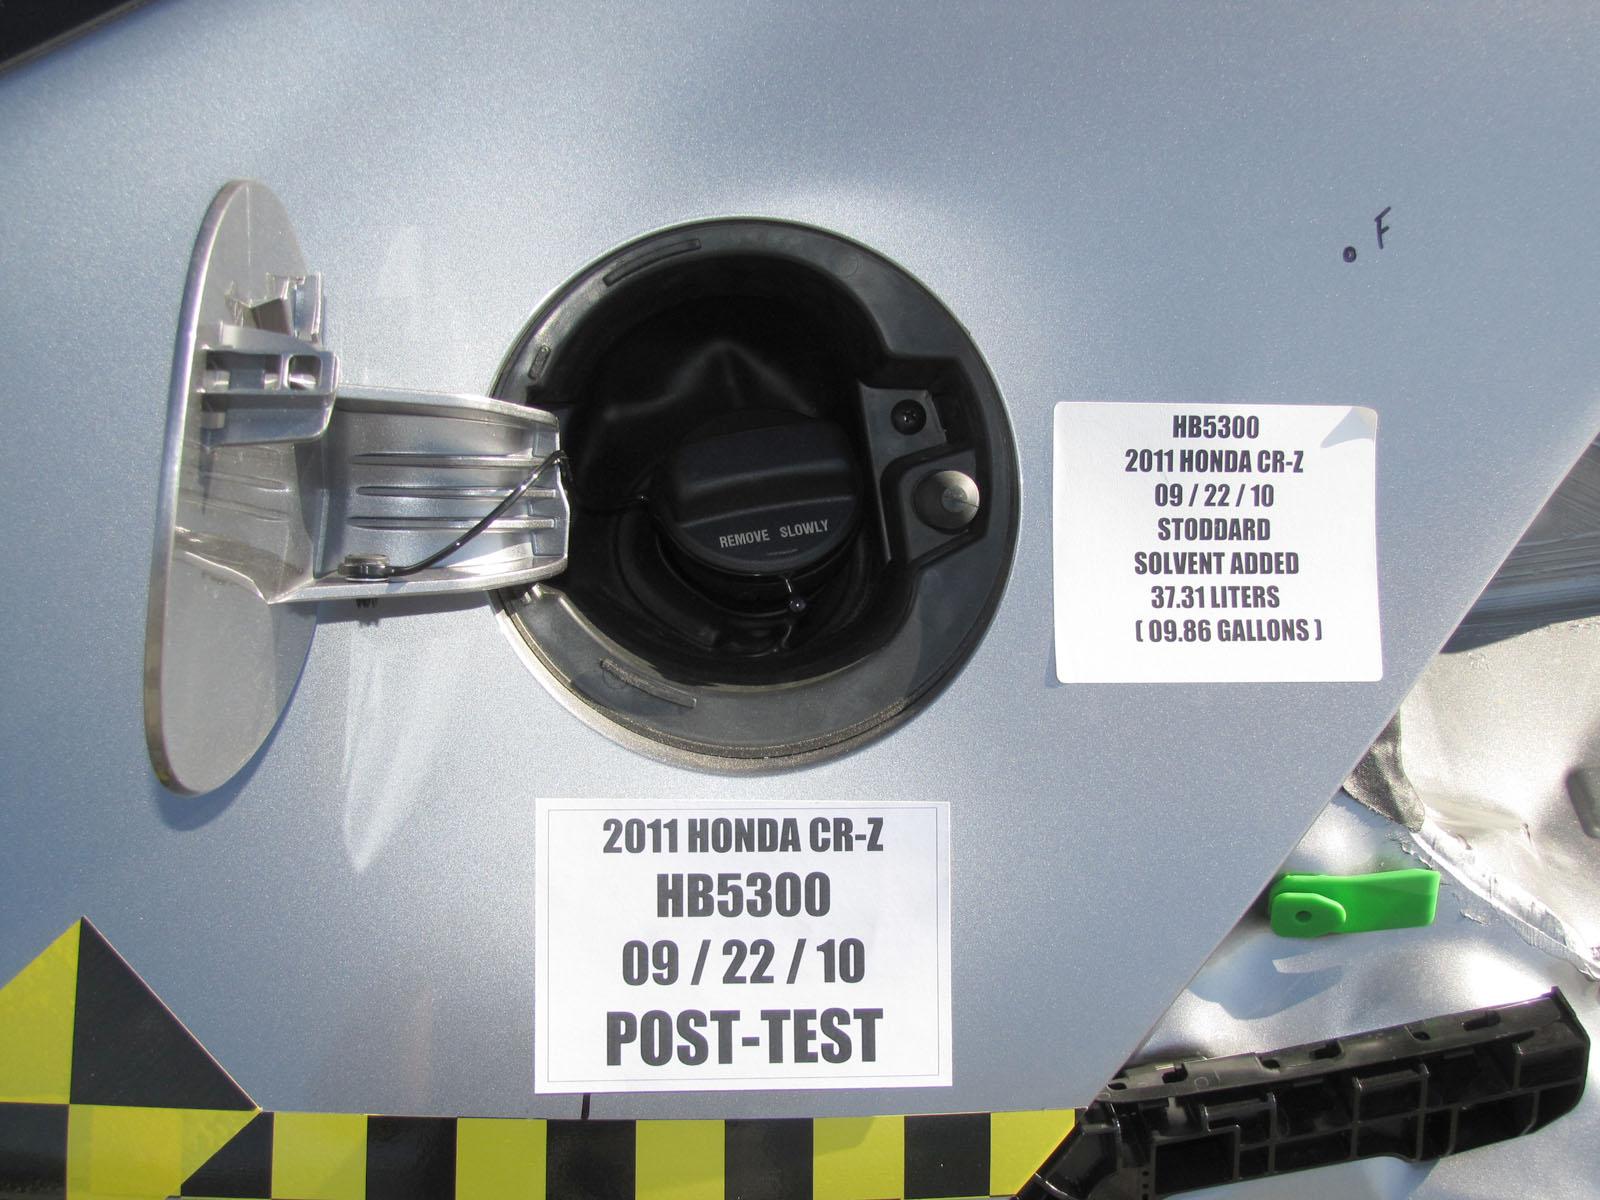
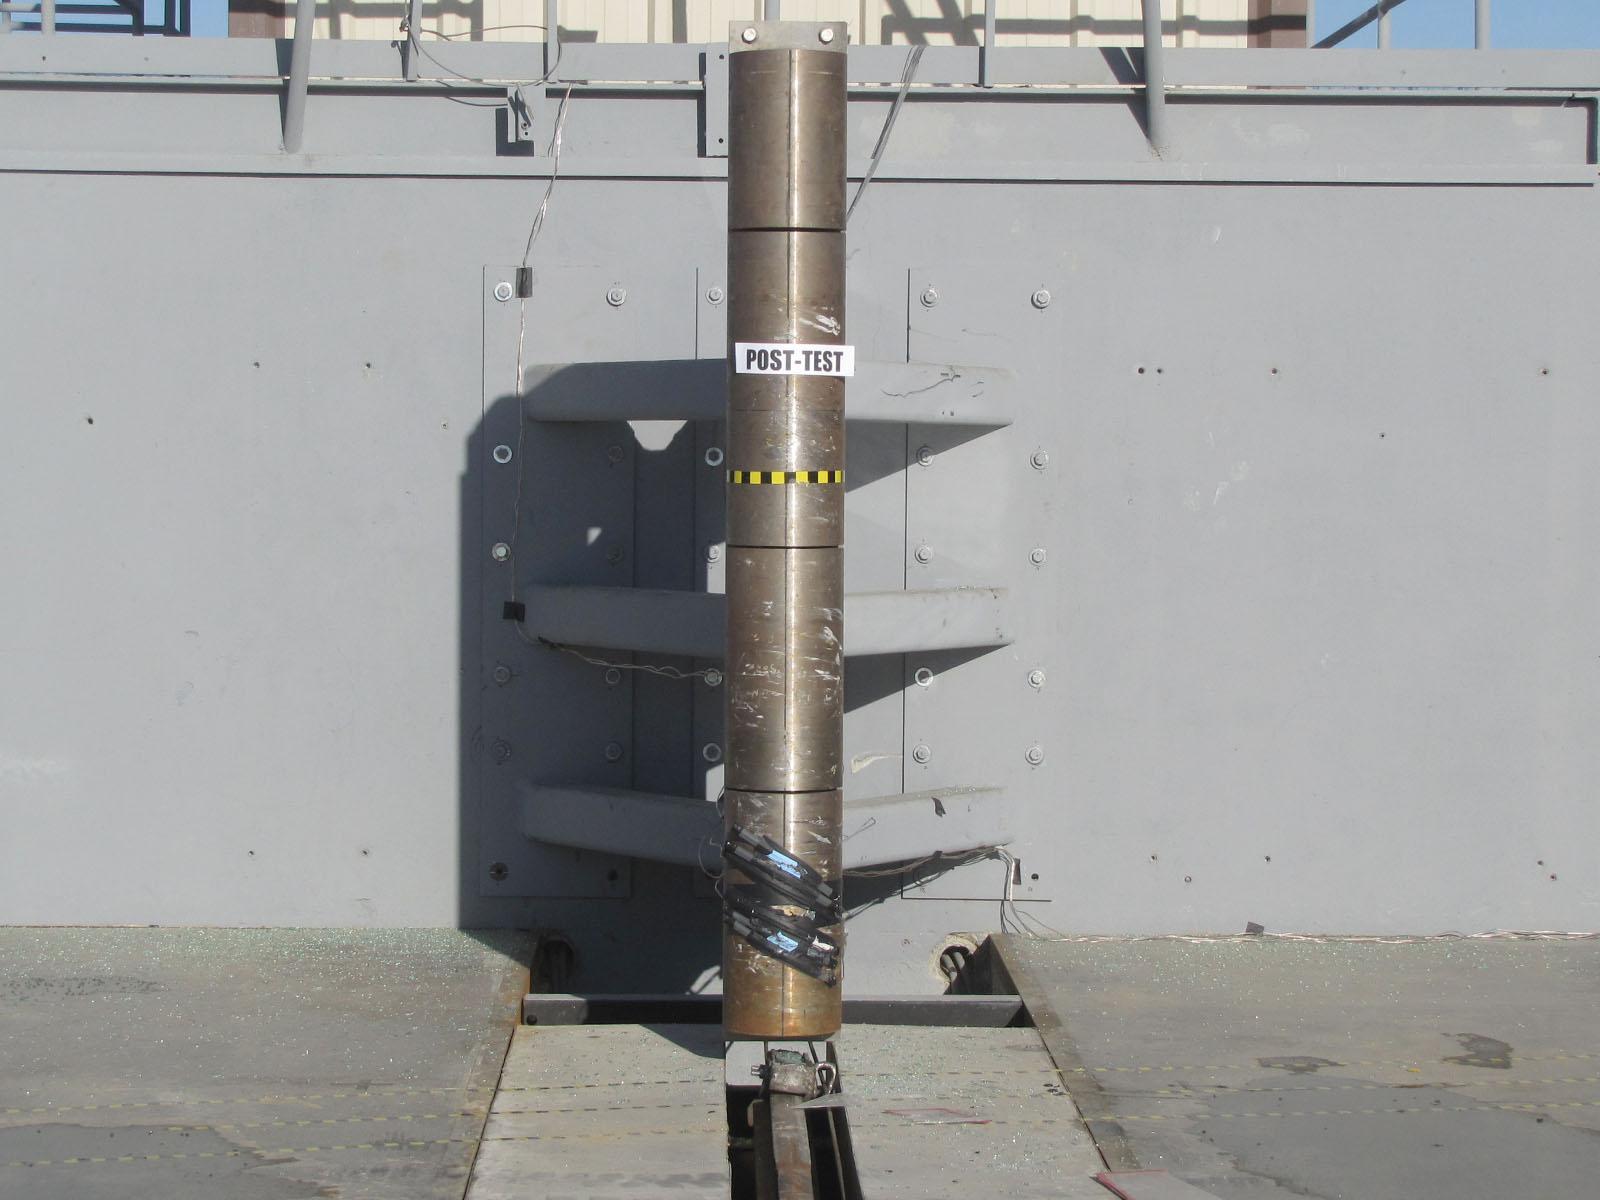
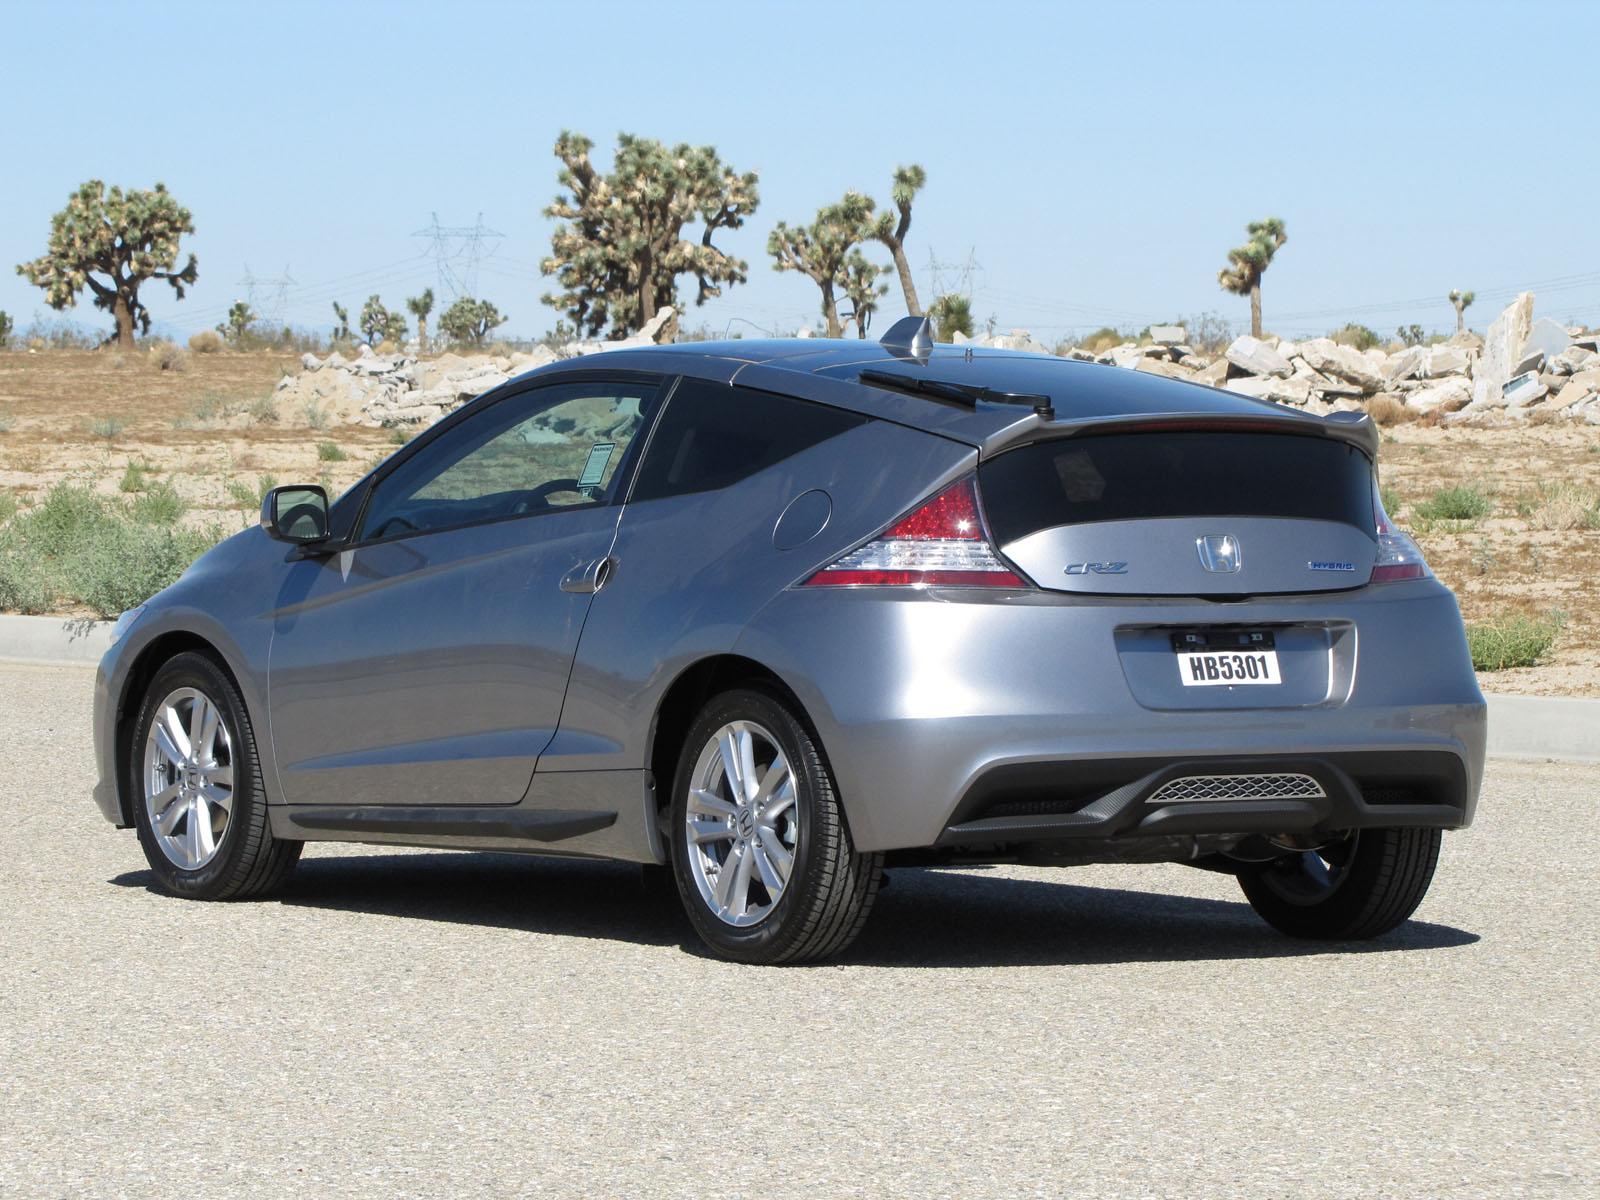
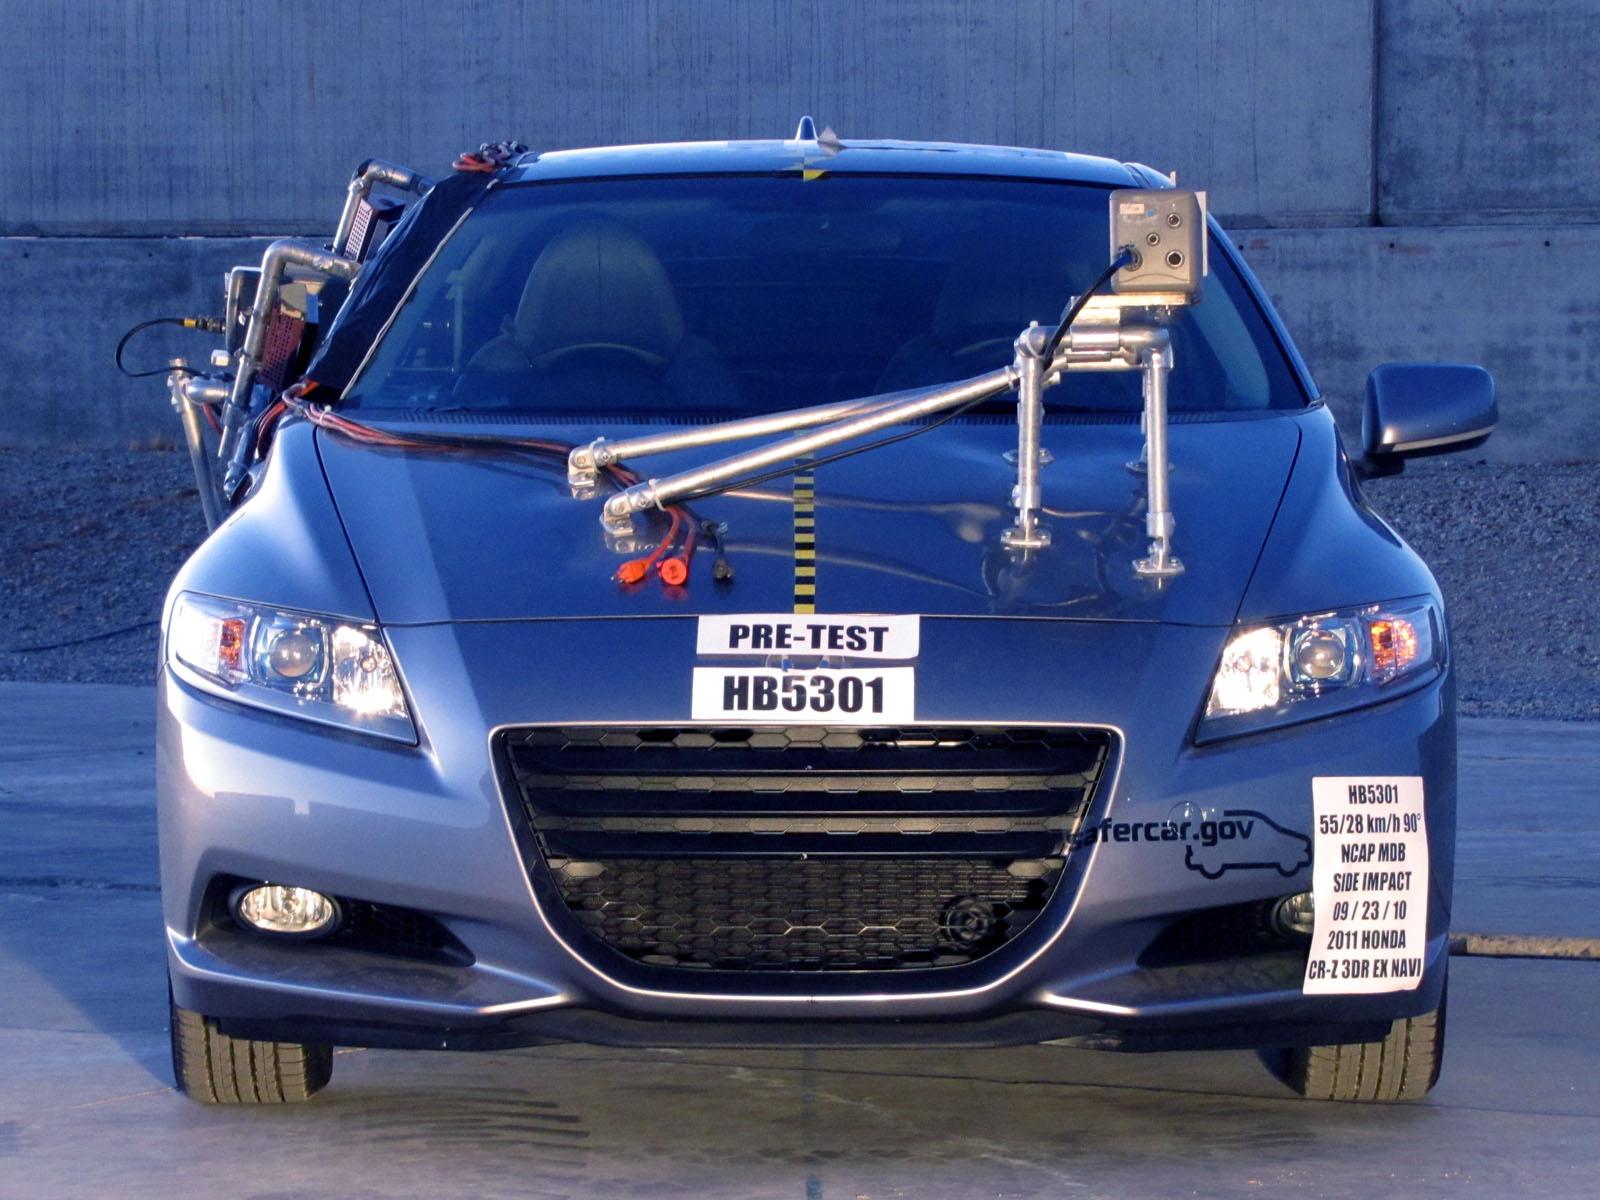
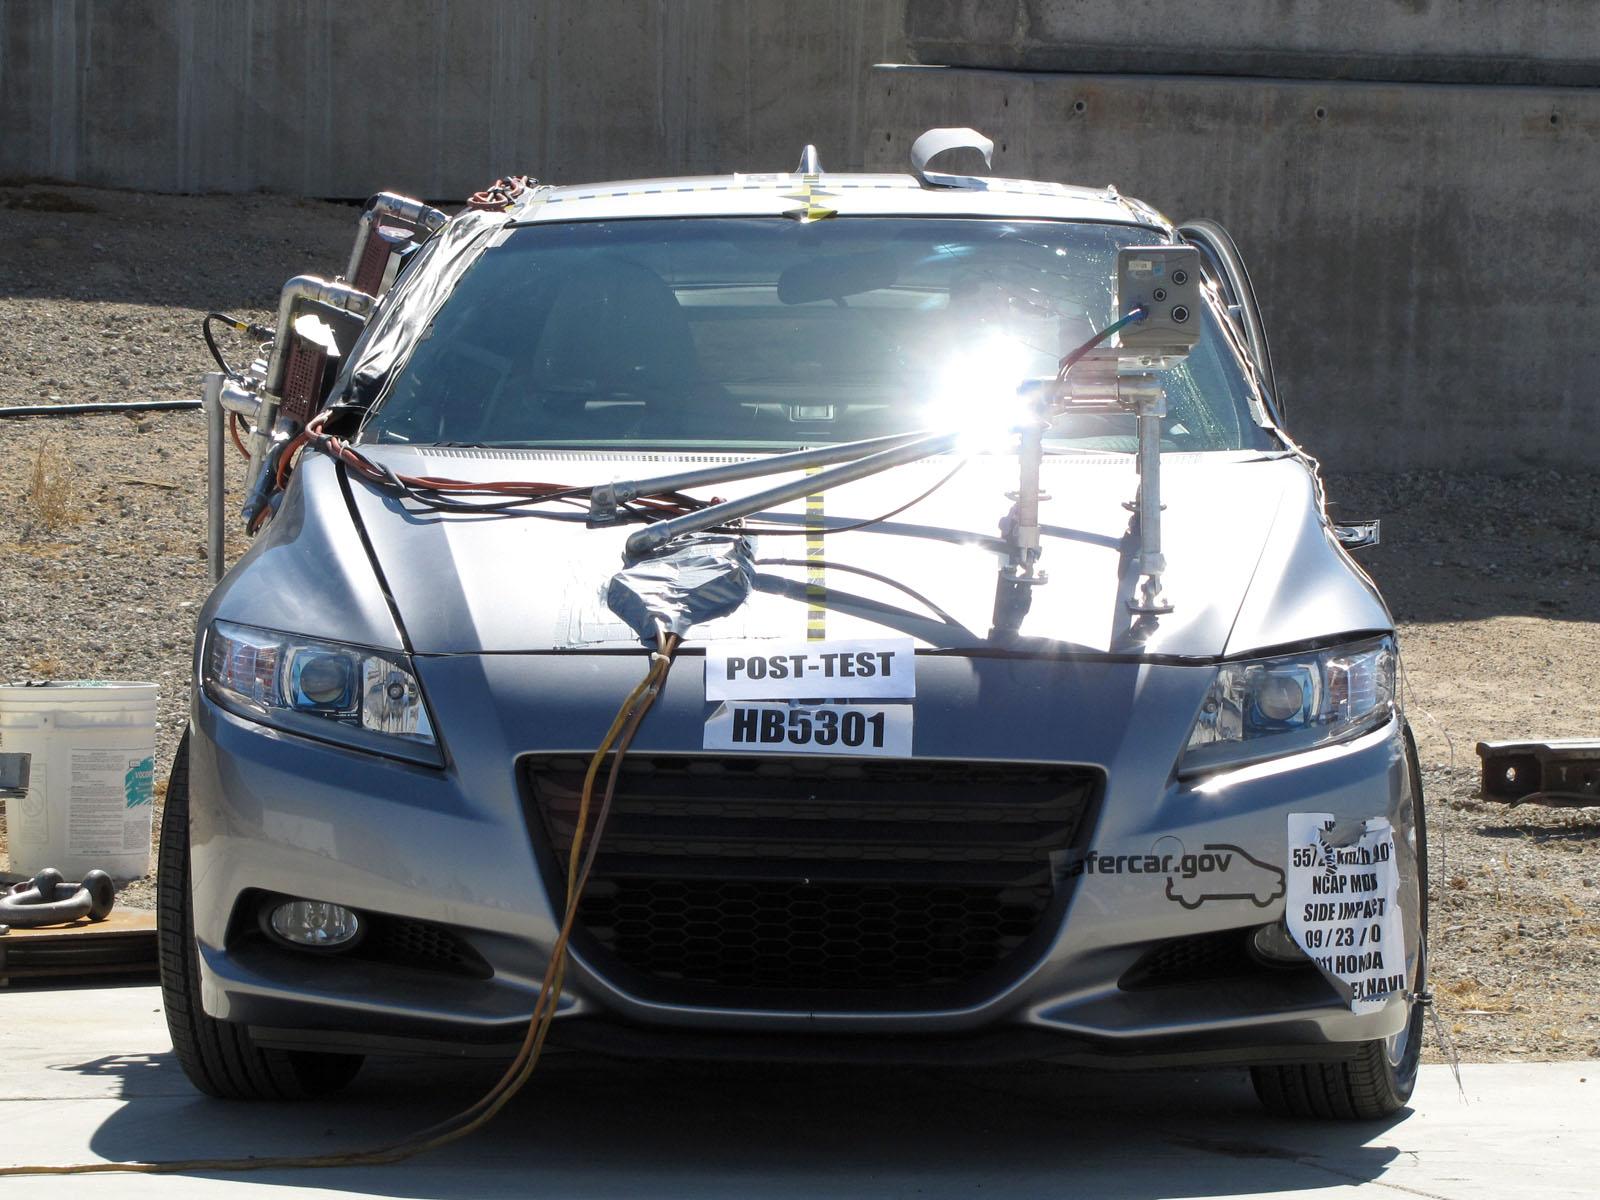
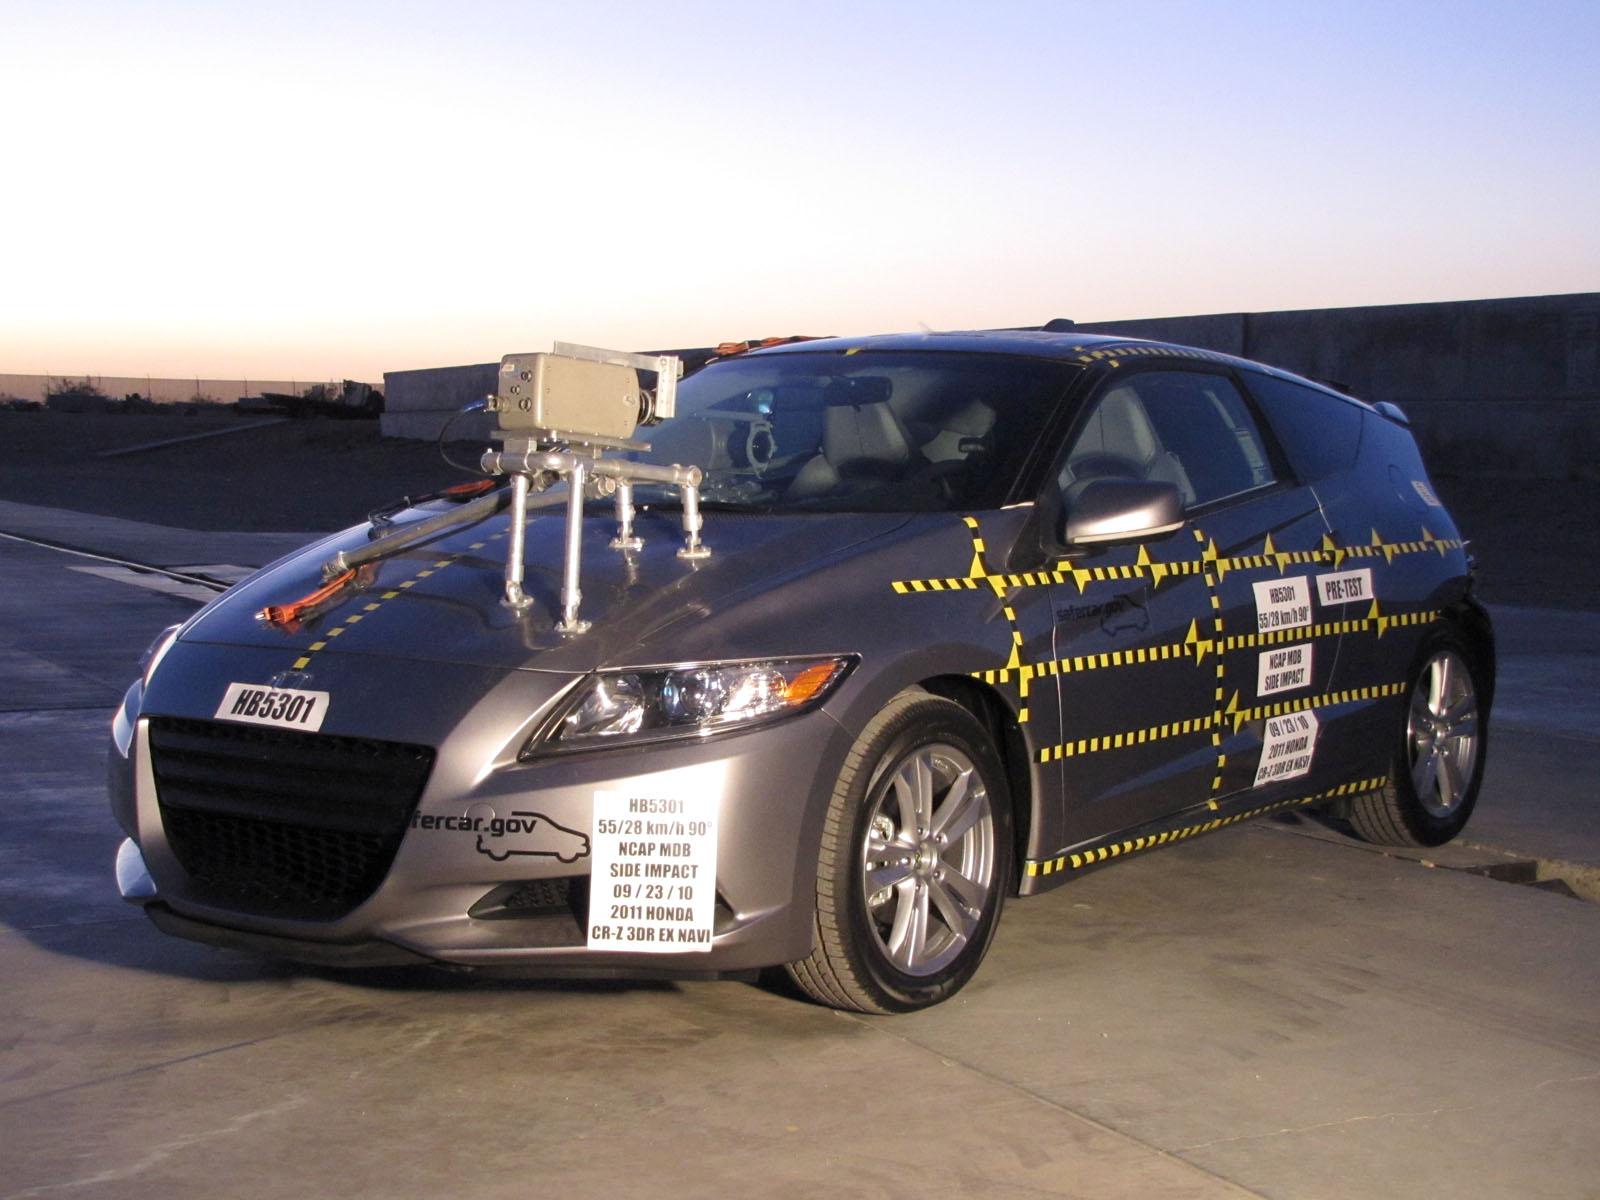
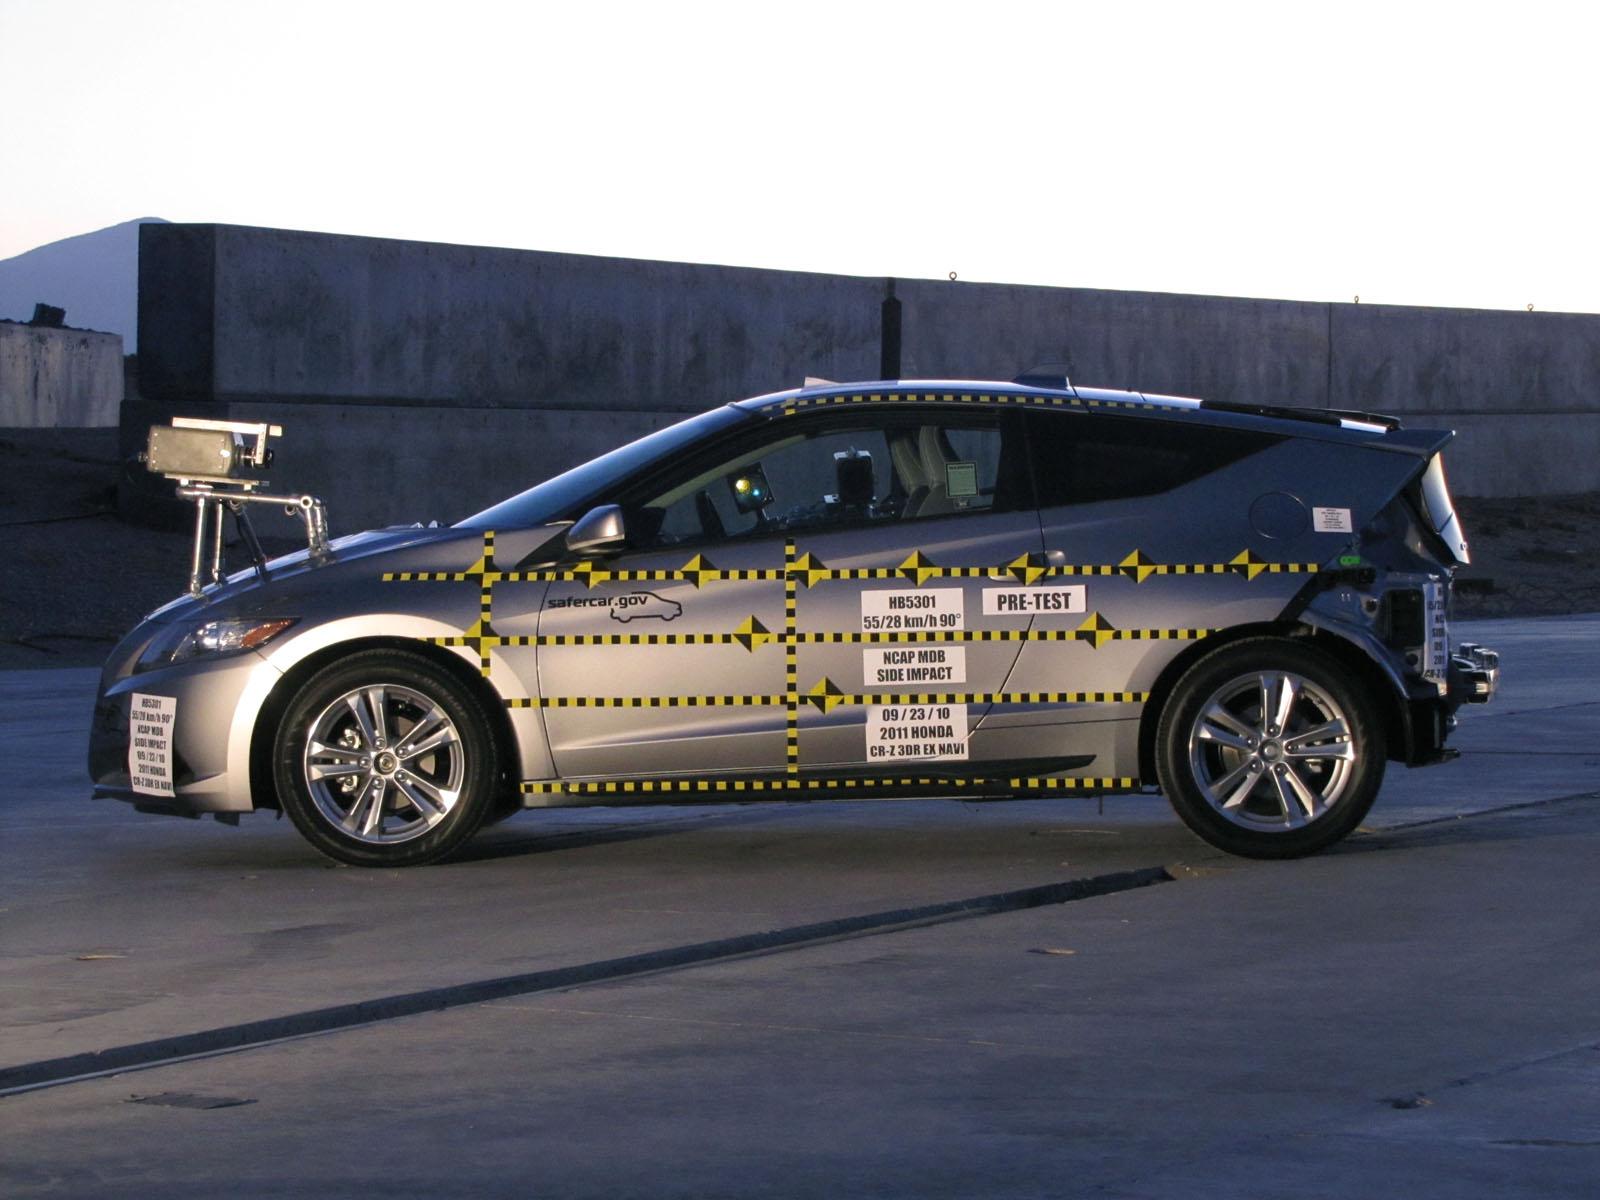
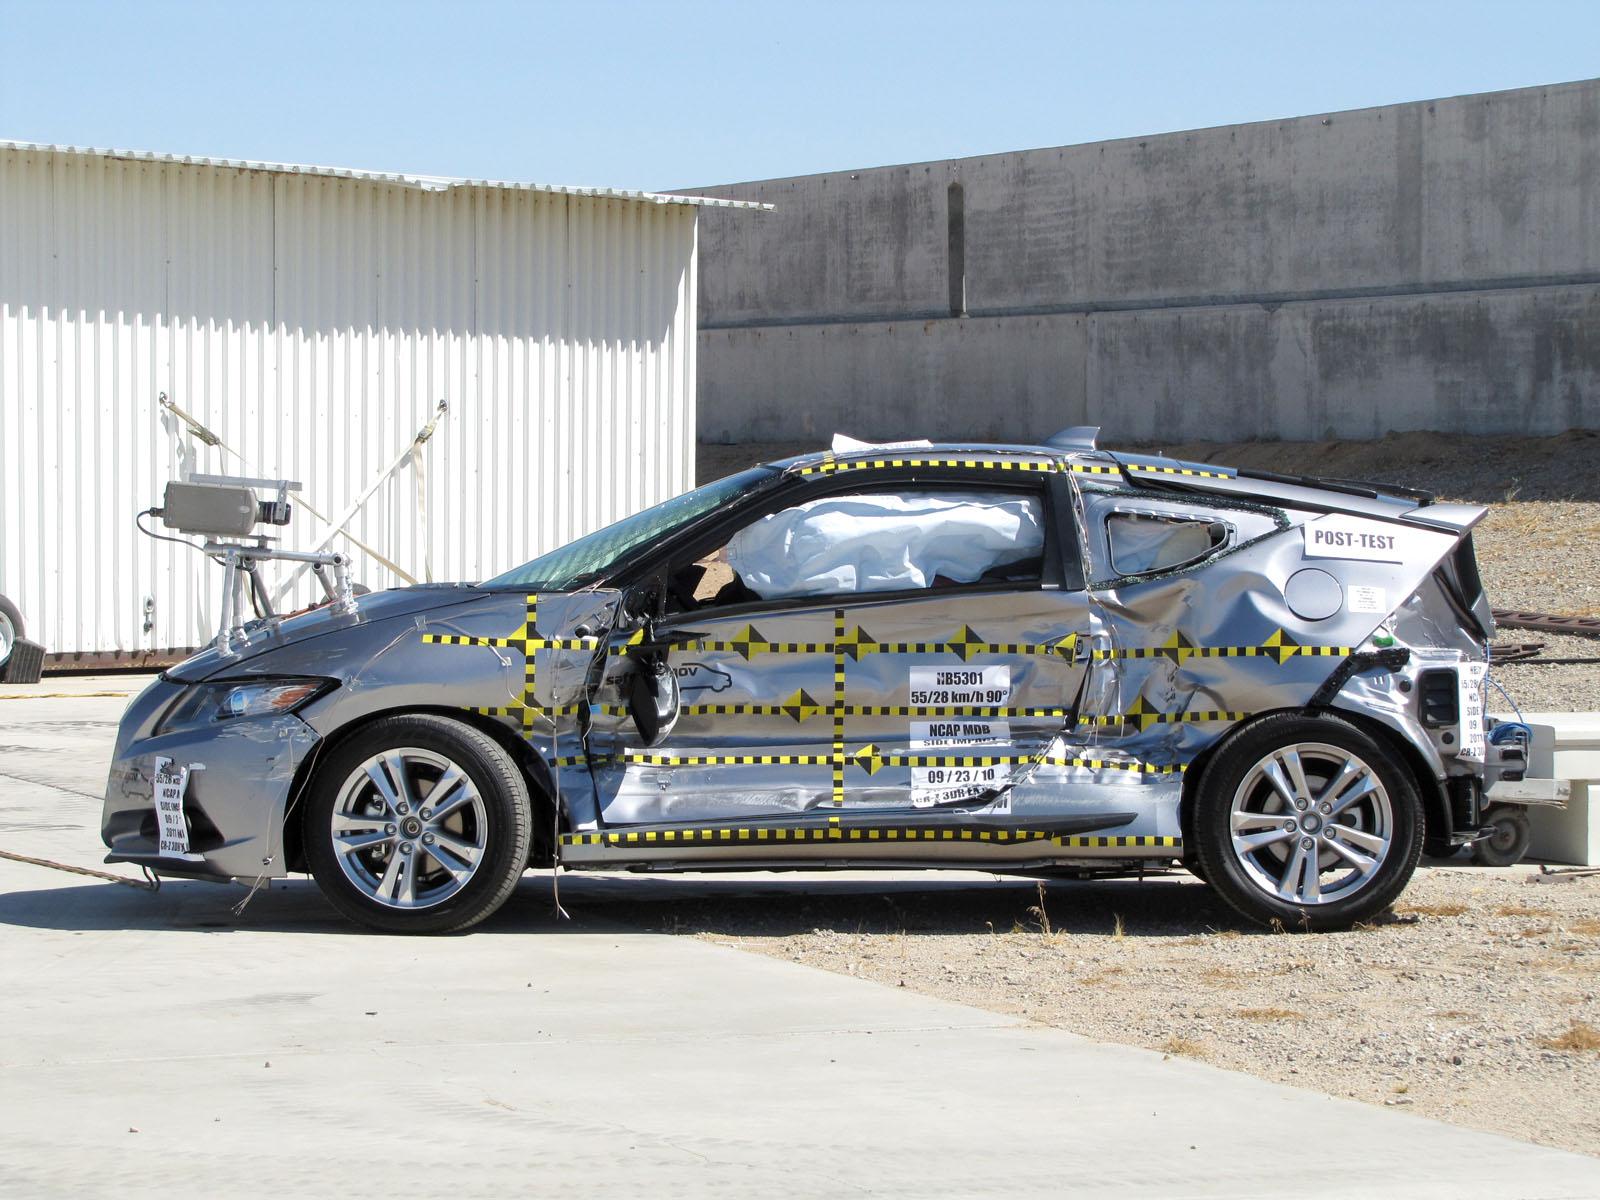
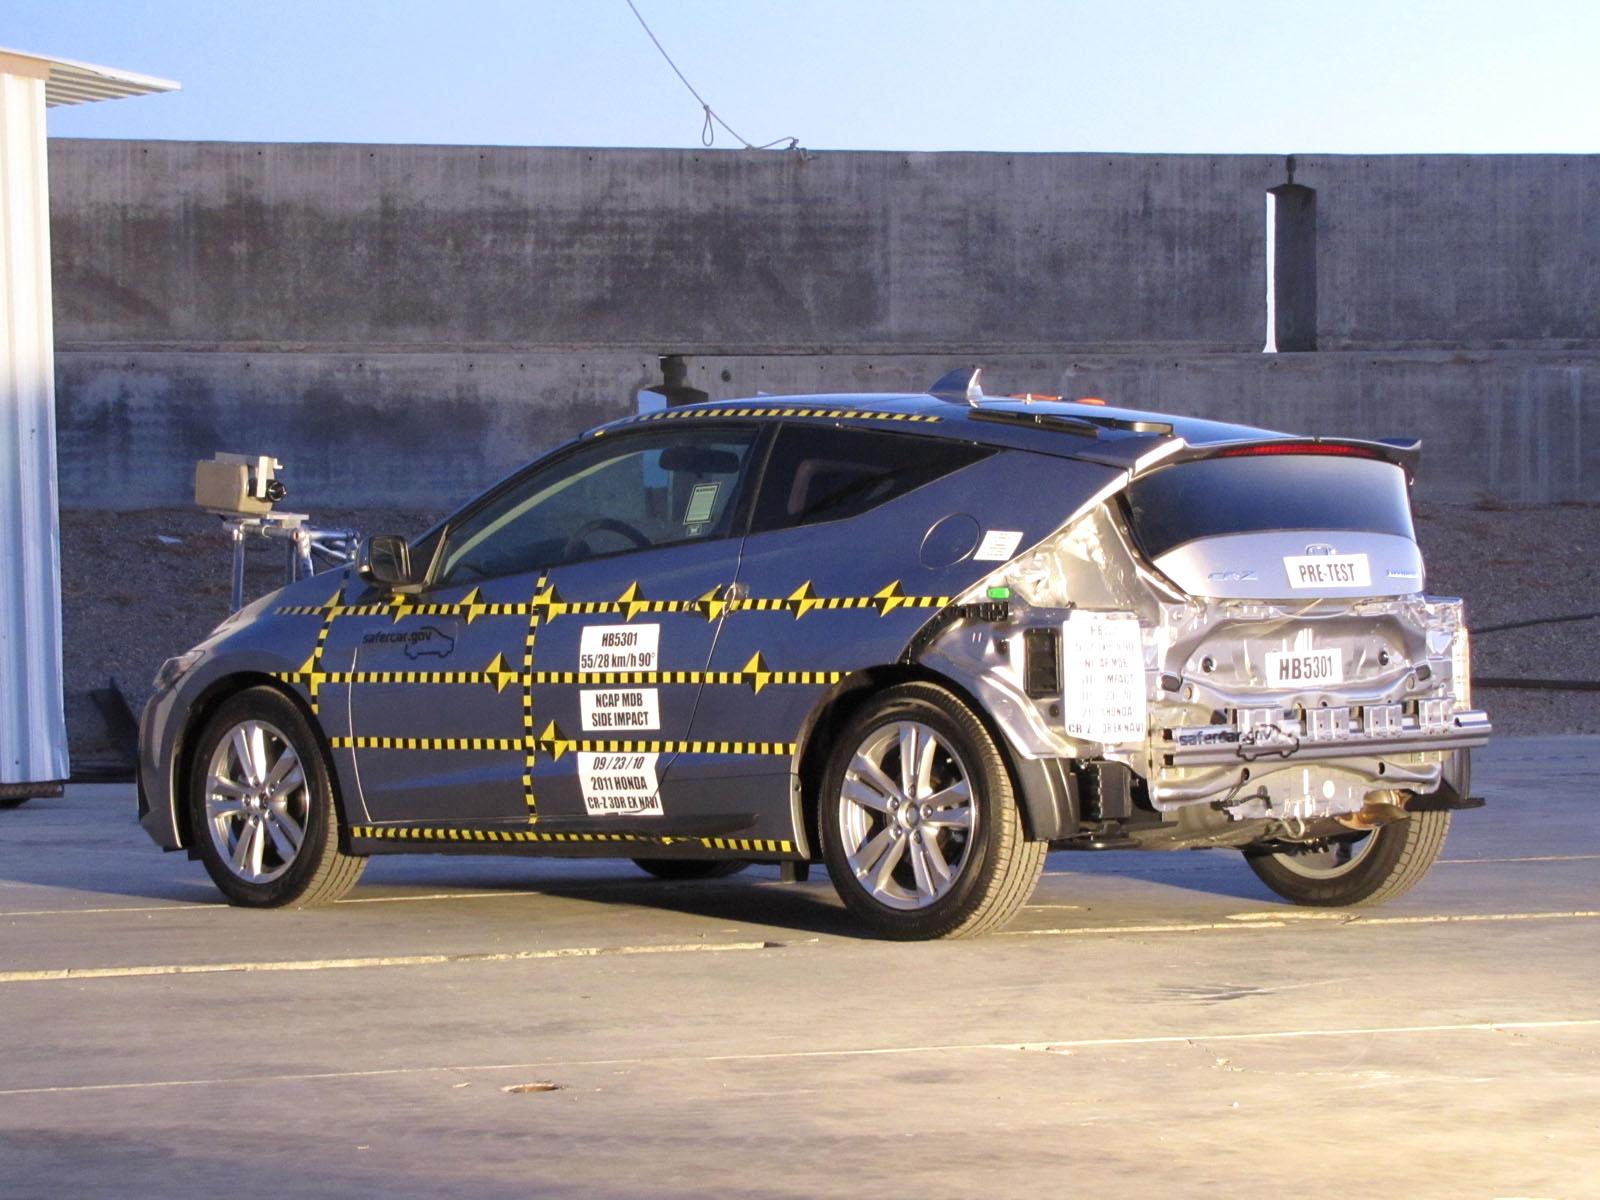
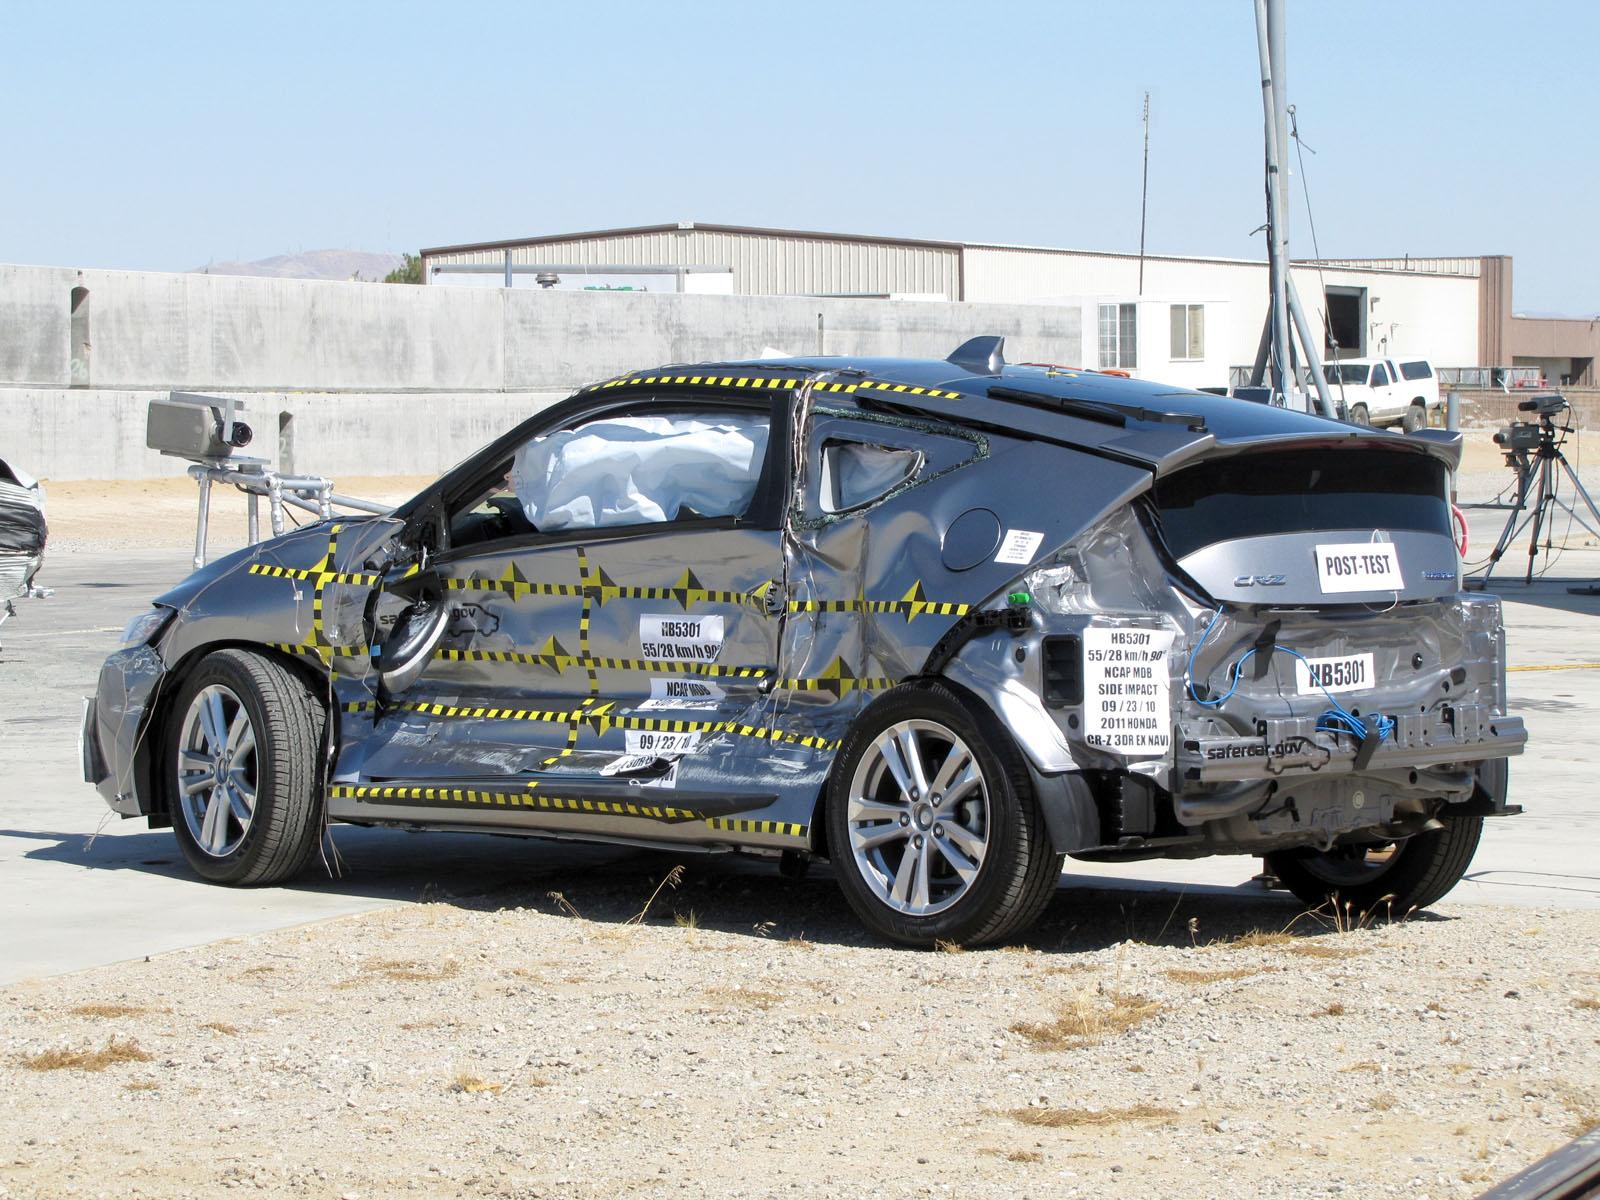
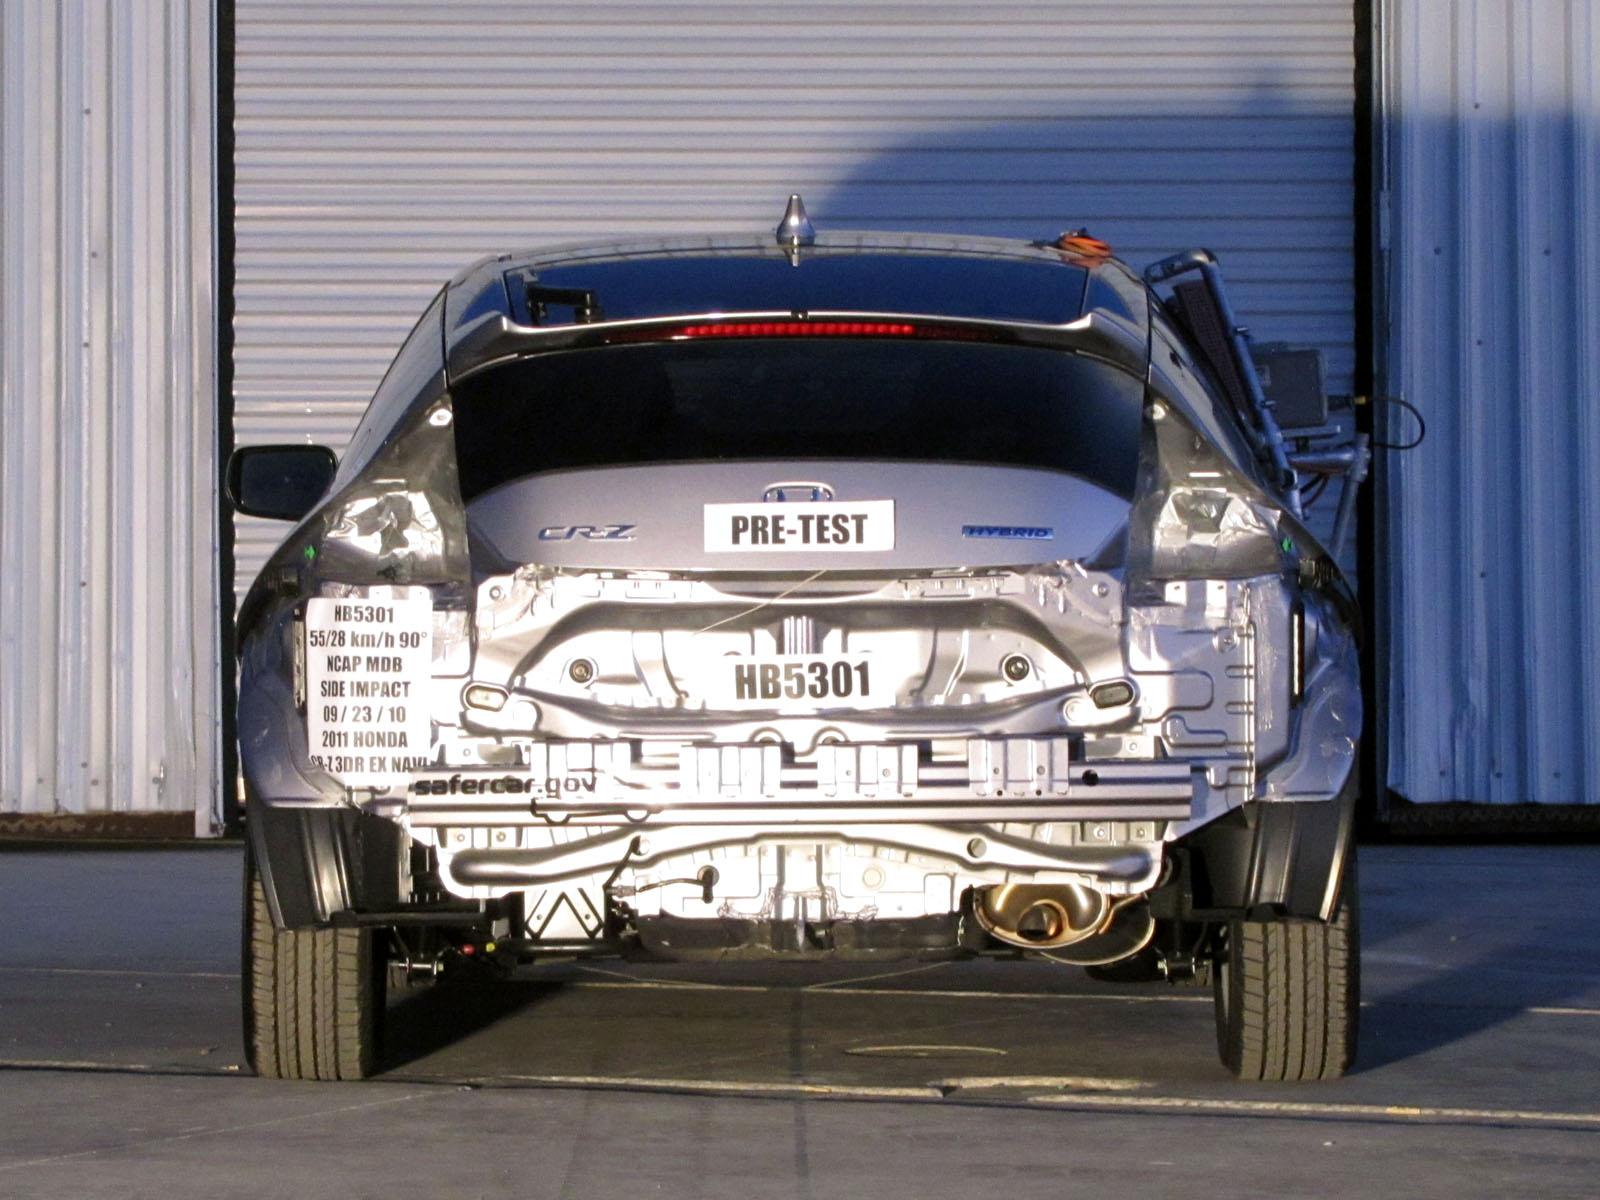
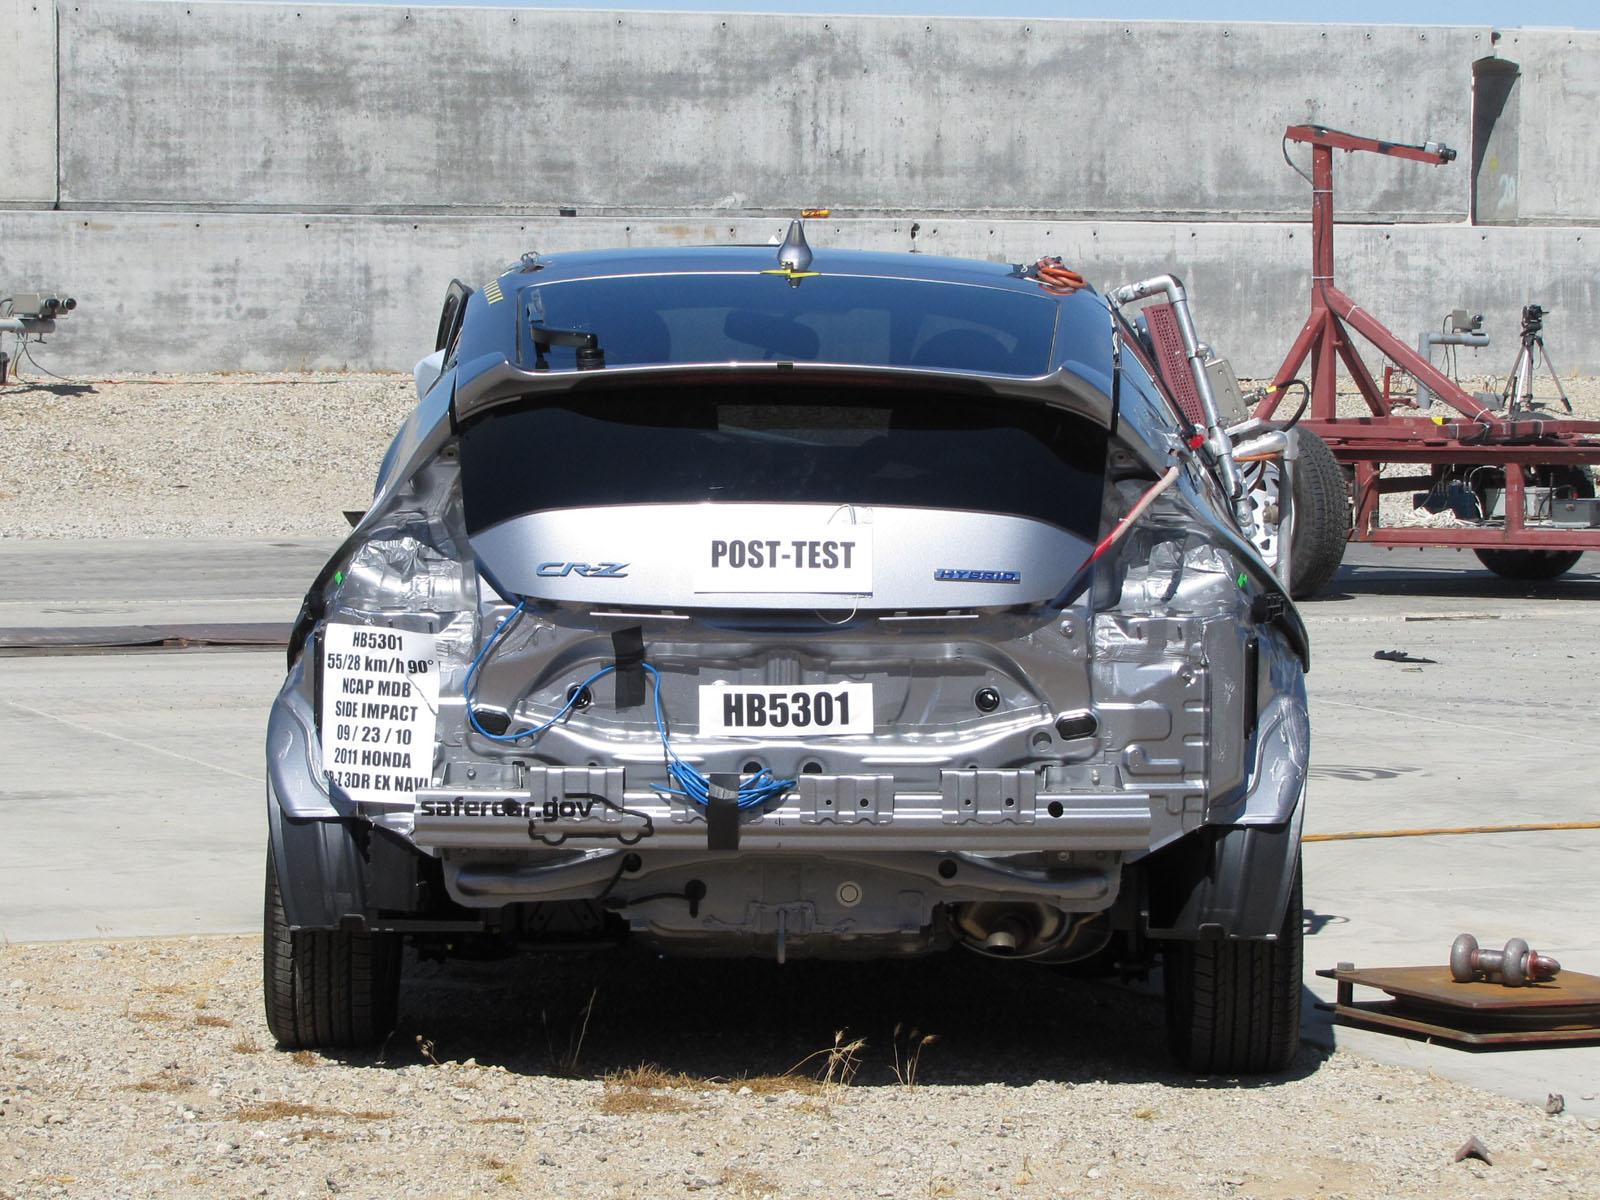
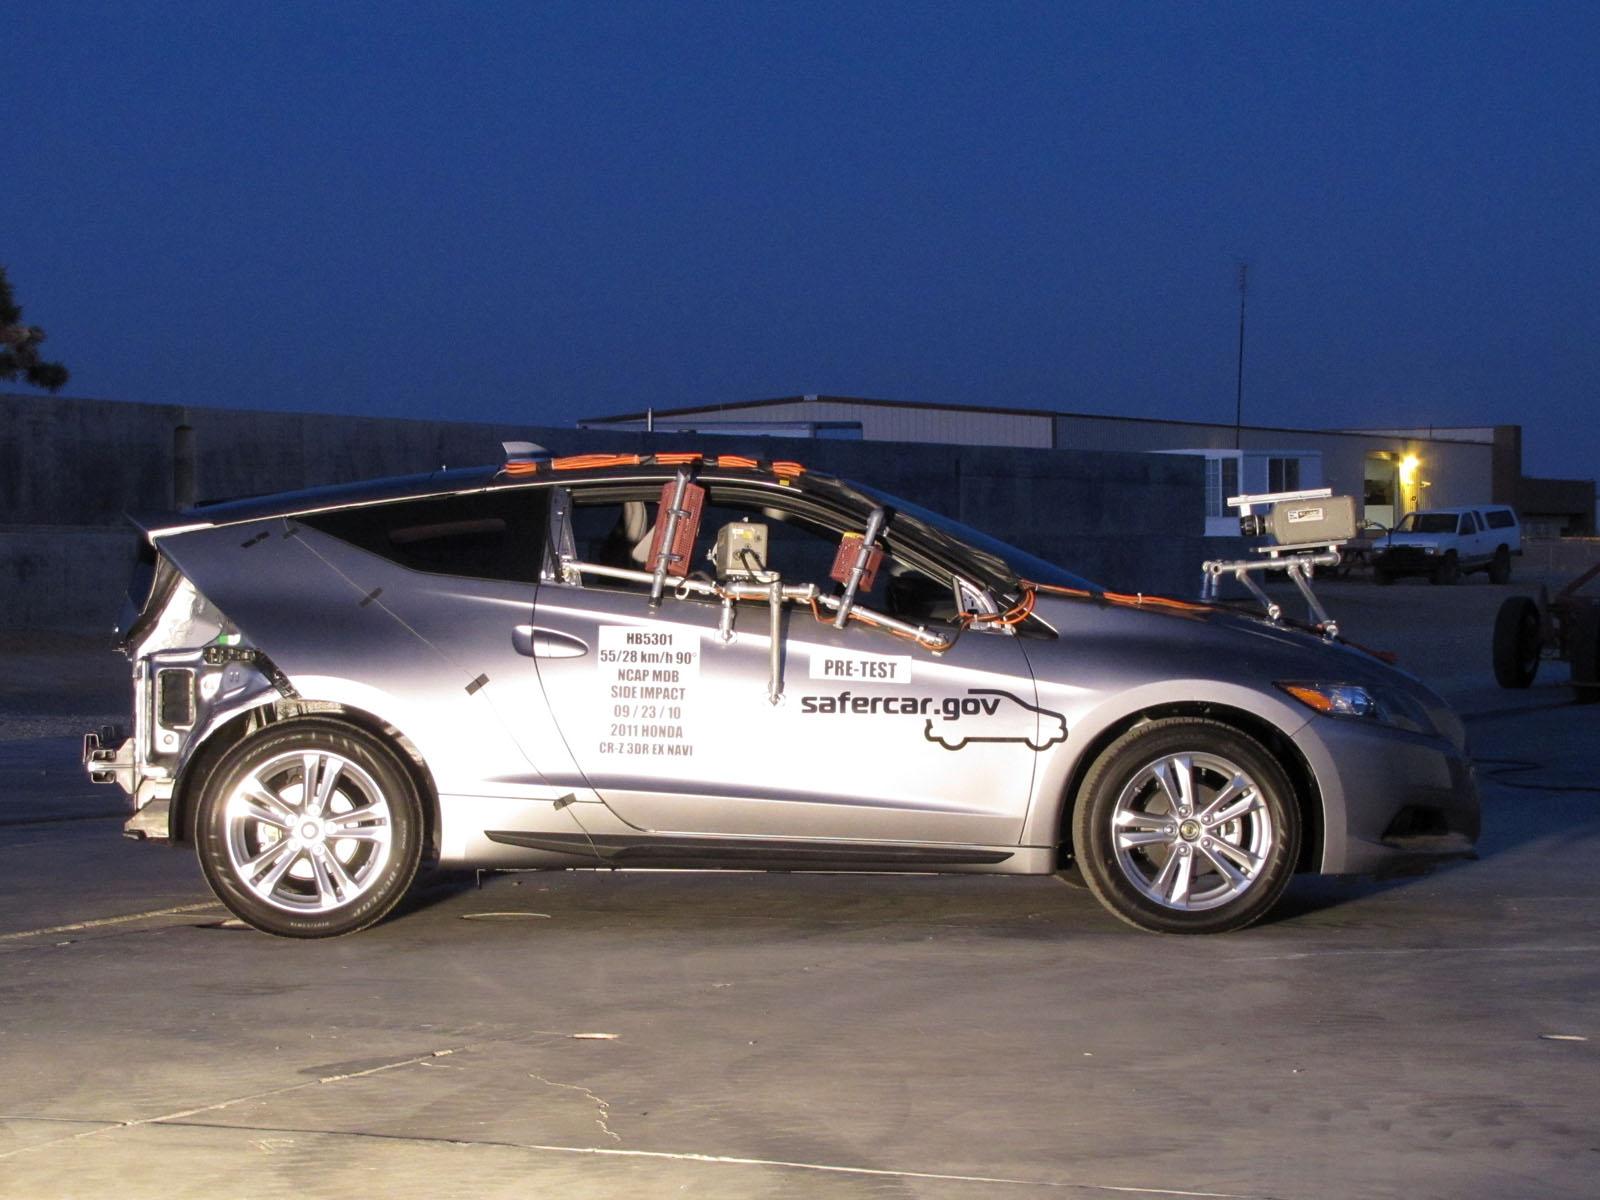
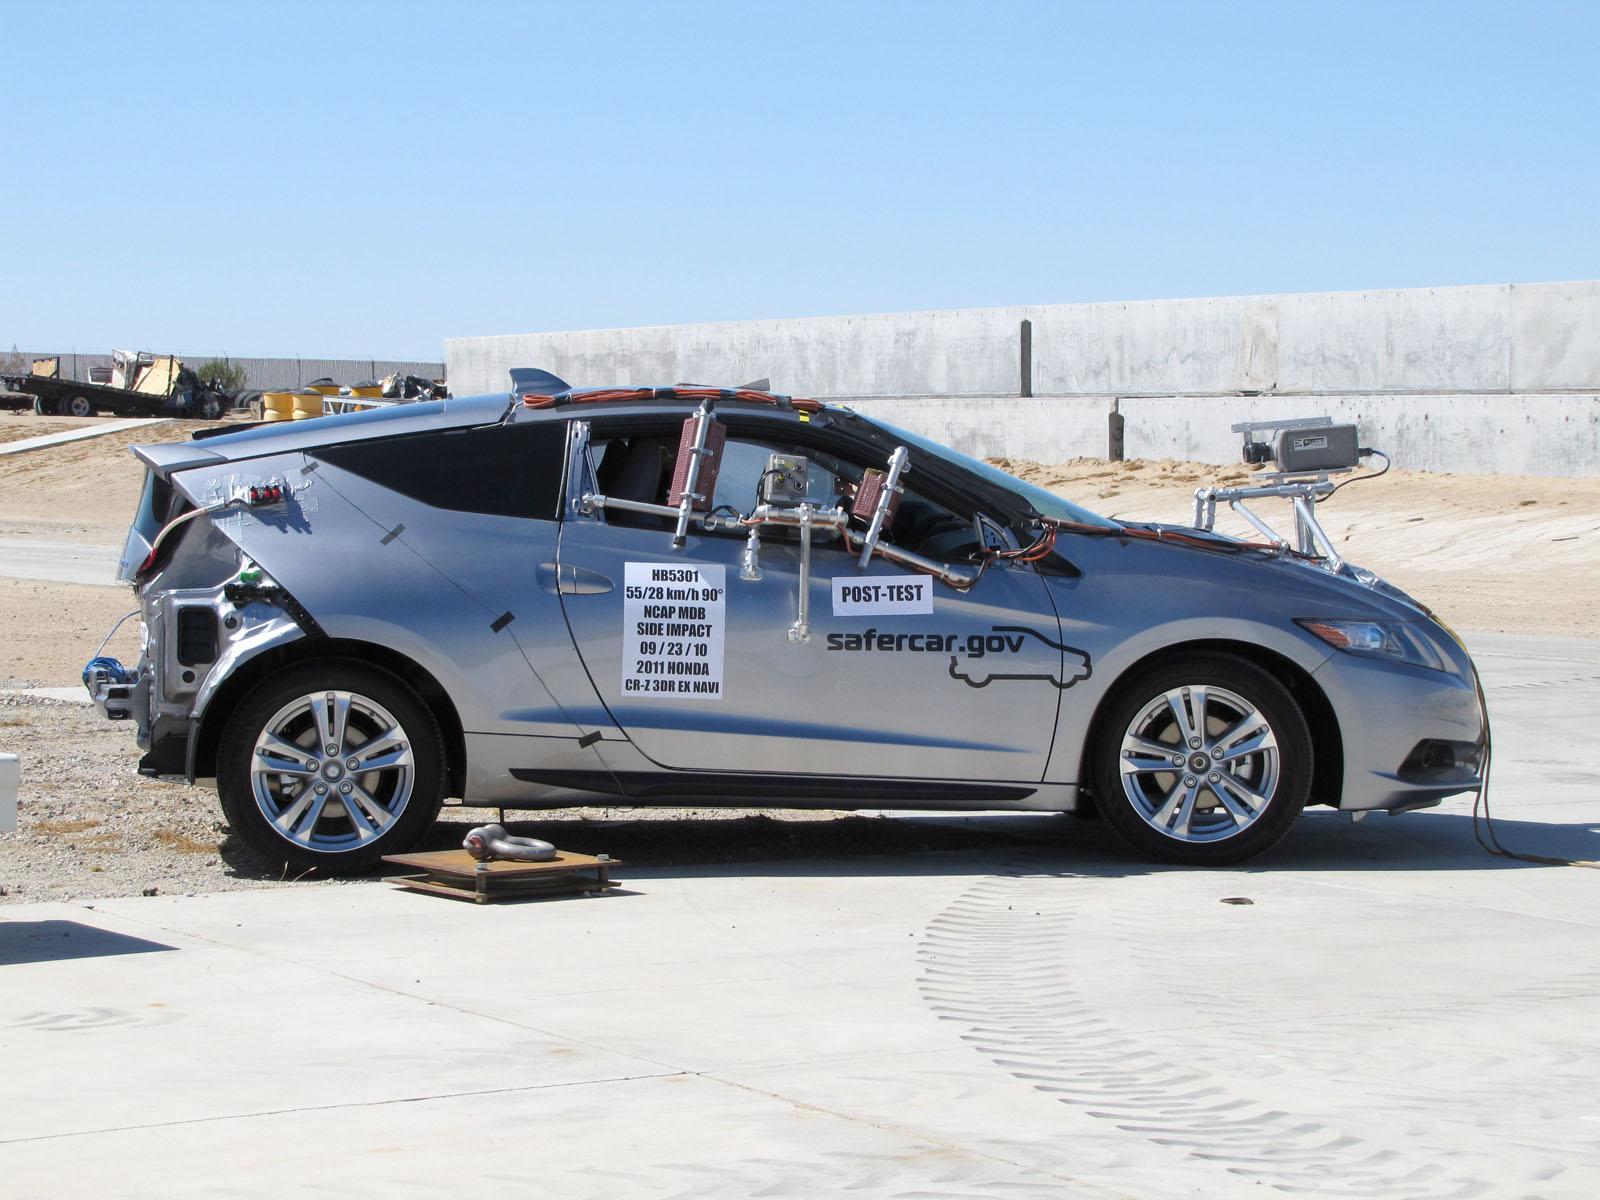
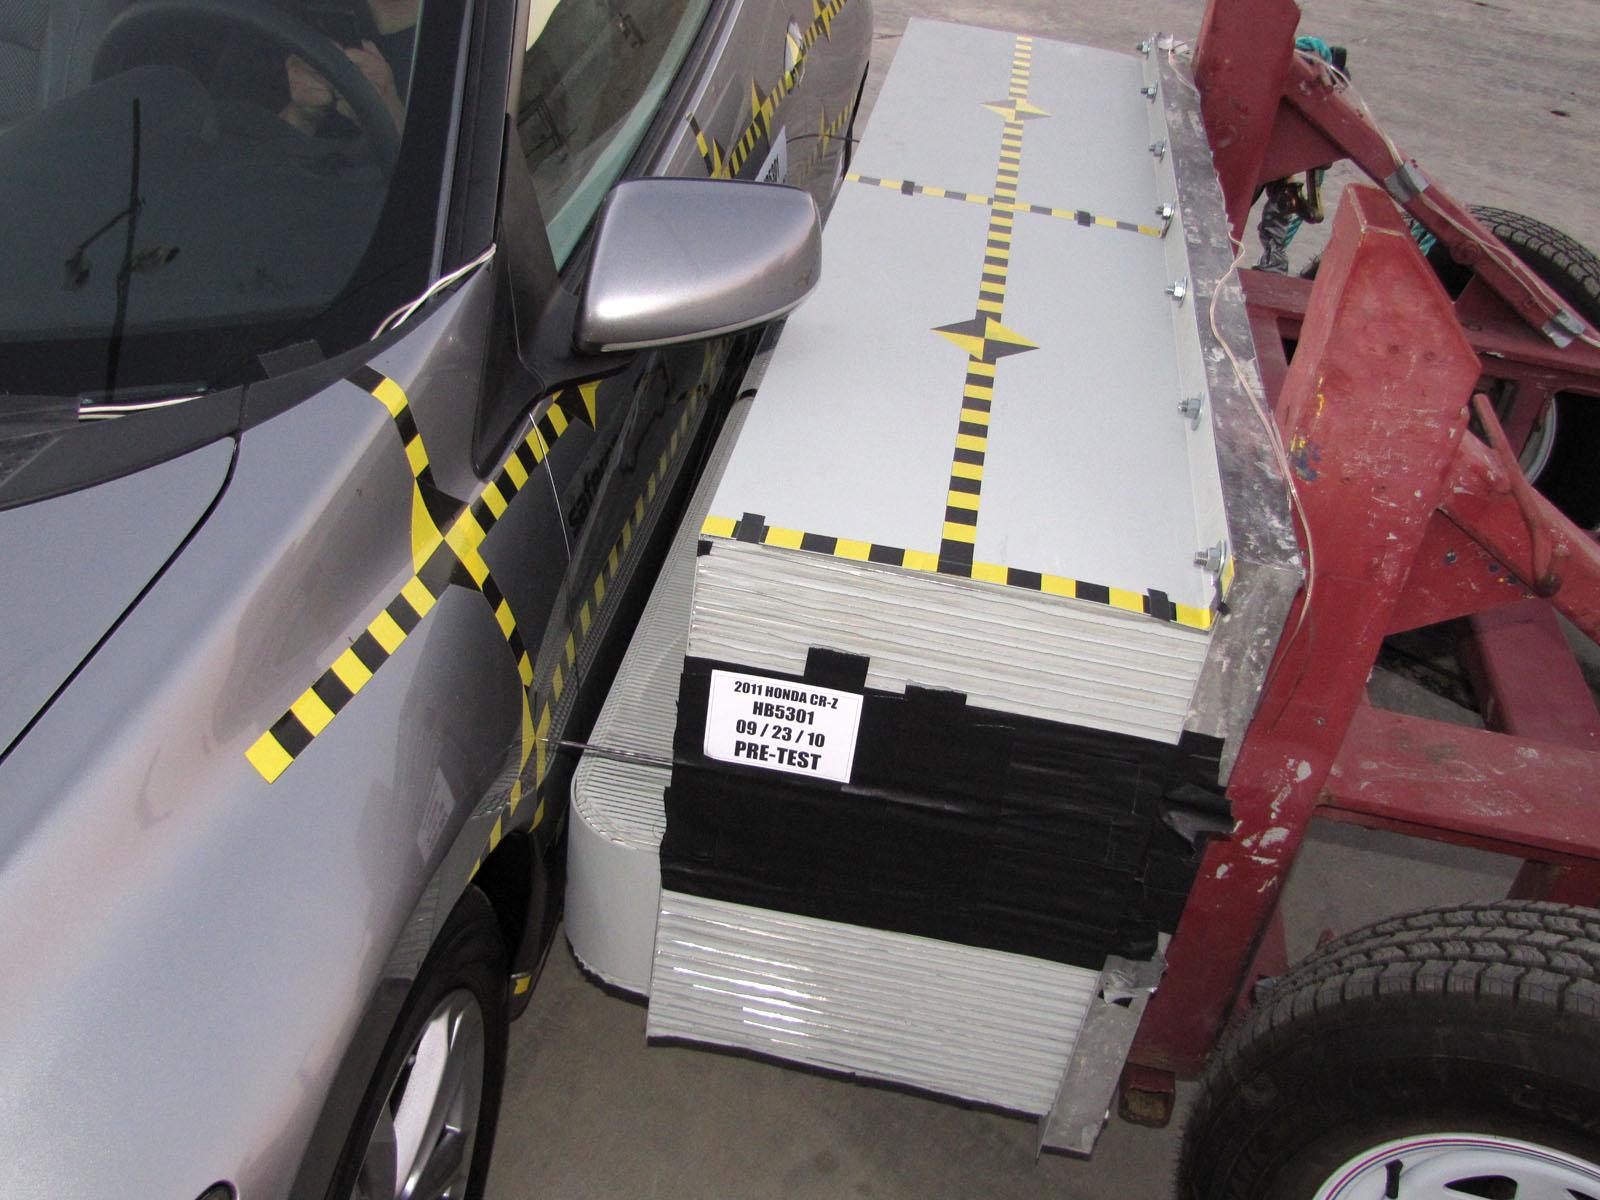
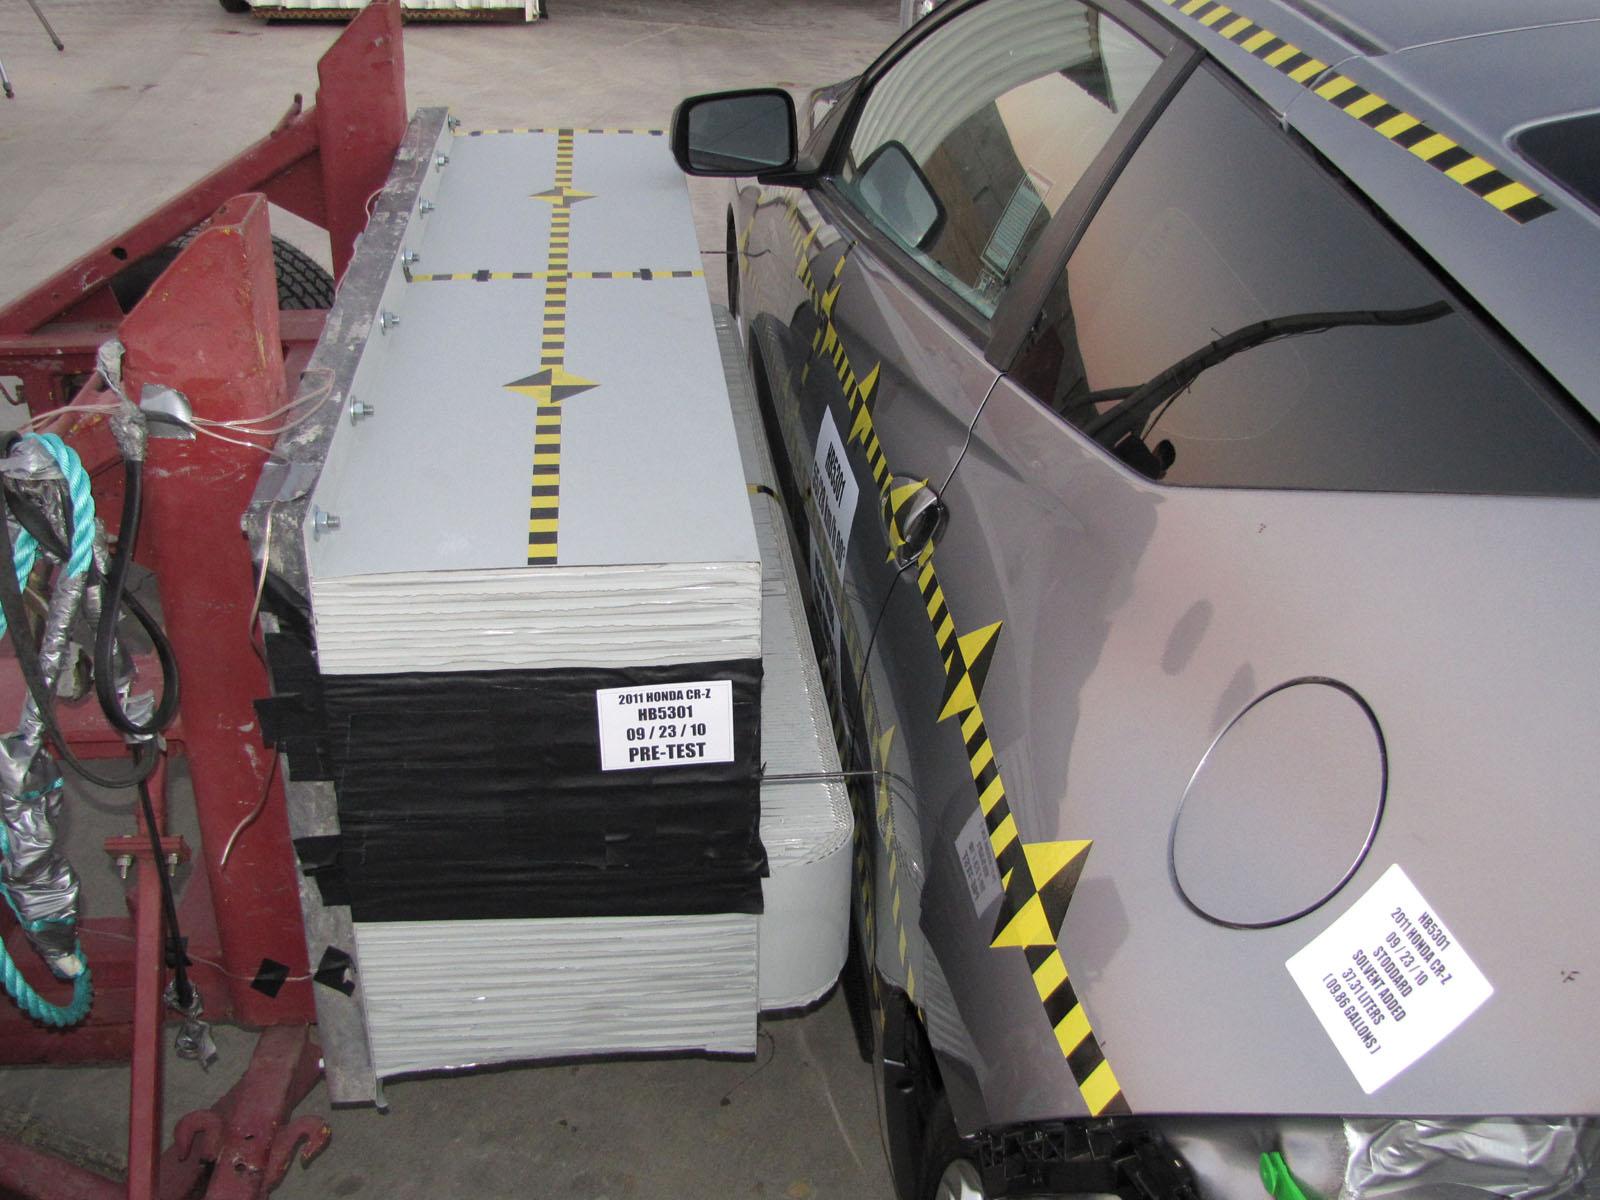
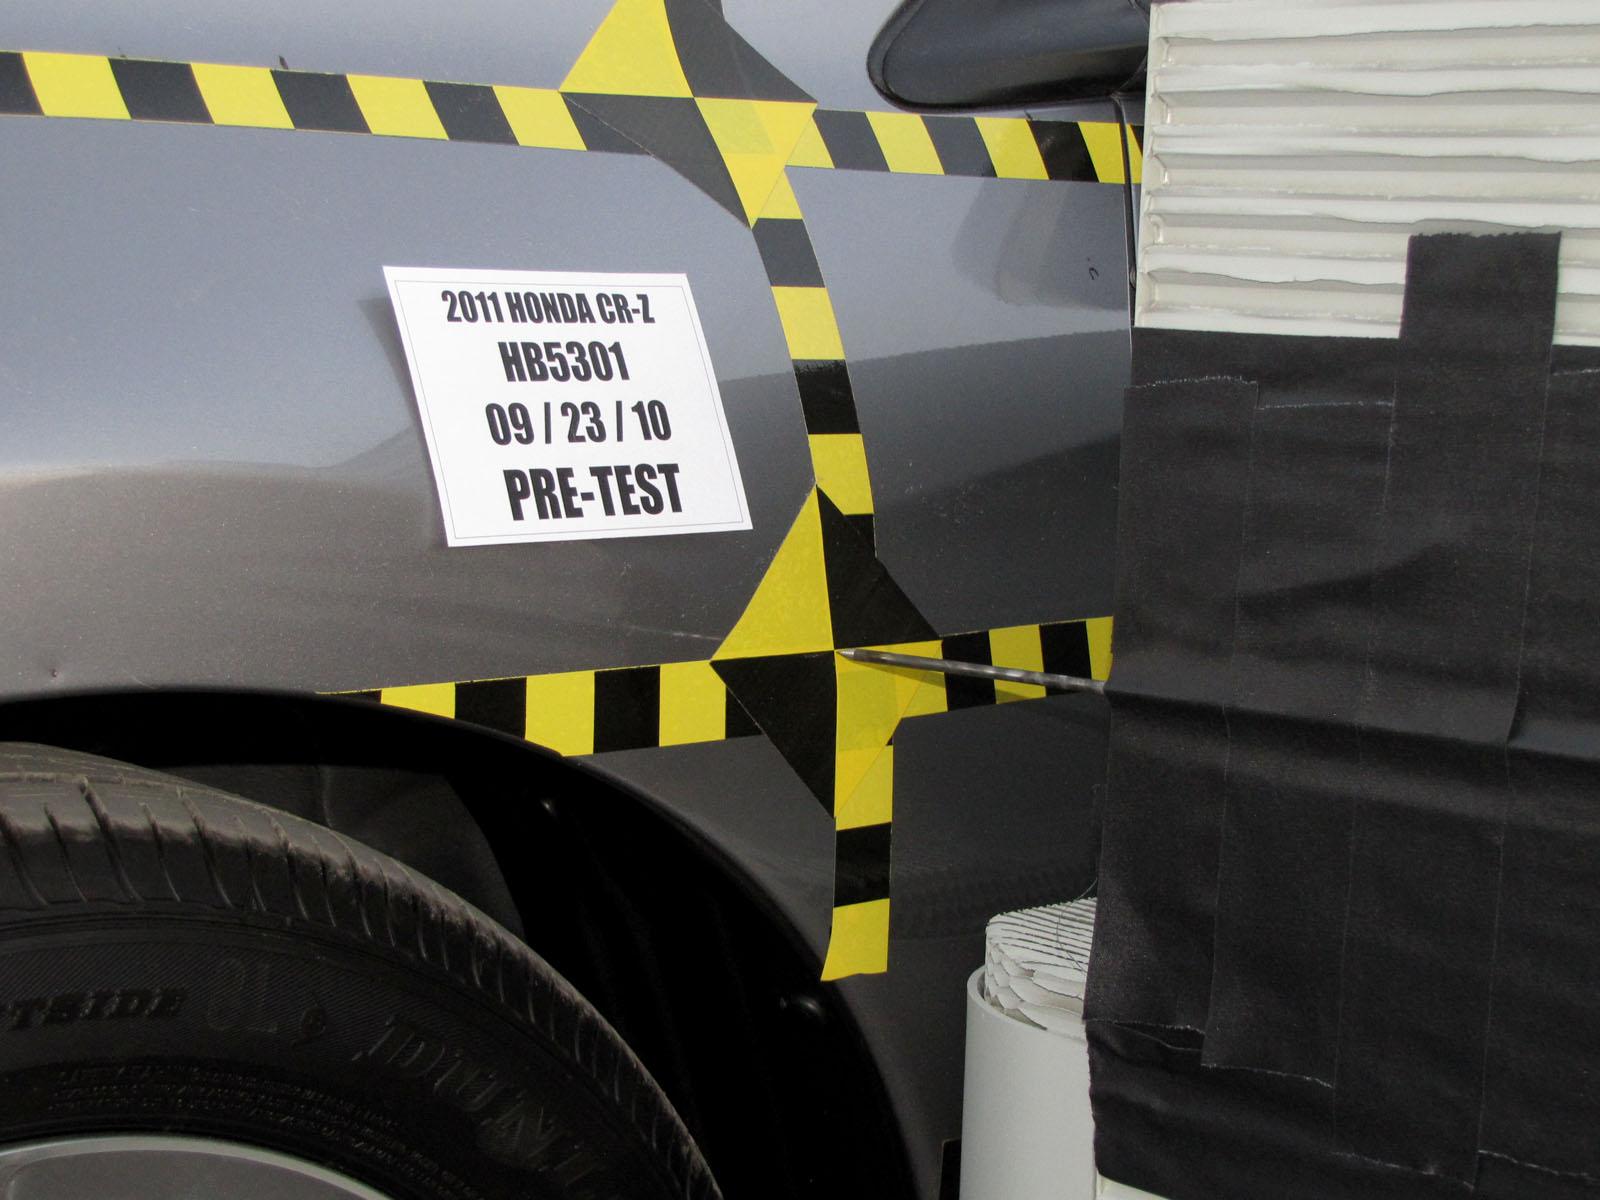
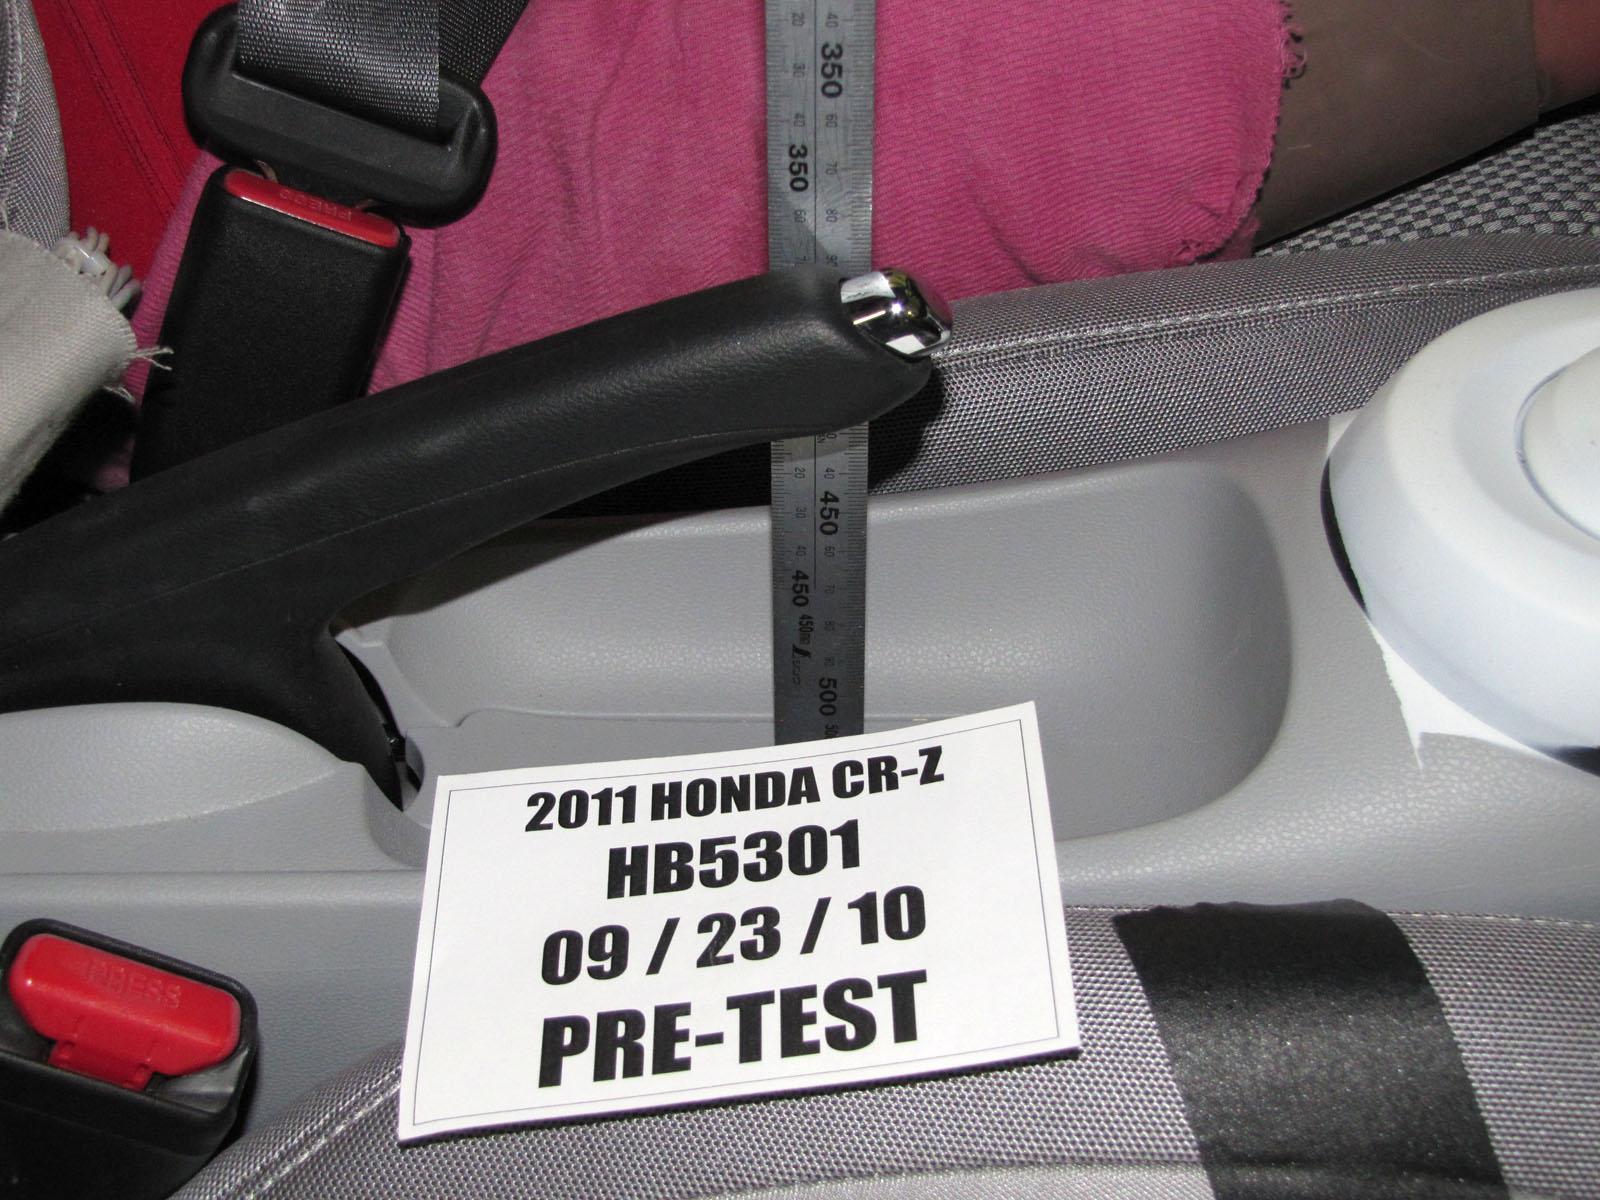
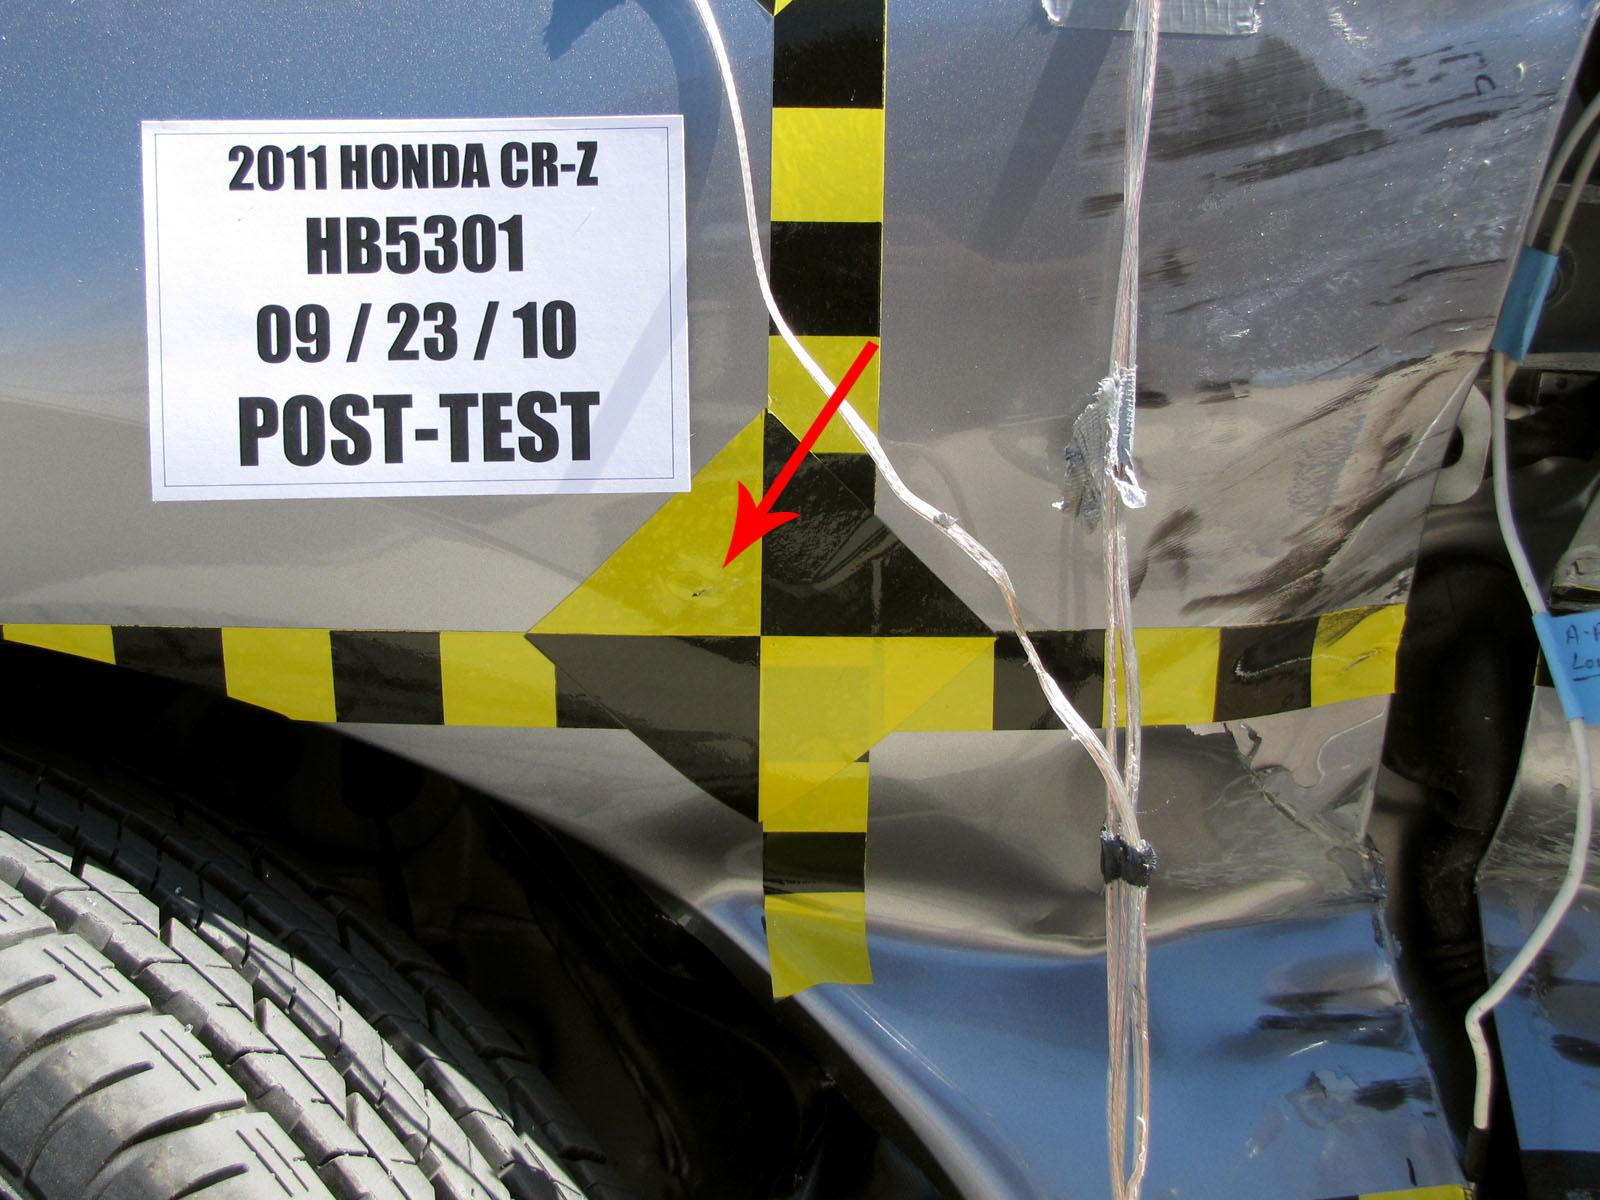
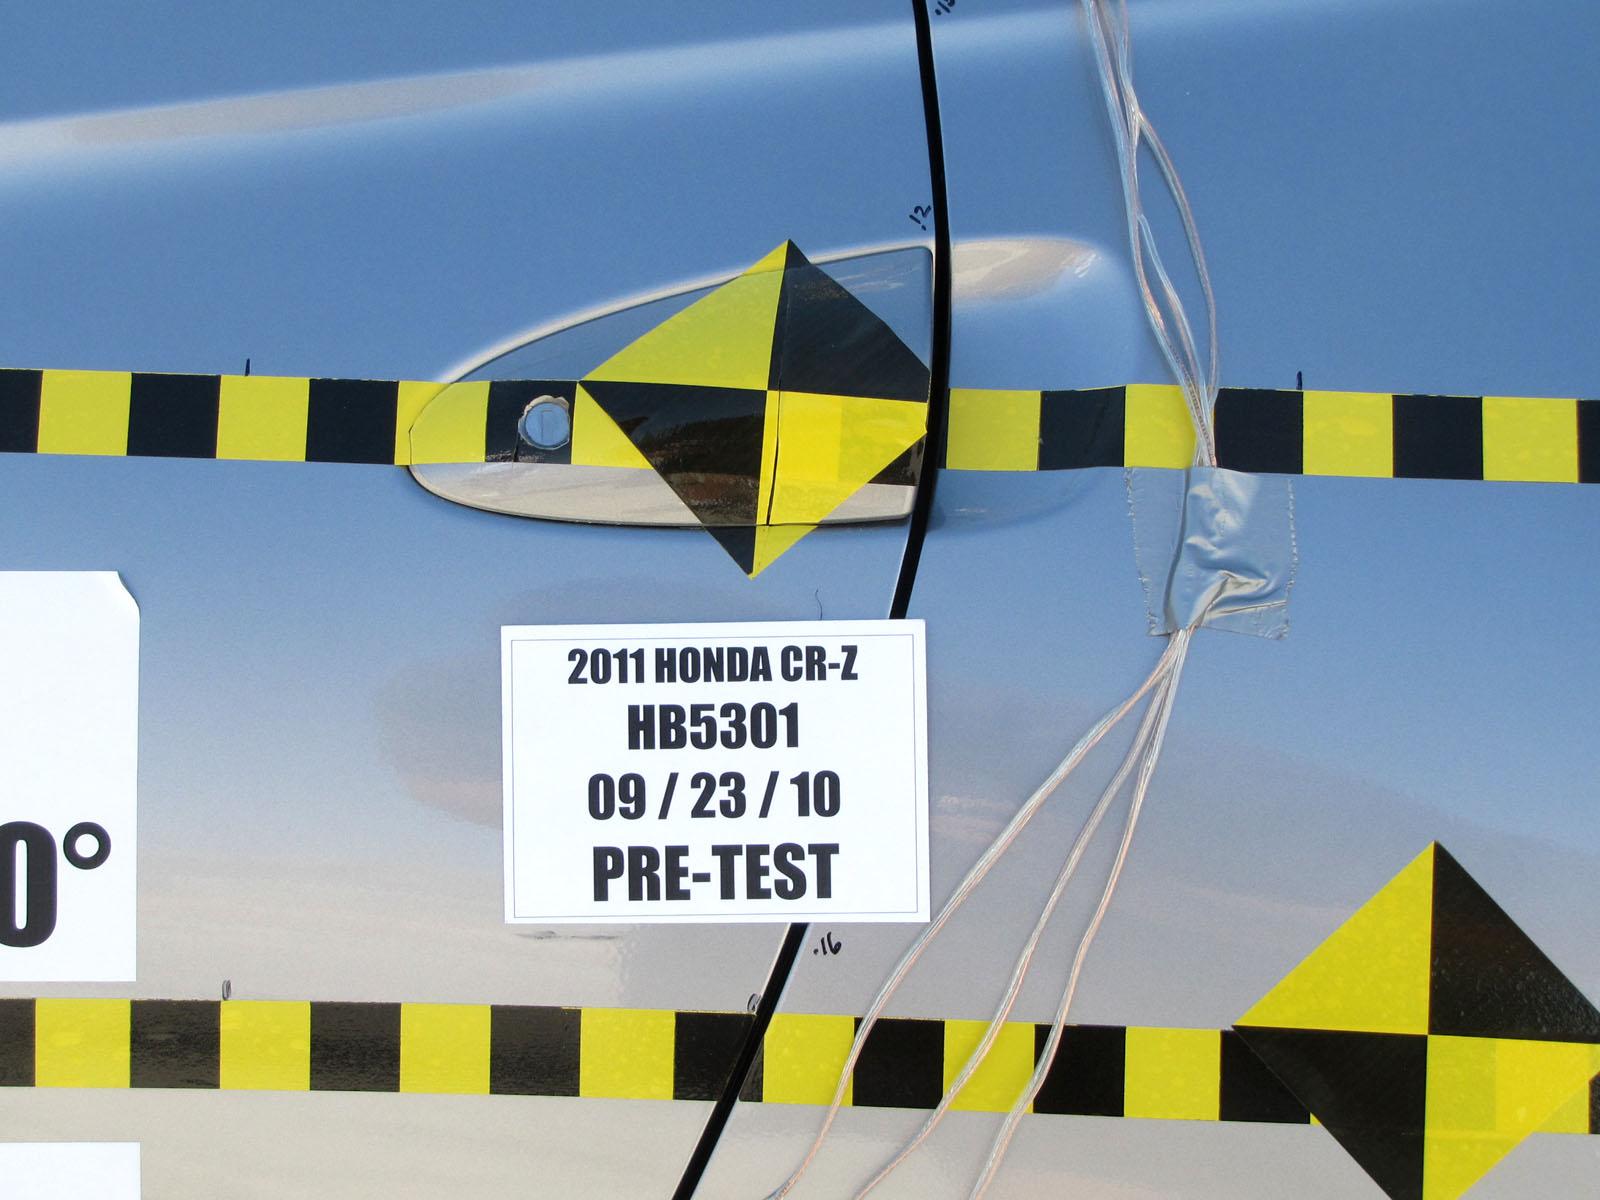
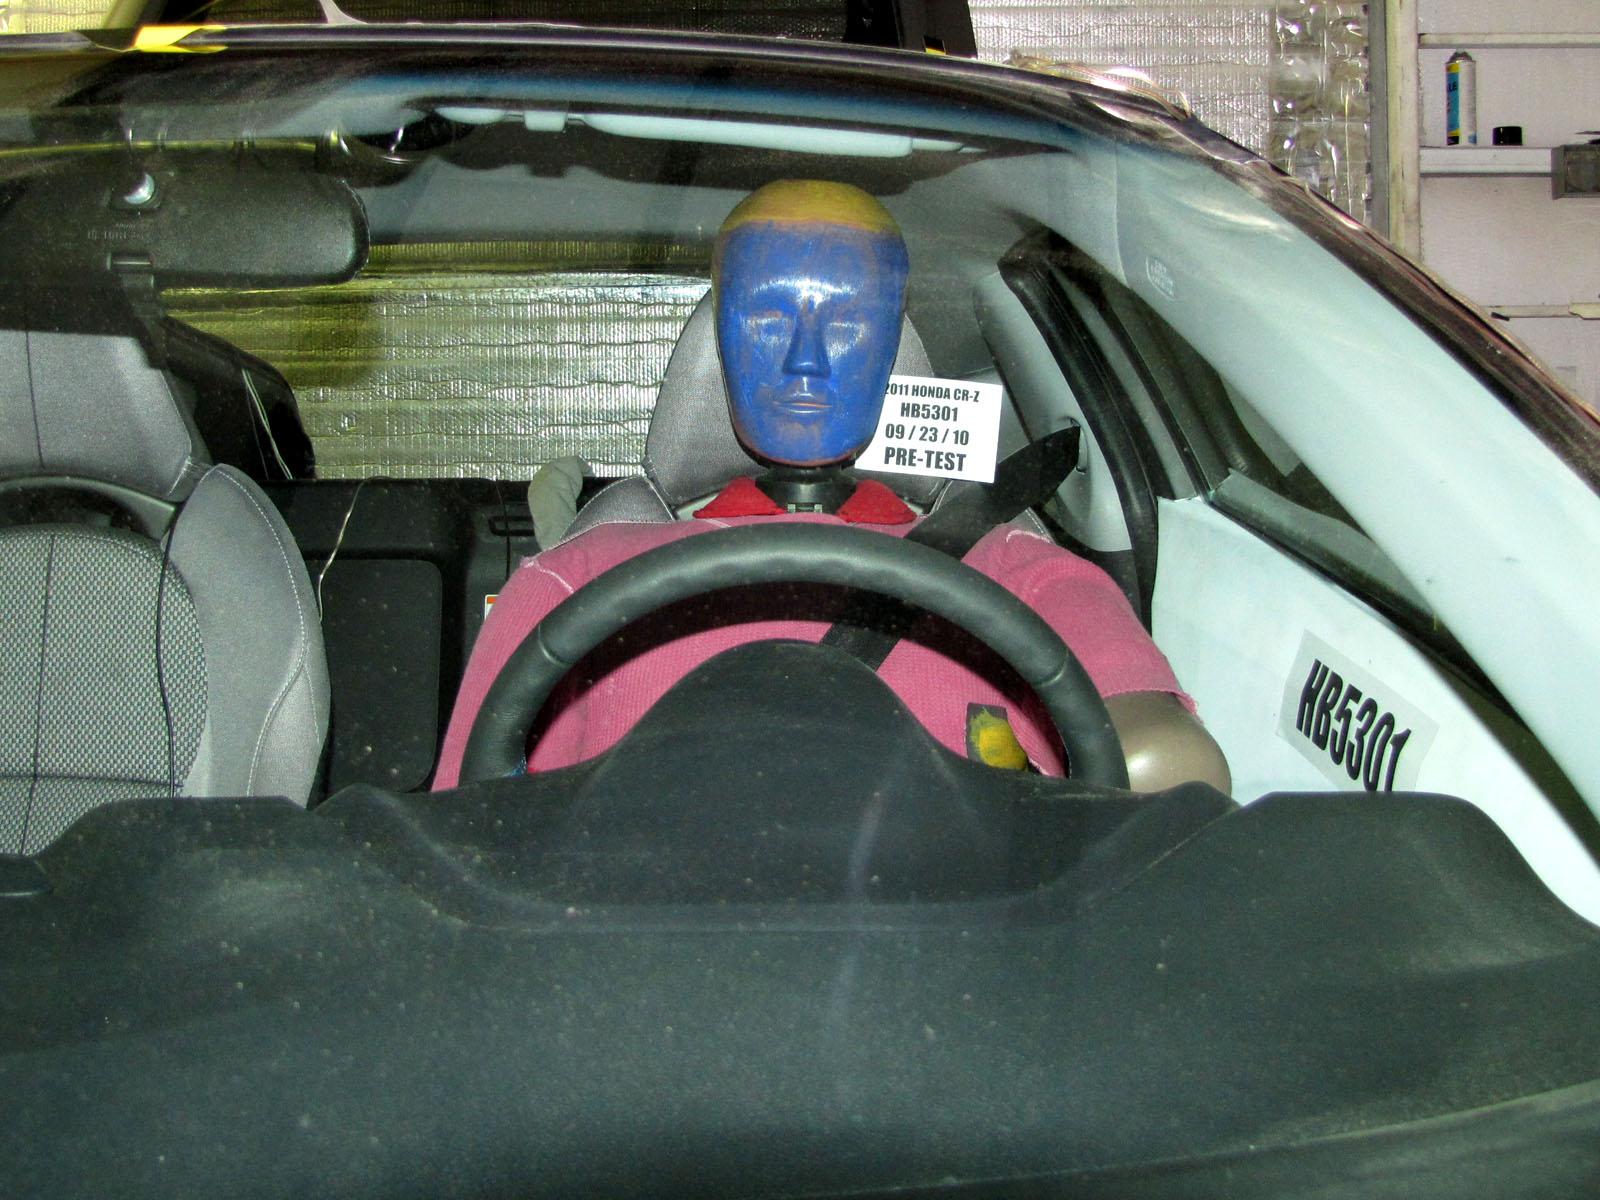
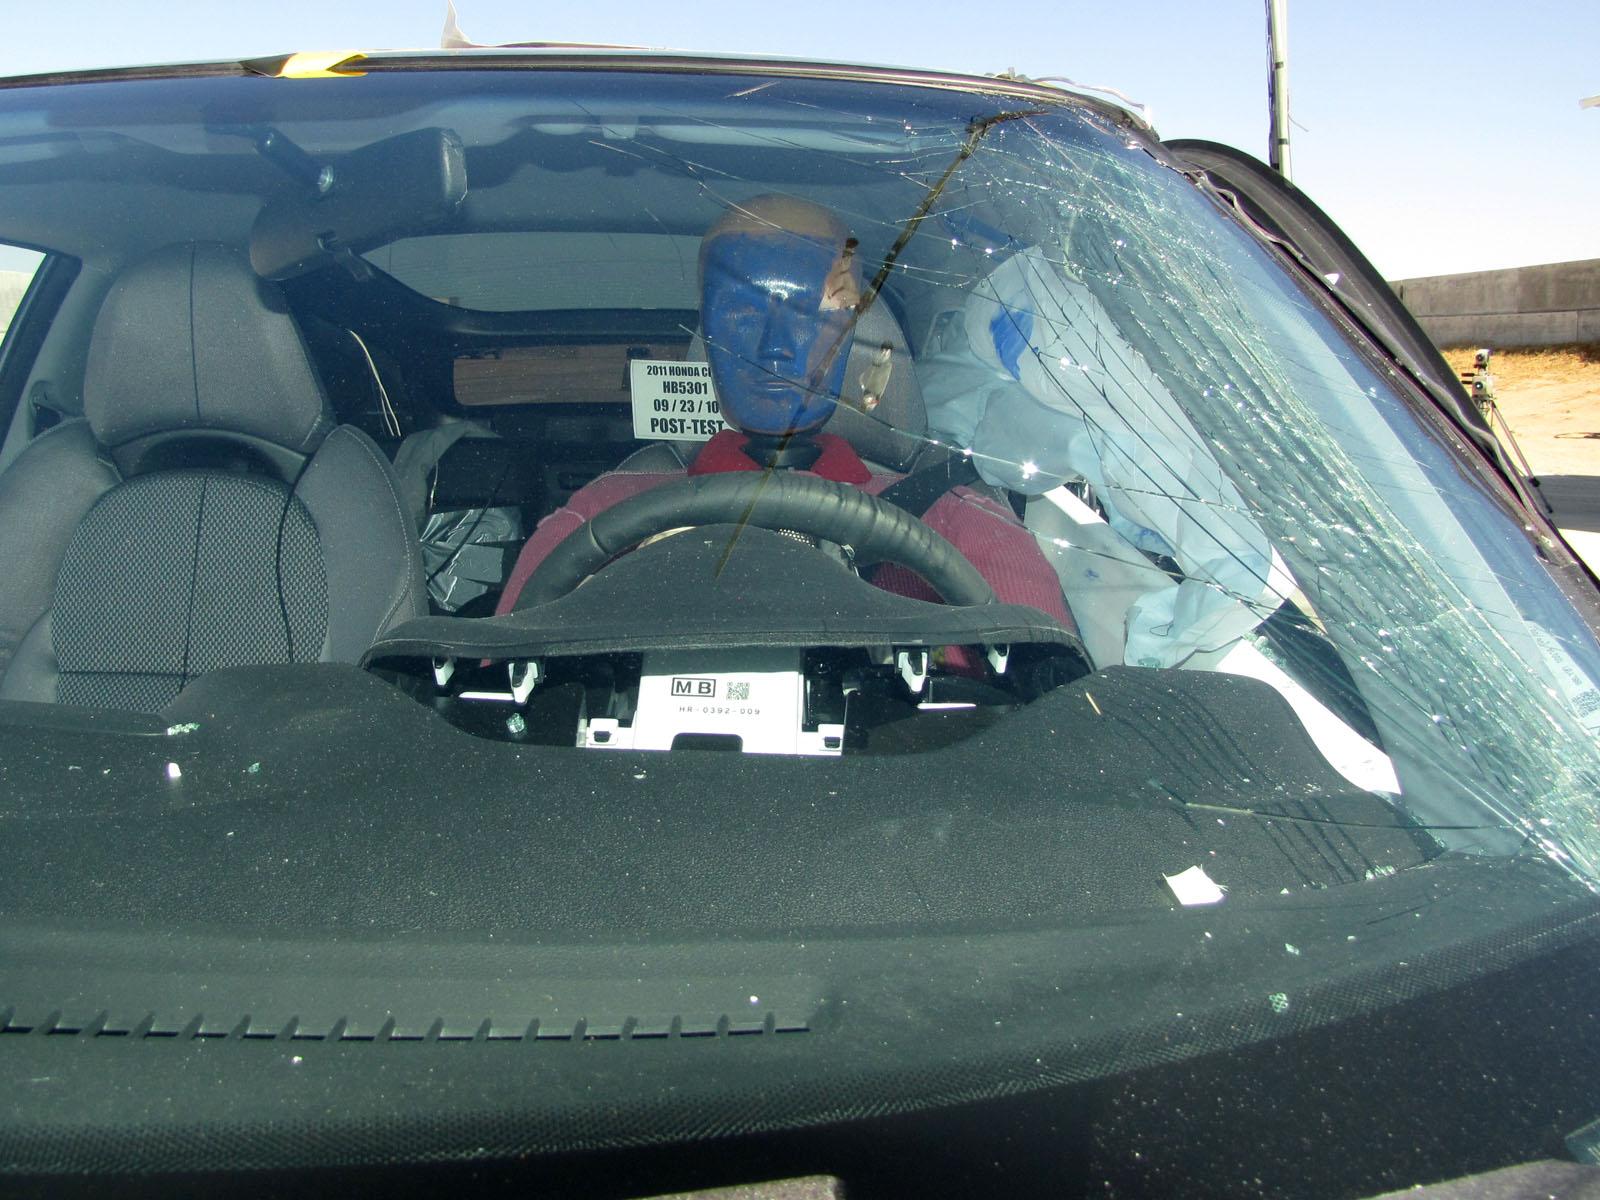
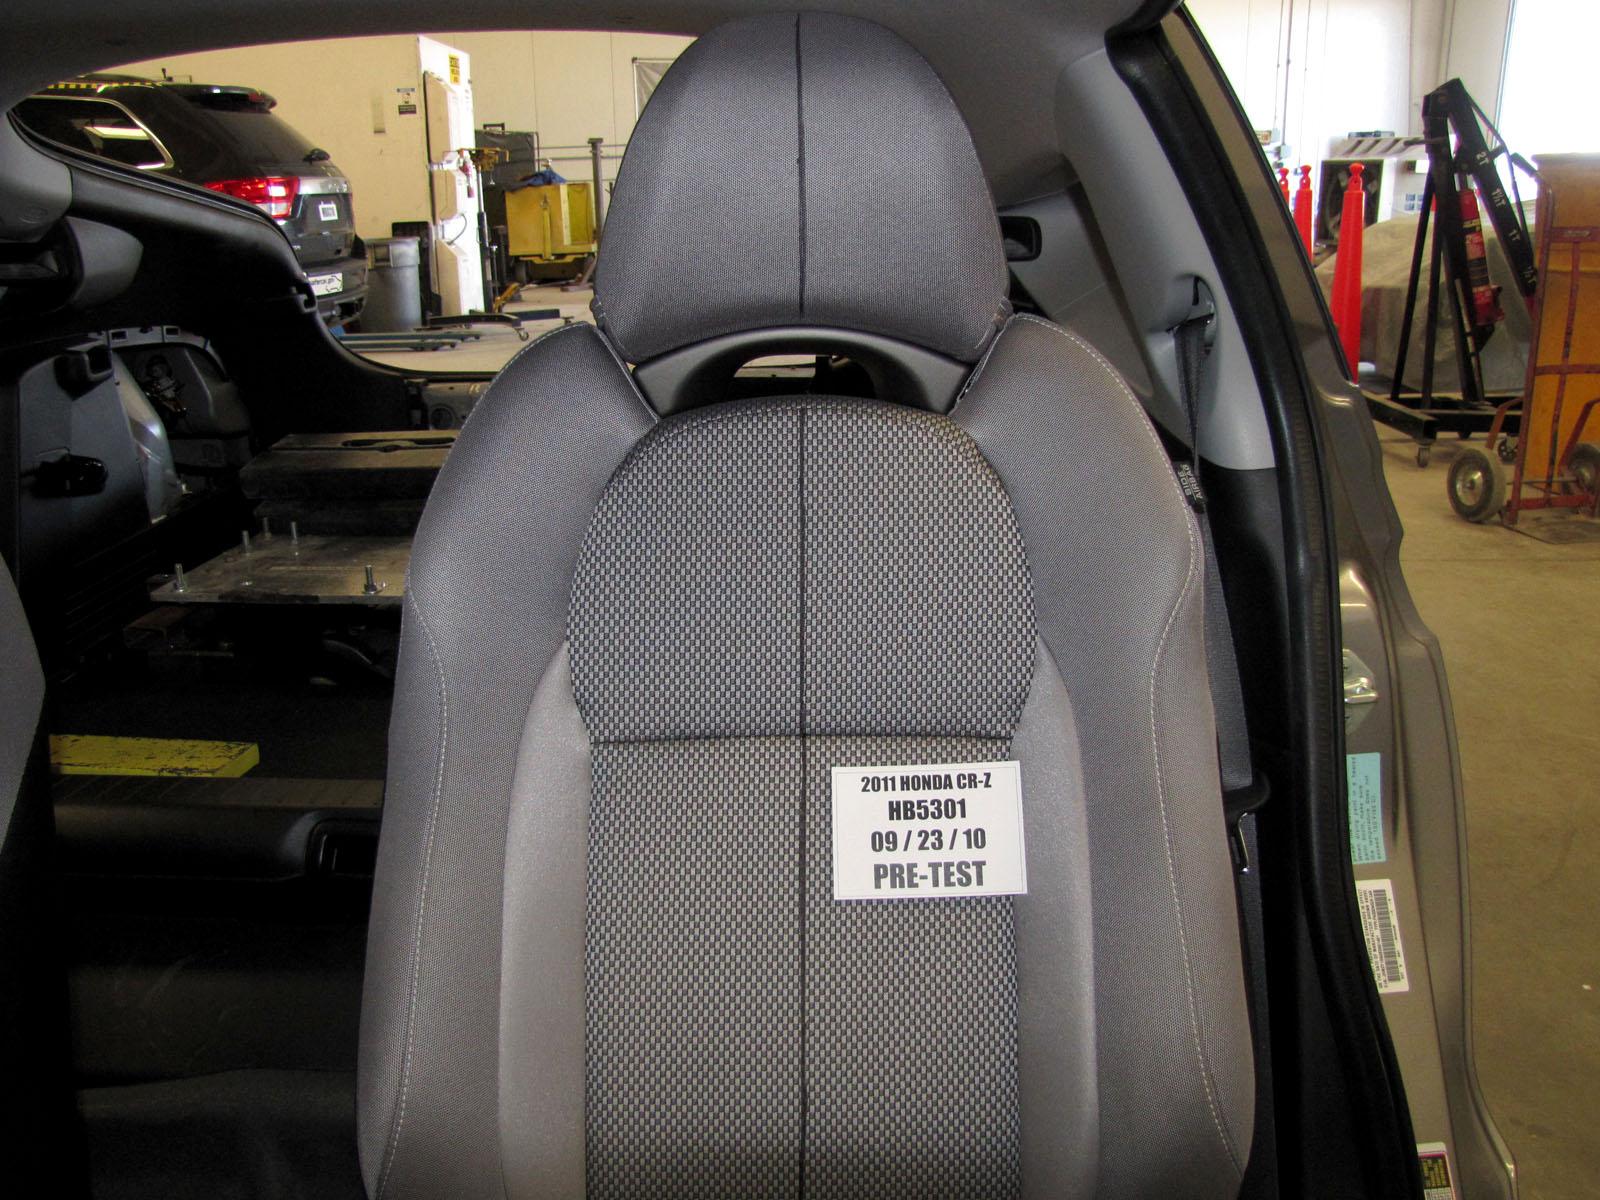
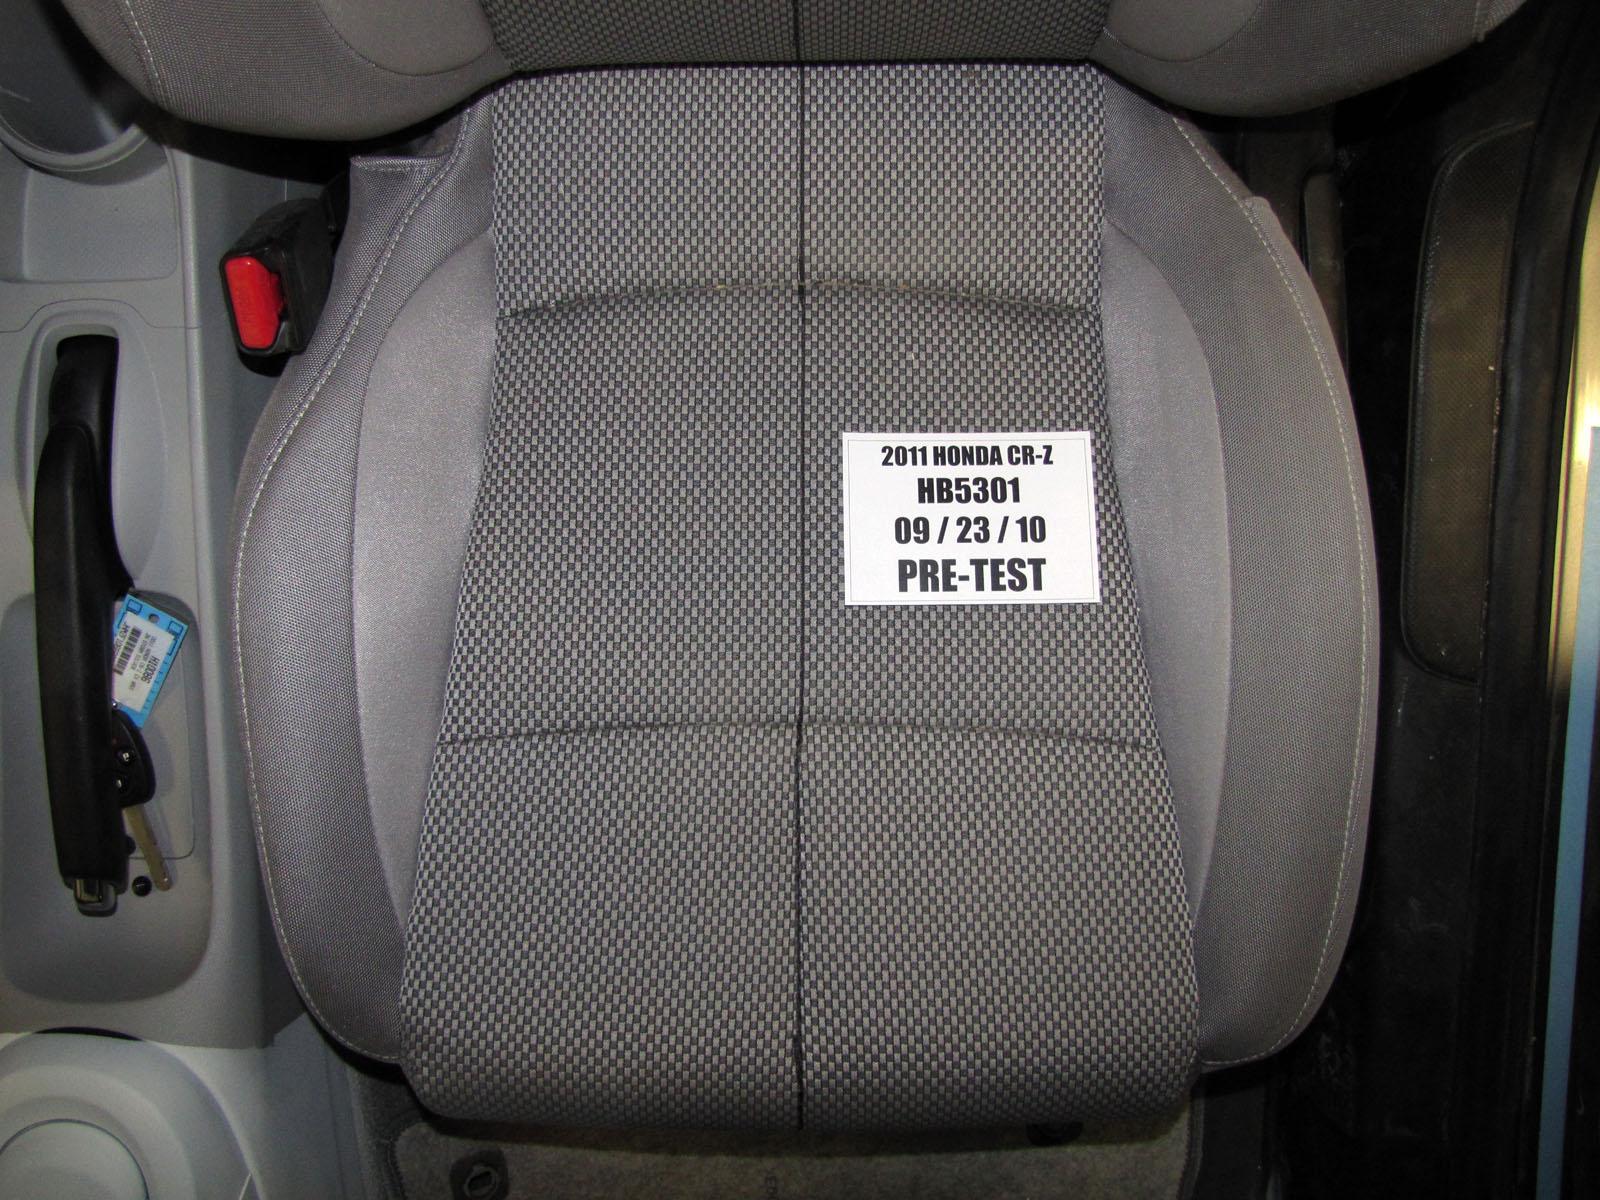
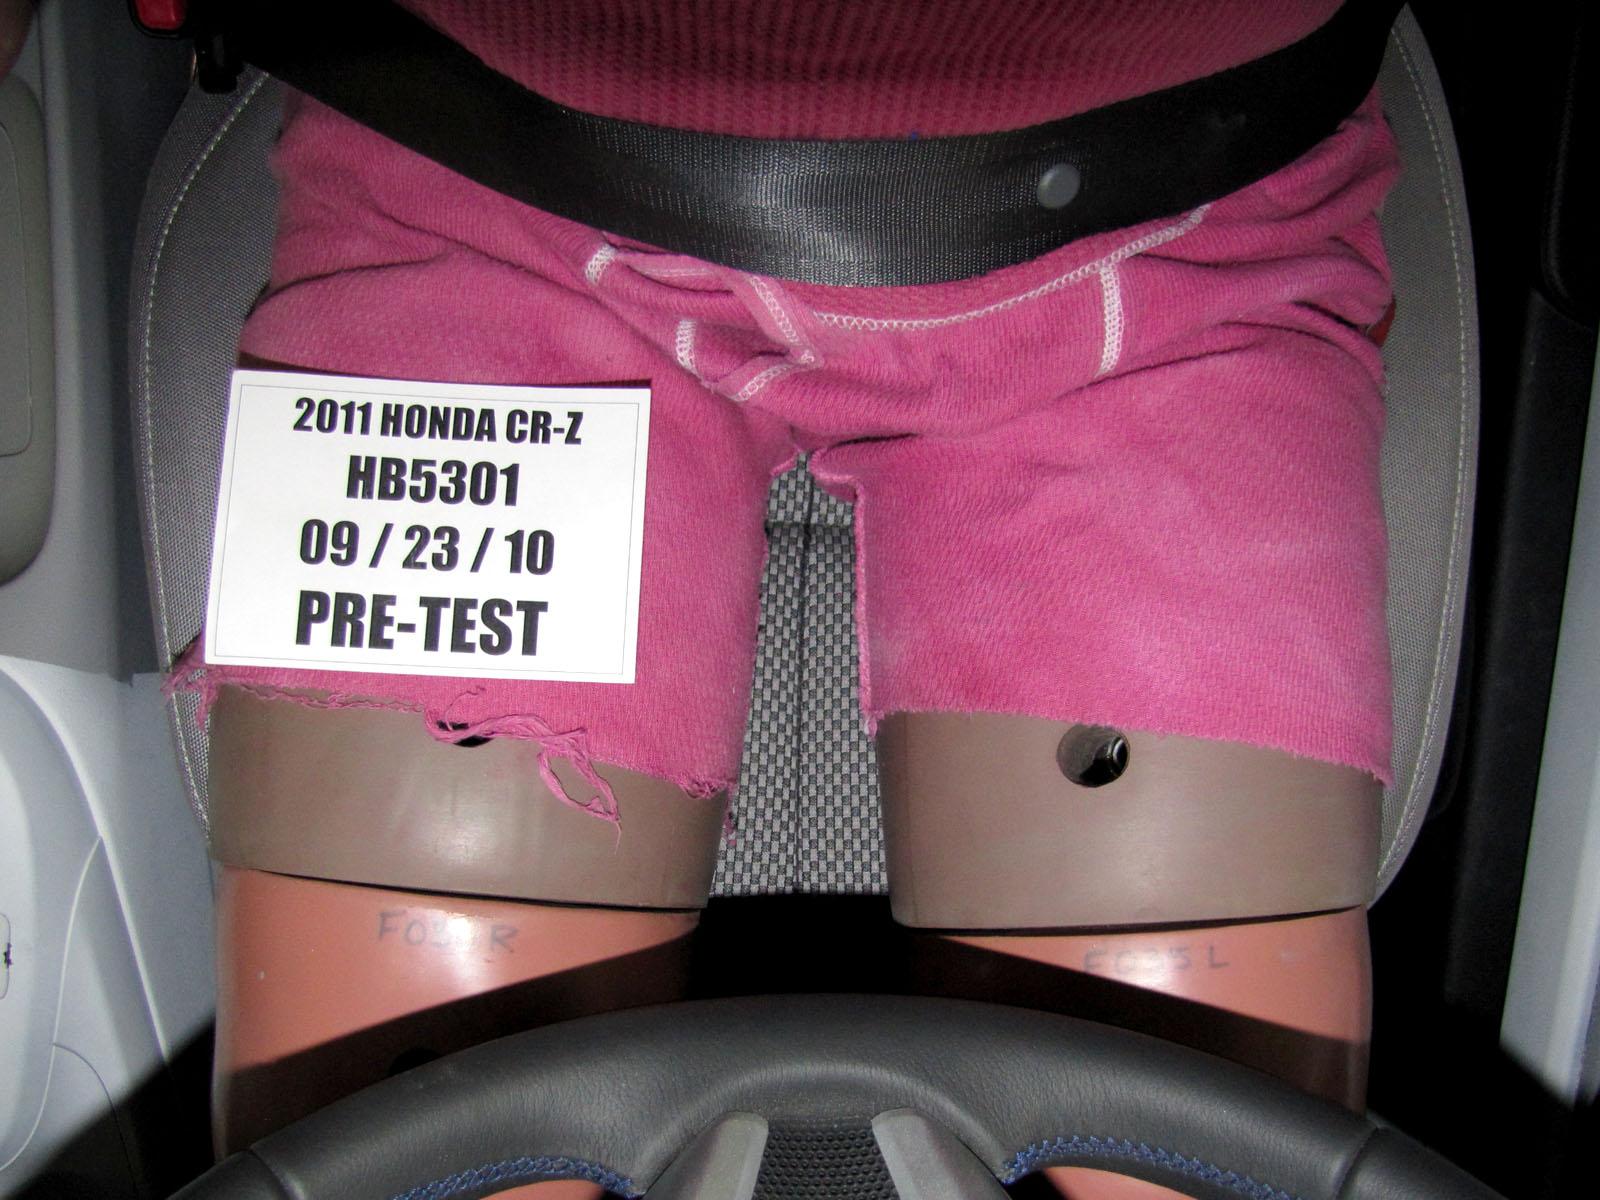
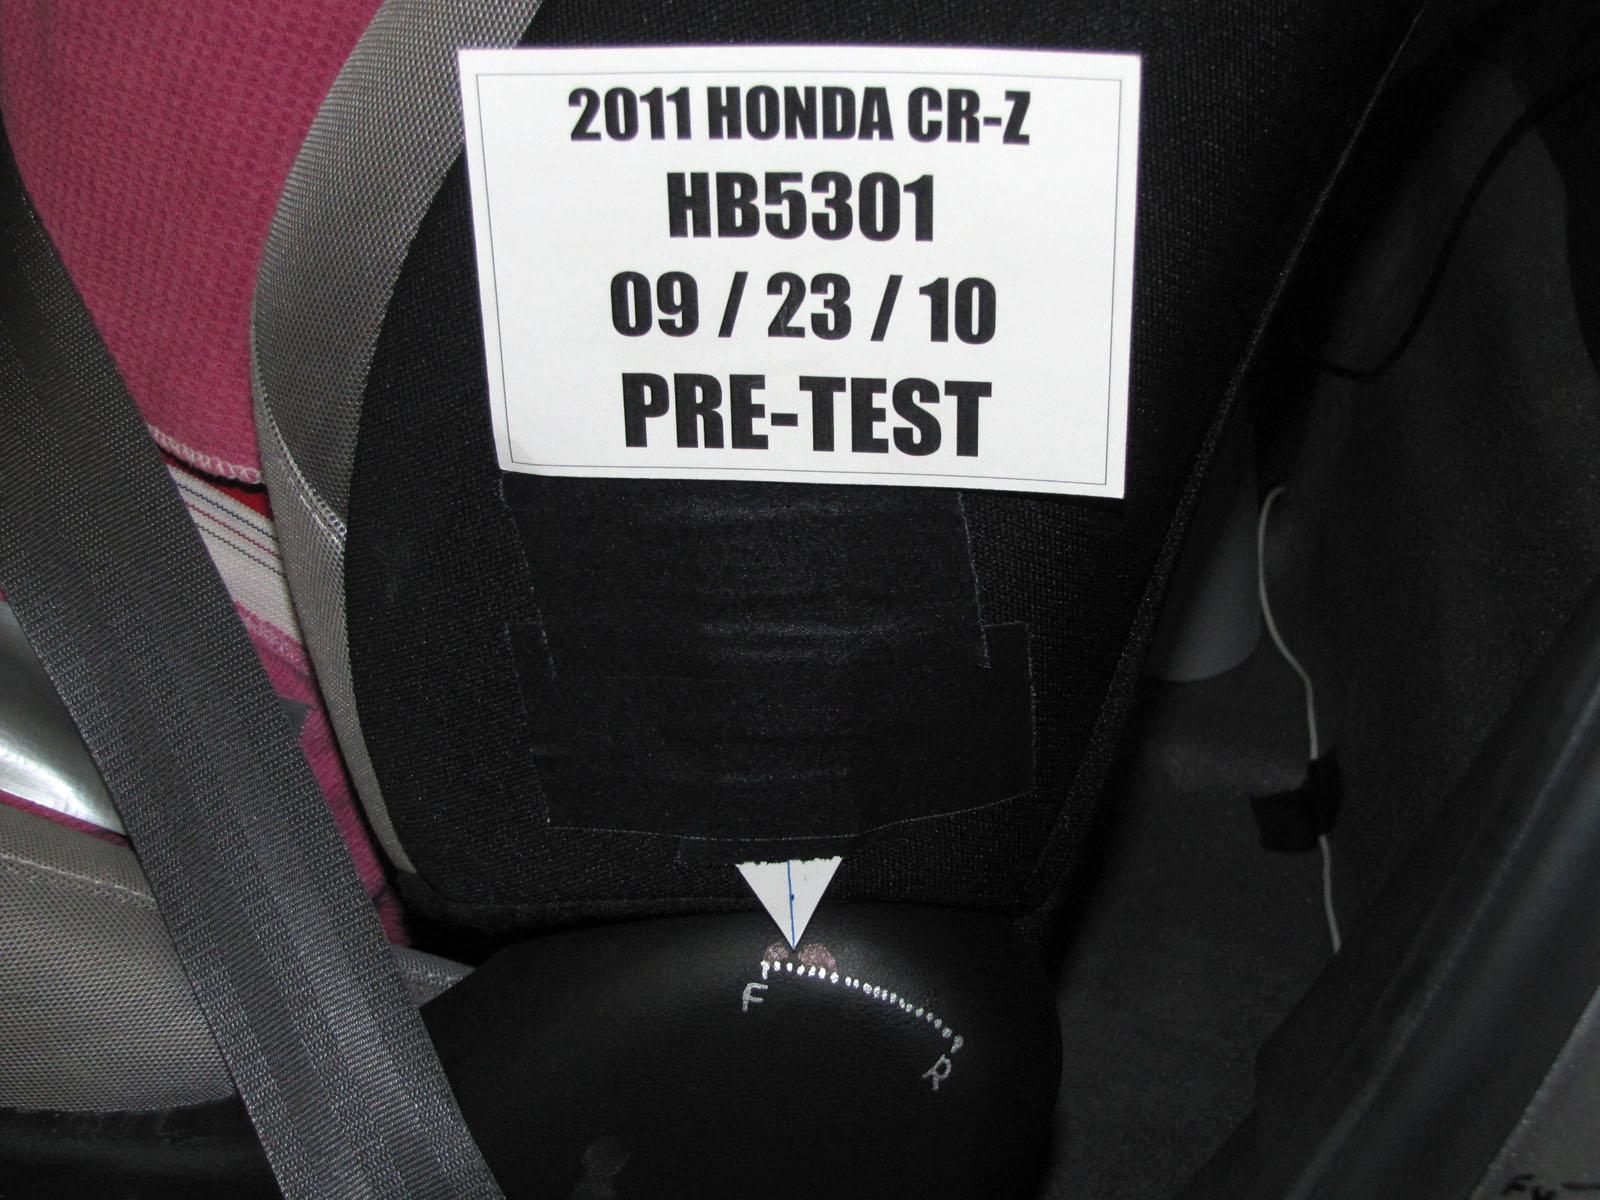
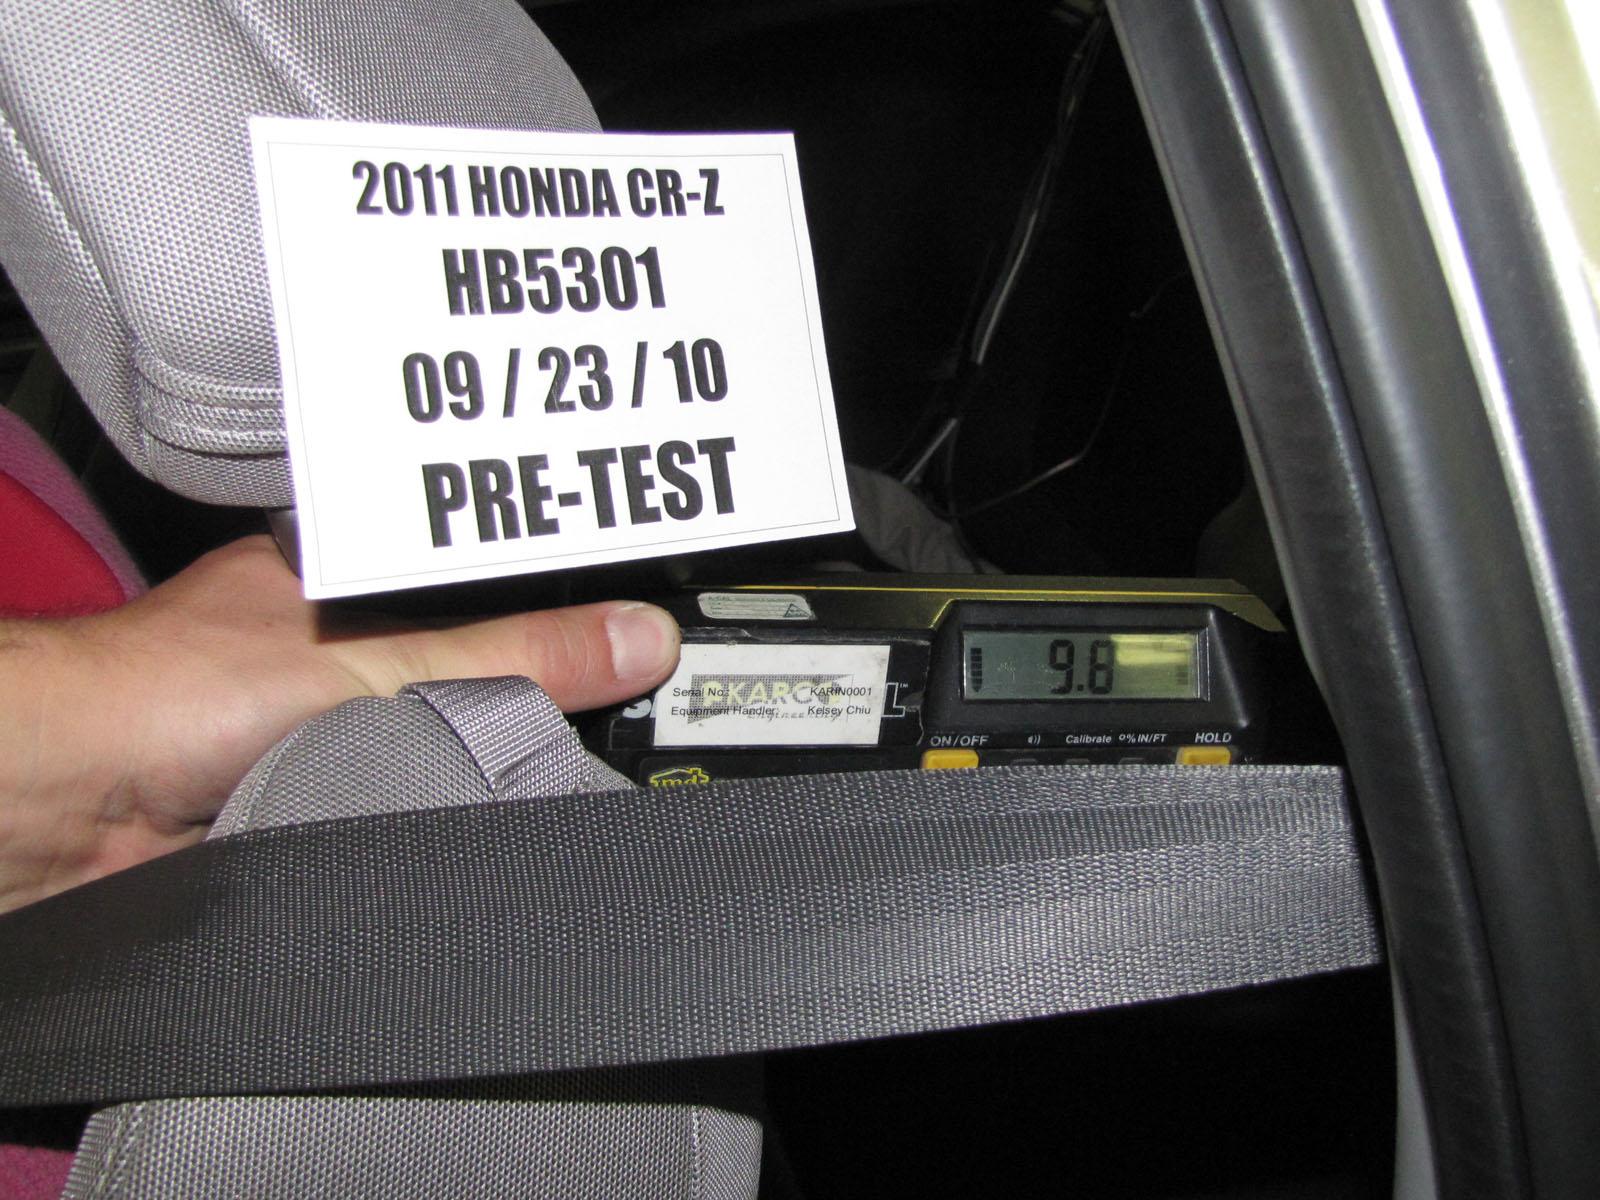
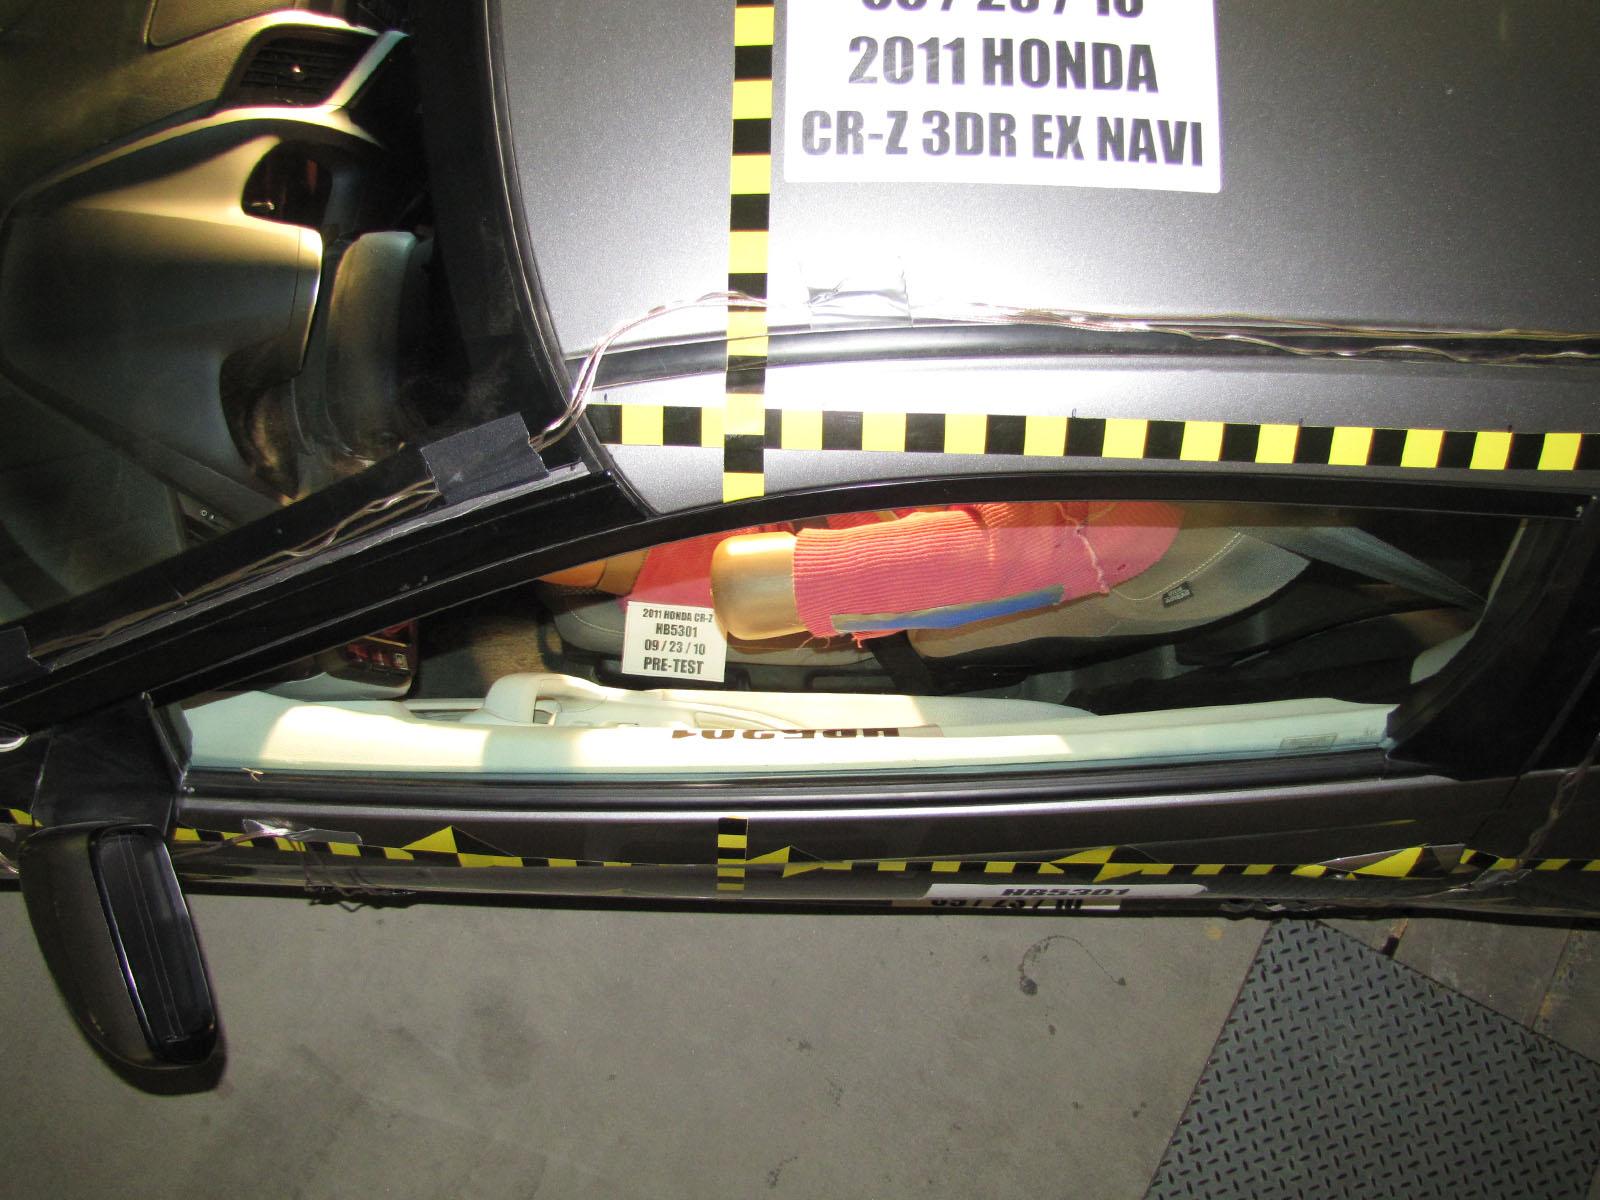
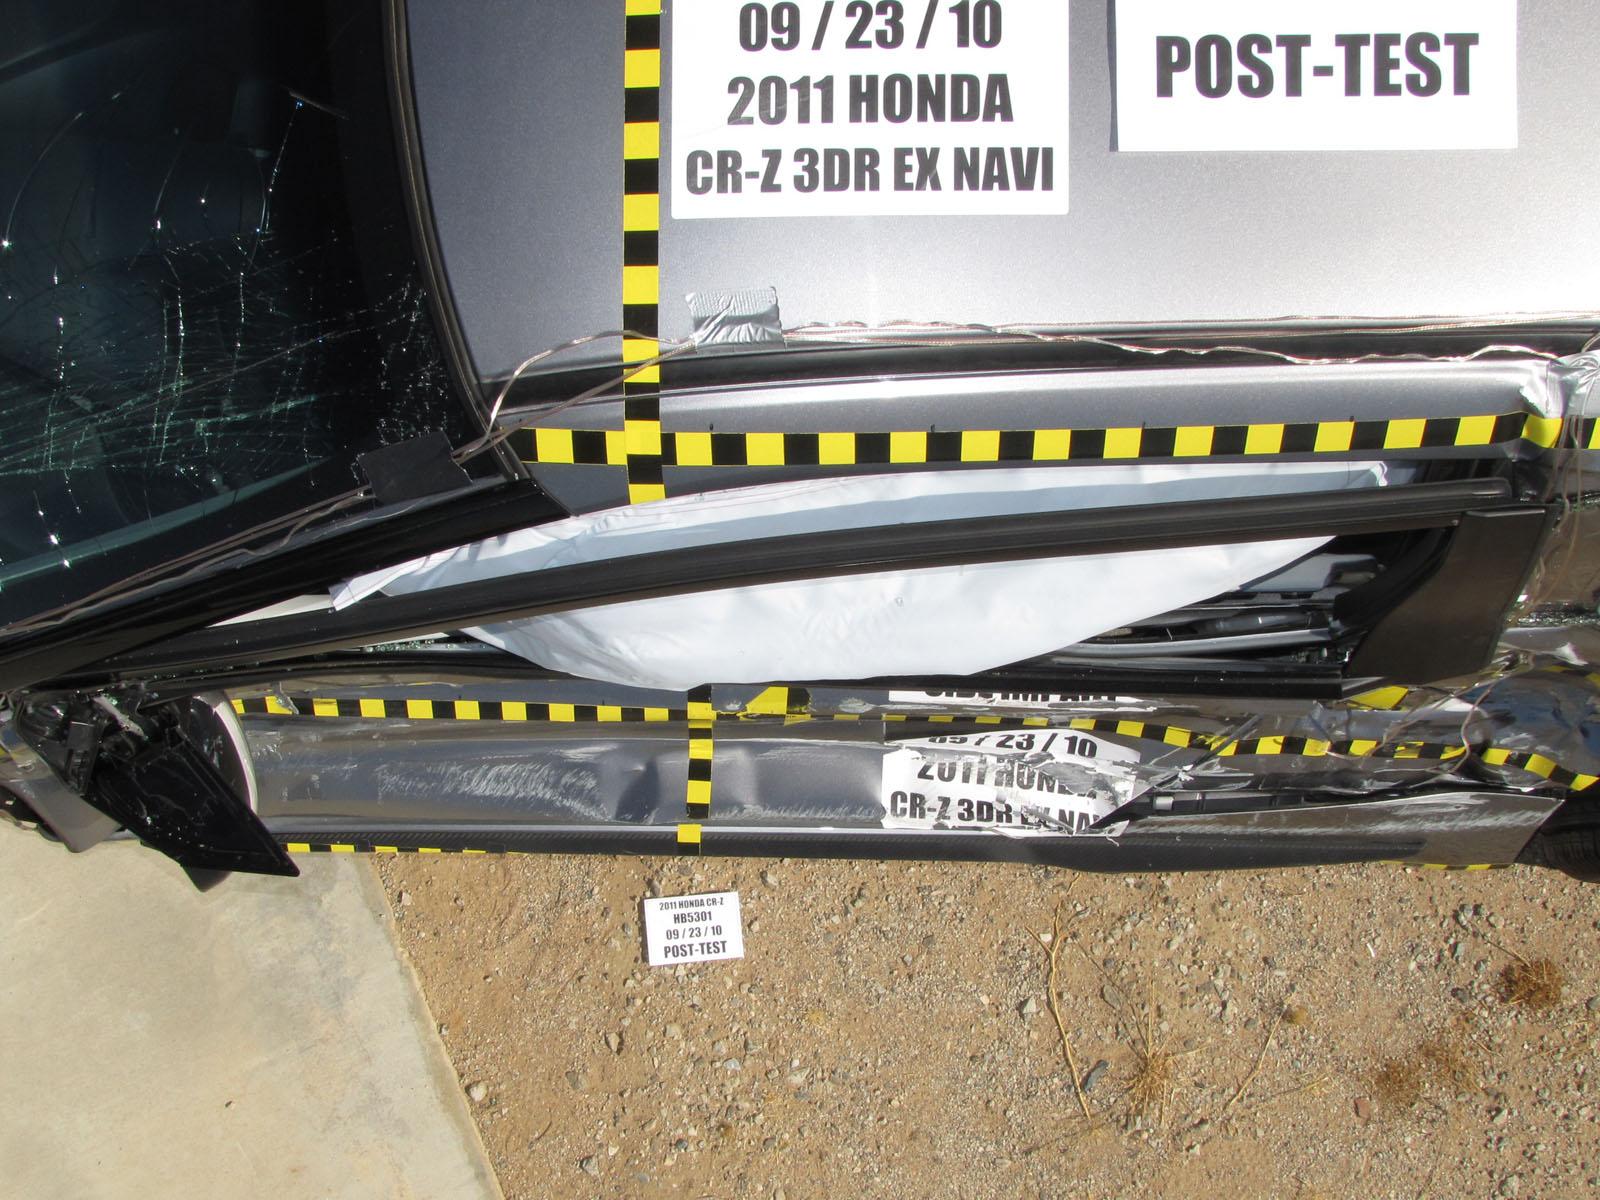
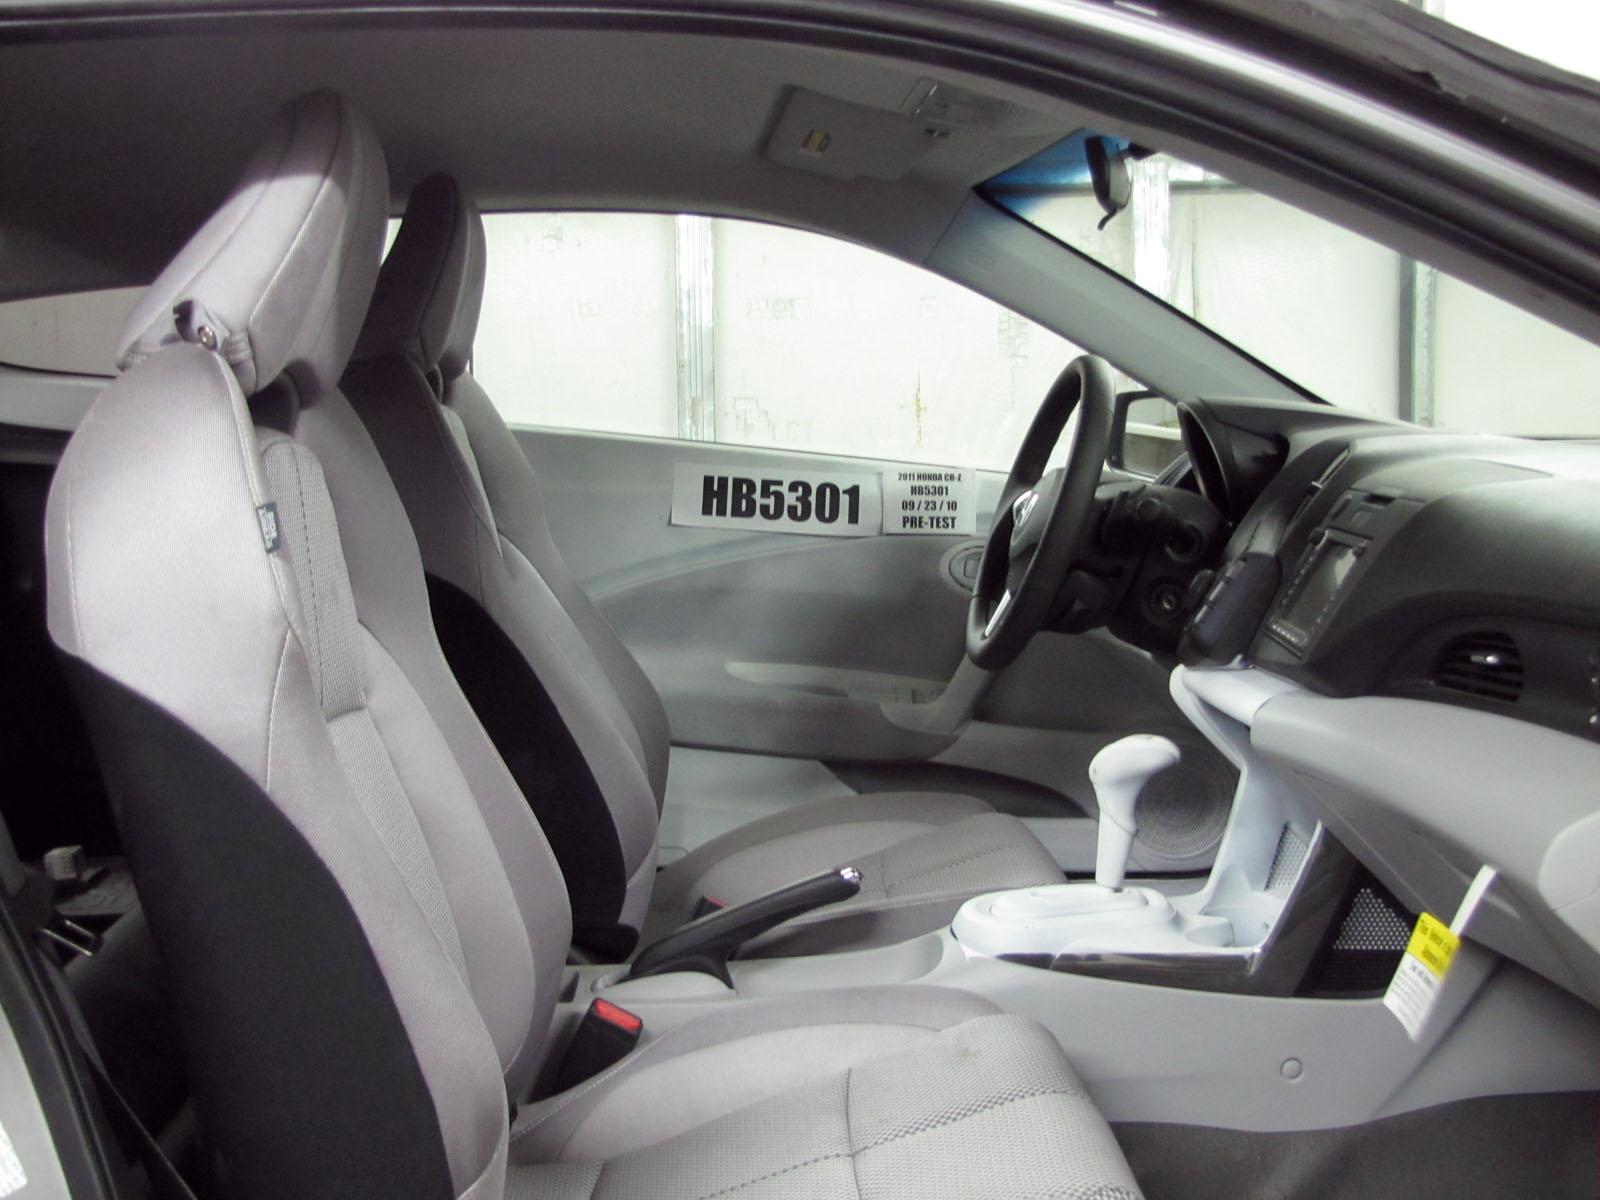
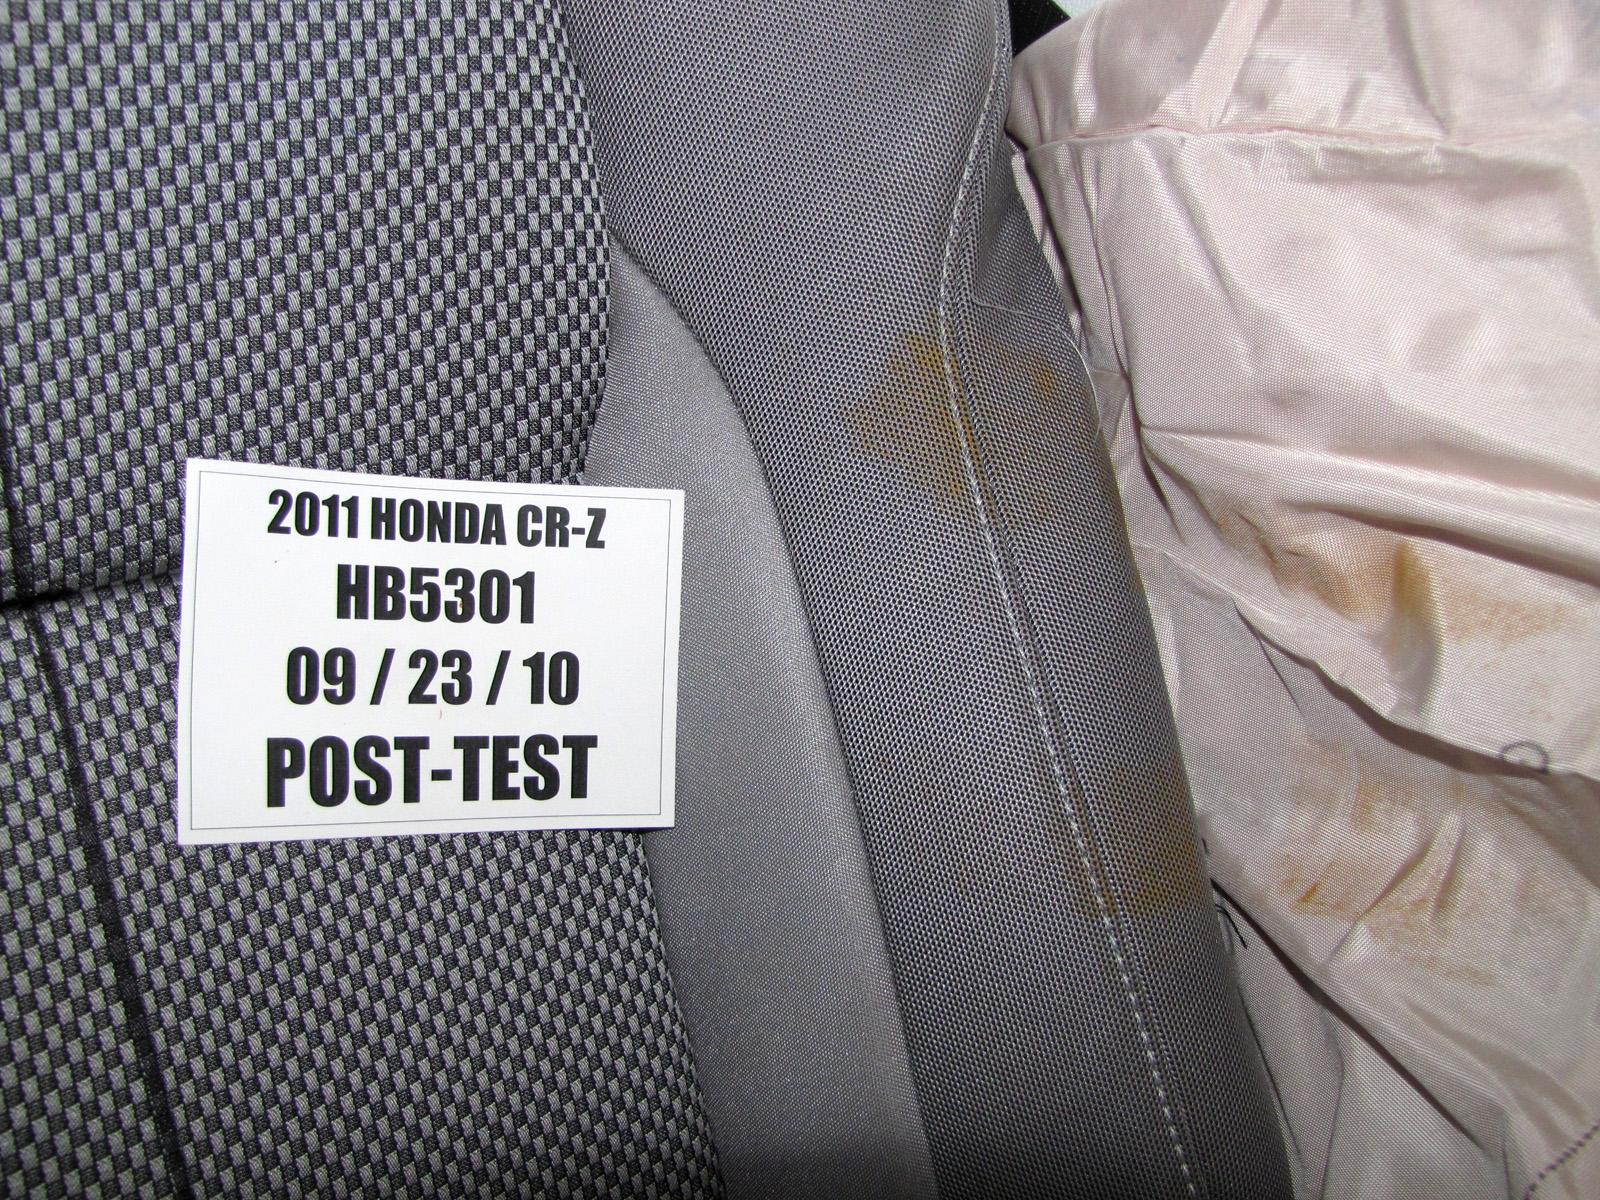
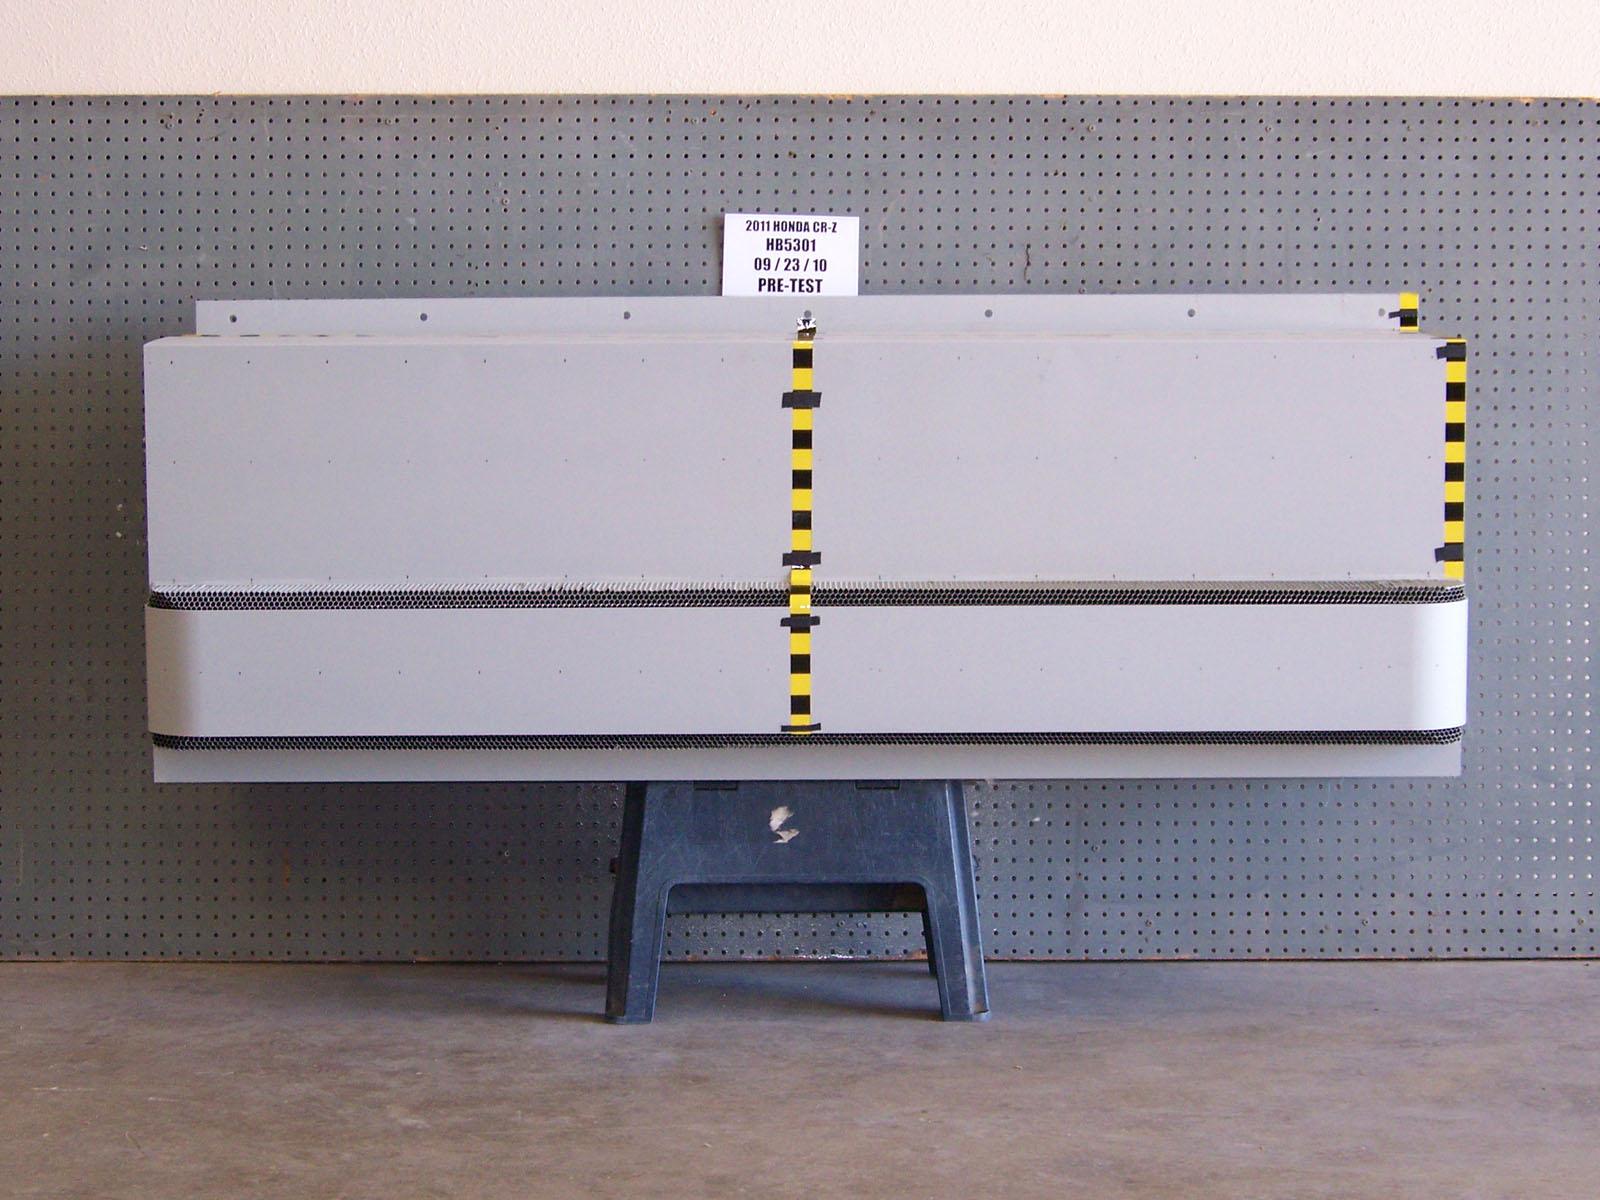
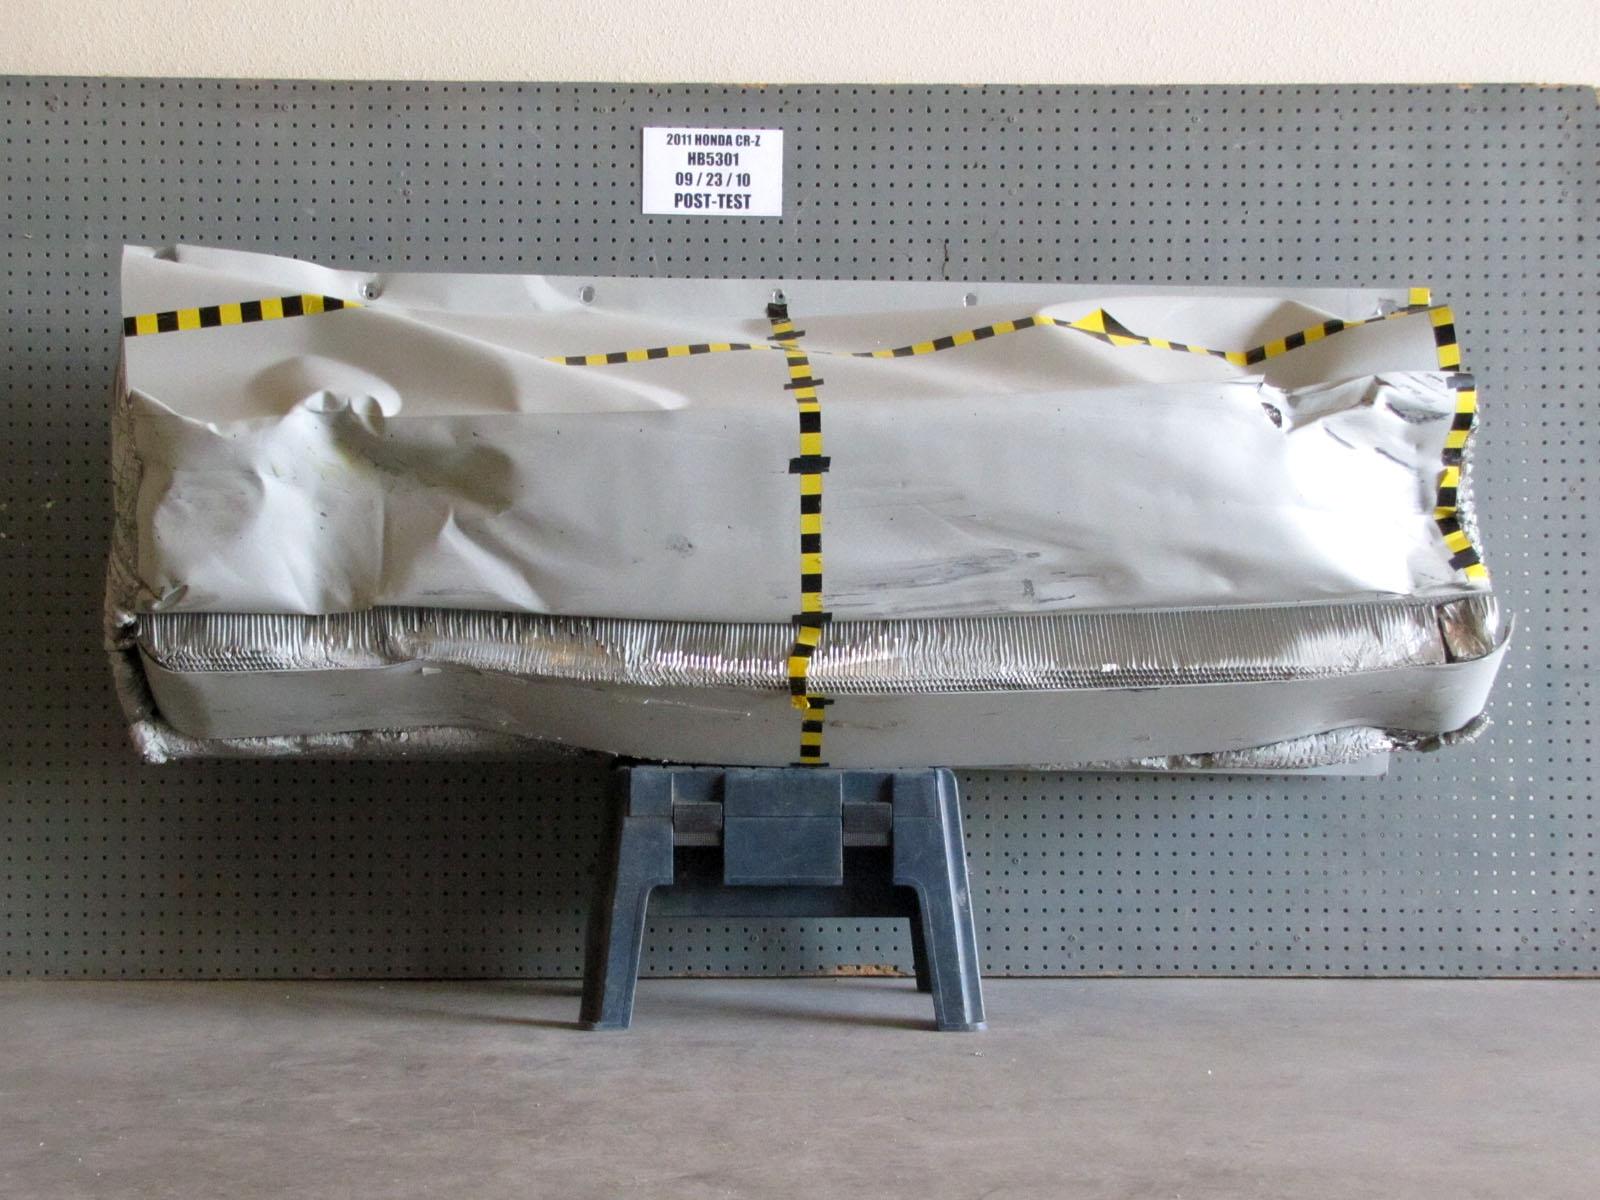
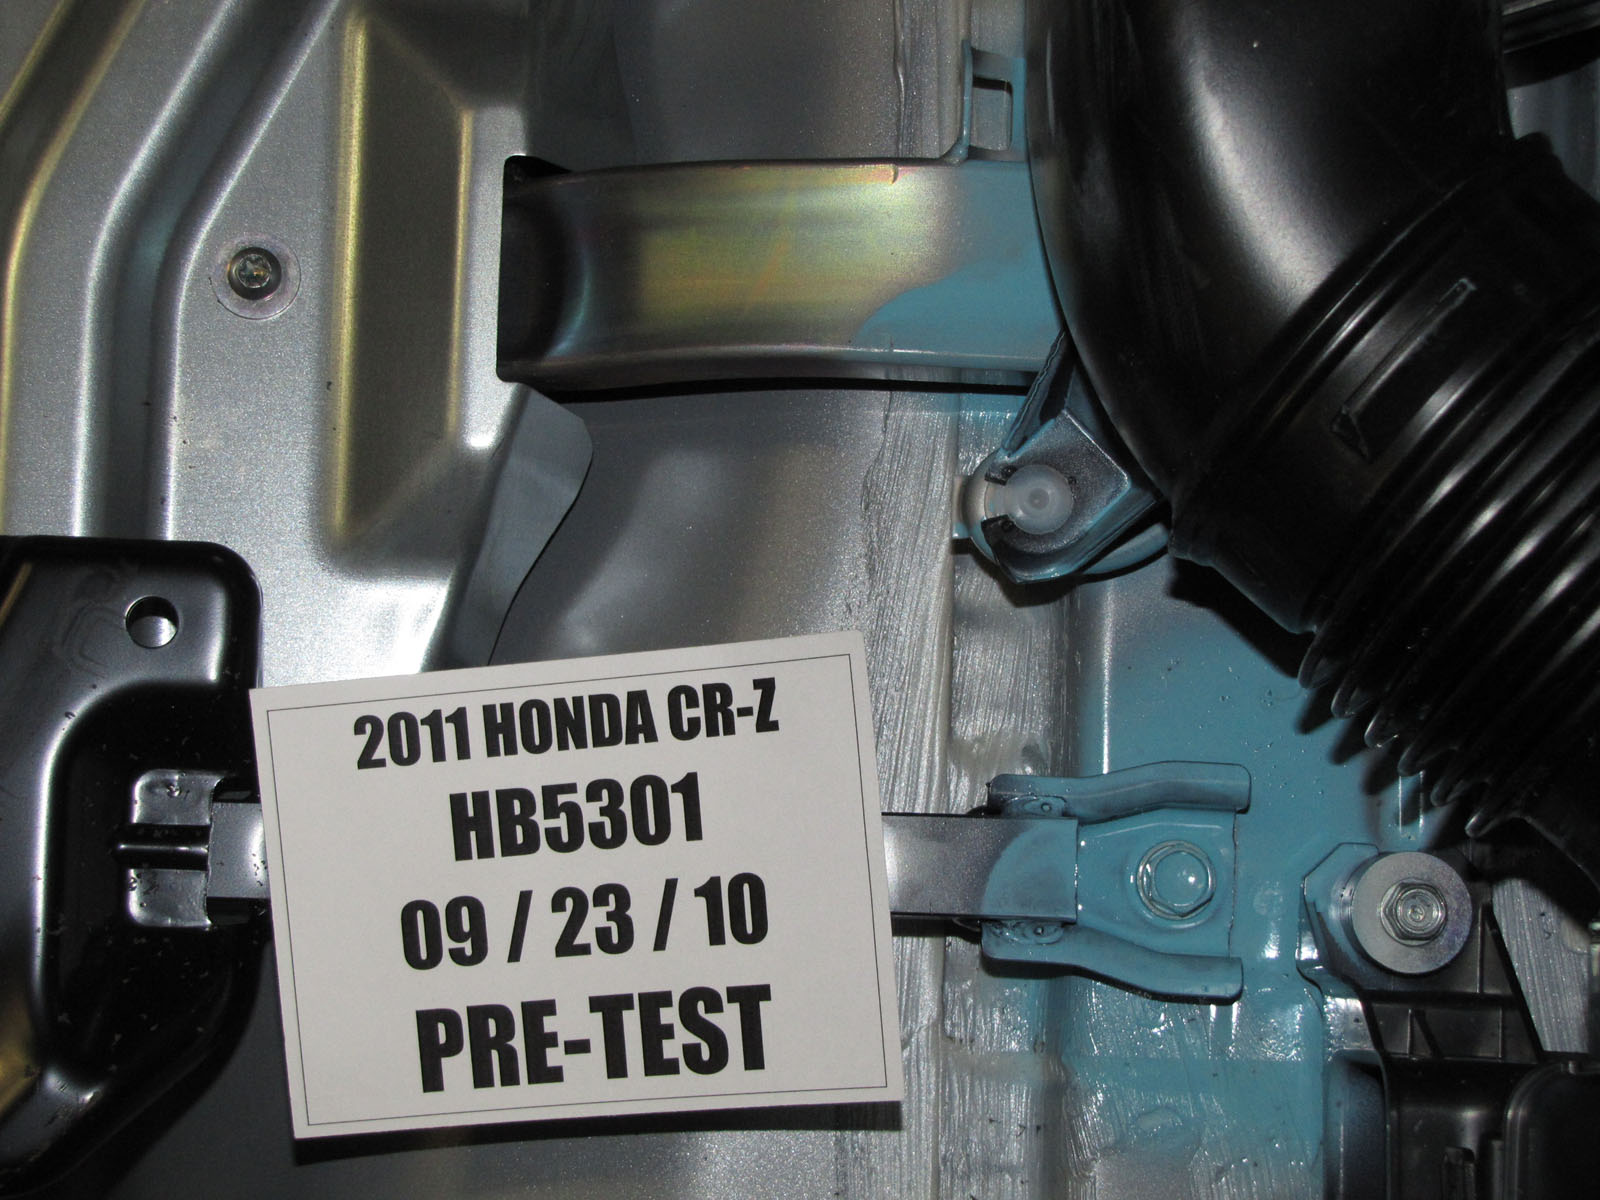
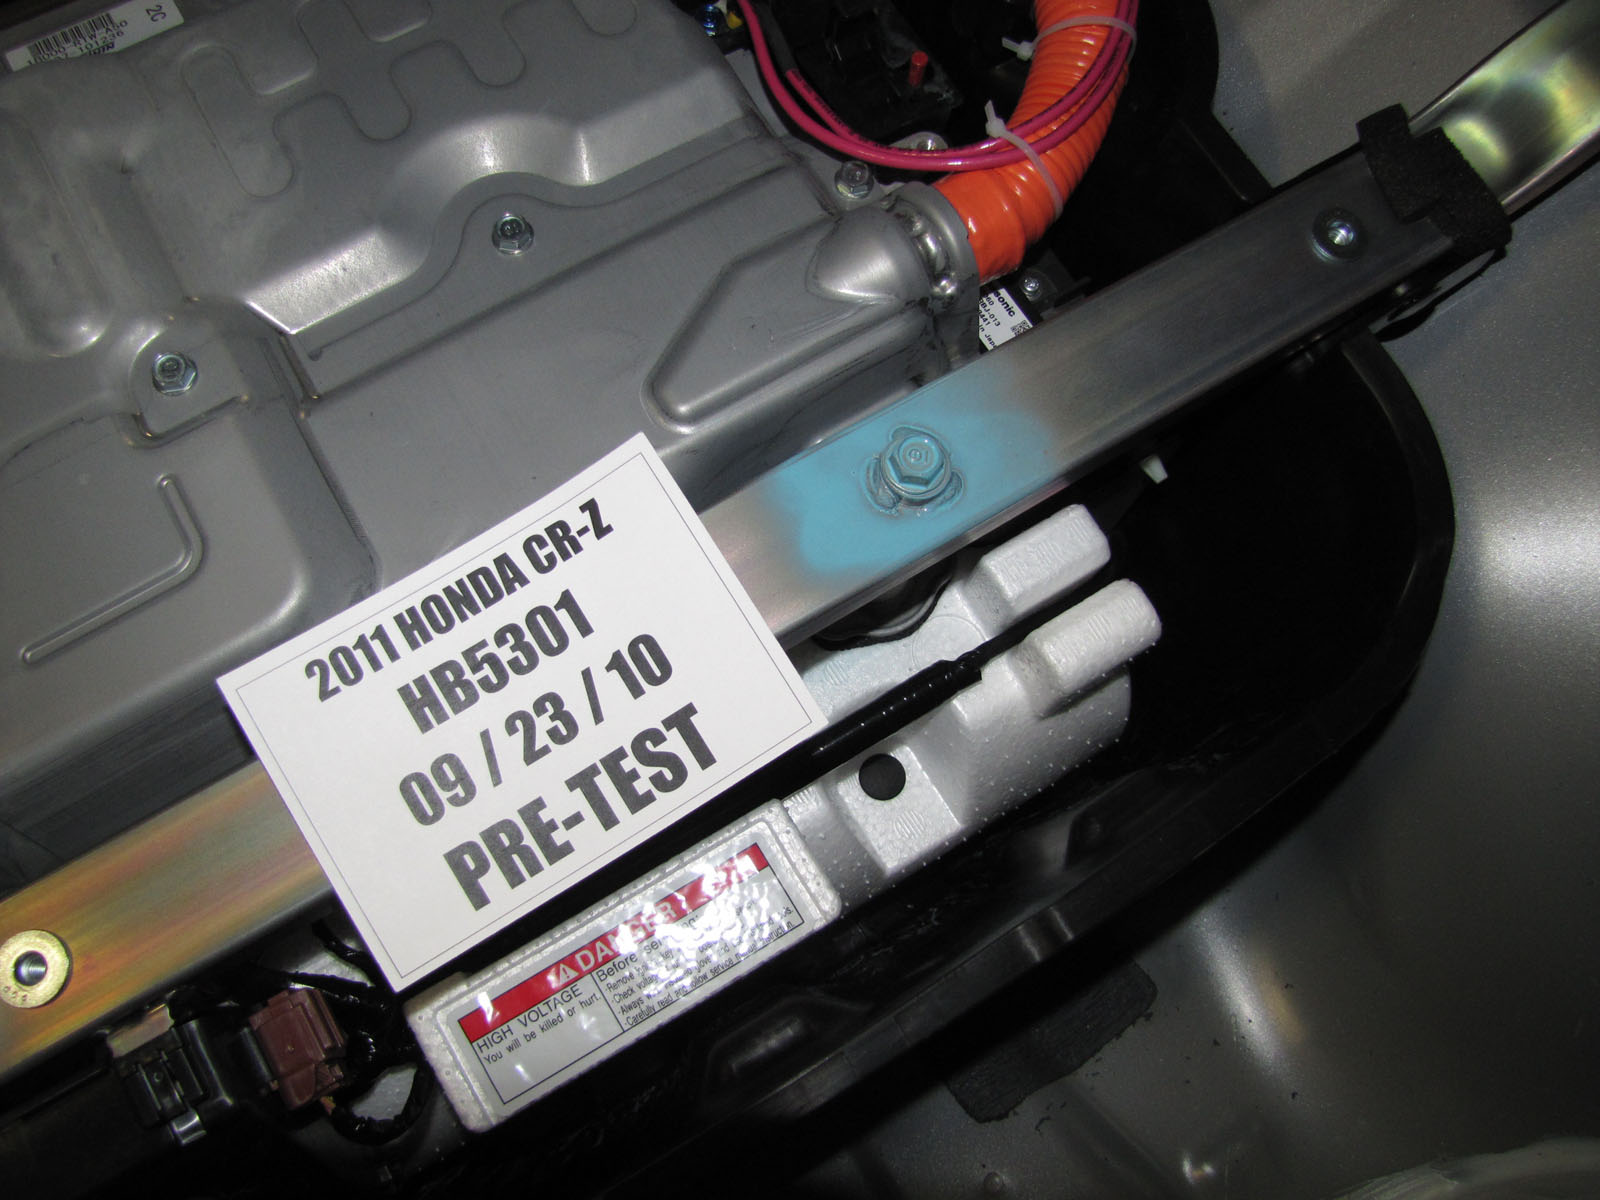
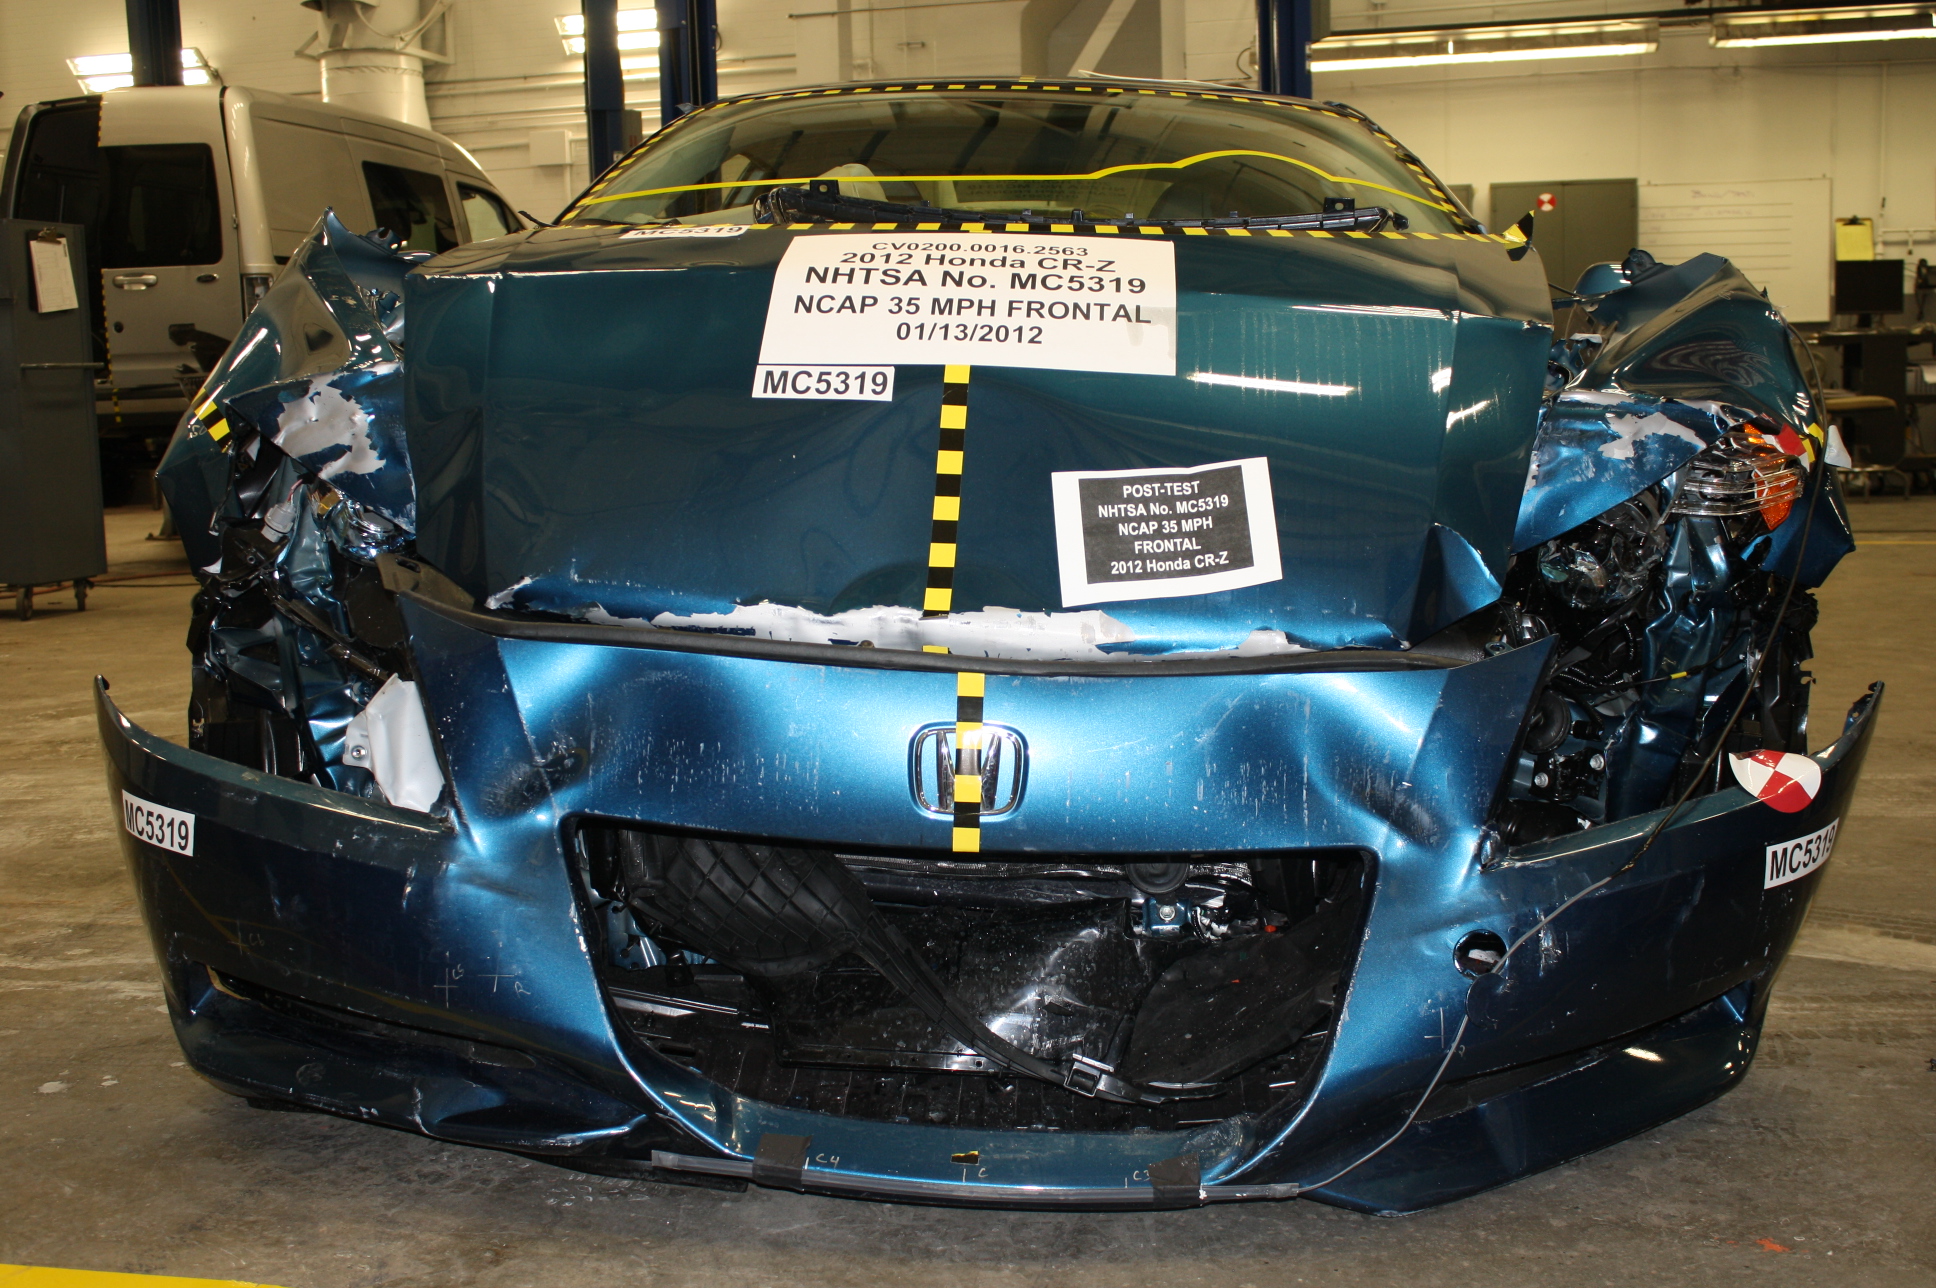
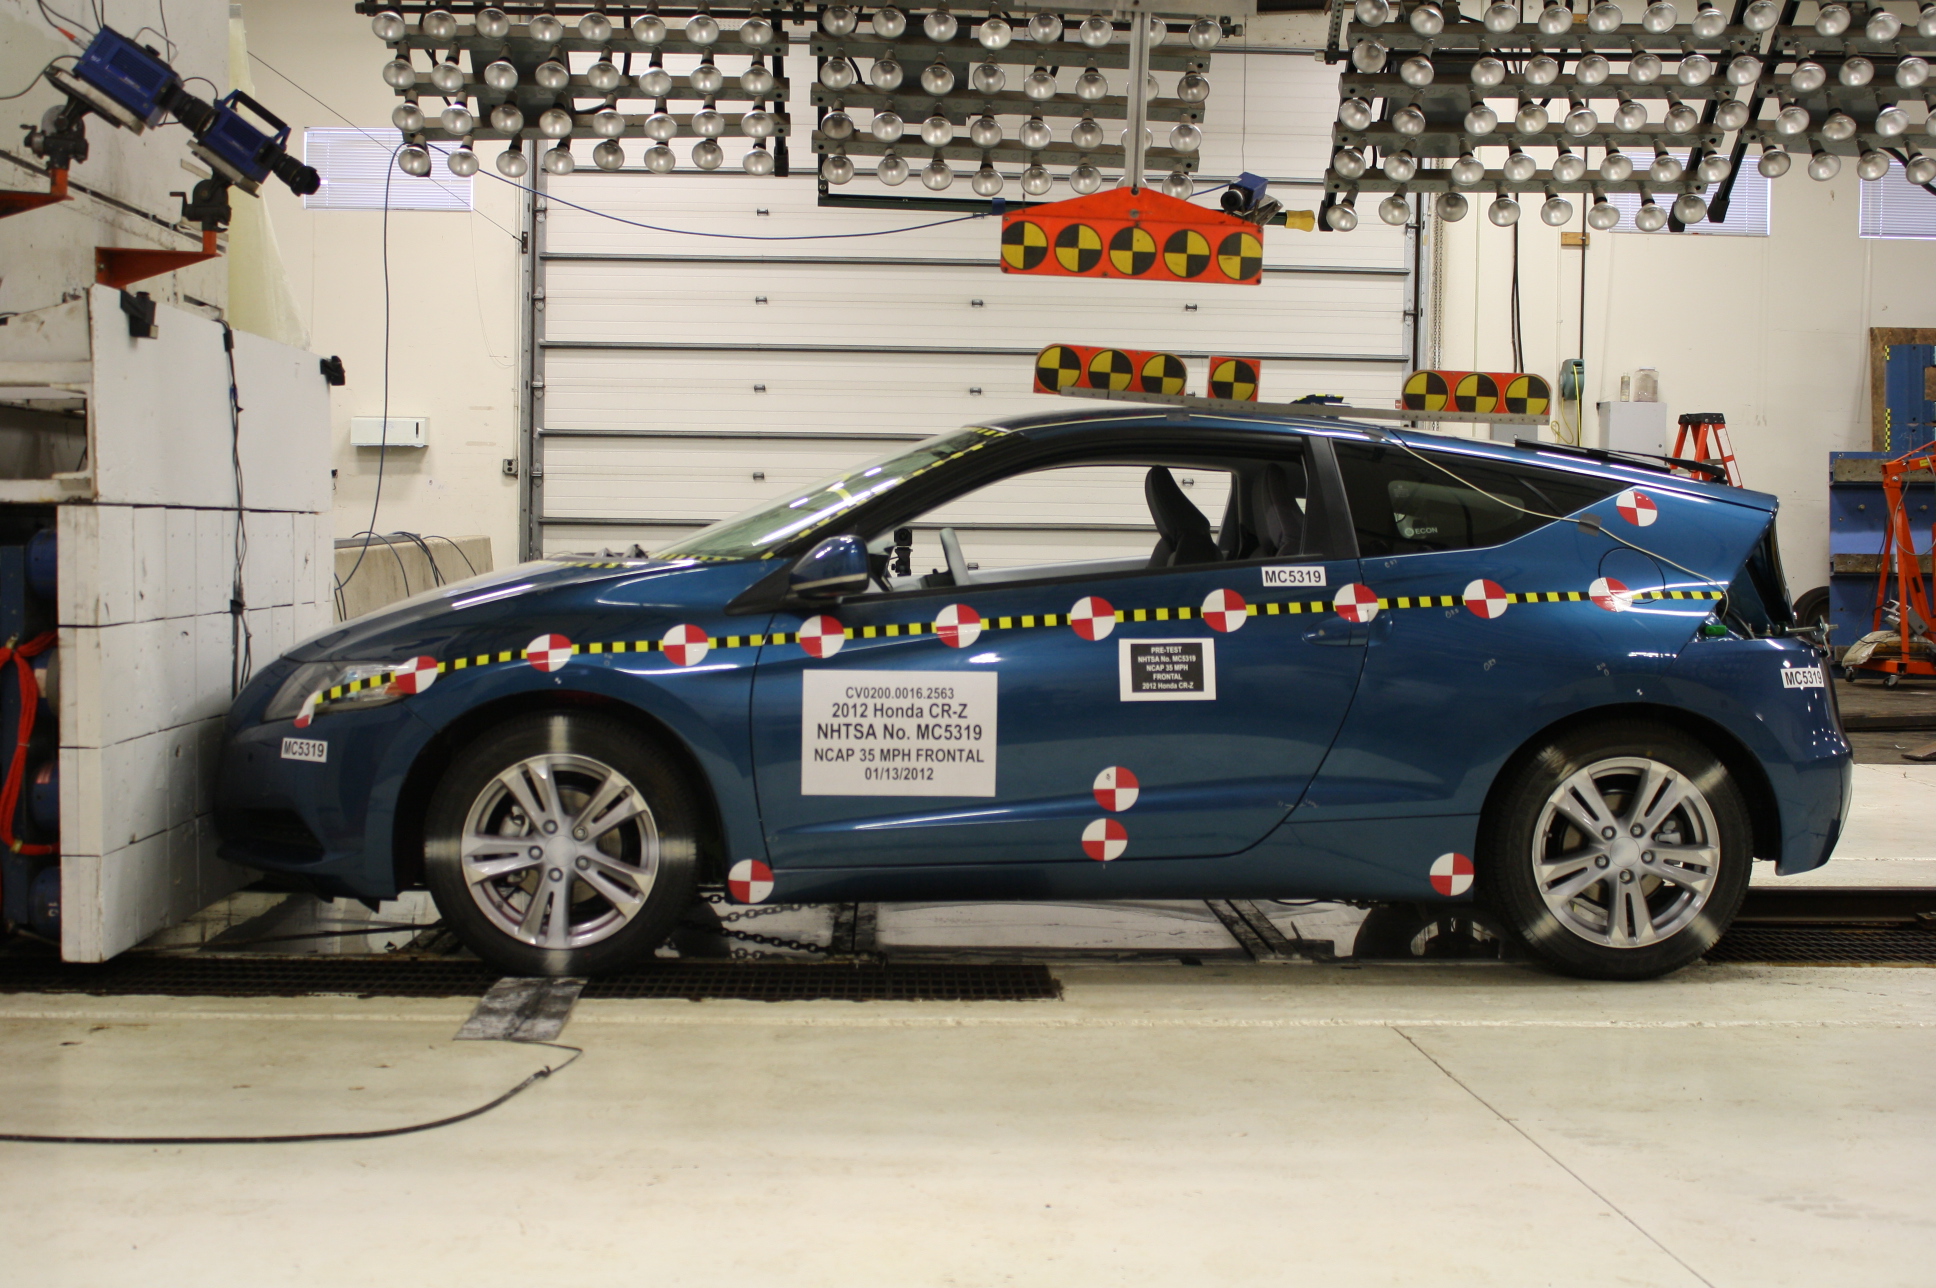
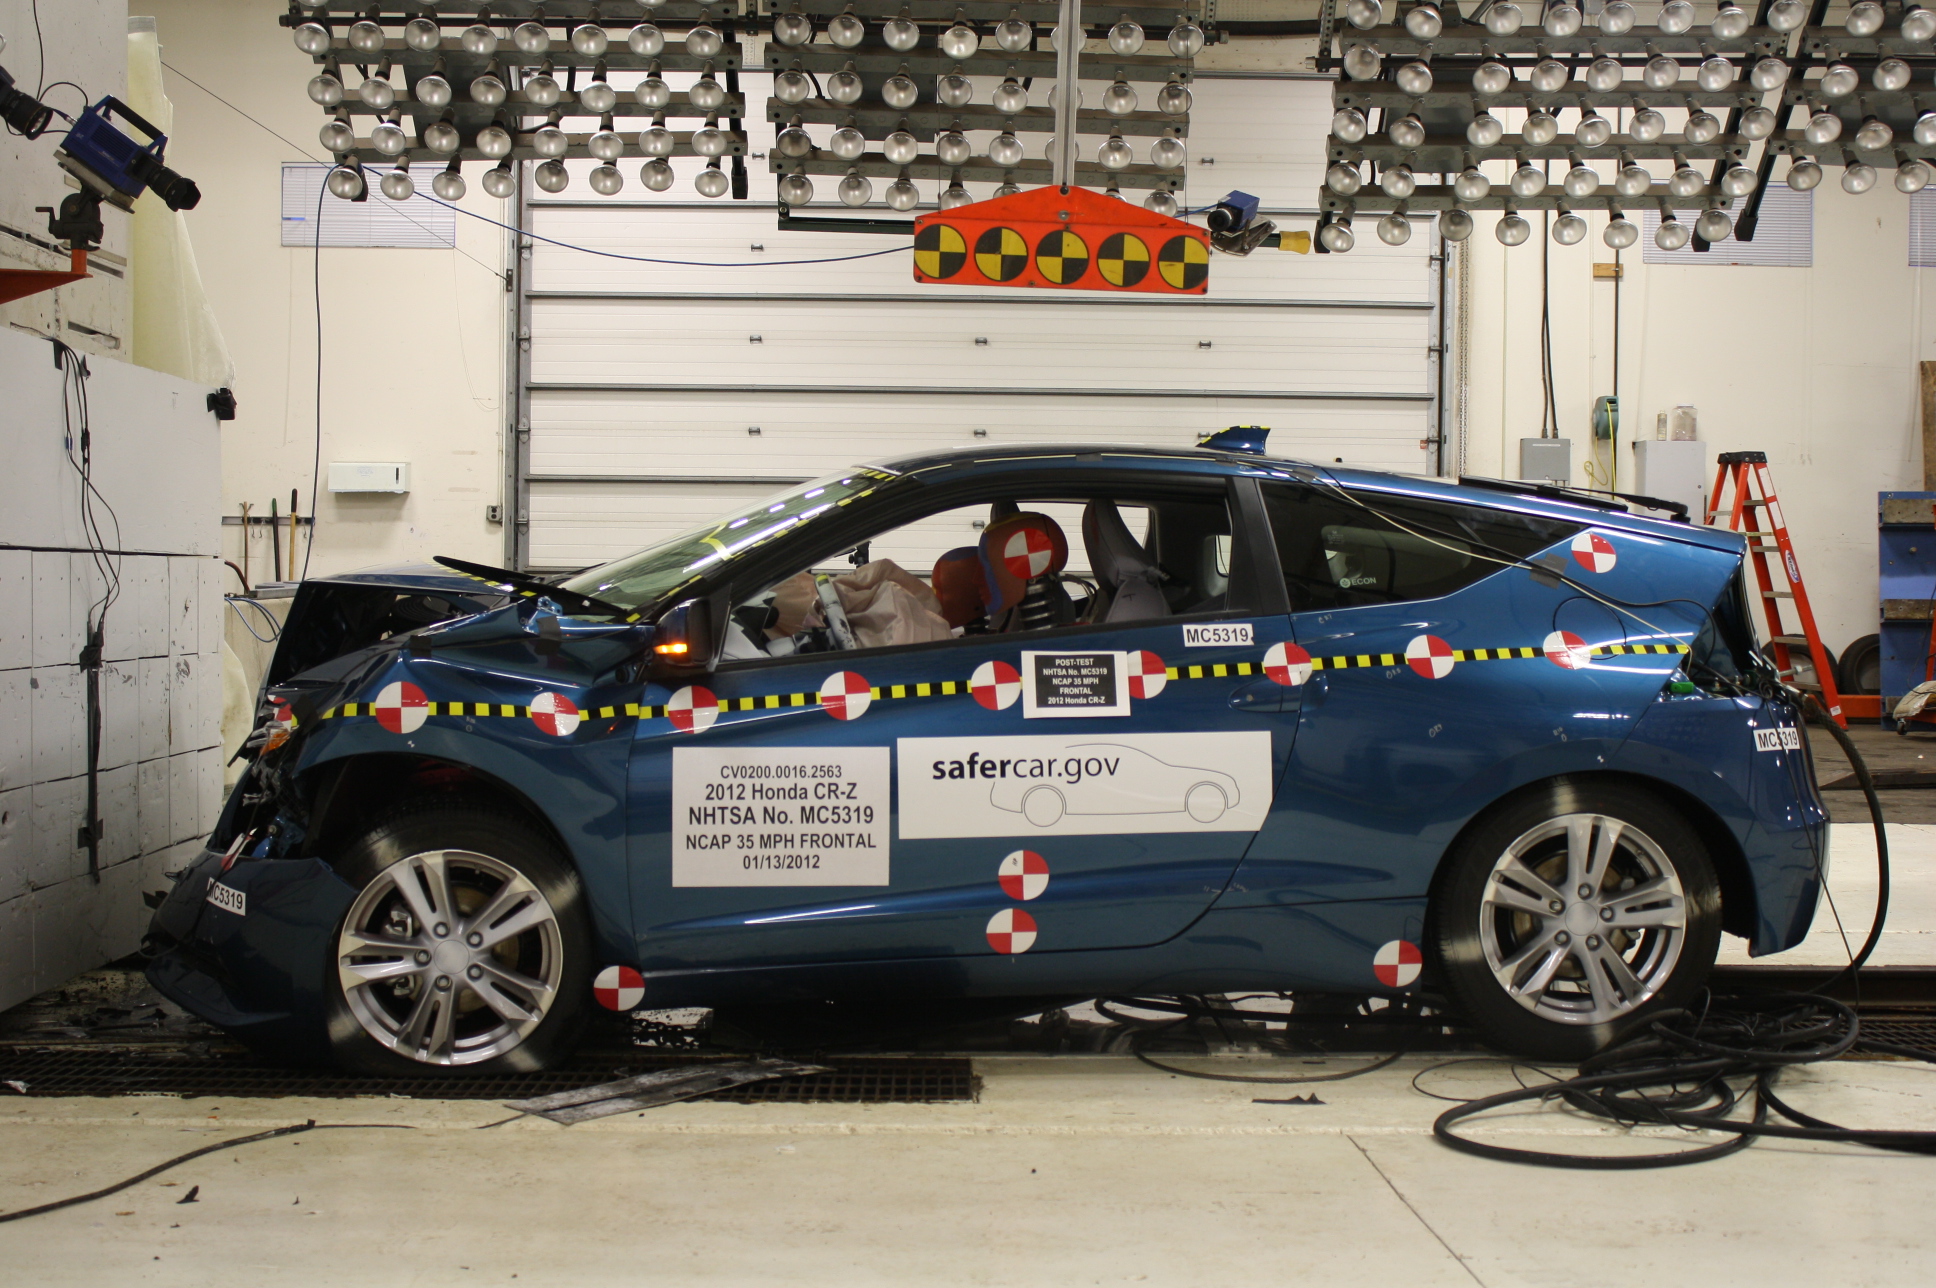
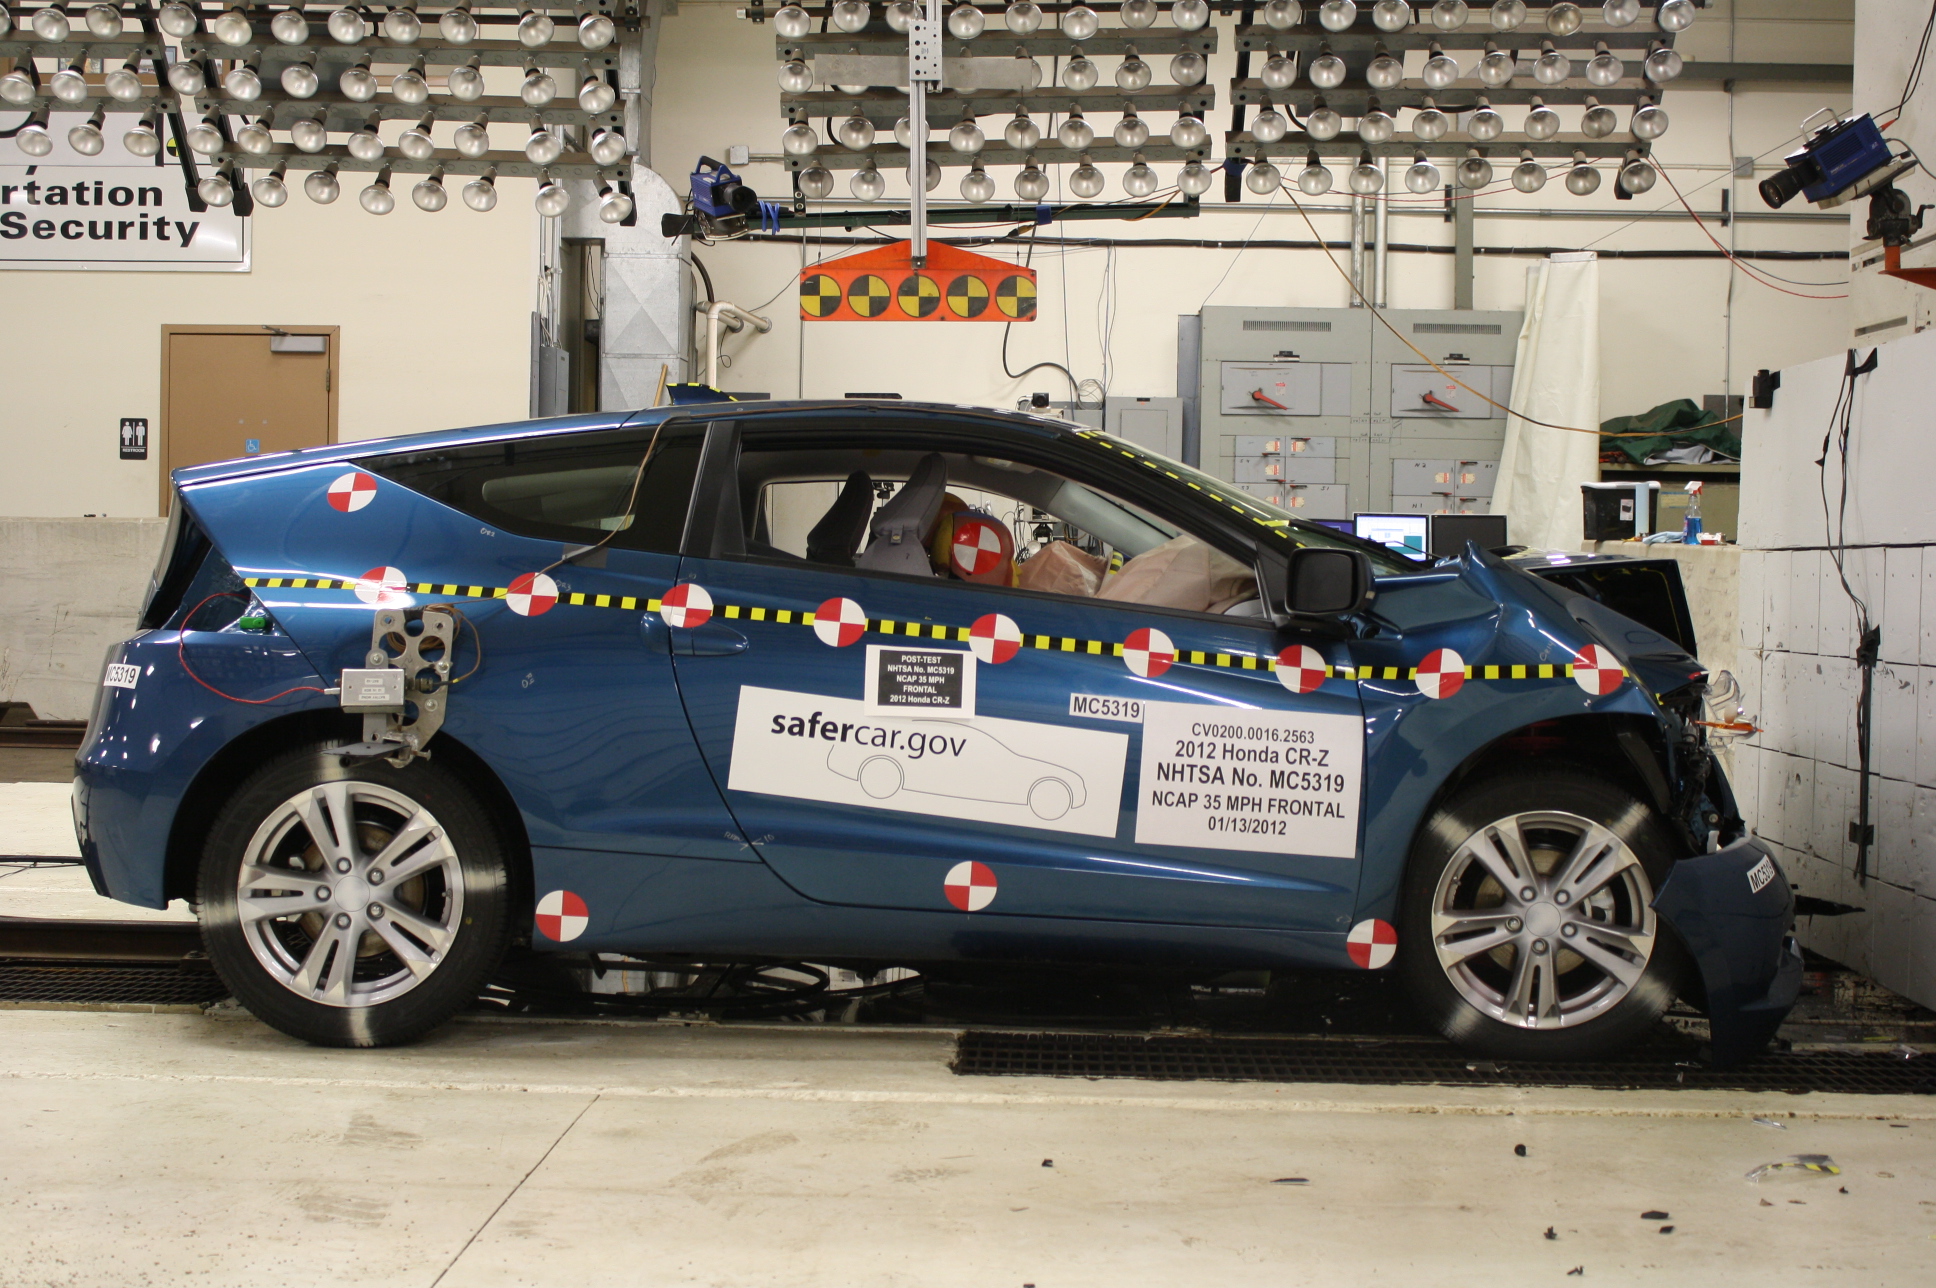
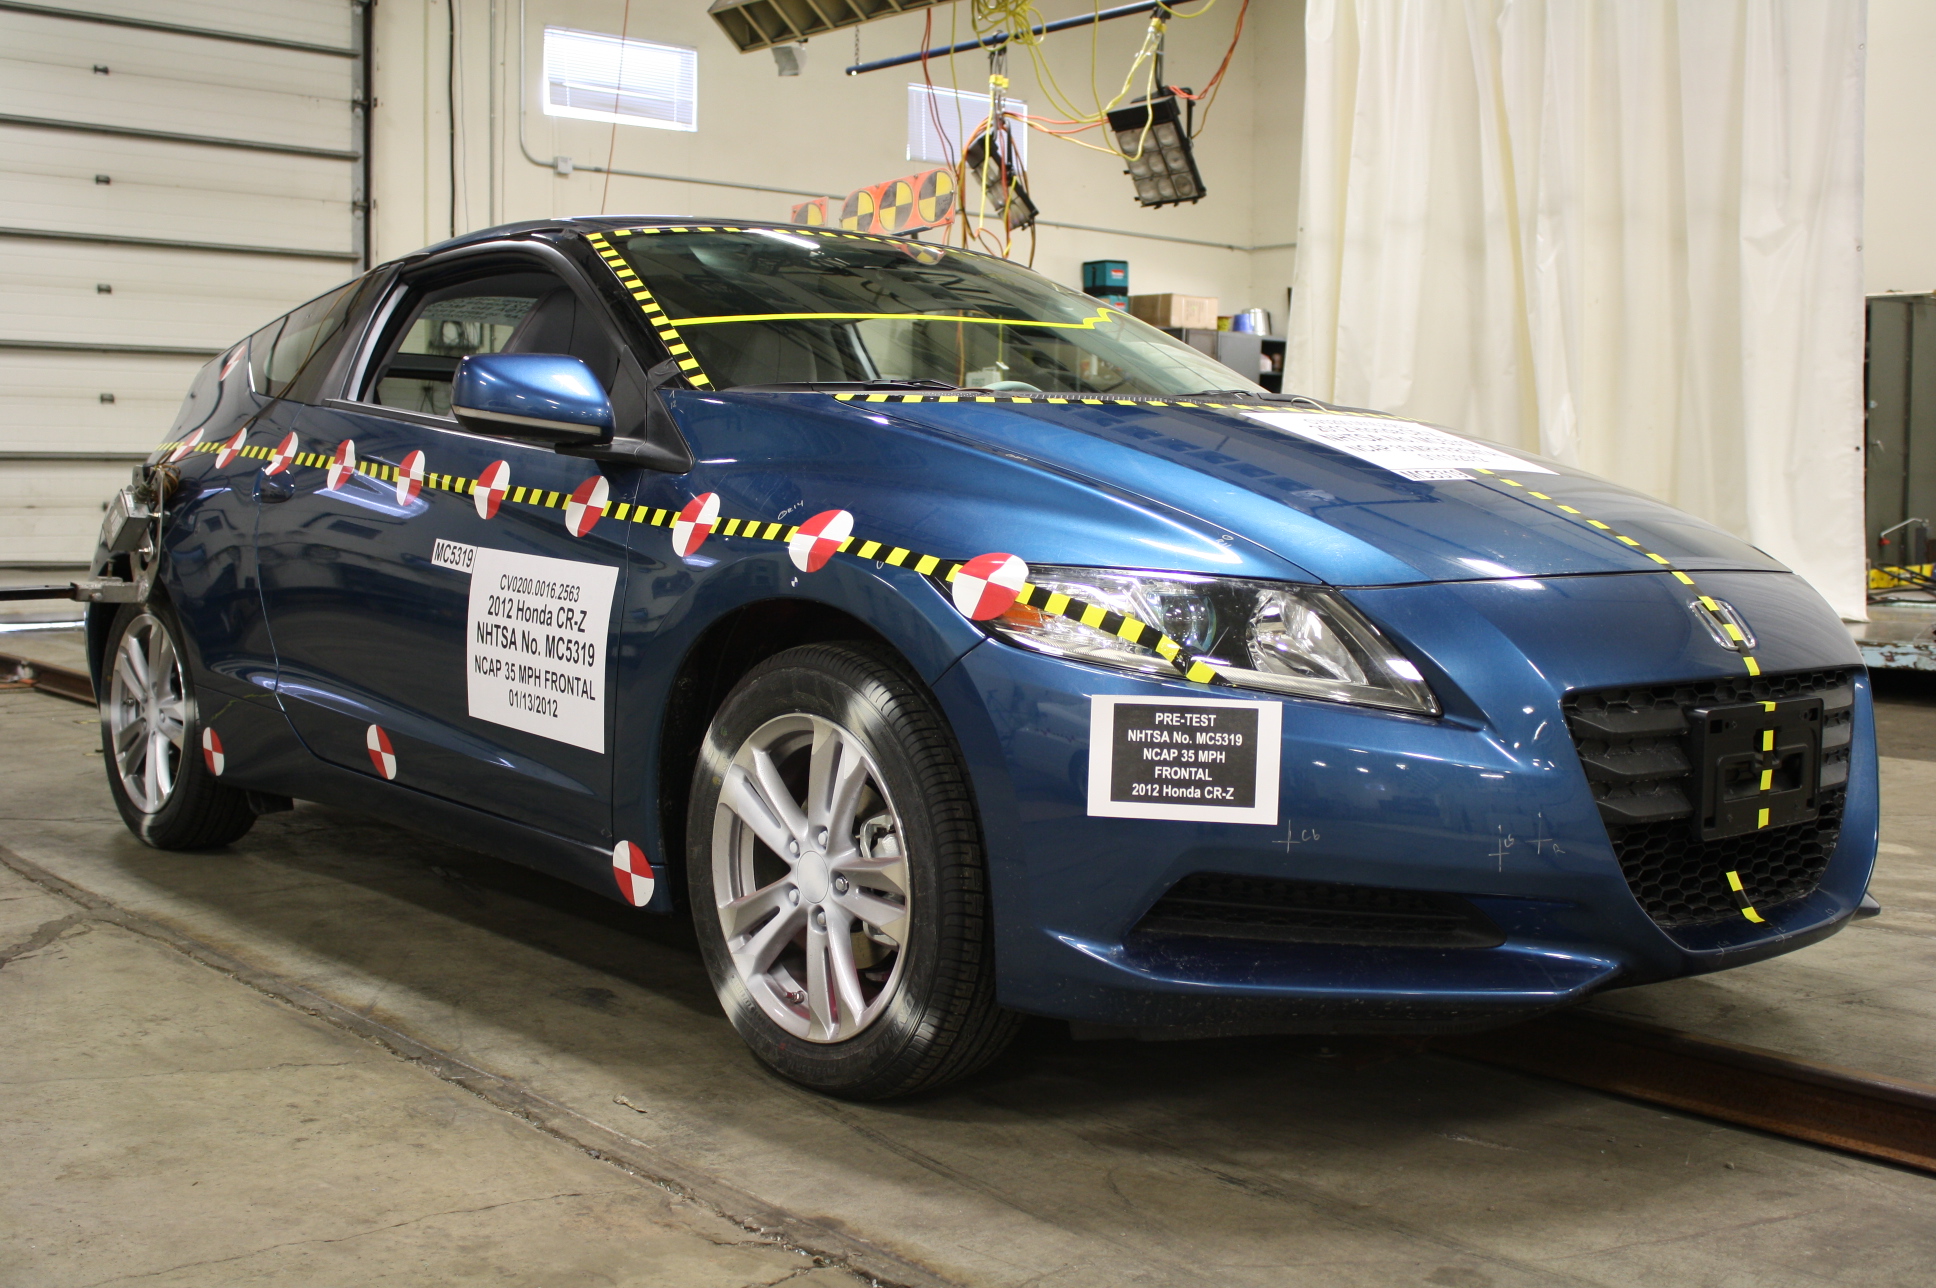
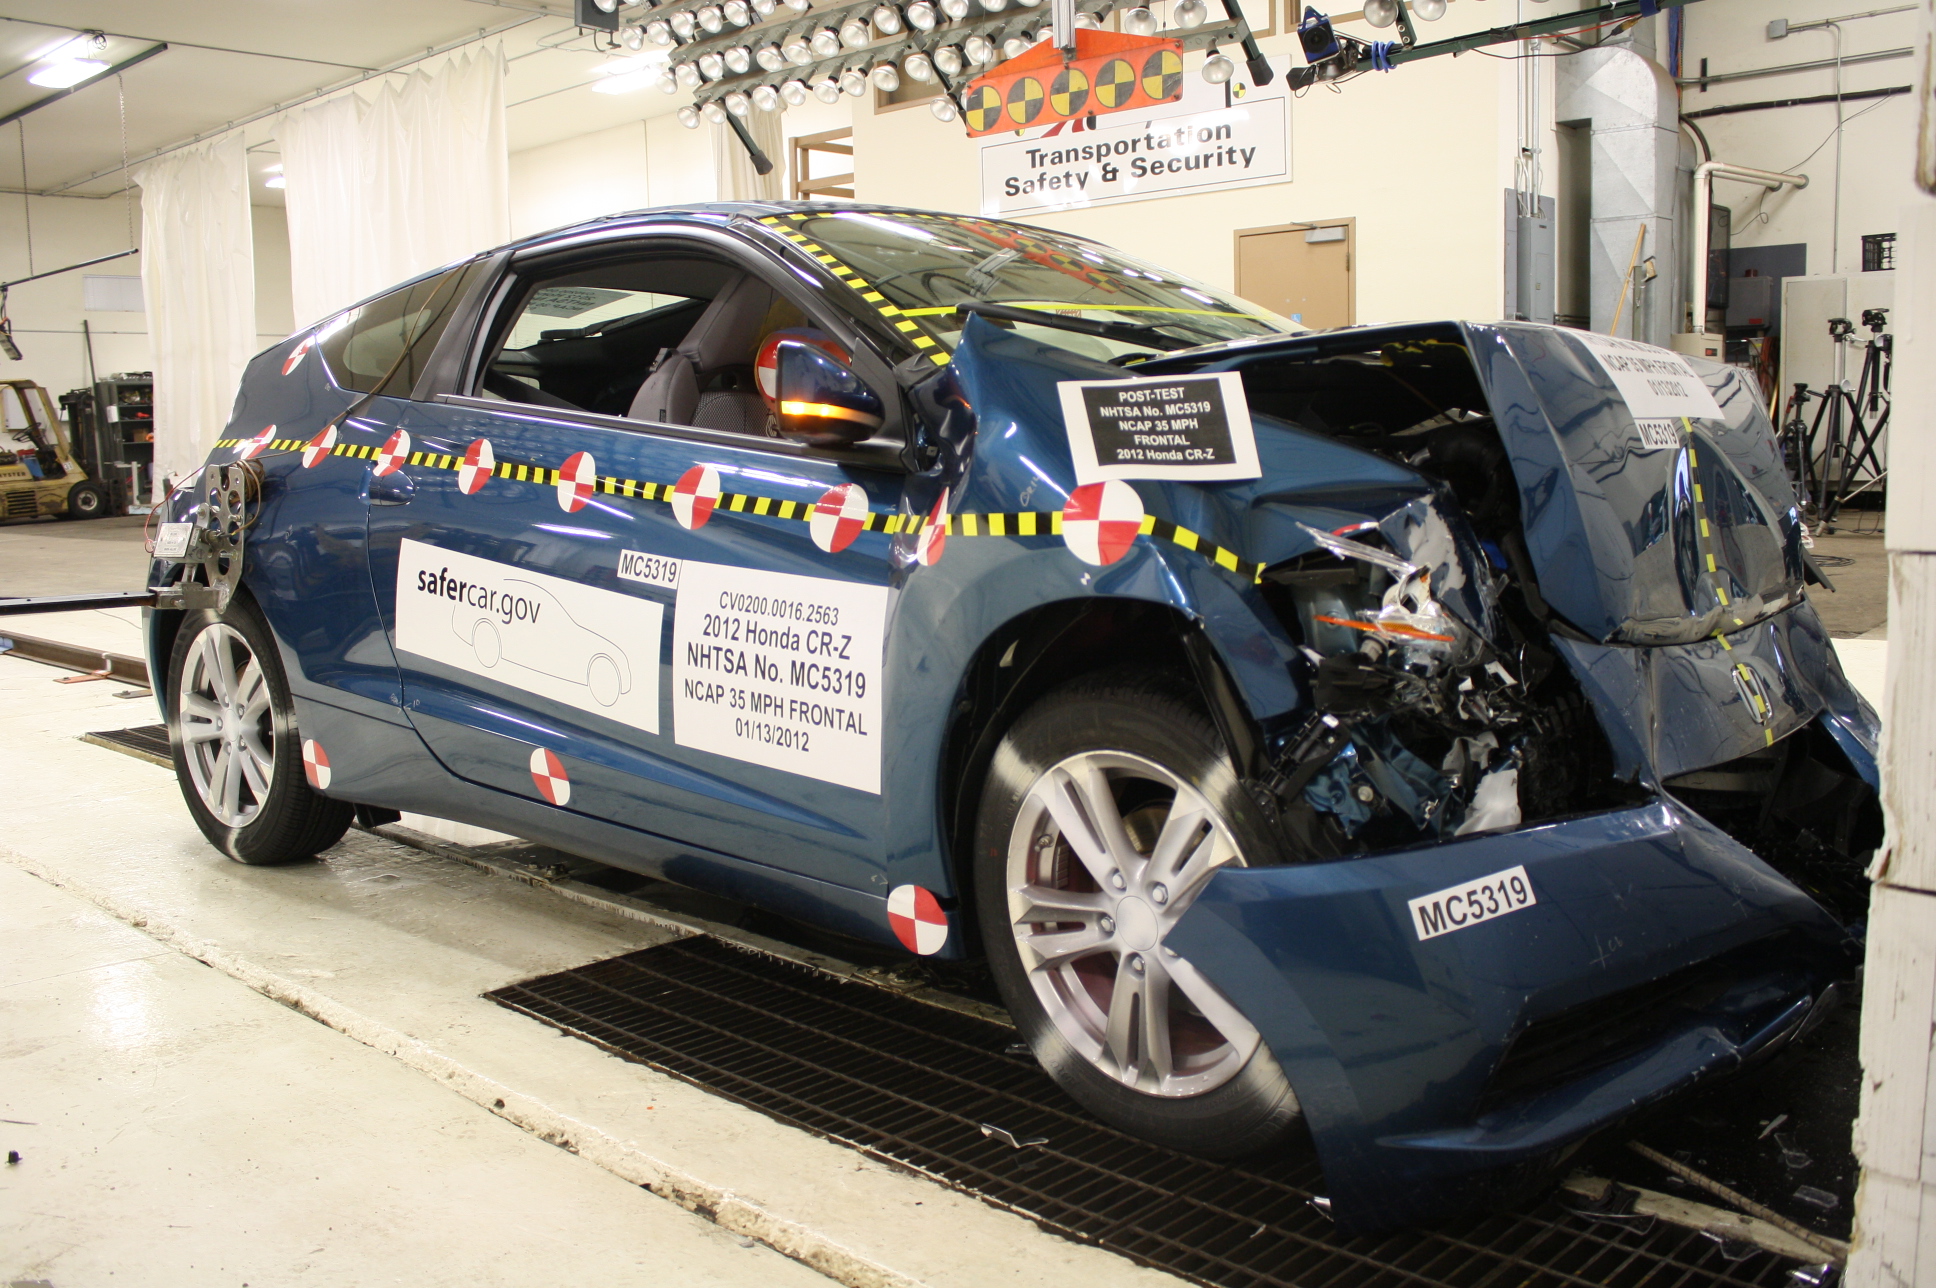
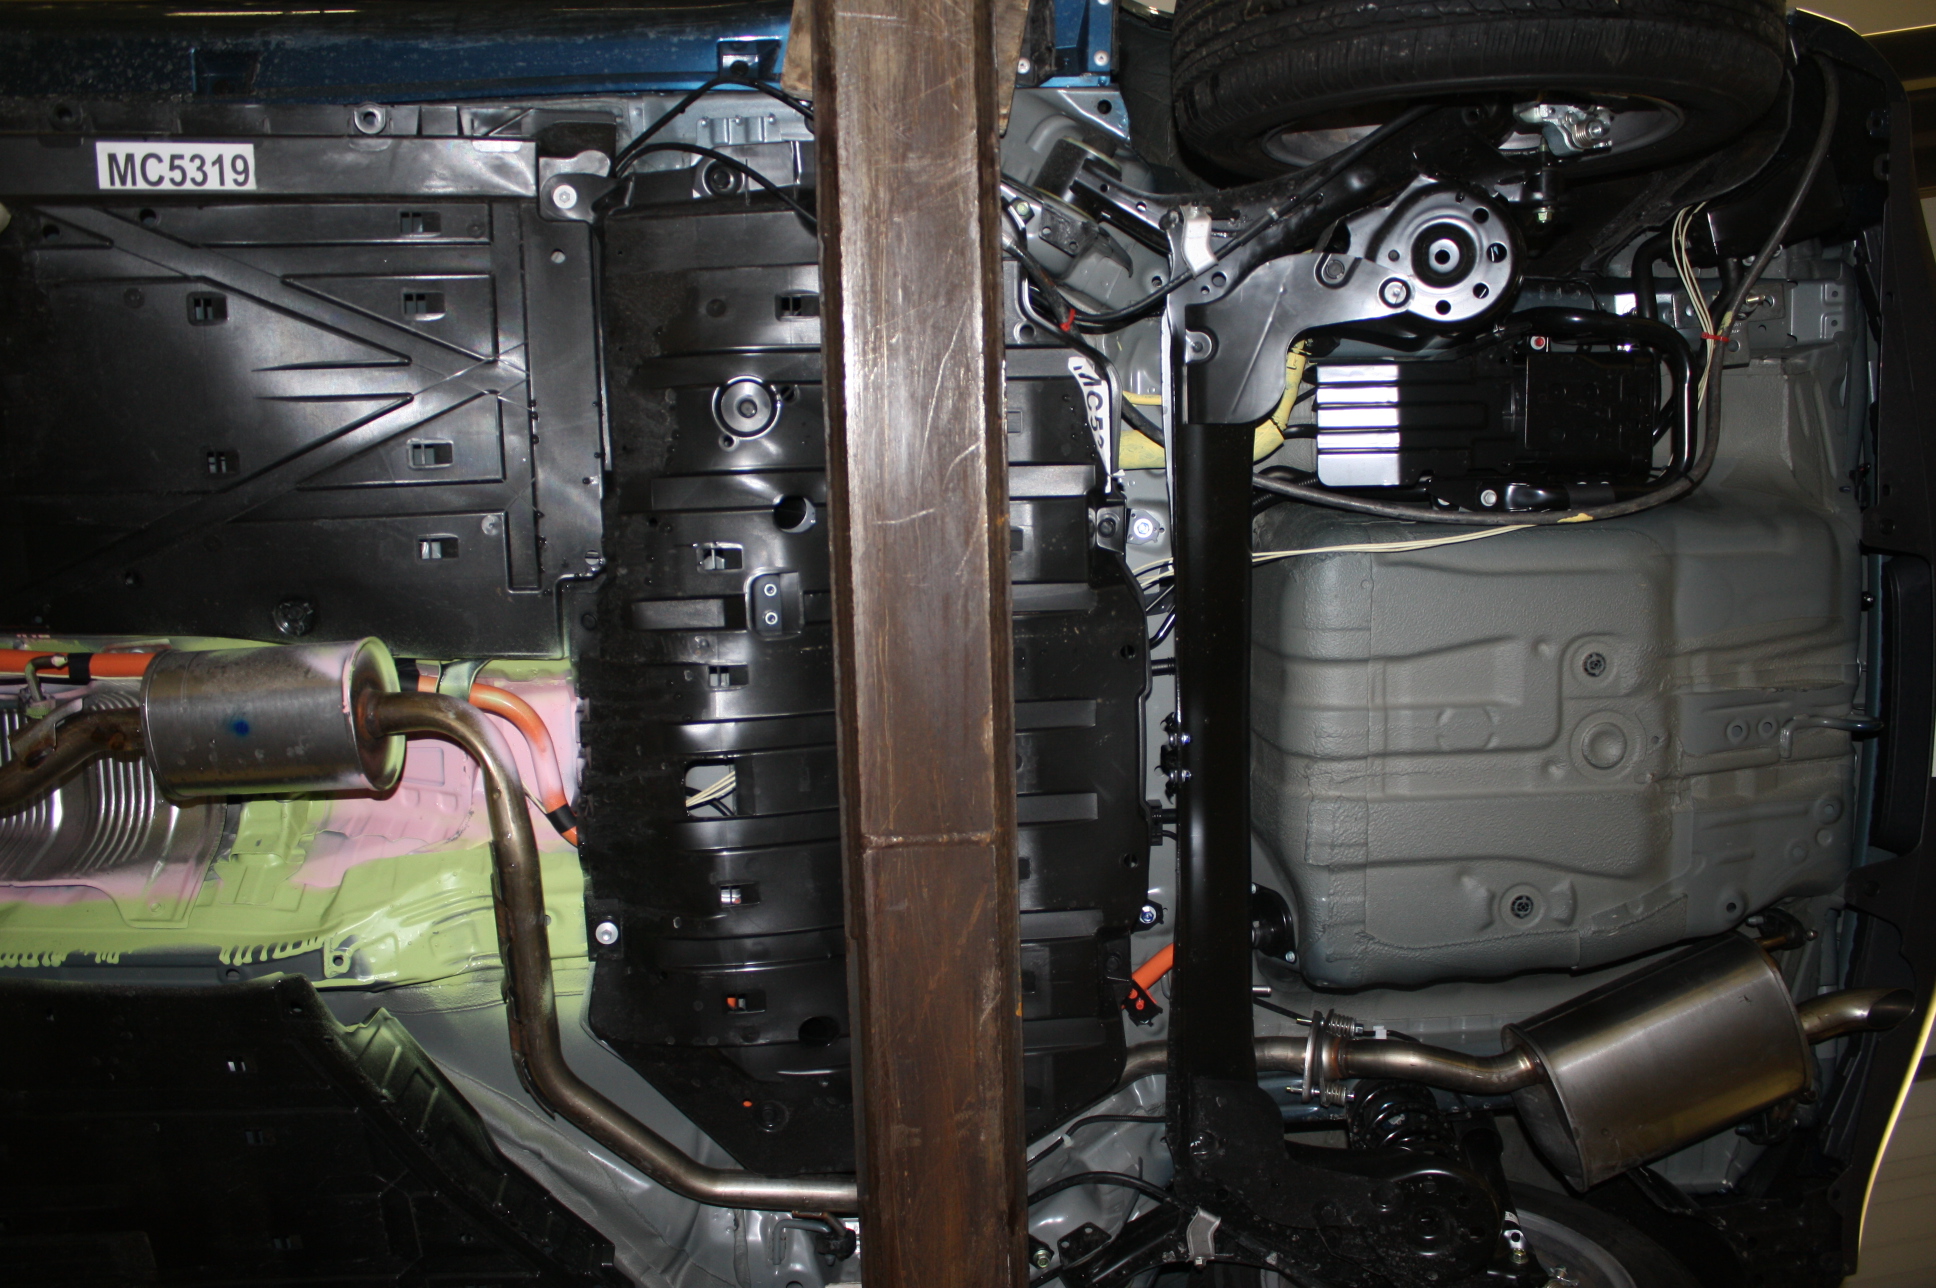
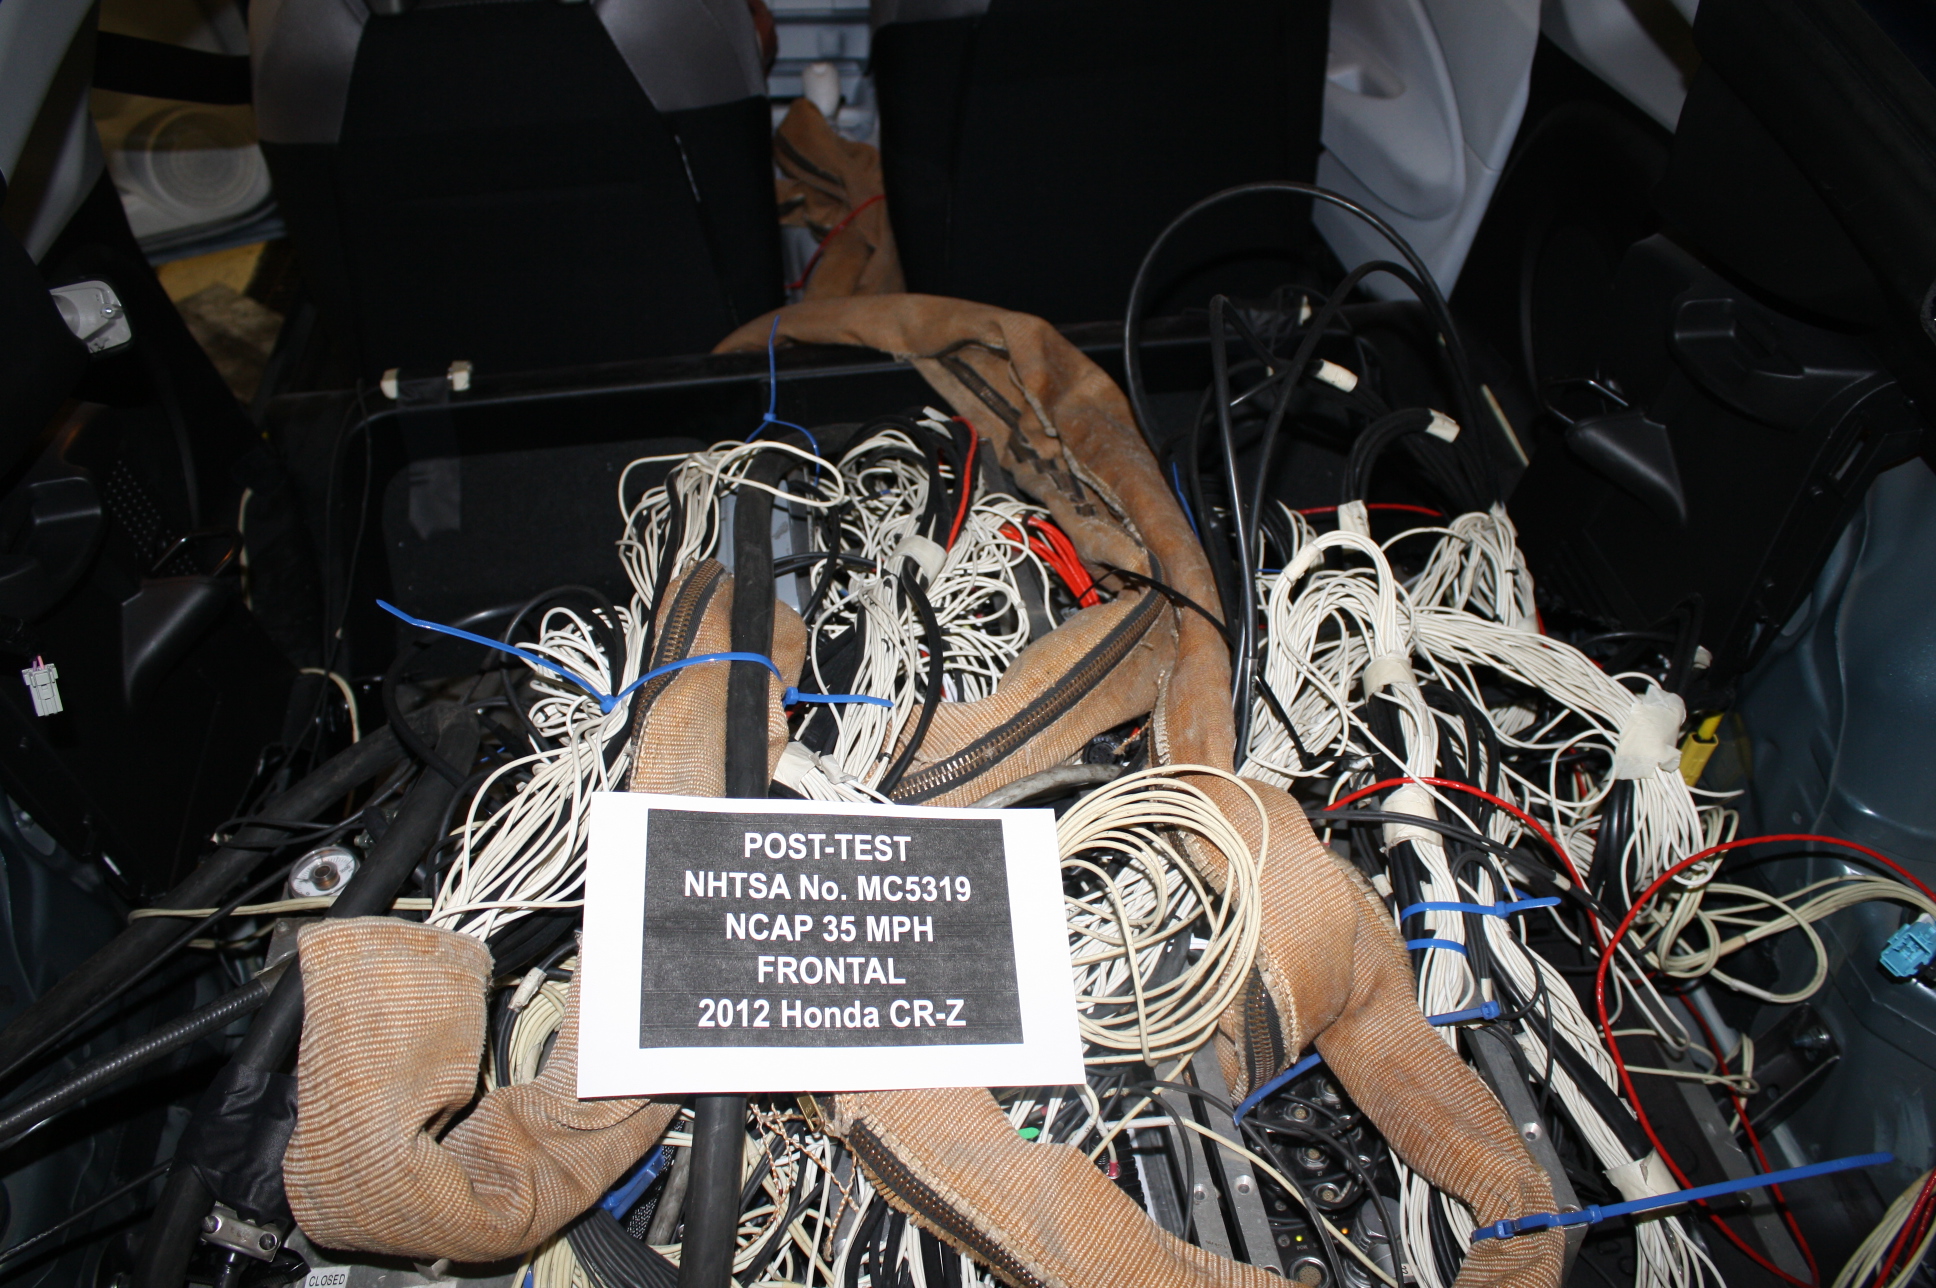
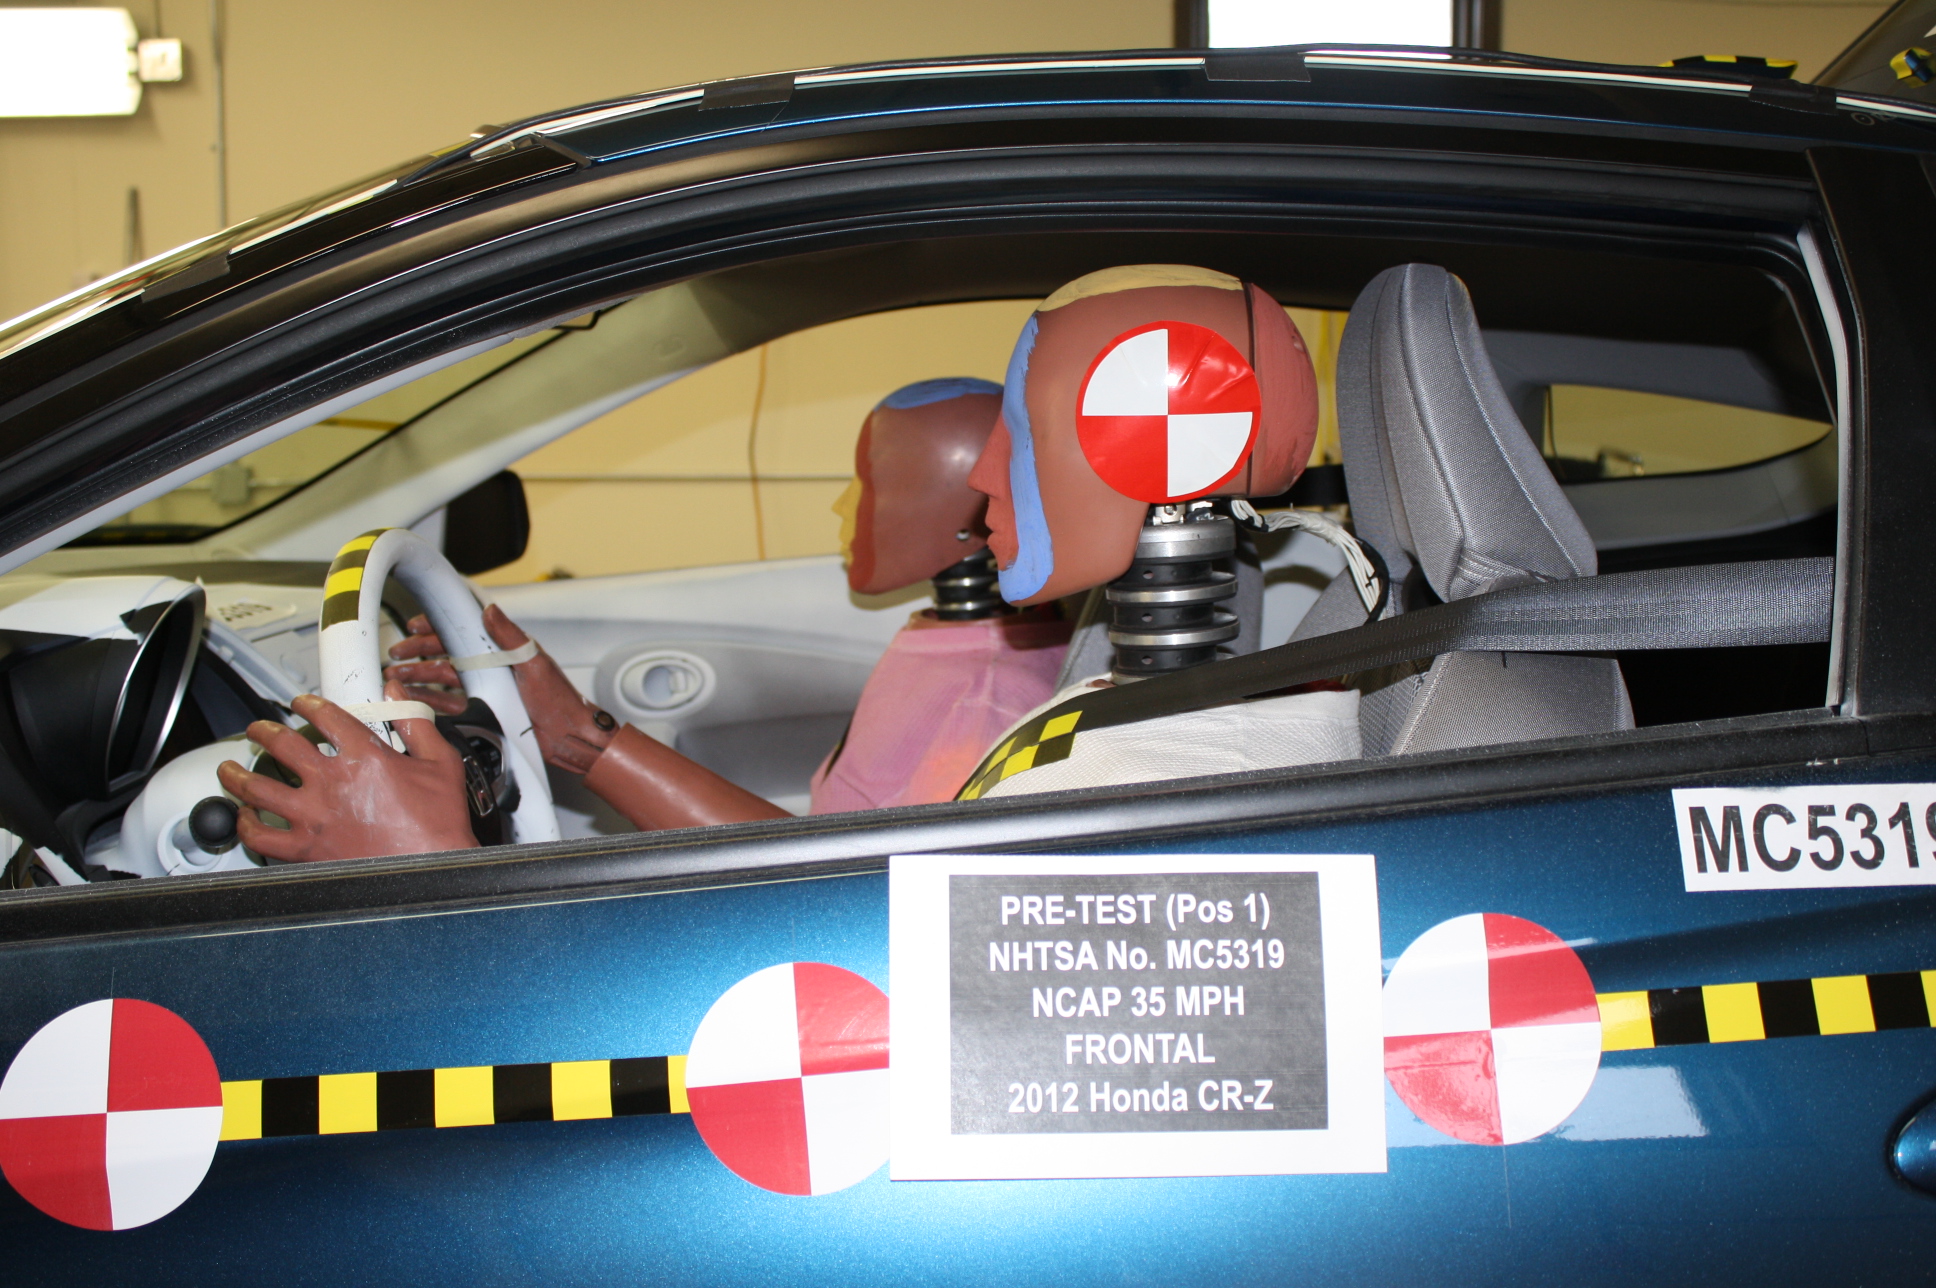
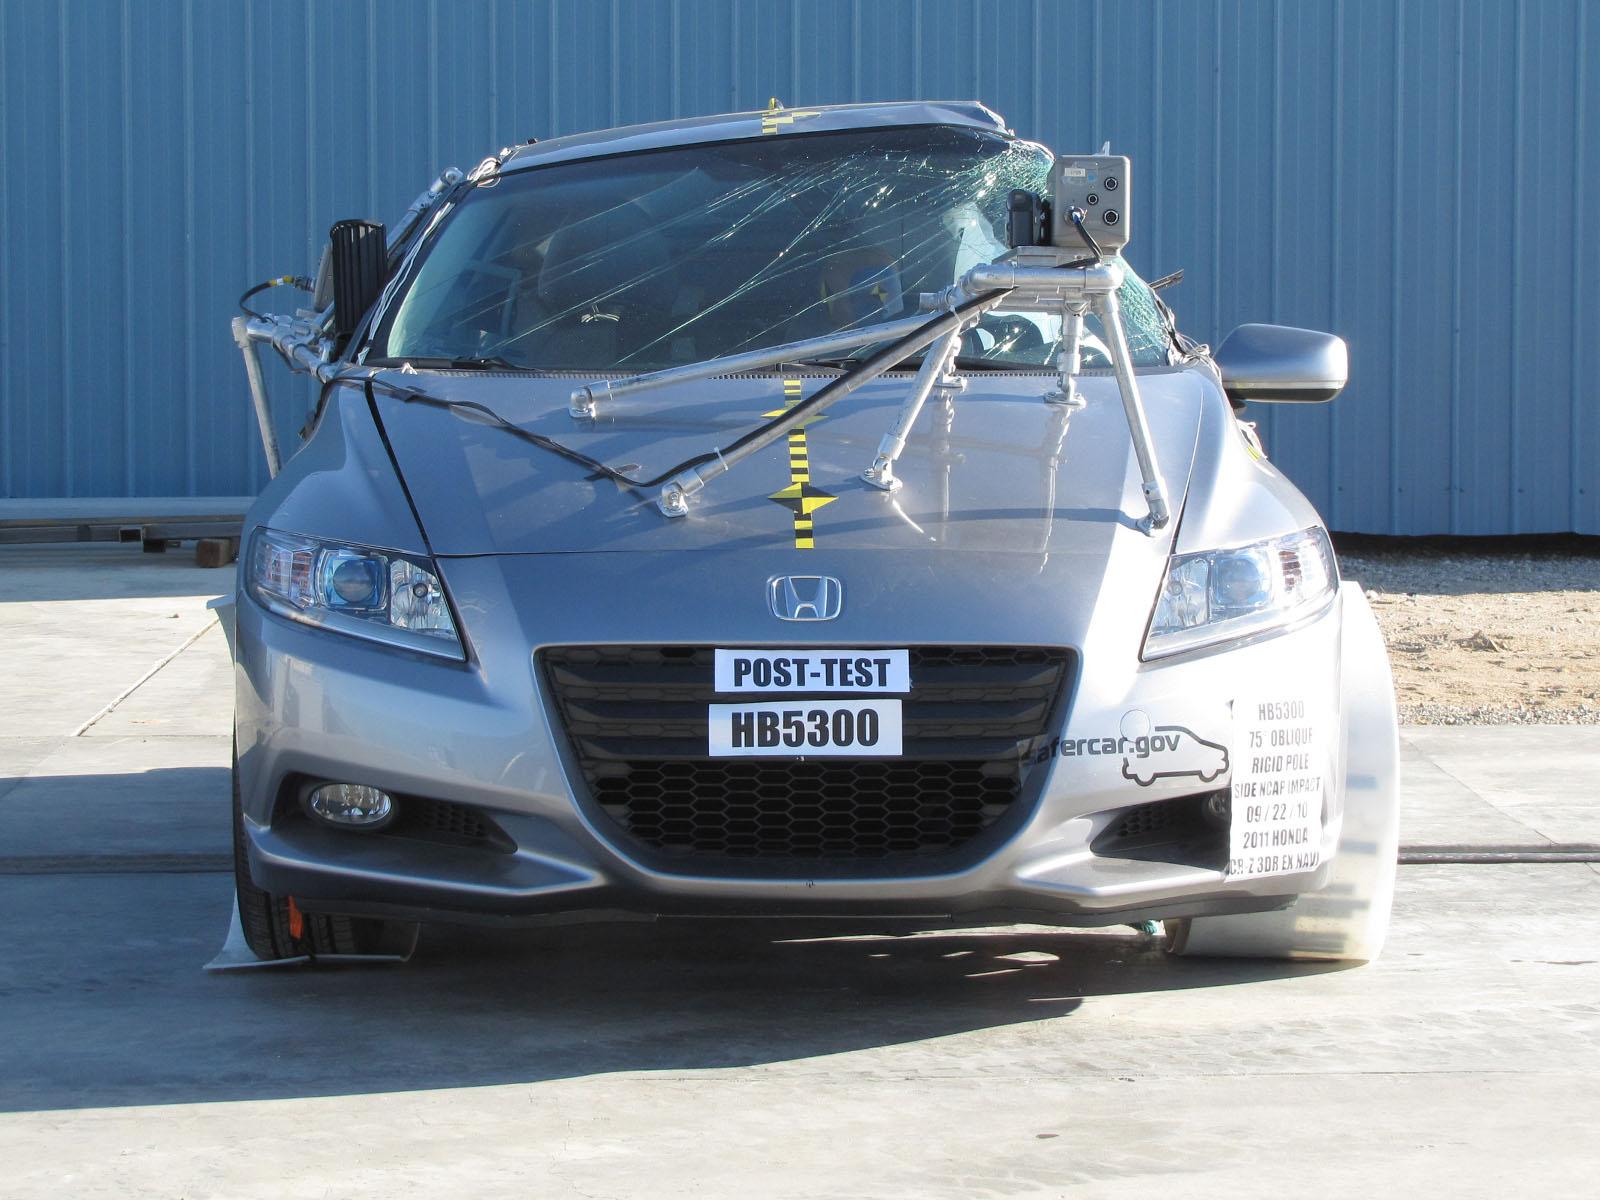
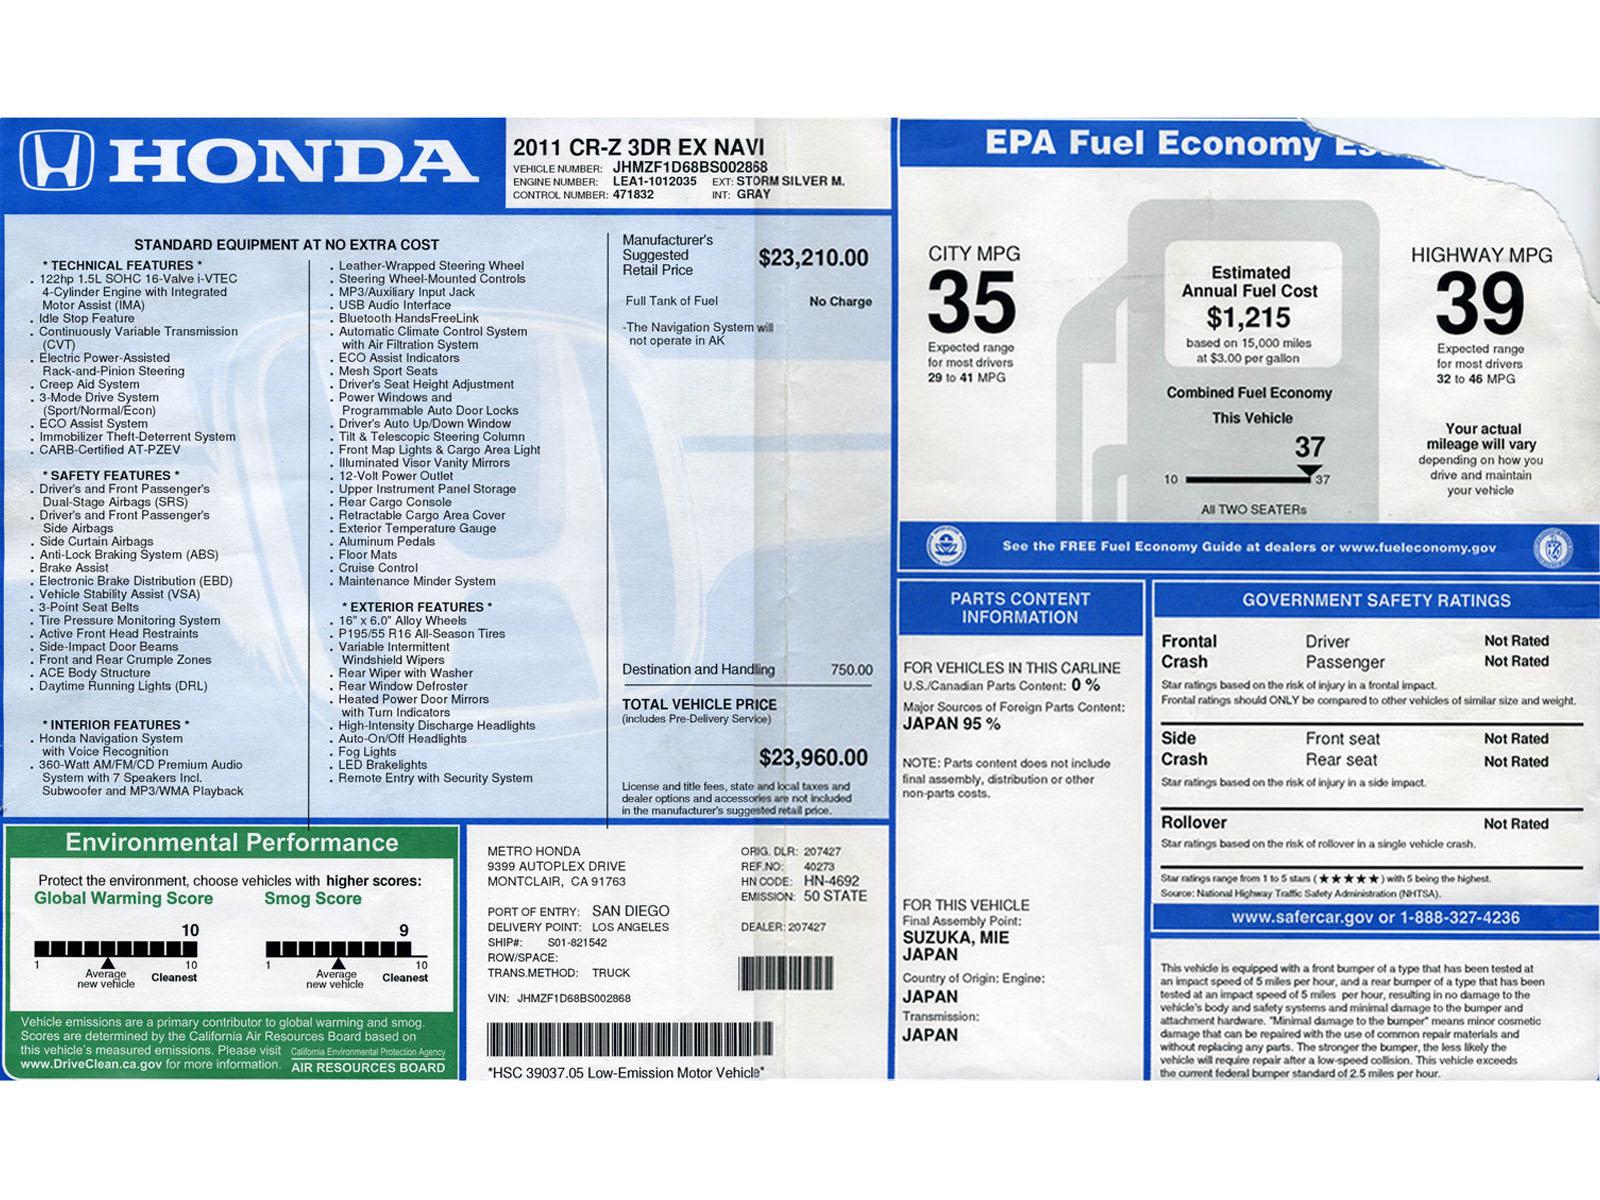
No. 001 - As-Delivered Right Front Three-Quarter View of Test Vehicle.jpgNo. 002 - As-Delivered Left Rear Three-Quarter View of Test Vehicle.jpgNo. 003 - Pre-Test Frontal View of Test Vehicle.jpgNo. 004 - Post-Test Frontal View of Test Vehicle.jpgNo. 005 - Pre-Test Left Front Three-Quarter View of Test Vehicle.jpgNo. 006 - Post-Test Left Front Three-Quarter View of Test Vehicle.jpgNo. 007 - Pre-Test Left Side View of Test Vehicle.jpgNo. 008 - Post-Test Left Side View of Test Vehicle.jpgNo. 009 - Pre-Test Left Rear Three-Quarter View of Test Vehicle.jpgNo. 066 - POLE IMPACT FOR WEB.jpgNo. 010 - Post-Test Left Rear Three-Quarter View of Test Vehicle.jpgNo. 011 - Pre-Test Rear View of Test Vehicle.jpgNo. 012 - Post-Test Rear View of Test Vehicle.jpgNo. 013 - Pre-Test Right Side View of Test Vehicle.jpgNo. 014 - Post-Test Right Side View of Test Vehicle.jpgNo. 015 - Pre-Test Overhead View of Test Vehicle and Pole.jpgNo. 016 - Post-Test Overhead View of Test Vehicle and Pole.jpgNo. 017 - Pre-Test Left Side View of Pole Positioned Against Side of Vehicle at Impact Point.jpgNo. 018 - Pre-Test Right Side View of Pole Positioned Against Side of Vehicle at Impact Point.jpgNo. 019 - Pre-Test Close-Up View of Impact Point Target.jpgNo. 020 - Post-Test Close-Up View of Impact Point Target Showing Impact Location.jpgNo. 021 - Pre-Test Front Close-Up View of Dummy.jpgNo. 022 - Post-Test Front Close-Up View of Dummy.jpgNo. 023 - Pre-Test Left Side View of Dummy Showing Belt, Chalking, and Contact Switches.jpgNo. 024 - Pre-Test Left Side View of Dummy Shoulder and Driver Door Top View.jpgNo. 025 - Post-Test Left Side View of Dummy Shoulder and Driver Door Top View.jpgNo. 026 - Pre-Test Frontal View of Seat Back Prior to Dummy Positioning.jpgNo. 028 - Pre-Test Frontal View of Seat Pan Prior to Dummy Positioning.jpgNo. 027 - Pre-Test Frontal View of Dummy Head and Shoulders in Relation to Head Restraint.jpgNo. 029 - Pre-Test Overhead View of Dummy Thighs on Seat Pan.jpgNo. 030 - Pre-Test View of Dummy Neck Showing Position of Adjustable Neck Bracket.jpgNo. 031 - Pre-Test View of Dummy Head Showing Dummy Head is Level.jpgNo. 032 - Pre-Test Placement of Dummy Feet.jpgNo. 033 - Pre-Test View of Belt Anchorage for Dummy.jpgNo. 034 - Pre-Test Left Side View of Steering Wheel.jpgNo. 035 - Pre-Test View of Parking Brake.jpgNo. 036 - Pre-Test Close-Up Left Side View of Driver Seat Track.jpgNo. 067 - Monroney Label.jpgNo. 037 - Pre-Test Close-Up Left Side View of Driver Seat Back.jpgNo. 038 - Pre-Test Close-Up View of Driver Seat Back or Head Restraint.jpgNo. 050 - Post-Test Dummy Close-Up Pelvis Contact with Side Airbag View.jpgNo. 052 - Post-Test View of Fuel Filler Cap or Fuel Filler Neck.jpgNo. 056 - Post-Test Pole Barrier Front View.jpgNo. 058 - Post-Test Pole Barrier Side View.jpgNo. 087 - Pre-Test Battery Mounting Hardware.jpgNo. 099 - Pre-Test Battery Mounting Hardware.jpg

Crash test #2NHTSA test 7071

Full test report (PDF) ↗

Crash-test footage is converted for smooth playback the first time someone requests it — usually under a minute.
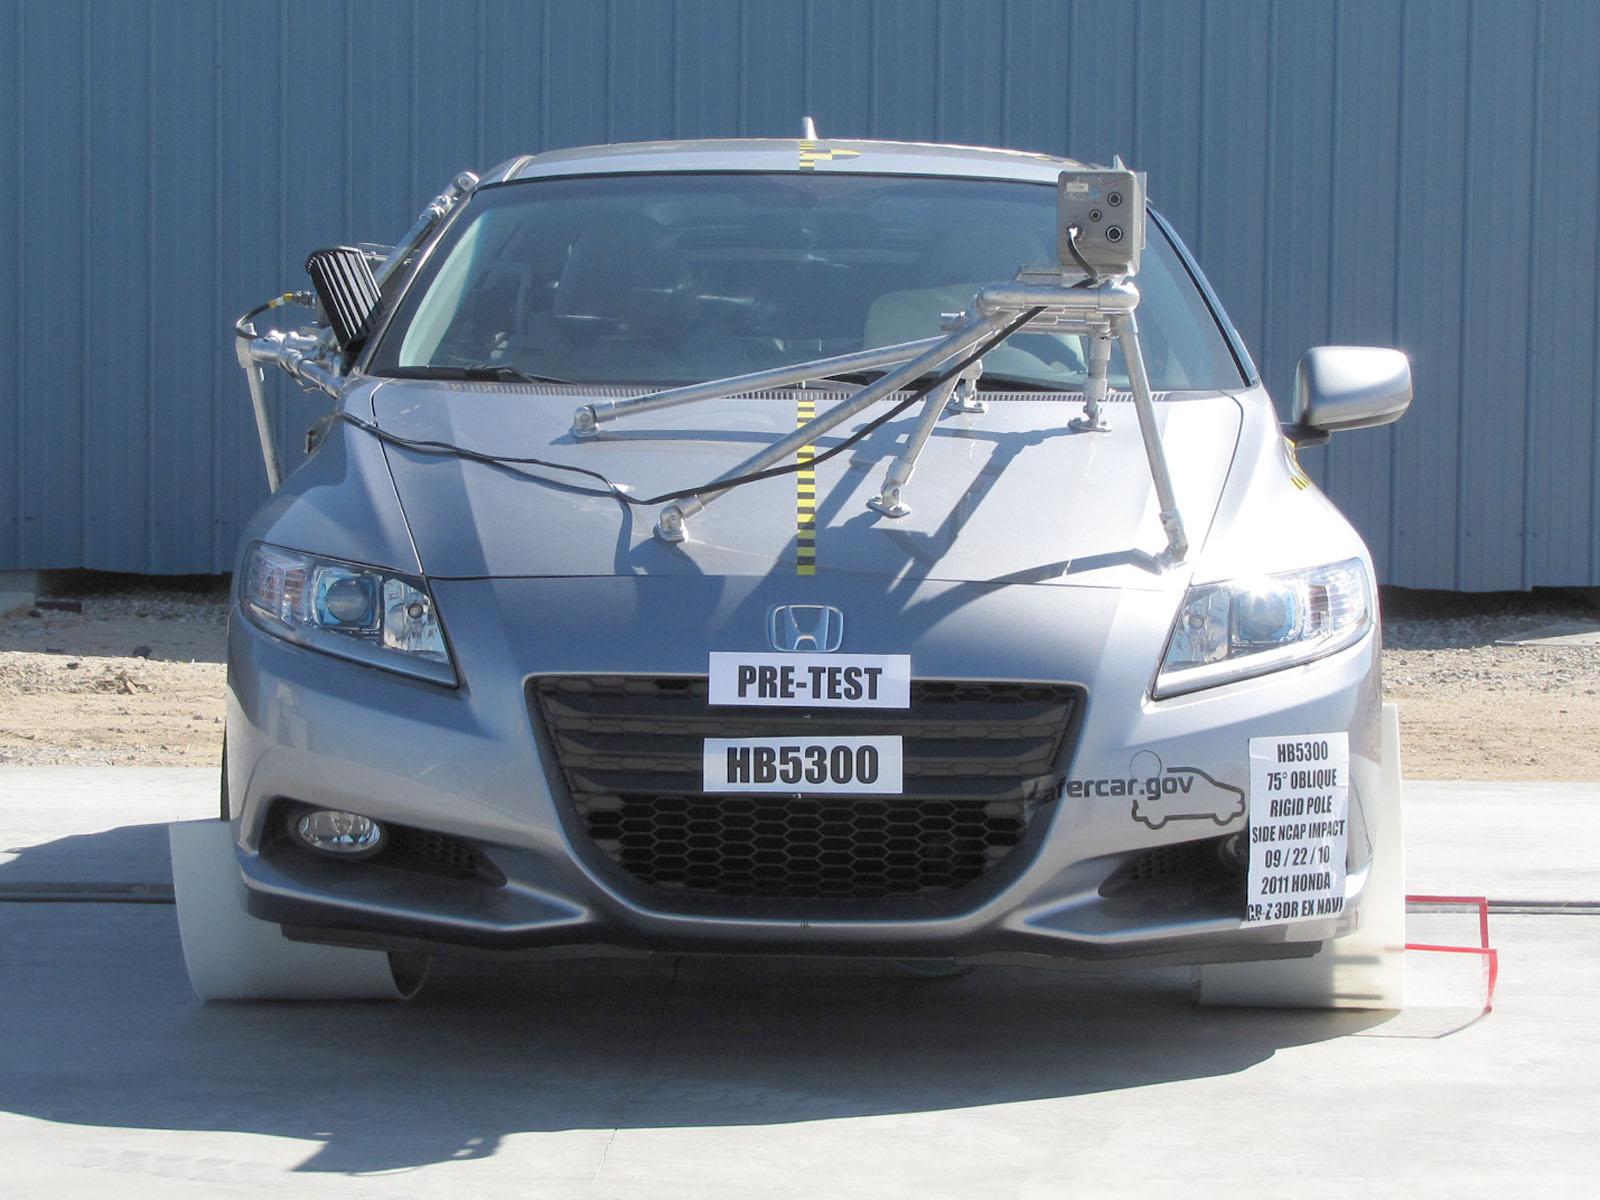
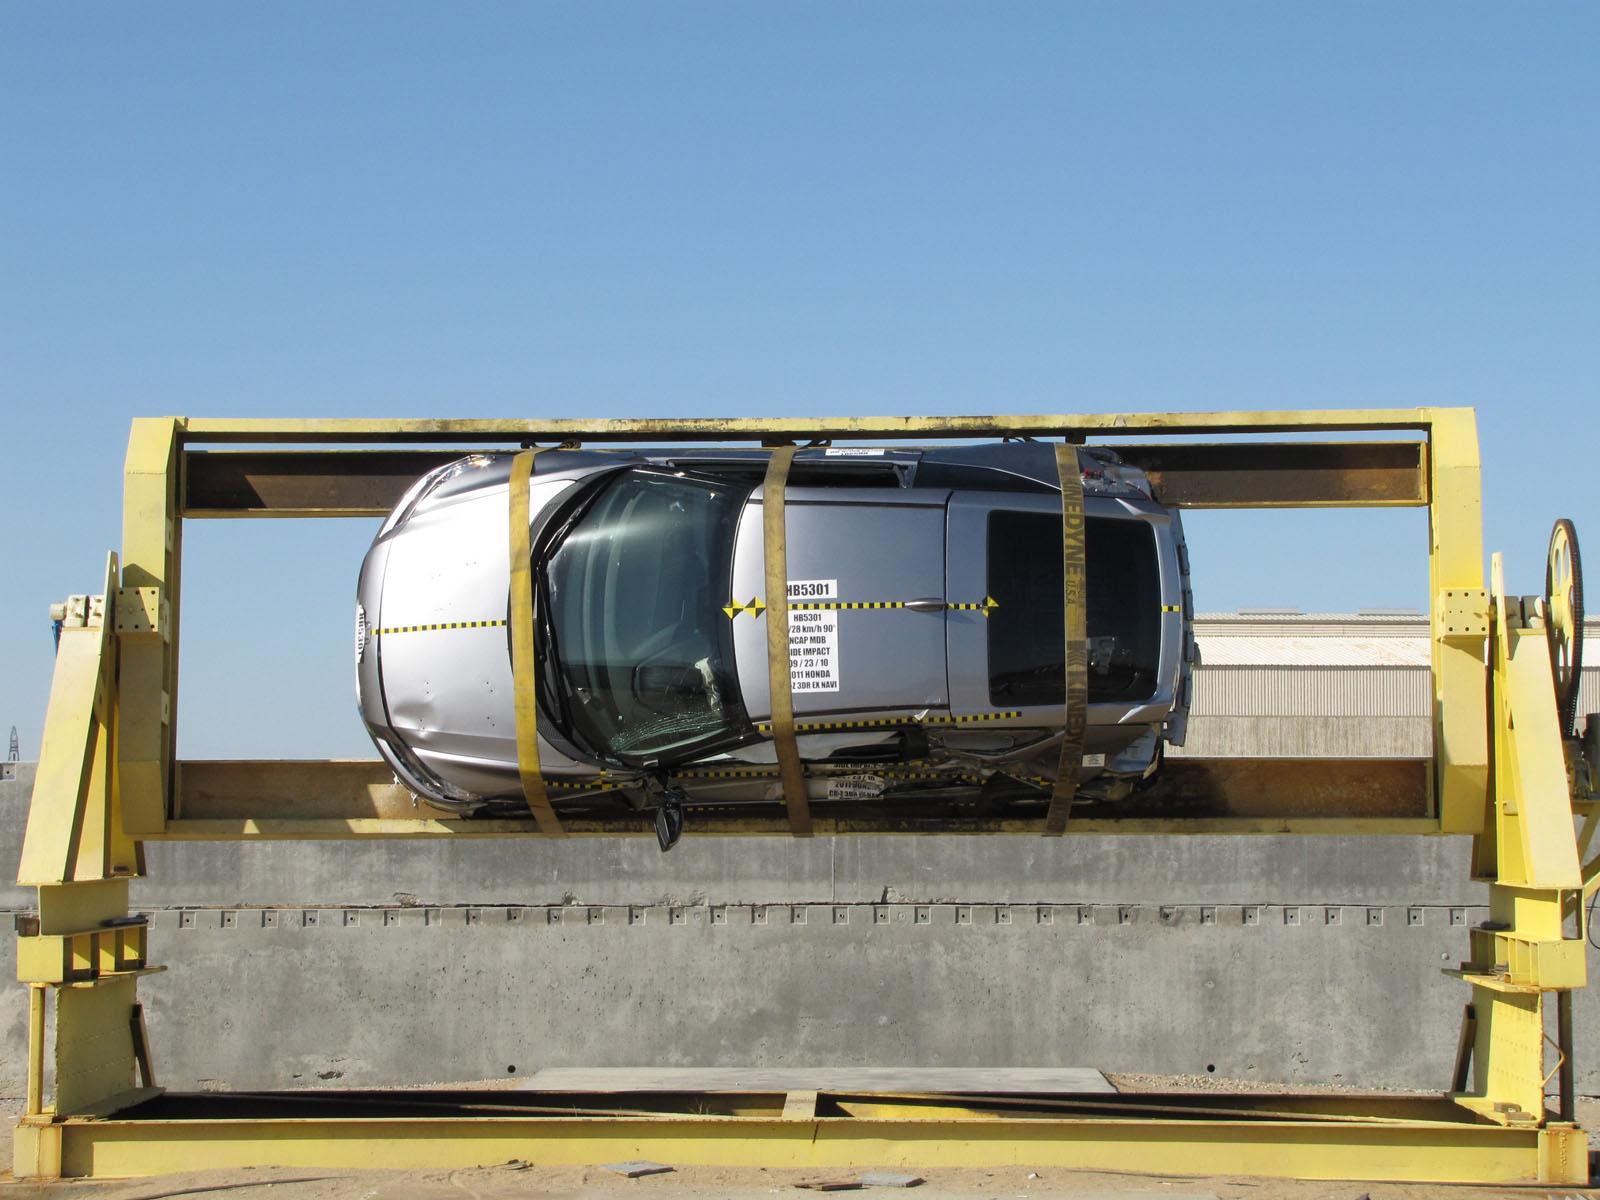
No. 001 - As-Delivered Right Front Three-Quarter View of Test Vehicle.jpgNo. 002 - As-Delivered Left Rear Three-Quarter View of Test Vehicle.jpgNo. 003 - Pre-Test Frontal View of Test Vehicle.jpgNo. 004 - Post-Test Frontal View of Test Vehicle.jpgNo. 005 - Pre-Test Left Front Three-Quarter View of Test Vehicle.jpgNo. 006 - Post-Test Left Front Three-Quarter View of Test Vehicle.jpgNo. 007 - Pre-Test Left Side View of Test Vehicle.jpgNo. 008 - Post-Test Left Side View of Test Vehicle.jpgNo. 009 - Pre-Test Left Rear Three-Quarter View of Test Vehicle.jpgNo. 098 - MDB IMPACT FOR WEB.jpgNo. 010 - Post-Test Left Rear Three-Quarter View of Impact Zone.jpgNo. 011 - Pre-Test Rear View of Test Vehicle.jpgNo. 012 - Post-Test Rear View of Test Vehicle.jpgNo. 013 - Pre-Test Right Side View of Test Vehicle.jpgNo. 014 - Post-Test Right Side View of Test Vehicle.jpgNo. 016 - Post-Test Overhead View of Test Vehicle and MDB.jpgNo. 017 - Pre-Test Left Side View of MDB Positioned Against Side of Test Vehicle.jpgNo. 018 - Pre-Test Right Side View of MDB Positioned Against Side of Test Vehicle.jpgNo. 019 - Pre-Test Close-Up View of Impact Point Target.jpgNo. 037 - Pre-Test View of Parking Brake.jpgNo. 020 - Post-Test Close-Up View of Impact Point Target.jpgNo. 021 - Pre-Test Left Front Door Latch Close-Up.jpgNo. 022 - Post-Test Left Front Door Latch Close-Up.jpgNo. 023 - Pre-Test Left Rear Door Latch Close-Up.jpgNo. 024 - Post-Test Left Rear Door Latch Close-Up.jpgNo. 025 - Pre-Test Front Close-Up View of Driver Dummy.jpgNo. 026 - Post-Test Front Close-Up View of Driver Dummy.jpgNo. 028 - Pre-Test Left Side View of Driver Dummy Shoulder and Door Top View.jpgNo. 029 - Post-Test Left Side View of Driver Dummy Shoulder and Door Top View.jpgNo. 034 - Pre-Test Placement of Driver Dummy Feet.jpgNo. 030 - Pre-Test Frontal View of Driver Seat Back Prior to Dummy Positioning.jpgNo. 032 - Pre-Test Frontal View of Driver Seat Pan Prior to Dummy Positioning.jpgNo. 033 - Pre-Test Overhead View of Driver Dummy Thighs on Seat Pan.jpgNo. 035 - Pre-Test View of Belt Anchorage for Driver Dummy.jpgNo. 036 - Pre-Test Left Side View of Steering Wheel.jpgNo. 038 - Pre-Test Close-Up Left Side View of Driver Seat Track.jpgNo. 039 - Pre-test Close-Up Left Side View of Driver Seat Back.jpgNo. 040 - Pre-Test Close-Up View of Driver Seat Back or Head Restraint.jpgNo. 041 - Pre-Test Driver Dummy and Door Clearance View.jpgNo. 042 - Post-Test Driver Dummy and Door Clearance View.jpgNo. 045 - Pre-Test Driver Inner Door Panel View.jpgNo. 049 - Post-Test Driver Dummy Close-Up Torso Contact with Vehicle Interior View.jpgNo. 055 - Post-Test Left Side View of Rear Passenger Dummy Shoulder and Door Top View.jpgNo. 081 - Pre-Test Front View of MDB Impactor Face.jpgNo. 082 - Post-Test Front View of MDB Impactor Face.jpgNo. 094 - FMVSS No. 301-305 Rollover 90 Degrees.jpgNo. 122 - Pre-Test Battery Mounting Hardware.jpgNo. 138 - Pre-Test Battery Mounting Hardware.jpgv07071P128.jpgNo. 056  Pre-Test Frontal View of Rear Passenger Seat Back Prior to Dummy Positioning .JPG

Crash test #3NHTSA test 7622

Full test report (PDF) ↗

Crash-test footage is converted for smooth playback the first time someone requests it — usually under a minute.
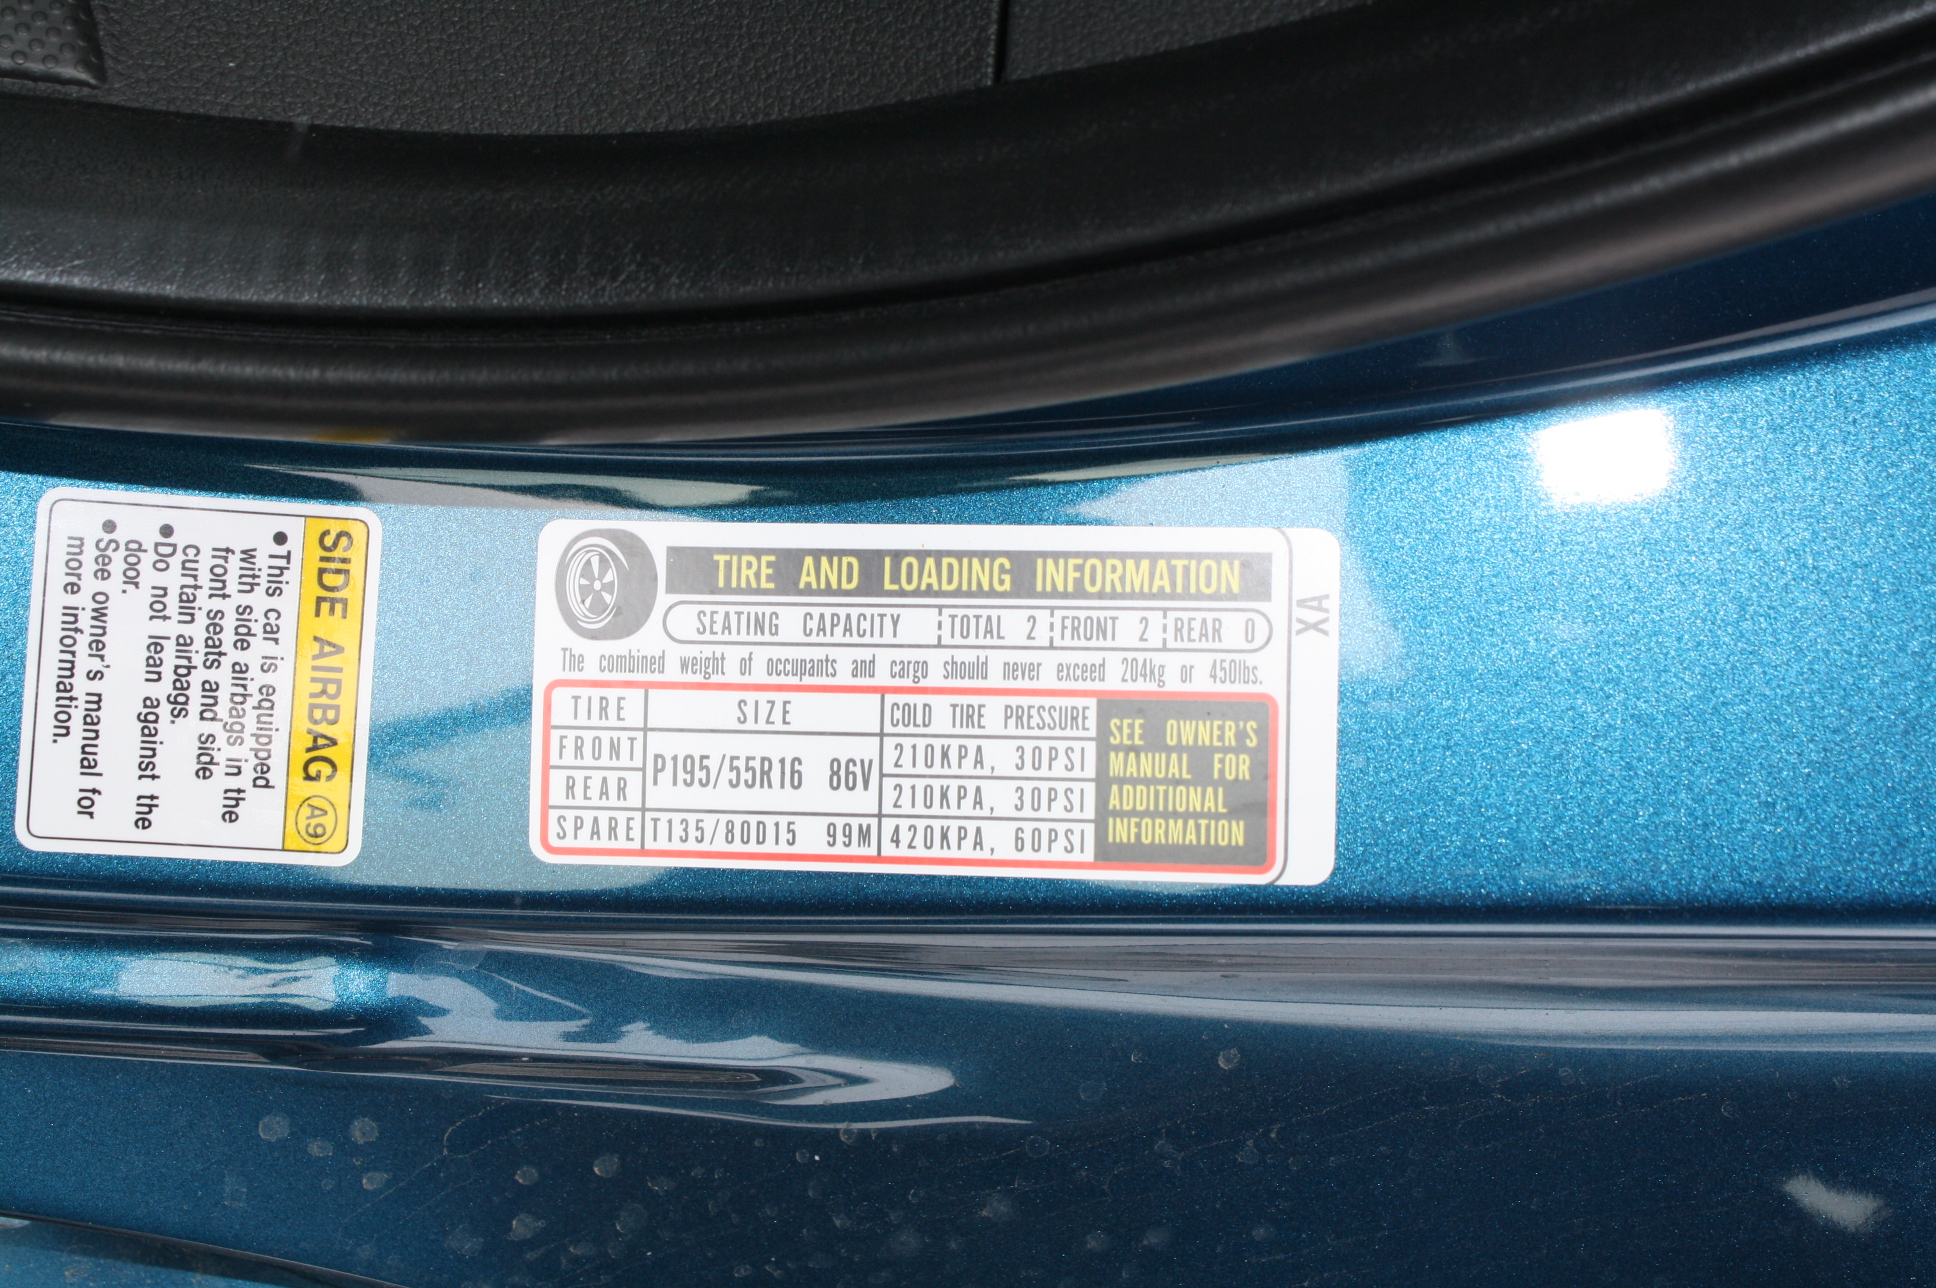
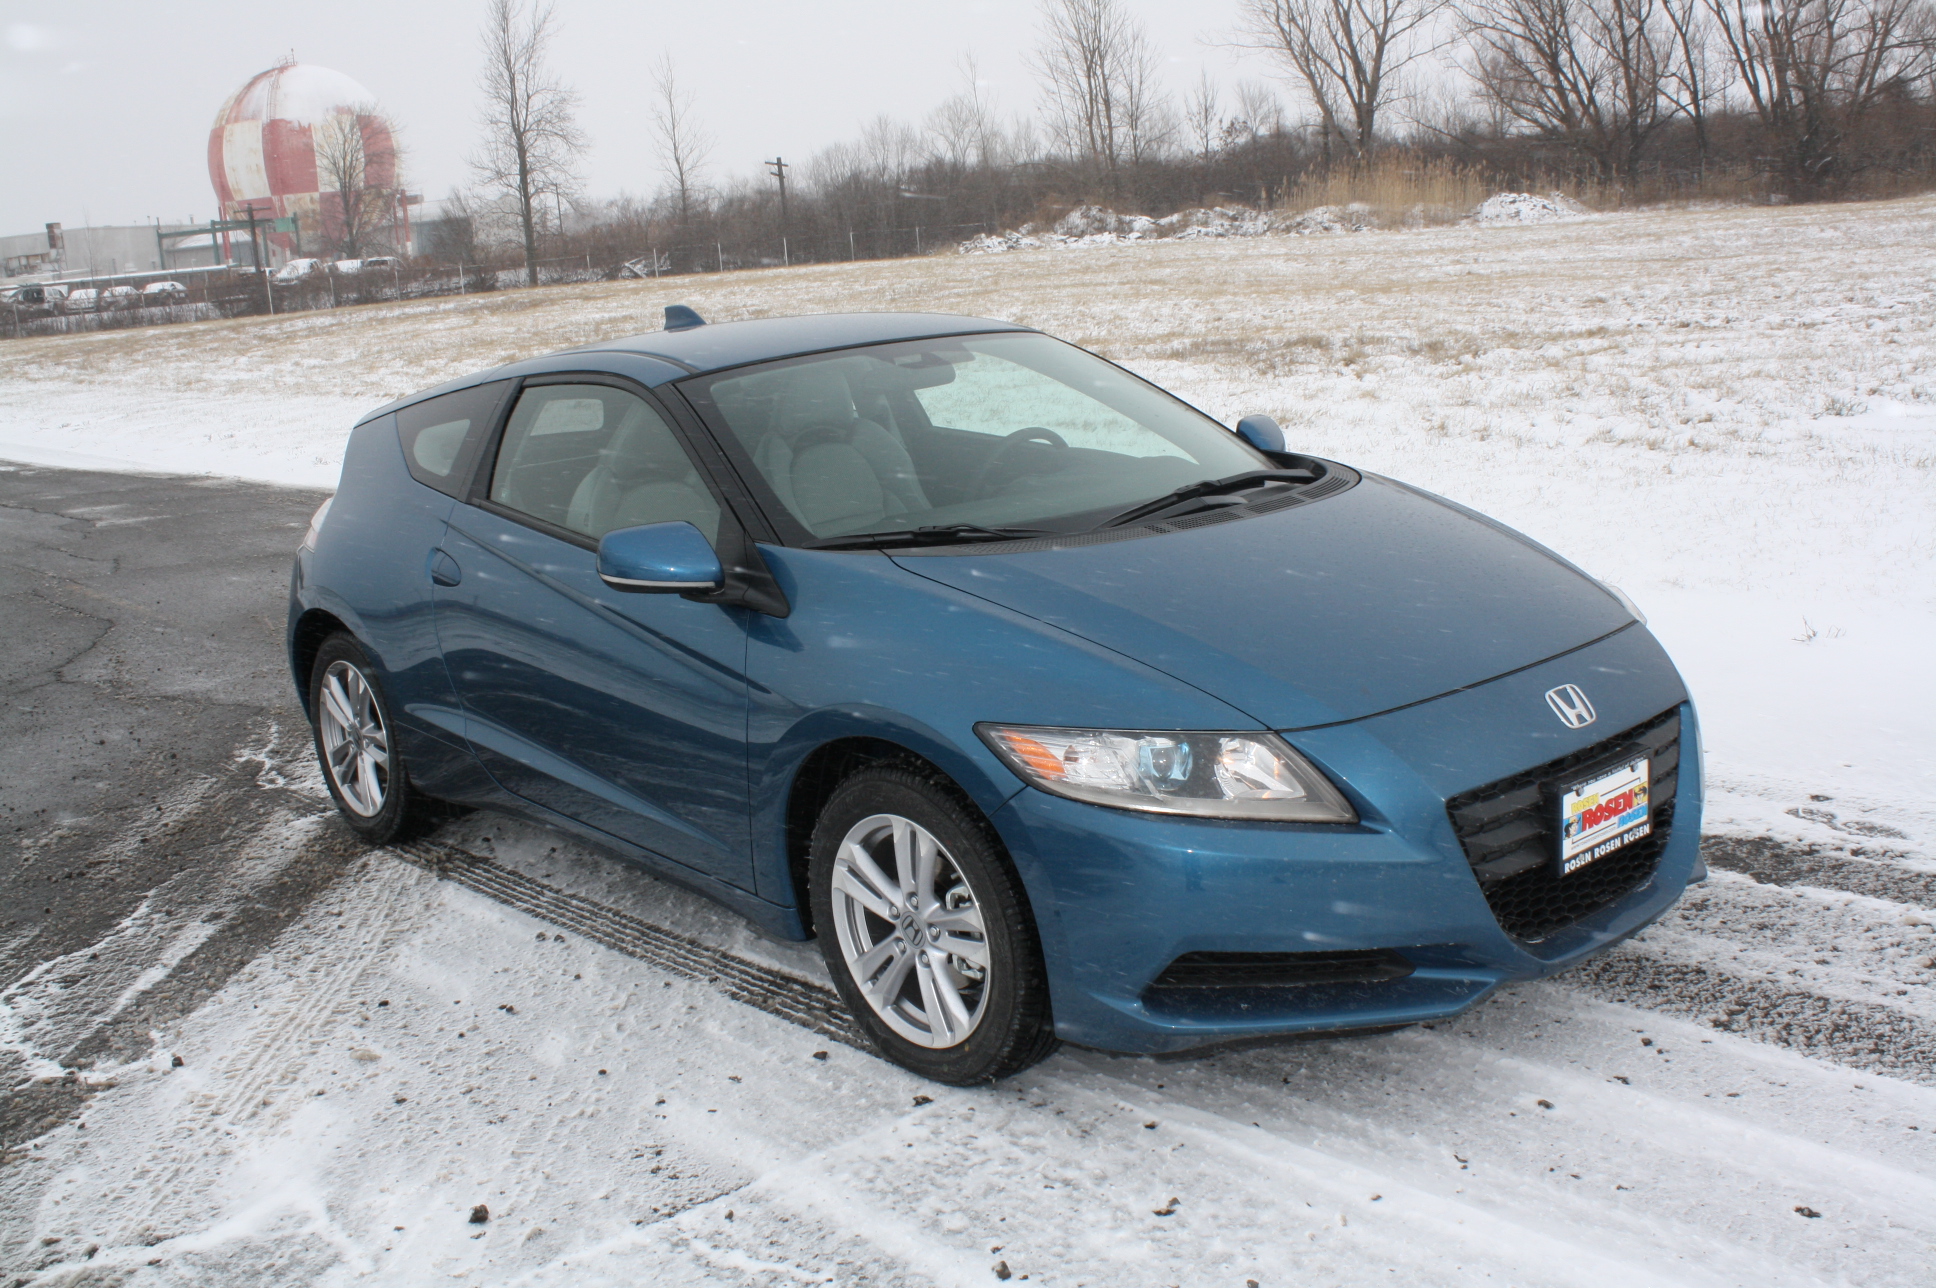
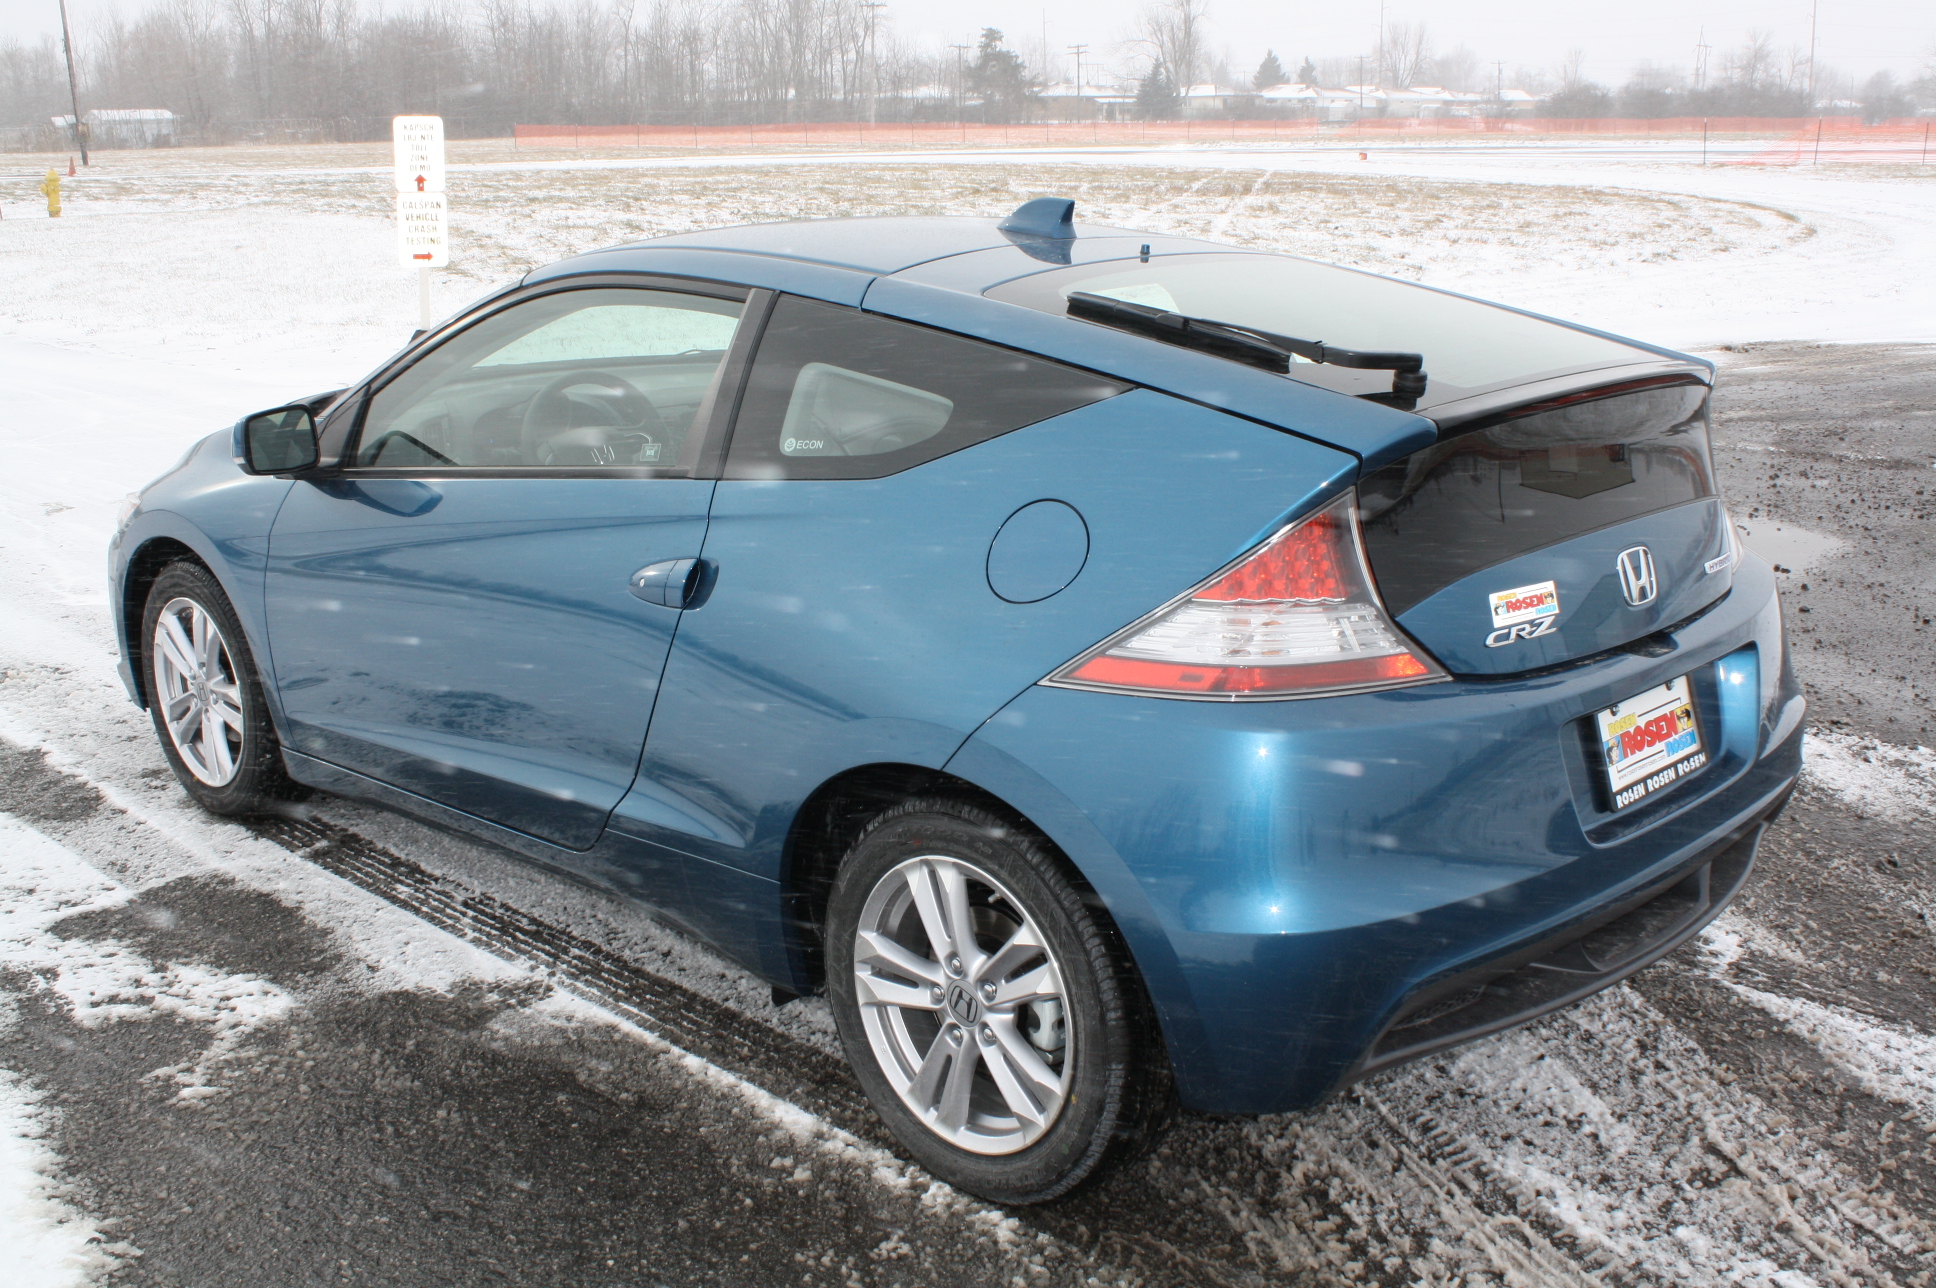
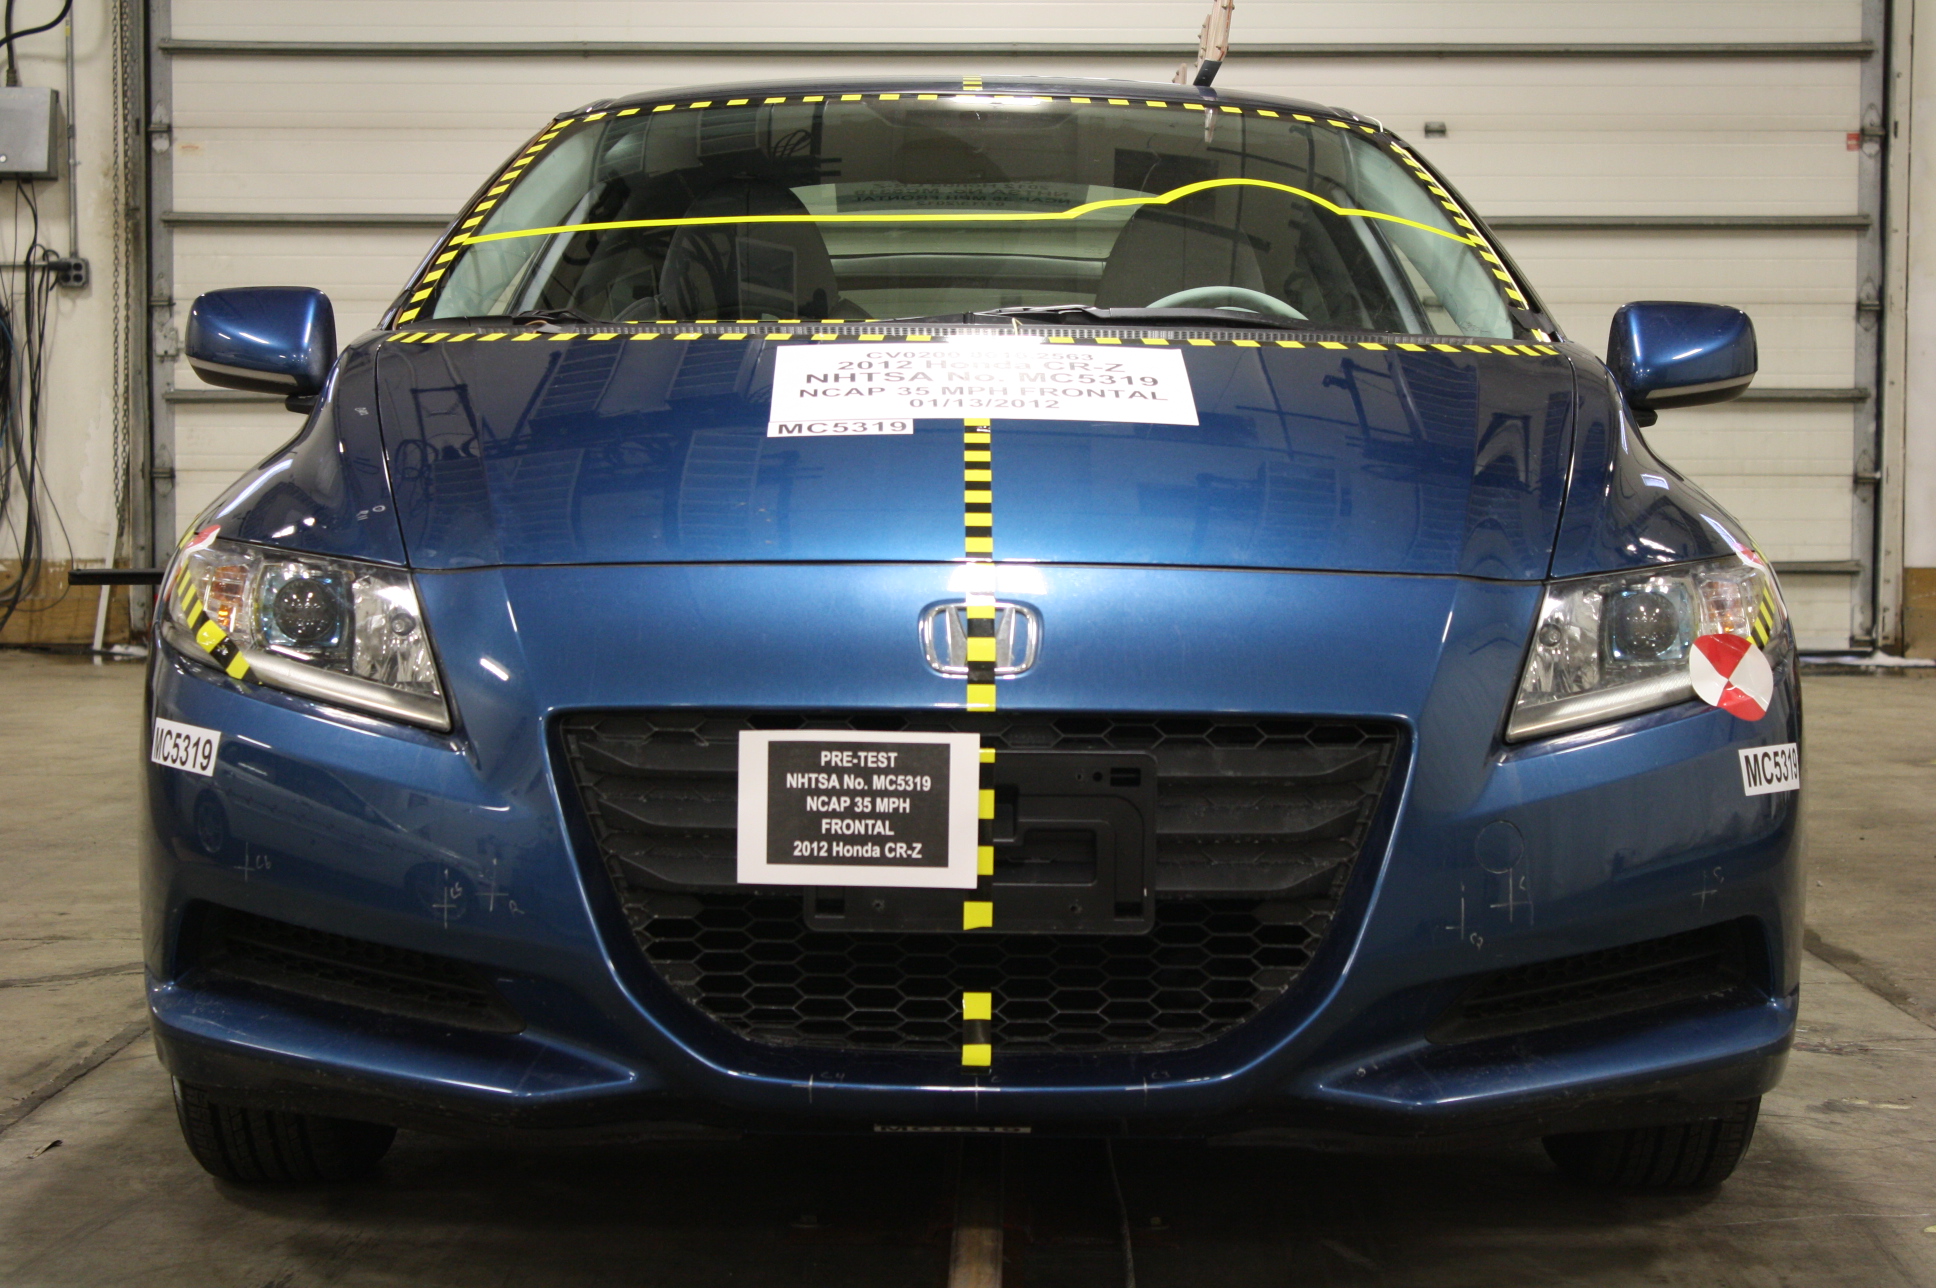
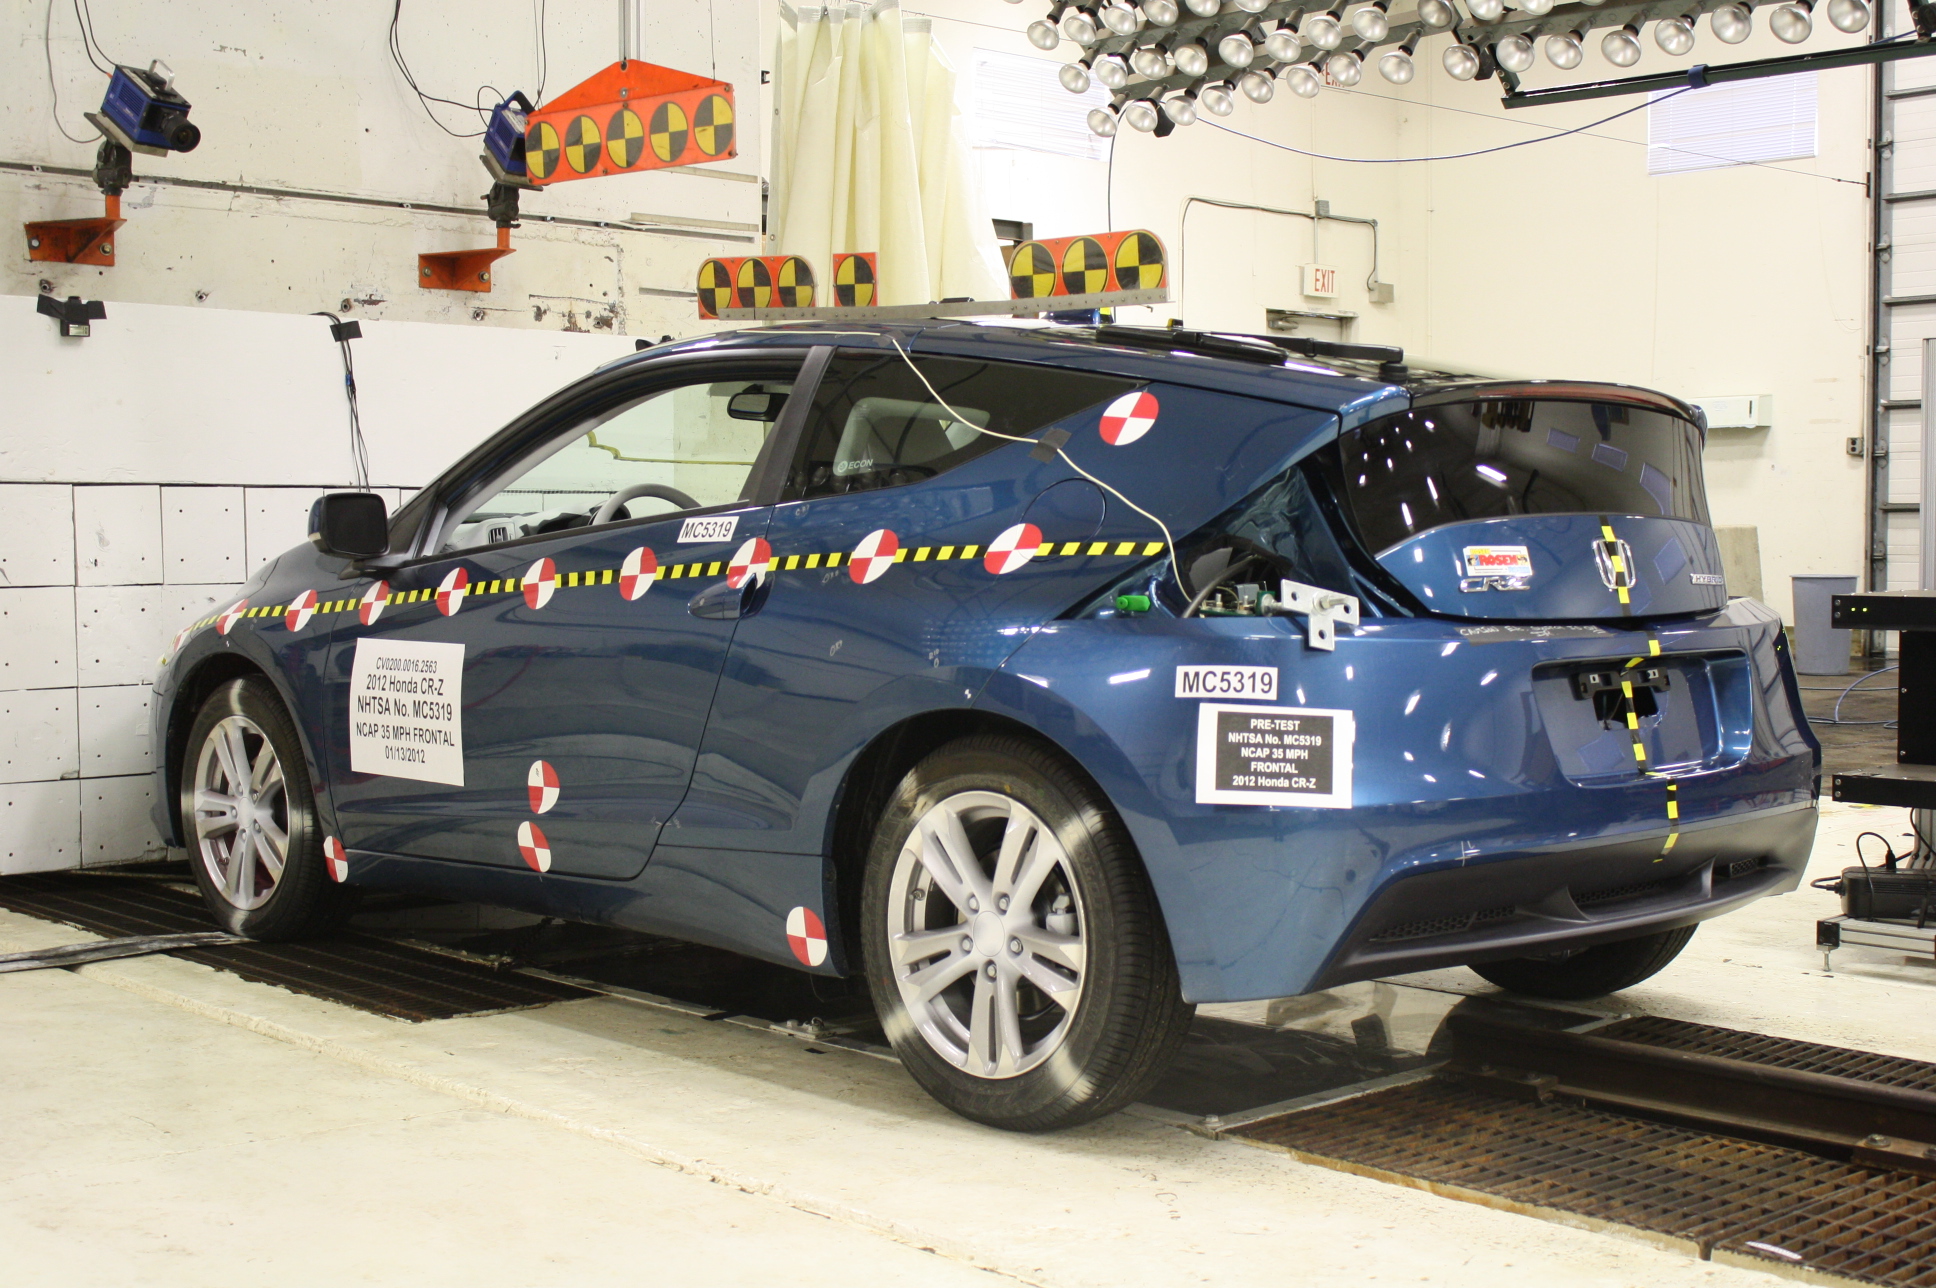
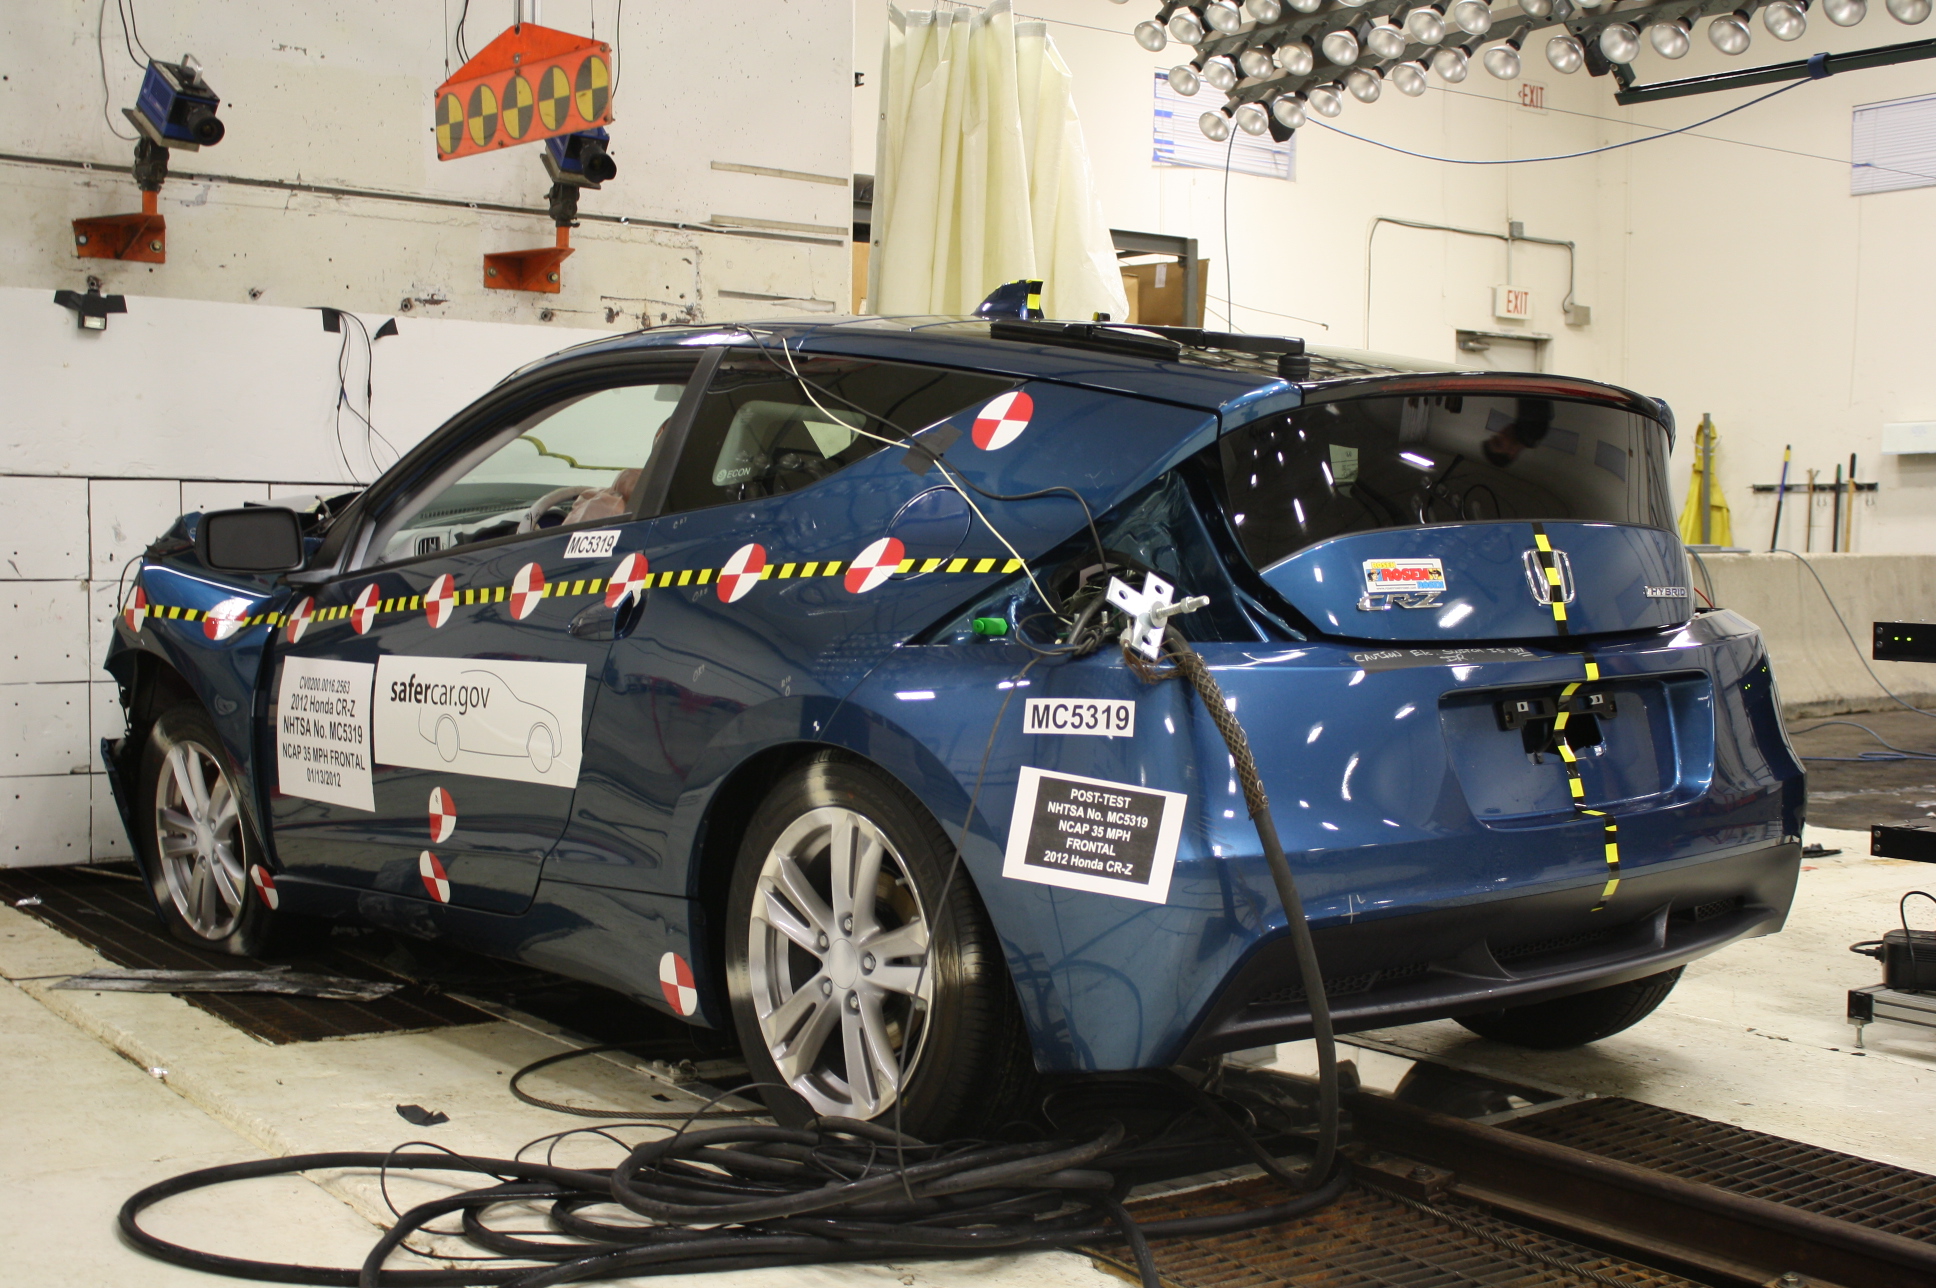
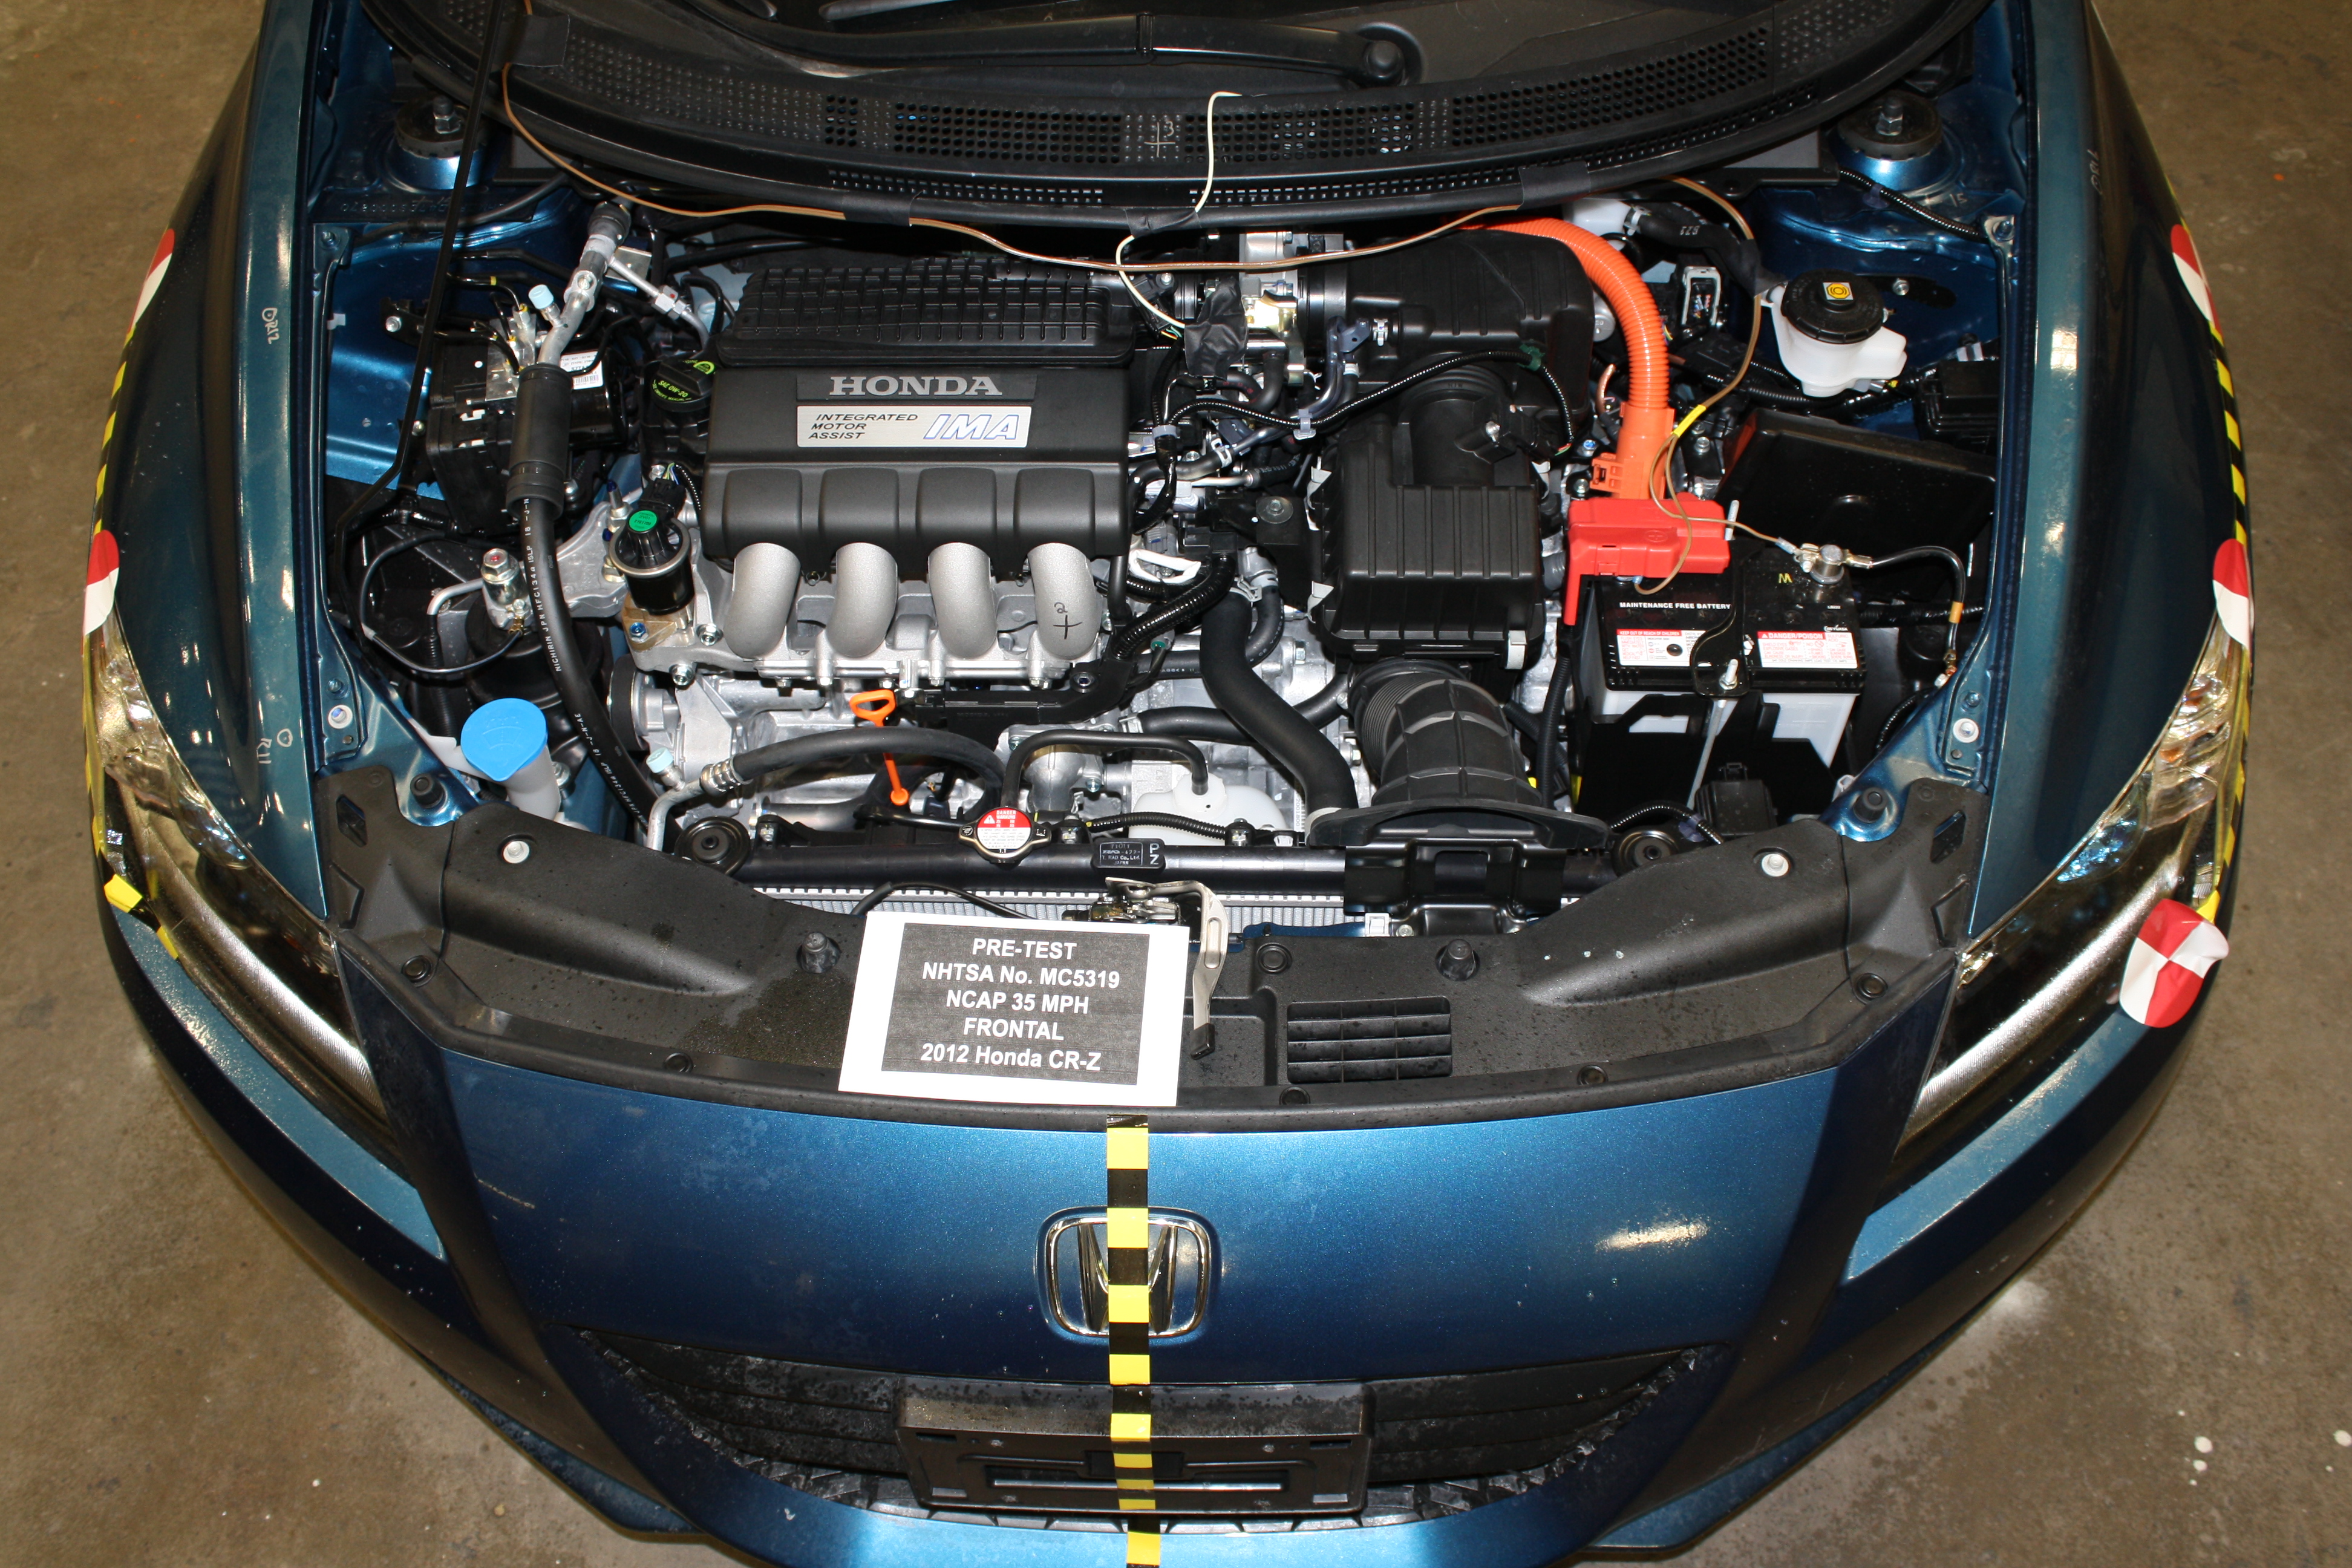
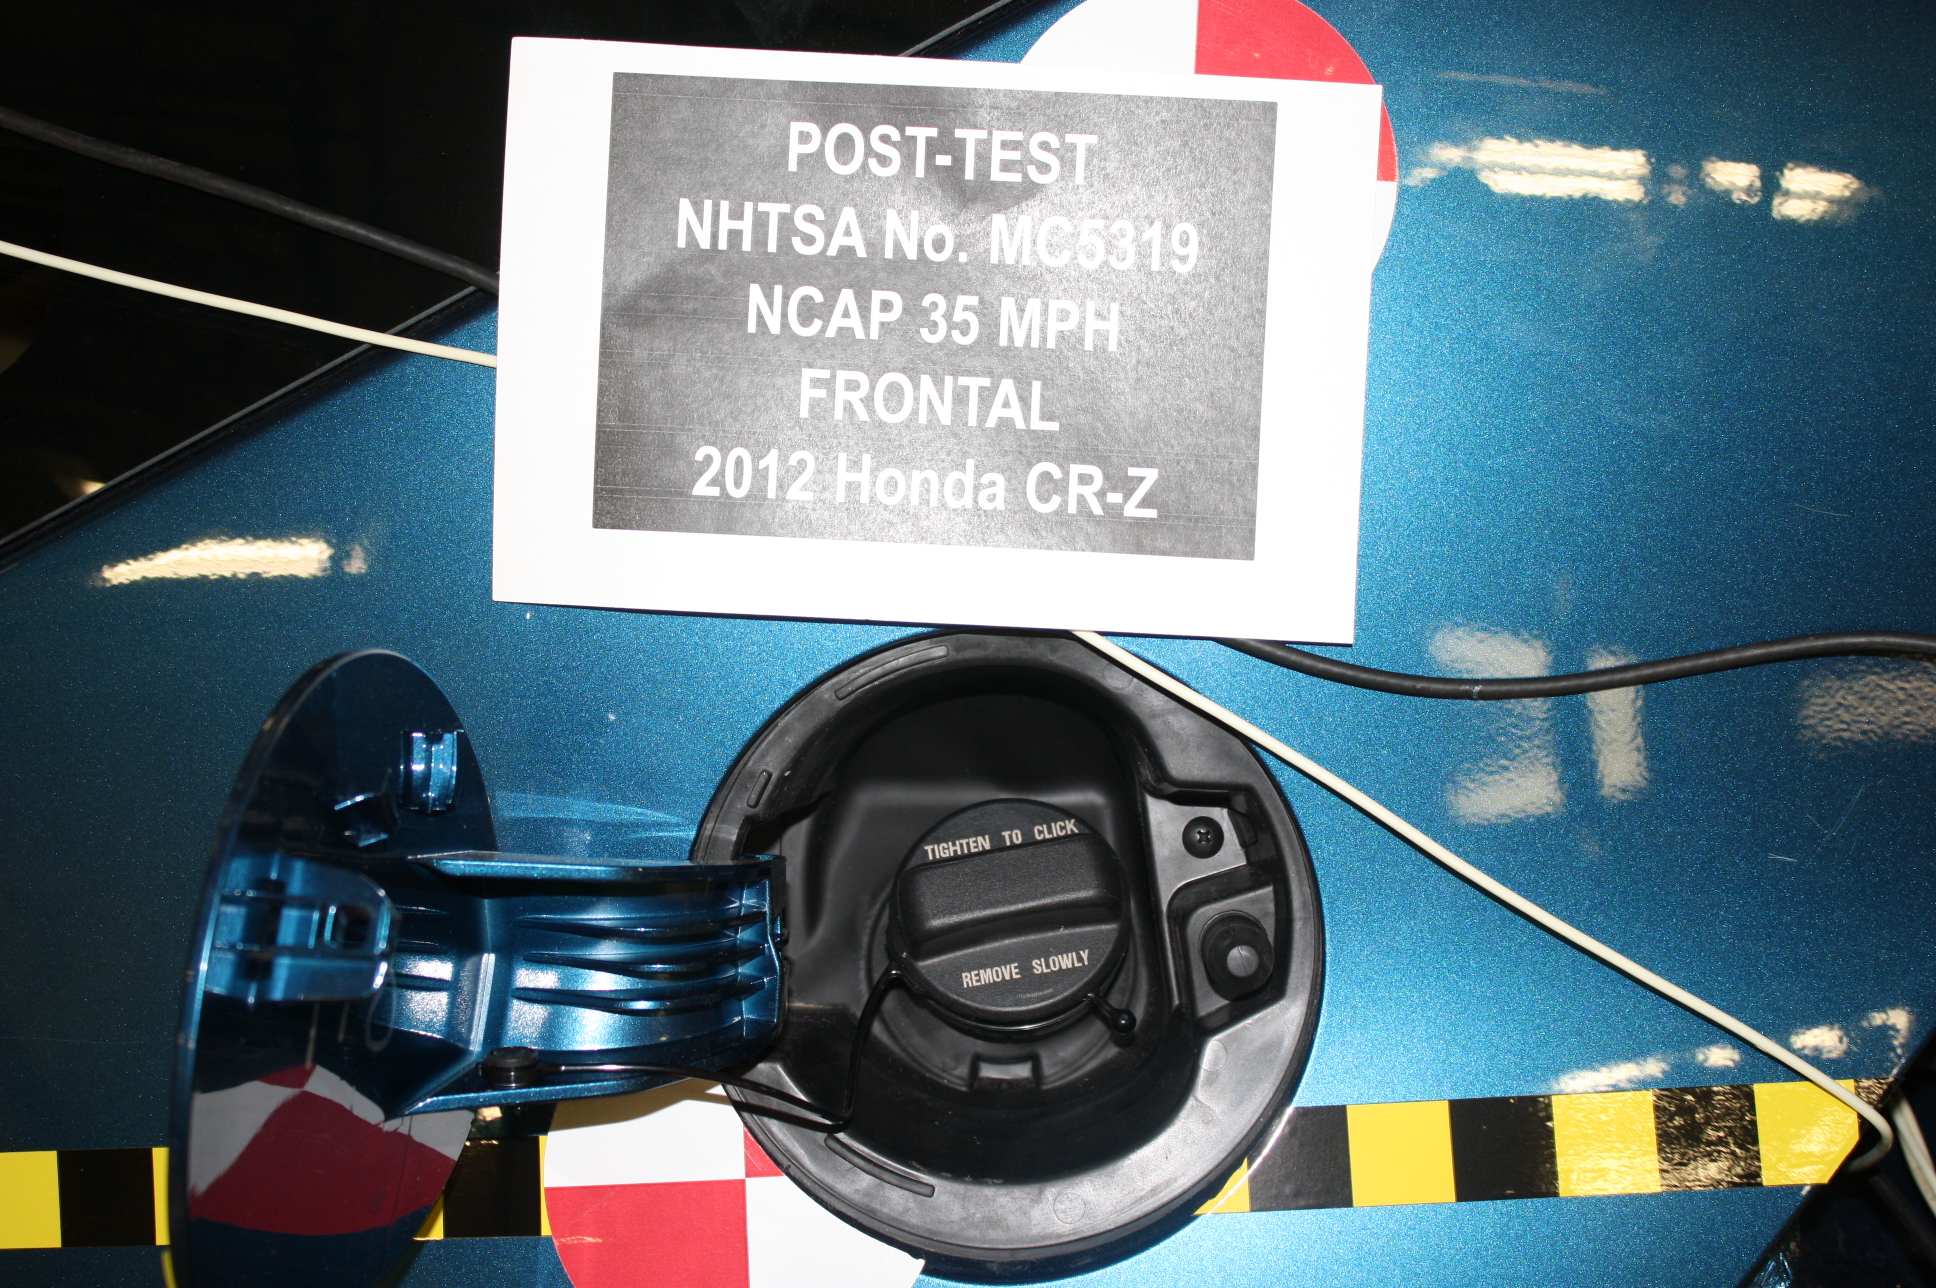
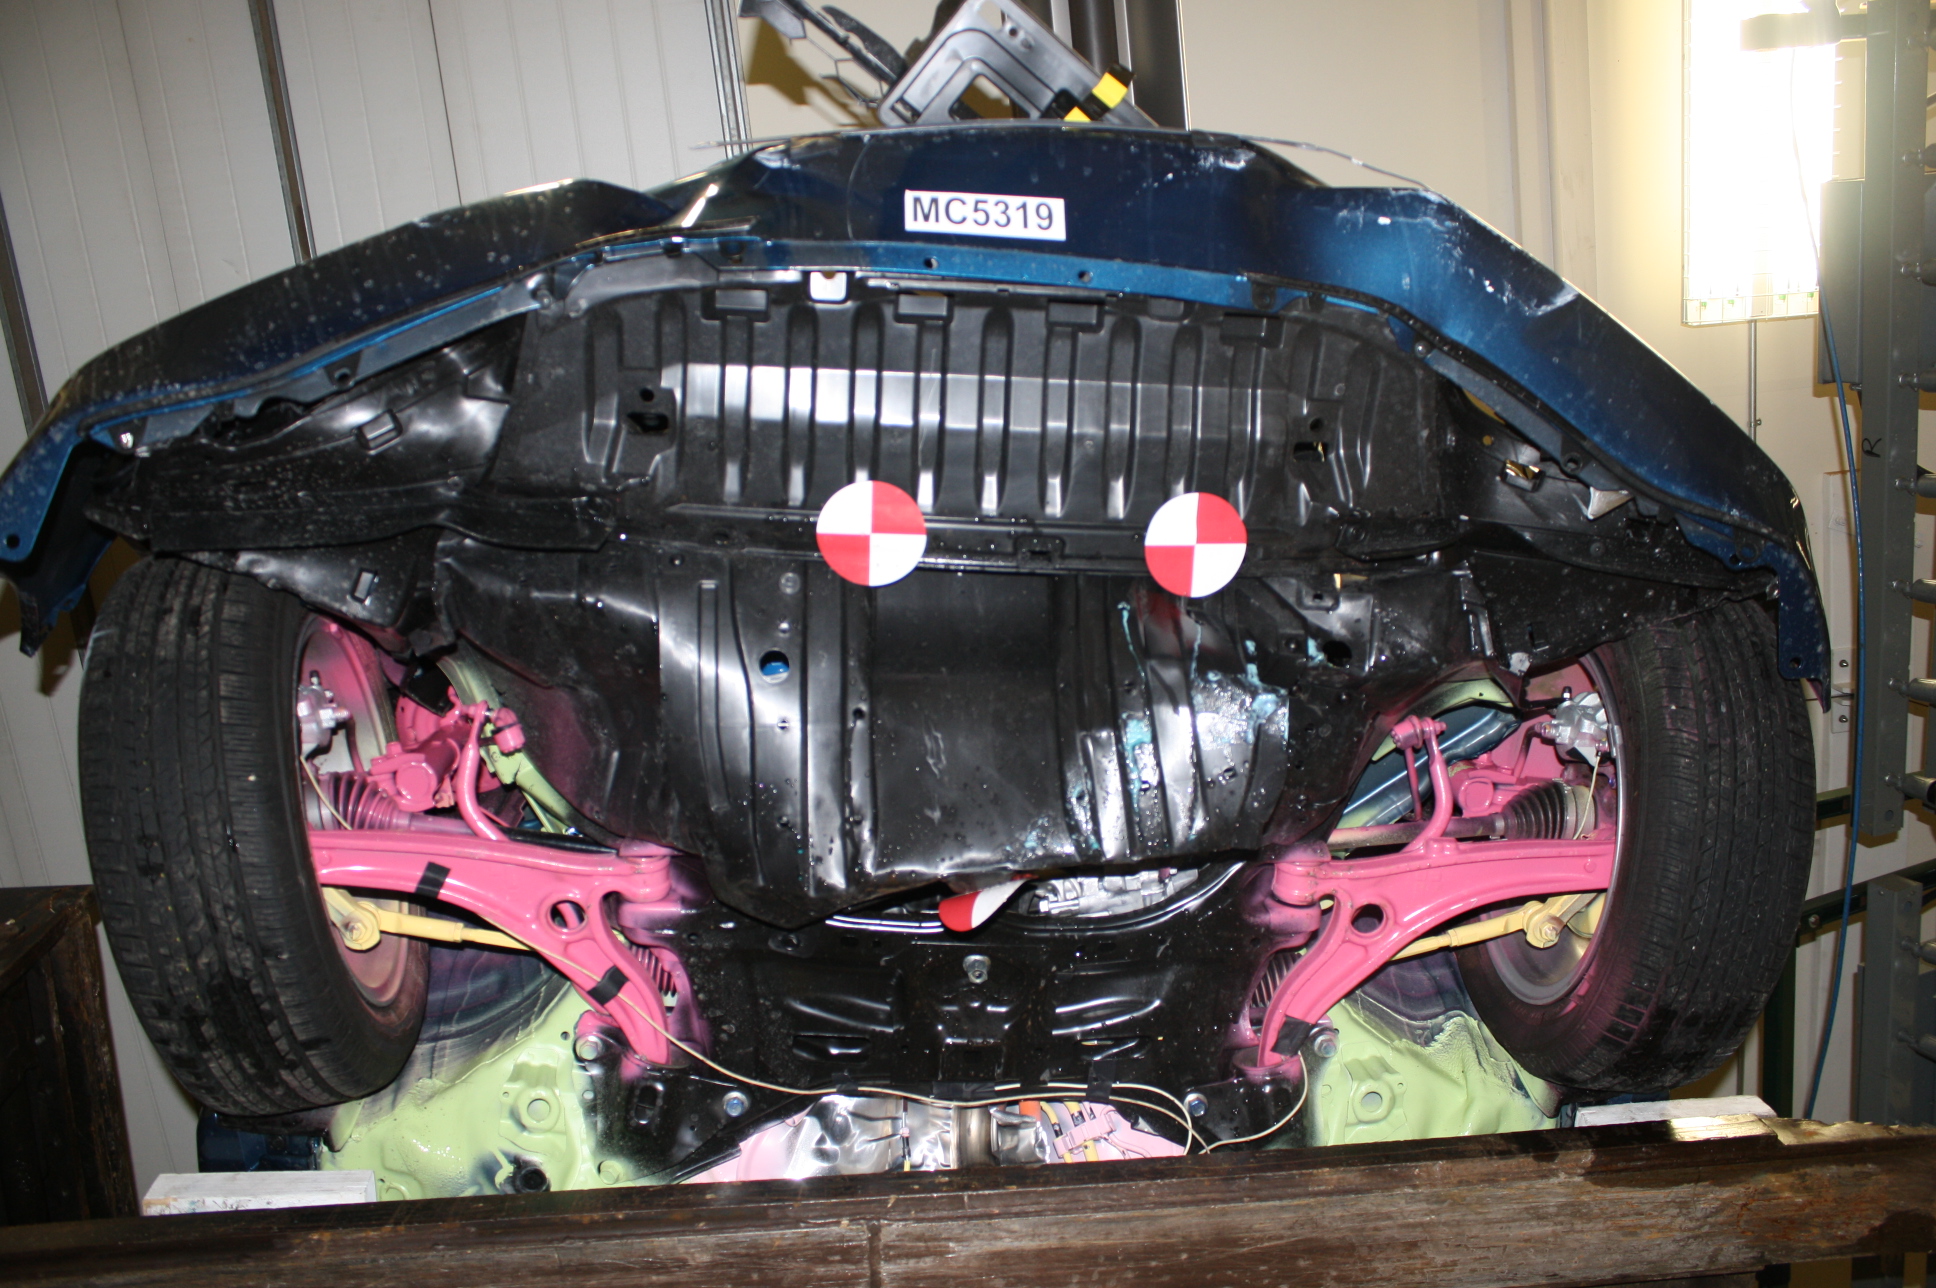
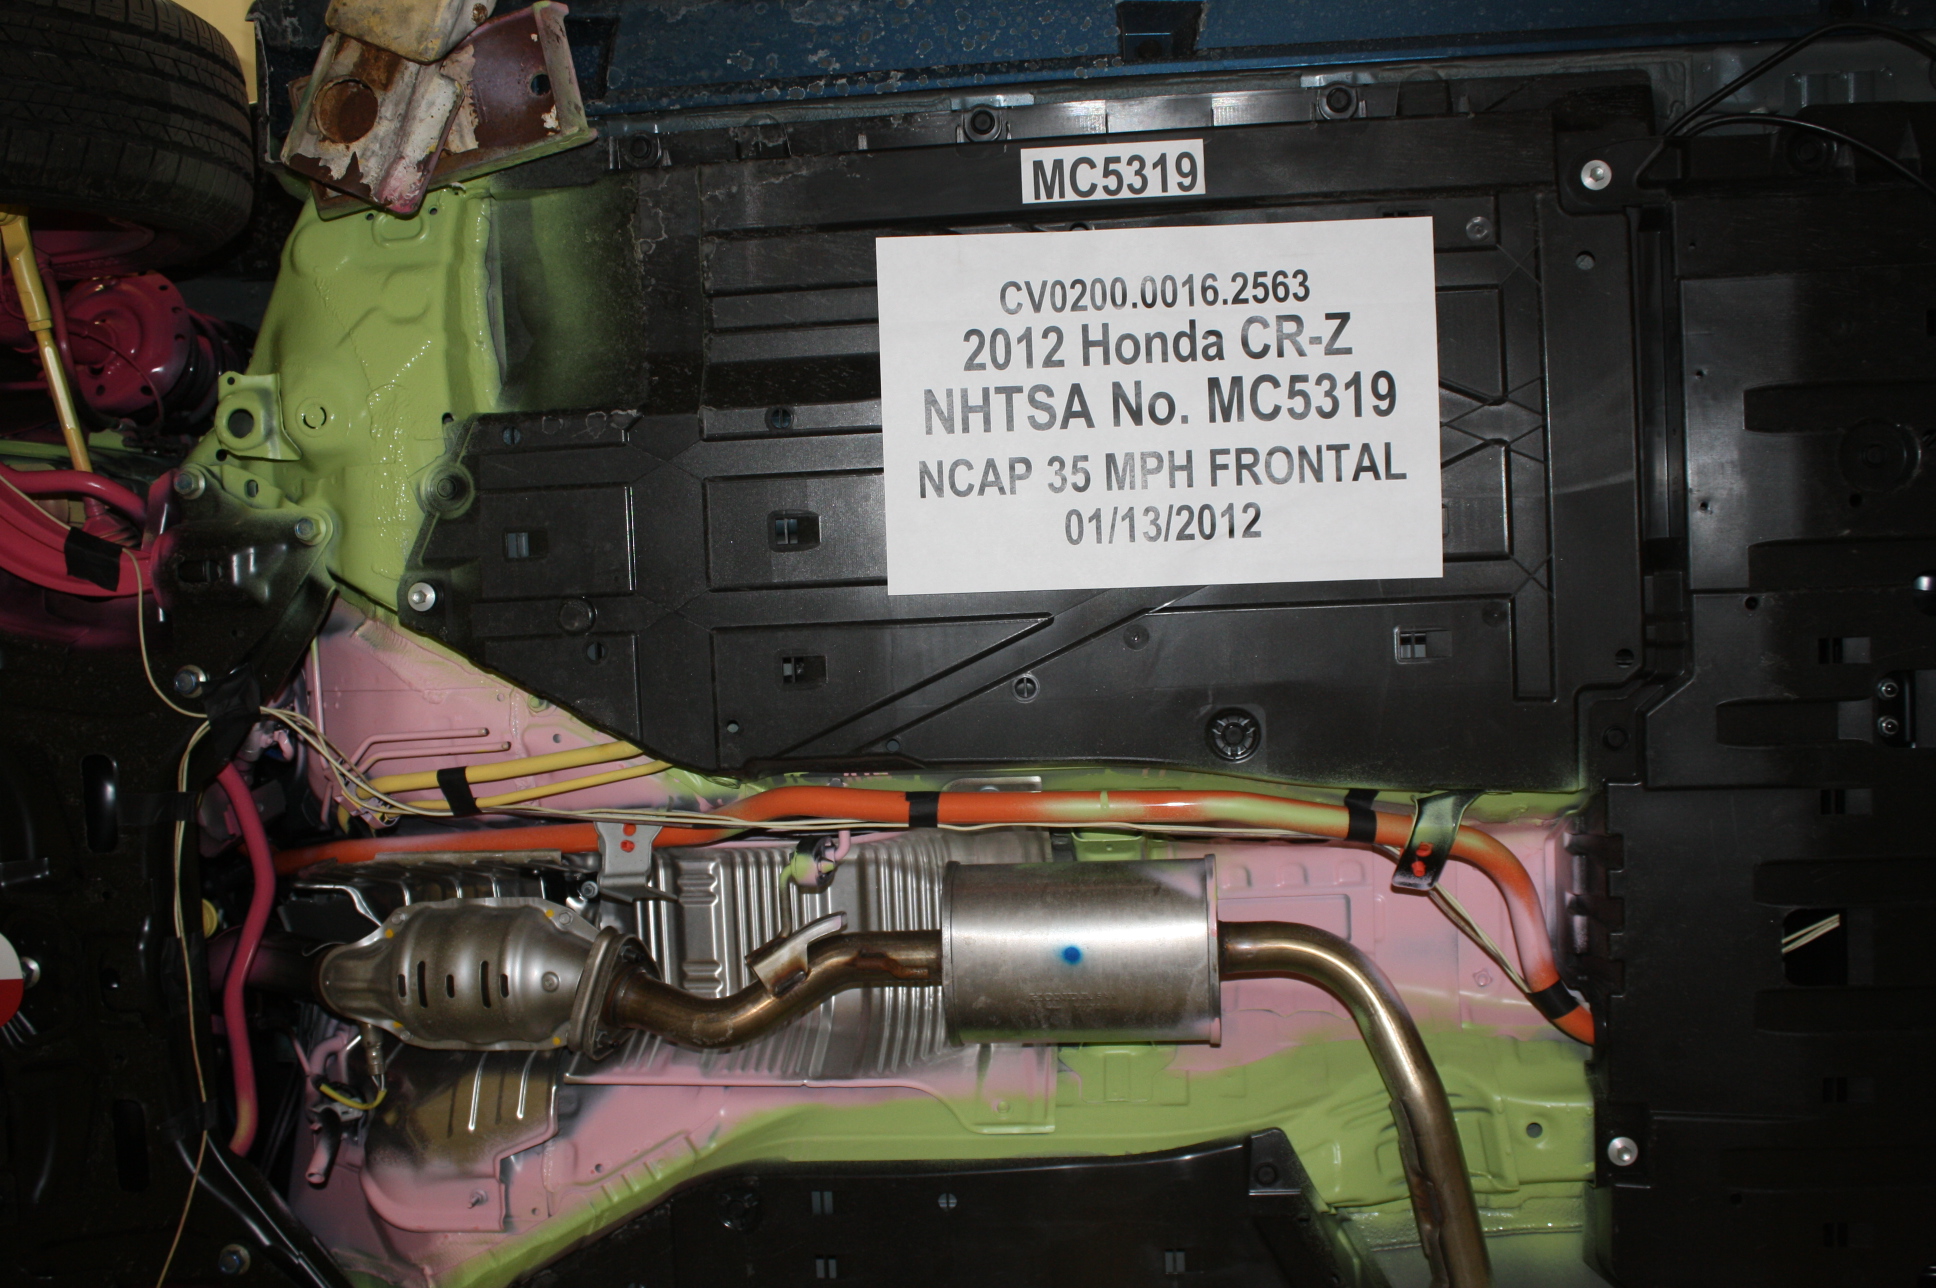
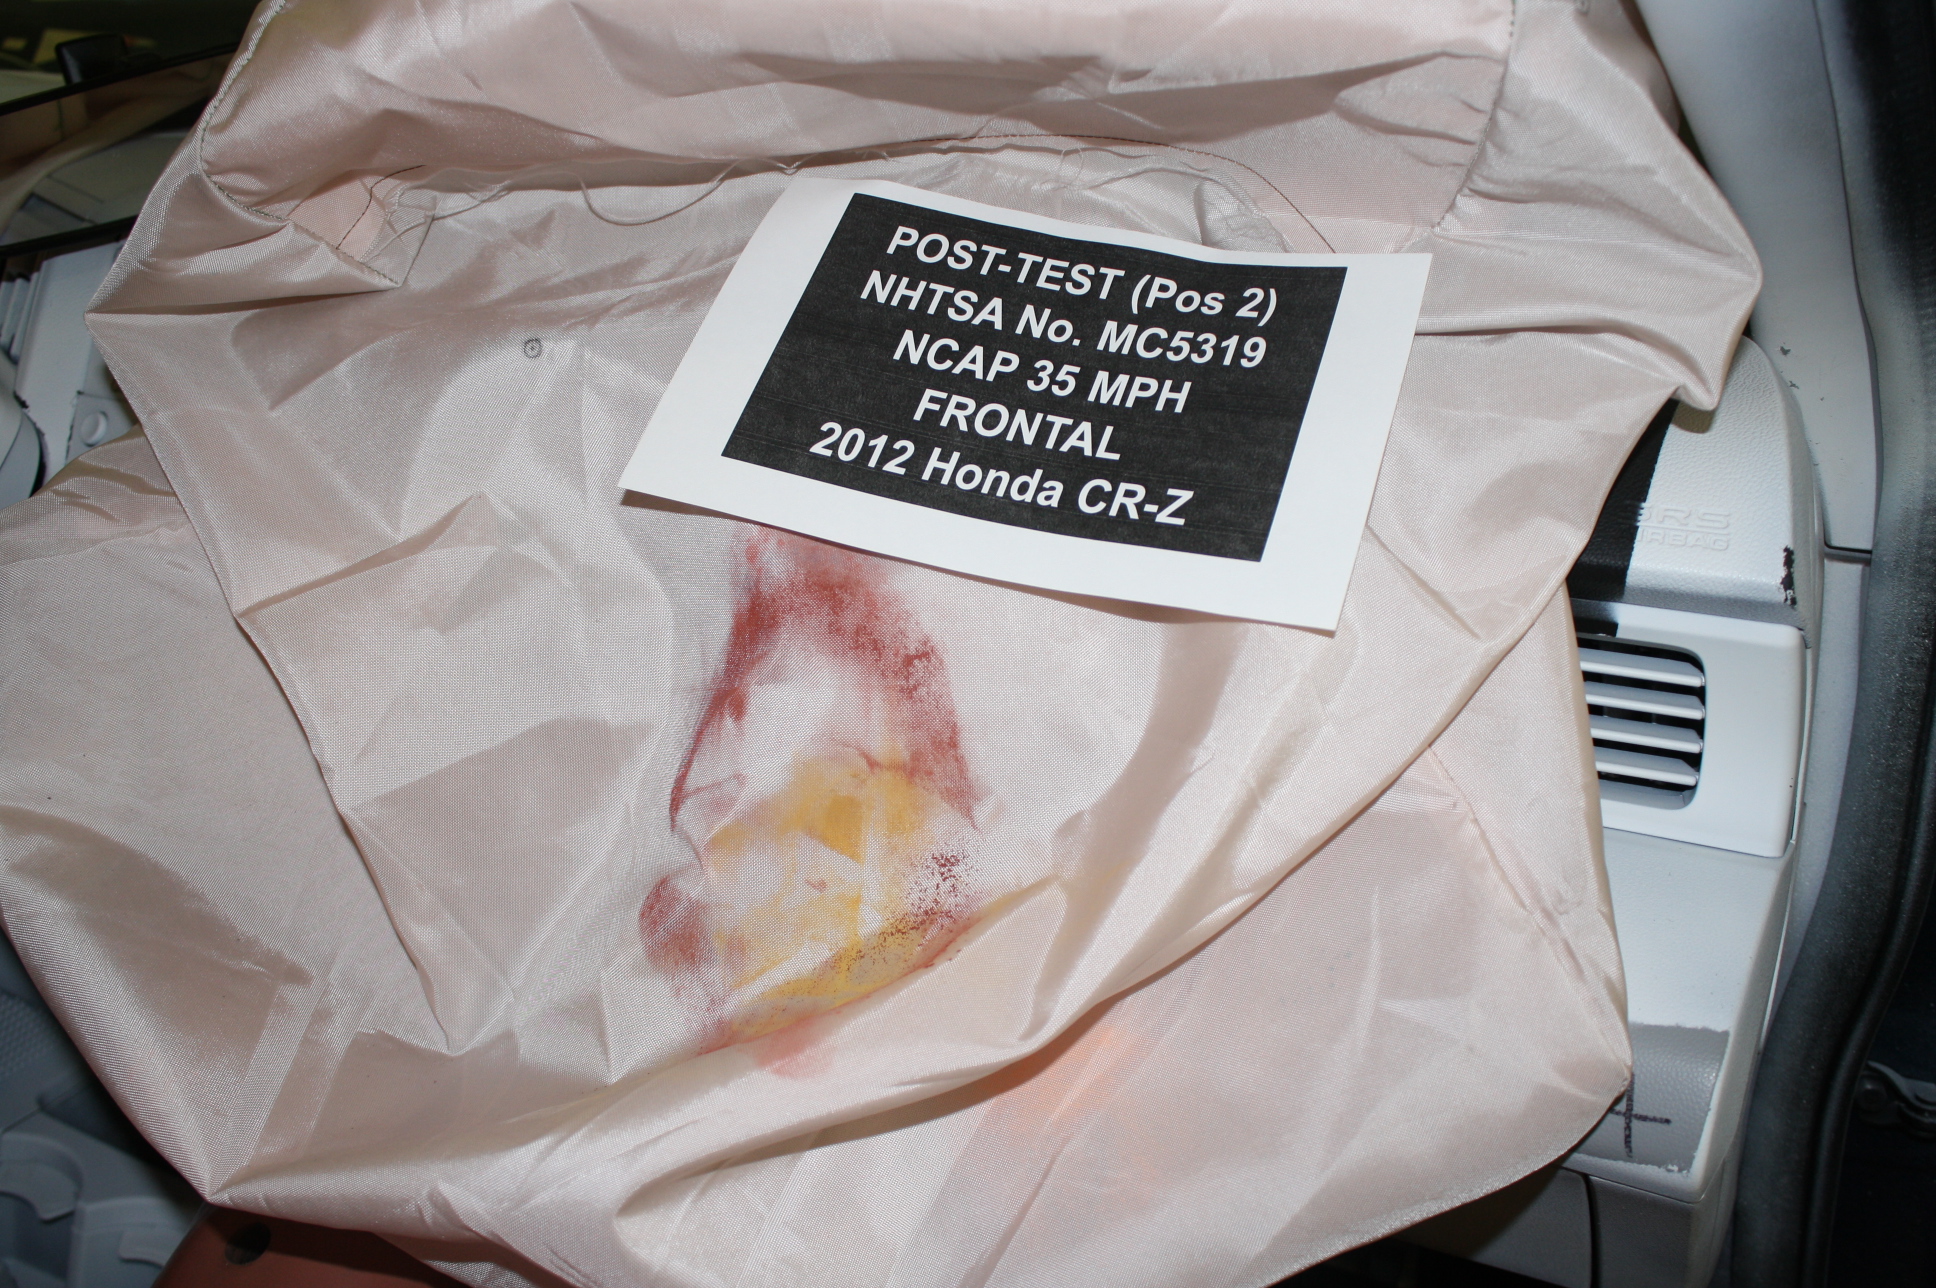
No. 001 Load Cell Location.JPGNo. 002 Load Cell Wall.JPGNo. 003 Manufacturers Label.JPGNo. 004 Tire Placard.JPGNo. 005 2012 Honda CR-Z Front 3-4 View as Received.JPGNo. 006 Left Rear 3-4 View as Received.JPGNo. 007 Pre-Test Front View of Test Vehicle.JPGNo. 008 Post-Test Front View of Test Vehicle.JPGNo. 009 Pre-Test Left View of Test Vehicle.JPGNo. 010 Post-Test Left View of Test Vehicle.JPGNo. 011 Pre-Test Right View of Test Vehicle.JPGNo. 012 Post-Test Right View of Test Vehicle.JPGNo. 013 Pre-Test Right Front 3-4 View.JPGNo. 014 Post-Test Right Front 3-4 View.JPGNo. 015 Pre-Test Left Rear 3-4 View.JPGNo. 016 Post-Test Left Rear 3-4 View.JPGNo. 017 Pre-Test Windshield View.JPGNo. 018 Post-Test Windshield View.JPGNo. 019 Pre-Test Engine Compartment View.JPGNo. 020 Post-Test Engine Compartment View.JPGNo. 021 Pre-test Fuel Filler Cap View.JPGNo. 022 Post-test Fuel Filler Cap View.JPGNo. 023 Pre-test Front Underbody View.JPGNo. 024 Post-test Front Underbody View.JPGNo. 025 Pre-test Rear Underbody View.JPGNo. 026 Post-test Rear Underbody View.JPGNo. 027 Pre-test Dummy Cable Routing.JPGNo. 028 Post-test Dummy Cable Routing.JPGNo. 029 Pre-test Driver Dummy Front View.JPGNo. 030 Post-test Driver Dummy Front View.JPGNo. 031 Pre-test Driver Dummy Window View.JPGNo. 032 Post-test Driver Dummy Window View.JPGNo. 041 Pre-test Drivers Side Floorpan.JPGNo. 061 Post-Test Passengers Side Floorpan.JPGNo. 062 Post-Test Passenger Dummy Contact With Airbag.JPG

Recalls

No recalls on record for this vehicle.
Owner complaints

No owner complaints on record for this vehicle.